准备stm32mp-ddr-phy
参考stm32mp-ddr-phy-A2022.11-r0目录下README.HOW_TO.txt.stm32mp2,非常重要!!!

cd ~/develop/STM32MP2/test/stm32mp-openstlinux-6.6-yocto-scarthgap-mpu-v25.08.27/sources/ostl-linux

#准备stm32mp-ddr-phy源码
cd stm32mp-ddr-phy-A2022.11-r0/
tar xf stm32mp-ddr-phy-A2022.11-r0.tar.xz
cd stm32mp-ddr-phy-A2022.11/
test -d .git || git init . && git add . && git commit -m "new stm32mp-ddr-phy" && git gc
git checkout -b WORKING
准备TF-A
参考tf-a-stm32mp-v2.10.13-stm32mp-r2-r0目录下README.HOW_TO.txt.stm32mp2,非常重要!!!
cd tf-a-stm32mp-v2.10.13-stm32mp-r2-r0/
vi test.sh
#在test.sh增加以下内容,参考README.HOW_TO.txt.stm32mp2的4.2,打补丁+git管理
tar xf tf-a-stm32mp-v2.10.13-stm32mp-r2-r0.tar.xz
cd tf-a-stm32mp-v2.10.13-stm32mp-r2
test -d .git || git init . && git add . && git commit -m "tf-a source code" && git gc
git checkout -b WORKING
for p in `ls -1 ../*.patch`; do git am $p; done
#end of test.sh
/bin/bash test.sh
export FIP_DEPLOYDIR_ROOT=/home/niuke/develop/STM32MP2/test/stm32mp-openstlinux-6.6-yocto-scarthgap-mpu-v25.08.27/sources/ostl-linux/FIP_artifacts
export FWDDR_DIR==/home/niuke/develop/STM32MP2/test/stm32mp-openstlinux-6.6-yocto-scarthgap-mpu-v25.08.27/sources/ostl-linux/stm32mp-ddr-phy-A2022.11-r0/stm32mp-ddr-phy-A2022.11
export DEPLOYDIR=$FIP_DEPLOYDIR_ROOT/arm-trusted-firmware
source ~/sdk6.6_mp2
cd tf-a-stm32mp-v2.10.13-stm32mp-r2/
make -f $PWD/../Makefile.sdk.stm32mp2 clean
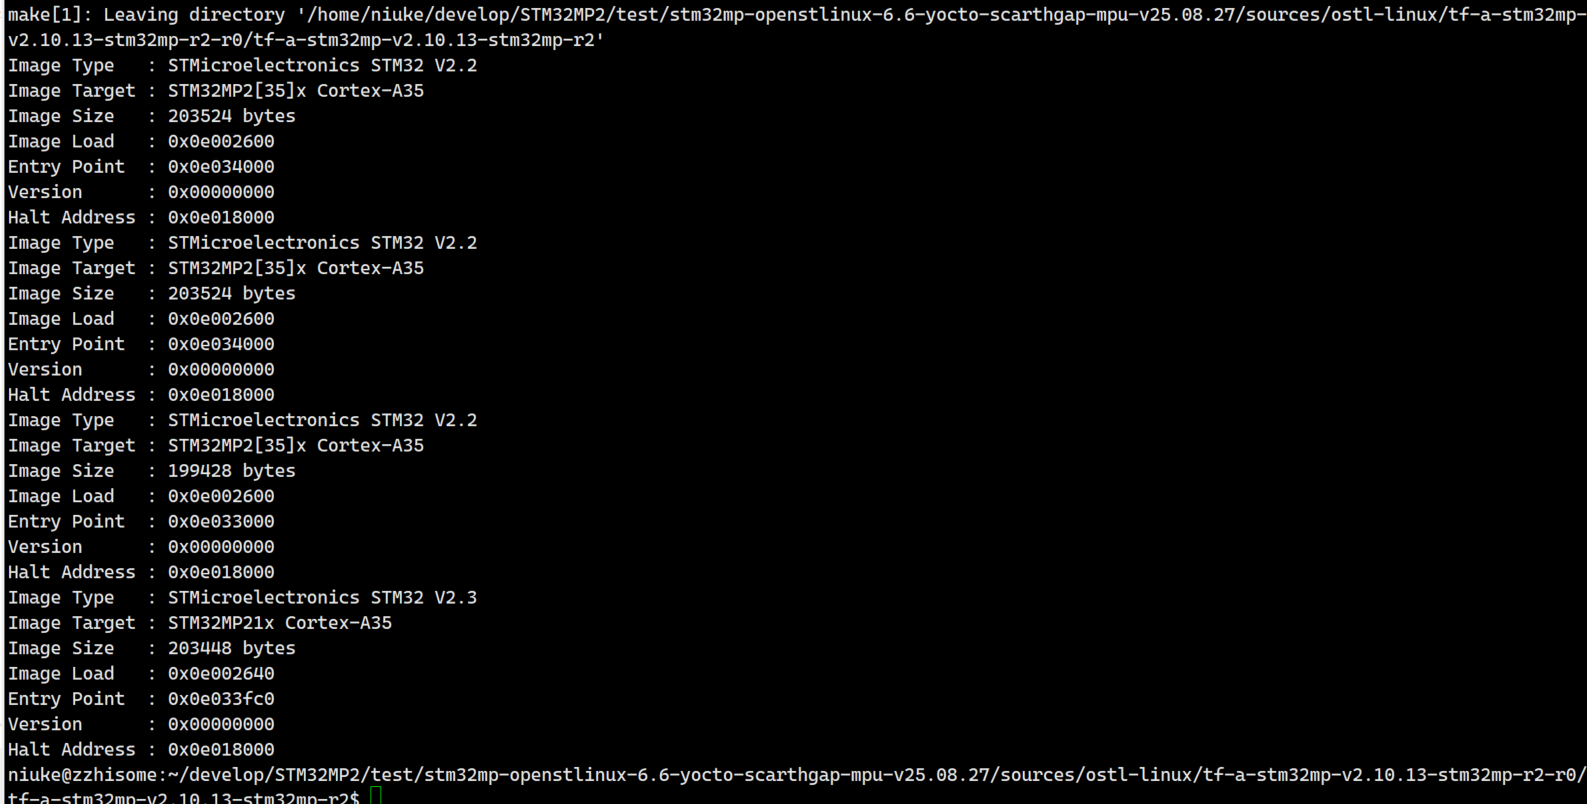
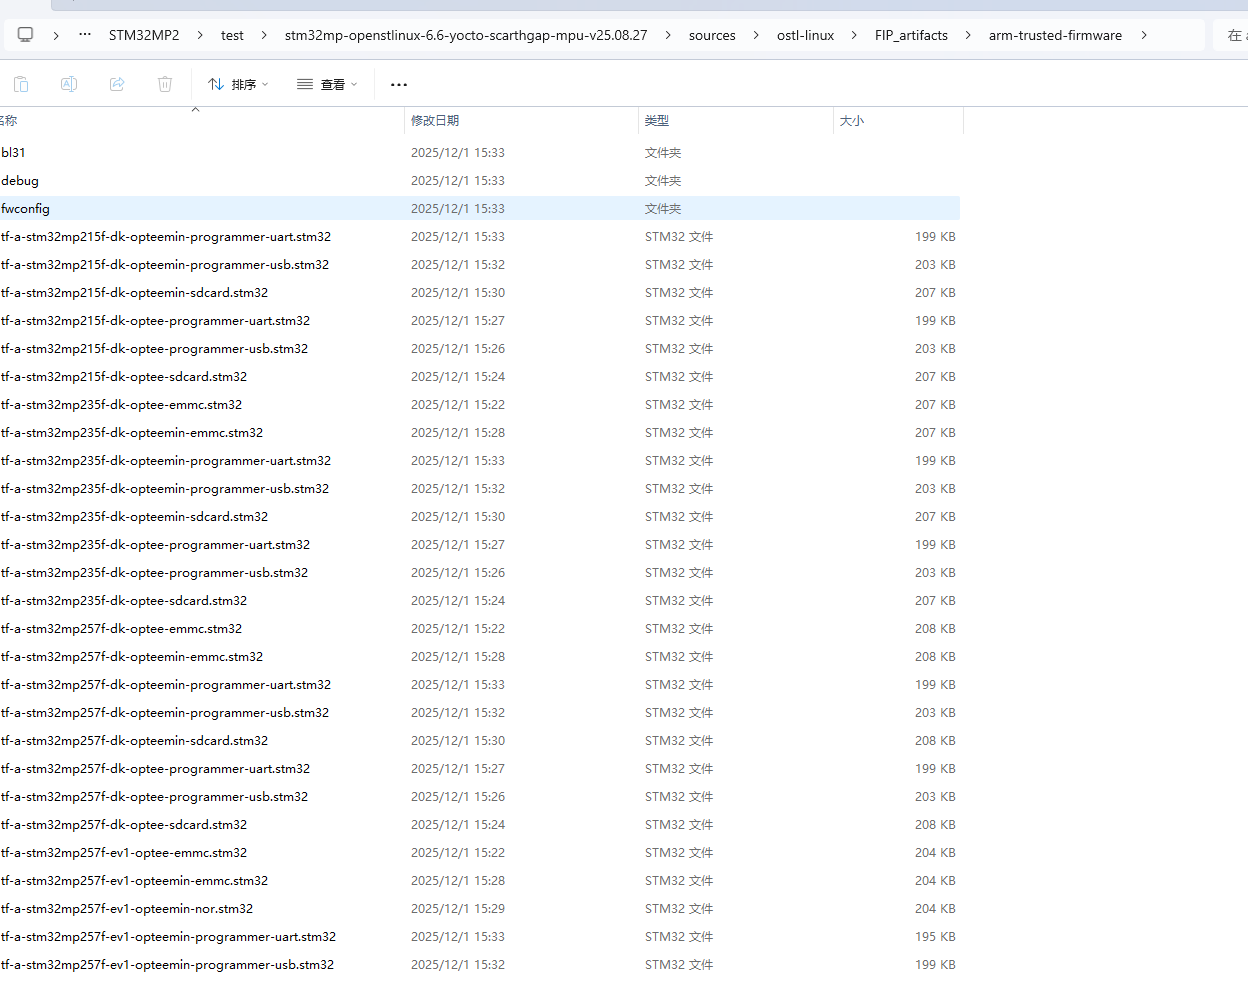
make -f $PWD/../Makefile.sdk.stm32mp2 stm32按照步骤,编译成功如下图所示,同时会在arm-trusted-firmware目录下生成多个文件和目录
准备optee
参考optee-os-stm32mp-4.0.0-stm32mp-r2-r0目录下README.HOW_TO.txt.stm32mp2,非常重要!!!
!!!注意:如果是在当前的shell环境下面,则不需要重新声明TF-A的环境变量
#将DEPLOYDIR修改成optee
export DEPLOYDIR=$FIP_DEPLOYDIR_ROOT/optee
cd optee-os-stm32mp-4.0.0-stm32mp-r2-r0/
vi test.sh
#在test.sh增加以下内容,参考README.HOW_TO.txt.stm32mp2的4.2,打补丁+git管理
tar xf optee-os-stm32mp-4.0.0-stm32mp-r2-r0.tar.xz
cd optee-os-stm32mp-4.0.0-stm32mp-r2
test -d .git || git init . && git add . && git commit -m "optee-os source code" && git gc
git checkout -b WORKING
tar xf ../fonts.tar.gz
for p in `ls -1 ../*.patch`; do git am $p; done
#end of test.sh
/bin/bash test.sh
cd optee-os-stm32mp-4.0.0-stm32mp-r2/
make -f $PWD/../Makefile.sdk.stm32mp2 clean
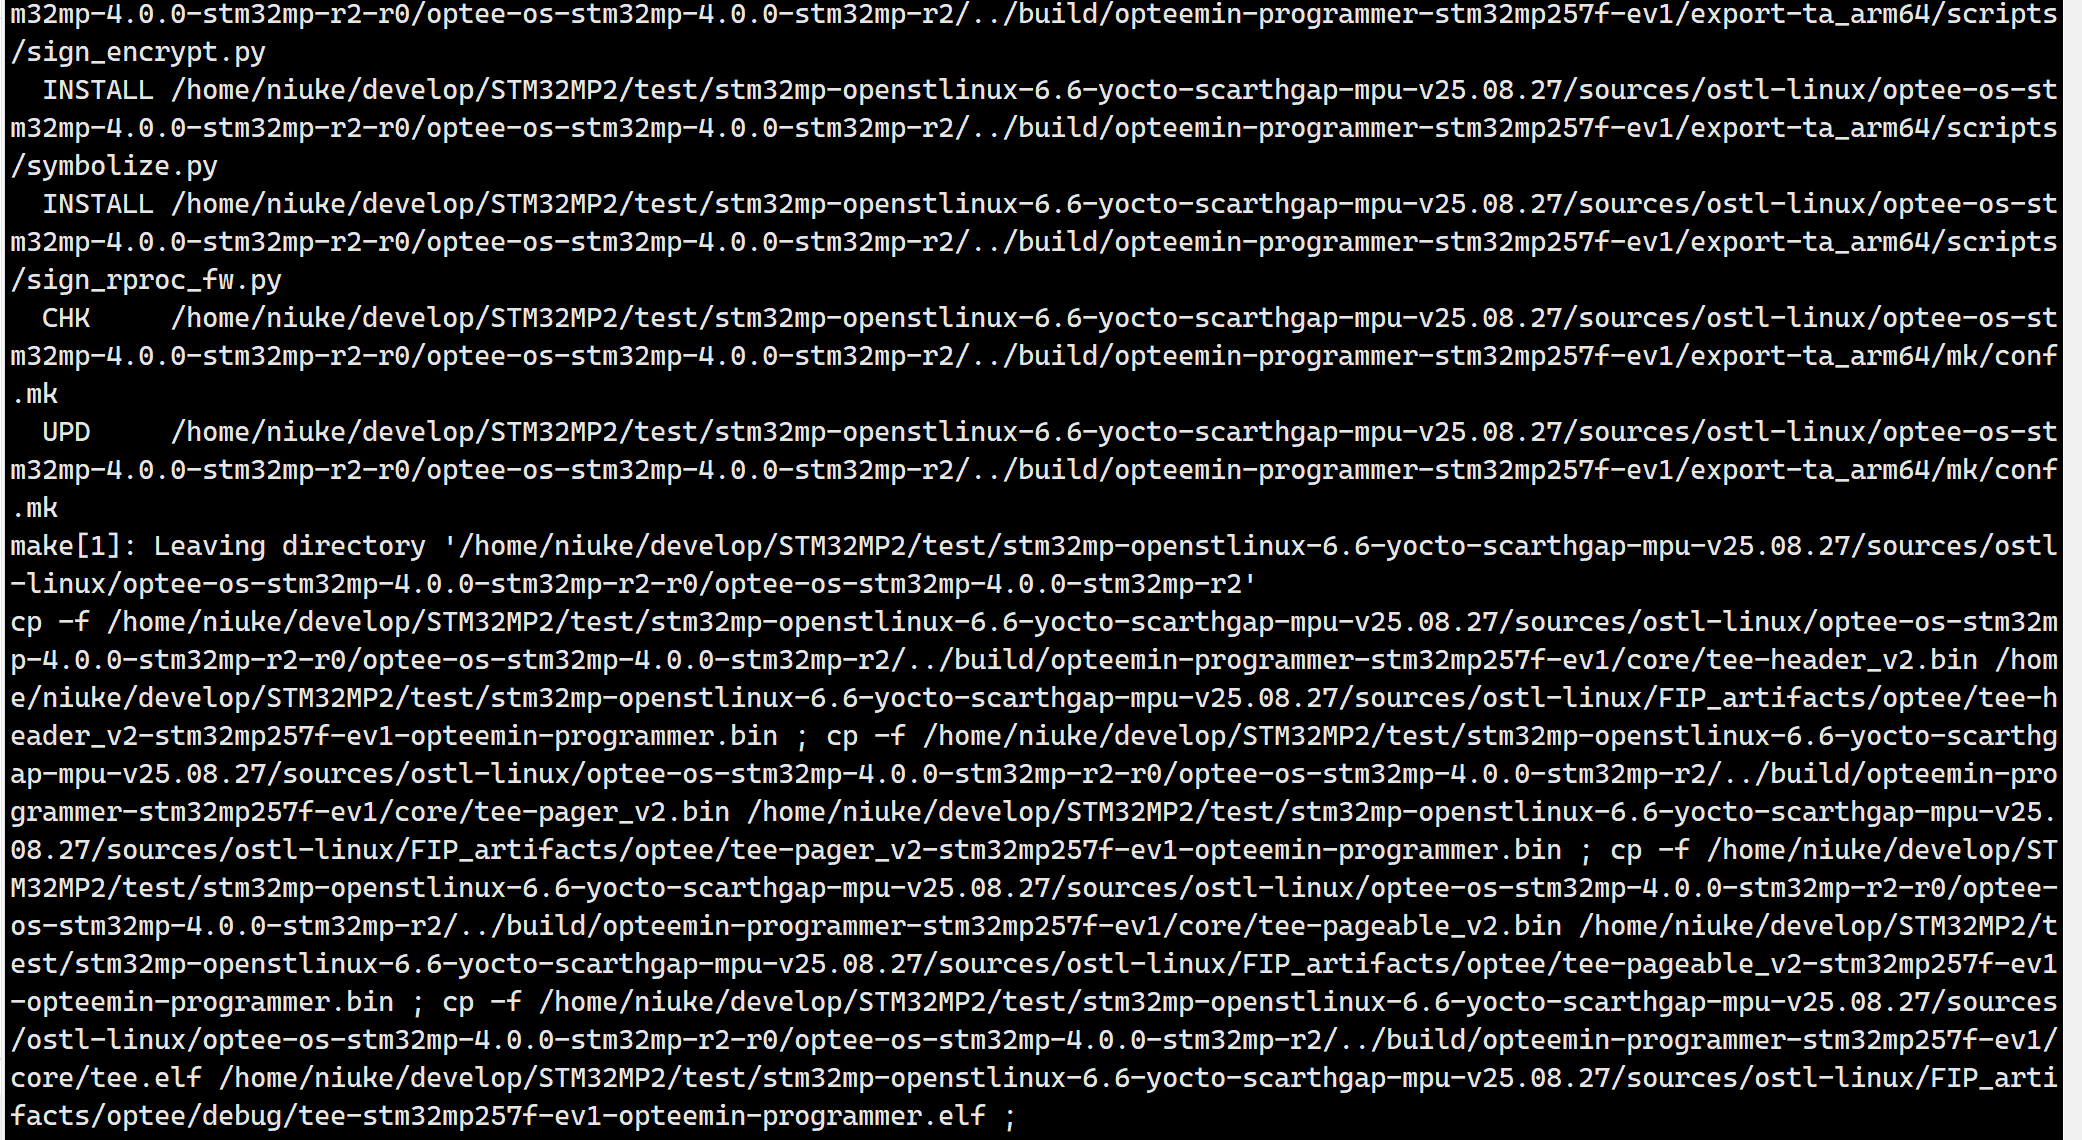
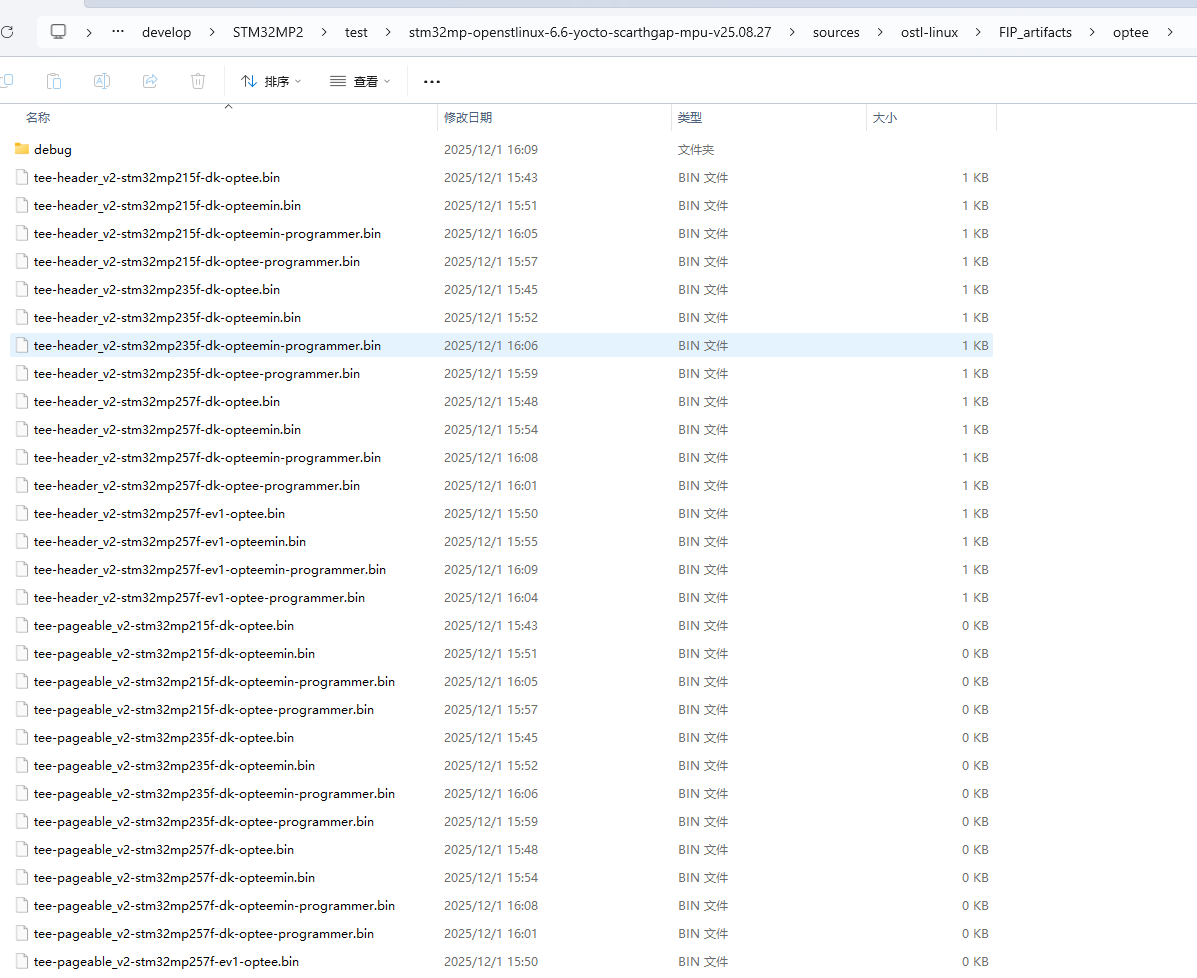
make -f $PWD/../Makefile.sdk.stm32mp2 optee按照步骤,编译成功如下图所示,同时会在optee目录下生成多个文件和目录
准备u-boot
参考u-boot-stm32mp-v2023.10-stm32mp-r2-r0目录下README.HOW_TO.txt.stm32mp2,非常重要!!!
!!!注意:如果是在当前的shell环境下面,则不需要重新声明TF-A的环境变量
#将DEPLOYDIR修改成u-boot
export DEPLOYDIR=$FIP_DEPLOYDIR_ROOT/u-boot
cd u-boot-stm32mp-v2023.10-stm32mp-r2-r0/
vi test.sh
#在test.sh增加以下内容,参考README.HOW_TO.txt.stm32mp2的4.2,打补丁+git管理
tar xf u-boot-stm32mp-v2023.10-stm32mp-r2-r0.tar.xz
cd u-boot-stm32mp-v2023.10-stm32mp-r2
test -d .git || git init . && git add . && git commit -m "U-Boot source code" && git gc
git checkout -b WORKING
for p in `ls -1 ../*.patch`; do git am $p; done
#end of test.sh
/bin/bash test.sh
cd u-boot-stm32mp-v2023.10-stm32mp-r2/
make -f $PWD/../Makefile.sdk.stm32mp2 clean
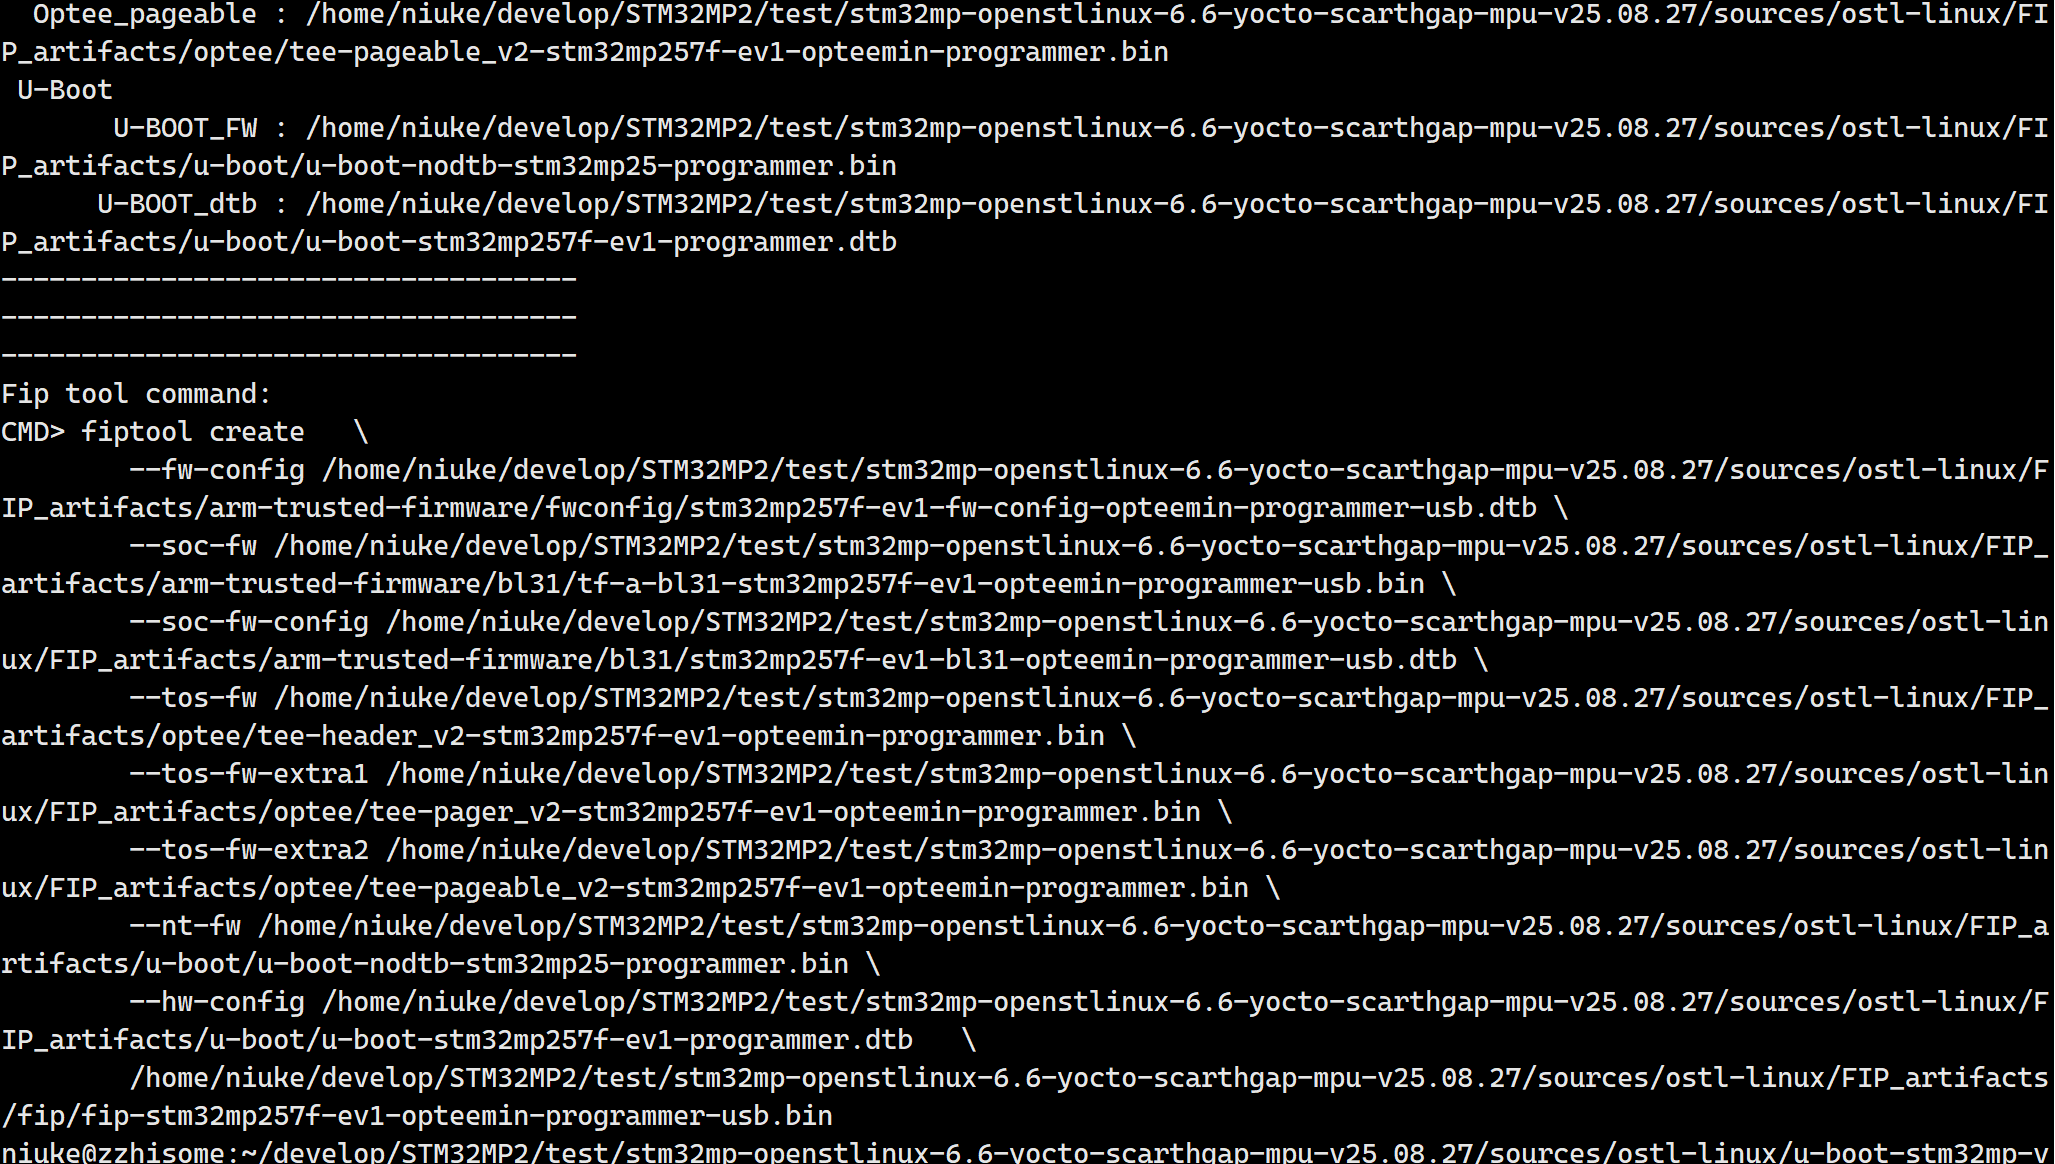
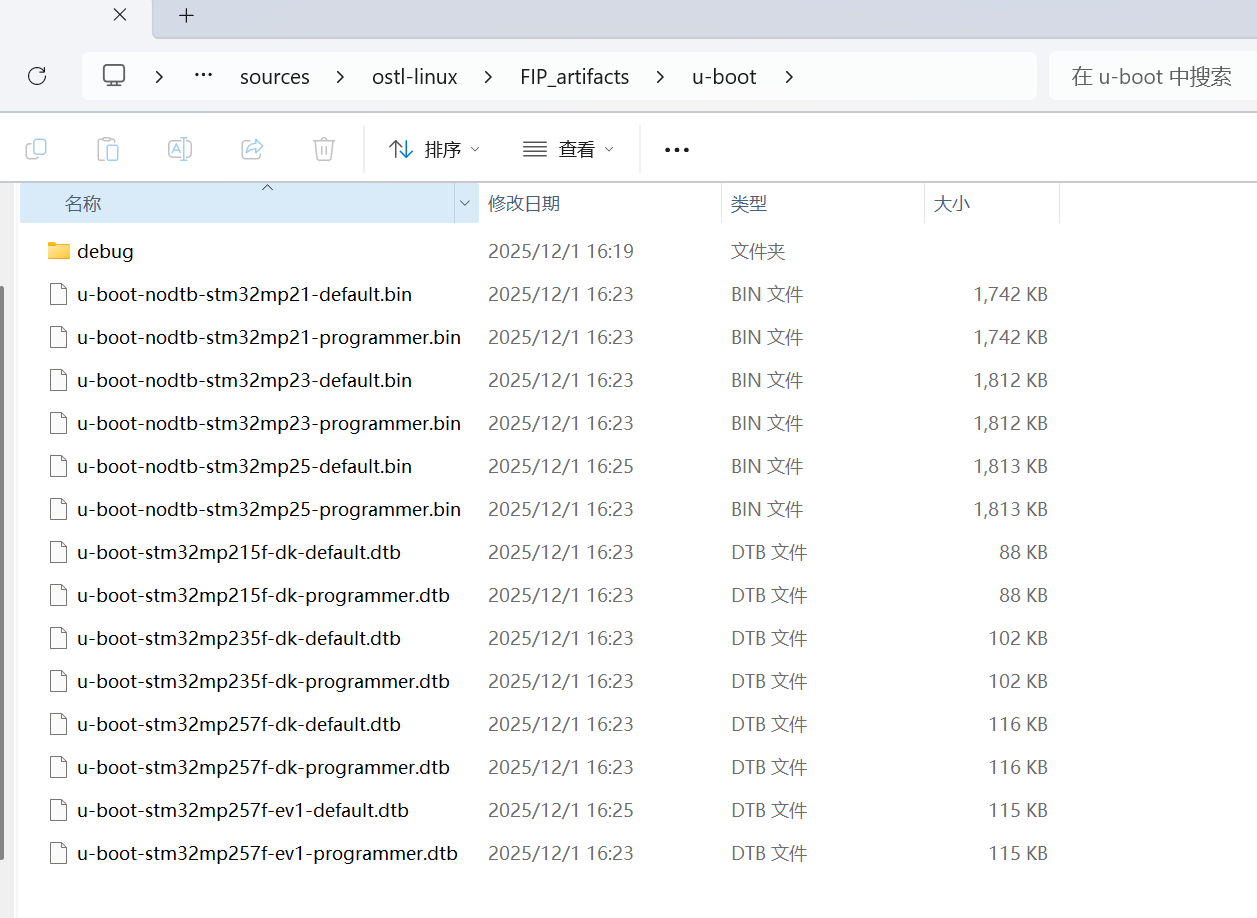
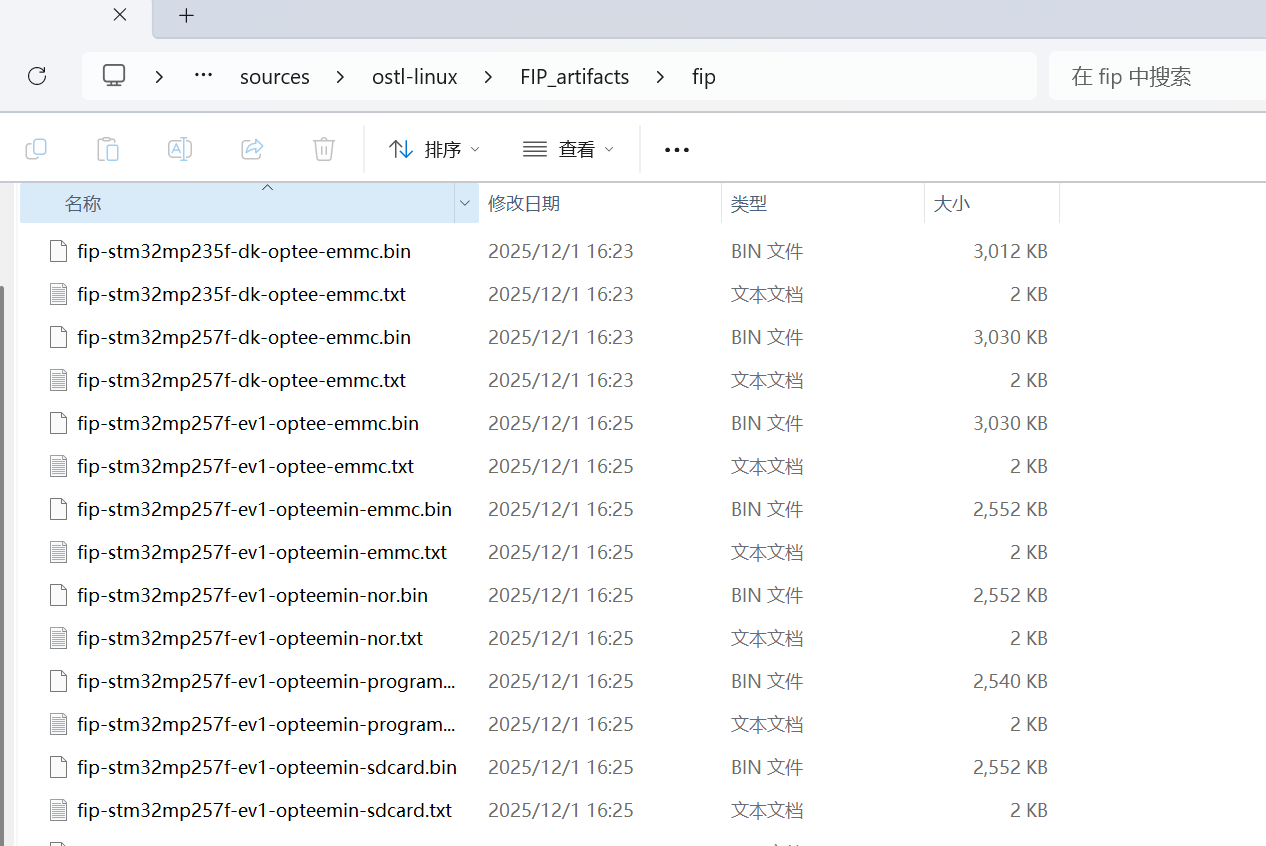
make -f $PWD/../Makefile.sdk.stm32mp2 UBOOT_CONFIG=default UBOOT_DEFCONFIG=stm32mp25_defconfig UBOOT_BINARY=u-boot.dtb DEVICE_TREE=stm32mp257f-ev1 all按照步骤,编译成功如下图所示,同时会在u-boot和fip目录下生成多个文件和目录
准备kernel - 暂时不需要
下一章
使用STM32CubeMX生成的设备树
编译TF-A
编译optee
编译uboot和fip