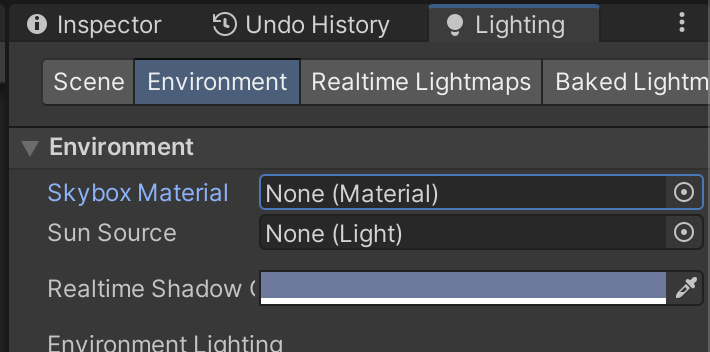
(1)新建一个场景。在本书资源中,该场景名为Scene_12_6。在Unity 5.2中,默认情况下场景将包含一个摄像机和一个平行光,并且使用了内置的天空盒子。在Window → Lighting →Skybox中去掉场景中的天空盒子。
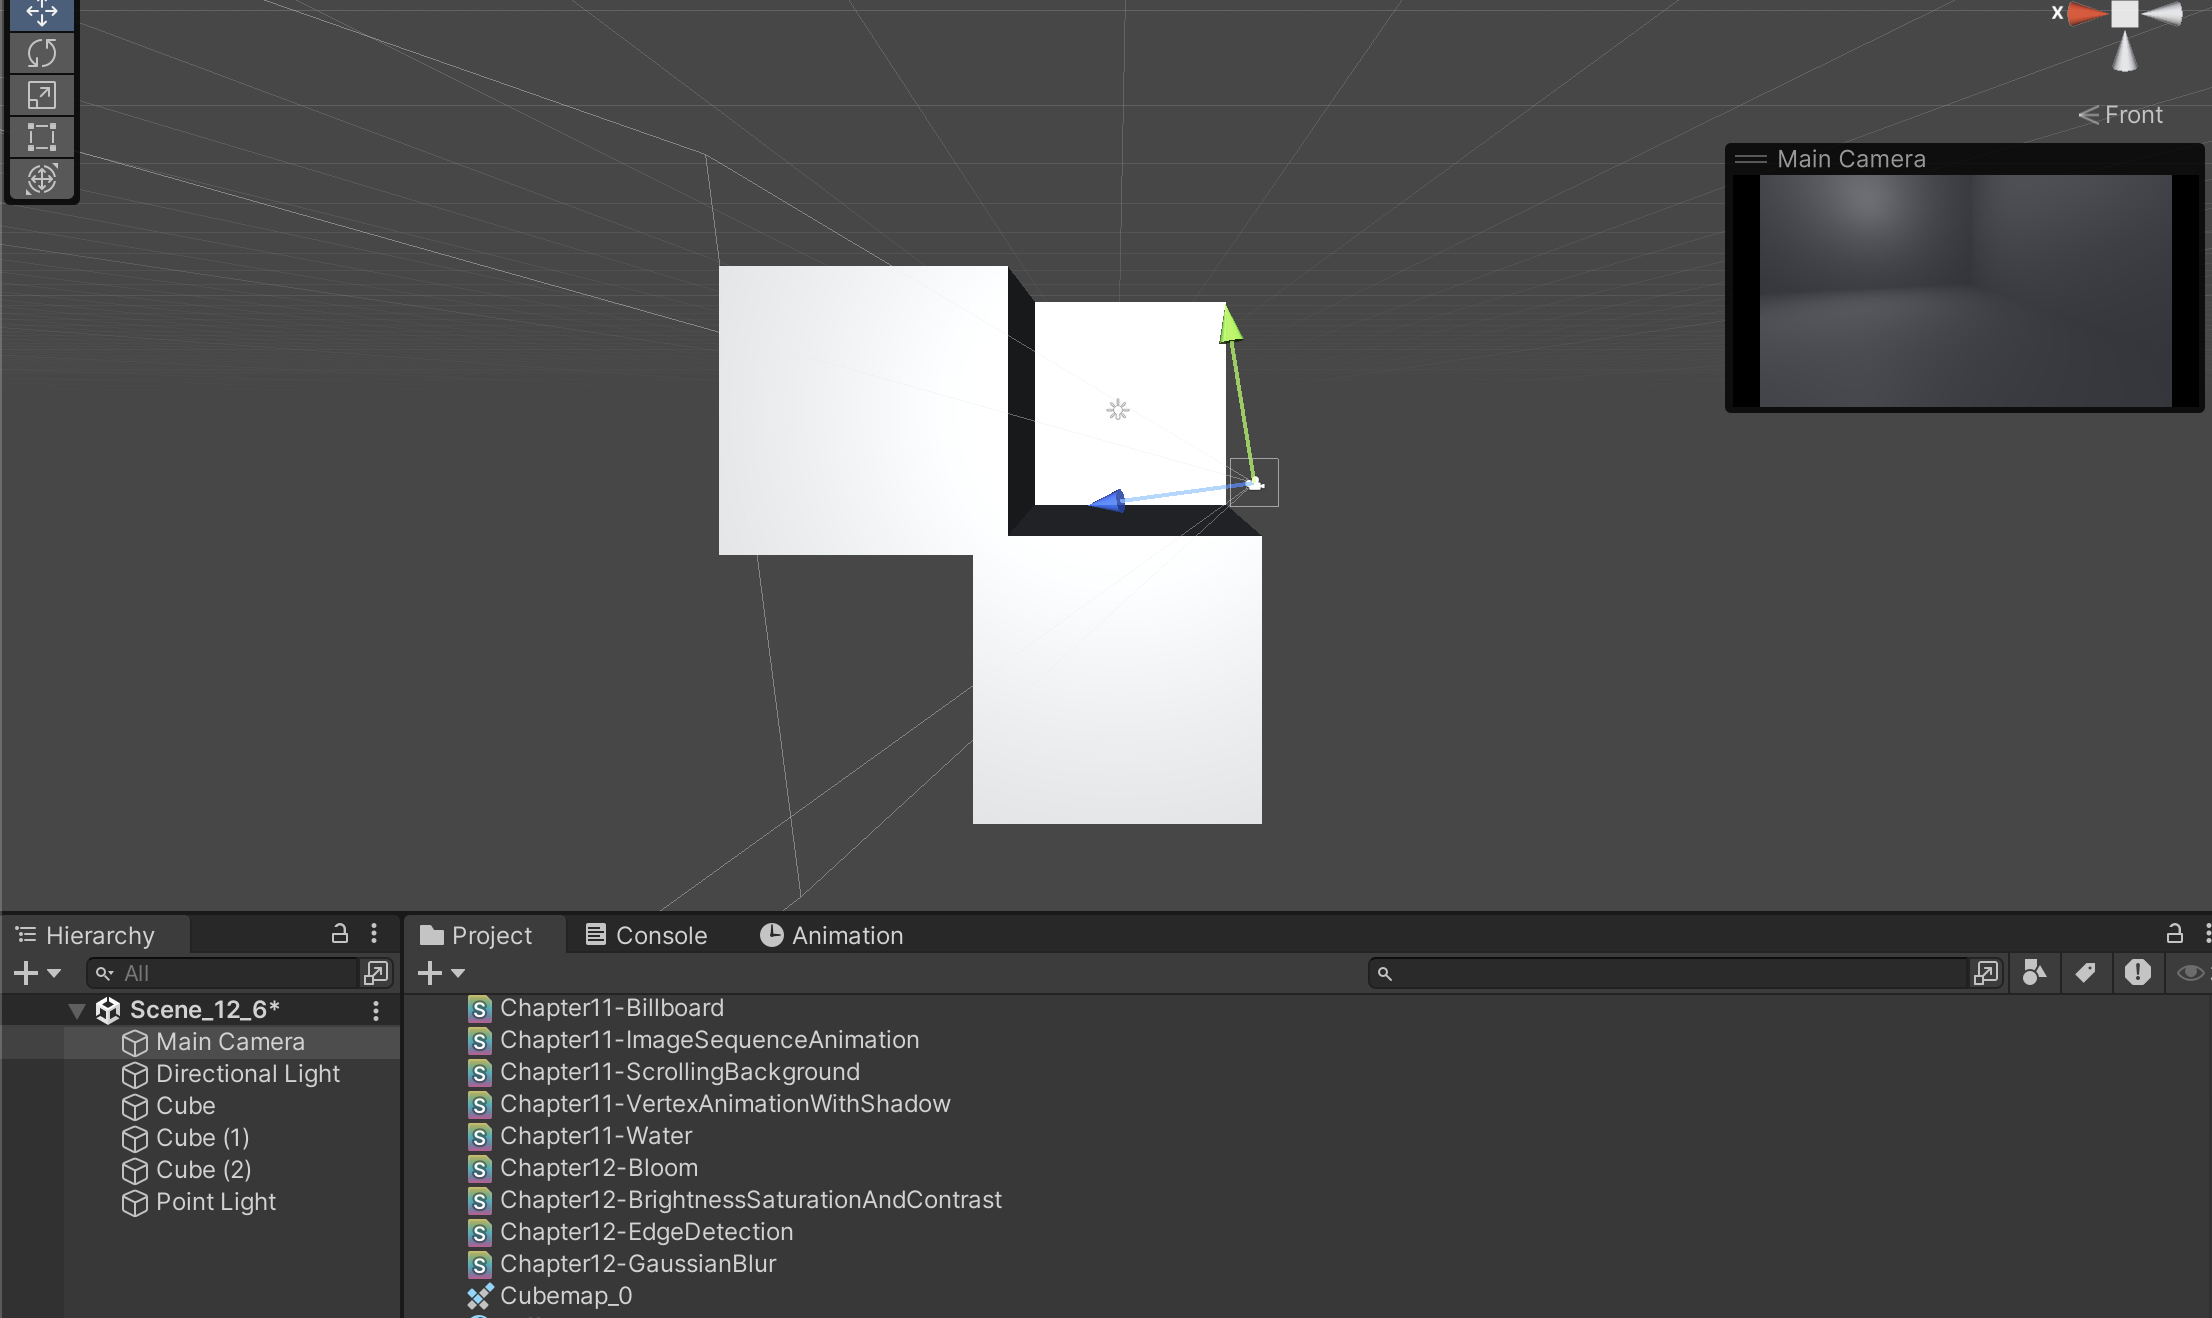
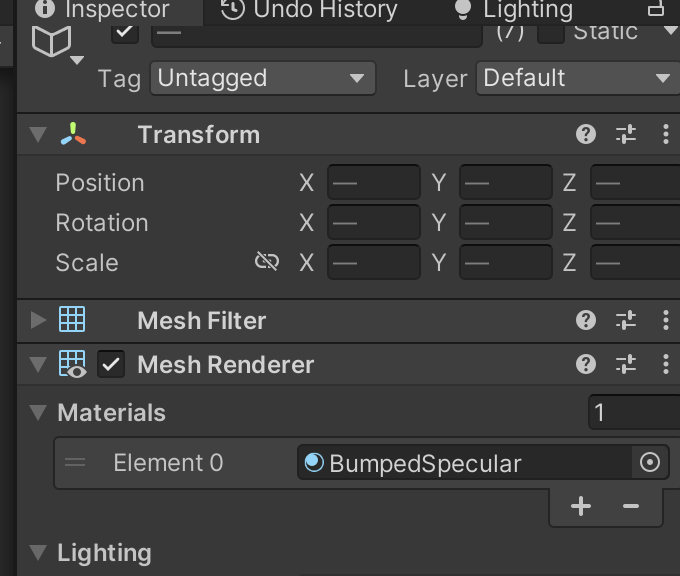
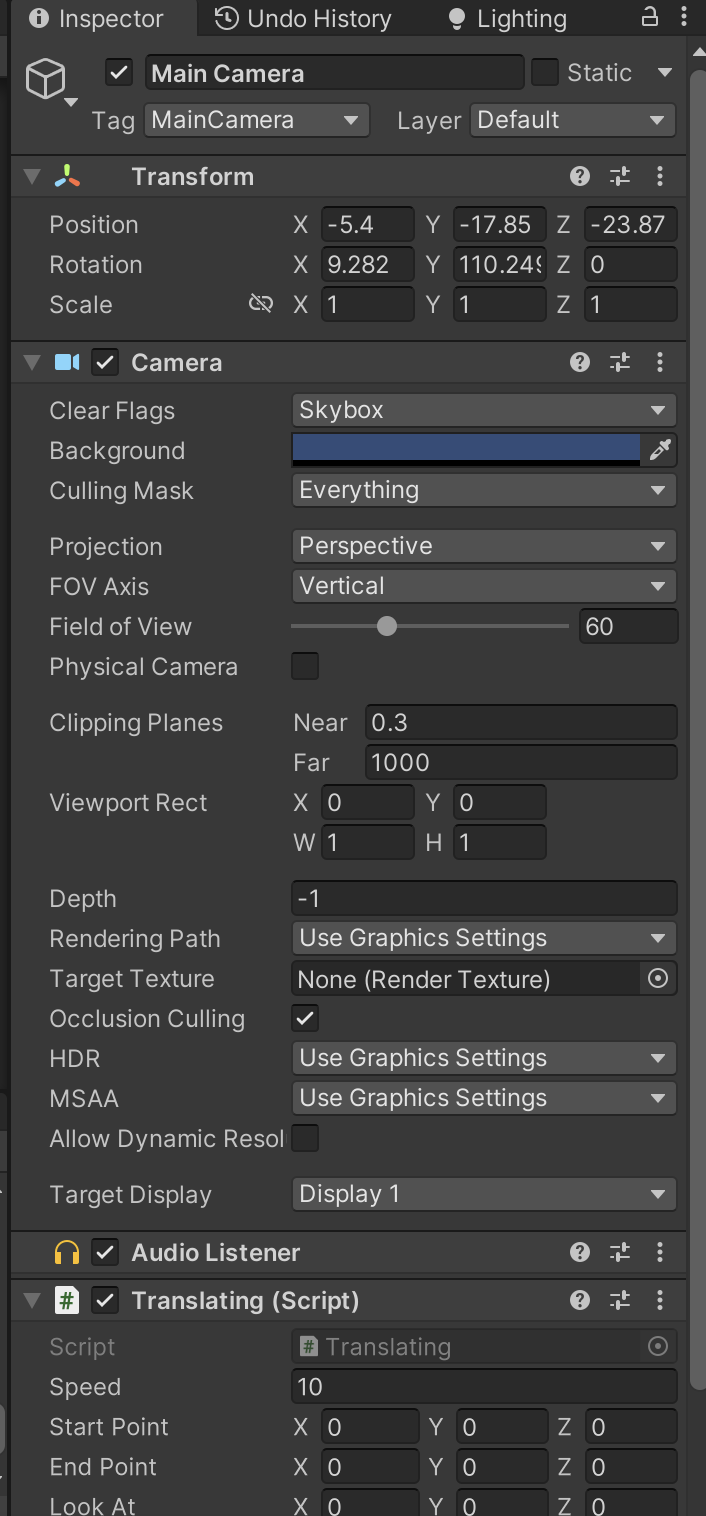
(2)我们需要搭建一个测试运动模糊的场景。在本书资源的实现中,我们构建了一个包含3面墙的房间,并放置了4个立方体,它们均使用了我们在9.5节中创建的标准材质。同时,我们把本书资源中的Translating.cs脚本拖曳给摄像机,让其在场景中不断运动。
https://github.com/candycat1992/Unity_Shaders_Book/blob/master/Assets/Scripts/Helpers/Translating.cs

cs
using UnityEngine;
using System.Collections;
public class Translating : MonoBehaviour {
public float speed = 10.0f;
public Vector3 startPoint = Vector3.zero;
public Vector3 endPoint = Vector3.zero;
public Vector3 lookAt = Vector3.zero;
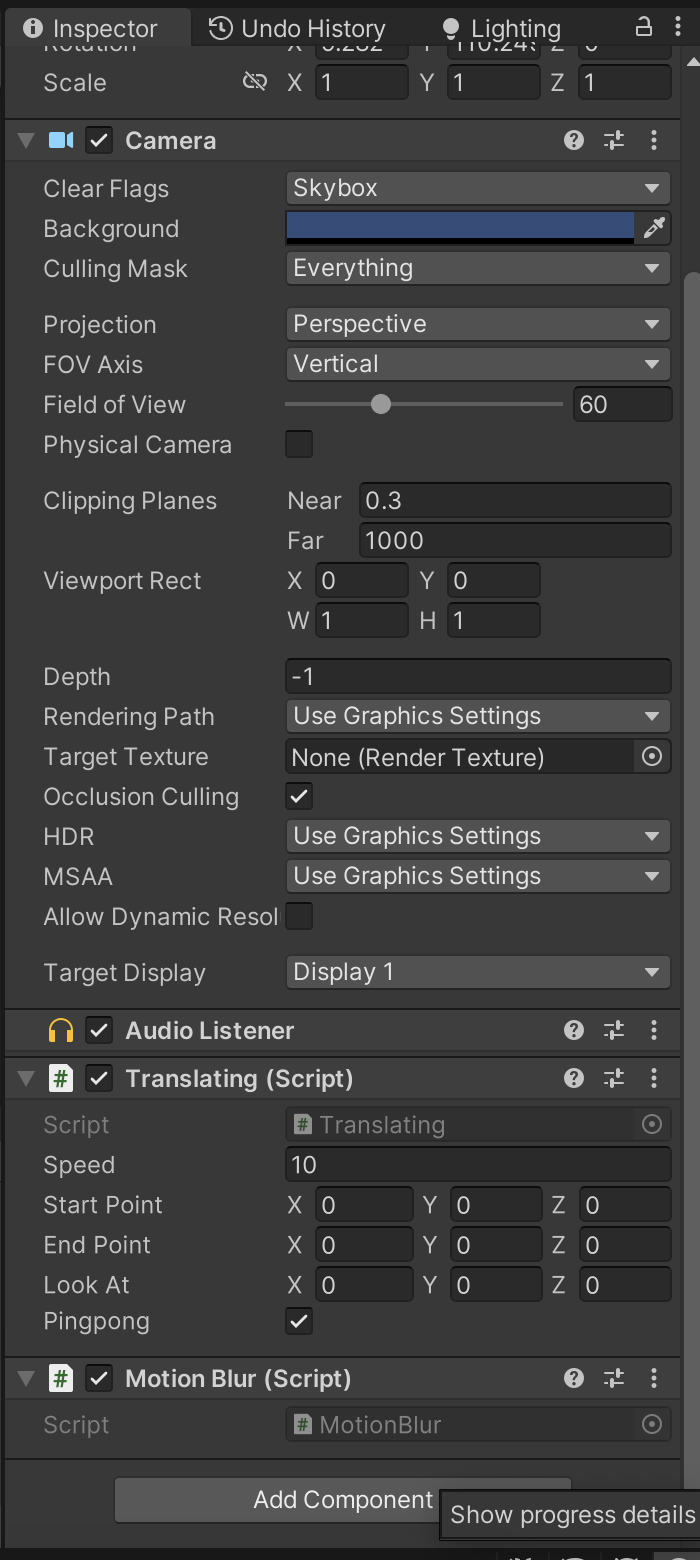
public bool pingpong = true;
private Vector3 curEndPoint = Vector3.zero;
// Use this for initialization
void Start () {
transform.position = startPoint;
curEndPoint = endPoint;
}
// Update is called once per frame
void Update () {
transform.position = Vector3.Slerp(transform.position, curEndPoint, Time.deltaTime * speed);
transform.LookAt(lookAt);
if (pingpong) {
if (Vector3.Distance(transform.position, curEndPoint) < 0.001f) {
curEndPoint = Vector3.Distance(curEndPoint, endPoint) < Vector3.Distance(curEndPoint, startPoint) ? startPoint : endPoint;
}
}
}
}
(3)新建一个脚本。在本书资源中,该脚本名为MotionBlur.cs。把该脚本拖曳到摄像机上。

(4)新建一个Unity Shader。在本书资源中,该Shader名为Chapter12-MotionBlur。

我们首先来编写MotionBlur.cs脚本。打开该脚本,并进行如下修改。
(1)首先,继承12.1节中创建的基类:
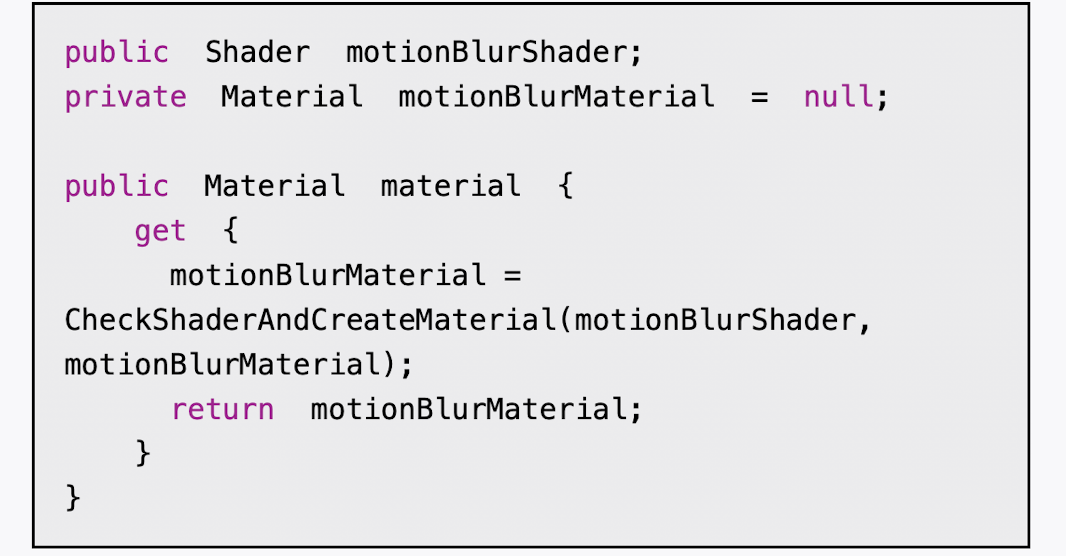
(2)声明该效果需要的Shader,并据此创建相应的材质:
(3)定义运动模糊在混合图像时使用的模糊参数:
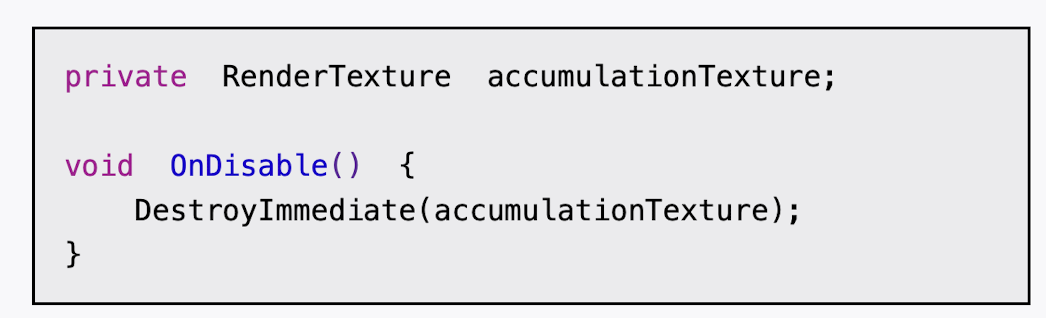
(4)定义一个RenderTexture类型的变量,保存之前图像叠加的结果:
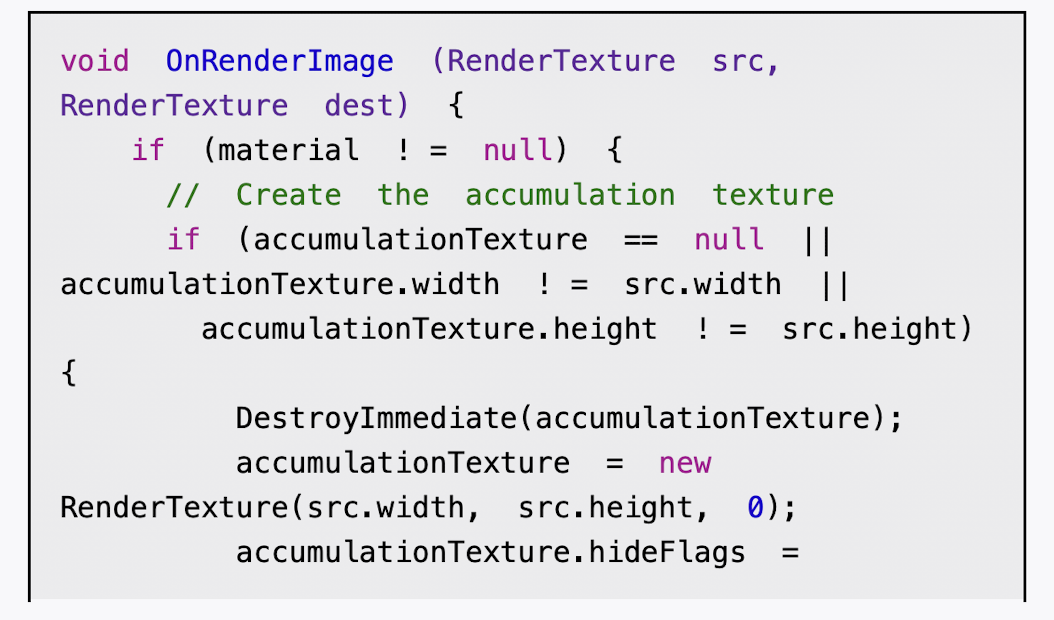
(5)最后,我们需要定义运动模糊使用的OnRenderImage函数:


cs
using System.Collections;
using System.Collections.Generic;
using UnityEngine;
public class MotionBlur : PostEffectsBase
{
public Shader motionBlurShader;
private Material motionBlurMaterial = null;
public Material material {
get {
motionBlurMaterial = CheckShaderAndCreateMaterial(motionBlurShader, motionBlurMaterial);
return motionBlurMaterial;
}
}
[Range(0.0f, 0.9f)]
public float blurAmount = 0.5f; //运动模糊在混合图像时使用的模糊参数,blurAmount的值越大,运动拖尾的效果就越明显,为了防止拖尾效果完全替代当前帧的渲染结果,我们把它的值截取在0.0~0.9范围内。
private RenderTexture accumulationTexture; //RenderTexture类型的变量,保存之前图像叠加的结果
void OnDisable() { //在该脚本不运行时,即调用OnDisable函数时,立即销毁accumulation Texture。这是因为,我们希望在下一次开始应用运动模糊时重新叠加图像
DestroyImmediate(accumulationTexture);
}
void OnRenderImage (RenderTexture src, RenderTexture dest) { //判断用于混合图像的accumulationTexture是否满足条件,是否为空,还判断它是否与当前的屏幕分辨率相等,如果不满足,就说明我们需要重新创建一个适合于当前分辨率的accumulationTexture变量
if (material != null) {
// Create the accumulation texture
if (accumulationTexture == null || accumulationTexture.width != src.width || accumulationTexture.height != src.height) {
DestroyImmediate(accumulationTexture);//删除了
accumulationTexture = new RenderTexture(src.width, src.height, 0);
accumulationTexture.hideFlags = HideFlags.HideAndDontSave; //我们会自己控制该变量的销毁,因此可以把它的hideFlags设置为HideFlags.HideAndDontSave,这意味着这个变量不会显示在Hierarchy中,也不会保存到场景中
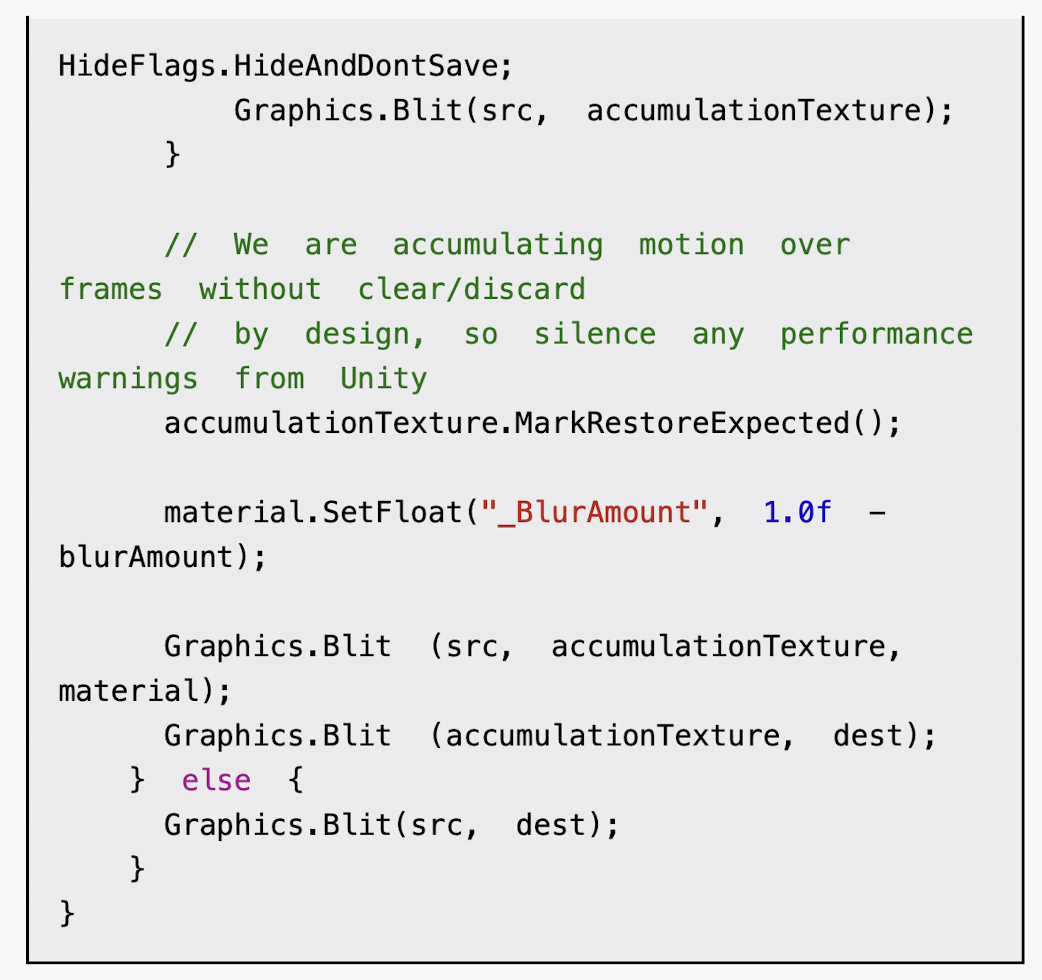
Graphics.Blit(src, accumulationTexture);
}
// We are accumulating motion over frames without clear/discard
// by design, so silence any performance warnings from Unity
accumulationTexture.MarkRestoreExpected(); //进行一个渲染纹理的恢复操作。恢复操作(restore operation)发生在渲染到纹理而该纹理又没有被提前清空或销毁的情况下
//在本例中,我们每次调用OnRenderImage时都需要把当前的帧图像和accumulationTexture中的图像混合,accumulationTexture纹理不需要提前清空,因为它保存了我们之前的混合结果
material.SetFloat("_BlurAmount", 1.0f - blurAmount);
Graphics.Blit (src, accumulationTexture, material); //把当前的屏幕图像src叠加到accumulationTexture
Graphics.Blit (accumulationTexture, dest); //结果显示到屏幕上
} else {
Graphics.Blit(src, dest);
}
}
}下面,我们来实现Shader的部分。本节实现的运动模糊非常简单,我们打开Chapter12-MotionBlur,进行如下修改。
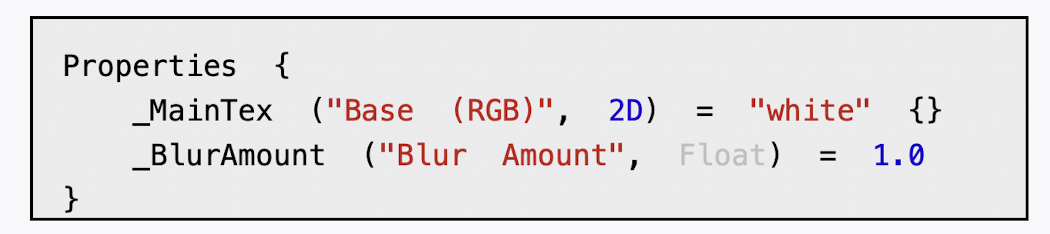
(1)我们首先需要声明本例使用的各个属性:
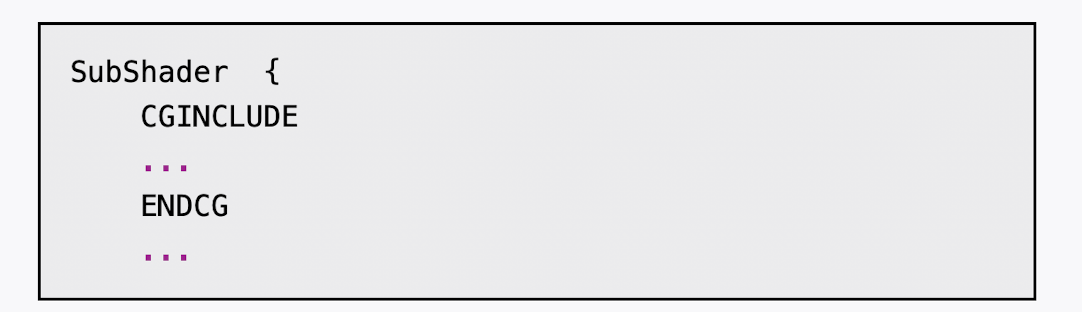
2)在本节中,我们使用CGINCLUDE来组织代码。我们在SubShader块中利用CGINCLUDE和ENDCG语义来定义一系列代码:
(3)声明代码中需要使用的各个变量:
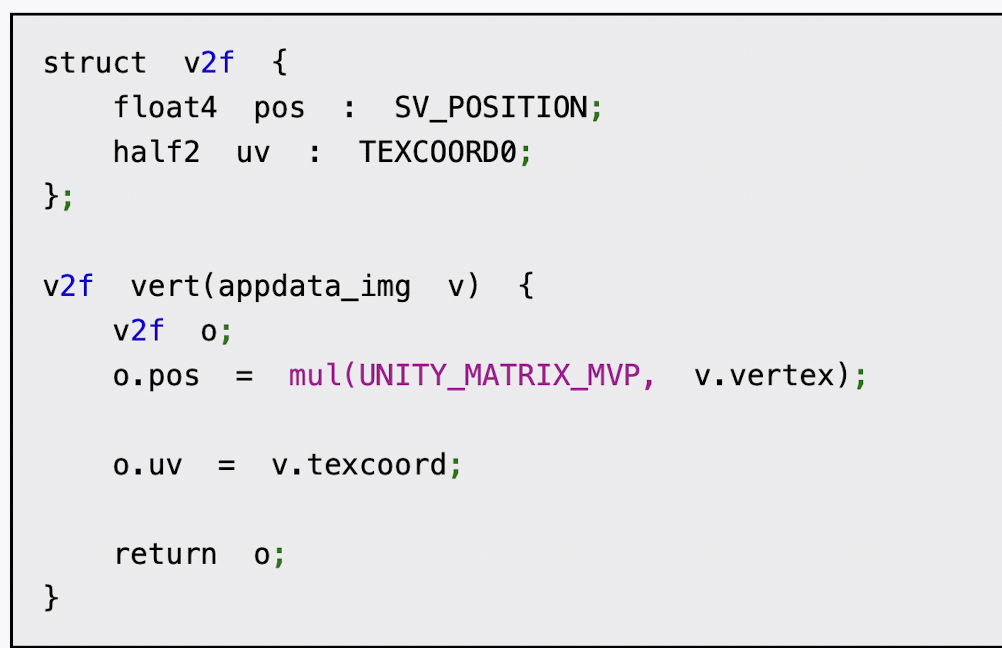
(4)顶点着色器的代码与之前章节使用的代码完全一样:
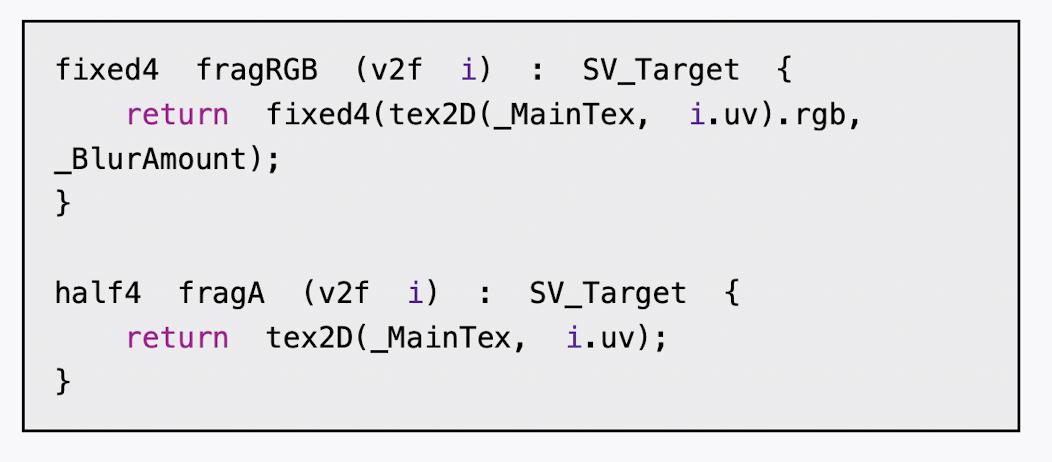
(5)下面,我们定义了两个片元着色器,一个用于更新渲染纹理的RGB通道部分,第一个用于更新渲染纹理的A通道部分:
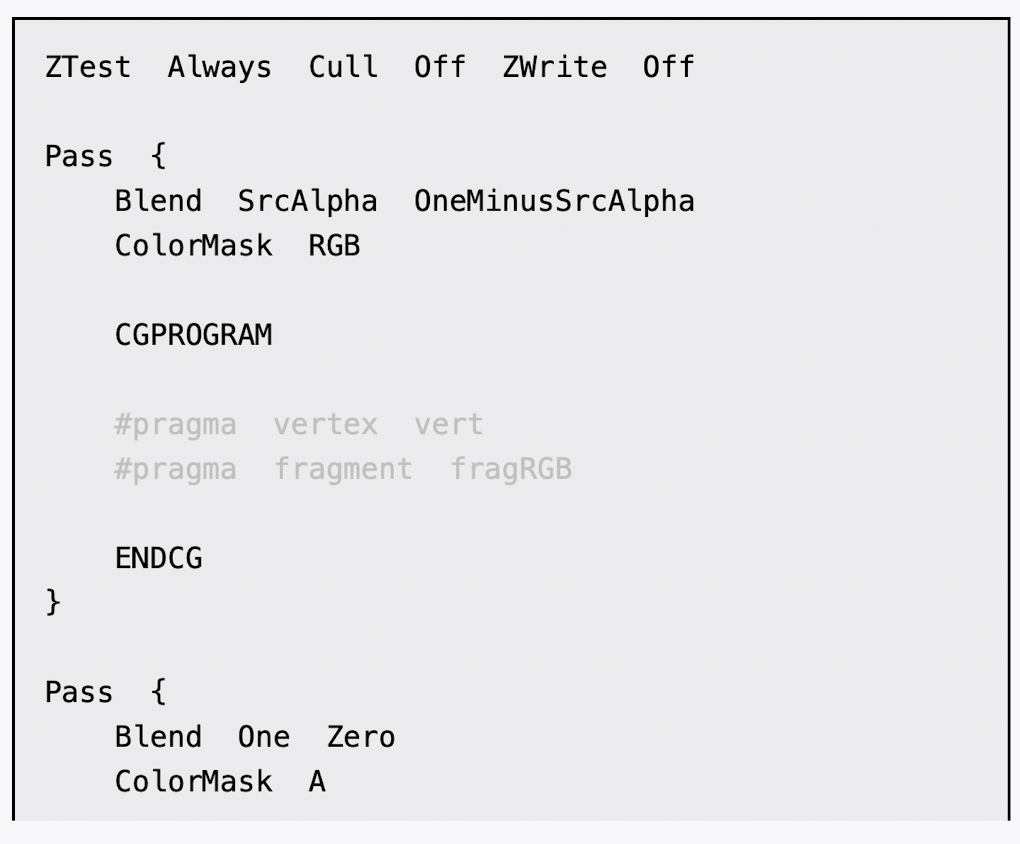
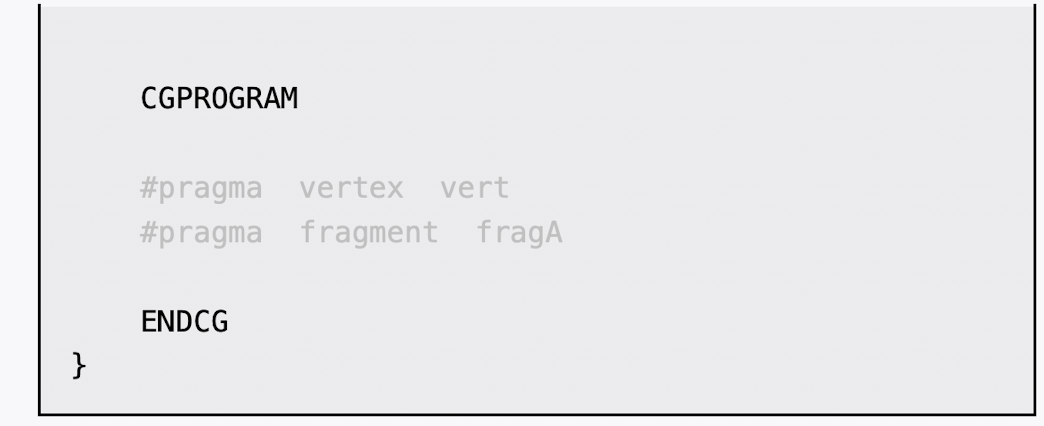
(6)然后,我们定义了运动模糊所需的Pass。在本例中我们需要两个Pass,一个用于更新渲染纹理的RGB通道,第一个用于更新A通道。之所以要把A通道和RGB通道分开,是因为在更新RGB时我们需要设置它的A通道来混合图像,但又不希望A通道的值写入渲染纹理中。
(7)最后,我们关闭了Shader的Fallback:
完成后返回编辑器,并把Chapter12-MotionBlur拖曳到摄像机的MotionBlur.cs脚本中的motionBlurShader参数中。当然,我们可以在MotionBlur.cs的脚本面板中将motionBlurShader参数的默认值设置为Chapter12-MotionBlur,这样就不需要以后使用时每次都手动拖曳了。


cs
// Upgrade NOTE: replaced 'mul(UNITY_MATRIX_MVP,*)' with 'UnityObjectToClipPos(*)'

Shader "Custom/Chapter12-MotionBlur"
{
    Properties {
		_MainTex ("Base (RGB)", 2D) = "white" {}
		_BlurAmount ("Blur Amount", Float) = 1.0 //_BlurAmount是混合图像时使用的混合系数。
	}

    Subshader {
        CGINCLUDE

		#include "UnityCG.cginc"

		sampler2D _MainTex;
		fixed _BlurAmount;

		struct v2f {
			float4 pos : SV_POSITION;
			half2 uv : TEXCOORD0;
		};

        v2f vert(appdata_img v) {
			v2f o;

			o.pos = UnityObjectToClipPos(v.vertex);

			o.uv = v.texcoord;

			return o;
		}
        //更新渲染纹理的RGB通道部分,RGB通道版本的Shader对当前图像进行采样,A通道的值设为_BlurAmount
        fixed4 fragRGB (v2f i) : SV_Target {
			return fixed4(tex2D(_MainTex, i.uv).rgb, _BlurAmount);
		}
        //更新渲染纹理的A通道部分,返回采样结果
        half4 fragA (v2f i) : SV_Target {
			return tex2D(_MainTex, i.uv);
		}

        ENDCG

        ZTest Always Cull Off ZWrite Off
        //更新渲染纹理的RGB通道
        Pass {
			Blend SrcAlpha OneMinusSrcAlpha //Alpha混合,实现半透明效果,混合结果 = 前景色 × 前景透明度 + 背景色 × (1 - 前景透明度)
			ColorMask RGB  //限制只更新RGB三个颜色通道,分层渲染时保护Alpha通道,与深度缓冲区配合的特殊效果,避免透明物体的Alpha值被意外覆盖


			CGPROGRAM

			#pragma vertex vert
			#pragma fragment fragRGB

			ENDCG
		}
		//更新A通道
        //在更新RGB时我们需要设置它的A通道来混合图像,但又不希望A通道的值写入渲染纹理中。
		Pass {
			Blend One Zero  //不启用混合
			ColorMask A

			CGPROGRAM

			#pragma vertex vert
			#pragma fragment fragA

			ENDCG
		}
	}
 	FallBack Off
}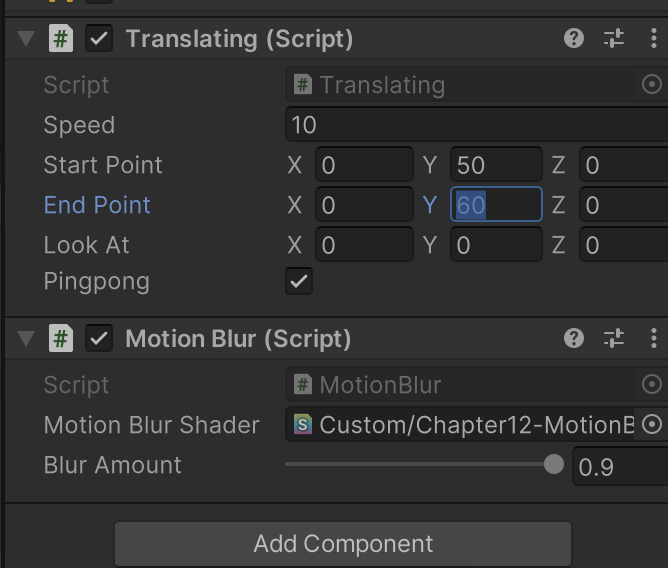
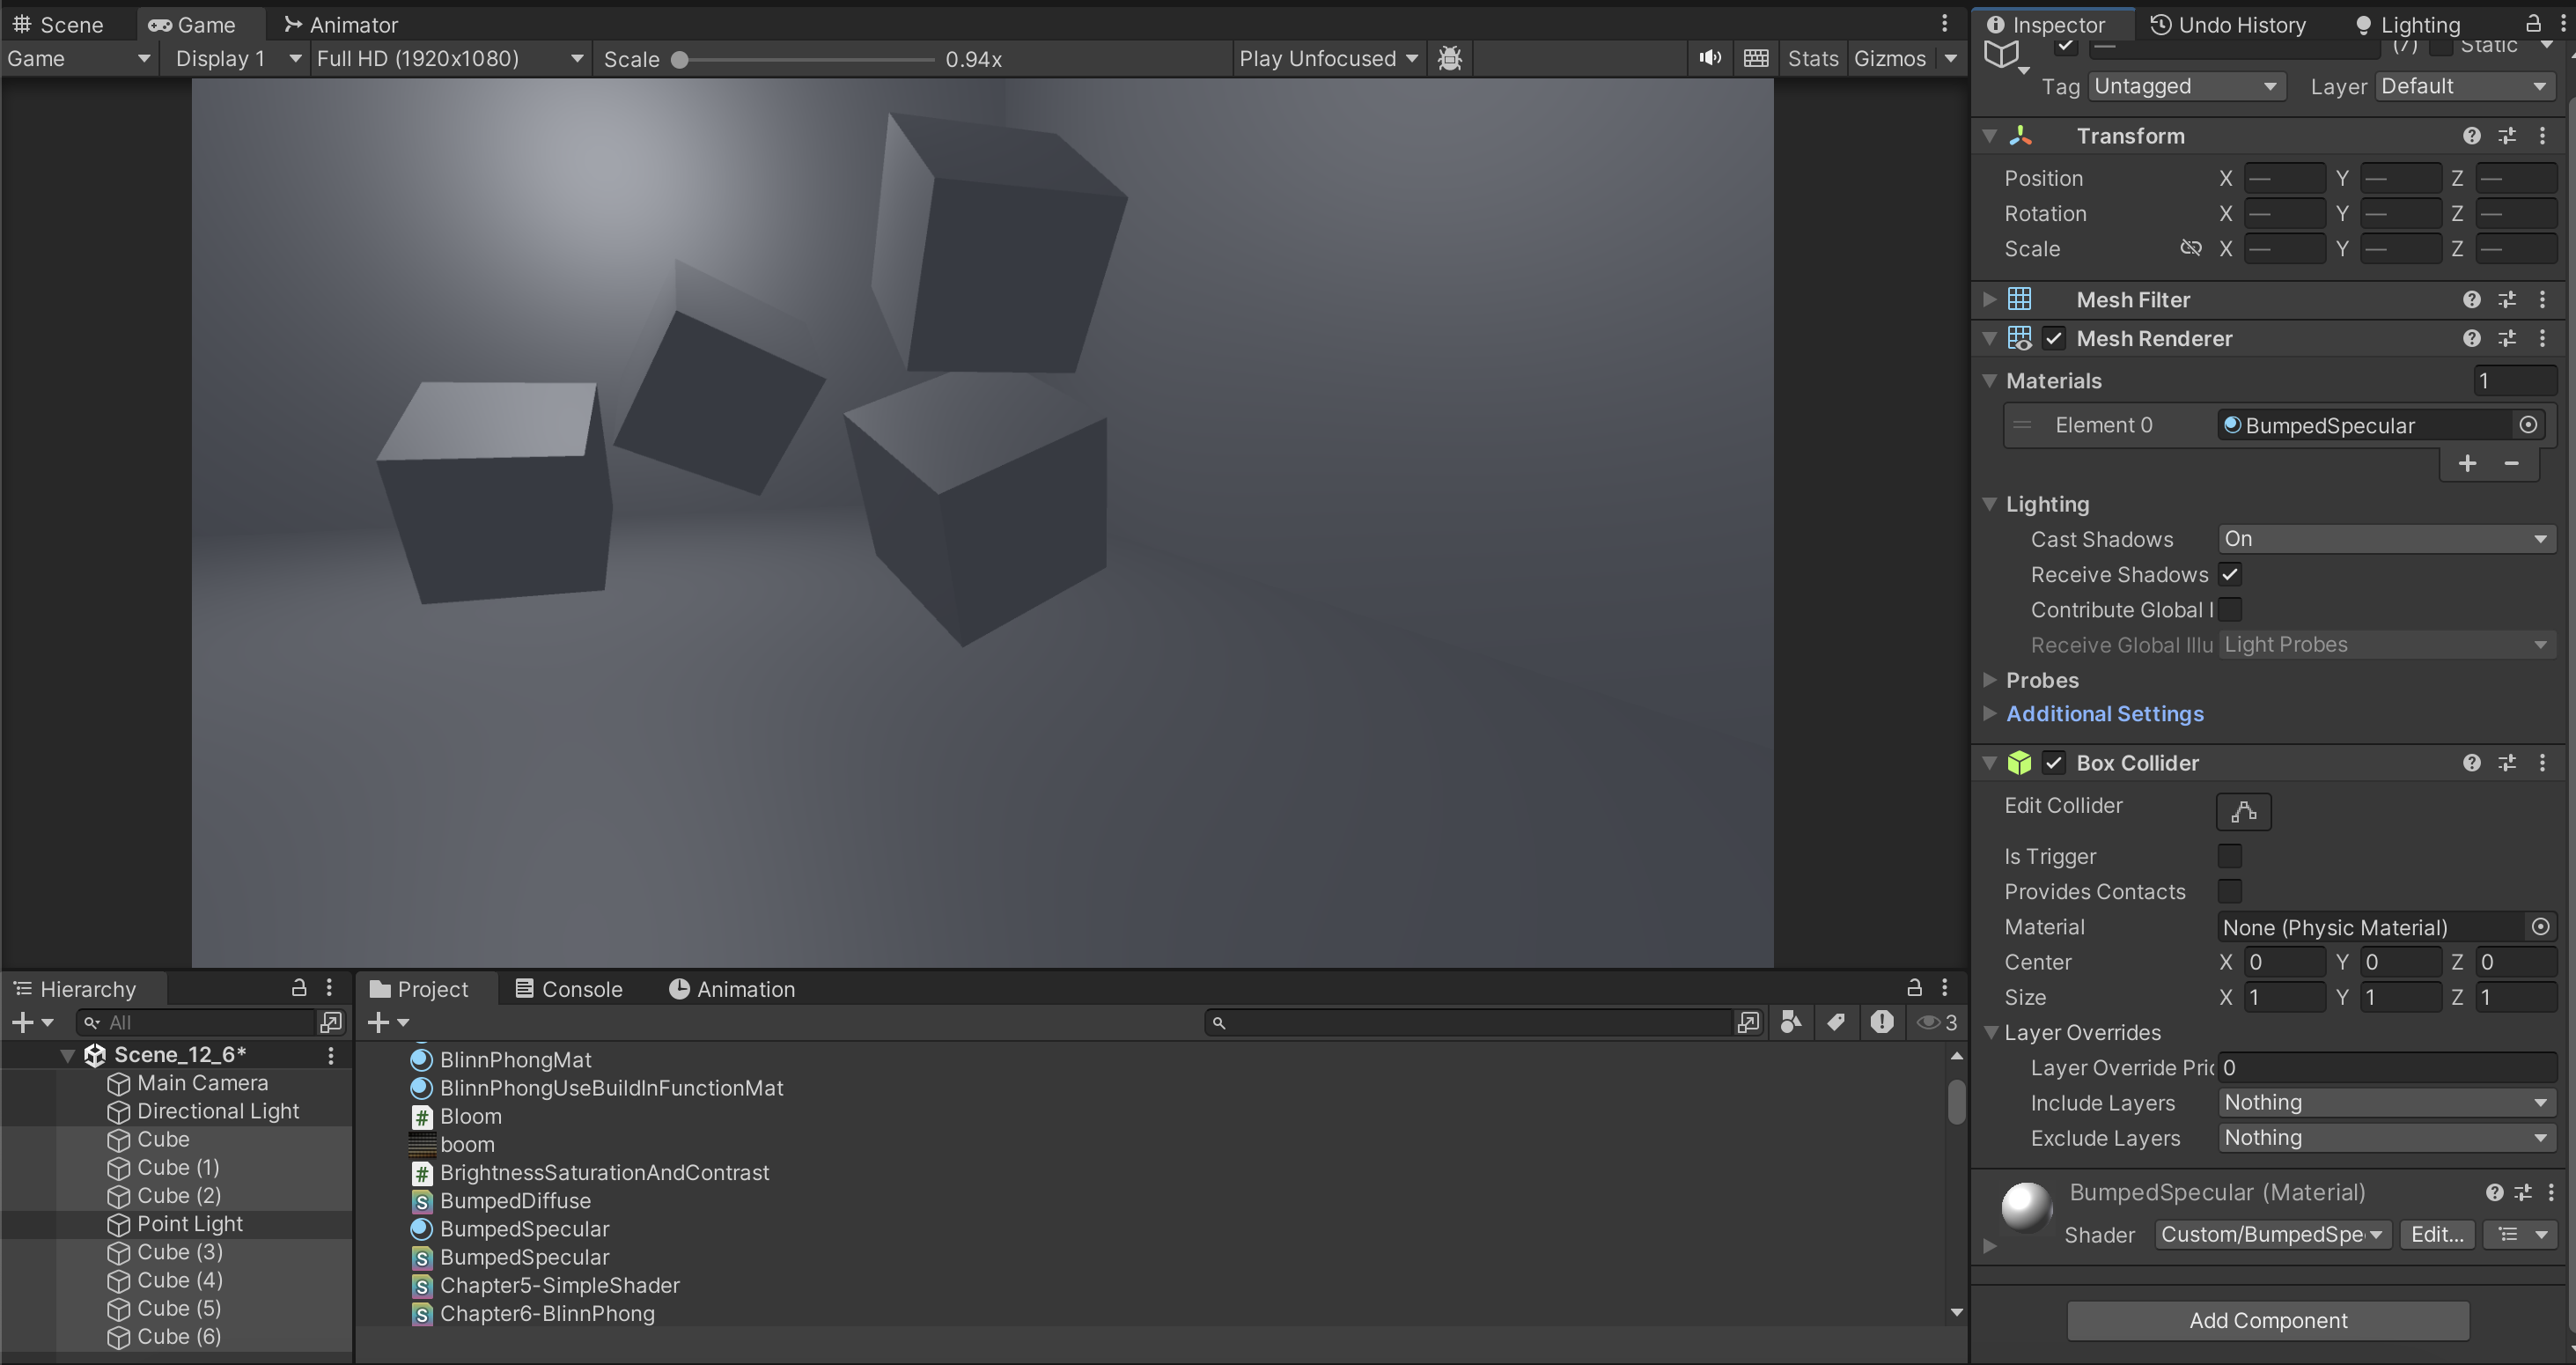
点击运行,调整 translaing 的参数可以看见动态模糊
但是我没调好,凑合着看吧
《Unity Shader》 12.6 运动模糊