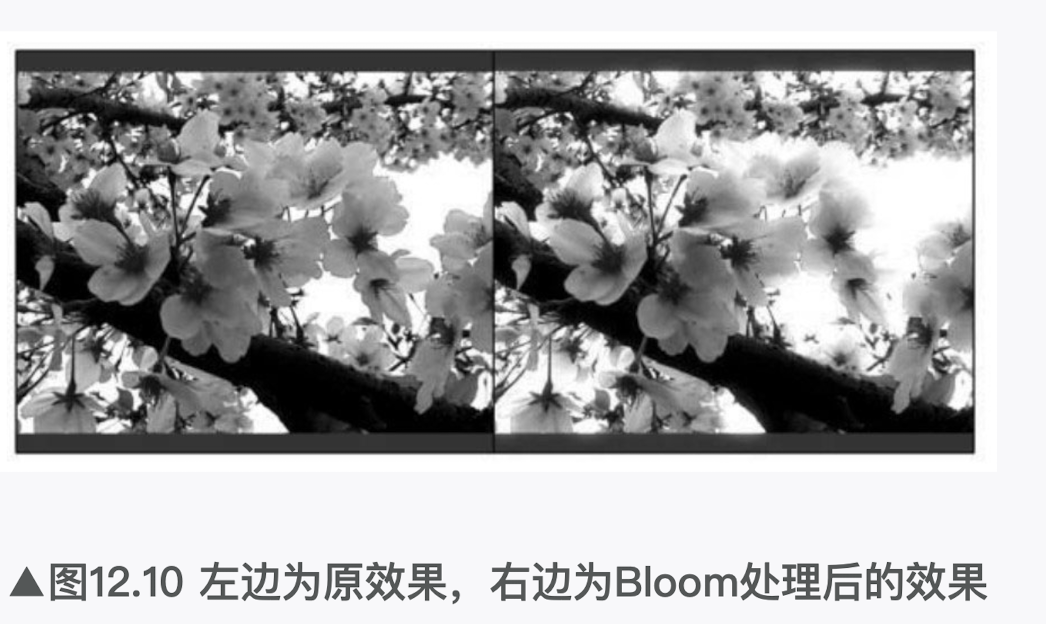
本节将会实现一个基本的Bloom特效,在学习完本节后,我们可以得到类似图12.10中的效果。
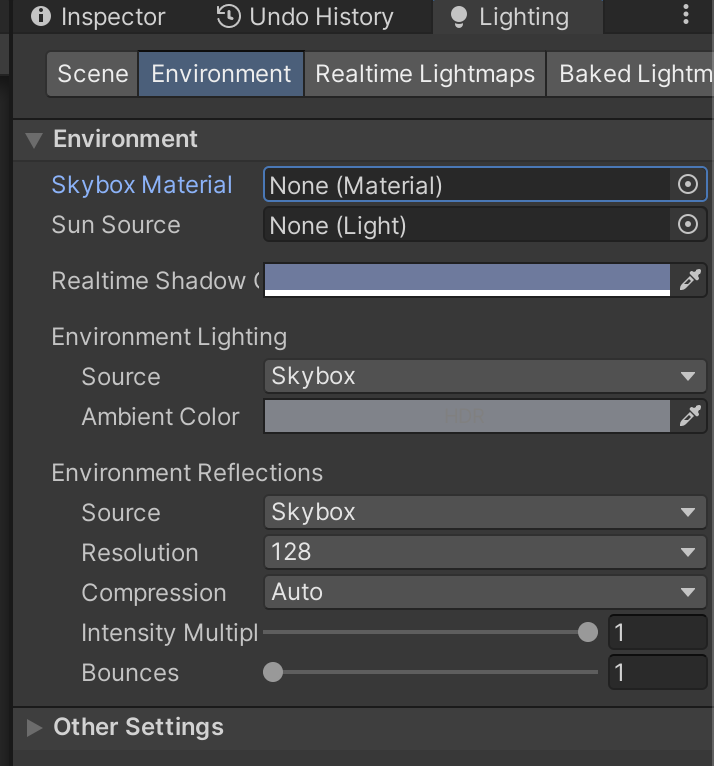
(1)新建一个场景。在本书资源中,该场景名为Scene_12_5。在Unity 5.2中,默认情况下场景将包含一个摄像机和一个平行光,并且使用了内置的天空盒子。在Window → Lighting →Skybox中去掉场景中的天空盒子。
(2)把本书资源中的Textures/Chapter12/Sakura1.jpg拖曳到场景中,并调整它的位置使其可以填充整个场景。注意,Sakura1.jpg的纹理类型已被设置为Sprite,因此可以直接拖曳到场景中。

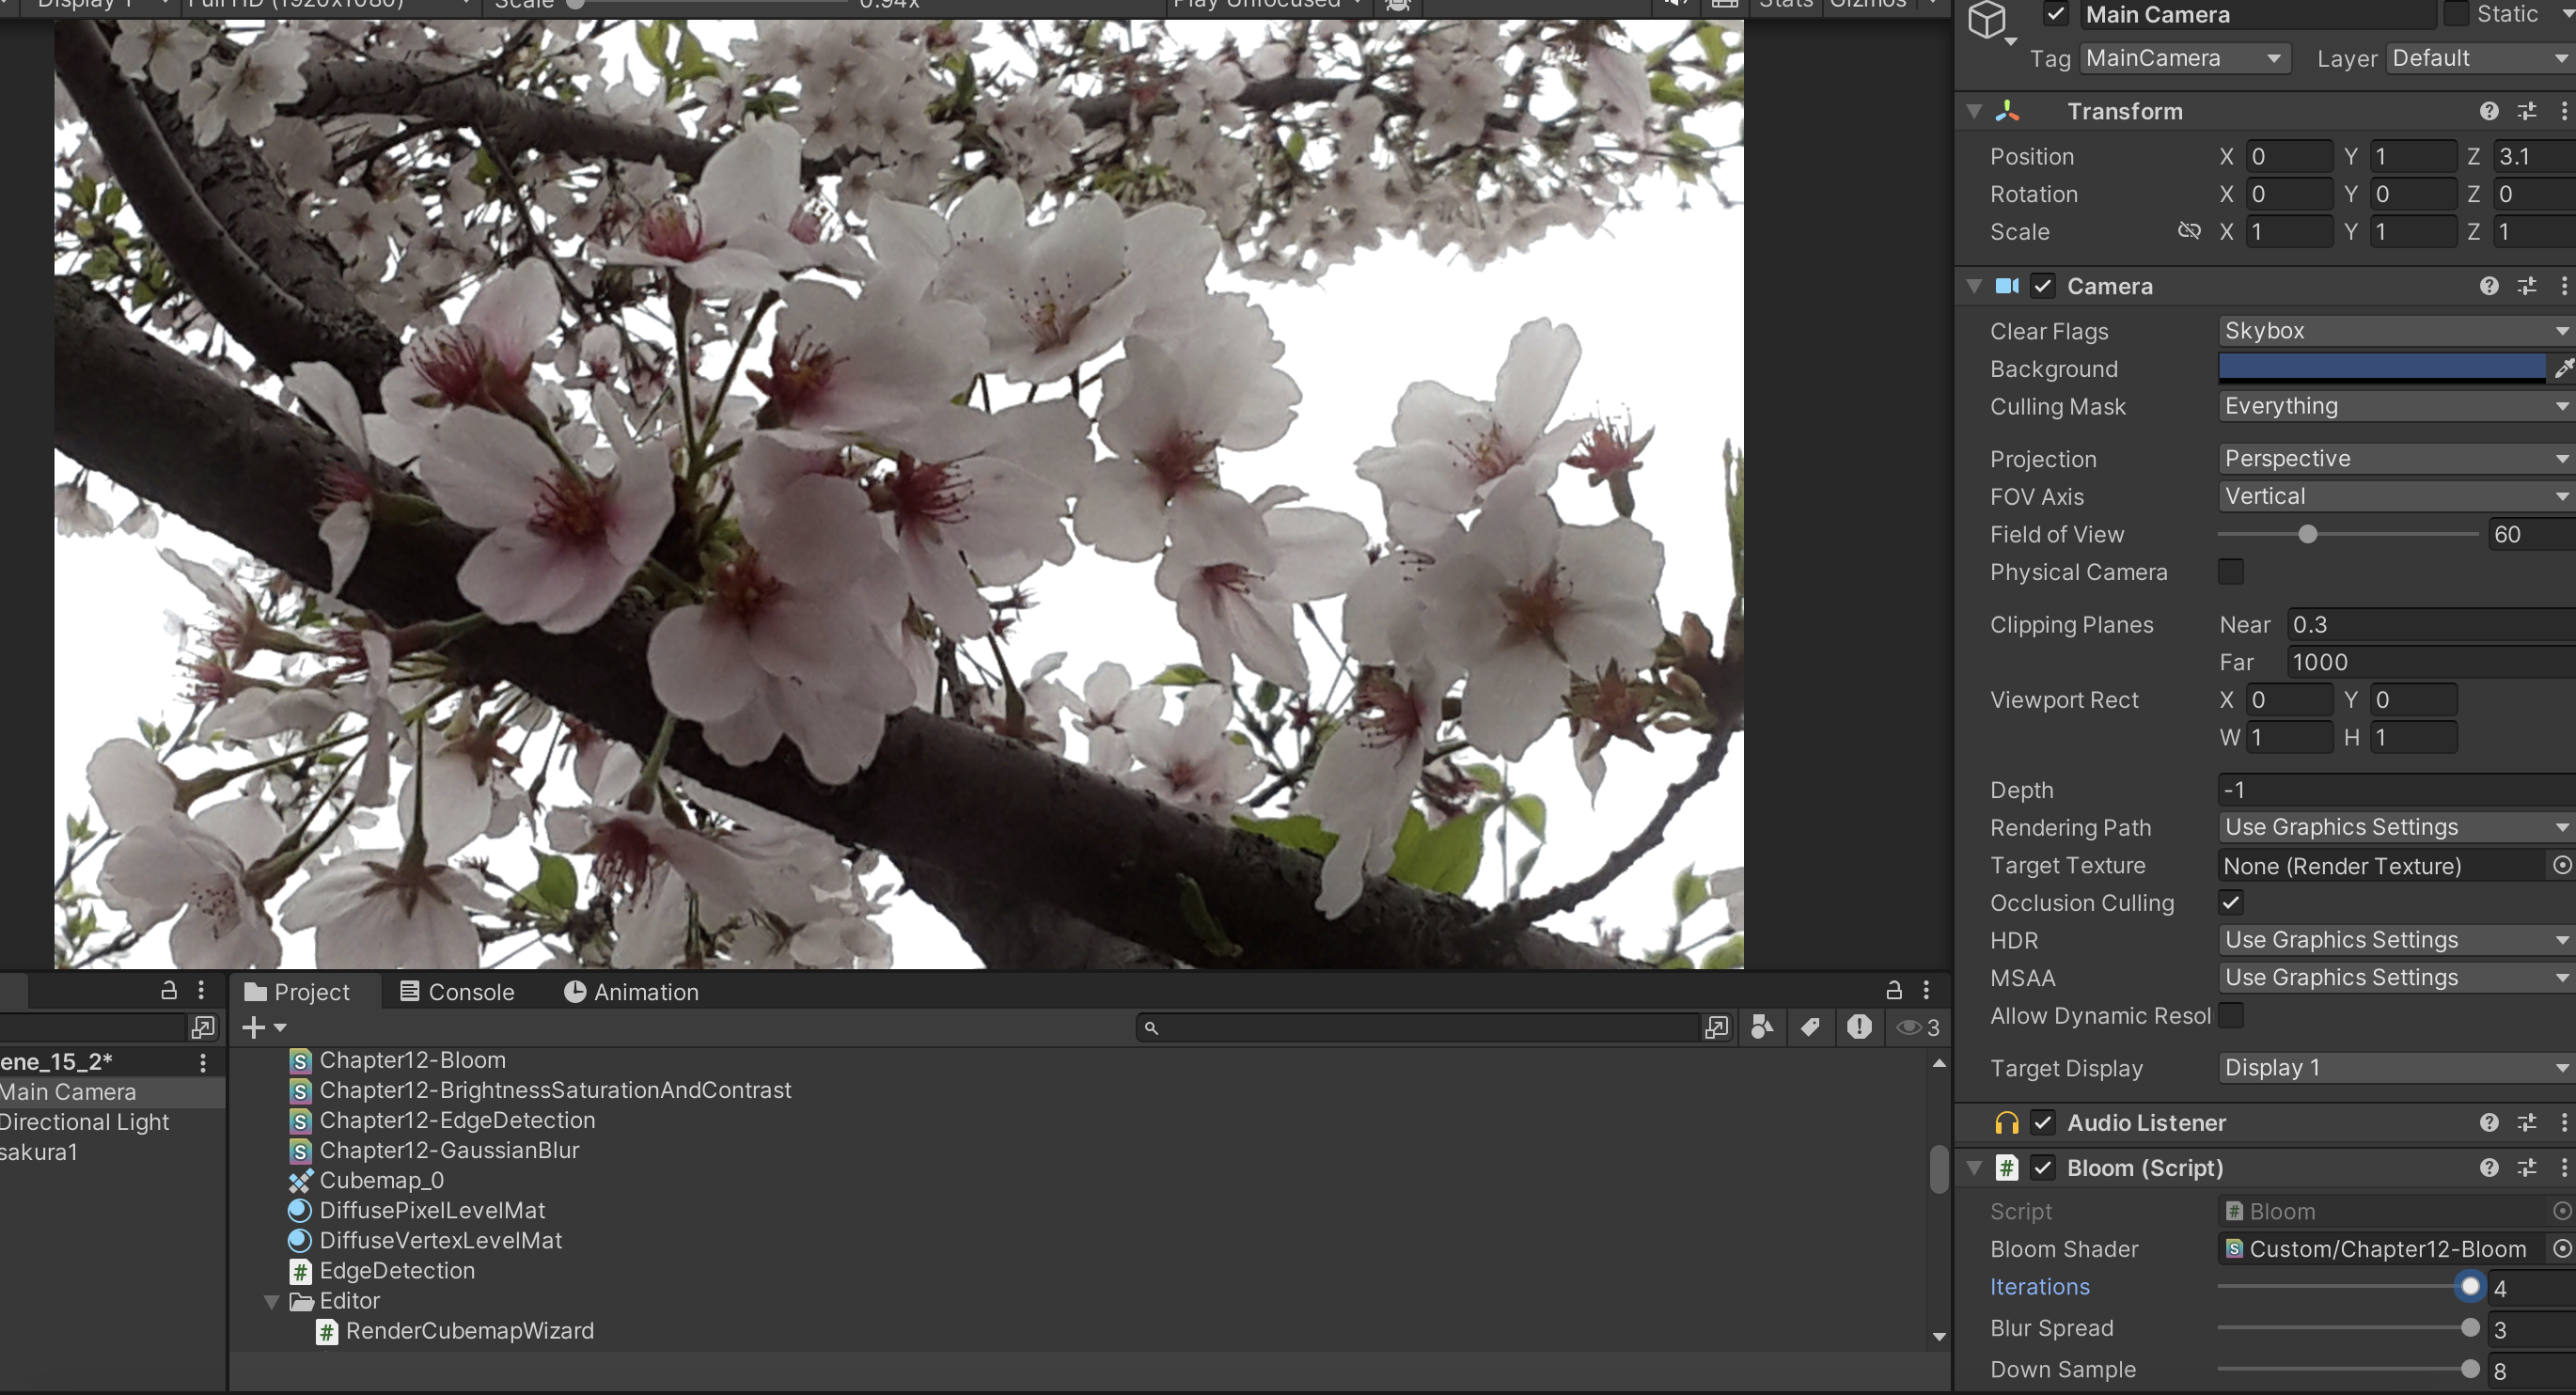
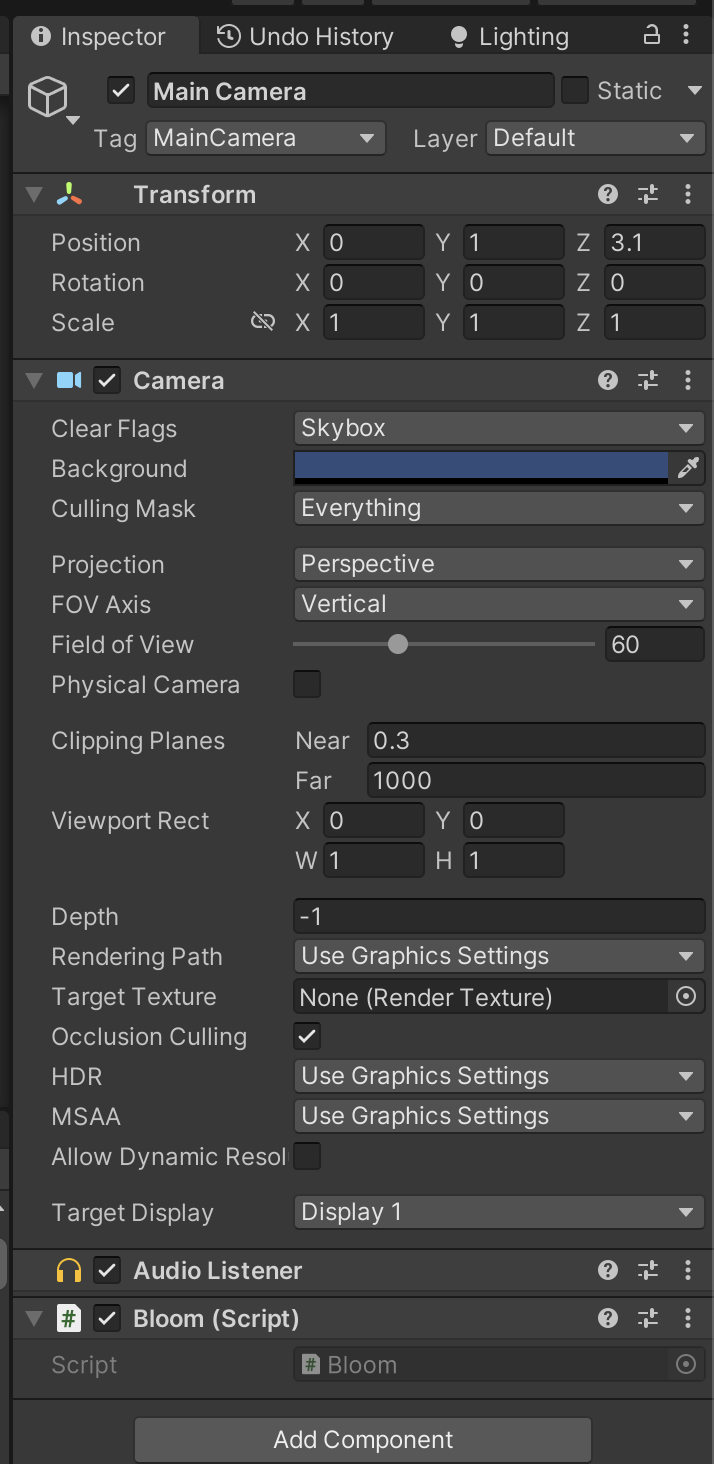
(3)新建一个脚本。在本书资源中,该脚本名为Bloom.cs。把该脚本拖曳到摄像机上。

(4)新建一个Unity Shader。在本书资源中,该Shader名为Chapter12-Bloom。

我们首先来编写Bloom.cs脚本。打开该脚本,并进行如下修改。
(1)首先,继承12.1节中创建的基类:
(2)声明该效果需要的Shader,并据此创建相应的材质:
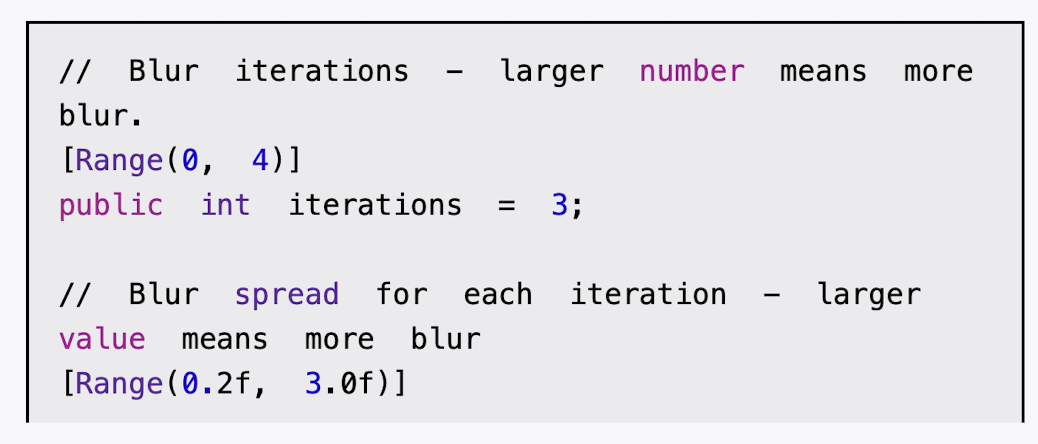
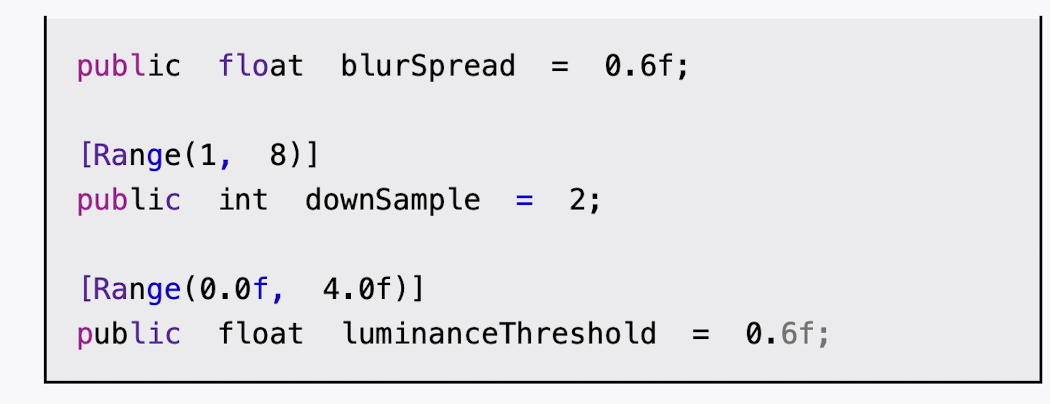
(3)由于Bloom效果是建立在高斯模糊的基础上的,因此脚本中提供的参数和12.4节中的几乎完全一样,我们只增加了一个新的参数luminanceThreshold来控制提取较亮区域时使用的阈值大小
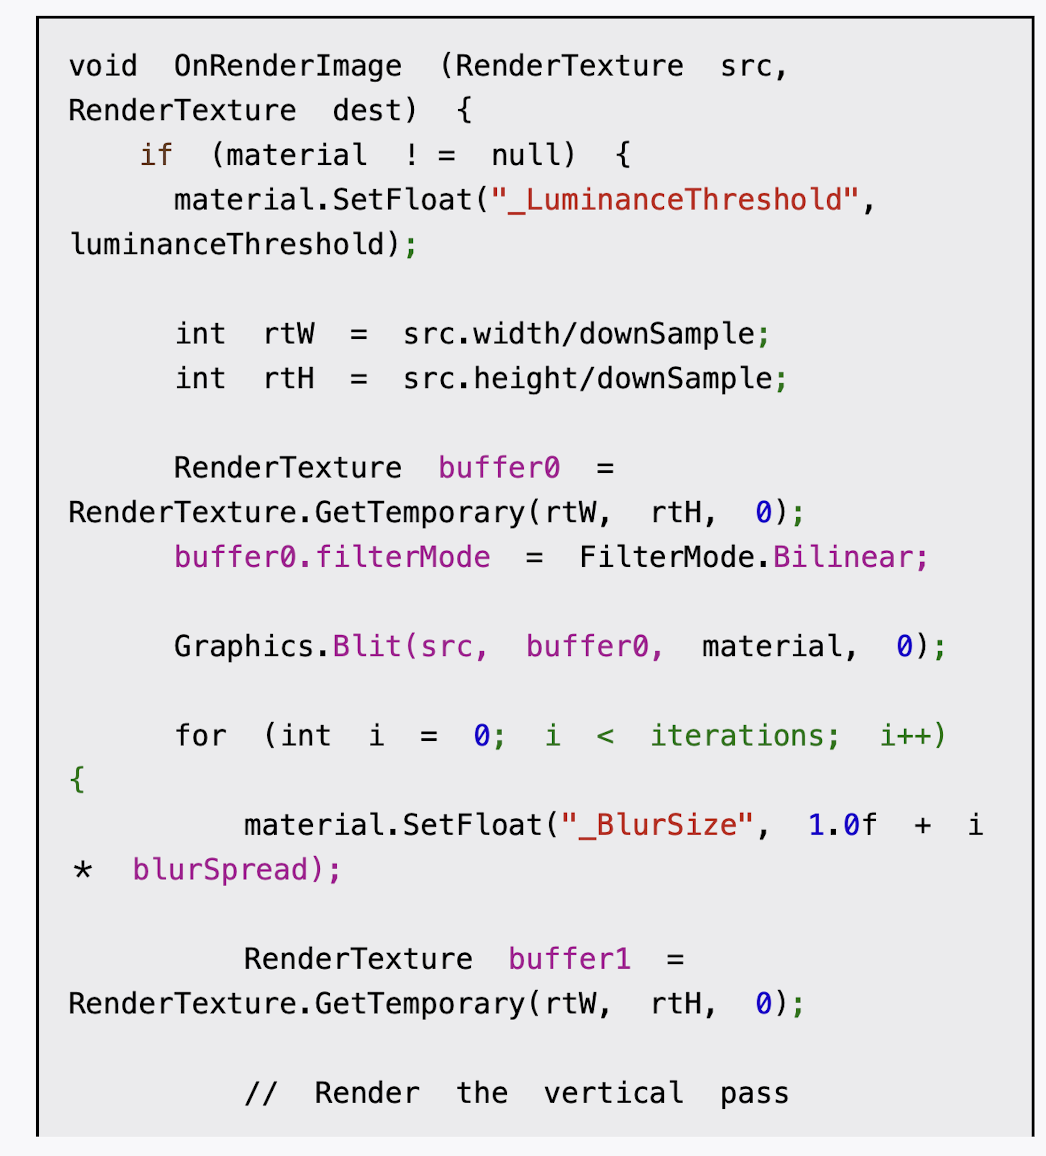
(4)最后,我们需要定义关键的OnRenderImage函数:


https://github.com/candycat1992/Unity_Shaders_Book/blob/master/Assets/Scripts/Chapter12/Bloom.cs
cs
using System.Collections;
using System.Collections.Generic;
using UnityEngine;
public class Bloom : PostEffectsBase
{
public Shader bloomShader;
private Material bloomMaterial = null;
public Material material {
get {
bloomMaterial = CheckShaderAndCreateMaterial(bloomShader, bloomMaterial);
return bloomMaterial;
}
}
// Blur iterations - larger number means more blur.
[Range(0, 4)]
public int iterations = 3;
// Blur spread for each iteration - larger value means more blur
[Range(0.2f, 3.0f)]
public float blurSpread = 0.6f;
[Range(1, 8)]
public int downSample = 2;
[Range(0.0f, 4.0f)]
public float luminanceThreshold = 0.6f; //luminanceThreshold来控制提取较亮区域时使用的阈值大小
//尽管在绝大多数情况下,图像的亮度值不会超过1。但如果我们开启了HDR,硬件会允许我们把颜色值存储在一个更高精度范围的缓冲中,此时像素的亮度值可能会超过1。因此,在这里我们把luminanceThreshold的值规定在[0, 4]范围内
void OnRenderImage (RenderTexture src, RenderTexture dest) {
if (material != null) {
material.SetFloat("_LuminanceThreshold", luminanceThreshold);
int rtW = src.width/downSample;
int rtH = src.height/downSample;
RenderTexture buffer0 = RenderTexture.GetTemporary(rtW, rtH, 0);
buffer0.filterMode = FilterMode.Bilinear;
Graphics.Blit(src, buffer0, material, 0);
//调用Graphics.Blit(src, buffer0, material, 0)来使用Shader中的第一个Pass提取图像中的较亮区域,提取得到的较亮区域将存储在buffer0中
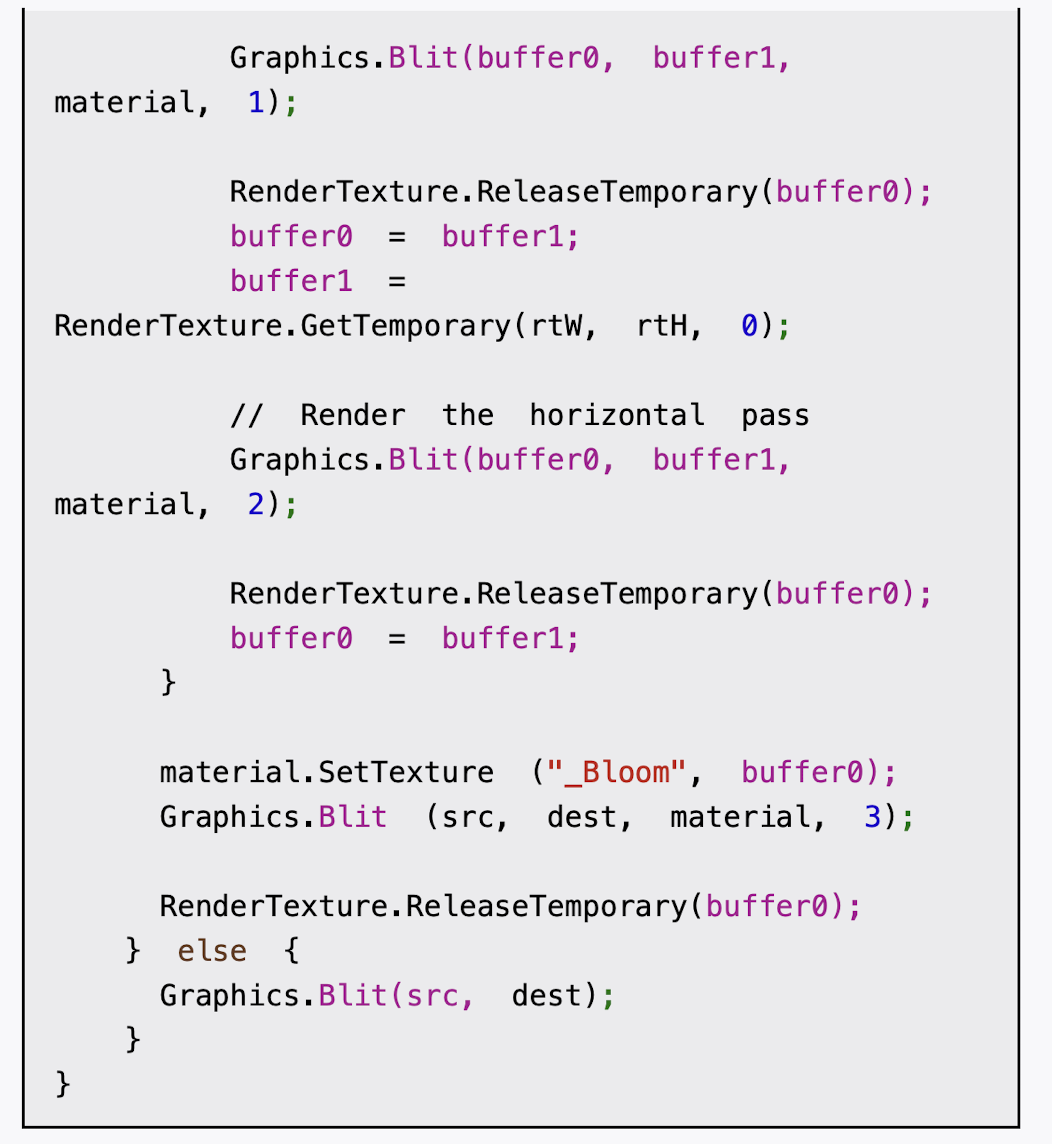
//然后,我们进行和12.4节中完全一样的高斯模糊迭代处理
for (int i = 0; i < iterations; i++) {
material.SetFloat("_BlurSize", 1.0f + i * blurSpread);
RenderTexture buffer1 = RenderTexture.GetTemporary(rtW, rtH, 0);
// Render the vertical pass
Graphics.Blit(buffer0, buffer1, material, 1);
RenderTexture.ReleaseTemporary(buffer0);
buffer0 = buffer1;
buffer1 = RenderTexture.GetTemporary(rtW, rtH, 0);
// Render the horizontal pass
Graphics.Blit(buffer0, buffer1, material, 2);
RenderTexture.ReleaseTemporary(buffer0);
buffer0 = buffer1;
}
material.SetTexture ("_Bloom", buffer0);
Graphics.Blit (src, dest, material, 3);
RenderTexture.ReleaseTemporary(buffer0);
} else {
Graphics.Blit(src, dest);
}
}
}下面,我们来实现Shader的部分。打开Chapter12-Bloom,进行如下修改。
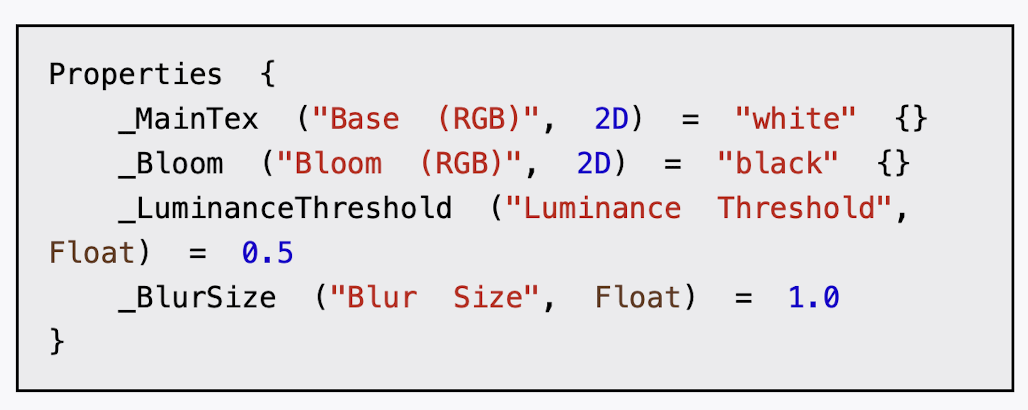
(1)我们首先需要声明本例使用的各个属性:
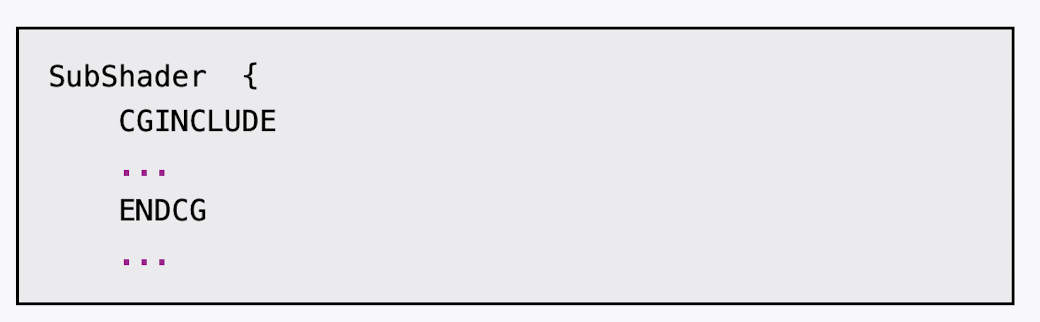
2)在本节中,我们仍然使用CGINCLUDE来组织代码。我们在SubShader块中利用CGINCLUDE和ENDCG语义来定义一系列代码:
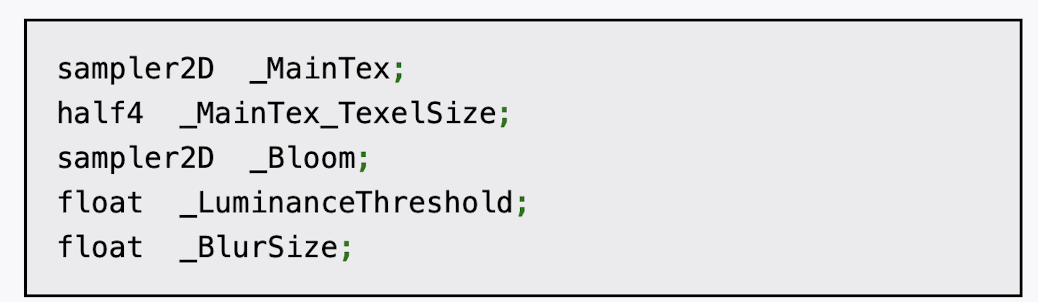
(3)声明代码中需要使用的各个变量:
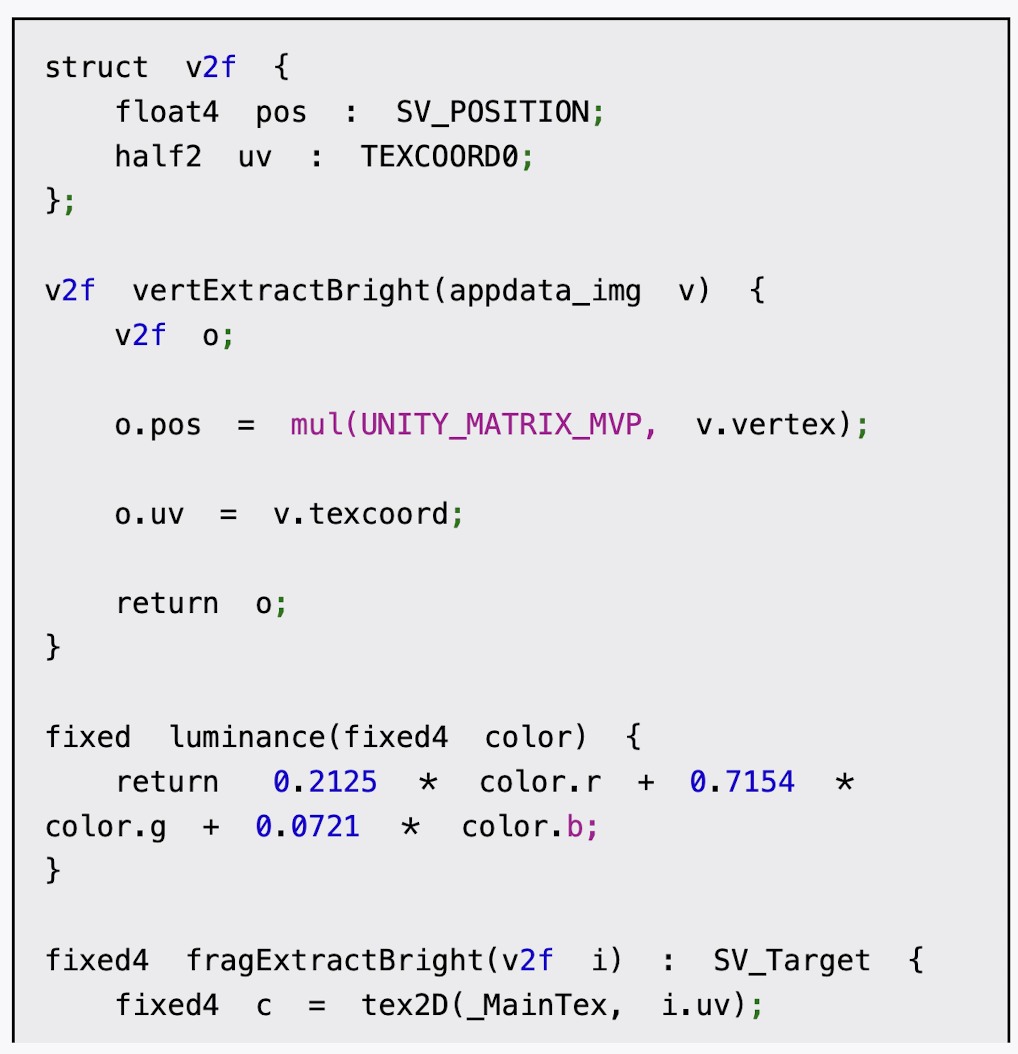
(4)我们首先定义提取较亮区域需要使用的顶点着色器和片元着色器:
(5)然后,我们定义了混合亮部图像和原图像时使用的顶点着色器和片元着色器:
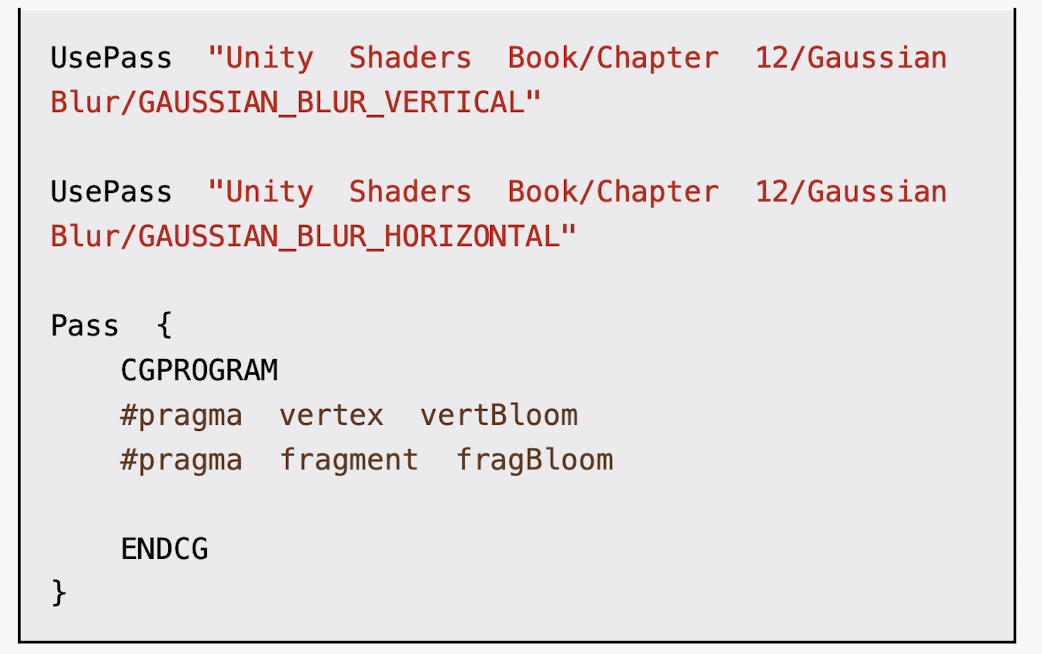
(6)接着,我们定义了Bloom效果需要的4个Pass:
(7)最后,我们关闭了该Shader的Fallback:
完成后返回编辑器,并把Chapter12-Bloom拖曳到摄像机的Bloom.cs脚本中的bloomShader参数中。当然,我们可以在Bloom.cs的脚本面板中将bloomShader参数的默认值设置为Chapter12-Bloom,这样就不需要以后使用时每次都手动拖曳了。

cs
// Upgrade NOTE: replaced 'mul(UNITY_MATRIX_MVP,*)' with 'UnityObjectToClipPos(*)'
Shader "Custom/Chapter12-Bloom"
{
Properties {
_MainTex ("Base (RGB)", 2D) = "white" {}
_Bloom ("Bloom (RGB)", 2D) = "black" {} //_Bloom是高斯模糊后的较亮区域
_LuminanceThreshold ("Luminance Threshold", Float) = 0.5
_BlurSize ("Blur Size", Float) = 1.0
}
Subshader {
CGINCLUDE
#include "UnityCG.cginc"
sampler2D _MainTex;
half4 _MainTex_TexelSize;
sampler2D _Bloom;
float _LuminanceThreshold;
float _BlurSize;
struct v2f {
float4 pos : SV_POSITION;
half2 uv : TEXCOORD0;
};
//提取较亮区域需要使用的顶点着色器
v2f vertExtractBright(appdata_img v) {
v2f o;
o.pos = UnityObjectToClipPos(v.vertex);
o.uv = v.texcoord;
return o;
}
//提取较亮区域需要使用的片元着色器
fixed luminance(fixed4 color) {
return 0.2125 * color.r + 0.7154 * color.g + 0.0721 * color.b;
}
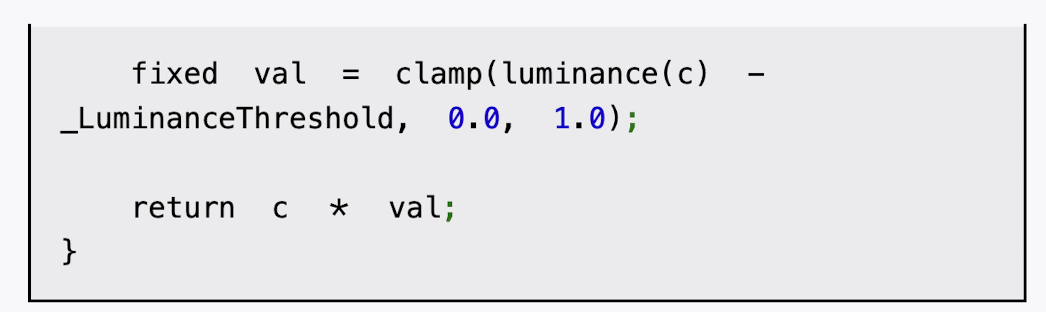
fixed4 fragExtractBright(v2f i) : SV_Target {
fixed4 c = tex2D(_MainTex, i.uv);
fixed val = clamp(luminance(c) - _LuminanceThreshold, 0.0, 1.0); //我们将采样得到的亮度值减去阈值_LuminanceThreshold,并把结果截取到0~1范围内。然后,我们把该值和原像素值相乘,得到提取后的亮部区域。
return c * val;
}
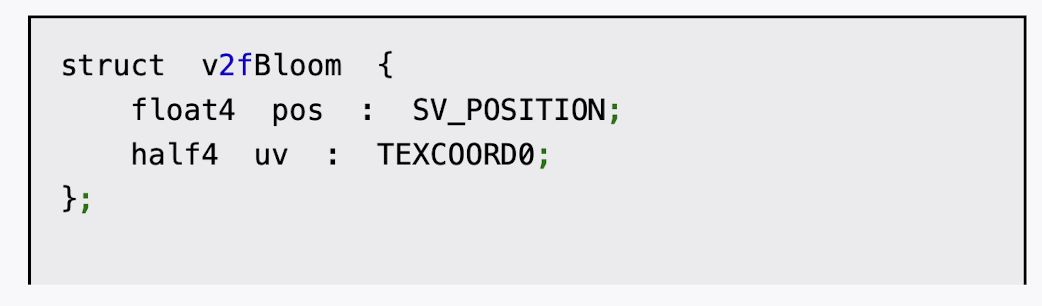
struct v2fBloom {
float4 pos : SV_POSITION;
half4 uv : TEXCOORD0;
};
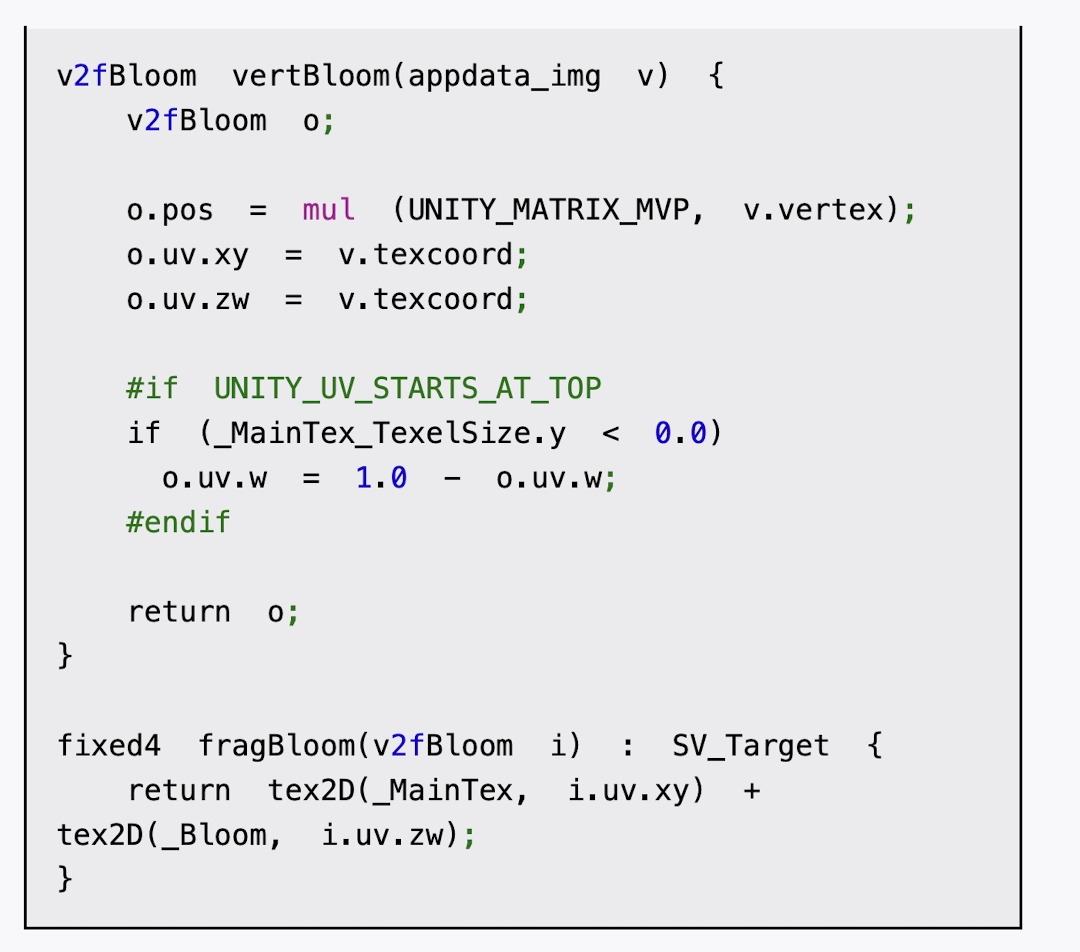
//混合亮部图像和原图像时使用的顶点着色器
v2fBloom vertBloom(appdata_img v) {
v2fBloom o;
o.pos = UnityObjectToClipPos (v.vertex);
o.uv.xy = v.texcoord;
o.uv.zw = v.texcoord; //我们定义了两个纹理坐标,并存储在同一个类型为half4的变量uv中。它的xy分量对应了_MainTex,即原图像的纹理坐标。而它的zw分量是_Bloom,即模糊后的较亮区域的纹理坐标。我们需要对这个纹理坐标进行平台差异化处理
#if UNITY_UV_STARTS_AT_TOP
if (_MainTex_TexelSize.y < 0.0)
o.uv.w = 1.0 - o.uv.w;
#endif
return o;
}
//混合亮部图像和原图像时使用的片元着色器
fixed4 fragBloom(v2fBloom i) : SV_Target {
return tex2D(_MainTex, i.uv.xy) + tex2D(_Bloom, i.uv.zw);
}
ENDCG
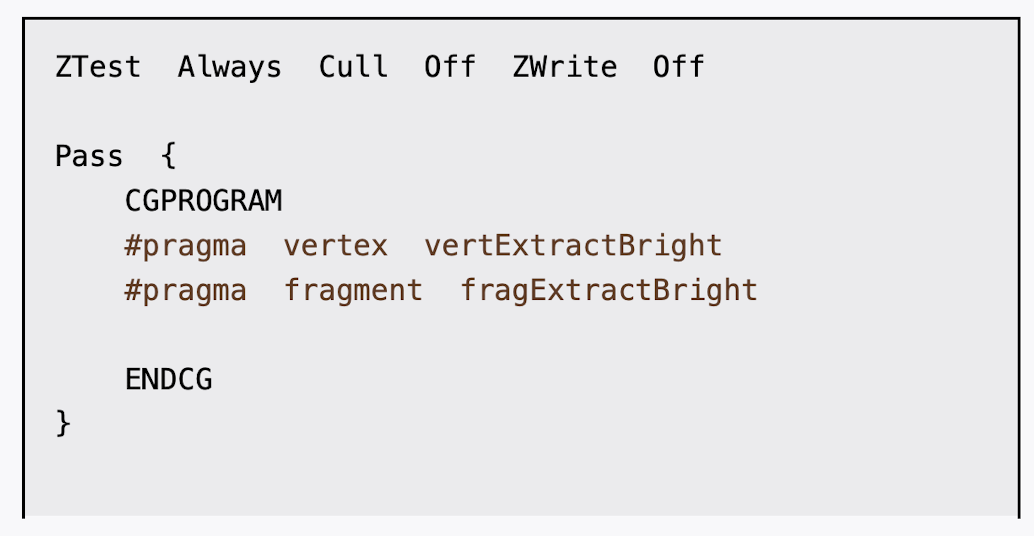
ZTest Always Cull Off ZWrite Off
Pass {
CGPROGRAM
#pragma vertex vertExtractBright
#pragma fragment fragExtractBright
ENDCG
}
UsePass "Custom/Chapter12-GaussianBlur/GAUSSIAN_BLUR_VERTICAL" //Unity内部会把所有Pass的Name转换成大写字母表示,因此在使用UsePass命令时我们必须使用大写形式的名字
UsePass "Custom/Chapter12-GaussianBlur/GAUSSIAN_BLUR_HORIZONTAL"
Pass {
CGPROGRAM
#pragma vertex vertBloom
#pragma fragment fragBloom
ENDCG
}
}
FallBack Off
}引用 chapter12的 pass 改为自己目录下的名字,照抄代码可能报错哦