GLM-TTS 是智谱 AI(Zhipu AI)CogAudio 团队开发的开源文本到语音(TTS)合成系统,是 GLM 系列的语音扩展,于 2025 年发布。
GLM-TTS 的核心目标是解决传统 TTS 在情感表达、发音准确性和实时性上的瓶颈:早期模型虽高效但缺乏自然韵律,而 GLM-TTS 通过多奖励强化学习(GRPO)实现人类级别的表达力和稳定性,支持从 3-10 秒参考音频克隆声音。

开源地址:
|-------------|---------------------------------------------------------------------------------------------------------------------------------------------|
| github | https://github.com/zai-org/GLM-TTS |
| huggingface | https://huggingface.co/zai-org/GLM-TTS |
| modelscope | https://modelscope.cn/models/ZhipuAI/GLM-TTS |
在线体验: https://audio.z.ai/
1.部署环境
|-----------------------|-----------------------------------|
| 环境 | 版本 |
| ubuntu-24.04.3 Server | release 10.0 |
| Cuda | 12.8 |
| 显卡 RTX 2080 Ti 22G | 驱动 NVIDIA-Linux-x86_64-580.105.08 |
| uv | 0.9.13 |
| 内存 | 32G |
请提前安装好 显卡驱动,cuda版本最好是 12.8。
# 我使用 python 3.12 没有成功
# 因为 Python 3.12 环境中 很多扩展包还没有预编译 wheel,需要从源码 build。
# 而 pynini 多数情况下 不支持 Python 3.12,官方 wheel 最多到 Python 3.10。
conda create -n glmtts python=3.10
conda activate glmtts
# 接下来会使用pip安装依赖,所以添加国内加速
(glmtts) pip config set global.index-url https://mirrors.huaweicloud.com/repository/pypi/simple/
# 设置全局代理
git config --global http.proxy http://192.168.6.120:7897
git config --global https.proxy http://192.168.6.120:7897
# 查看配置
git config -l
# 克隆源码
git clone https://github.com/zai-org/GLM-TTS.git
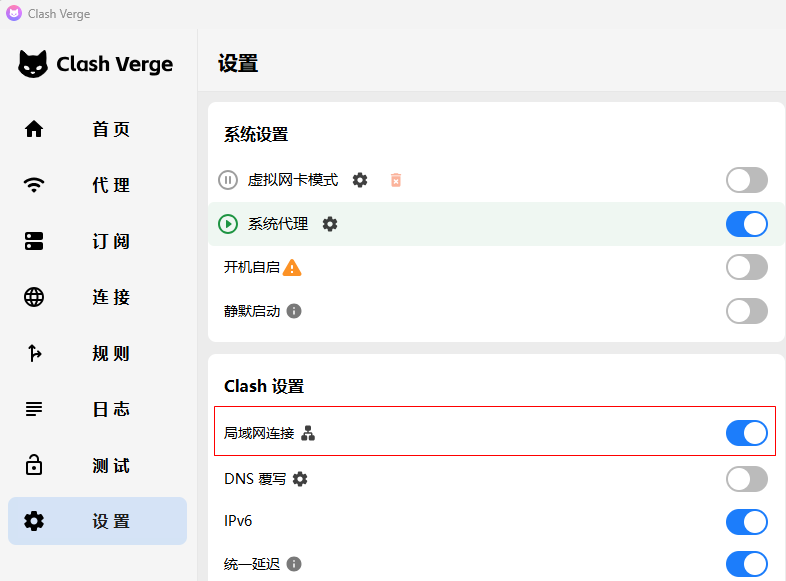
cd GLM-TTS92.168.6.120 是一台windows机器,安装了 Class Verge ,通过它加速访问github。
git 代理指向了这个机器,要通过192.168.6.120 代理到github, Class Verge 必须要允许局域网连接(默认是关闭的)
2.安装依赖
cd ~/GLM-TTS
# 编译 pynini 的时候,会用到 Cython
pip install --upgrade pip setuptools wheel Cython soxr
pip install -r requirements.txt

# 安装强化学习相关依赖(可选)
cd grpo/modules
git clone https://github.com/s3prl/s3prl
git clone https://github.com/omine-me/LaughterSegmentation

# 从 modelscope下载
pip install modelscope

# 下载 wavlm_large_finetune.pth 并放置在 grpo/ckpt 目录
cd ~/GLM-TTS
mkdir -p ckpt
modelscope download --model ZhipuAI/GLM-TTS --local_dir ckpt
3.启动交互式Web界面
python -m tools.gradio_app启动后,会开启服务器 8048 端口: http://192.168.6.133:8048/
- 上传声音样本
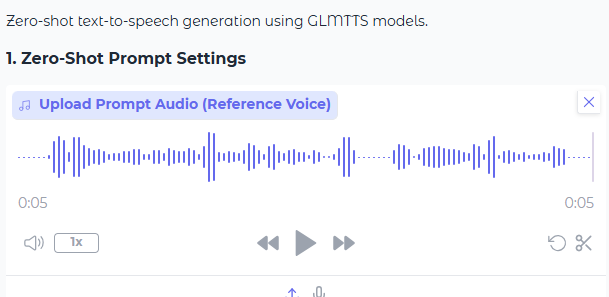
- 输入要转换的文本
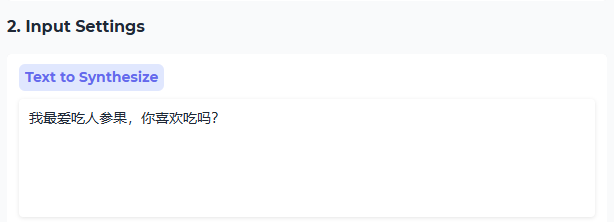
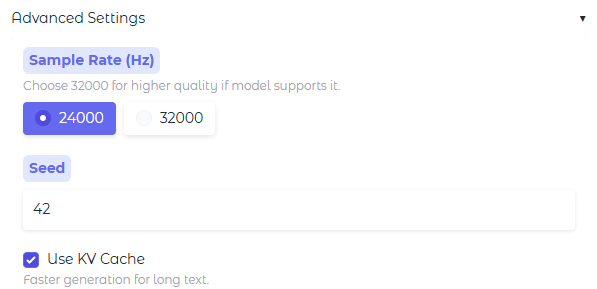
- 生成音频
