KVM基础使用
KVM虚拟机(Kernel-based Virtual Machine)是基于Linux内核的开源虚拟化模块,集成于Linux 2.6.20及以上版本,属于硬件辅助的完全虚拟化Hypervisor。其利用Intel VT/AMD-V等硬件虚拟化技术,通过内核模块kvm.ko实现虚拟CPU与内存管理,QEMU负责IO设备模拟。与Xen早期基于软件模拟的半虚拟化不同,KVM直接使用Linux调度器进行资源管理,核心代码量显著少于传统虚拟化方案。该技术现已成为学术界主流VMM之一,支持CPU超配及内存虚拟化(含EPT/NPT硬件辅助),适用于云平台和服务器虚拟化环境。
一、安装KVM
一些常见操作系统在安装时可以选择其自带的KVM安装选项。
以CentOS操作系统举例:
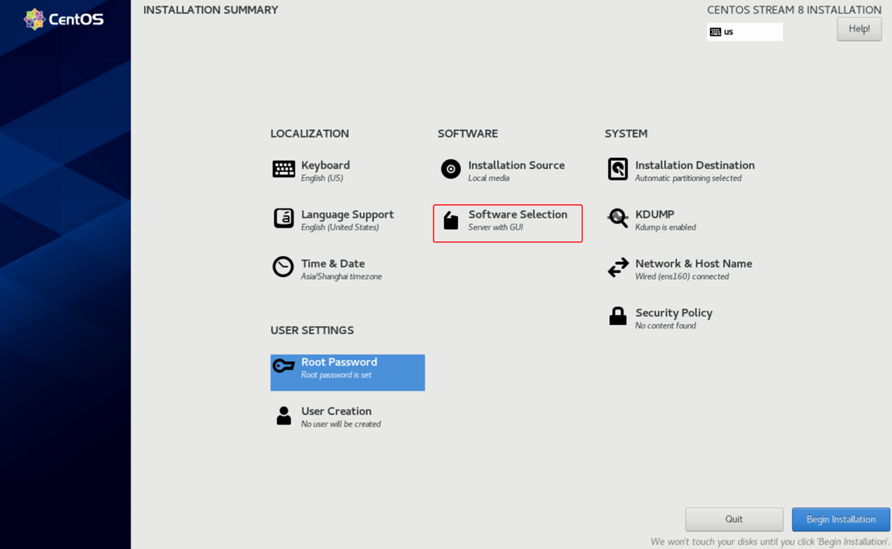
安装界面
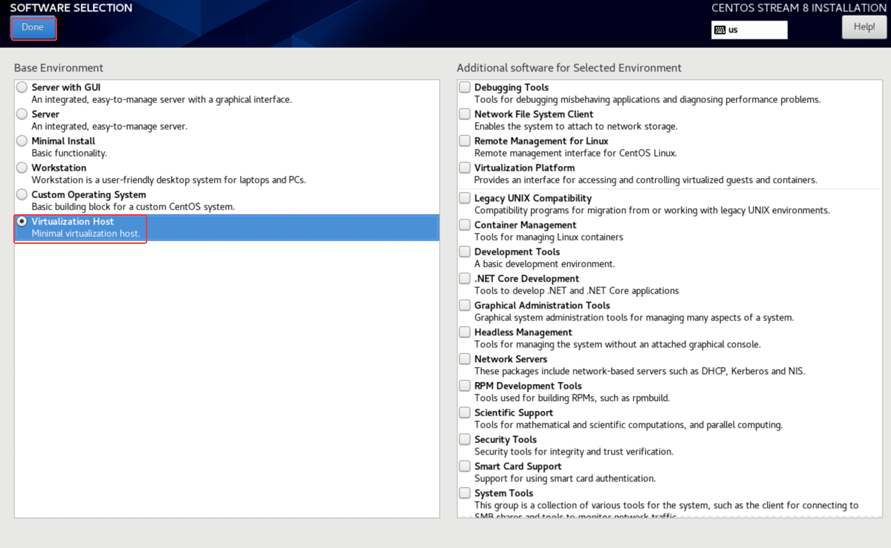
选择Virtualization Host安装
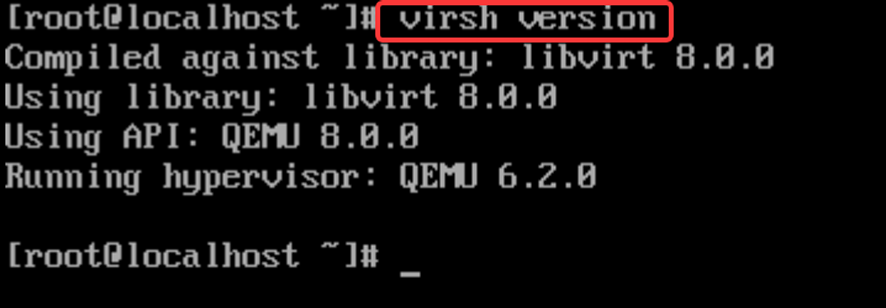
安装完成后,可以使用virsh命令测试KVM
也可以通过yum源安装(需自行配置yum源)
二、KVM图形界面
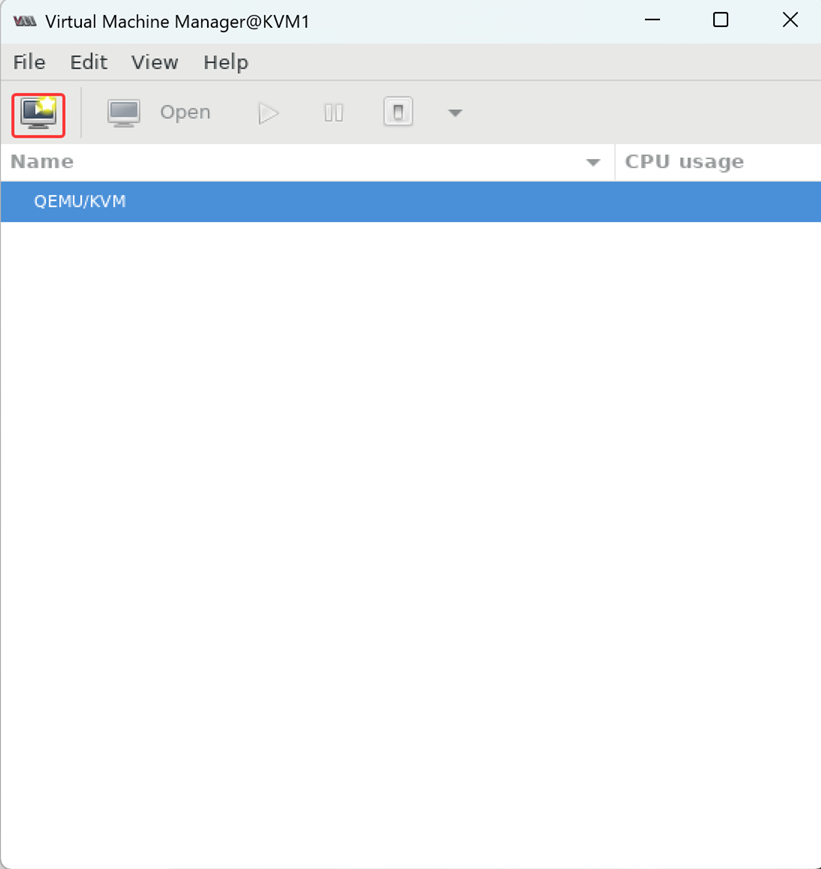
1.呼出virt-manager图形界面
在图形界面操作系统中,可以找到KVM自带的图形界面入口。
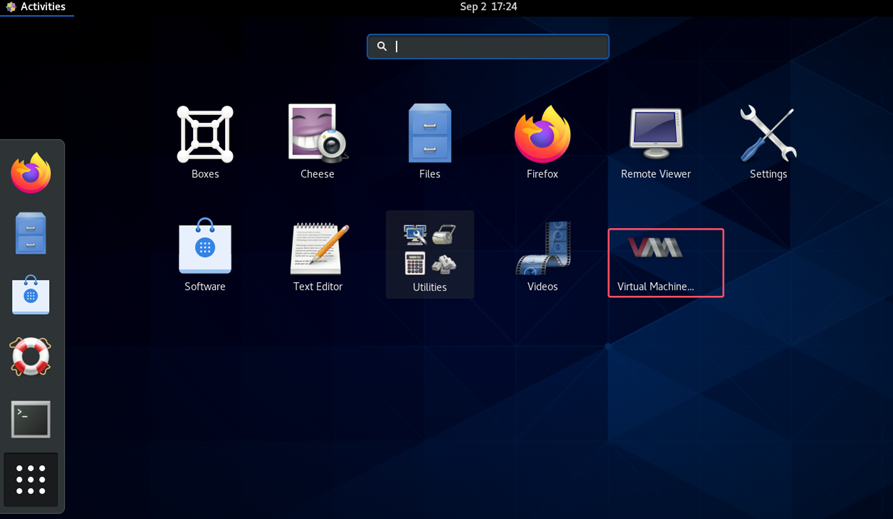
或通过控制台输入命令,调出KVM图形界面:
bash
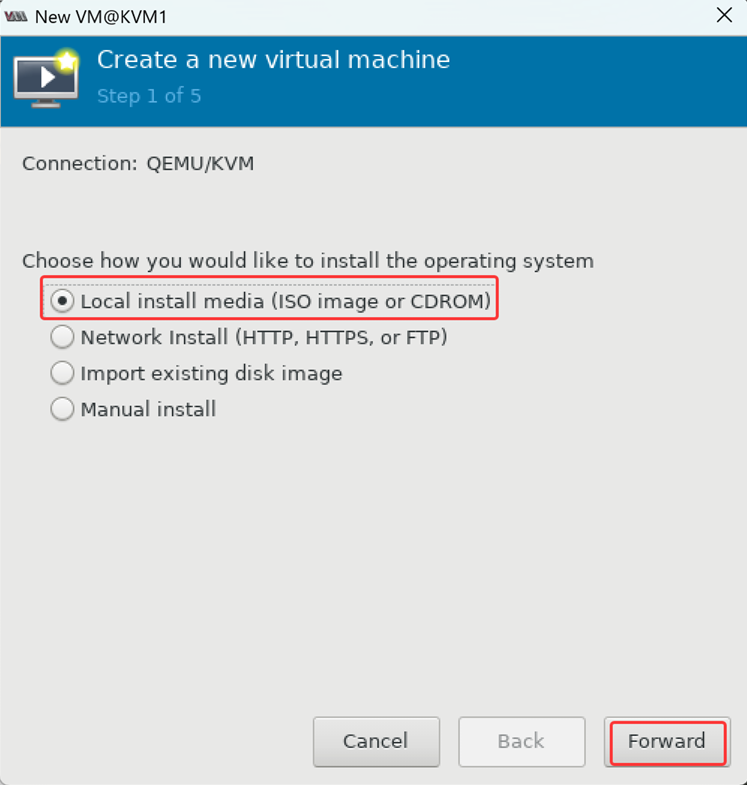
[root@KVM ~]# virt-manager2.安装虚拟机
创建一个目录用于存放镜像:
bash
[root@KVM ~]# mkdir /iso上传一个镜像文件到该目录,接下来使用该文件创建虚拟机。
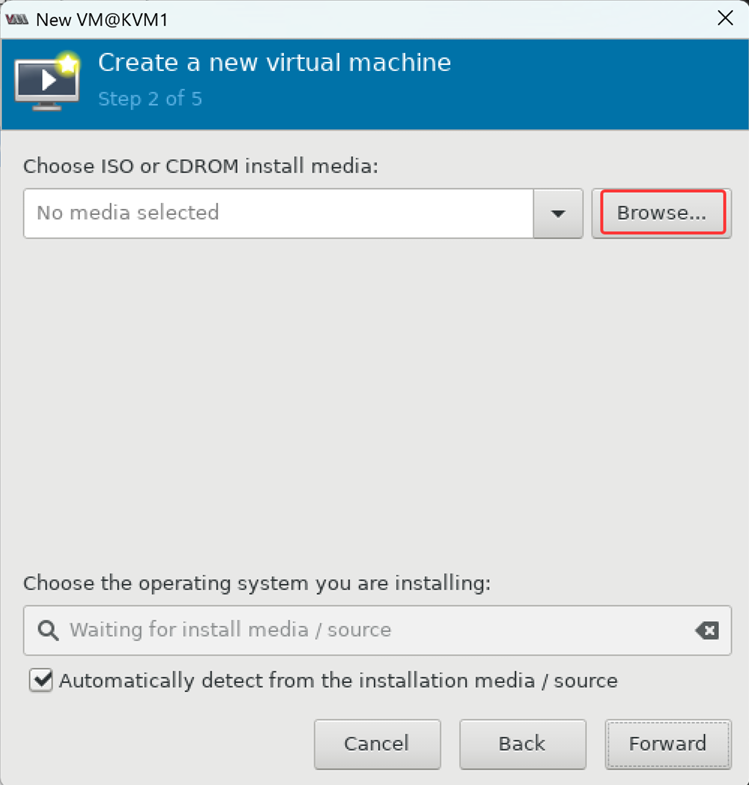
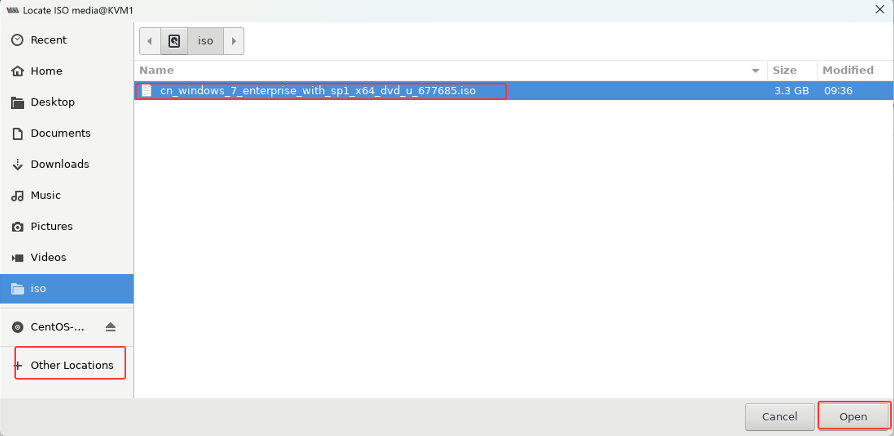
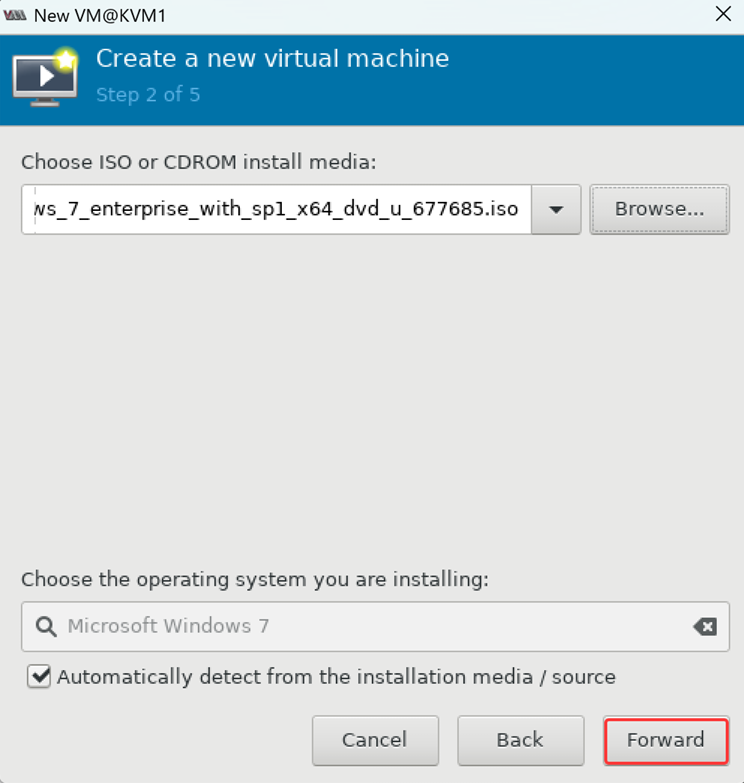
选项一(本地光盘安装)
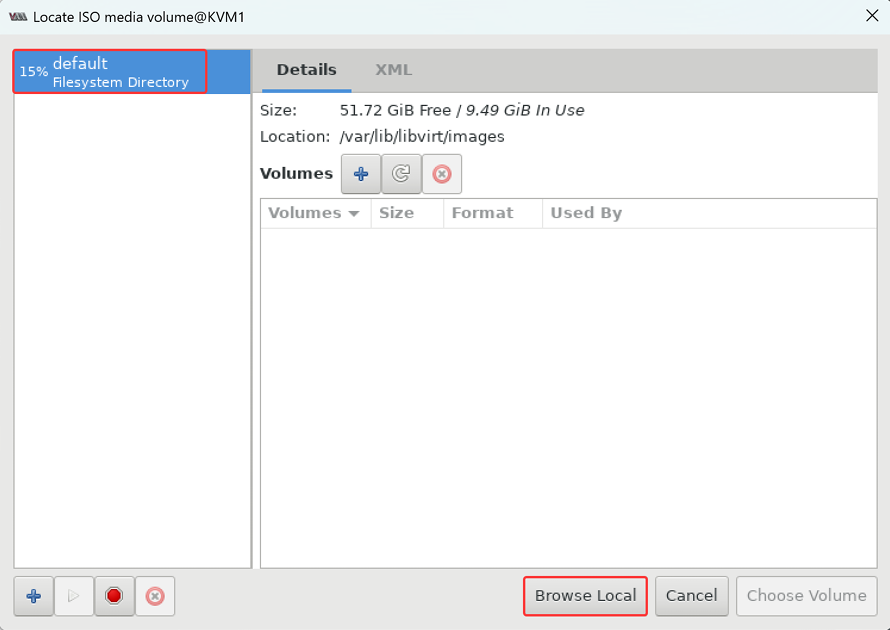
浏览文件位置,找到镜像文件
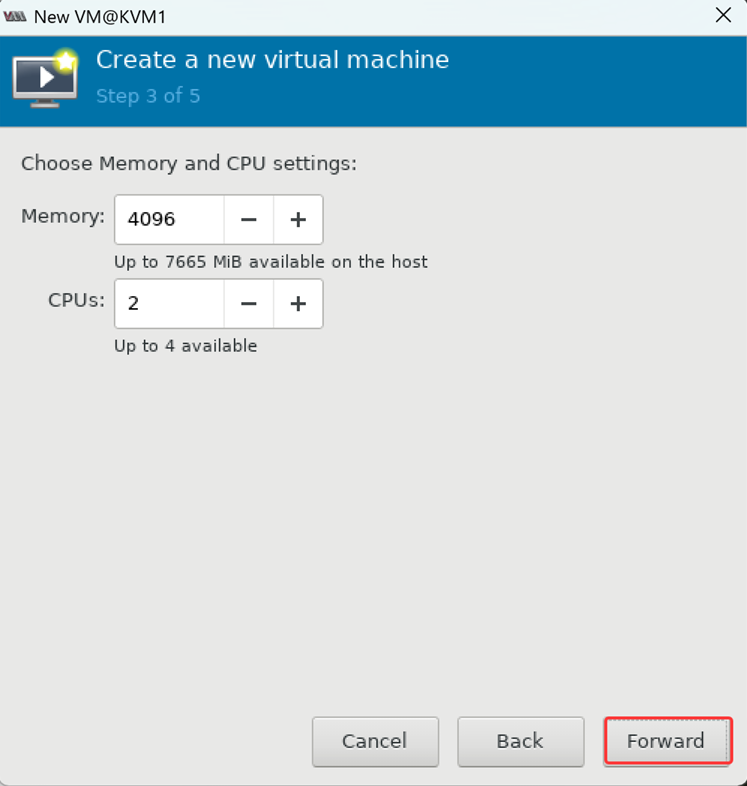
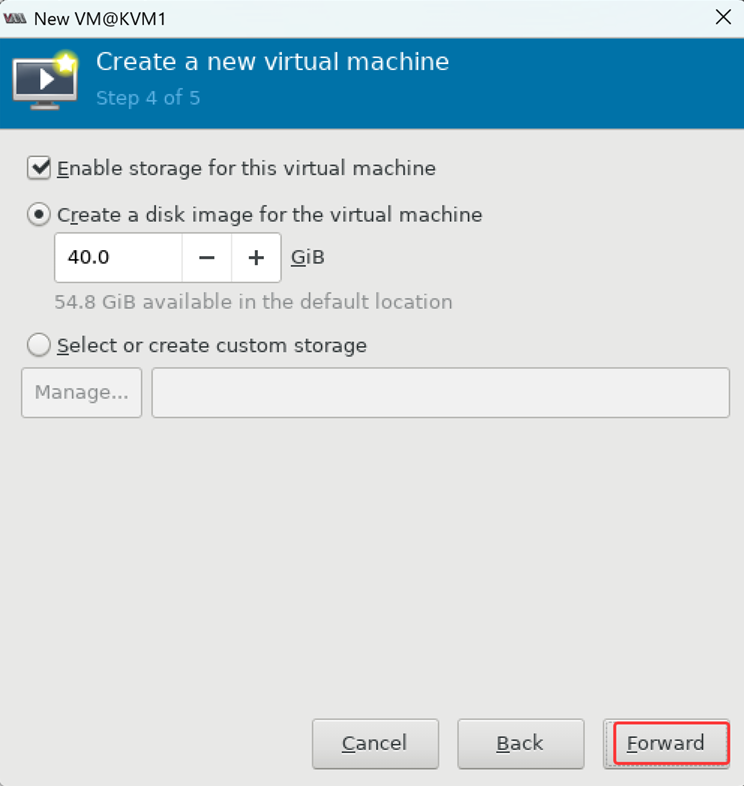
分配内存CPU资源、创建磁盘,合理即可
命名虚拟机:
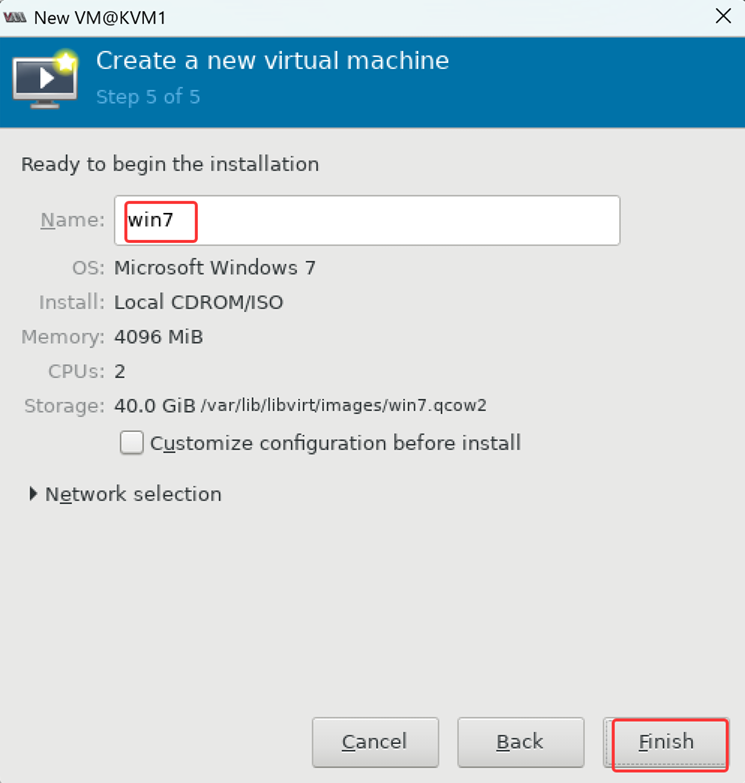
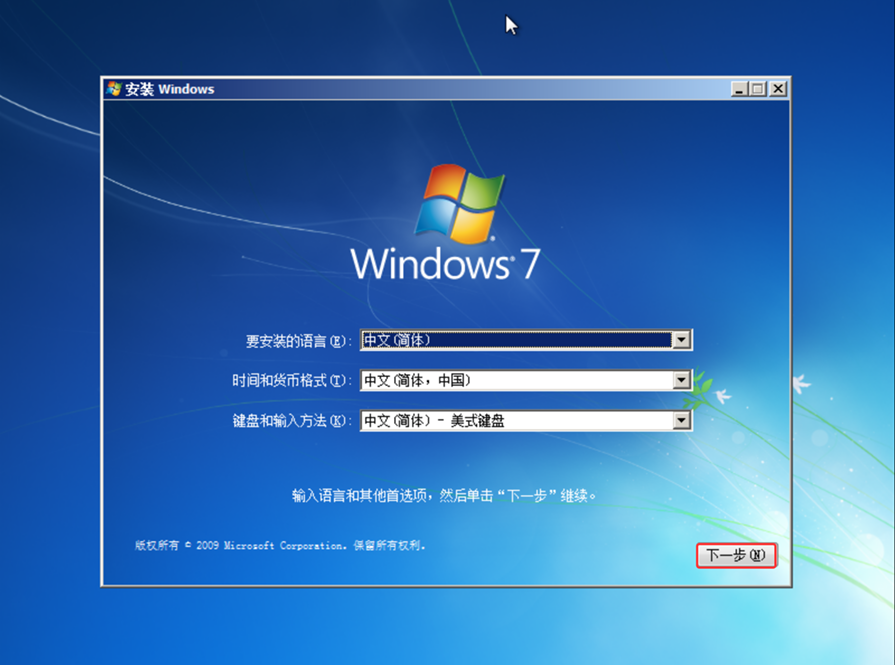
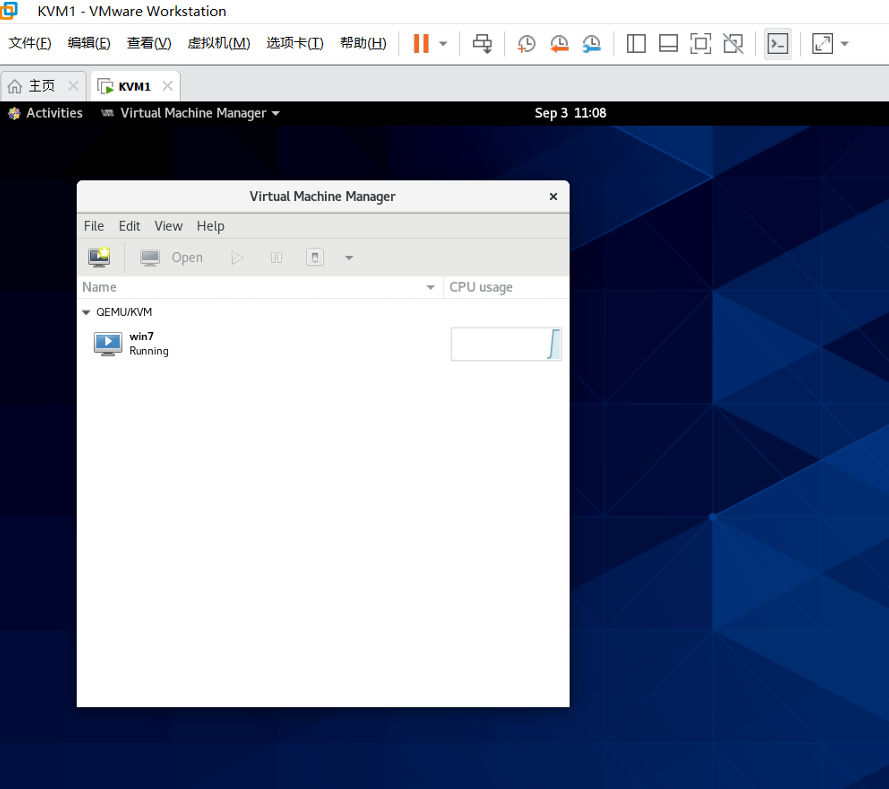
启动虚拟机,查看效果:
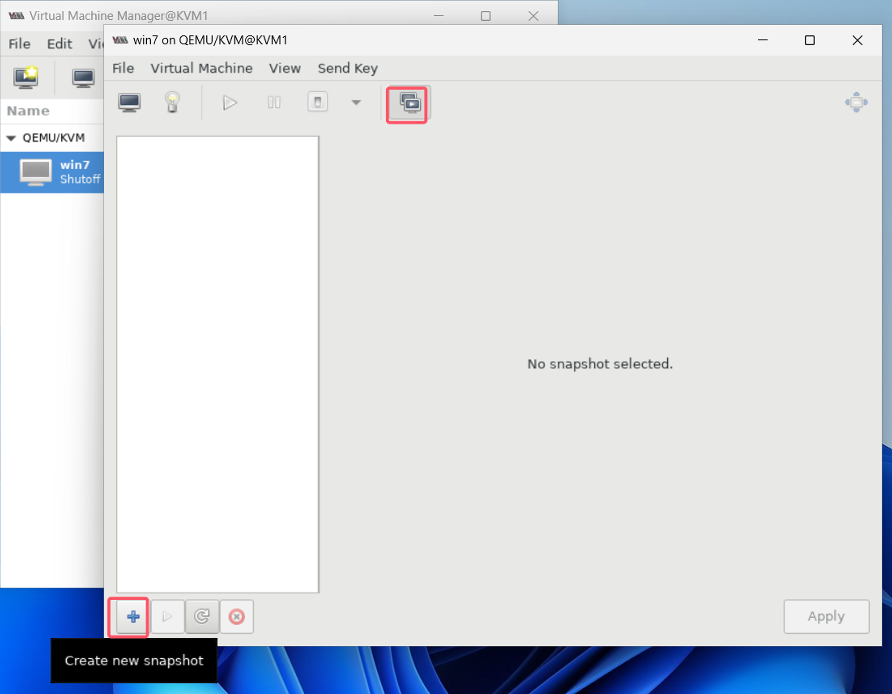
关机,拍摄快照:
三、KVM命令行使用
1.命令行操作虚拟机
不使用图形化操作系统的前提下,可以使用命令行操作KVM。
bash
[root@KVM1 ~]# virsh version                  #查看KVM版本
Compiled against library: libvirt 8.0.0
Using library: libvirt 8.0.0
Using API: QEMU 8.0.0
Running hypervisor: QEMU 6.2.0

[root@KVM1 ~]# virsh --help             #virsh命令帮助
virsh [options]... [<command_string>]
virsh [options]... <command> [args...]
  options:
    -c | --connect=URI      hypervisor connection URI
    -d | --debug=NUM        debug level [0-4]
    -e | --escape <char>    set escape sequence for console
    -h | --help             this help
    -k | --keepalive-interval=NUM
                            keepalive interval in seconds, 0 for disable
    -K | --keepalive-count=NUM
                            number of possible missed keepalive messages
    -l | --log=FILE         output logging to file
    -q | --quiet            quiet mode
    -r | --readonly         connect readonly
    -t | --timing           print timing information
    -v                      short version
    -V                      long version
         --version[=TYPE]   version, TYPE is short or long (default short)
  commands (non interactive mode):
 Domain Management (help keyword 'domain')
     attach-device                  attach device from an XML file
    attach-disk                    attach disk device
    attach-interface               attach network interface
    autostart                      autostart a domain
    blkdeviotune                   Set or query a block device I/O tuning
parameters.
    blkiotune                      Get or set blkio parameters
    blockcommit                    Start a block commit operation.
    blockcopy                      Start a block copy operation.
    blockjob                       Manage active block operations
    blockpull                      Populate a disk from its backing image.
    blockresize                    Resize block device of domain.
    change-media                   Change media of CD or floppy drive
    console                        connect to the guest console
    cpu-stats                      show domain cpu statistics
    create                         create a domain from an XML file
    define                         define (but don't start) a domain from an XML
file
    desc                           show or set domain's description or title
    destroy                        destroy (stop) a domain
    detach-device                  detach device from an XML file
    detach-device-alias            detach device from an alias
    detach-disk                    detach disk device
    detach-interface               detach network interface
...
可自行查看帮助。
常用命令:
bash
[root@KVM1 ~]# virsh list			#列出正在运行中的虚拟机
 Id   Name   State
 --------------------

[root@KVM1 ~]# virt-manager			#调出图形界面

[root@KVM1 ~]# virsh list --all		#列出所有状态的虚拟机
Id   Name   State
-----------------------
-	win7   shut off
[root@KVM1 ~]# virsh start win7      #开启虚拟机win7
Domain 'win7' started
[root@KVM1 ~]# virsh list			#查看虚拟机win7的开机状态      Id   Name   State
---------------------
1    win7   running

[root@KVM1 ~]# virsh reboot win7 	#重启虚拟机win7
Domain 'win7' is being rebooted

[root@KVM1 ~]# virsh shutdown win7	#正常关机,一般都是正常关机
Domain 'win7' is being shutdown

[root@KVM1 ~]# virsh destroy win7	#强制关闭虚拟机(拔电源)
Domain 'win7' destroyed

[root@KVM1 ~]# virsh suspend win7	#挂起虚拟机,将虚拟机的内存数据保存到硬盘
Domain 'win7' suspended

[root@KVM1 ~]# virsh list           #查看虚拟机状态
Id   Name   State
--------------------
2    win7   paused                  #显示虚拟机状态为paused挂起

[root@KVM1 ~]# virsh resume win7    #恢复虚拟机状态
Domain 'win7' resumed

[root@KVM1 ~]# virsh list       	#查看虚拟机状态
Id   Name   State
----------------------
2    win7   running              	#显示虚拟机状态为running
观察guest os虚拟机win7是否随着host os宿主机KVM1一起开机:

发现默认情况下,guest os不随着host os一起开机。
bash
[root@KVM1 ~]# virsh start win7         #虚拟机win7开机
Domain 'win7' started
[root@KVM1 ~]# virsh autostart win7     #设置虚拟机随着KVM一起开机
Domain 'win7' marked as autostarted
[root@KVM1 ~]# virsh list --autostart	#列出随着宿主机一起开机的虚拟机有哪些
Id   Name   State
---------------------
1    win7   running
关机再开机,观察虚guest os虚拟机win7是否随着host os宿主机KVM1一起开机:
发现这次随着KVM一起开机了。
bash
[root@KVM1 ~]# virsh autostart --disable win7   #关闭win7随KVM一起启动
Domain 'win7' unmarked as autostarted
2.命令行创建虚拟机
bash
[root@KVM1 ~]# cd /var/lib/libvirt/images/		#默认磁盘存放目录

[root@KVM1 images]# qemu-img create -f qcow2 vm2.qcow2 20G   #给虚拟机VM2创建硬盘
vm2.qcow2
Formatting 'vm2.qcow2', fmt=qcow2 cluster_size=65536 extended_l2=off
compression_type=zlib size=21474836480 lazy_refcounts=off refcount_bits=16

[root@KVM1 images]# ls
vm2.qcow2  win7.qcow2

[root@KVM1 images]# qemu-img info vm2.qcow2         #显示创建出来的新的虚拟机硬盘
vm2.qcow2属性
image: vm2.qcow2
file format: qcow2
virtual size: 20 GiB (21474836480 bytes)
disk size: 196 KiB
cluster_size: 65536
Format specific information:
    compat: 1.1
    compression type: zlib
    lazy refcounts: false
    refcount bits: 16
    corrupt: false
    extended l2: false

#参考前面的步骤,上传一个CentOS-7-x86_64-Minimal-1810.iso到/iso目录
[root@KVM1 iso]# mkdir /disk

[root@KVM1 iso]# qemu-img create -f qcow2 /disk/vm2.qcow2 20G  #创建vm2.qcow2磁盘

[root@KVM1 iso]# virt-install --name vm2 --memory 4096 --vcpus 2 --disk path=/disk/vm2.qcow2 --location /iso/CentOS-7-x86_64-Minimal-1810.iso --network network=default --noautoconsole

#--name 指定虚拟机名字
#--memory 指定虚拟机内存
#--vcpus 指定虚拟机的CPU数量
#--disk path 指定虚拟机的磁盘位置
#--location 指定光盘镜像的位置
#--network 指定网络,KVM默认有个网络名为default的NAT网络

[root@KVM1 iso]# virsh list        #查看创建的vm2
Id	 Name   State
----------------------
1    win7   running
2    vm2    running