Langchain-Chatchat 作为基于 LangChain 打造的大模型应用部署框架,凭借轻量化、易部署、高适配的特性,成为 NLP 从业者落地对话类项目的优选工具。但在实际部署过程中,环境配置、依赖冲突、服务启动等问题常成为入门阻碍。本文结合实操经验,完整记录 Langchain-Chatchat 从环境搭建、依赖安装到服务启动、功能验证的全流程,同步梳理部署中的核心踩坑点与解决方案,力求为大家提供一份可直接复用的部署指南,助力快速完成 NLP 大模型应用的本地与服务端部署,高效落地相关项目。

Langchain-Chatchat 提供两种主流部署方式,满足不同场景下的使用需求:其一为 pip 安装部署,该方式操作简洁、步骤轻量化,适合快速上手使用或生产环境下的快速部署;其二为 源码安装部署/开发部署,支持基于源码进行二次开发、功能定制或环境深度调试,更适配开发者的定制化开发与调试场景。
1 pip 方式安装部署
1.1 环境配置
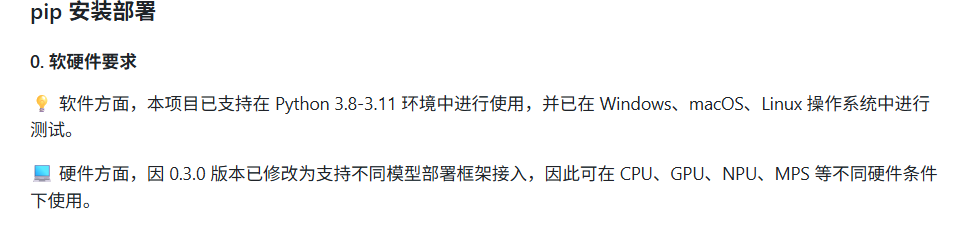
如图所示,Langchain-Chatchat项目对python环境要求为python3.8-python3.11:
我这里选择使用python3.10,这里使用conda来管理python包,如果不知道怎么安装conda的,可以看我之前写的文章:
Anaconda 安装保姆级教程(Windows + Linux),以及换源操作
下面是安装命令:
shell
mkdir Langchain-Chatchat
cd Langchain-Chatchat
conda create -n Langchain-Chatchat python=3.10
conda activate Langchain-Chatchat
# 1.使用Xinference 接入 Langchain-Chatchat
pip install "langchain-chatchat[xinference]" -U
# 2.不使用Xinference 接入 Langchain-Chatchat
pip install langchain-chatchat -U
因模型部署框架 Xinference 接入 Langchain-Chatchat 时需要额外安装对应的 Python 依赖库,因此如需搭配 Xinference 框架使用时,这里自行选择,我使用ollama接入Langchain-Chatchat ,所以选择2.
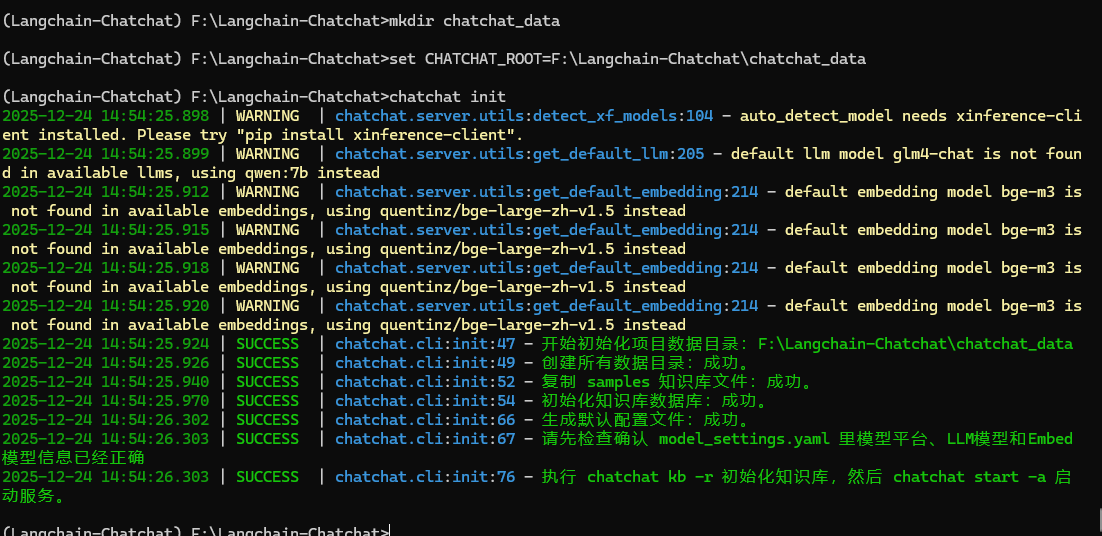
1.2 初始化项目配置与数据目录
shell
mkdir chatchat_data
# linux系统或者mac系统
export CHATCHAT_ROOT=/path/to/chatchat_data
# windows系统
set CHATCHAT_ROOT=F:\Langchain-Chatchat\chatchat_data
chatchat init
如下图所示,初始化成功会显示一下界面:
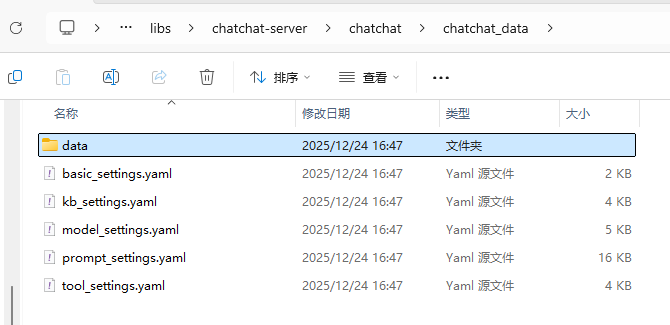
你创建的文件夹中会出现以下文件:
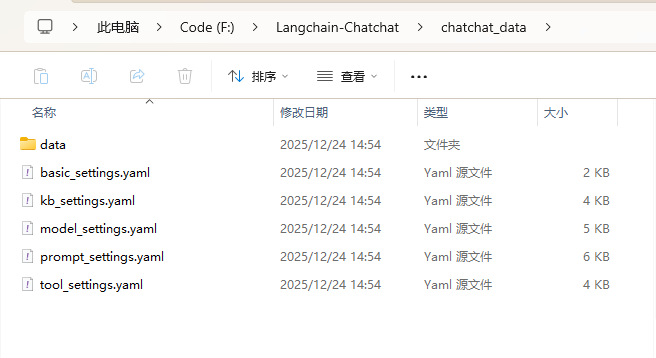
以下是对上图几个文件的注解:
- data: 存储项目数据、日志的地方
- basic_settings.yaml 基本配置信息,包括数据目录、服务器配置等
- kb_settings.yaml 知识库相关配置项
- model_settings.yaml 模型相关配置项
- tool_settings.yaml 工具相关配置项
- prompt_settings.yaml prompt 模板
1.3 Ollama安装及模型下载
这里对于ollama的安装就不赘述,不知道的可以看我之前写的文章:
Windows| DeepSeek最简单的本地部署方法
安装完成之后本地访问以下网址:
cmd
http://127.0.0.1:11434如下图所示,如果这样显示表示安装成功:

使用以下命令安装qwen和Embedding模型:
shell
ollama pull qwen:7b
ollama pull quentinz/bge-large-zh-v1.5:latest
1.4 配置文件修改
打开model_settings.yaml,将你步骤1.3下载的模型设置上:
# 模型配置项


# 默认选用的 LLM 名称
DEFAULT_LLM_MODEL: qwen:7b

# 默认选用的 Embedding 名称
DEFAULT_EMBEDDING_MODEL: quentinz/bge-large-zh-v1.5:latest

# AgentLM模型的名称 (可以不指定,指定之后就锁定进入Agent之后的Chain的模型,不指定就是 DEFAULT_LLM_MODEL)
Agent_MODEL: ''

# 默认历史对话轮数
HISTORY_LEN: 3

# 大模型最长支持的长度,如果不填写,则使用模型默认的最大长度,如果填写,则为用户设定的最大长度
MAX_TOKENS: 4096

# LLM通用对话参数
TEMPERATURE: 0.7

# 支持的Agent模型
SUPPORT_AGENT_MODELS:
  - chatglm3-6b
  - glm-4
  - openai-api
  - Qwen-2
  - qwen2-instruct
  - gpt-3.5-turbo
  - gpt-4o

# LLM模型配置,包括了不同模态初始化参数。
# `model` 如果留空则自动使用 DEFAULT_LLM_MODEL
LLM_MODEL_CONFIG:
  preprocess_model:
    model: ''
    temperature: 0.05
    max_tokens: 4096
    history_len: 10
    prompt_name: default
    callbacks: false
  llm_model:
    model: ''
    temperature: 0.9
    max_tokens: 4096
    history_len: 10
    prompt_name: default
    callbacks: true
  action_model:
    model: ''
    temperature: 0.01
    max_tokens: 4096
    history_len: 10
    prompt_name: ChatGLM3
    callbacks: true
  postprocess_model:
    model: ''
    temperature: 0.01
    max_tokens: 4096
    history_len: 10
    prompt_name: default
    callbacks: true
  image_model:
    model: sd-turbo
    size: 256*256


MODEL_PLATFORMS:

  - platform_name: ollama
    platform_type: ollama
    api_base_url: http://127.0.0.1:11434/v1
    api_key: EMPTY
    api_proxy: ''
    api_concurrencies: 5
    auto_detect_model: false
    llm_models:
      - qwen:7b
      - qwen2:7b
    embed_models:
      - quentinz/bge-large-zh-v1.5:latest
    text2image_models: []
    image2text_models: []
    rerank_models: []
    speech2text_models: []
    text2speech_models: []
使用一下命令初始化知识库:
shell
chatchat kb -r1.5 启动项目
shell
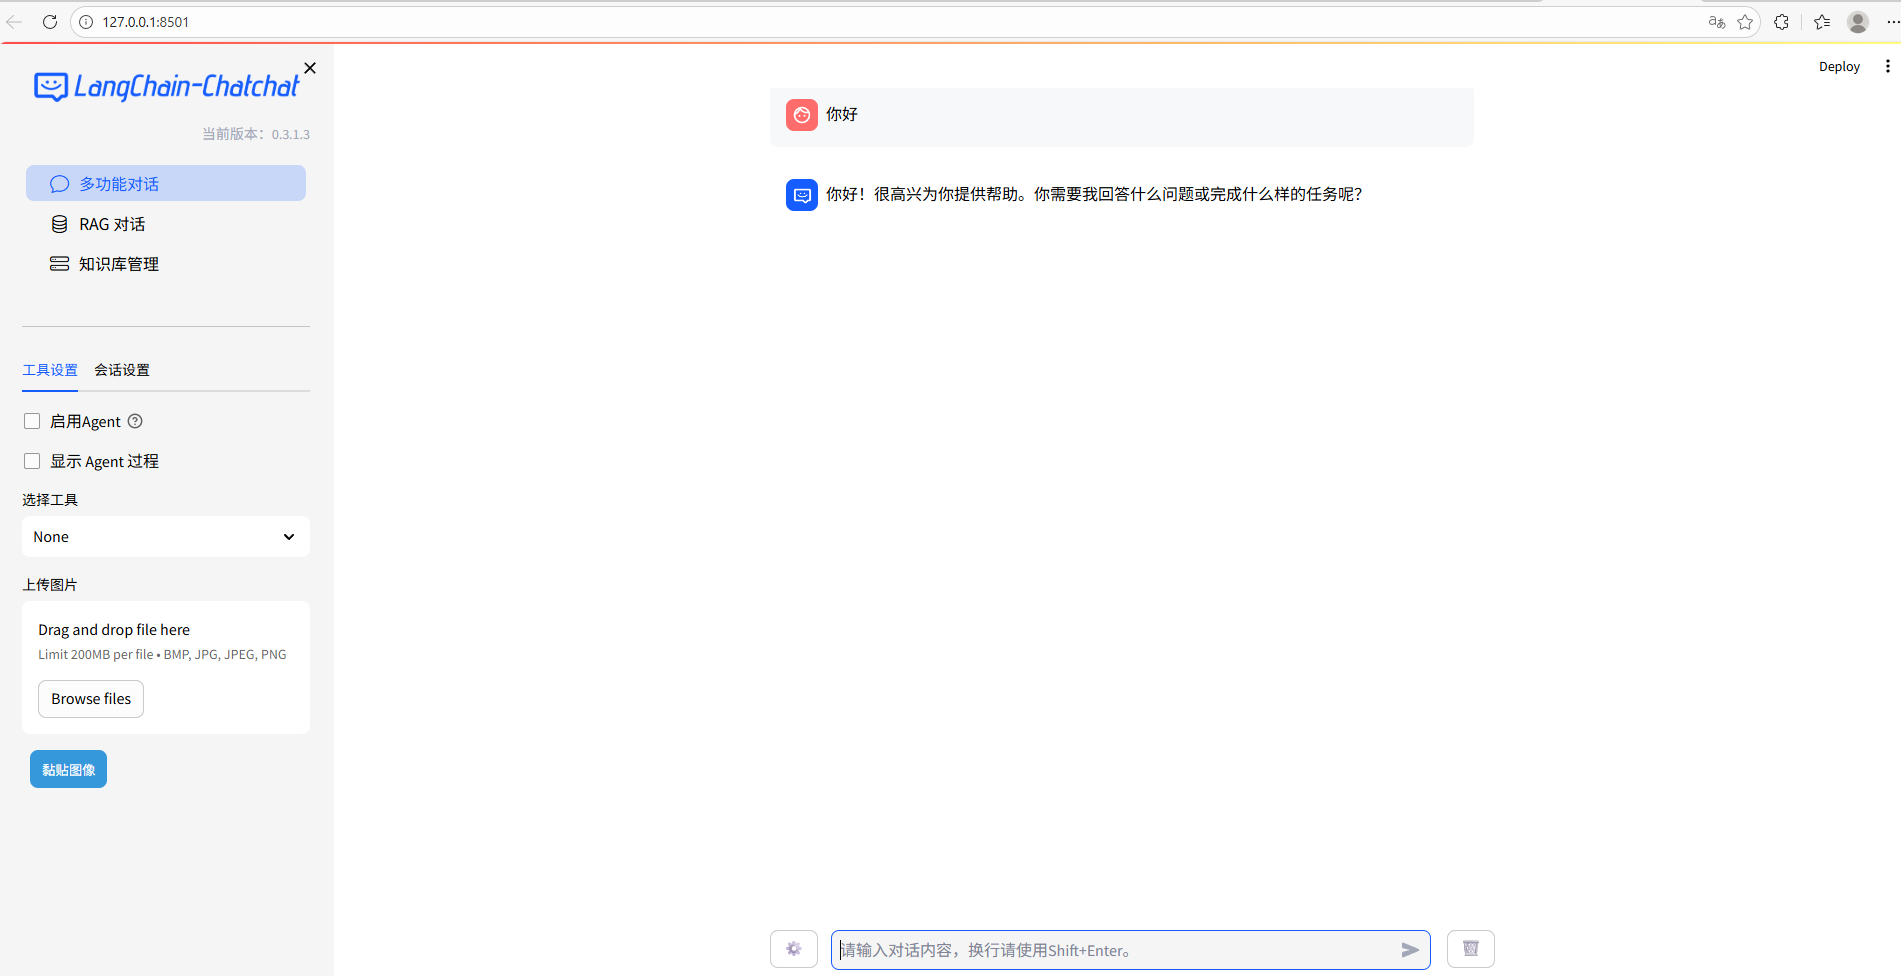
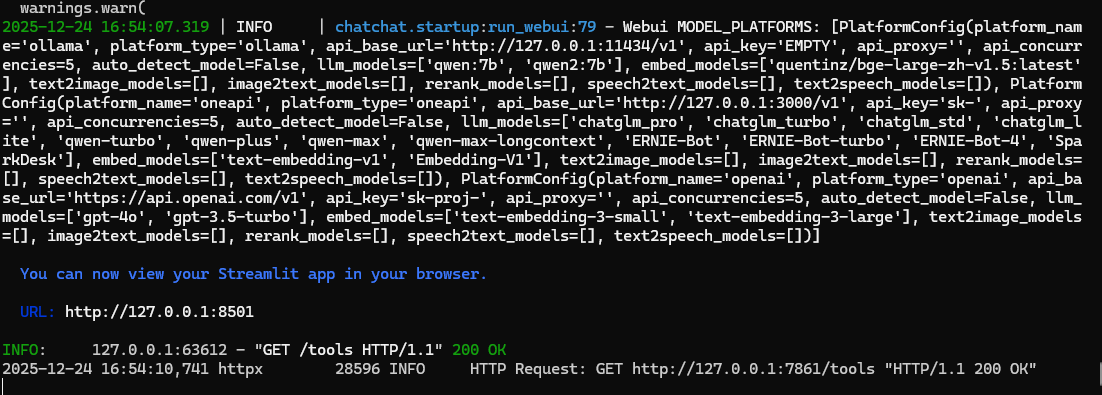
chatchat start -a启动成功后会自动跳转出网页:
1.6 遇到的报错
TypeError: error when get /tools: Client.__init__() got an unexpected keyword argument 'proxies'
解决办法,指定httpx包版本为0.27.2,升级openai:
shell
pip install httpx==0.27.2
pip install --upgrade openai
2 源码安装部署
2.1 下载项目及环境部署
shell
git clone https://github.com/chatchat-space/Langchain-Chatchat.git
cd Langchain-Chatchat
conda create -n chat python=3.10
conda activate chat
pip install Poetry
cd  Langchain-Chatchat/libs/chatchat-server/
poetry install --with lint,test -E xinference
pip install -e .
2.2 设置源代码根目录
shell
cd Langchain-Chatchat/libs/chatchat-server/chatchat
mkdir chatchat_data
# linux or mac
export CHATCHAT_ROOT=Langchain-Chatchat/libs/chatchat-server/chatchat/chatchat_data
# windows
set CHATCHAT_ROOT=Langchain-Chatchat/libs/chatchat-server/chatchat/chatchat_data
2.3 配置文件生成
shell
cd libs/chatchat-server
python chatchat/cli.py init
如下图所示,生成成功后会出现以下文件:
接下来就是ollama模型下载和文件配置,这两个步骤的操作同上文1.3和1.4,这里就不赘述。
2.4 初始化知识库及启动服务
shell
# 初始化知识库
cd libs/chatchat-server
python chatchat/cli.py kb --recreate-vs
# 启动服务
python chatchat/cli.py start -a
注意:初始化知识库命令会清空数据库、删除已有的配置文件,如果您有重要数据,请备份。
启动服务成功会有以下界面:
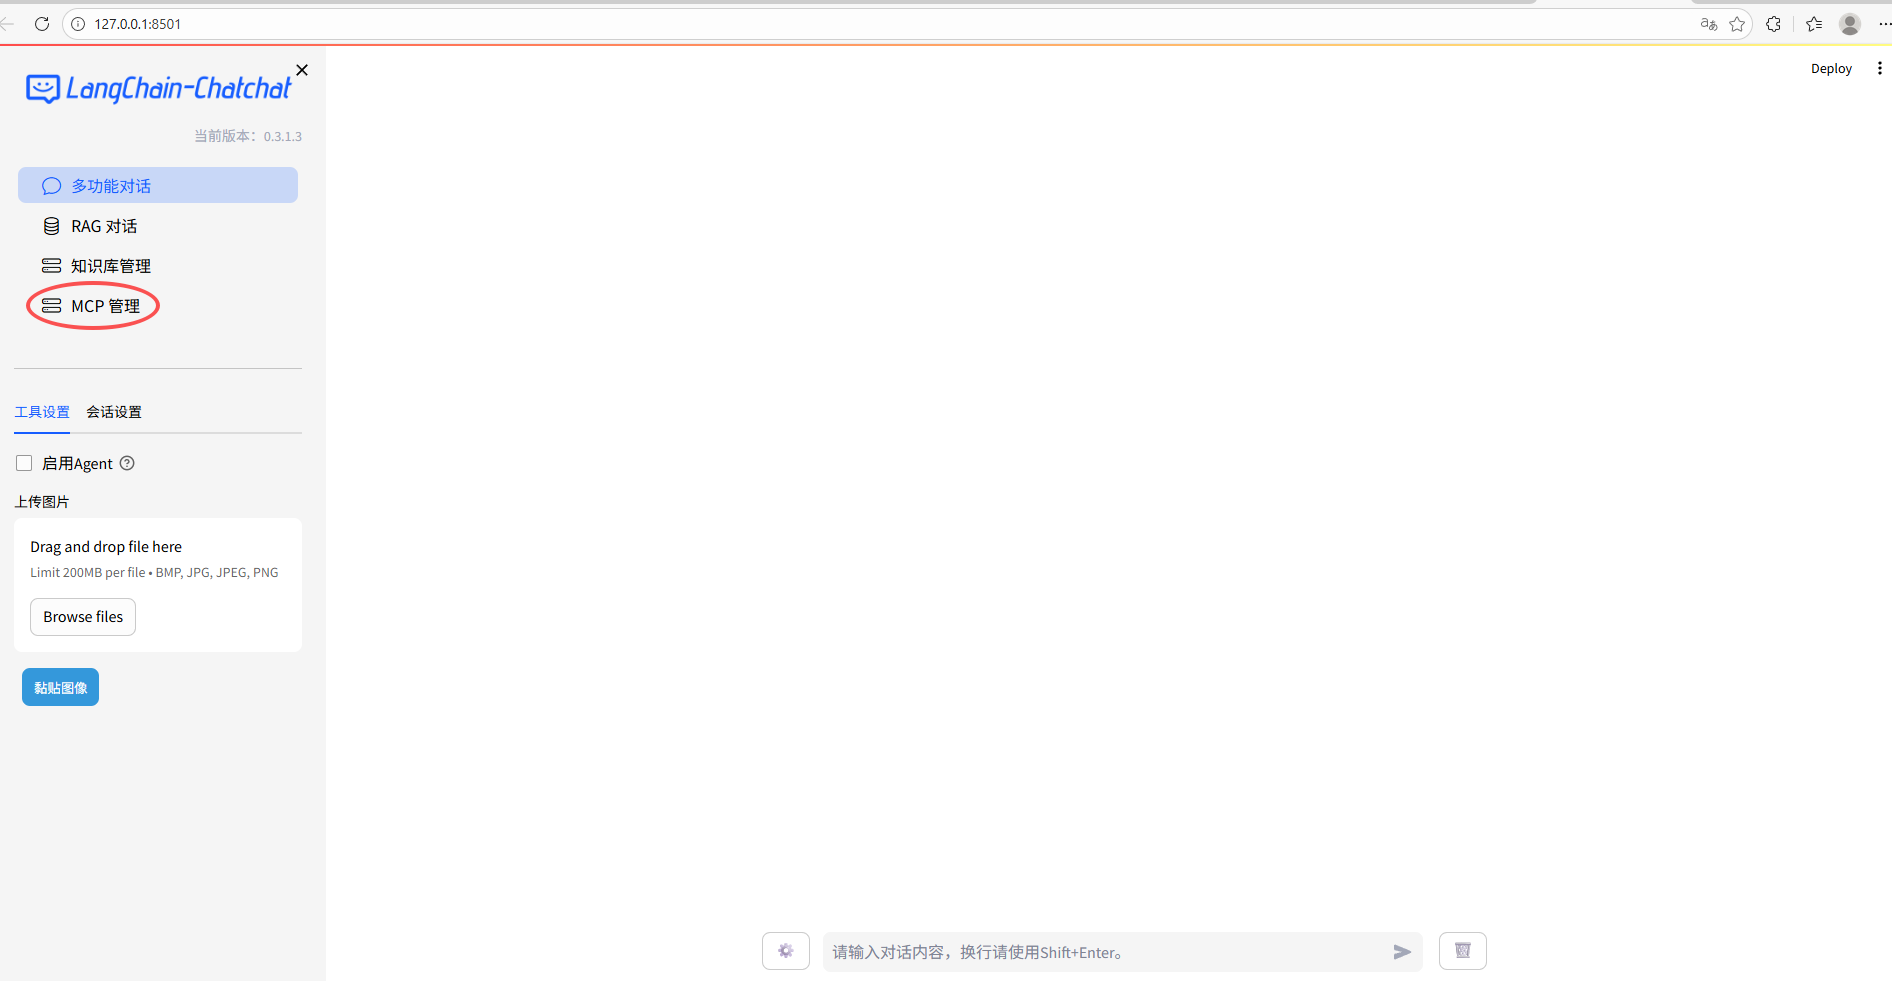
如上图所示,比pip安装的版本多了一个MCP管理。
2.5 遇到错误
UnboundLocalError: local variable 'use_mcp' referenced before assignment
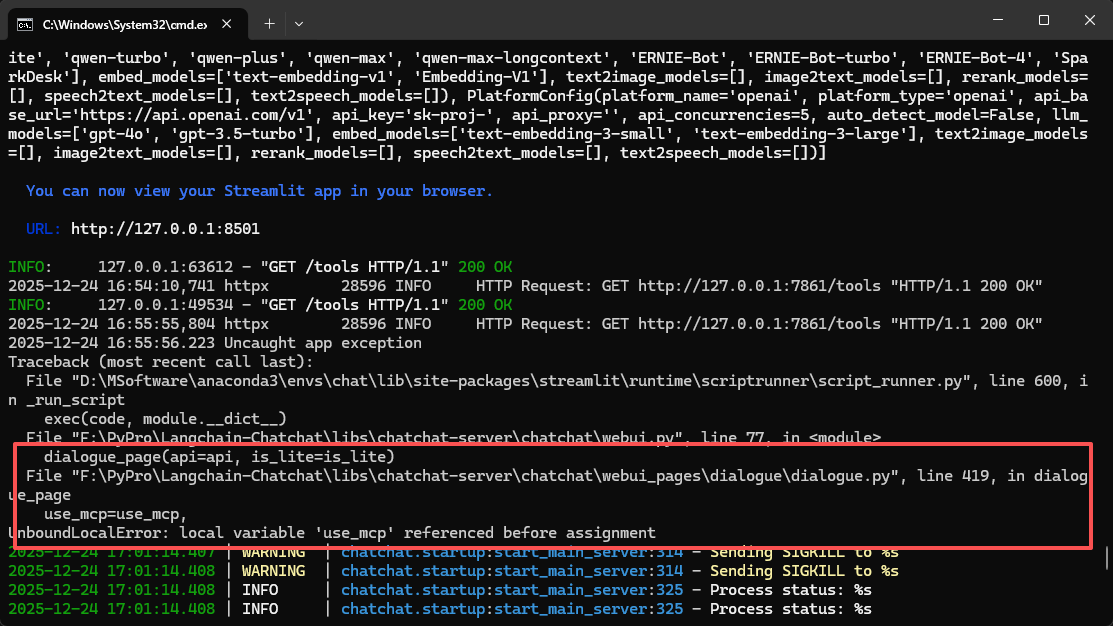
一个很低级的错误,未提前定义变量use_mcp,解决方法在使用之前定义它,默认为False

总结
本文围绕 Langchain-Chatchat 的两种主流部署方式展开实操落地,完整呈现 pip 轻量化部署与源码开发部署的全流程,从环境搭建、依赖安装、Ollama 模型配置,到配置文件修改、知识库初始化与项目启动均逐一详解。同时针对部署中遇到的环境依赖冲突、模型配置不匹配、输入长度超限等核心问题,给出了精准的解决方案与优化技巧。两种部署方式可按需灵活选择,pip 方式高效便捷适配快速落地场景,源码方式支持二次开发满足定制化需求,这份实操指南可助力 NLP 从业者避开部署坑点,高效完成 Langchain-Chatchat 的本地部署与项目落地。