1.网页压缩
重新编译安装Apache
cd /usr/src/
上传httpd压缩包到此路径
tar -zxvf httpd-2.4.6.tar.gz
cd httpd-2.4.6/
下载编译依赖
yum install -y gcc gcc-c++ make pcre-devel zlib-devel apr-devel apr-util-devel
生成Makefile文件
./configure --prefix=/usr/local/httpd --enable-so --enable-rewrite --enable-charset-lite --enable-cgi --enable-deflate
编译安装
make -j4 && make install
建立连接
ln -s /usr/local/httpd/bin/* /usr/local/bin
配置mod_deflate模块启用
bash
<IfModule deflate_module>
    # 设置压缩级别(1-9,级别越高压缩率越高,消耗CPU越多,6为平衡值)
    DeflateCompressionLevel 6

    # 启用输出压缩过滤器
    SetOutputFilter DEFLATE

    # 明确指定需要压缩的MIME类型(修复空格缺失问题)
    AddOutputFilterByType DEFLATE text/html text/plain text/xml text/css text/javascript
    AddOutputFilterByType DEFLATE application/x-javascript application/javascript application/json

    # 排除无需压缩的文件格式(使用#注释,修复//注释错误)
    # 图片文件:gif、jpg、jpeg、png(已为二进制压缩,再压缩无意义)
    SetEnvIfNoCase Request_URI \.(?:gif|jpe?g|png)$ no-gzip dont-vary
    # 压缩包/可执行文件:exe、tgz、gz、zip等
    SetEnvIfNoCase Request_URI \.(?:exe|t?gz|zip|bz2|sit|rar)$ no-gzip dont-vary
    # 媒体/文档文件:pdf、mov、avi、mp3、mp4、rm
    SetEnvIfNoCase Request_URI \.(?:pdf|mov|avi|mp3|mp4|rm)$ no-gzip dont-vary

    # 文本类型文件压缩(覆盖所有text/*格式)
    AddOutputFilterByType DEFLATE text/*

    # JavaScript相关类型压缩
    AddOutputFilterByType DEFLATE application/ms* application/vnd* application/postscript application/javascript application/x-javascript

    # PHP文件输出压缩
    AddOutputFilterByType DEFLATE application/x-httpd-php application/x-httpd-fastphp
</IfModule>
还要在文件中找到他然后取消注释

重启Apache服务
/usr/local/httpd/bin/apachectl restart
验证模块是否启动
/usr/local/httpd/bin/httpd -M 2>&1 | grep deflate

测试
先创建一个存放图片的文件夹
mkdir -p /usr/local/httpd/htdocs/images
更改权限
chmod -R 755 /usr/local/httpd/htdocs/images
将图片放在images中
rz
cd /usr/local/httpd/htdocs/images
高雅人士.jpg
编辑网站
vim /usr/local/httpd/htdocs/index.html
bash
<img src="images/test" alt="测试图片" width="300" height="200"<!DOCTYPE html>
<html>
<head>
    <meta charset="UTF-8">
    <title>我的网站</title>
</head>
<body>
    <h1>测试图片展示</h1>
    <!-- 引用images子目录下的高雅人士.jpg -->
    <img src="images/高雅人士.jpg" alt="测试图片" width="300" height="200">
</body>
</html>
本地查看网站:检查响应头
curl -I -H "Accept-Encoding: gzip, deflate" http://192.168.147.137
bash
HTTP/1.1 200 OK
Date: Tue, 23 Dec 2025 02:39:19 GMT
Server: Apache/2.4.6 (Unix)
Last-Modified: Tue, 23 Dec 2025 02:38:09 GMT
ETag: "125-646956f262a4b-gzip"
Accept-Ranges: bytes
Vary: Accept-Encoding
Content-Encoding: gzip   成功
Content-Length: 242
Content-Type: text/html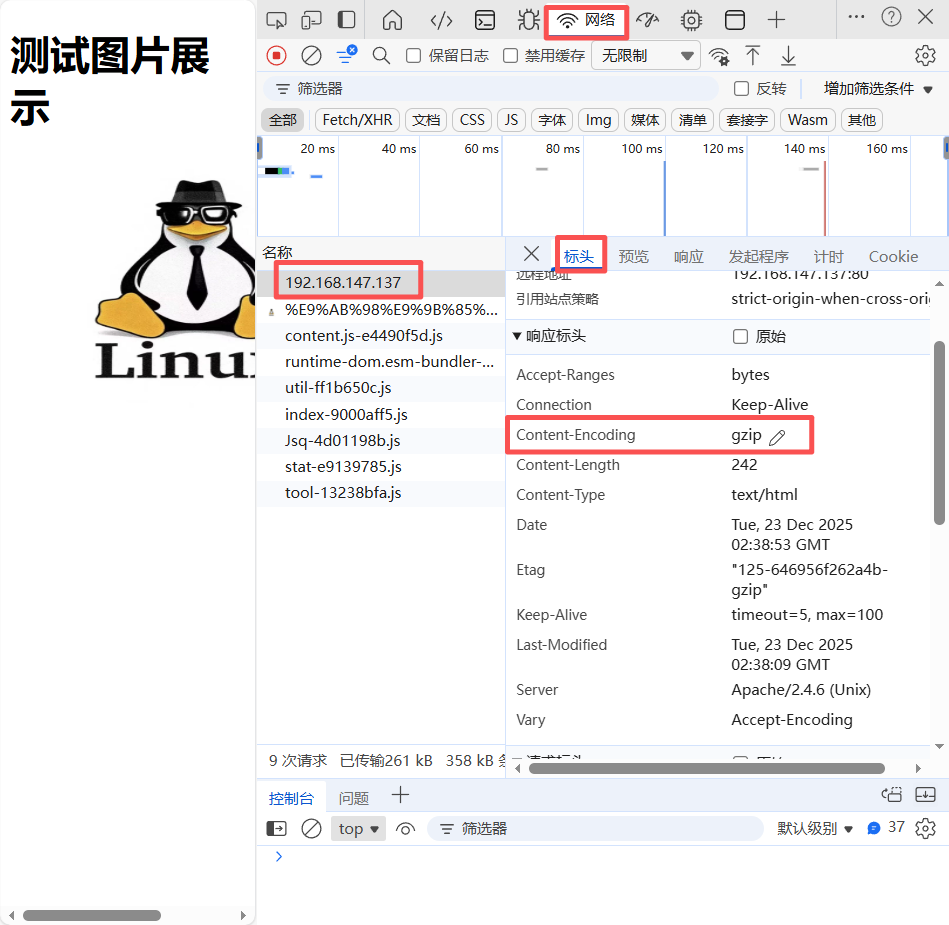
2.网页缓存
配置mod_expires
vim /usr/local/httpd/conf/httpd.conf
取消注释

添加
bash
# 启用mod_expires模块(正确的模块判断语句)
<IfModule expires_module>
    # 开启过期缓存功能(必选,激活模块)
    ExpiresActive On

    # 设置默认缓存过期时间(针对未单独配置的资源)
    ExpiresDefault "access plus 10 minutes"

    # 按文件类型设置差异化缓存时间(推荐,针对性优化)
    # 图片类资源(长期不变,设置较长缓存)
    ExpiresByType image/jpg "access plus 30 days"
    ExpiresByType image/jpeg "access plus 30 days"
    ExpiresByType image/png "access plus 30 days"
    ExpiresByType image/gif "access plus 30 days"
    ExpiresByType image/webp "access plus 30 days"
    ExpiresByType image/ico "access plus 365 days"

    # CSS/JS类资源(修改频率较低,设置中等缓存)
    ExpiresByType text/css "access plus 7 days"
    ExpiresByType application/javascript "access plus 7 days"
    ExpiresByType text/javascript "access plus 7 days"

    # 文本/网页类资源(修改频率较高,设置较短缓存)
    ExpiresByType text/html "access plus 1 hour"
    ExpiresByType text/plain "access plus 1 hour"
    ExpiresByType application/json "access plus 1 hour"
</IfModule>
检查语法
apachectl -t 只要显示有Syntax OK 就说明配置没问题。
重启Apache服务
apachectl restart
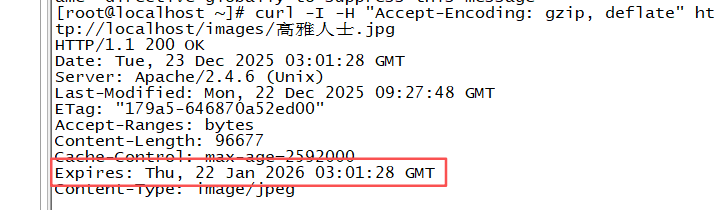
本地查看:
curl -I -H "Accept-Encoding: gzip, deflate" http://localhost/images/高雅人士.jpg
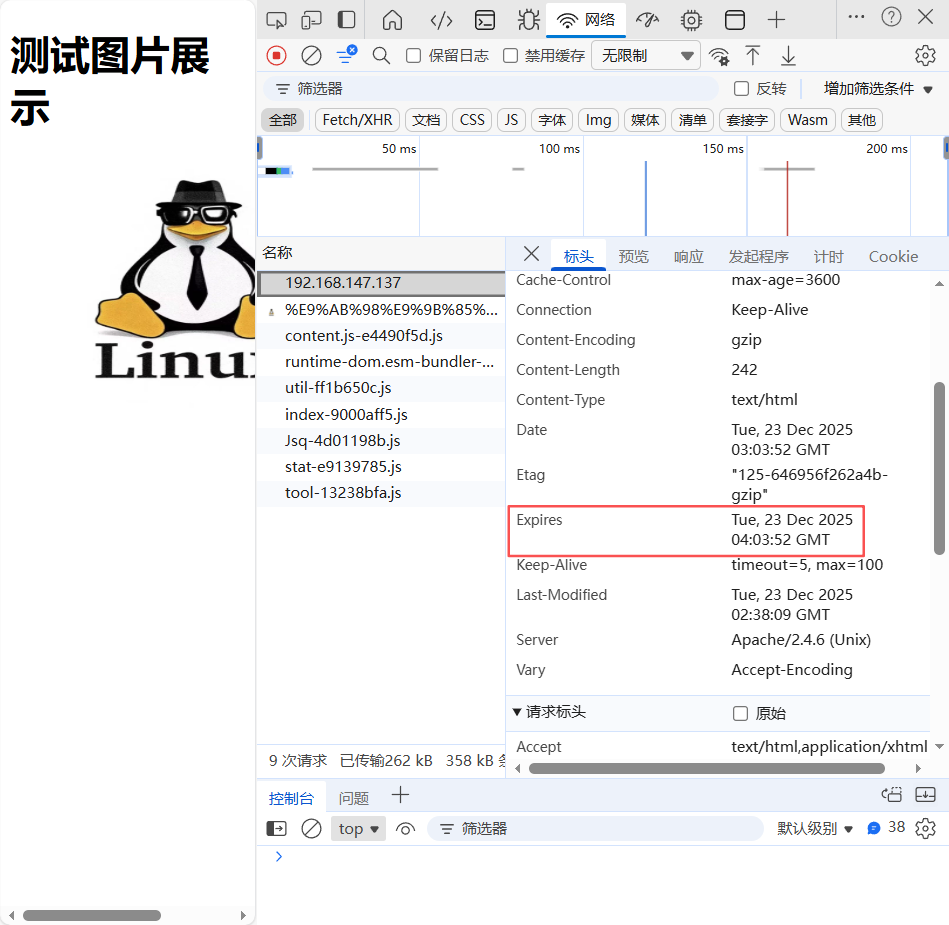
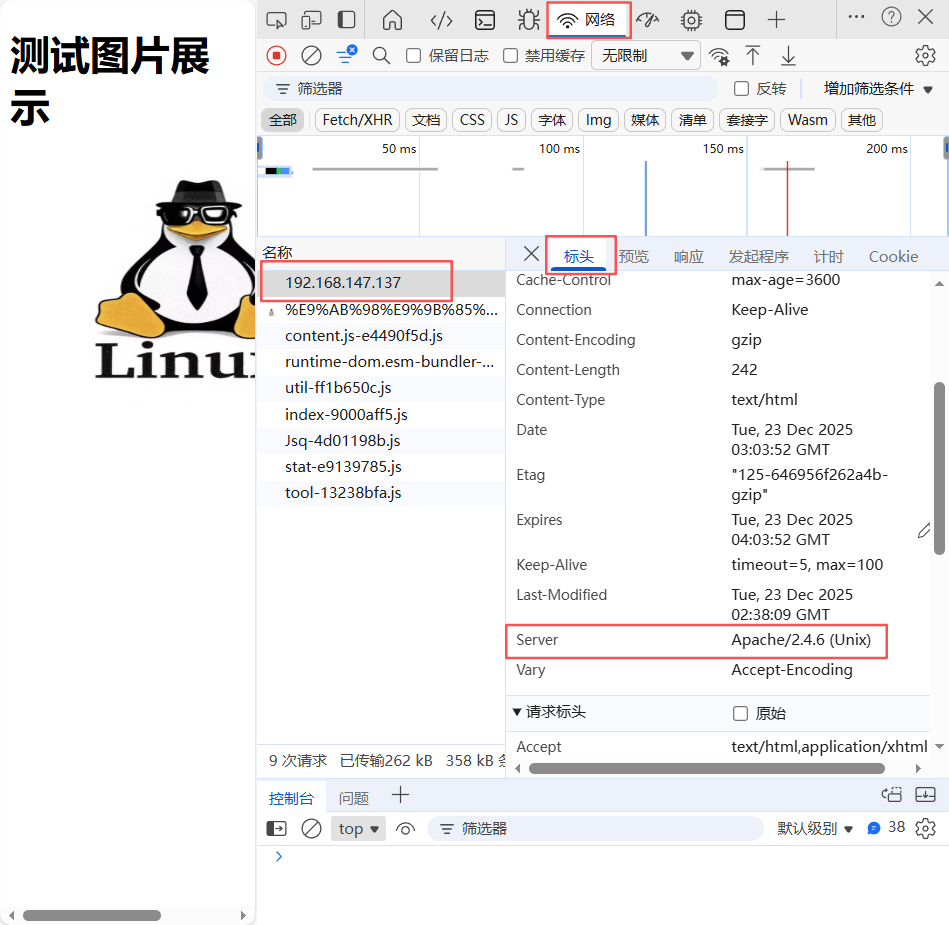
浏览器查看:
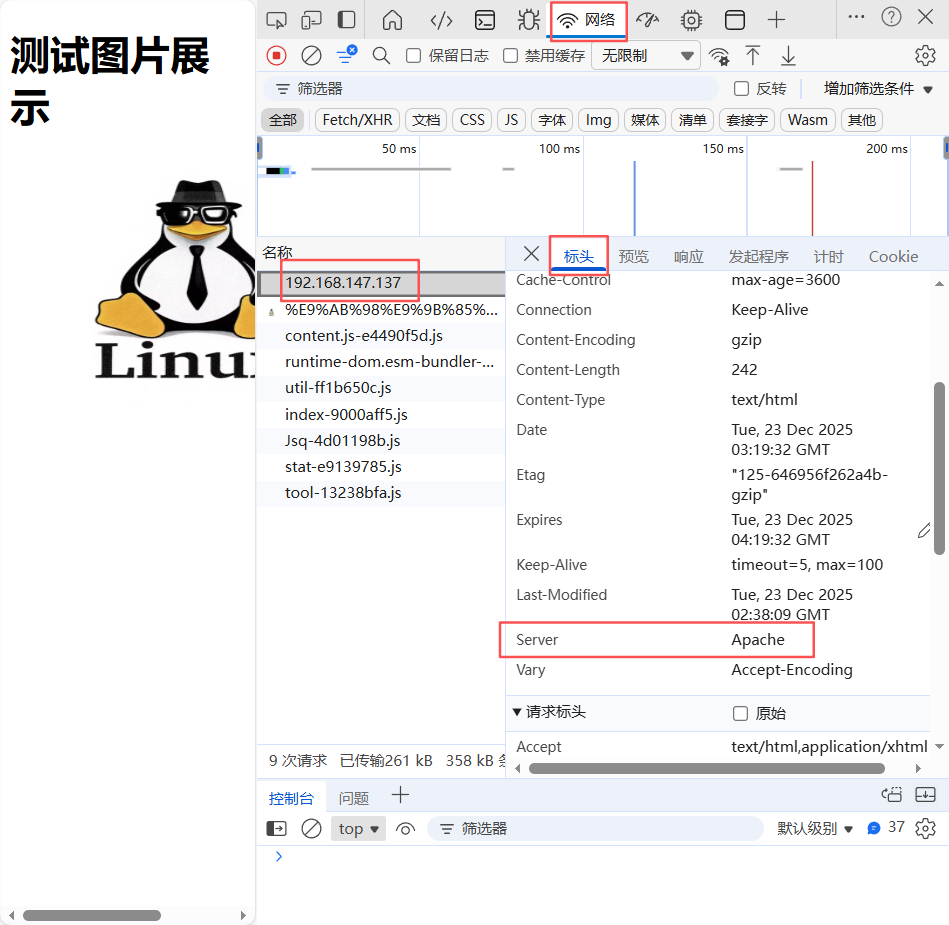
3.隐藏版本信息
这就是版本信息
修改httpd.conf文件
vim /usr/local/httpd/conf/httpd.conf
找到这条,取消注释

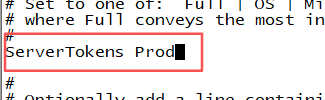
修改httpd-default.conf文件
vim /usr/local/httpd/conf/extra/httpd-default.conf
将Full改为Prod
重启Apache服务
apachectl restart
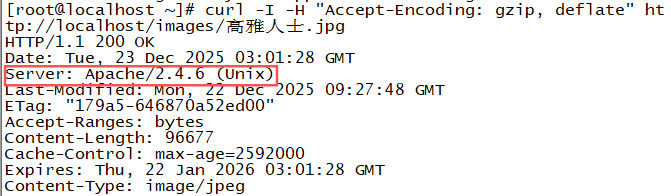
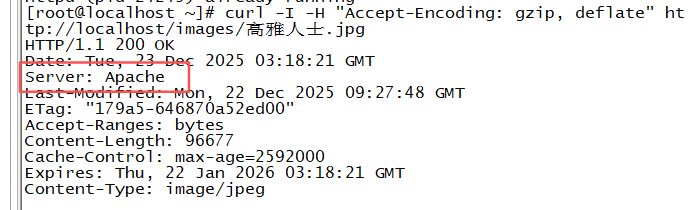
测试:本机
curl -I -H "Accept-Encoding: gzip, deflate" http://localhost/images/高雅人士.jpg
这个时候就看不到版本号了
浏览器
| 选项 | 输出格式 | 选项含义说明 |
|---|---|---|
| Prod | Server: Apache | (ProductOnly,仅产品名称)仅输出Apache服务器的产品名称,隐藏所有版本号、操作系统等信息,安全性最高,可避免泄露服务器版本细节被恶意利用 |
| Major | Server: Apache/2 | (MajorVersion,主版本号)输出产品名称+主版本号,隐藏次版本号、修订版本及操作系统信息 |
| Minor | Server: Apache/2.4 | (MinorVersion,次版本号)输出产品名称+主版本号+次版本号,隐藏修订版本及操作系统信息 |
| OS | Server: Apache/2.4.25 (Unix) | (Operating System,操作系统)输出产品完整版本号(主+次+修订版)+ 服务器操作系统类型,仅隐藏部分系统细节 |
| Full | Server: Apache/2.4.25 (Unix) PHP/7.4.30 | (Full Information,完整信息)输出服务器完整信息,包括Apache完整版本、操作系统、已加载的模块(如PHP等)及对应版本,信息最详细,安全性最低 |
4.Apache防盗链
实验环境
先复制之前网站的图片链接
再增加一台盗图的Linux,yum安装好后
编辑网站文件
vim /var/www/html/index.html
添加到img src后
bash
<html>
<head>
    <meta charset="UTF-8">
    <title>我的网站</title>
</head>
<body>
    <h1>测试图片展示</h1>
    <!-- 引用重命名后的图片文件 -->
    <img src="http://192.168.147.137/images/%E9%AB%98%E9%9B%85%E4%BA%BA%E5%A3%AB.jpg">
</body>
</html>
网站预览:
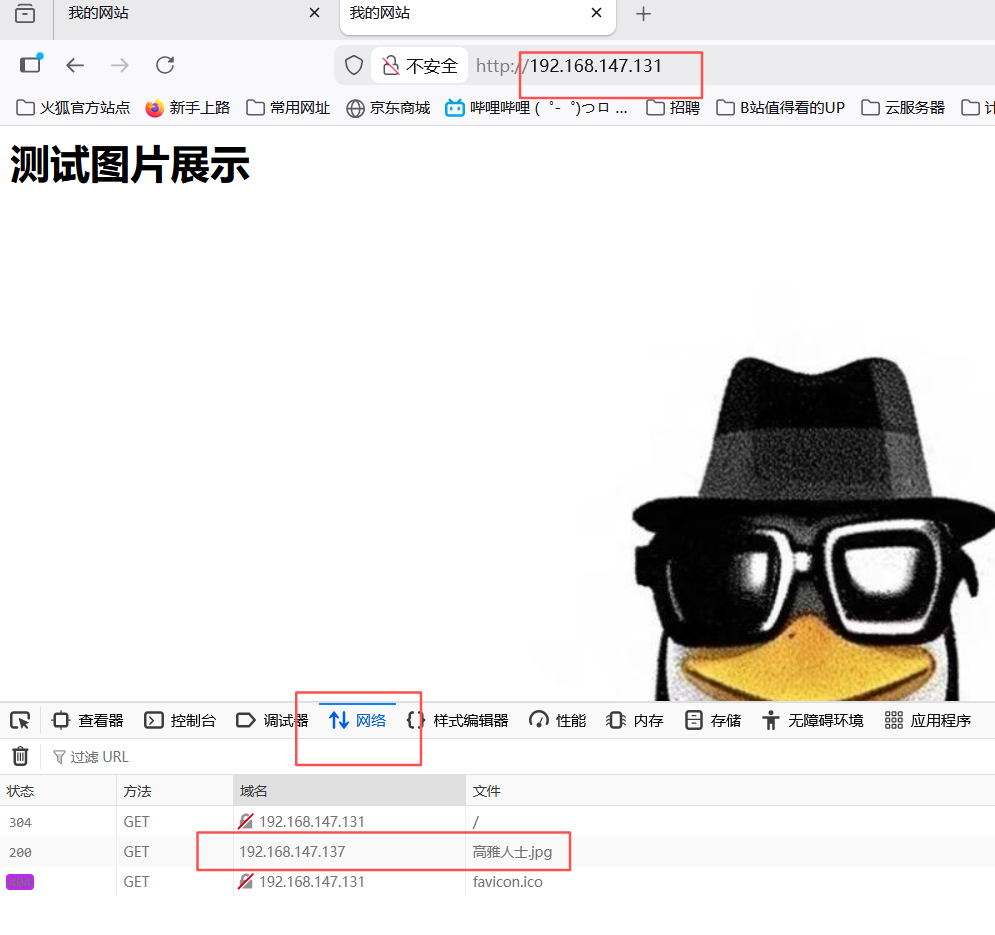
可见,192.168.147.131使用了192.168.147.137的图片
防盗链设置
配置mod_rewrite
vim /usr/local/httpd/conf/httpd.conf

取消这条注释
添加,注释的不用管
bash
<Directory "/usr/local/httpd/htdocs">
    #
    # Possible values for the Options directive are "None", "All",
    # or any combination of:
    #   Indexes Includes FollowSymLinks SymLinksifOwnerMatch ExecCGI MultiViews
    #
    # Note that "MultiViews" must be named *explicitly* --- "Options All"
    # doesn't give it to you.
    #
    # The Options directive is both complicated and important.  Please see
    # http://httpd.apache.org/docs/2.4/mod/core.html#options
    # for more information.
    #
    Options Indexes FollowSymLinks

    #
    # AllowOverride controls what directives may be placed in .htaccess files.
    # It can be "All", "None", or any combination of the keywords:
    #   AllowOverride FileInfo AuthConfig Limit
    #
    AllowOverride All
    RewriteEngine On

    # 防盗链规则:仅允许kxr.com和www.kxr.com引用资源,其他来源重定向到错误图片
    # [NC]:不区分大小写;%{HTTP_REFERER}:获取请求来源页的URL
    RewriteCond %{HTTP_REFERER} !^http://192.168.147.137(/.*)?$ [NC]
    # 匹配gif/jpg/swf后缀的静态资源,重定向到指定错误图片
    RewriteRule .*\.(gif|jpg|swf)$ http://192.168.147.137/qie.jpg [R,L,NC]

    #
    # Controls who can get stuff from this server.
    #
    Require all granted
</Directory>
浏览器测试(一定要清除浏览器缓存再打开)
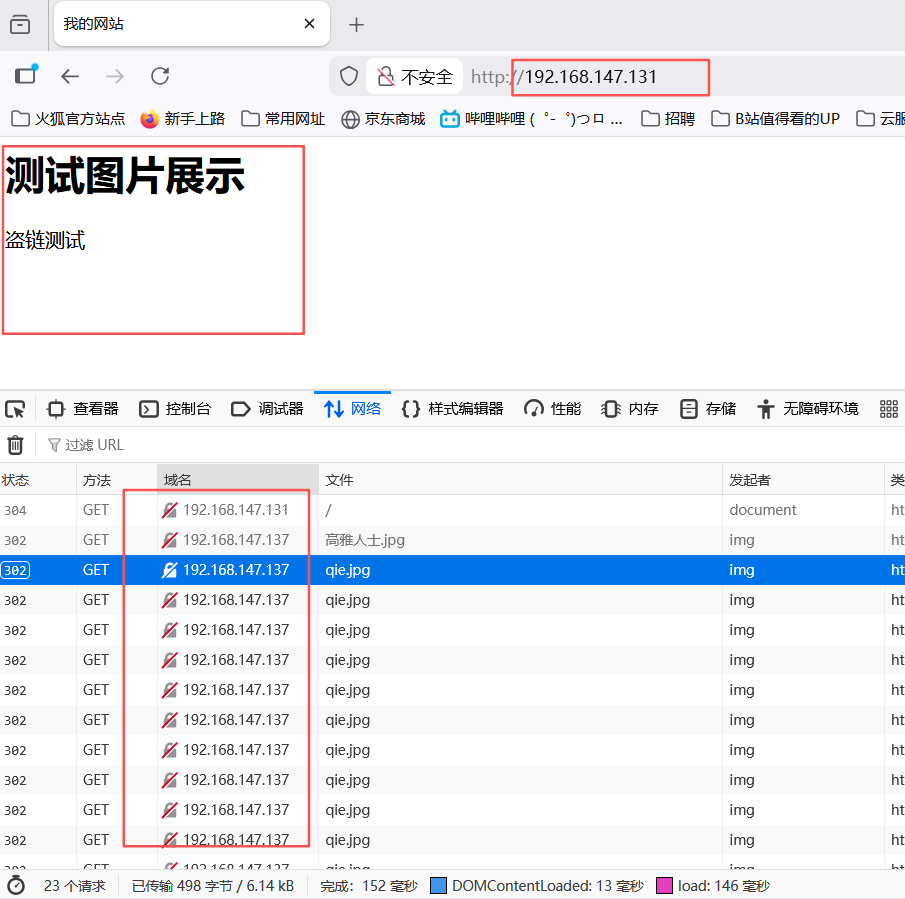 然后防盗链就设置成功了。