【声明】本博客所有内容均为个人业余时间创作,所述技术案例均来自公开开源项目(如Github,Apache基金会),不涉及任何企业机密或未公开技术,如有侵权请联系删除
背景
上篇 blog
【Ubuntu】【Hugo】搭建私人博客:行内代码颜色修改(三)
分析了 extended_head.html 的内容,并实现了行内代码颜色的修改,下面继续分析
搭建私人博客
OK,做完前面的内容,打开博客内容,可以看到效果如下
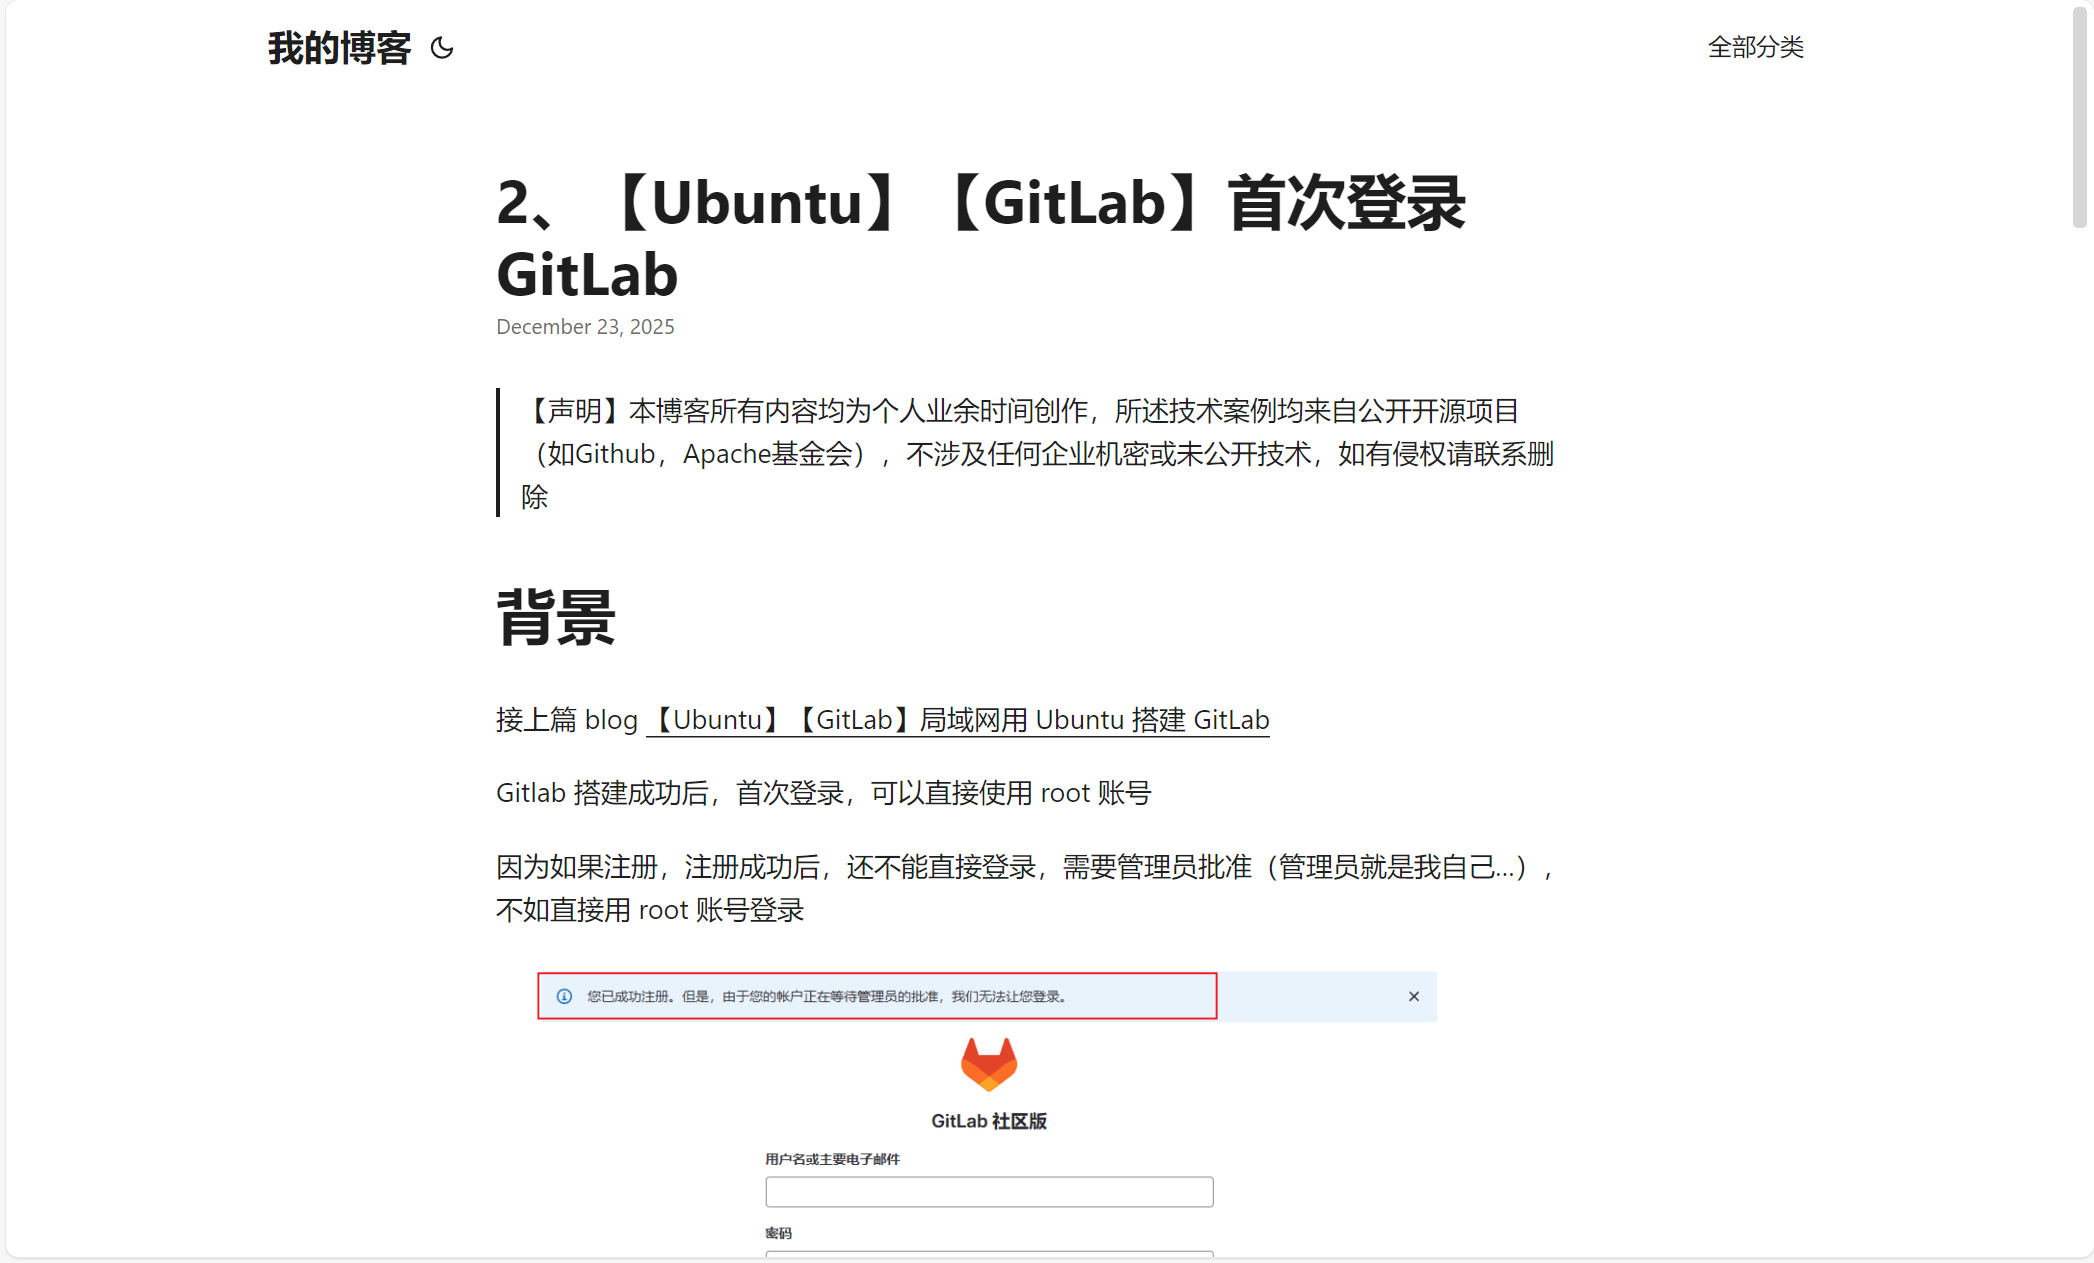
可以发现里面比较空旷,下面来往里面添加点内容和功能
首先来添加 TOC(Table of Contents,文章目录),打开 PaperMod 主题 /themes/PaperMod/layouts/partials/toc.html 文件
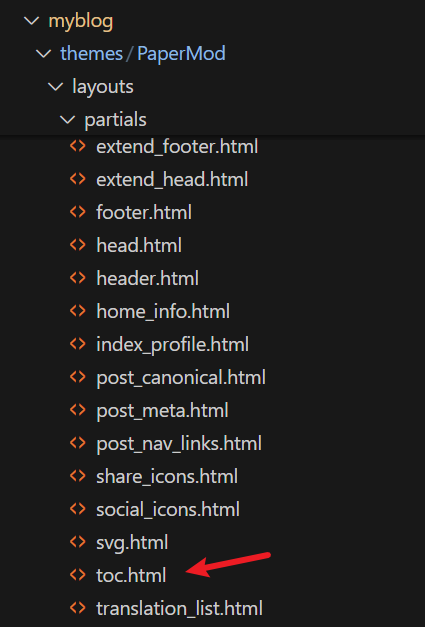
可以看到内容如下
html
{{- $headers := findRE "<h[1-6].*?>(.|\n])+?</h[1-6]>" .Content -}}
{{- $has_headers := ge (len $headers) 1 -}}
{{- if $has_headers -}}
<div class="toc">
    <details {{if (.Param "TocOpen") }} open{{ end }}>
        <summary accesskey="c" title="(Alt + C)">
            <span class="details">{{- i18n "toc" | default "Table of Contents" }}</span>
        </summary>

        <div class="inner">
            {{- if (.Param "UseHugoToc") }}
            {{- .TableOfContents -}}
            {{- else }}
            {{- $largest := 6 -}}
            {{- range $headers -}}
            {{- $headerLevel := index (findRE "[1-6]" . 1) 0 -}}
            {{- $headerLevel := len (seq $headerLevel) -}}
            {{- if lt $headerLevel $largest -}}
            {{- $largest = $headerLevel -}}
            {{- end -}}
            {{- end -}}

            {{- $firstHeaderLevel := len (seq (index (findRE "[1-6]" (index $headers 0) 1) 0)) -}}

            {{- $.Scratch.Set "bareul" slice -}}
            <ul>
                {{- range seq (sub $firstHeaderLevel $largest) -}}
                <ul>
                    {{- $.Scratch.Add "bareul" (sub (add $largest .) 1) -}}
                    {{- end -}}
                    {{- range $i, $header := $headers -}}
                    {{- $headerLevel := index (findRE "[1-6]" . 1) 0 -}}
                    {{- $headerLevel := len (seq $headerLevel) -}}

                    {{/* get id="xyz" */}}
                    {{- $id := index (findRE "(id=\"(.*?)\")" $header 9) 0 }}

                    {{- /* strip id="" to leave xyz, no way to get regex capturing groups in hugo */ -}}
                    {{- $cleanedID := replace (replace $id "id=\"" "") "\"" "" }}
                    {{- $header := replaceRE "<h[1-6].*?>((.|\n])+?)</h[1-6]>" "$1" $header -}}

                    {{- if ne $i 0 -}}
                    {{- $prevHeaderLevel := index (findRE "[1-6]" (index $headers (sub $i 1)) 1) 0 -}}
                    {{- $prevHeaderLevel := len (seq $prevHeaderLevel) -}}
                    {{- if gt $headerLevel $prevHeaderLevel -}}
                    {{- range seq $prevHeaderLevel (sub $headerLevel 1) -}}
                    <ul>
                        {{/* the first should not be recorded */}}
                        {{- if ne $prevHeaderLevel . -}}
                        {{- $.Scratch.Add "bareul" . -}}
                        {{- end -}}
                        {{- end -}}
                        {{- else -}}
                        </li>
                        {{- if lt $headerLevel $prevHeaderLevel -}}
                        {{- range seq (sub $prevHeaderLevel 1) -1 $headerLevel -}}
                        {{- if in ($.Scratch.Get "bareul") . -}}
                    </ul>
                    {{/* manually do pop item */}}
                    {{- $tmp := $.Scratch.Get "bareul" -}}
                    {{- $.Scratch.Delete "bareul" -}}
                    {{- $.Scratch.Set "bareul" slice}}
                    {{- range seq (sub (len $tmp) 1) -}}
                    {{- $.Scratch.Add "bareul" (index $tmp (sub . 1)) -}}
                    {{- end -}}
                    {{- else -}}
                </ul>
                </li>
                {{- end -}}
                {{- end -}}
                {{- end -}}
                {{- end }}
                <li>
                    <a href="#{{- $cleanedID -}}" aria-label="{{- $header | plainify | safeHTML -}}">{{- $header | plainify | safeHTML -}}</a>
                    {{- else }}
                <li>
                    <a href="#{{- $cleanedID -}}" aria-label="{{- $header | plainify | safeHTML -}}">{{- $header | plainify | safeHTML -}}</a>
                    {{- end -}}
                    {{- end -}}
                    <!-- {{- $firstHeaderLevel := len (seq (index (findRE "[1-6]" (index $headers 0) 1) 0)) -}} -->
                    {{- $firstHeaderLevel := $largest }}
                    {{- $lastHeaderLevel := len (seq (index (findRE "[1-6]" (index $headers (sub (len $headers) 1)) 1) 0)) }}
                </li>
                {{- range seq (sub $lastHeaderLevel $firstHeaderLevel) -}}
                {{- if in ($.Scratch.Get "bareul") (add . $firstHeaderLevel) }}
            </ul>
            {{- else }}
            </ul>
            </li>
            {{- end -}}
            {{- end }}
            </ul>
            {{- end }}
        </div>
    </details>
</div>
{{- end }}
下面来详细分析下
首先,这段代码是 Hugo PaperMod 主题中,用于生成文章目录(TOC)的模板逻辑,可以看到,这里的代码不是纯 HTML,而是 Go 模板与 HTML 的组合,这里实现了一个自定义,基于正则解析 HTML 标题的手动 TOC 生成器(非 Hugo 内置的 TOC)
其整体目标 :从文章内容中,提取所有 <h1> 到 <h6> 的标题,并用标题信息,生成一个可折叠,结构正确的嵌套目录(ul/li)
先看第一部分:提取标题

这里是一段 Go 模板代码,其中几个关键点
findRE:Hugo 函数,通过正则表达式在.Content(已渲染的 HTML 内容)中查找匹配项<h[1-6].*?>(.|\n])+?</h[1-6]>:正则表达式,匹配任意<h1>到<h6>的 HTML 标签和其内容(包括换行)$headers:匹配得到一个包含所有标题 HTML 字符串的数组 (注意,不是纯标题字符串,而是带 HTML 语法的标题字符串),比如<h2 id=\"intro\">Introduction</h2>这样ge (len $headers) 1:至少要有一个标题,才会继续生成 TOC
再看第二部分:<details> 可折叠容器

下面详细解释下这里的含义
首先,这里结构的作用是:做一个可以点一下就展开,再点一下就收起的目录框(折叠菜单),具体来说:
<div>:HTML 里最常用的容器,其本身没有特殊功能,可以用来把一组内容打包在一起,方便加样式 (比如颜色,边框等)或控制布局,class="toc"是这个容器名(目录),CSS 样式表会根据这个类目来给它加样式(比如加个灰色边框,缩进等),可以类比一个带标签的文件夹<details>:HTML5 新增的标签,专门用来做可折叠展开的内容块,默认情况下,<detials>里面的内容是隐藏的 ,用户需要点击一下<summary>,内容就会展开,再点一次,就会收起,就像一些 App 聊天框里面【查看更多】,【收起】的效果<summary>:<details>的标题或者说叫做按钮,用户只能看到<summary>中的文字,点击这个文字,就能展开里面的内容,在代码这里,默认显示的是英文Table of Contents,相当于折叠面板上的标题栏

OK,本篇先到这里,如有疑问,欢迎评论区留言讨论,祝各位功力大涨,技术更上一层楼!!!更多内容见下篇 blog
【Ubuntu】【Hugo】搭建私人博客:文章目录(二)