一、docker是什么?
软件的打包技术,docker有个东西叫做仓库,打包的东西直接放在仓库里面,全世界都可以共享。docker是2013年诞生的。
docker打包出来的每个软件,称之为docker镜像。
bash
镜像:images,是个压缩包文件,里面存放着安装好的程序。
容器:Container,Docker利用容器来运行应用。容器是从镜像创建的运行实例。它可以被启动、开始、停止、删除。每个容器都是相互隔离的、保证安全的平台。
二、docker的安装
centos7安装docker
更换yum源
bash
[base]
name=CentOS-$releasever - Base
baseurl=https://mirrors.aliyun.com/centos/$releasever/os/$basearch/
gpgcheck=1
gpgkey=https://mirrors.aliyun.com/centos/RPM-GPG-KEY-CentOS-7

[updates]
name=CentOS-$releasever - Updates
baseurl=https://mirrors.aliyun.com/centos/$releasever/updates/$basearch/
gpgcheck=1
gpgkey=https://mirrors.aliyun.com/centos/RPM-GPG-KEY-CentOS-7

[extras]
name=CentOS-$releasever - Extras
baseurl=https://mirrors.aliyun.com/centos/$releasever/extras/$basearch/
gpgcheck=1
gpgkey=https://mirrors.aliyun.com/centos/RPM-GPG-KEY-CentOS-7

[centosplus]
name=CentOS-$releasever - Plus
baseurl=https://mirrors.aliyun.com/centos/$releasever/centosplus/$basearch/
gpgcheck=1
enabled=0
gpgkey=https://mirrors.aliyun.com/centos/RPM-GPG-KEY-CentOS-7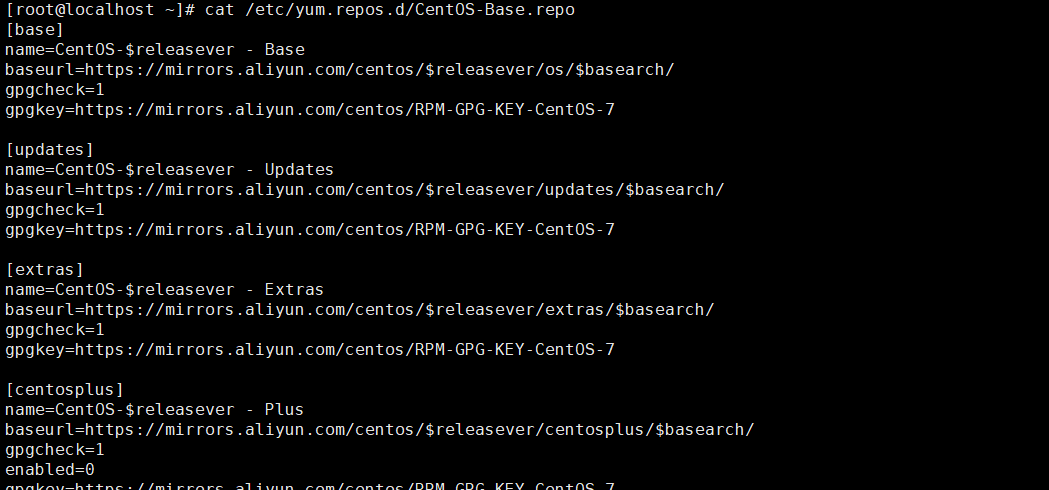
更新yum缓存
bash
yum update
我已经更新过了
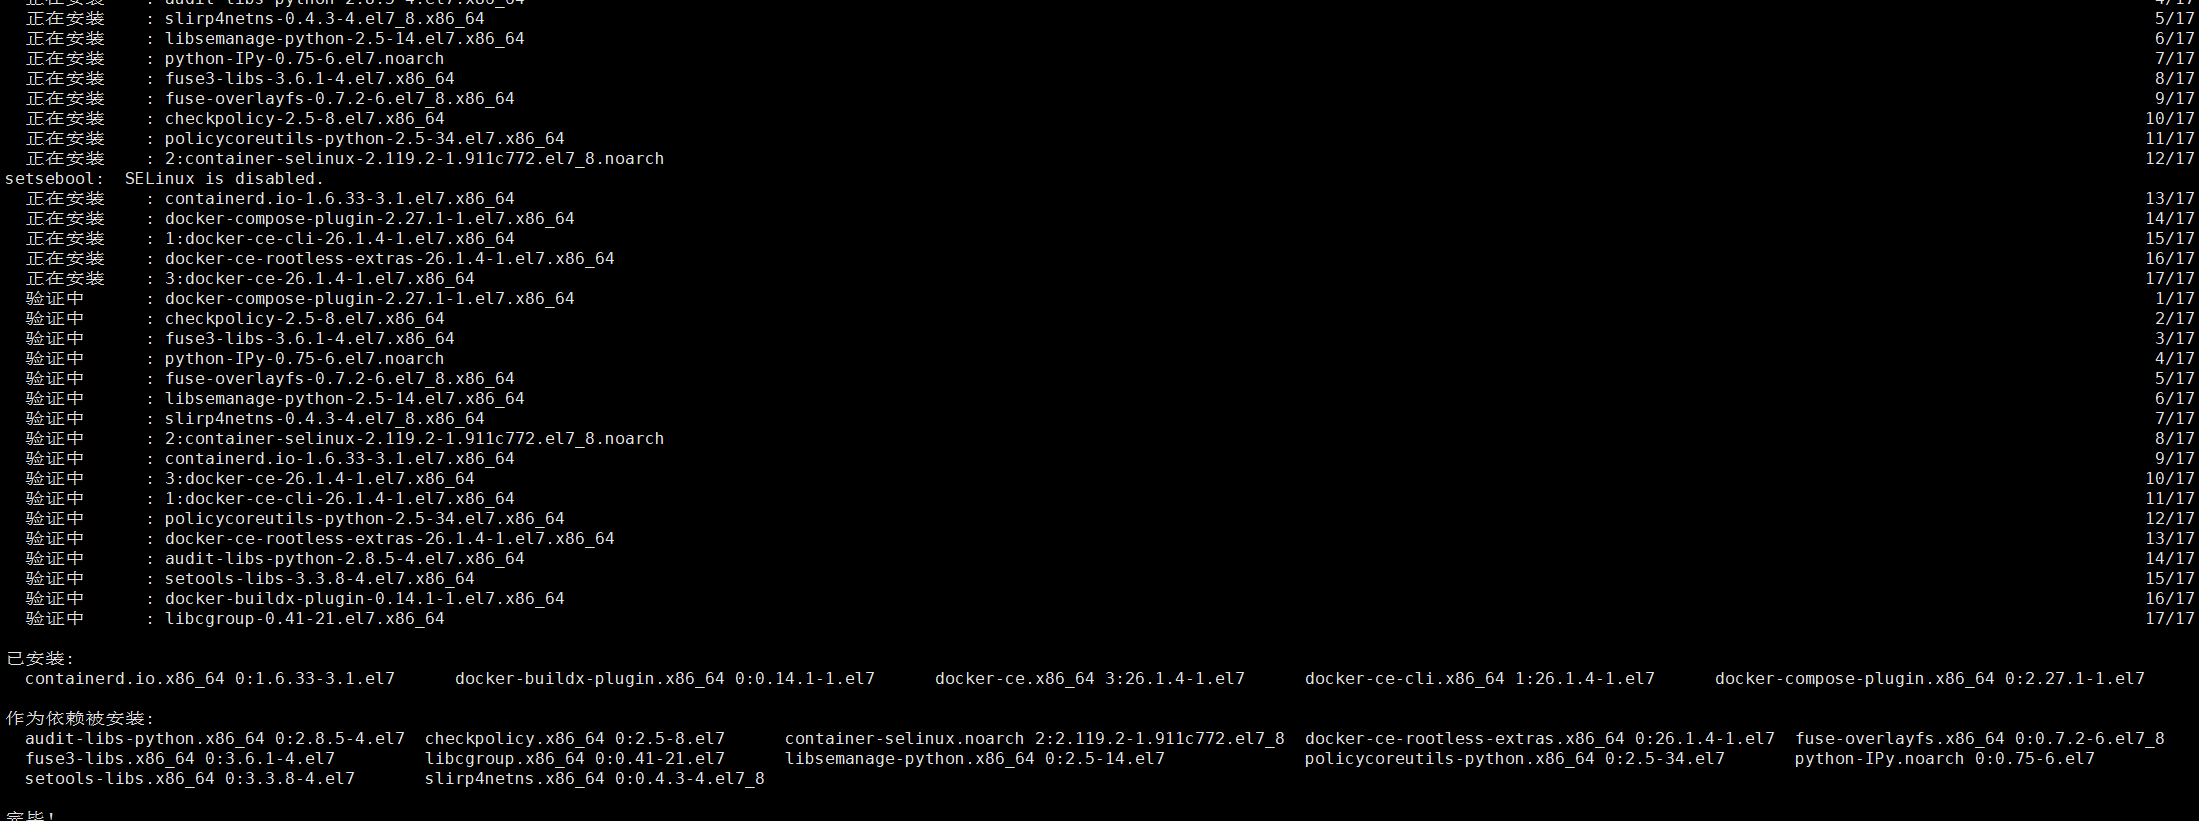
安装docker
bash
yum install -y docker-ce docker-ce-cli containerd.io docker-buildx-plugin docker-compose-plugin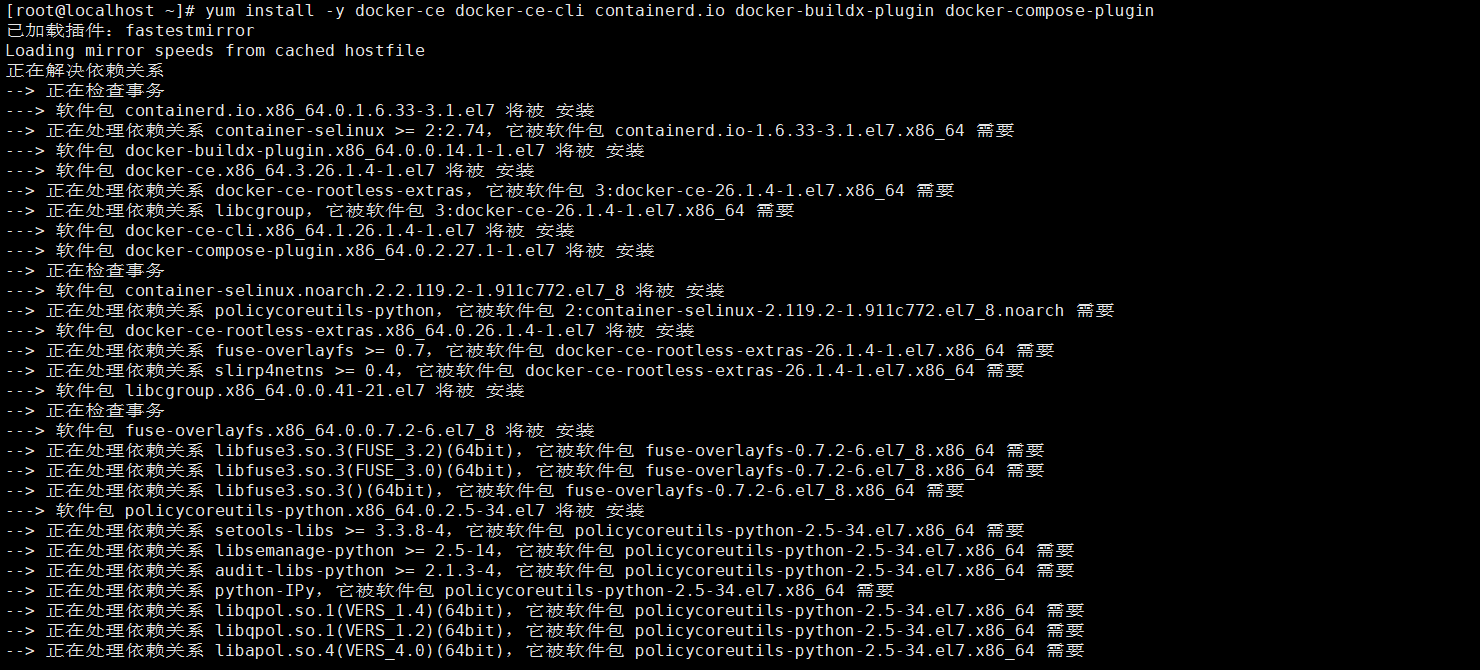
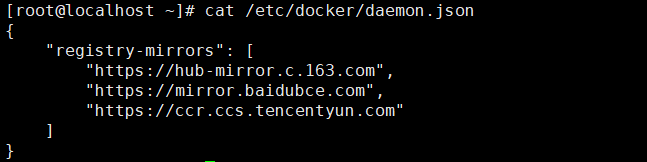
配置国内镜像加速器
bash
{
    "registry-mirrors": [
        "https://hub-mirror.c.163.com",
        "https://mirror.baidubce.com",
        "https://ccr.ccs.tencentyun.com"
    ]
}
启动docker,查看状态
bash
systemctl daemon-reload
systemctl start docker
systemctl status docker
systemctl enable docker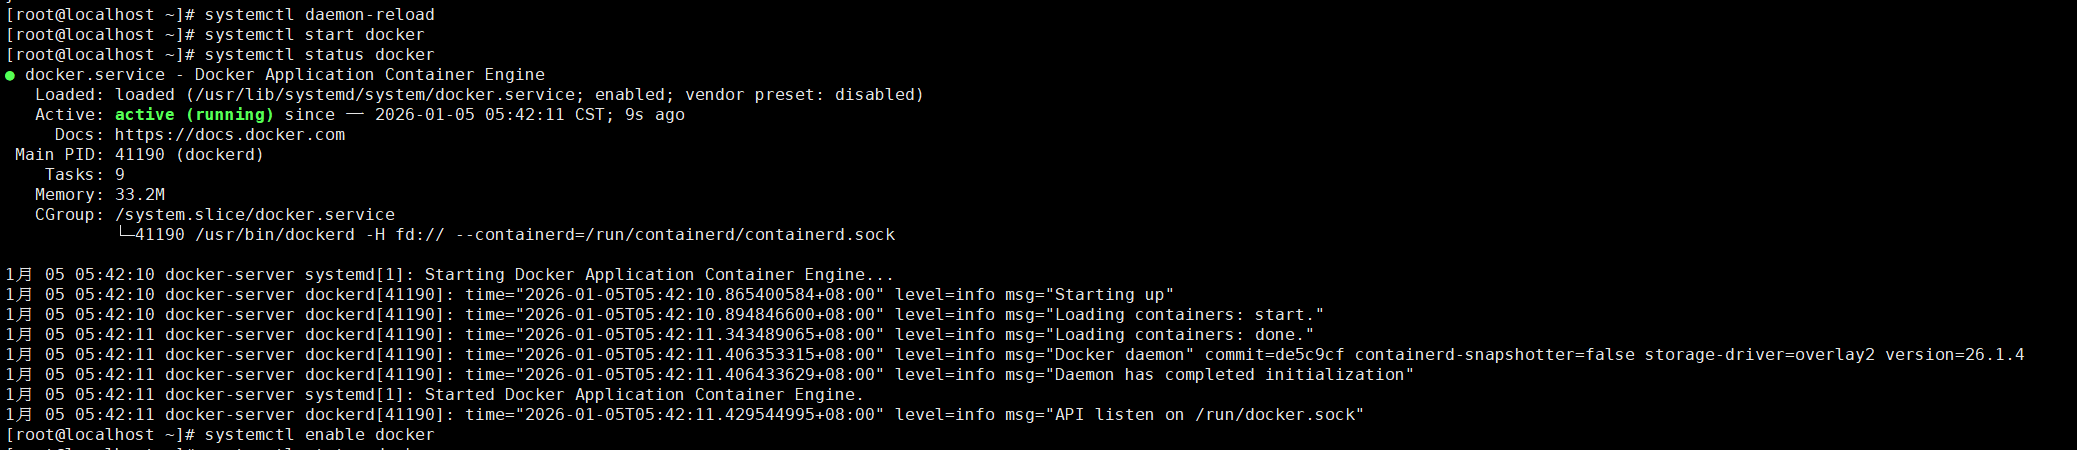
测试启动时报错解决步骤
参考博客:
bash
Docker报错"Cannot connect to the Docker daemon at unix:///var/run/docker.sock"完整解决方案
https://blog.csdn.net/m0_70877535/article/details/154430267
bash
解决docker:Error response from daemon: Get "https://registry-1.docker.io/v2/": dial tcp 108.160.172.20
https://blog.csdn.net/lingchensidian4/article/details/145444900
bash
[root@localhost ~]# docker run --rm hello-world 2>&1 | head -5
docker: Cannot connect to the Docker daemon at unix:///var/run/docker.sock. Is the docker daemon running?.
See 'docker run --help'.
[root@localhost ~]# ^C
[root@localhost ~]# systemctl enable docker
[root@localhost ~]# ls -l /var/run/docker.sock
ls: 无法访问/var/run/docker.sock: 没有那个文件或目录
[root@localhost ~]# sudo systemctl stop docker
Warning: Stopping docker.service, but it can still be activated by:
docker.socket
[root@localhost ~]# sudo systemctl stop docker.socket
[root@localhost ~]# sudo pkill dockerd
[root@localhost ~]# ps -ef | grep dockerd
root 41748 1120 0 05:56 pts/0 00:00:00 grep --color=auto dockerd
[root@localhost ~]# sudo rm -f /run/docker.sock
[root@localhost ~]# sudo rm -f /var/run/docker.sock
[root@localhost ~]# ls -ld /var/run
lrwxrwxrwx. 1 root root 6 9月 29 21:59 /var/run -> ../run
[root@localhost ~]# sudo systemctl daemon-reload
[root@localhost ~]# sudo systemctl start docker.socket
[root@localhost ~]# sudo systemctl start docker
[root@localhost ~]# ls -l /run/docker.sock
srw-rw---- 1 root docker 0 1月 5 05:56 /run/docker.sock
[root@localhost ~]# sudo docker run hello-world
Unable to find image 'hello-world:latest' locally
docker: Error response from daemon: Get "https://registry-1.docker.io/v2/": net/http: request canceled while waiting for connection (Client.Timeout exceeded while awaiting headers).
See 'docker run --help'.
[root@localhost ~]# docker pull hello-world
Using default tag: latest
Error response from daemon: Get "https://registry-1.docker.io/v2/": dial tcp 162.125.32.10:443: i/o timeout
[root@localhost ~]# vi /etc/docker/daemon.json
[root@localhost ~]# systemctl daemon-reload
[root@localhost ~]# systemctl restart docker
[root@localhost ~]# docker info
Client: Docker Engine - Community
Version: 26.1.4
Context: default
Debug Mode: false
Plugins:
buildx: Docker Buildx (Docker Inc.)
Version: v0.14.1
Path: /usr/libexec/docker/cli-plugins/docker-buildx
compose: Docker Compose (Docker Inc.)
Version: v2.27.1
Path: /usr/libexec/docker/cli-plugins/docker-compose
Server:
Containers: 0
Running: 0
Paused: 0
Stopped: 0
Images: 0
Server Version: 26.1.4
Storage Driver: overlay2
Backing Filesystem: xfs
Supports d_type: true
Using metacopy: false
Native Overlay Diff: true
userxattr: false
Logging Driver: json-file
Cgroup Driver: cgroupfs
Cgroup Version: 1
Plugins:
Volume: local
Network: bridge host ipvlan macvlan null overlay
Log: awslogs fluentd gcplogs gelf journald json-file local splunk syslog
Swarm: inactive
Runtimes: io.containerd.runc.v2 runc
Default Runtime: runc
Init Binary: docker-init
containerd version: d2d58213f83a351ca8f528a95fbd145f5654e957
runc version: v1.1.12-0-g51d5e94
init version: de40ad0
Security Options:
seccomp
Profile: builtin
Kernel Version: 3.10.0-1127.el7.x86_64
Operating System: CentOS Linux 7 (Core)
OSType: linux
Architecture: x86_64
CPUs: 4
Total Memory: 7.777GiB
Name: docker-server
ID: 8fd756c0-0fc8-46d6-acd6-29f4c4775089
Docker Root Dir: /var/lib/docker
Debug Mode: false
Experimental: false
Insecure Registries:
127.0.0.0/8
Registry Mirrors:
https://hub-mirror.c.163.com/
https://mirror.baidubce.com/
https://ccr.ccs.tencentyun.com/
Live Restore Enabled: false
[root@localhost ~]# docker pull hello-world
Using default tag: latest
latest: Pulling from library/hello-world
78445dd45222: Pull complete
Digest: sha256:c5515758d4c5e1e838e9cd307f6c6a0d620b5e07e6f927b07d05f6d12a1ac8d7
Status: Downloaded newer image for hello-world:latest
docker.io/library/hello-world:latest
[root@localhost ~]# docker run --rm hello-world
Hello from Docker!
This message shows that your installation appears to be working correctly.
To generate this message, Docker took the following steps:
1. The Docker client contacted the Docker daemon.
2. The Docker daemon pulled the "hello-world" image from the Docker Hub.
3. The Docker daemon created a new container from that image which runs the
executable that produces the output you are currently reading.
4. The Docker daemon streamed that output to the Docker client, which sent it
to your terminal.
To try something more ambitious, you can run an Ubuntu container with:
$ docker run -it ubuntu bash
Share images, automate workflows, and more with a free Docker ID:
https://cloud.docker.com/
For more examples and ideas, visit:
https://docs.docker.com/engine/userguide/
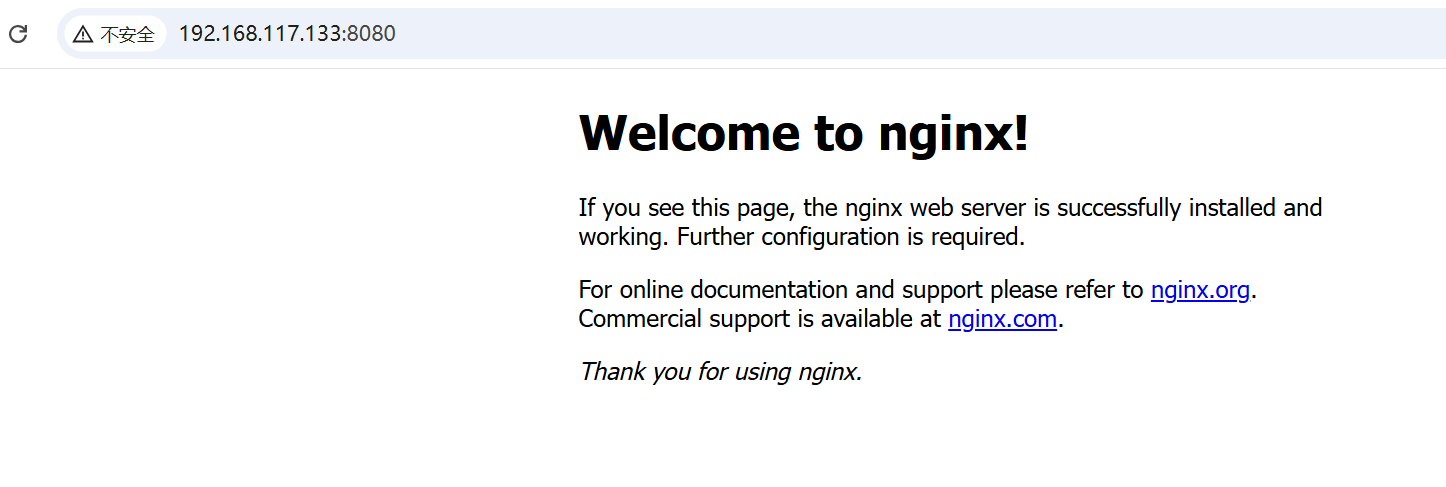
[root@localhost ~]# docker run -d --name nginx-test -p 8080:80 nginx
Unable to find image 'nginx:latest' locally
latest: Pulling from library/nginx
c353fd29d8c5: Pull complete
98b095d7d2b4: Pull complete
af5f0e3644c1: Pull complete
Digest: sha256:fad8e1cd52e24bce7b72cd7cb674a2efad671647b917055f5bd8a1f7ac9b1af8
Status: Downloaded newer image for nginx:latest
da648c7c515f9543f05b51dd1248a18b2b11040da9167bbb4b031c7e3737d561
[root@localhost ~]# docker container ls
CONTAINER ID IMAGE COMMAND CREATED STATUS PORTS NAMES
da648c7c515f nginx "nginx -g 'daemon of..." About a minute ago Up About a minute 0.0.0.0:8080->80/tcp, :::8080->80/tcp nginx-test测试nginx
bash
docker run -d --name nginx-test -p 8080:80 nginx
访问,加上端口:8080
docker pull xxx项目 只是拉取下来没有运行
docker run xxx项目 拉取下来并运行起来
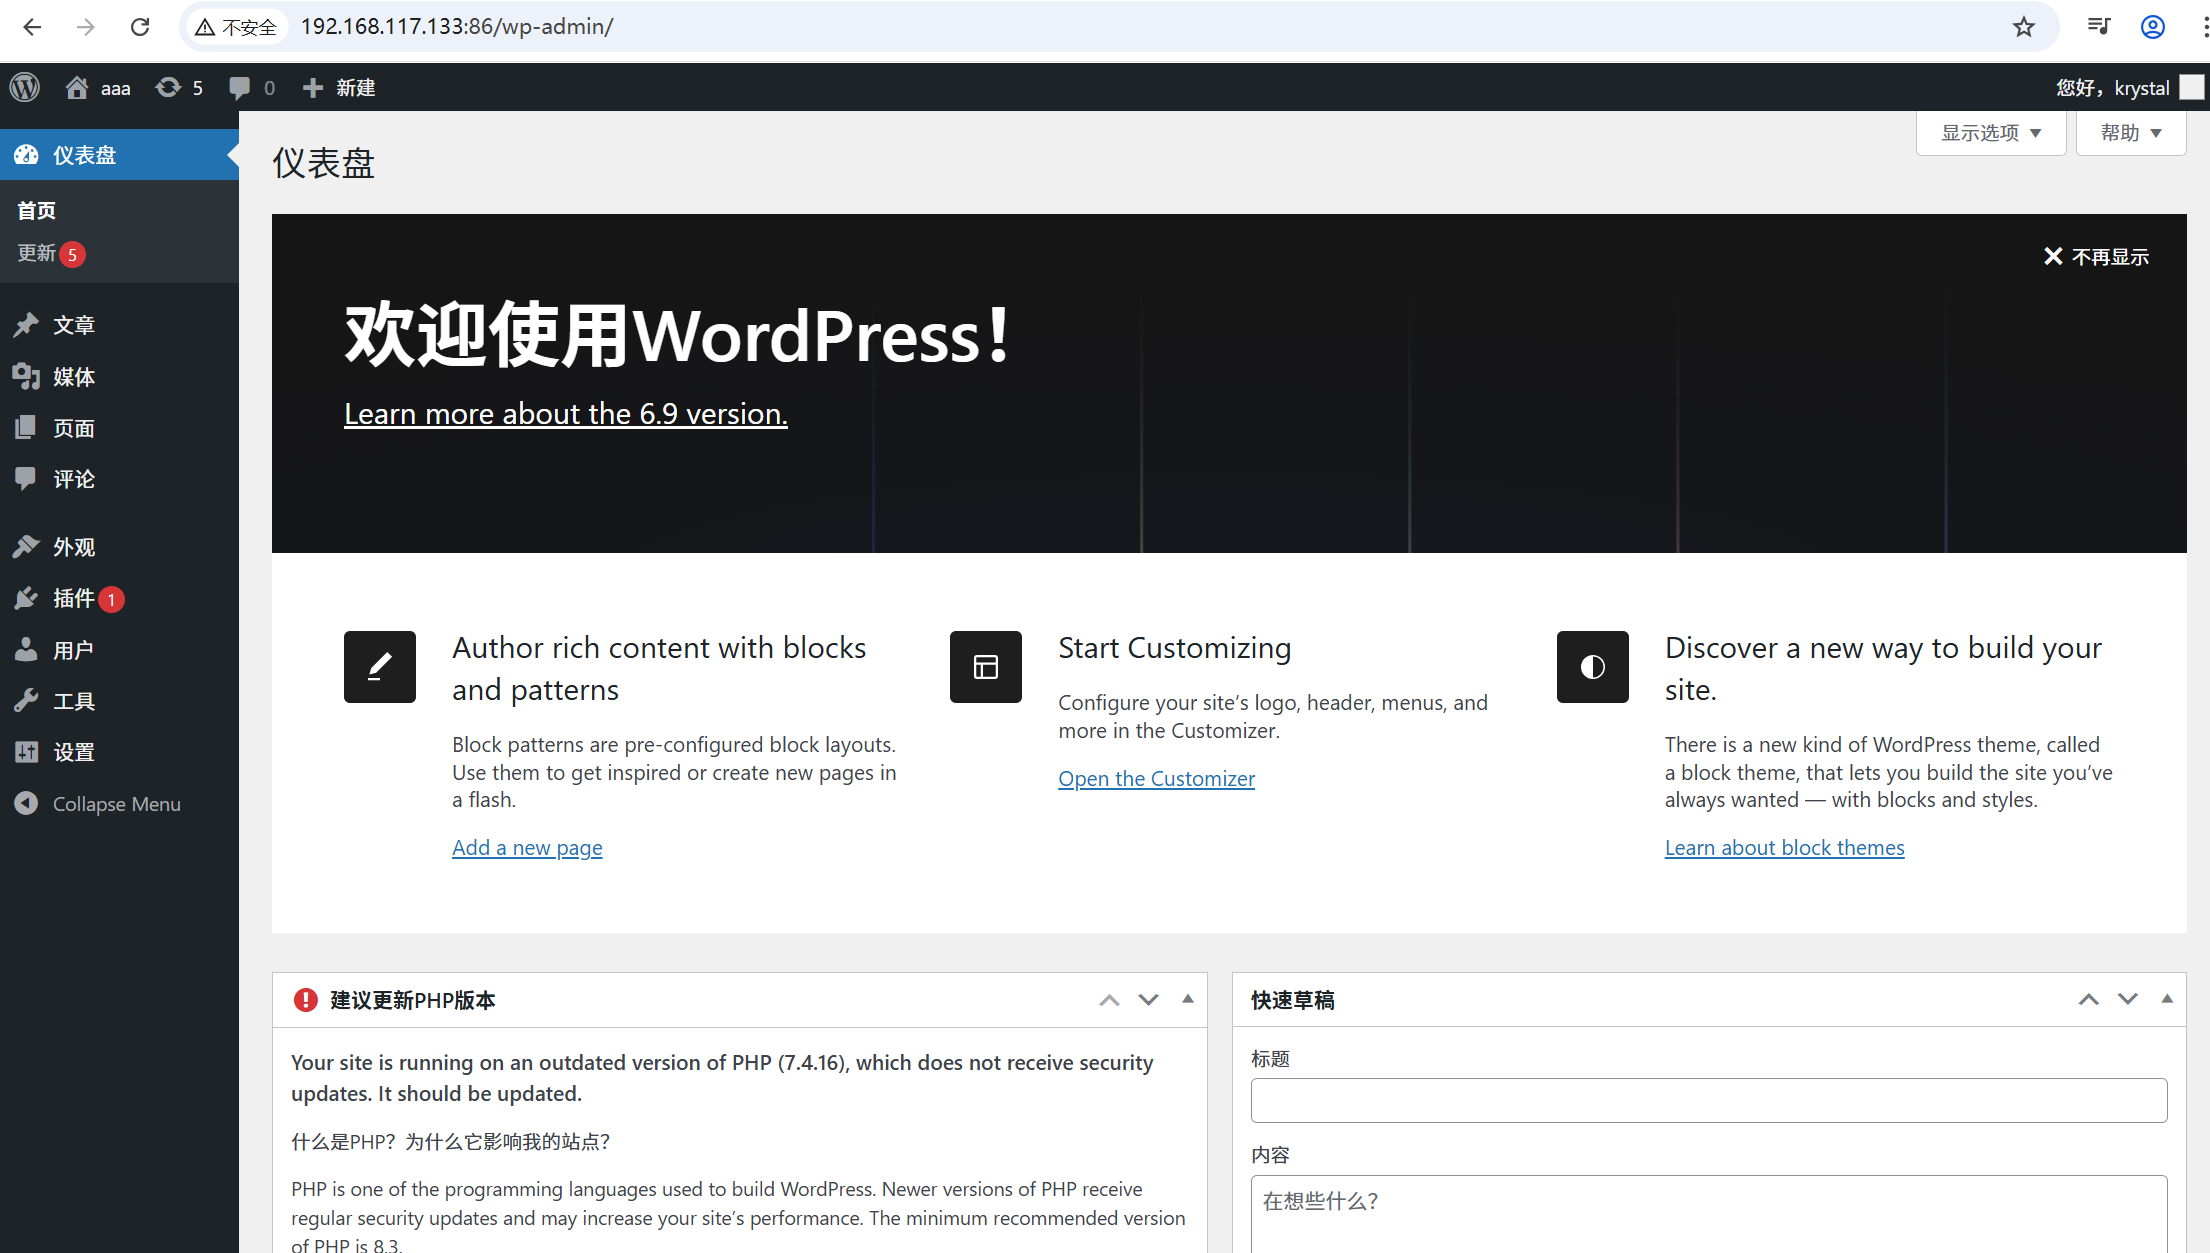
测试一下wordpress
bash
docker run --name mysql -e MYSQL_ROOT_PASSWORD=123456 -d mysql:5.7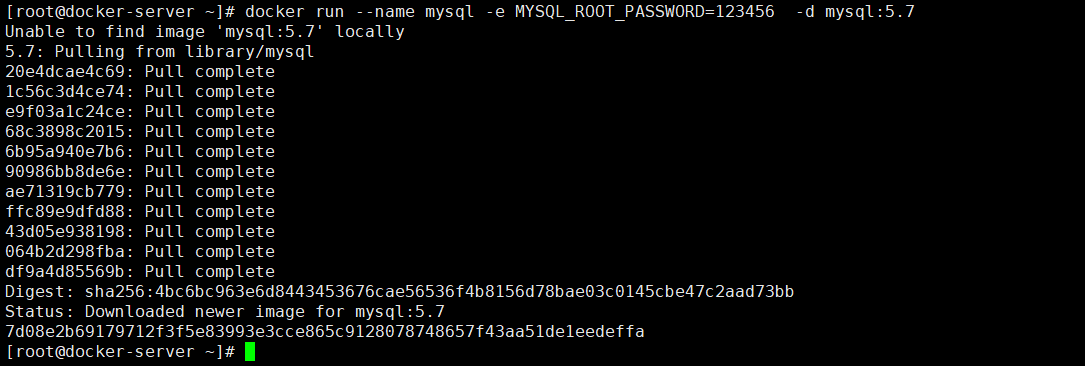
bash
docker run -d --link mysql:mysql -p 86:80 wordpress:5.6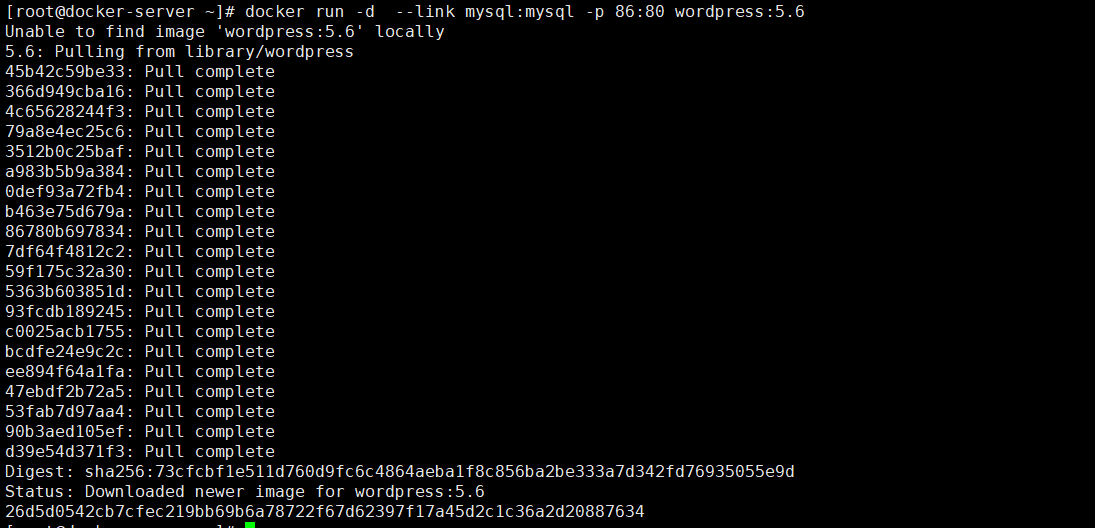
访问一下
192.168.117.133:86
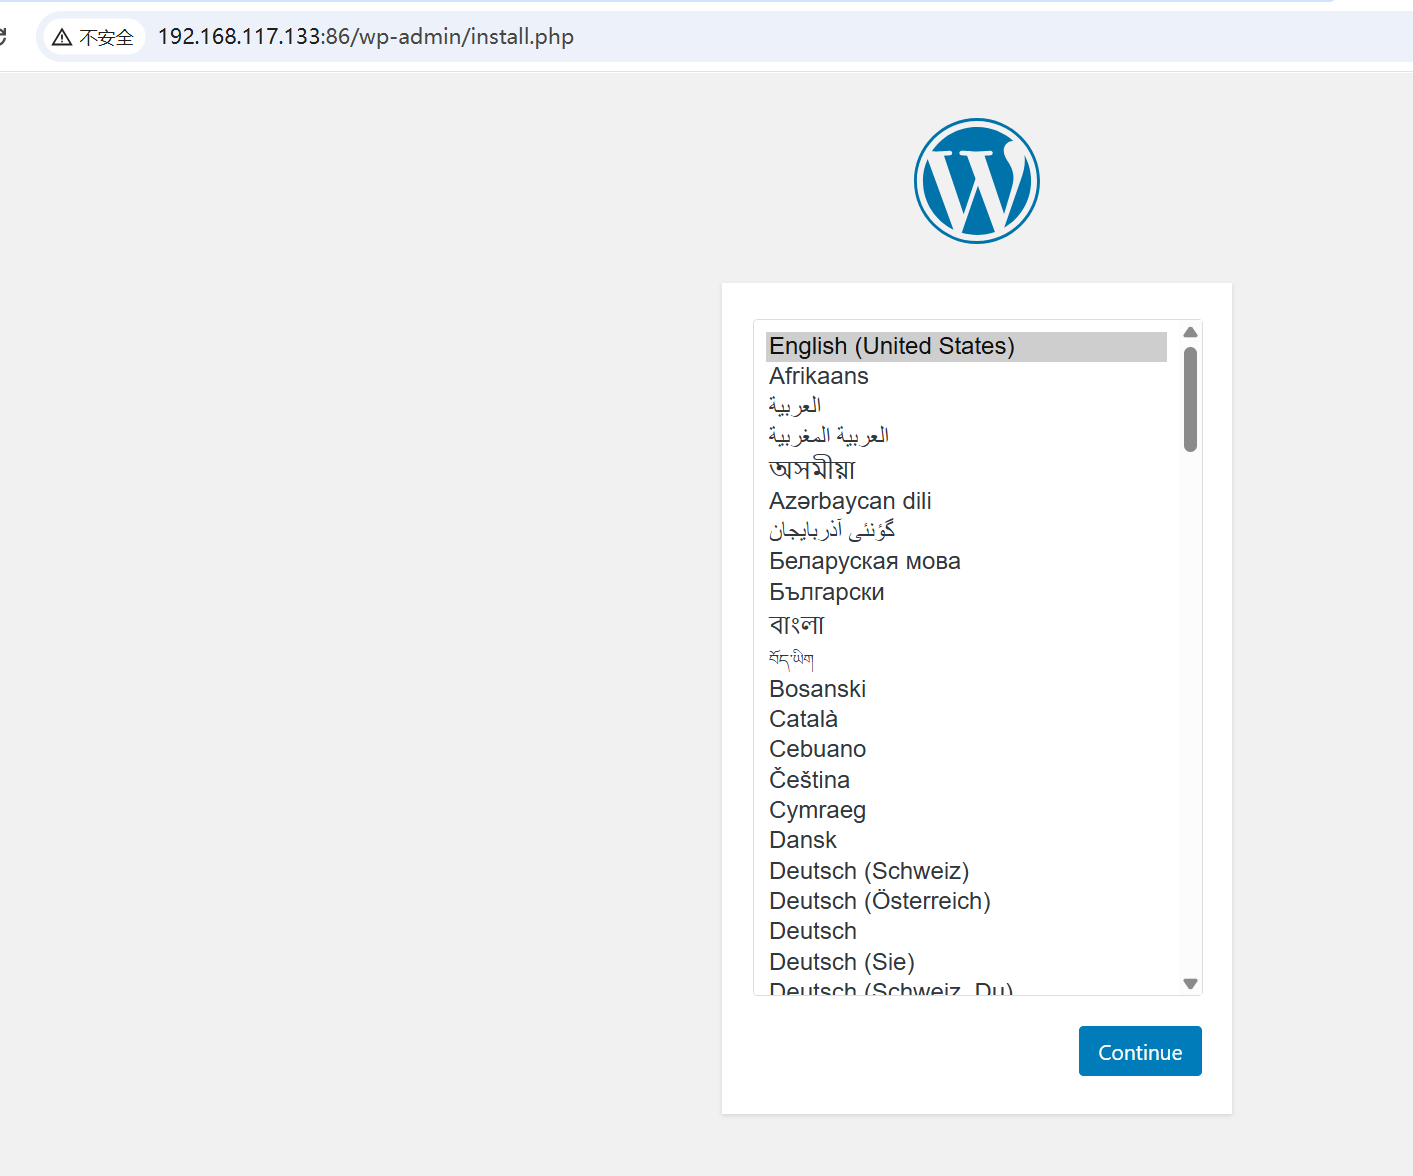
设置登录一下之后
三、镜像常用命令
bash
docker images #查看本地镜像列表,image就是图像、镜像的意思
#本地有的镜像,就不要再去下载了,而且可以将本地镜像导出来分享给别人

bash
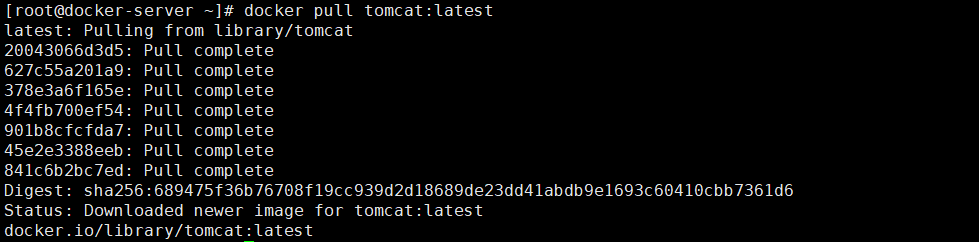
docker pull #下载镜像,拉取镜像
#docker pull tomcat:latest
docker rmi 删除镜像
bash
docker rmi
 #删除镜像,rm image的意思,直接rm不加i表示要删除容器,可以通过名称加版本来删除,或者直接通过镜像id值来删除
 #docker rmi tomcat:latest 或者 docker rmi imageid值
 #可以同时删除多个镜像:docker rmi tomcat:latest tomcat:jre17-temurin-jammy
 #如果这个镜像处于运行状态的是删除不了的,比如有容器在使用这个镜像,就不能删除镜像,比如docker rmi nginx:1.16会报错
 #查看镜像的运行状态docker container ls,其实这是查看容器的状态,但是可以看到哪些镜像被使用了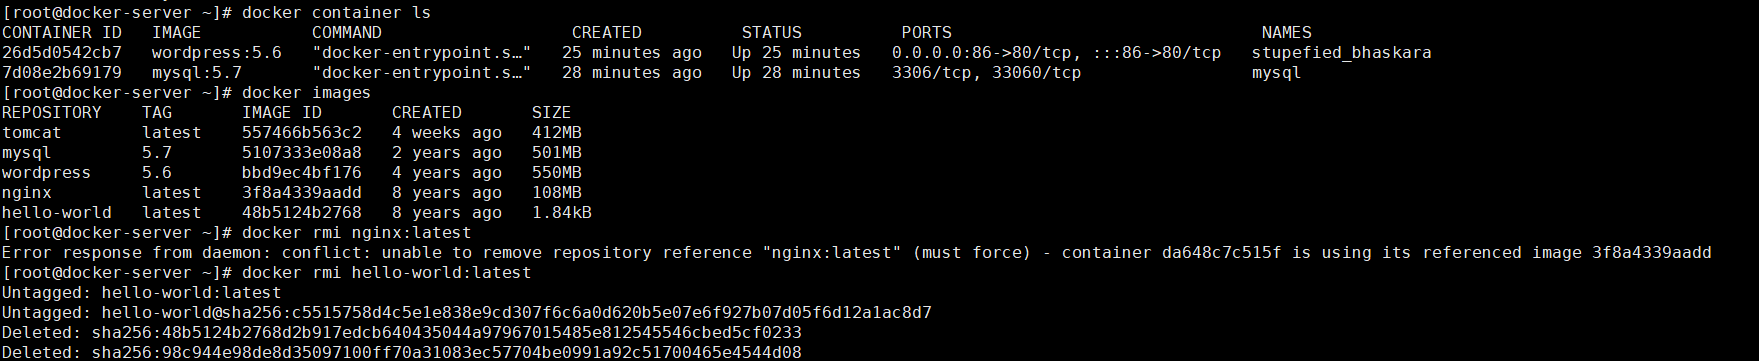
四、容器的常用命令
bash
#docker 常见命令
docker run 运行一个新容器
docker ps === docker container ls #参数: 默认之显示up状态的容器,-a查看所有容器,或者--all
docker stop   停止容器  #例子 docker stop 容器id或者容器名字
docker kill   杀掉容器  #强制关闭容器,尽量不要用,很容易就启动不了了
docker start   启动容器  #例子 docker start 容器id或者容器名字
docker restart 重启重启  #例子 docker restart 容器id或者容器名字
docker rm     删除容器  #例子 docker rm 容器id或者容器名字,同时删除多个,就空格隔开,处于up状态是不能直接删除的,强制删除是可以删除up状态的容器的,docker rm f 容器名称或者id
docker rm -f `docker ps -a -q` #删除所有容器,-q是只显示容器id,反引号中的指令优先执行
docker top   查看容器内的进程  #例子docker top 容器id或者容器名字
docker stats 查看容器的资源占用情况
docker exec   进入容器  #例子: docker exec -it 容器id或者容器名字
 # 直接交互指令:docker exec -it 76738703b7b2 ls # 执行ls指令
 # 进入终端:docker exec -it 76738703b7b2 /bin/bash或者/bin/sh #/bin/bash打开一个终端窗口,exit指令退出终端,但是docker容器内容一般不会安装额外的软件,所以导致大量的指令是用不了的,比如ifconfig、ps、ip addr等
docker inspect -f '{{.Name}} => {{.NetworkSettings.IPAddress }}' $(docker ps -aq) #可以查看所有容器的ip地址的,容器的ip地址是从`172.17.0.1`开始分的。docker容器类似于一个微型的虚拟机,它占用的都是宿主机(物理机)的资源。在物理机上是可以看到容器所运行的程序的。每个容器都有自己的ip地址。
docker inspect --format='{{.Name}} - {{range.NetworkSettings.Networks}}
{{.IPAddress}}{{end}}' $(docker ps -aq) | grep "容器名称或者id"
# curl -I 加网址,可以看到http响应数据
curl -I http://172.17.0.4
HTTP/1.1 200 OK
Server: nginx/1.23.4
# netstat -lntup可以看到给docker的端口映射
# docker run -d -p 80:80 nginx #-p 80:80,端口映射,表示宿主机的80端口映射到了nginx容器的80端口。
bash
docker run参数,有很多参数,最后一个肯定是镜像
-d  #放后台运行
-p  端口映射 #例子: -p 宿主机端口:容器端口
--name 指定容器的名字 # docker run -it --name jaden 镜像id或者名称
--link 关联另一个容器 # 了解即可
-e MYSQL_ROOT_PASSWORD #设置容器的一些属性,了解一下即可
-it #是给运行起来的这个容器分配一个终端,就可以进入到容器内部操作了# 后面想部署什么,直接网上搜索即可。
bash
实现开机自启动的效果
--restart=always
bash
启动容器的时候,如果加上了--restart=always,那么重启服务之后,这个容器会自动启动docker run -it -d --restart=always nginx:1.16 五、docker-compose
docker-compose是批量管理docker容器的工具
bash
# 比如前面我们启动的wordpress项目,需要启动两个容器才行,有时候就是这样,需要同时启动多个容器来完成你想要做的事情,但是到底启动多少个容器呢?比如wordpress那个,我们记不住,换一个机器不看笔记很难起来,有了docker-compose就可以解决这个问题了。
#centos7安装docker-compose,我们前面已经安装了,不需要再次安装了
yum install epel-release.noarch -y
yum install docker-compose -y
#kali安装docker-compose
apt install docker-compose -y
# 查看版本
docker-compose -v
配置文件docker-compose.yml,有了这个配置文件,就可以通过docker-compose来控制多个容器了
bash
# 为了避免端口冲突,我们可以先关闭所有docker容器
docker stop `docker ps -a -q`
# 为了演示方便,我们可以先创建一个wordpress文件夹,进入到里面创建一个docker-compose.yml名字的文件
mkdir wordpress
cd wordpress/
touch docker-compose.yml
vim docker-compose.yml
# 将如下内容拷贝到文件中保存退出,注意拷贝的时候,把里面我标记的注释去掉。
# 注意,下面这个文件内容是严格要求格式的,多一个空格都不行,通过缩进来表示等级关系,下面的这种配置语法叫做yaml语法
version: '3'  # docker-compose.yml的文件格式版本
services:
   db:  #容器名称
     image: mysql:5.7
     restart: always  # 开机自启动的意思
     environment:
       MYSQL_ROOT_PASSWORD: 123456
       MYSQL_DATABASE: wordpress
       MYSQL_USER: wordpress
       MYSQL_PASSWORD: 123456  # 和下面的WORDPRESS_DB_PASSWORD值要对应上

   wordpress:
     depends_on:
       - db
     image: wordpress:5.6
     ports:
       - "83:80"  # 端口映射
     restart: always
     environment:
       WORDPRESS_DB_HOST: db
       WORDPRESS_DB_USER: wordpress
       WORDPRESS_DB_PASSWORD: 123456
常用docker-compose命令
bash
#创建并启动
docker-compose up -d # 启动之后就可以通过浏览器访问了
#停止并删除
docker-compose down
#重启
docker-compose restart
#停止
docker-compose stop
#启动
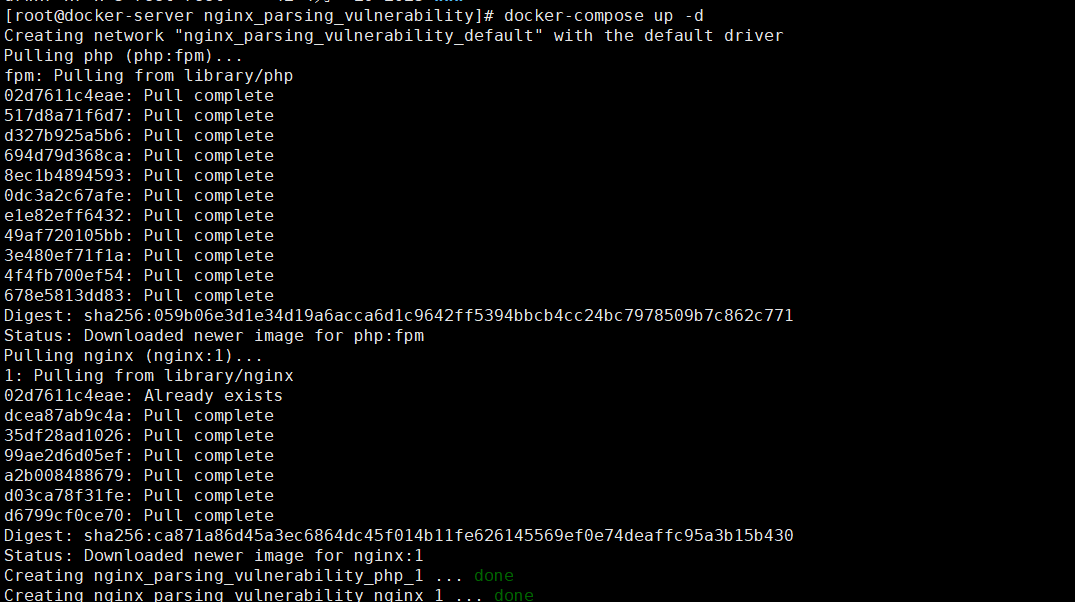
docker-compose start六、docker-compose启动vulhub靶场环境
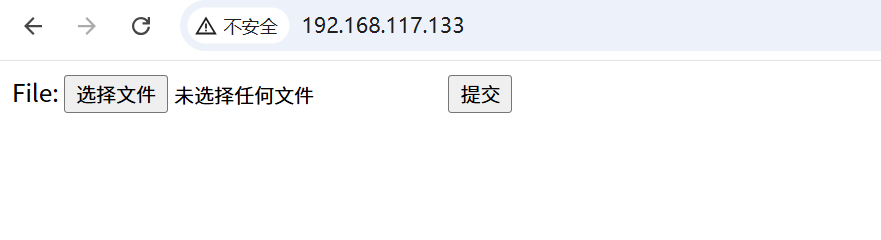
上传文件到CentOS中
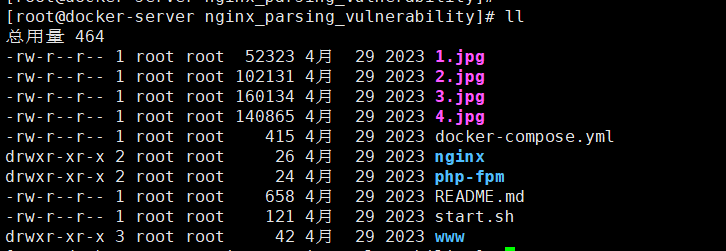
启动docker-compose
查看相关容器

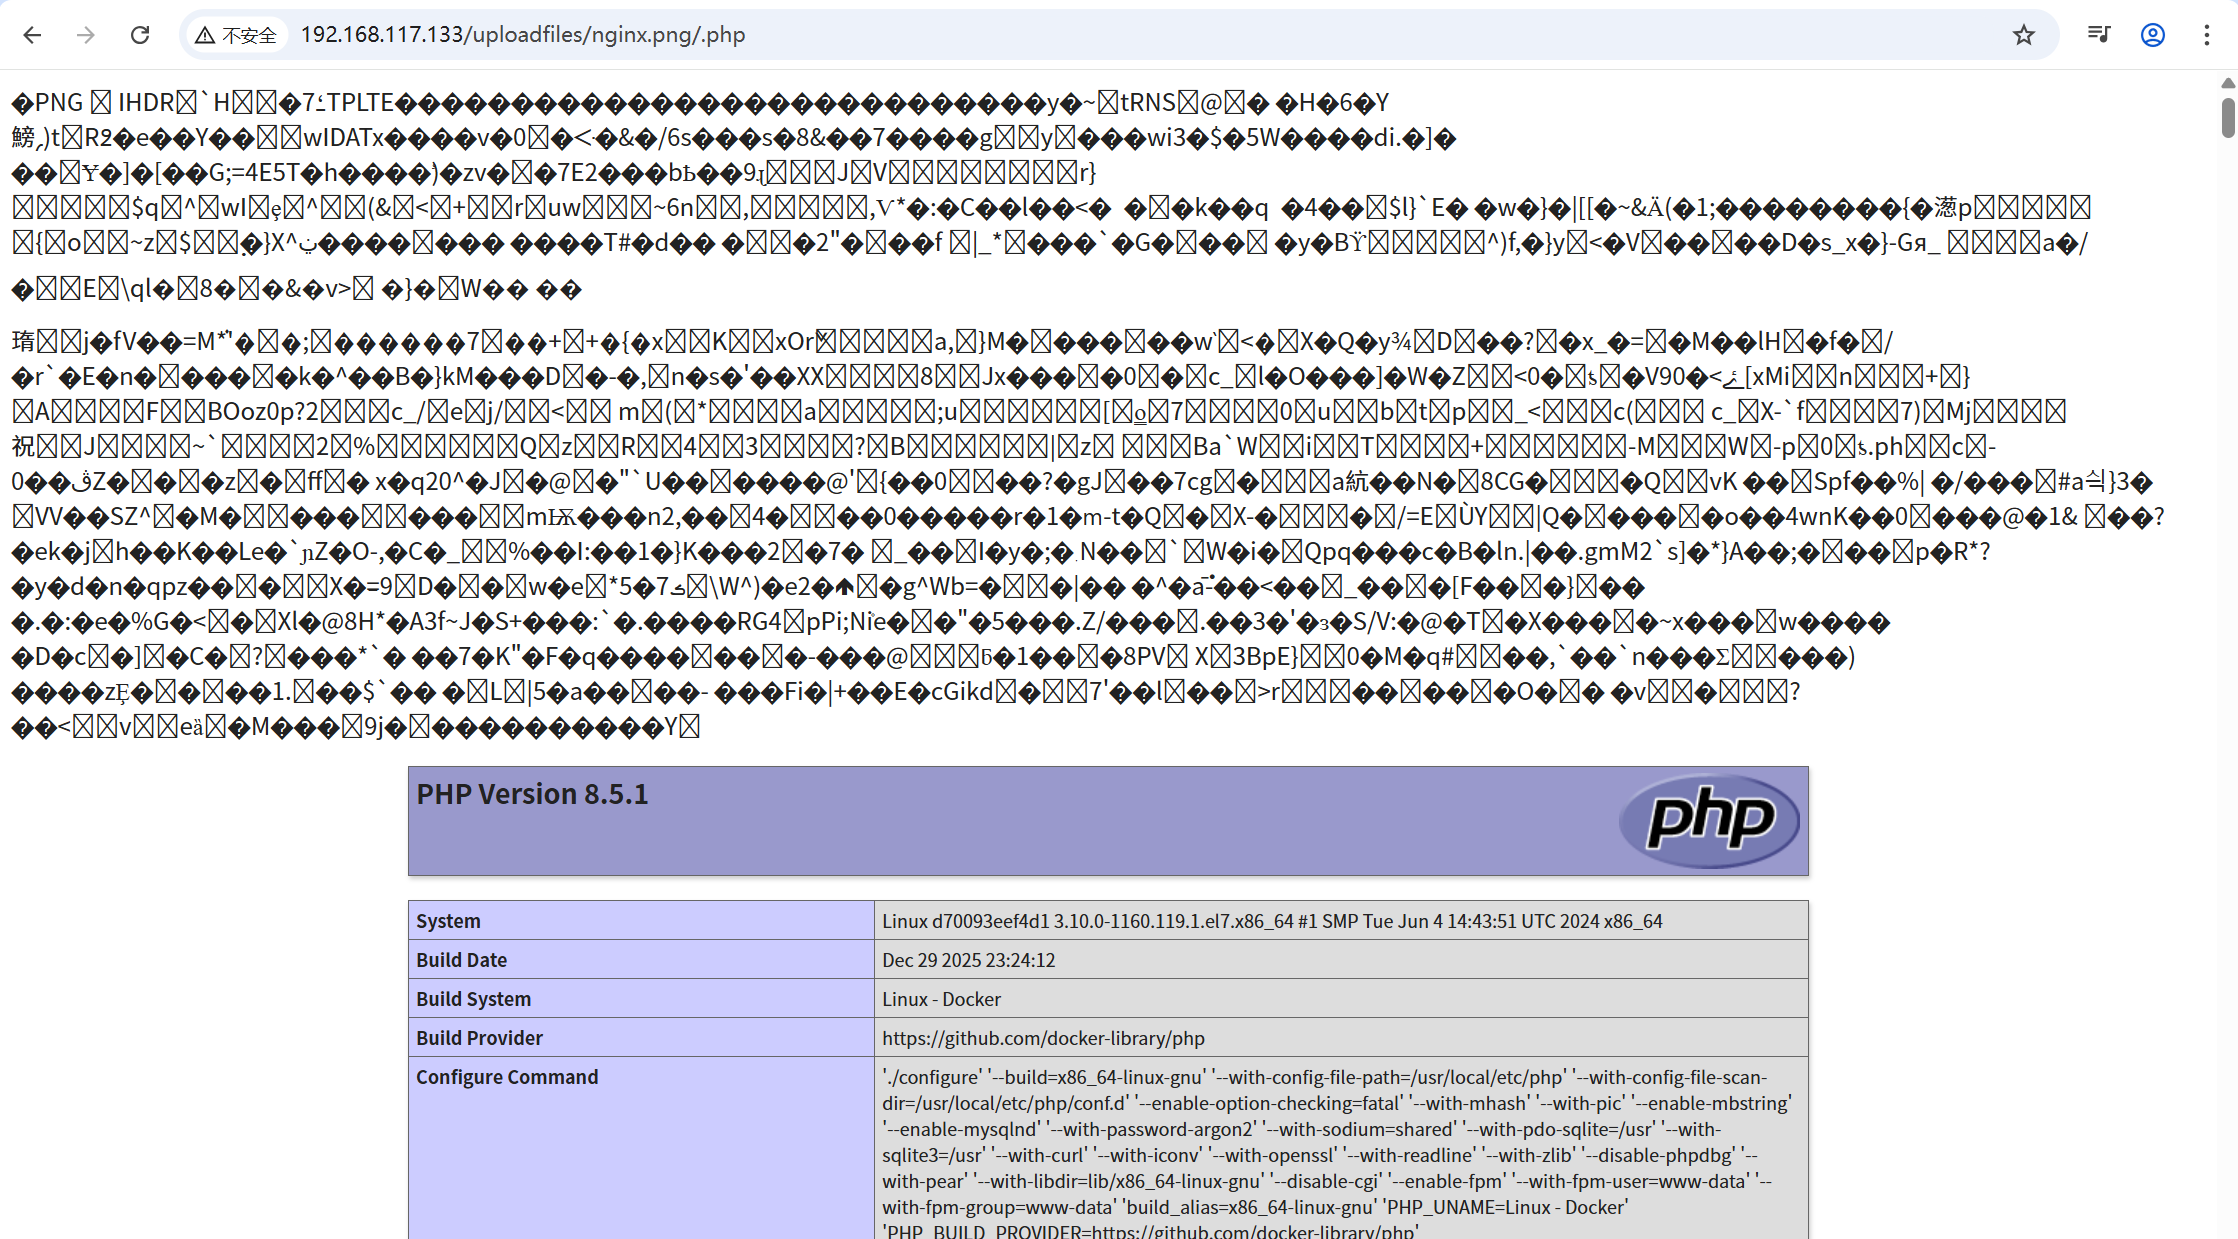
访问