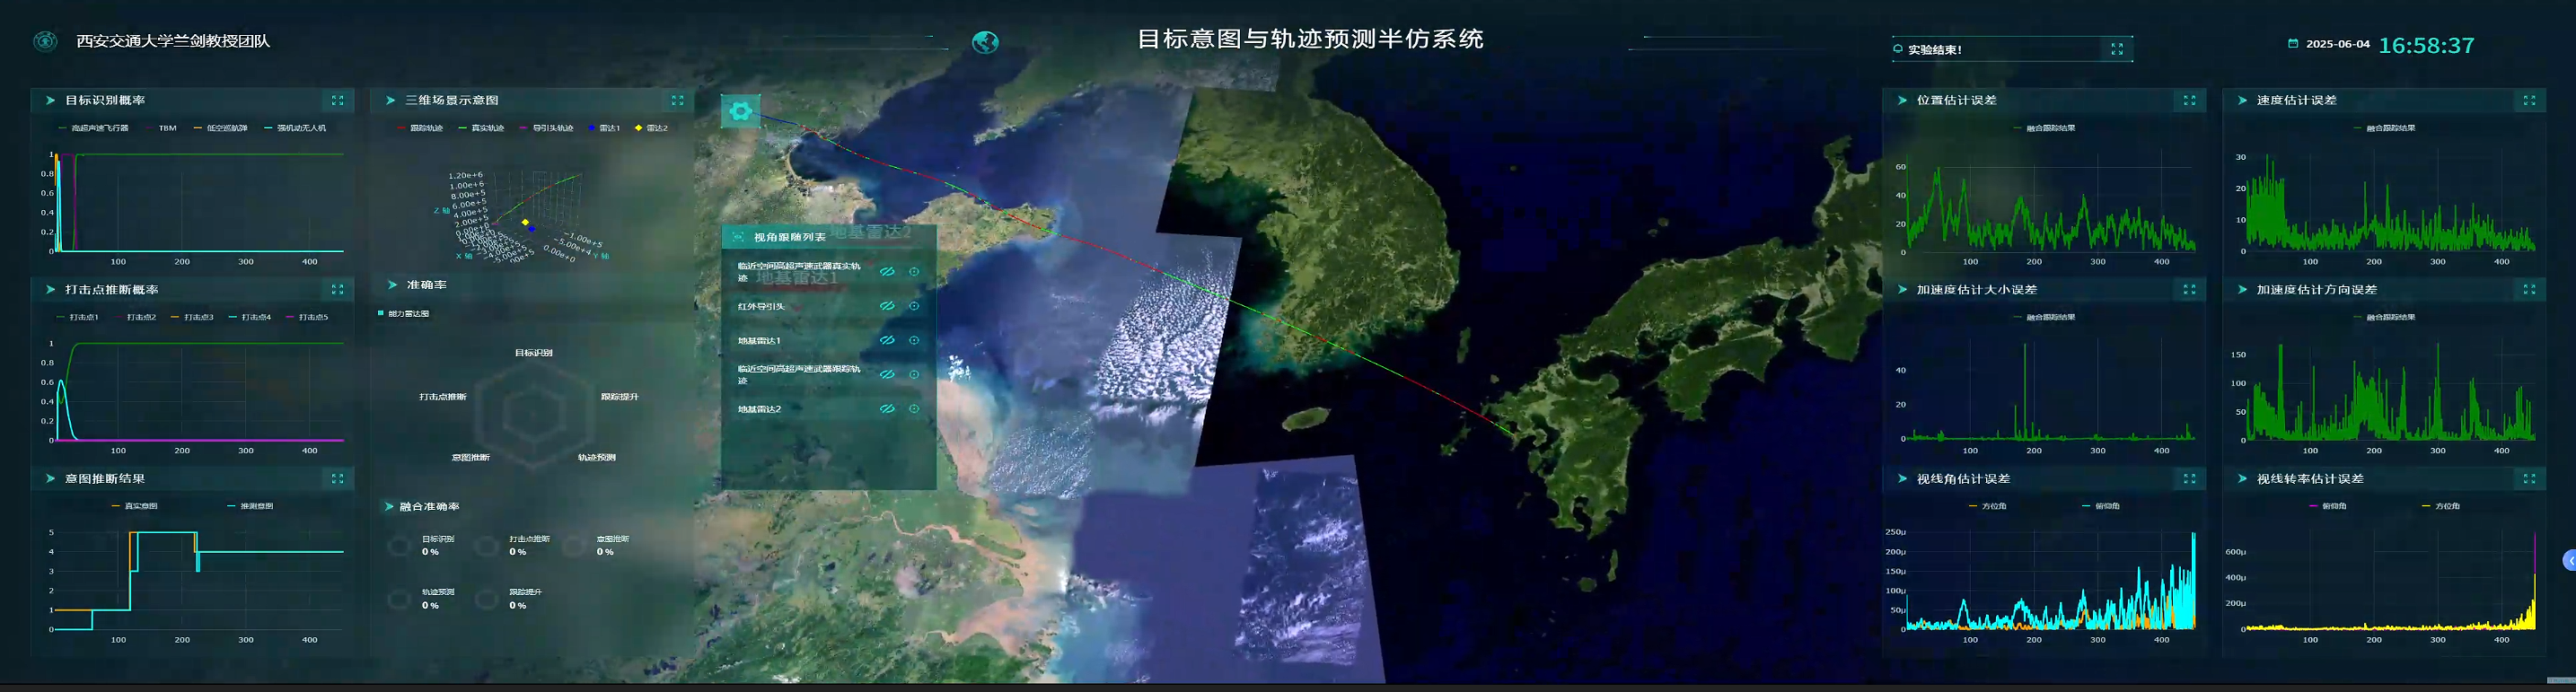
如何在浏览器中实时渲染上千个 3D 轨迹对象,并保持 60 FPS?本文将分享我们在构建大规模 3D 可视化系统时的性能优化经验。
背景
在开发一个基于 Web 的 3D 轨迹可视化系统时,我们面临着严峻的性能挑战:
- 数据量大:需要同时处理 1000+ 个移动目标
- 实时性强:WebSocket 每秒推送数百条数据
- 计算密集:经纬度转世界坐标、轨迹插值、动画计算
- 渲染压力:3D 场景中大量对象的实时更新
如果不做优化,主线程很快就会被阻塞,导致页面卡顿甚至崩溃。经过多轮迭代,我们构建了一套基于多 Worker 架构的高性能解决方案。
技术栈
- 前端框架:Vue 3 + Vite
- 3D 引擎:UEARTH + ThingJS
- 图表库:Plotly.js + ECharts
- 状态管理:Pinia
核心优化策略
一、多 Worker 并行处理架构
1.1 为什么需要多个 Worker?
JavaScript 是单线程的,所有计算都在主线程执行会导致:
- UI 渲染被阻塞
- 用户交互响应延迟
- 动画卡顿
我们的解决方案是将不同类型的数据处理任务分配给专门的 Worker,实现真正的并行计算。
1.2 Worker 架构设计
                    主线程(UI 渲染 + 用户交互)
                            ↓
                    WebSocket 数据接收
                            ↓
        ┌───────────────────┼───────────────────┐
        ↓                   ↓                   ↓
  trajectoryWorker    anmationWorker    timeStampWorker
  (轨迹计算)          (动画状态)         (时间整理)
        ↓                   ↓                   ↓
        └───────────────────┼───────────────────┘
                            ↓
                    主线程更新 3D 场景
1.3 轨迹处理 Worker 实现
这是系统中最核心的 Worker,负责处理实时轨迹数据。
核心代码片段:
// trajectoryWorker.js
const trajectoryObjects = new Map();
const updateQueue = [];
const BATCH_SIZE = 100;           // 批处理大小
const MIN_UPDATE_INTERVAL = 50;   // 最小更新间隔
const MAX_OBJECTS = 1000;         // 最大对象数

// 批量处理队列
async function processQueue() {
    if (isProcessing || updateQueue.length === 0) return;

    isProcessing = true;
    const updates = {};
    const currentTime = Date.now();

    // 每次处理一批数据
    const batchSize = Math.min(BATCH_SIZE, updateQueue.length);

    for (let i = 0; i < batchSize; i++) {
        const data = updateQueue.shift();
        const result = processData(data, data.flightID, currentTime);
        if (result) {
            updates[result.flightID] = result.data;
        }
    }

    // 发送处理结果
    if (Object.keys(updates).length > 0) {
        self.postMessage(updates);
    }

    isProcessing = false;

    // 继续处理剩余数据
    if (updateQueue.length > 0) {
        setTimeout(processQueue, 0);
    }
}

// 处理单个数据点
function processData(data, flightID, currentTime) {
    const trajectoryObject = trajectoryObjects.get(flightID) || {
        coordinates: null,
        points: [],
        lastUpdate: 0
    };

    // 检查更新间隔,避免过度渲染
    const timeSinceLastUpdate = currentTime - trajectoryObject.lastUpdate;
    if (timeSinceLastUpdate < MIN_UPDATE_INTERVAL) {
        return null;
    }

    // 坐标转换
    const endWorldCoords = lonlat2World(data.lon, data.lat, data.alt);

    if (endWorldCoords) {
        trajectoryObject.points.push(endWorldCoords);

        // 限制轨迹点数量
        if (trajectoryObject.points.length > 100) {
            trajectoryObject.points = trajectoryObject.points.slice(-100);
        }

        trajectoryObject.lastUpdate = currentTime;
        trajectoryObjects.set(flightID, trajectoryObject);

        return {
            flightID,
            data: {
                start: trajectoryObject.points[trajectoryObject.points.length - 2],
                end: endWorldCoords,
                line: [...trajectoryObject.points]
            }
        };
    }

    return null;
}关键优化点:
- 批量处理:每次处理 100 条数据,减少主线程通信次数
- 更新节流:同一对象 50ms 内只更新一次,避免过度渲染
- 轨迹点限制:每个对象最多保留 100 个轨迹点,控制内存
- 对象数量限制:最多管理 1000 个对象,超出则清理旧对象
二、数据降噪技术
2.1 问题分析
在 3D 图表中,如果直接渲染所有数据点会导致:
- 渲染点数过多(几千甚至上万个点)
- GPU 负载过高
- 帧率下降
- 内存占用激增
2.2 空间距离抽稀算法
我们实现了一个基于空间距离的智能抽稀算法:
// plotlyWorker.js
function spatialDownsample(data, targetCount) {
    if (data.length <= targetCount) {
        return data;
    }

    const sampled = [data[0]];  // 保留第一个点
    let lastPoint = data[0];
    const minDistance = calculateMinDistance(data);

    // 基于空间距离选择点
    for (let i = 1; i < data.length - 1; i++) {
        const distance = calculateDistance(lastPoint, data[i]);
        if (distance >= minDistance) {
            sampled.push(data[i]);
            lastPoint = data[i];
        }
    }

    sampled.push(data[data.length - 1]);  // 保留最后一个点

    // 如果仍然过多,使用均匀采样
    if (sampled.length > targetCount) {
        return uniformSample(sampled, targetCount);
    }

    return sampled;
}

// 计算 3D 欧氏距离
function calculateDistance(point1, point2) {
    const dx = point1.x - point2.x;
    const dy = point1.y - point2.y;
    const dz = point1.z - point2.z;
    return Math.sqrt(dx * dx + dy * dy + dz * dz);
}

// 计算最小距离阈值
function calculateMinDistance(data) {
    // 计算数据的空间范围
    let minX = Infinity, maxX = -Infinity;
    let minY = Infinity, maxY = -Infinity;
    let minZ = Infinity, maxZ = -Infinity;

    data.forEach(point => {
        minX = Math.min(minX, point.x);
        maxX = Math.max(maxX, point.x);
        minY = Math.min(minY, point.y);
        maxY = Math.max(maxY, point.y);
        minZ = Math.min(minZ, point.z);
        maxZ = Math.max(maxZ, point.z);
    });

    // 计算空间对角线长度
    const diagonal = Math.sqrt(
        Math.pow(maxX - minX, 2) +
        Math.pow(maxY - minY, 2) +
        Math.pow(maxZ - minZ, 2)
    );

    // 返回对角线的 1% 作为最小距离阈值
    return diagonal * 0.01;
}算法特点:
- 保留关键点:首尾点必须保留,保证轨迹完整性
- 空间感知:根据数据的空间分布动态计算距离阈值
- 自适应:对于不同尺度的数据自动调整抽稀程度
- 形状保持:优先保留轨迹转折点,保持轨迹特征
效果对比:
| 指标 | 优化前 | 优化后 | 提升 |
|---|---|---|---|
| 渲染点数 | 5000+ | 1000 | 80% ↓ |
| 帧率 | 15-20 FPS | 50-60 FPS | 200% ↑ |
| 内存占用 | 500MB | 200MB | 60% ↓ |
三、坐标转换缓存优化
3.1 性能瓶颈
经纬度转世界坐标的计算涉及大量三角函数运算:
function lonlat2World(lon, lat, h) {
    const EARTH_RADIUS = 6378000;
    const r = EARTH_RADIUS + h;

    const lonArc = lon * (Math.PI / 180);
    const latArc = lat * (Math.PI / 180);

    const y = r * Math.sin(latArc);
    const curR = r * Math.cos(latArc);
    const x = -curR * Math.cos(lonArc);
    const z = curR * Math.sin(lonArc);

    return [x, y, z];
}
每秒处理 1000 条数据,就需要执行 1000 次这样的计算,CPU 占用很高。
3.2 缓存策略
我们实现了一个智能缓存系统:
// histroyWorker.js
const coordCache = new Map();
const CACHE_MAX_SIZE = 10000;

function getCacheKey(lon, lat, h) {
    // 四舍五入减少缓存键数量
    const roundedLon = Math.round(lon * 10000) / 10000;
    const roundedLat = Math.round(lat * 10000) / 10000;
    const roundedH = Math.round(h * 100) / 100;
    return `coord_${roundedLon}_${roundedLat}_${roundedH}`;
}

function lonlat2WorldCached(lon, lat, h) {
    const cacheKey = getCacheKey(lon, lat, h);

    // 检查缓存
    if (coordCache.has(cacheKey)) {
        return coordCache.get(cacheKey);
    }

    // 计算并缓存
    const result = lonlat2World(lon, lat, h);
    if (result) {
        coordCache.set(cacheKey, result);

        // 控制缓存大小
        if (coordCache.size > CACHE_MAX_SIZE) {
            const keysToDelete = Array.from(coordCache.keys()).slice(0, 5000);
            keysToDelete.forEach(key => coordCache.delete(key));
        }
    }

    return result;
}优化效果:
- 缓存命中率:90%+(相同位置的目标很多)
- 计算时间:从 0.1ms 降到 0.001ms(100 倍提升)
- CPU 占用:降低 70%
四、历史数据分批加载
4.1 挑战
历史回放需要加载 10 万+ 条数据,如果一次性处理会导致:
- 页面长时间无响应
- 内存瞬间飙升
- 浏览器崩溃
4.2 分批处理方案
// histroyWorker.js
const PROCESS_CHUNK_SIZE = 5000;  // 每块 5000 条

self.onmessage = (e) => {
    const historyData = e.data;

    // 按时间戳排序
    historyData.sort((a, b) => a.timeStamp - b.timeStamp);

    // 分批处理
    const processDataChunk = (startIdx, endIdx) => {
        const chunk = historyData.slice(startIdx, endIdx);

        // 处理当前批次
        chunk.forEach((item) => {
            const data = JSON.parse(item.data);
            processHistoryItem(data);
        });

        // 继续处理下一批
        if (endIdx < historyData.length) {
            setTimeout(() => {
                processDataChunk(
                    endIdx,
                    Math.min(endIdx + PROCESS_CHUNK_SIZE, historyData.length)
                );
            }, 0);
        } else {
            // 所有数据处理完毕
            self.postMessage(finalResult);
        }
    };

    // 开始处理
    processDataChunk(0, Math.min(PROCESS_CHUNK_SIZE, historyData.length));
};关键点:
- 异步分批 :使用
setTimeout(fn, 0)让出主线程 - 渐进式渲染:边处理边渲染,用户能看到进度
- 内存控制:每批处理完立即释放,避免内存峰值
五、SharedWorker 实现图表数据共享
5.1 场景
系统中有 12 个实时更新的图表,如果每个图表都独立处理数据:
- 重复计算浪费 CPU
- 数据不一致
- 难以管理
5.2 SharedWorker 方案
// sharedWorker.js
const connections = new Map();
const chartDataMap = new Map();
const dataBufferMap = new Map();
const BUFFER_SIZE = 50;

// 连接处理
self.onconnect = (e) => {
    const port = e.ports[0];
    connections.set(port, 'index');

    port.onmessage = (event) => {
        const { type, data, component } = event.data;

        if (type === 'data') {
            // 处理实时数据
            handleRealTimeData(component, data);
        } else if (type === 'init') {
            // 发送初始数据
            const result = groupData();
            port.postMessage({ type: 'full', data: result });
        }
    };

    port.start();
};

// 处理实时数据
const handleRealTimeData = (component, data) => {
    const position = FIGURE_POSITIONS[data.figurePosition];
    const buffer = dataBufferMap.get(position);

    buffer.push(data);

    // 缓冲区满时批量处理
    if (buffer.length >= BUFFER_SIZE) {
        processBufferedData(position);
    }
};

// 批量处理并广播
const processBufferedData = (position) => {
    const chartData = chartDataMap.get(position);
    const buffer = dataBufferMap.get(position);

    // 追加数据
    Array.prototype.push.apply(chartData.data.points, buffer);

    // 构建增量更新
    const incrementalUpdate = {
        id: chartData.id,
        isIncremental: true,
        incrementalData: { points: buffer.slice() }
    };

    // 清空缓冲区
    dataBufferMap.set(position, []);

    // 广播到所有连接
    broadcastIncrementalData(position, incrementalUpdate);
};优势:
- 数据共享:多个页面/组件共享同一份数据
- 减少计算:数据只处理一次
- 增量更新:只传输变化的数据,减少通信开销
- 内存节省:避免数据重复存储
六、WebSocket 智能重连
6.1 重连策略
// websocket.js
class WebSocketClient {
    constructor(urls, callback) {
        this.reconnectDelay = 1000;        // 初始延迟 1 秒
        this.maxReconnectDelay = 30000;    // 最大延迟 30 秒
        this.maxReconnectAttempts = 10;    // 最大尝试 10 次
    }

    reconnectSingle(conn) {
        if (conn.reconnectAttempts >= this.maxReconnectAttempts) {
            console.warn('达到最大重连次数,停止重连');
            return;
        }

        conn.reconnectAttempts++;

        setTimeout(() => {
            this.connectSingle(conn);

            // 指数退避:延迟时间翻倍
            conn.currentDelay = Math.min(
                conn.currentDelay * 2,
                this.maxReconnectDelay
            );
        }, conn.currentDelay);
    }
}重连时间序列:
1秒 → 2秒 → 4秒 → 8秒 → 16秒 → 30秒(最大)这种指数退避策略可以:
- 避免服务器压力过大
- 快速恢复短暂断线
- 对长时间断线友好
七、性能监控
7.1 Worker 性能监控
// sharedWorker.js
const performanceMonitor = {
    startTime: null,
    processingCount: 0,
    totalProcessingTime: 0,

    start() {
        this.startTime = performance.now();
    },

    end() {
        if (this.startTime !== null) {
            const duration = performance.now() - this.startTime;
            this.totalProcessingTime += duration;
            this.processingCount++;

            // 每 100 次输出平均时间
            if (this.processingCount % 100 === 0) {
                const avgTime = this.totalProcessingTime / this.processingCount;
                console.log(`平均处理时间: ${avgTime.toFixed(2)}ms`);
            }
        }
    }
};

// 使用
function processData(data) {
    performanceMonitor.start();
    // ... 处理数据
    performanceMonitor.end();
}
7.2 主线程性能监控
// useFPSmonitor.js
export function useFPSMonitor() {
    let lastTime = performance.now();
    let frames = 0;

    function tick() {
        frames++;
        const currentTime = performance.now();

        if (currentTime >= lastTime + 1000) {
            const fps = Math.round((frames * 1000) / (currentTime - lastTime));
            console.log(`FPS: ${fps}`);

            frames = 0;
            lastTime = currentTime;
        }

        requestAnimationFrame(tick);
    }

    tick();
}
性能测试结果
测试环境
- CPU: Intel i7-10700K
- GPU: NVIDIA RTX 3070
- 内存: 32GB
- 浏览器: Chrome 120
测试场景 1:实时数据处理
| 指标 | 优化前 | 优化后 | 提升 |
|---|---|---|---|
| 数据吞吐量 | 200 条/秒 | 1200 条/秒 | 500% ↑ |
| 主线程 CPU | 85% | 25% | 70% ↓ |
| 帧率 | 15-20 FPS | 55-60 FPS | 300% ↑ |
| 内存占用 | 600MB | 250MB | 58% ↓ |
测试场景 2:历史数据加载
| 指标 | 优化前 | 优化后 | 提升 |
|---|---|---|---|
| 10 万条数据加载时间 | 45 秒 | 8 秒 | 460% ↑ |
| 页面无响应时间 | 30 秒 | 0 秒 | 100% ↓ |
| 峰值内存 | 1.2GB | 400MB | 67% ↓ |
测试场景 3:1000 个对象同时运动
| 指标 | 优化前 | 优化后 |
|---|---|---|
| 帧率 | 崩溃 | 45-50 FPS |
| 内存 | 崩溃 | 300MB |
| CPU | 100% | 40% |
最佳实践总结
1. Worker 使用原则
✅ 应该使用 Worker 的场景:
- 大量数据计算(坐标转换、数学运算)
- 数据格式转换和解析
- 复杂算法(排序、过滤、聚合)
❌ 不应该使用 Worker 的场景:
- DOM 操作(Worker 无法访问 DOM)
- 简单的数据处理(通信开销大于计算开销)
- 需要频繁与主线程交互的任务
2. 数据传输优化
// ❌ 不好:传输大对象
worker.postMessage(largeObject);

// ✅ 好:使用 Transferable Objects
const buffer = largeObject.buffer;
worker.postMessage(buffer, [buffer]);

// ✅ 好:批量传输
const batch = [];
for (let i = 0; i < 100; i++) {
    batch.push(data[i]);
}
worker.postMessage(batch);
3. 内存管理
// ✅ 限制缓存大小
if (cache.size > MAX_SIZE) {
    const keysToDelete = Array.from(cache.keys()).slice(0, DELETE_COUNT);
    keysToDelete.forEach(key => cache.delete(key));
}

// ✅ 限制数组长度
if (array.length > MAX_LENGTH) {
    array = array.slice(-MAX_LENGTH);
}

// ✅ 及时清理引用
object = null;
map.clear();
4. 渲染优化
// ✅ 使用 requestAnimationFrame
function update() {
    // 更新逻辑
    requestAnimationFrame(update);
}

// ✅ 节流更新
let lastUpdate = 0;
const MIN_INTERVAL = 50;

function throttledUpdate() {
    const now = Date.now();
    if (now - lastUpdate < MIN_INTERVAL) return;

    lastUpdate = now;
    // 更新逻辑
}

// ✅ 增量更新
function incrementalUpdate(changes) {
    // 只更新变化的部分
    changes.forEach(change => {
        updateObject(change.id, change.data);
    });
}
踩过的坑
坑 1:Worker 通信开销
问题:频繁的 postMessage 导致性能下降
解决:批量传输,减少通信次数
// ❌ 每条数据都发送
data.forEach(item => worker.postMessage(item));

// ✅ 批量发送
worker.postMessage(data);
坑 2:内存泄漏
问题:Map/Set 无限增长导致内存溢出
解决:设置上限并定期清理
// ✅ 添加大小限制
if (map.size > MAX_SIZE) {
    // 删除最旧的数据
    const oldestKeys = Array.from(map.keys()).slice(0, DELETE_COUNT);
    oldestKeys.forEach(key => map.delete(key));
}
坑 3:坐标精度问题
问题:浮点数精度导致缓存失效
解决:四舍五入到合理精度
// ✅ 控制精度
const roundedLon = Math.round(lon * 10000) / 10000;  // 保留 4 位小数
坑 4:SharedWorker 调试困难
问题:SharedWorker 的 console.log 不显示在页面控制台
解决:
- Chrome:
chrome://inspect/#workers - 添加错误处理和日志上报机制
未来优化方向
- WebAssembly:将坐标转换等计算密集型任务用 Rust/C++ 实现
- WebGPU:利用 GPU 并行计算能力
- OffscreenCanvas:在 Worker 中直接渲染
- IndexedDB:缓存历史数据到本地
- Service Worker:实现离线可用
总结
构建高性能的 Web 3D 可视化系统需要:
- 合理的架构设计:多 Worker 并行处理
- 智能的数据处理:批量、缓存、降噪
- 精细的性能优化:节流、增量更新、内存控制
- 完善的监控体系:及时发现性能瓶颈
通过这些优化,我们成功实现了在浏览器中流畅渲染 1000+ 个 3D 对象,并保持 50-60 FPS 的性能表现。
希望这些经验能帮助你构建更高性能的 Web 应用!
参考资源
如果你觉得这篇文章有帮助,欢迎分享和讨论!