文章目录
- [1. ROS2运行环境](#1. ROS2运行环境)
- [2. Jupyter运行环境](#2. Jupyter运行环境)
- [3. 运行测试](#3. 运行测试)
-
- [3.1 发布话题](#3.1 发布话题)
- [3.2 运行多节点](#3.2 运行多节点)
- 报错
jupyter这种可见即可得的运行方式,非常方便代码调试。它允许我们逐段、即时地执行代码并查看结果,非常适合在开发过程中实时测试和验证代码逻辑。因此,想在jupyter中运行ros2的代码,从而方便调试机器人控制指令。下面记录运行环境的搭建过程,其他可参考:https://docs.isaacsim.omniverse.nvidia.com/latest/ros2_tutorials/tutorial_ros2_manipulation.html,https://github.com/isaac-sim/IsaacSim-ros_workspaces
1. ROS2运行环境
为了能在jupyter中使用ros2,需要在相同的虚拟环境中安装ros2,这里使用鱼香ros的一键安装指令:
shell
wget http://fishros.com/install -O fishros && . fishros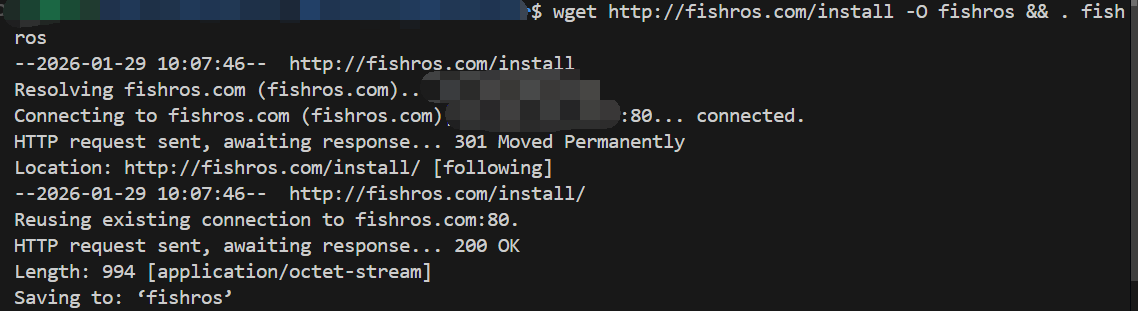
如果这种方式,可参考官网的安装方法https://docs.ros.org/en/humble/Installation/Ubuntu-Install-Debs.html
2. Jupyter运行环境
创建Python虚拟环境,用于与Ubuntu的Python环境隔离,避免Ubuntu系统逐渐臃肿。通过以下指令创建虚拟环境:
shell
wget https://repo.anaconda.com/archive/Anaconda3-2025.06-0-Linux-x86_64.sh

chmod +x Anaconda3-2025.06-0-Linux-x86_64.sh
bash Anaconda3-2025.06-0-Linux-x86_64.sh

# 创建虚拟环境
conda create -n ros2_env python=3.10 -y

# 切换到新创建的虚拟环境
conda activate ros2_env

# 安装jupyter notebook
conda install jupyter notebook -y
conda install jupyter_contrib_nbextensions -y

# 安装C++ kernel
conda install xeus-cling -c conda-forge -y

# 检查是否成功安装了kernel
jupyter kernelspec list

# 运行jupyter notebook
# conda activate ros2_env
# jupyter notebook
# # 或者启动lab【有目录】
# jupyter lab
Ubuntu安装必要的ros2库
shell
sudo apt install python3-colcon-common-extensions -y安装Python的第三方库:
shell
pip install empy catkin_pkg lark jinja2 typeguard jupyter notebook jupyter_contrib_nbextensions -i https://pypi.tuna.tsinghua.edu.cn/simple运行jupyter服务:
shell
# 如果需要在jupyter中使用某个项目的功能包,需要运行
# source install/setup.bash
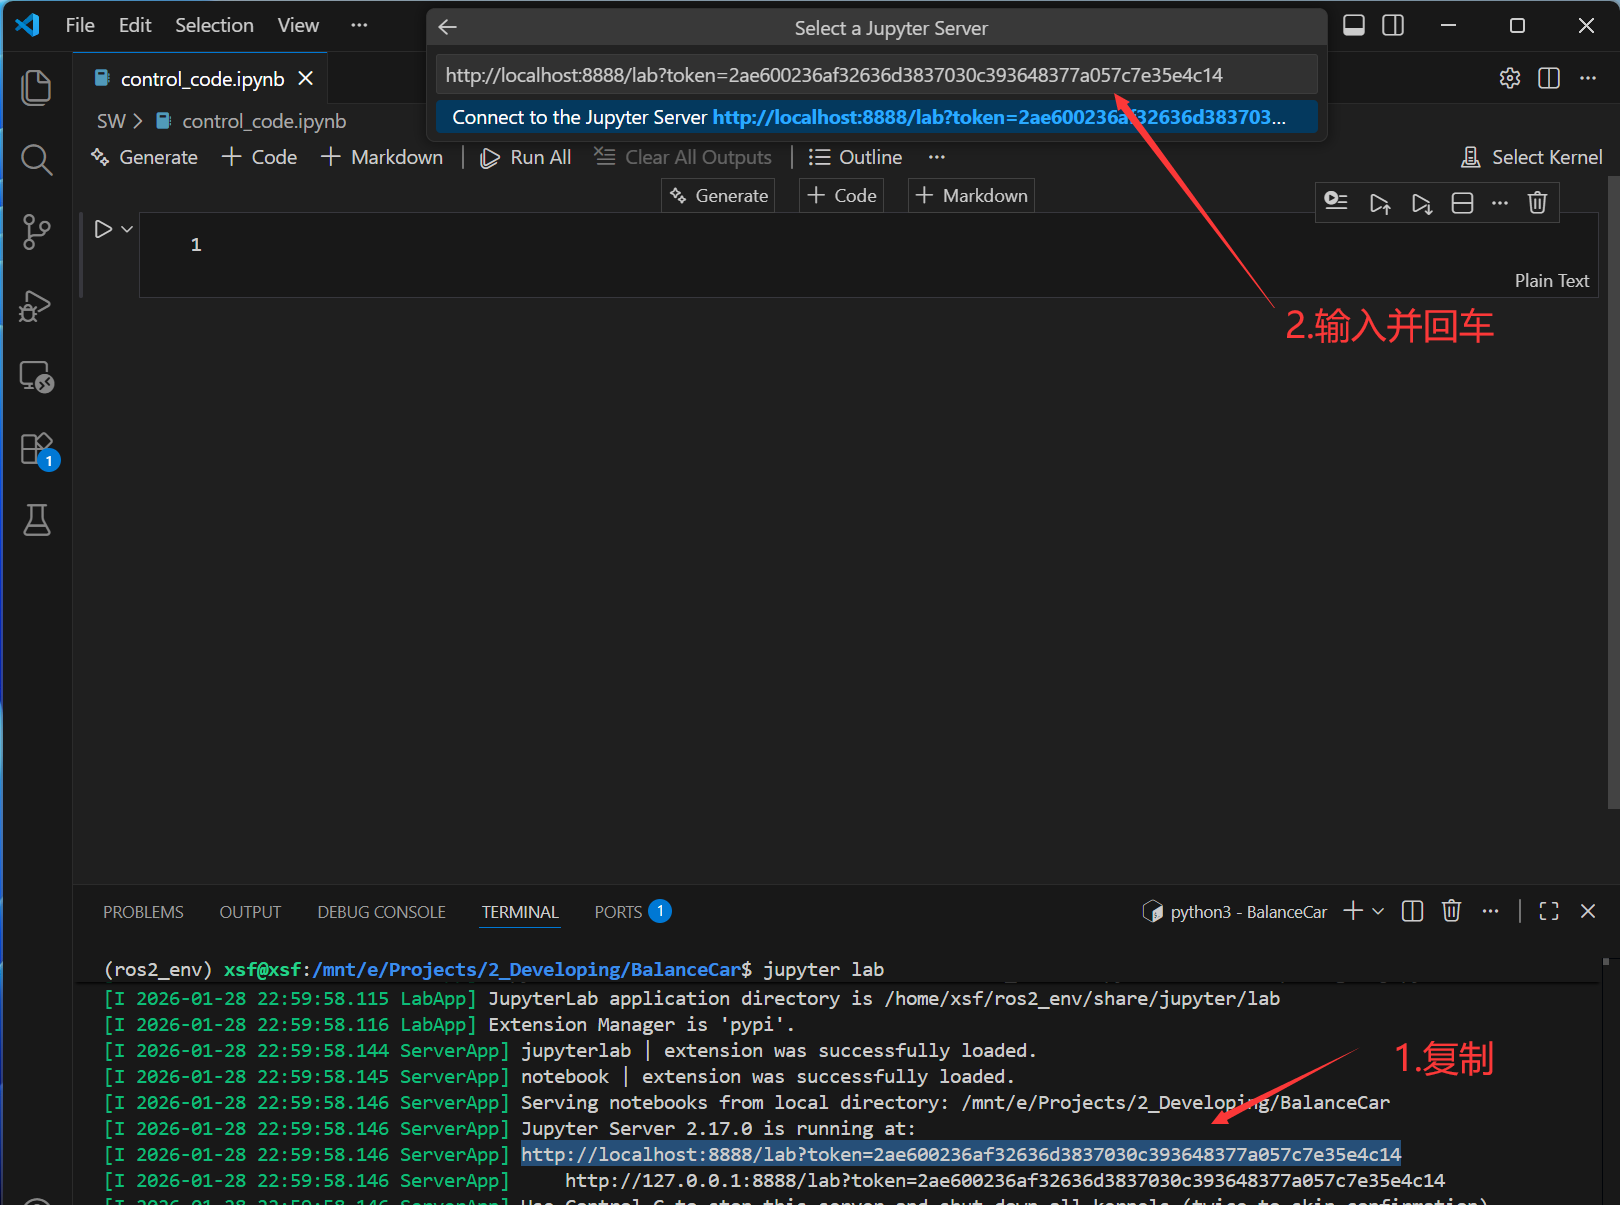
jupyter lab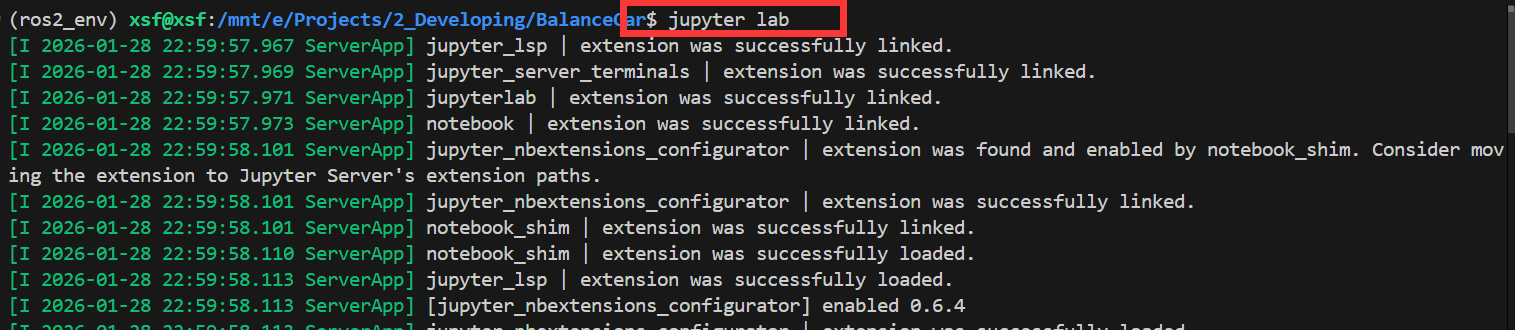
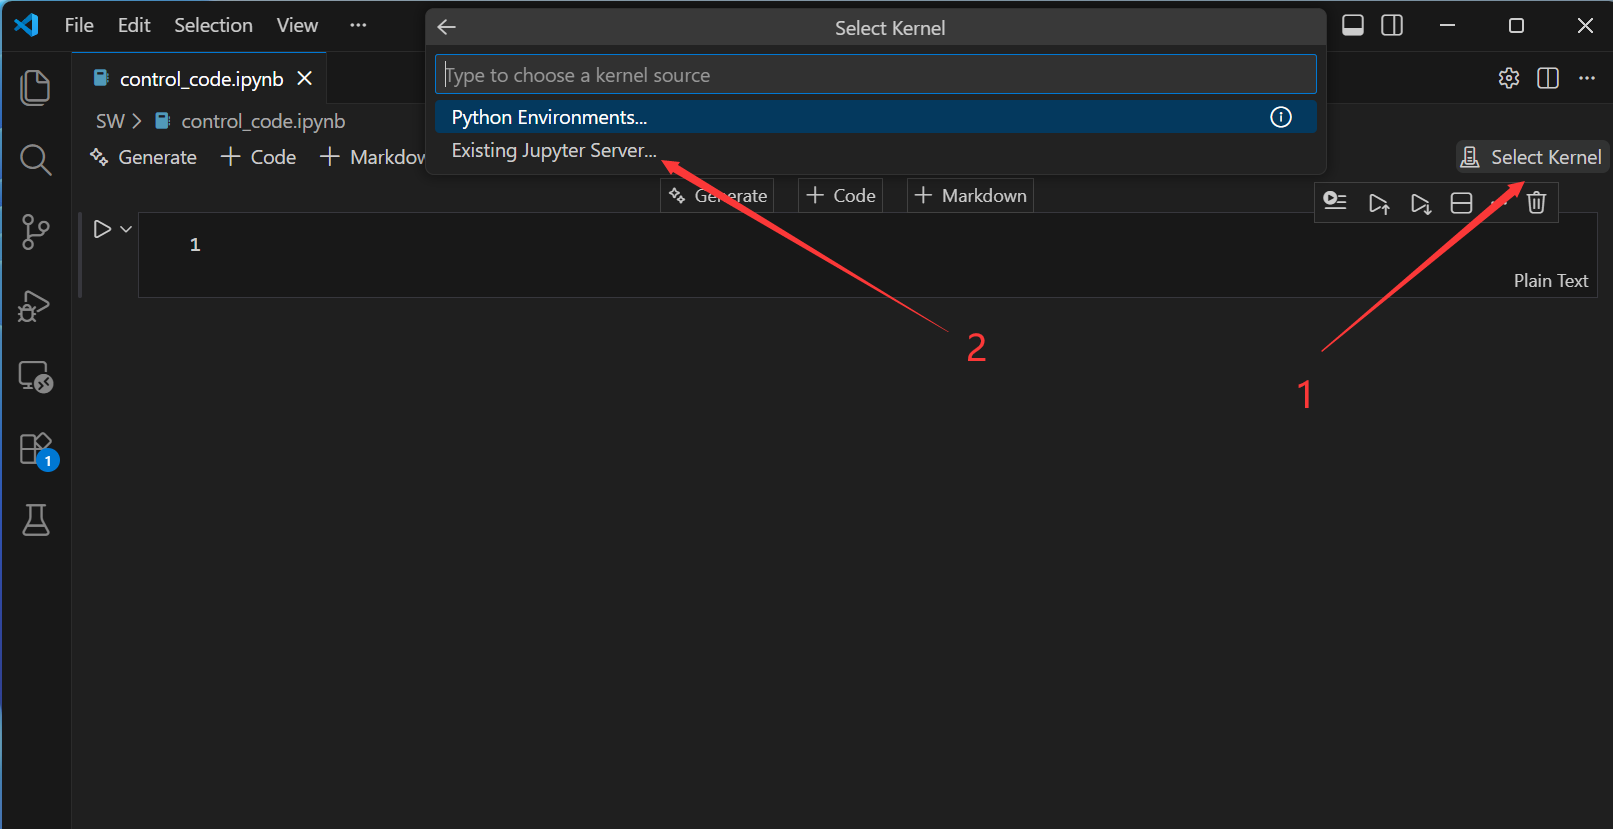
在vscode中创建notebook文件control_code.ipynb
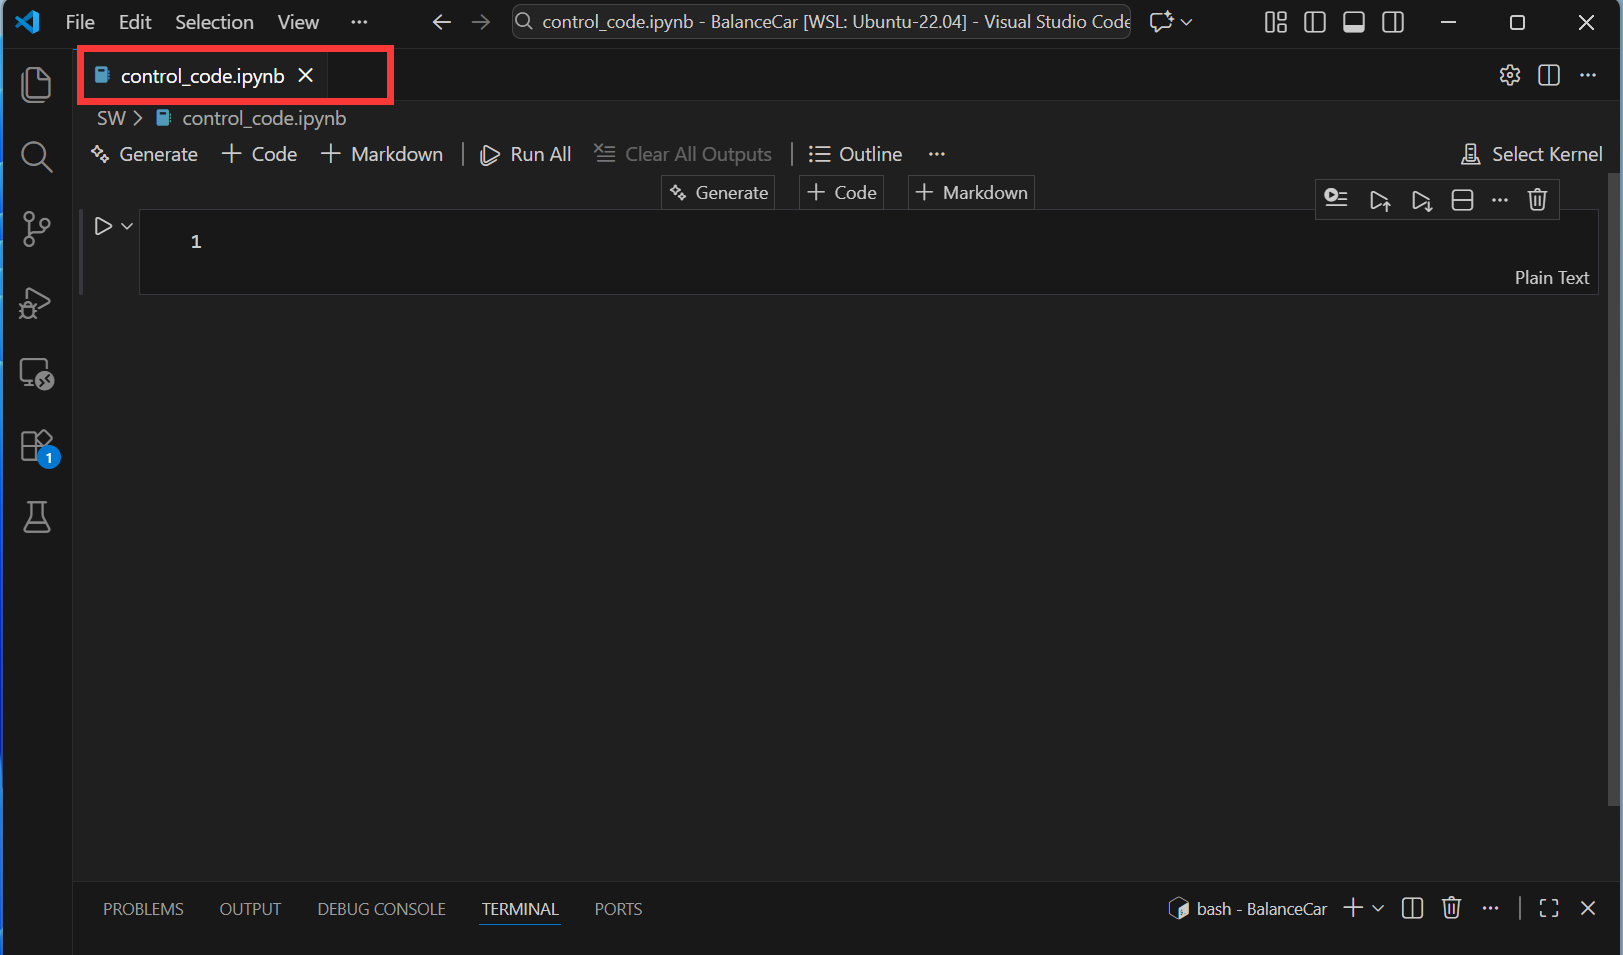
然后,配置jupyter文件的运行环境。

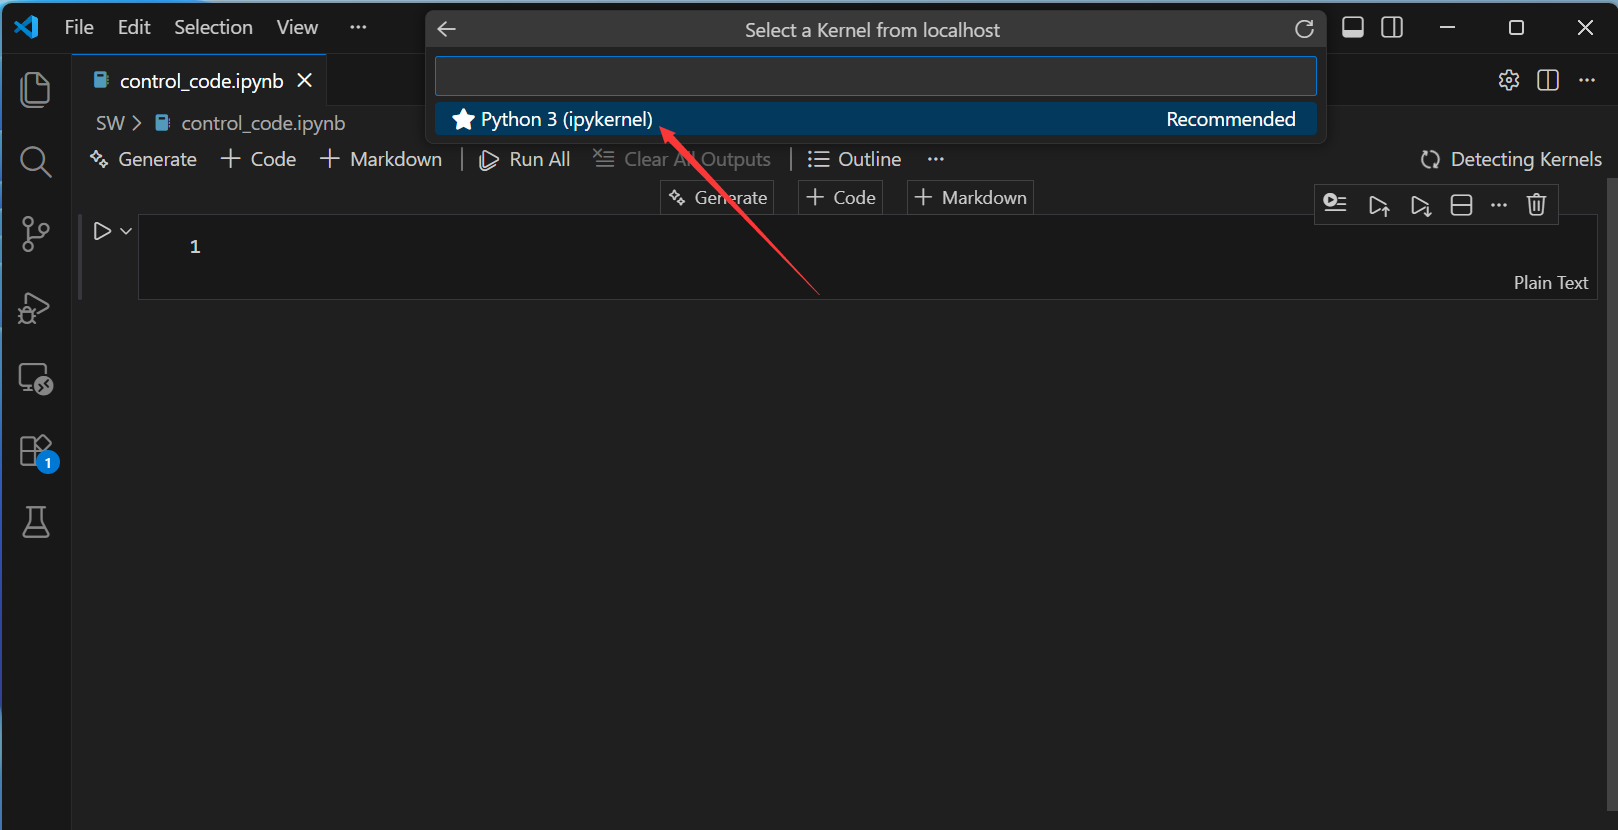
接来下输入代码运行测试一下:
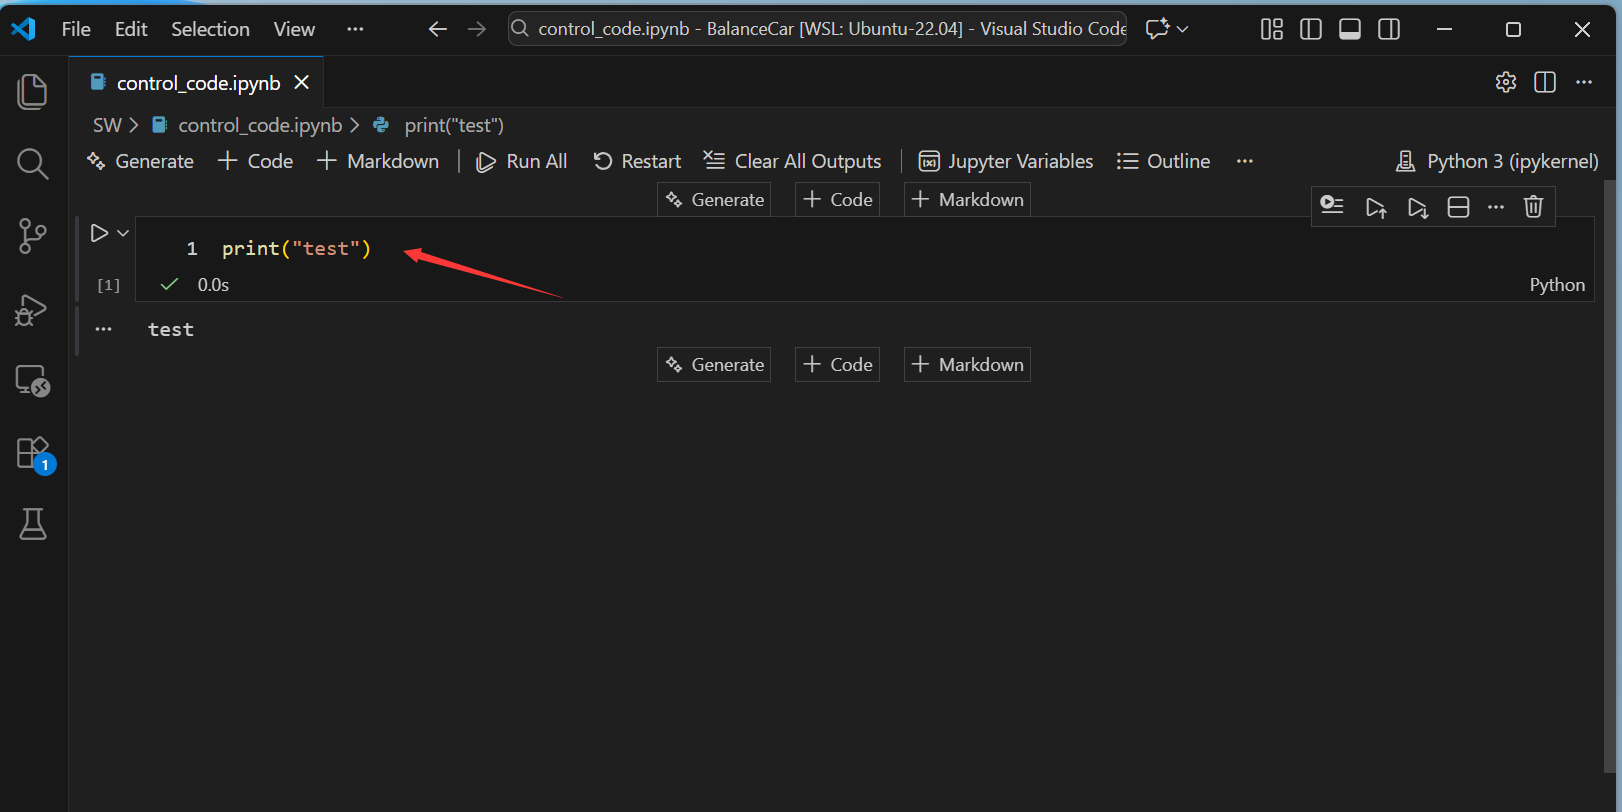
3. 运行测试
3.1 发布话题
先初始化ros2
python
import rclpy
rclpy.init(args=None)
然后运行主程序
python
import rclpy
from rclpy.node import Node
from std_msgs.msg import String
import time

class SimplePublisher(Node):
    def __init__(self):
        super().__init__('simple_publisher')

        # 创建发布者,话题名为 "my_topic",队列大小为10
        self.publisher_ = self.create_publisher(String, 'my_topic1', 10)

        # 创建定时器,每1秒发布一次消息
        timer_period = 1.0  # 秒
        self.timer = self.create_timer(timer_period, self.timer_callback)

        self.count = 0
        self.get_logger().info('发布者节点已启动,开始发布消息...')

    def timer_callback(self):
        # 创建消息
        msg = String()
        msg.data = f'Hello ROS2! 消息编号: {self.count}'

        # 发布消息
        self.publisher_.publish(msg)

        # 记录日志
        self.get_logger().info(f'发布消息: "{msg.data}"')

        self.count += 1

# rclpy.init(args=None)
publisher = SimplePublisher()
rclpy.spin(publisher)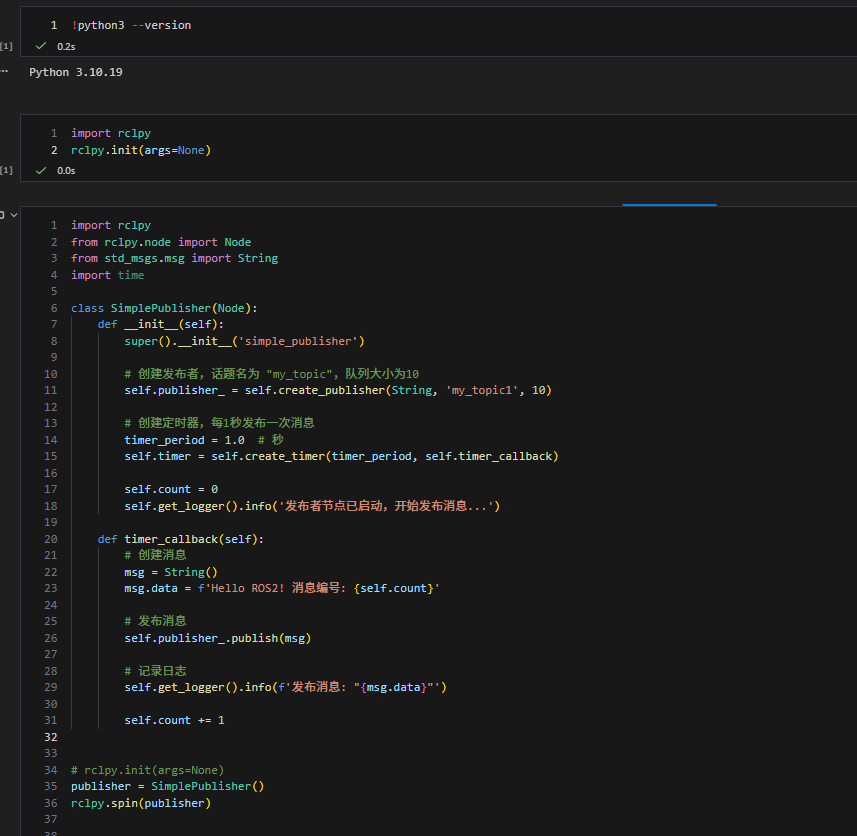
在终端查看节点和话题是否存在:ros2 node list && ros2 topic list

3.2 运行多节点
在实际开发中,经常需要运行多个节点,以实现数据的观测和目标的控制。接下来介绍如何在单个jupyter文件中运行多个节点。
创建并使用多线程启动节点:
python
import rclpy
from rclpy.node import Node
from rclpy.executors import MultiThreadedExecutor
from std_msgs.msg import Int32
import threading
import time

# 定义发布者节点
class PublisherNode(Node):
    def __init__(self):
        super().__init__('publisher_node')
        self.publisher_ = self.create_publisher(Int32, 'int_topic', 10)
        self.timer = self.create_timer(0.5, self.timer_callback)  # 每0.5秒触发一次
        self.count = 0

    def timer_callback(self):
        msg = Int32()
        msg.data = self.count
        self.publisher_.publish(msg)
        self.get_logger().info(f'Publishing: "{msg.data}"')
        self.count += 1

# 定义订阅者节点
class SubscriberNode(Node):
    def __init__(self):
        super().__init__('subscriber_node')
        self.subscription = self.create_subscription(
            Int32,
            'int_topic',
            self.listener_callback,
            10)
        self.subscription  # 防止未使用变量警告

    def listener_callback(self, msg):
        self.get_logger().info(f'I heard: "{msg.data}"')

# 初始化rclpy
rclpy.init()

# 创建节点对象
pub_node = PublisherNode()
sub_node = SubscriberNode()

# 创建多线程执行器并添加节点
executor = MultiThreadedExecutor()
executor.add_node(pub_node)
executor.add_node(sub_node)

# 在一个新线程中启动执行器,以避免阻塞Notebook
def spin_thread(executor):
    executor.spin()

spin_thread = threading.Thread(target=spin_thread, args=(executor,), daemon=True)
spin_thread.start()

# 提示信息
print("所有节点已启动。可以继续使用此Notebook,或创建新Cell进行其他操作。")
print("要停止所有节点,请重启内核(Kernel -> Restart Kernel)。")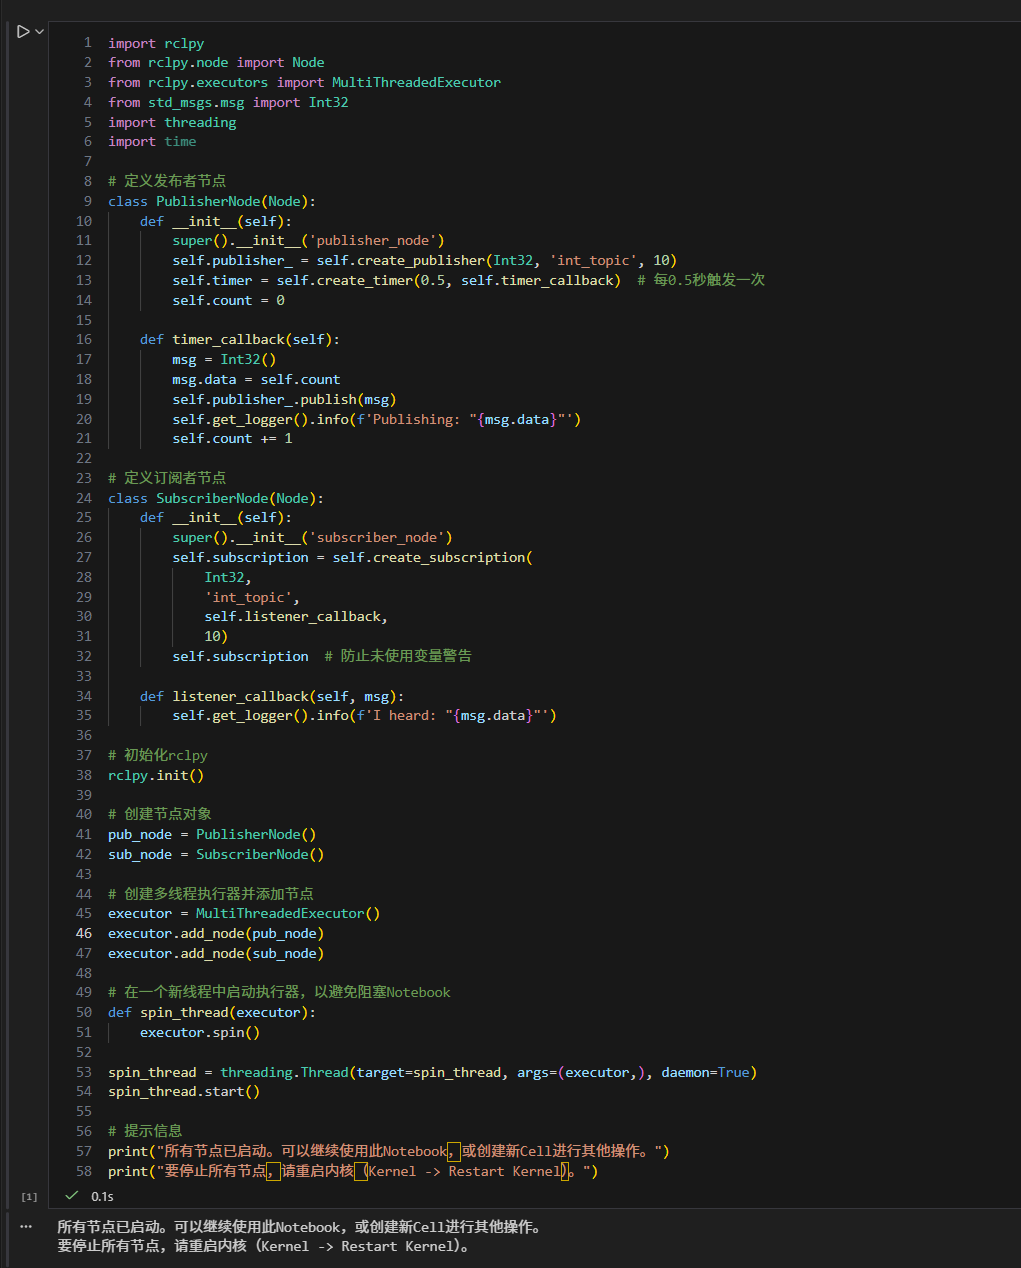
停止节点:
python
executor.shutdown() # 停止执行器,不再处理节点的回调
清理节点:
python
# 清理节点
pub_node.destroy_node()
sub_node.destroy_node()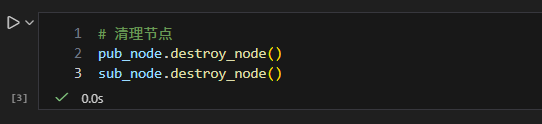
关闭ros2上下文:
python
rclpy.shutdown()
报错
问题:ros2和jupyter运行环境的Python版本不一致
shell
ModuleNotFoundError: No module named 'rclpy._rclpy_pybind11'
The C extension '/opt/ros/humble/lib/python3.10/site-packages
分析:这个问题可以通过重新构建并指定jupyter运行的Python环境解决。这里ros2 humble要求python3.10,那么jupyter的python环境也应该为python3.10