数据库 变更和版本控制管理工具 --Bytebase 安装部署(linux 安装篇)
文章目录
- [数据库 变更和版本控制管理工具 --Bytebase 安装部署(linux 安装篇)](#数据库 变更和版本控制管理工具 --Bytebase 安装部署(linux 安装篇))
-
- [Linux 版本 查看](#Linux 版本 查看)
- [开通 443 端口](#开通 443 端口)
- [添加 Docker 官方 dnf](#添加 Docker 官方 dnf)
- [linux Docker 核心基础信息](#linux Docker 核心基础信息)
- [DNS 域名解析配置](#DNS 域名解析配置)
- [安装 bytebase 将端口改为 8088](#安装 bytebase 将端口改为 8088)
- 登录
Linux 版本 查看
bash
[root@localhost ~]# cat /etc/os-release
NAME="CentOS Stream"
VERSION="8"
ID="centos"
ID_LIKE="rhel fedora"
VERSION_ID="8"
PLATFORM_ID="platform:el8"
PRETTY_NAME="CentOS Stream 8"
ANSI_COLOR="0;31"
CPE_NAME="cpe:/o:centos:centos:8"
HOME_URL="https://centos.org/"
BUG_REPORT_URL="https://bugzilla.redhat.com/"
REDHAT_SUPPORT_PRODUCT="Red Hat Enterprise Linux 8"
REDHAT_SUPPORT_PRODUCT_VERSION="CentOS Stream"
[root@localhost ~]# uname -a
Linux localhost.localdomain 4.18.0-80.11.2.el8_0.x86_64 #1 SMP Tue Sep 24 11:32:19 UTC 2019 x86_64 x86_64 x86_64 GNU/Linux
[root@localhost ~]# cat /etc/redhat-release
CentOS Stream release 8
说明,如果你是 PRETTY_NAME="CentOS linux 8" 需要升级到 CentOS Stream 8
开通 443 端口
添加一条富规则,允许所有目的地的 443 端口出站
bash
[root@localhost /]# sudo firewall-cmd --permanent --add-rich-rule='rule family="ipv4" destination address="0.0.0.0/0" port port="443" protocol="cp" accept'
success
[root@localhost /]# sudo firewall-cmd --reload

[root@localhost /]# sudo systemctl stop firewalld  # 临时停止防火墙服务
[root@localhost /]# sudo systemctl disable firewalld # 禁止开机自启,测试完毕后记得 re-enable
Removed /etc/systemd/system/multi-user.target.wants/firewalld.service.
Removed /etc/systemd/system/dbus-org.fedoraproject.FirewallD1.service.
添加 Docker 官方 dnf
前置条件:
这条命令能成功执行的前提是,你已经在系统中配置了 Docker 官方的 YUM 软件源,否则 dnf 会找不到这些 docker-ce 相关包(系统默认源中没有这些包)。
如果你还没配置 Docker 官方源,可以先执行以下命令(CentOS 8+ 适用):
安装必要的依赖包
bash
sudo dnf install -y yum-utils device-mapper-persistent-data lvm2添加 Docker 官方 YUM 源
bash
sudo yum-config-manager --add-repo https://download.docker.com/linux/centos/docker-ce.repo
bash
sudo dnf install docker-ce docker-ce-cli containerd.io docker-buildx-plugin docker-compose-plugin -y
安装后验证:
安装完成后,需要启动 Docker 服务并设置开机自启,然后验证是否可用:
启动 Docker 服务
bash
sudo systemctl start docker设置开机自启
bash
sudo systemctl enable docker验证 Docker 版本(确认安装成功)
bash
[root@localhost /]# sudo systemctl start docker
[root@localhost /]# sudo systemctl enable docker
Created symlink /etc/systemd/system/multi-user.target.wants/docker.service → /usr/lib/systemd/system/docker.service.
linux Docker 核心基础信息
作用:Docker 守护进程(dockerd)启动时,会读取该文件中的配置项,覆盖默认配置和命令行启动参数(优先级:命令行参数 > daemon.json > 默认配置)。
bash
[root@localhost ~]# sudo vim /etc/docker/daemon.json
{
  "builder": {
    "gc": {
      "defaultKeepStorage": "20GB",
      "enabled": true
    }
  },
  "dns": [
    "8.8.8.8",
    "8.8.4.4"
  ],
  "experimental": false,
  "features": {
    "buildkit": true
  },
  "insecure-registries": [
    "https://hub.atguigu.com"
  ],
  "registry-mirrors": [
    "https://docker.mirrors.ustc.edu.cn",
    "https://registry.docker-cn.com",
    "http://hub-mirror.c.163.com",
    "https://cr.console.aliyun.com/",
    "https://mirror.ccs.tencentyun.com",
    "https://docker.1ms.run",
    "https://docker.m.daocloud.io",
    "https://docker.xuanyuan.me",
    "https://mirror.ccs.tencentyun.com"

  ]
}
DNS 域名解析配置
/etc/resolv.conf 是 Linux 系统中负责 DNS 域名解析配置的核心文件,简单说:它告诉操作系统 "去哪里查询域名对应的 IP 地址",是系统进行网络域名解析的入口配置文件。
bash
[root@localhost /]# cat /etc/resolv.conf
nameserver 8.8.8.8
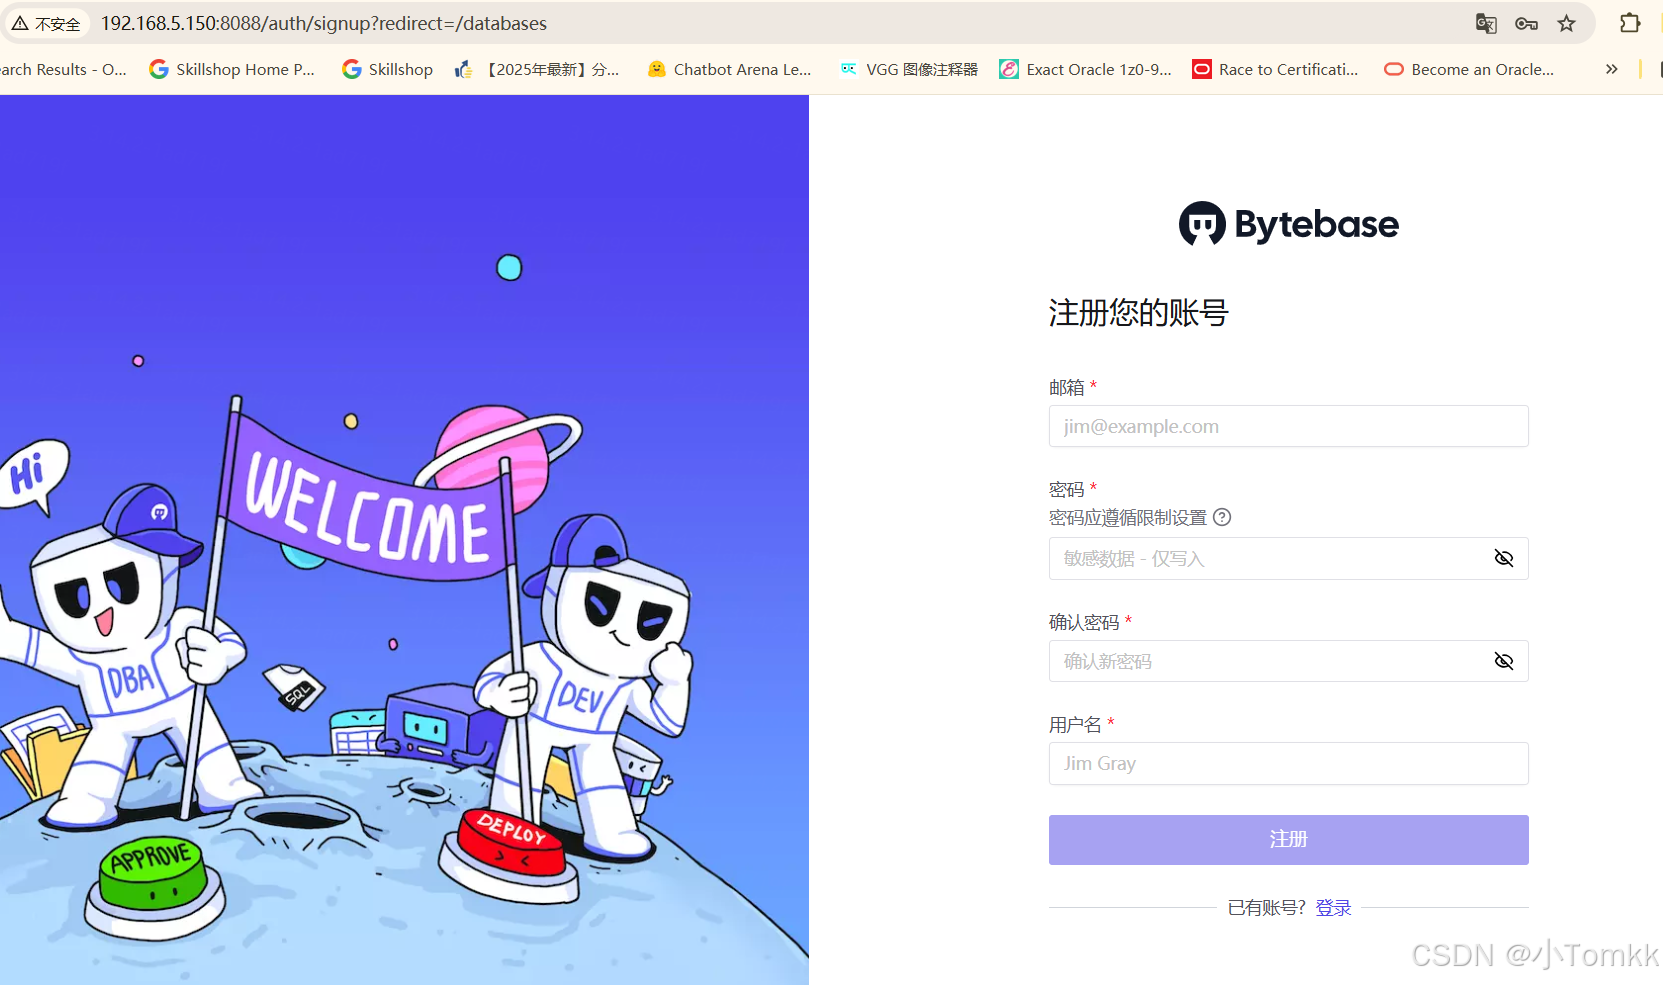
nameserver 223.5.5.5安装 bytebase 将端口改为 8088
bash
[root@localhost docker]# docker run --restart=always --init --name bytebase --publish 8088:8080 --pull always --volume ~/.bytebase/data:/var/optbytebase bytebase/bytebase:latest
latest: Pulling from bytebase/bytebase
589002ba0eae: Pull complete
0cdcef1e01ee: Pull complete
84bc7fe93efd: Pull complete
14fcfd56e908: Pull complete
c5bd04dd3919: Pull complete
c47d23c773f1: Pull complete
a6759a945d31: Pull complete
690654c9a3c1: Pull complete
43ead3d4c76a: Pull complete
2097ffd439c1: Pull complete
eae1b9794422: Pull complete
0eb75358e531: Pull comple
登录