一句话记:下采样 = 缩小 / 降分辨率;上采样 = 放大 / 升分辨率 。
📌 下采样(Downsampling)
作用 :缩小图像 / 特征图,降分辨率、减计算、扩感受野、提高层语义。常用方法:
- 最大池化 Max Pooling:取窗口内最大值(保留强特征)
- 平均池化 Avg Pooling:取窗口内均值(平滑、去噪)
- 跨步卷积 Strided Conv:stride>1,卷积直接缩小尺寸
- 高斯金字塔:先高斯模糊再下采样,防锯齿
典型场景:CNN 编码器、特征提取、目标检测、降维提速。
📌 上采样(Upsampling)
作用 :放大图像 / 特征图,升分辨率、恢复细节、做像素级输出。常用方法:
- 最近邻插值:复制最近像素(快、有马赛克)
- 双线性插值:周围 4 点加权(平滑、常用)
- 转置卷积(反卷积):可学习参数,效果更好(CNN 常用)
- 像素洗牌 Pixel Shuffle:通道重组升分辨率(超分常用)
典型场景:图像分割、超分辨率、GAN 生成、U-Net 解码器。
📊 一句话对比
- 下采样:信息压缩、看全局、降维提速
- 上采样:信息重建、补细节、恢复尺寸
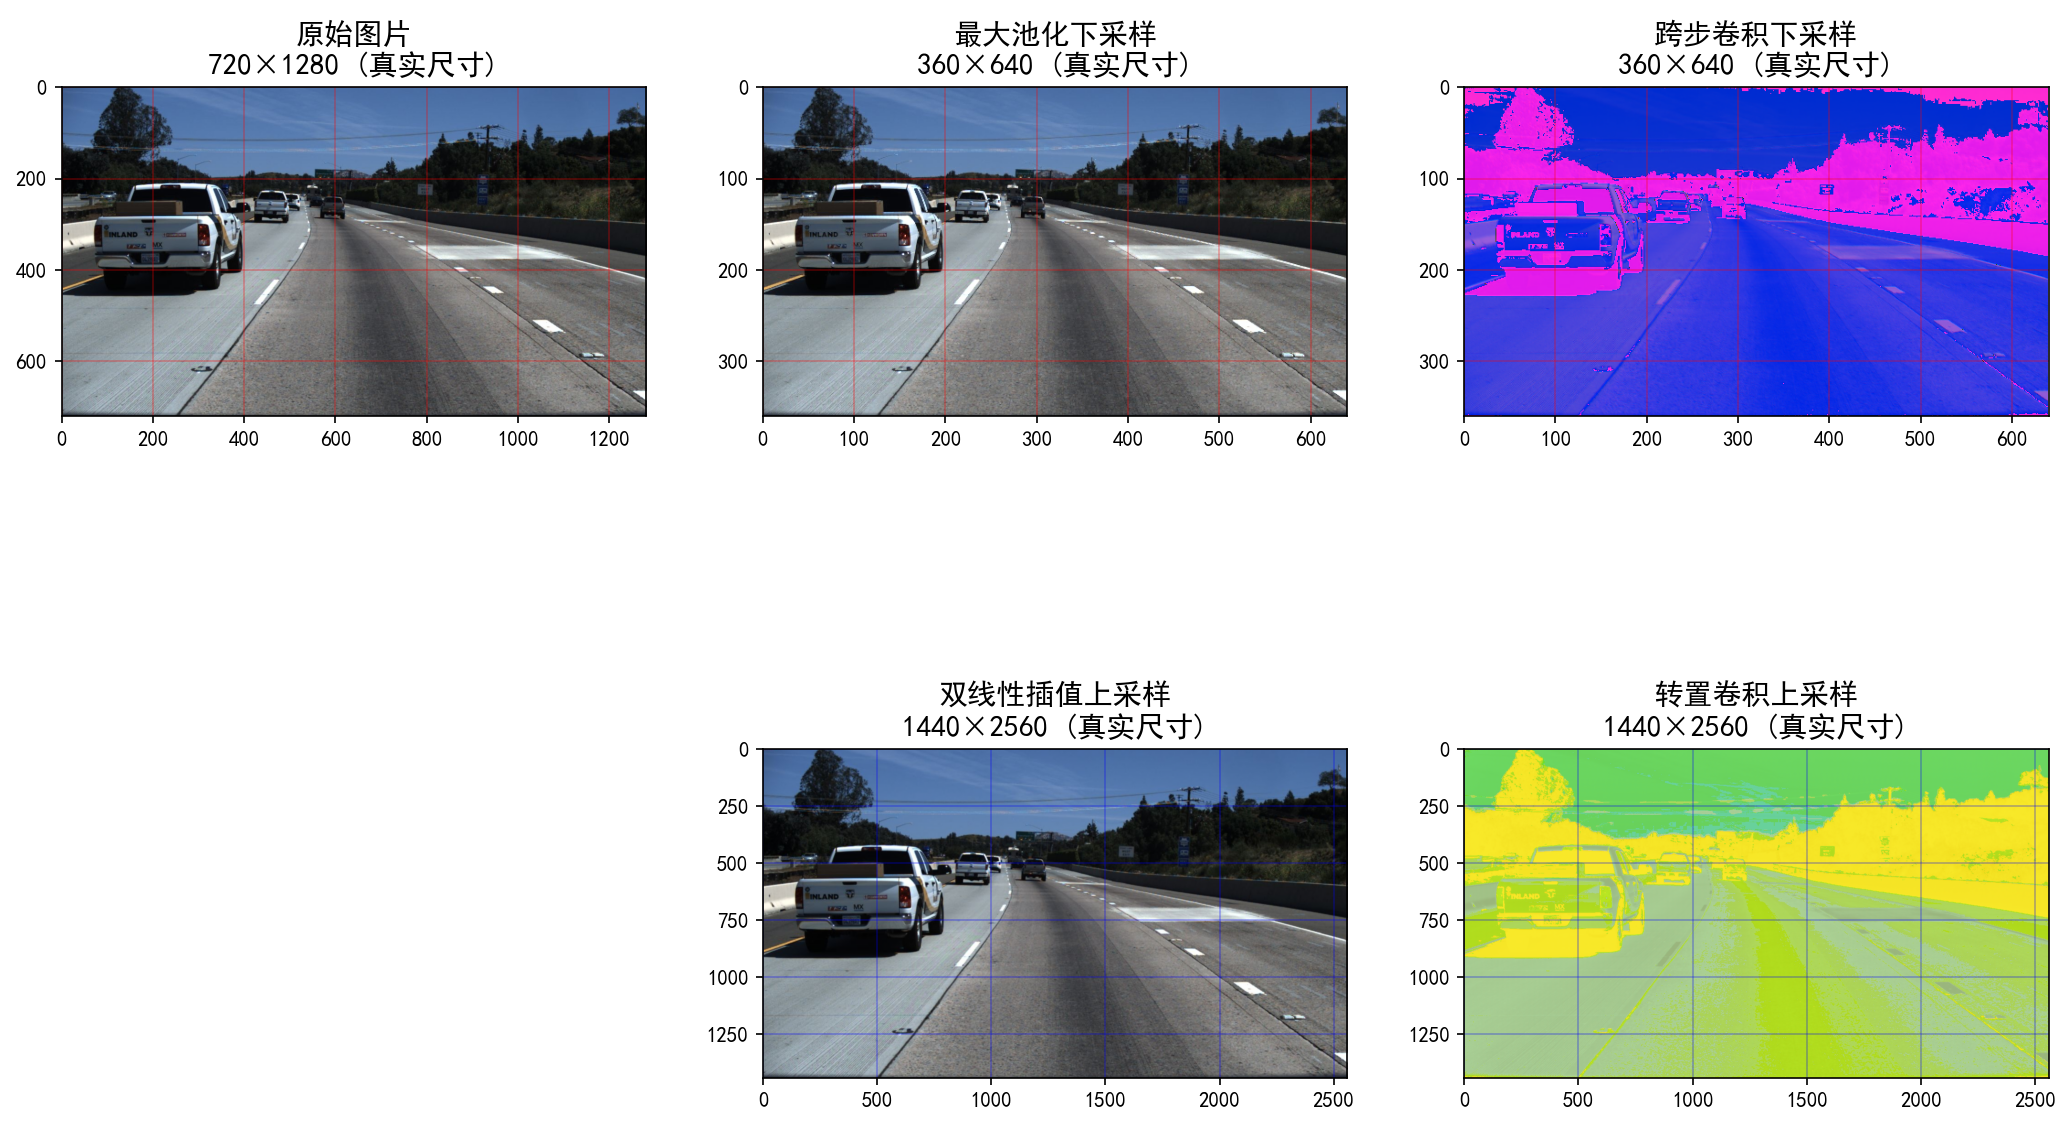
💻 实操可视化(720×1280图片适配)
python
import torch
import torch.nn as nn
from PIL import Image
import torchvision.transforms as transforms
import matplotlib.pyplot as plt
plt.rcParams['font.sans-serif'] = ['SimHei']
plt.rcParams['axes.unicode_minus'] = False
# ====================== 1. 核心参数配置 ======================
TARGET_HEIGHT = 720
TARGET_WIDTH = 1280
torch.manual_seed(42)
# ====================== 2. 加载并预处理图片 ======================
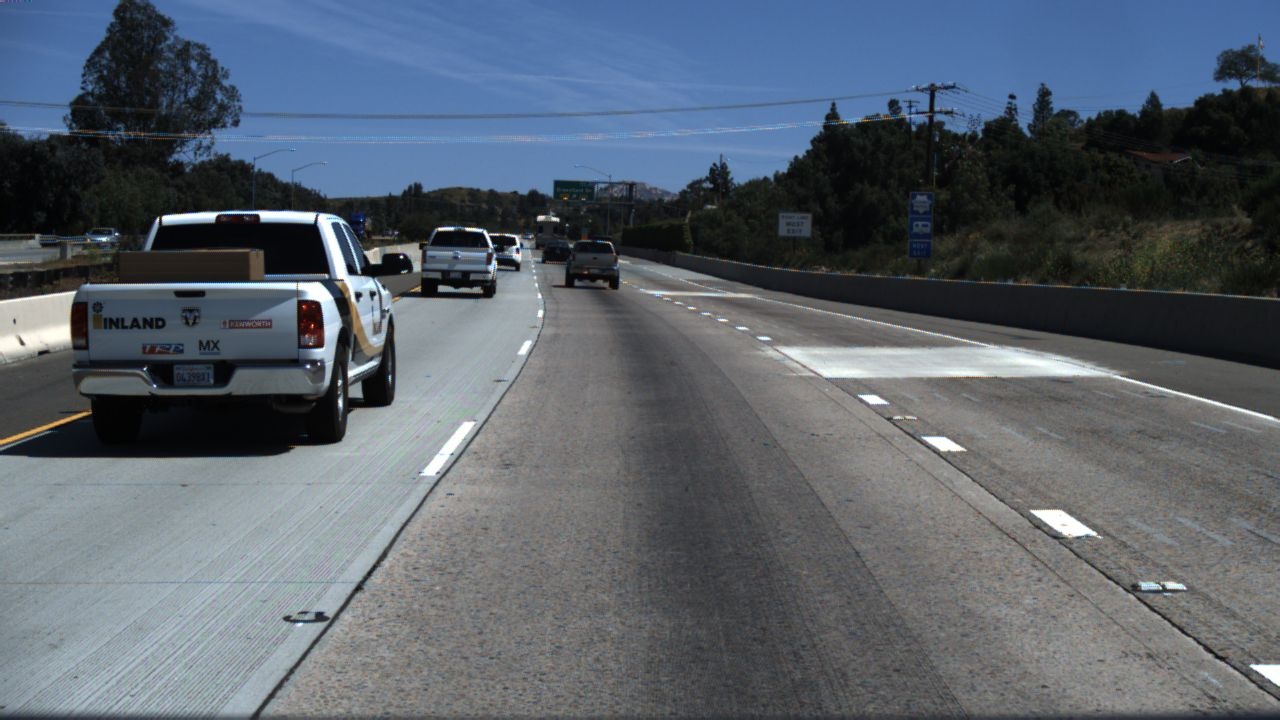
img_path = "20.jpg"
img = Image.open(img_path).convert('RGB')
img = img.resize((TARGET_WIDTH, TARGET_HEIGHT), Image.Resampling.LANCZOS)
transform = transforms.Compose([transforms.ToTensor()])
img_tensor = transform(img).unsqueeze(0)
print(f"原始张量形状: {img_tensor.shape}")
# ====================== 3. 定义采样层 ======================
max_pool = nn.MaxPool2d(kernel_size=2, stride=2)
strided_conv = nn.Conv2d(3, 3, kernel_size=3, stride=2, padding=1)
bilinear_upsample = nn.Upsample(scale_factor=2, mode='bilinear', align_corners=True)
trans_conv = nn.ConvTranspose2d(3, 3, kernel_size=3, stride=2, padding=1, output_padding=1)
# ====================== 4. 执行采样操作 ======================
# 下采样
img_down_max = max_pool(img_tensor)
img_down_conv = strided_conv(img_tensor)
# img_down_conv = (img_down_conv - img_down_conv.min()) / (img_down_conv.max() - img_down_conv.min())
# 上采样
img_up_bilinear = bilinear_upsample(img_tensor)
img_up_trans = trans_conv(img_tensor)
# img_up_trans = (img_up_trans - img_up_trans.min()) / (img_up_trans.max() - img_up_trans.min())
# ====================== 5. 优化可视化(关键修改) ======================
plt.rcParams['figure.figsize'] = (24, 18)
fig, axes = plt.subplots(2, 3)
plt.subplots_adjust(wspace=0.2, hspace=0.3)
# ---- 子图1:原始图片(显示真实像素尺寸)----
ax1 = axes[0, 0]
ax1.imshow(transforms.ToPILImage()(img_tensor.squeeze(0)))
ax1.set_title(f'原始图片\n{TARGET_HEIGHT}×{TARGET_WIDTH} (真实尺寸)', fontsize=14)
ax1.set_xlim(0, TARGET_WIDTH)
ax1.set_ylim(TARGET_HEIGHT, 0) # 匹配PIL的坐标方向
ax1.grid(True, color='red', alpha=0.3) # 红色网格突出像素
ax1.axis('on') # 显示坐标轴,直观看到像素数
# ---- 子图2:最大池化下采样(显示真实像素尺寸)----
ax2 = axes[0, 1]
ax2.imshow(transforms.ToPILImage()(img_down_max.squeeze(0)))
ax2.set_title(f'最大池化下采样\n{TARGET_HEIGHT//2}×{TARGET_WIDTH//2} (真实尺寸)', fontsize=14)
ax2.set_xlim(0, TARGET_WIDTH//2)
ax2.set_ylim(TARGET_HEIGHT//2, 0)
ax2.grid(True, color='red', alpha=0.3)
ax2.axis('on')
# ---- 子图3:跨步卷积下采样(显示真实像素尺寸)----
ax3 = axes[0, 2]
ax3.imshow(transforms.ToPILImage()(img_down_conv.squeeze(0)))
ax3.set_title(f'跨步卷积下采样\n{TARGET_HEIGHT//2}×{TARGET_WIDTH//2} (真实尺寸)', fontsize=14)
ax3.set_xlim(0, TARGET_WIDTH//2)
ax3.set_ylim(TARGET_HEIGHT//2, 0)
ax3.grid(True, color='red', alpha=0.3)
ax3.axis('on')
# ---- 子图4:空白(占位)----
axes[1, 0].axis('off')
# ---- 子图5:双线性插值上采样(放大细节区域)----
ax5 = axes[1, 1]
# 裁剪图片的局部细节(比如中心200×200区域),放大显示差异
# crop_region = img_up_bilinear[:, :, 260:460, 540:740] # 720×1280的中心区域
ax5.imshow(transforms.ToPILImage()(img_up_bilinear.squeeze(0)))
ax5.set_title(f'双线性插值上采样\n{TARGET_HEIGHT*2}×{TARGET_WIDTH*2} (真实尺寸)', fontsize=14)
ax5.grid(True, color='blue', alpha=0.3)
ax5.axis('on')
# ---- 子图6:转置卷积上采样(相同细节区域)----
ax6 = axes[1, 2]
# crop_region_trans = img_up_trans[:, :, 260:460, 540:740]
ax6.imshow(transforms.ToPILImage()(img_up_trans.squeeze(0)))
ax6.set_title(f'转置卷积上采样\n{TARGET_HEIGHT*2}×{TARGET_WIDTH*2} (真实尺寸)', fontsize=14)
ax6.grid(True, color='blue', alpha=0.3)
ax6.axis('on')
# 保存高清对比图
plt.savefig('720x1280_sampling_contrast.png', dpi=200, bbox_inches='tight')
plt.show()
# 打印详细尺寸信息
print("-" * 80)
print(f"原始图片像素数: {TARGET_HEIGHT}×{TARGET_WIDTH} = {TARGET_HEIGHT*TARGET_WIDTH:,} 像素")
print(f"下采样后像素数: {TARGET_HEIGHT//2}×{TARGET_WIDTH//2} = {(TARGET_HEIGHT//2)*(TARGET_WIDTH//2):,} 像素 (减少75%)")
print(f"上采样后像素数: {img_up_bilinear.shape[2]}×{img_up_bilinear.shape[3]} = {img_up_bilinear.shape[2]*img_up_bilinear.shape[3]:,} 像素")原图(720x1280):
运行后对比图