blender007阶梯布阵循环三角函数螺旋效果
- 这是 oeasy 系统化 Python 教程,从基础一步步讲,扎实、完整、不跳步。愿意花时间学,就能真正学会。阶梯_排队与布阵_Location_位置信息_立方体_xyz_移动_位移
开始
- 配套视频
- 上次使用脚本工作区中的文本面板
- 这面板可以编写python程序
- 还可以保存、导出
- 这样就可以将程序保留下来了
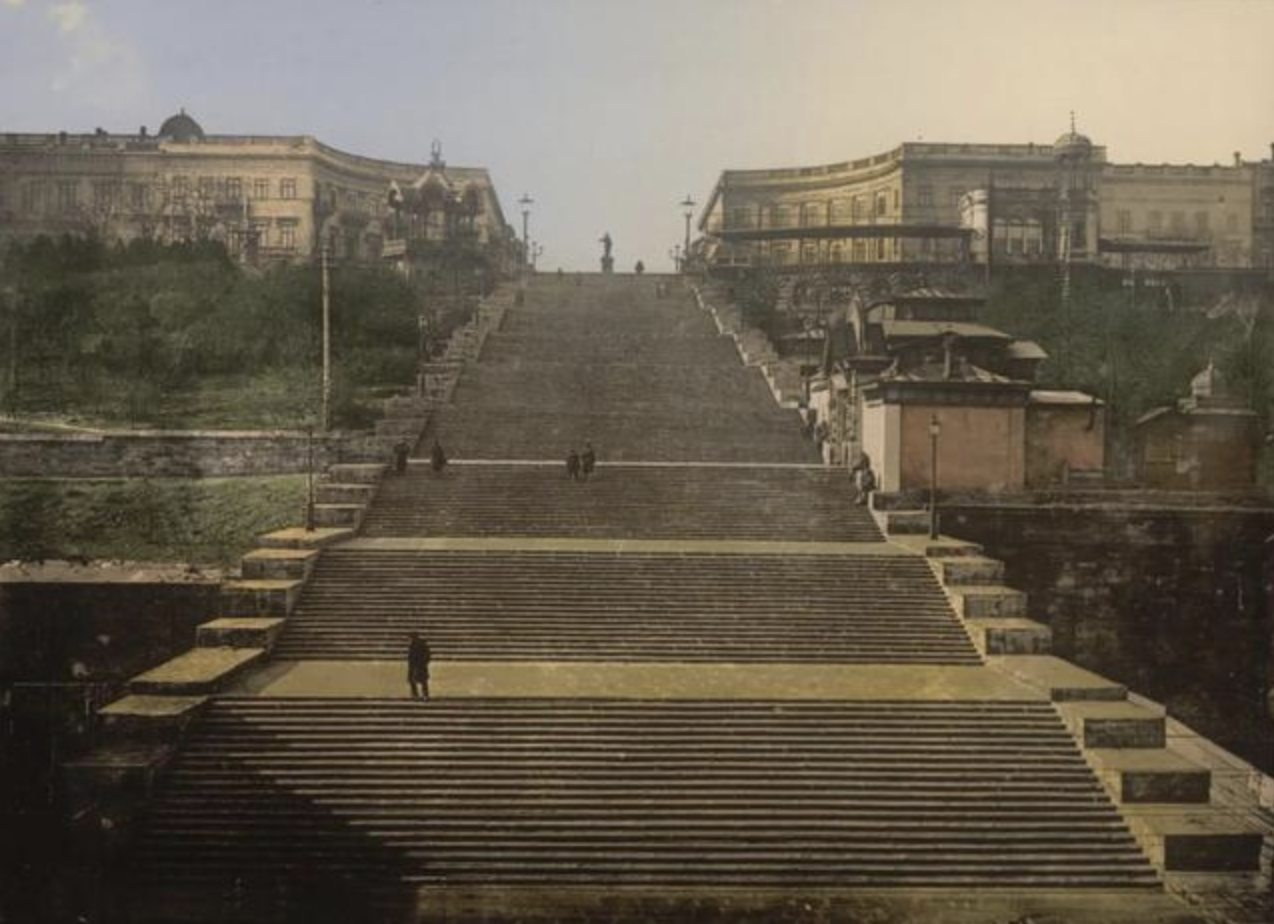
- 可以制作阶梯吗?🤔
尝试
import bpy
bpy.ops.object.select_all(action="SELECT")
bpy.ops.object.delete()
for num in range(13):
    bpy.ops.mesh.primitive_cube_add(size = 1)
    bpy.context.object.location = (0,num,0)
bpy.context.object.scale = (30,1,num+1)- 每个 都 长出一块
- 但是 底边 不齐
- 要把阶梯沿着z轴移动
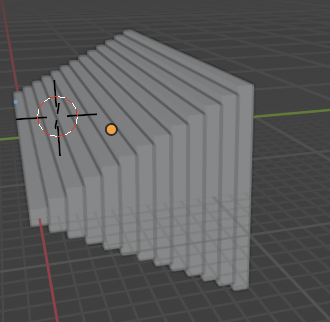
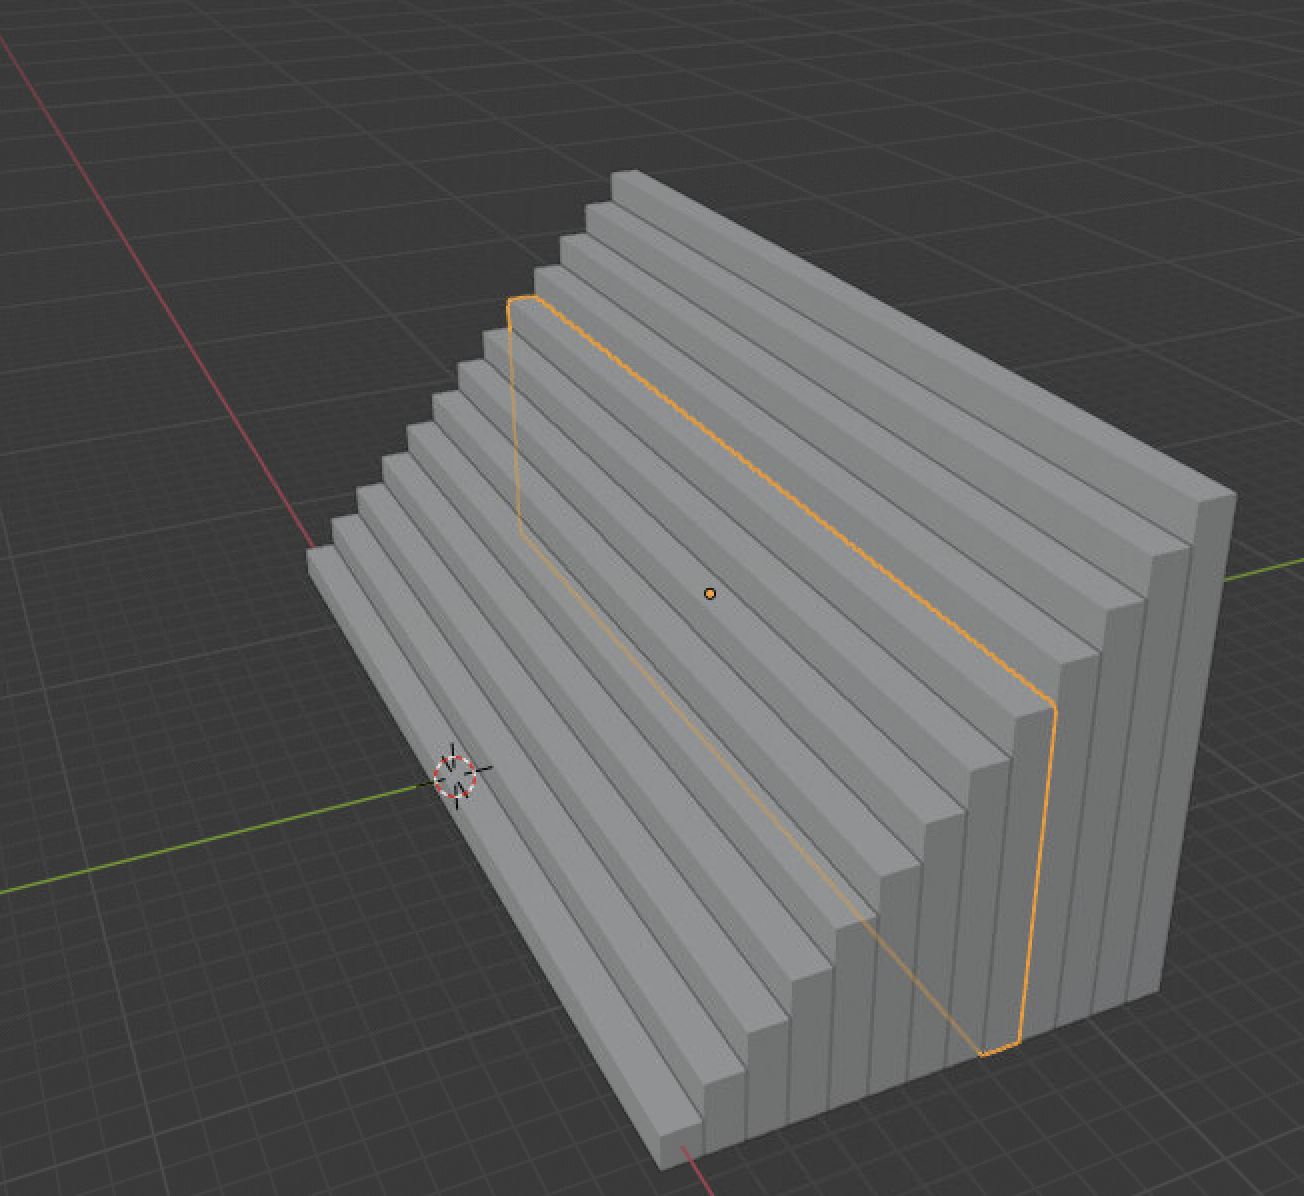
阶梯
import bpy
bpy.ops.object.select_all(action="SELECT")
bpy.ops.object.delete()
for num in range(13):
    bpy.ops.mesh.primitive_cube_add(size = 1)
    bpy.context.object.location = (0, num, num/2)
bpy.context.object.scale = (30, 1, num+1)- 因为当前视角
- 结果会看不完整
- 如何看到完整阶梯呢?
视图菜单
- 在View视图菜单
- 点中Frame All
- 取景框
- 会框取 全部对象
- 显示全部对象的全景
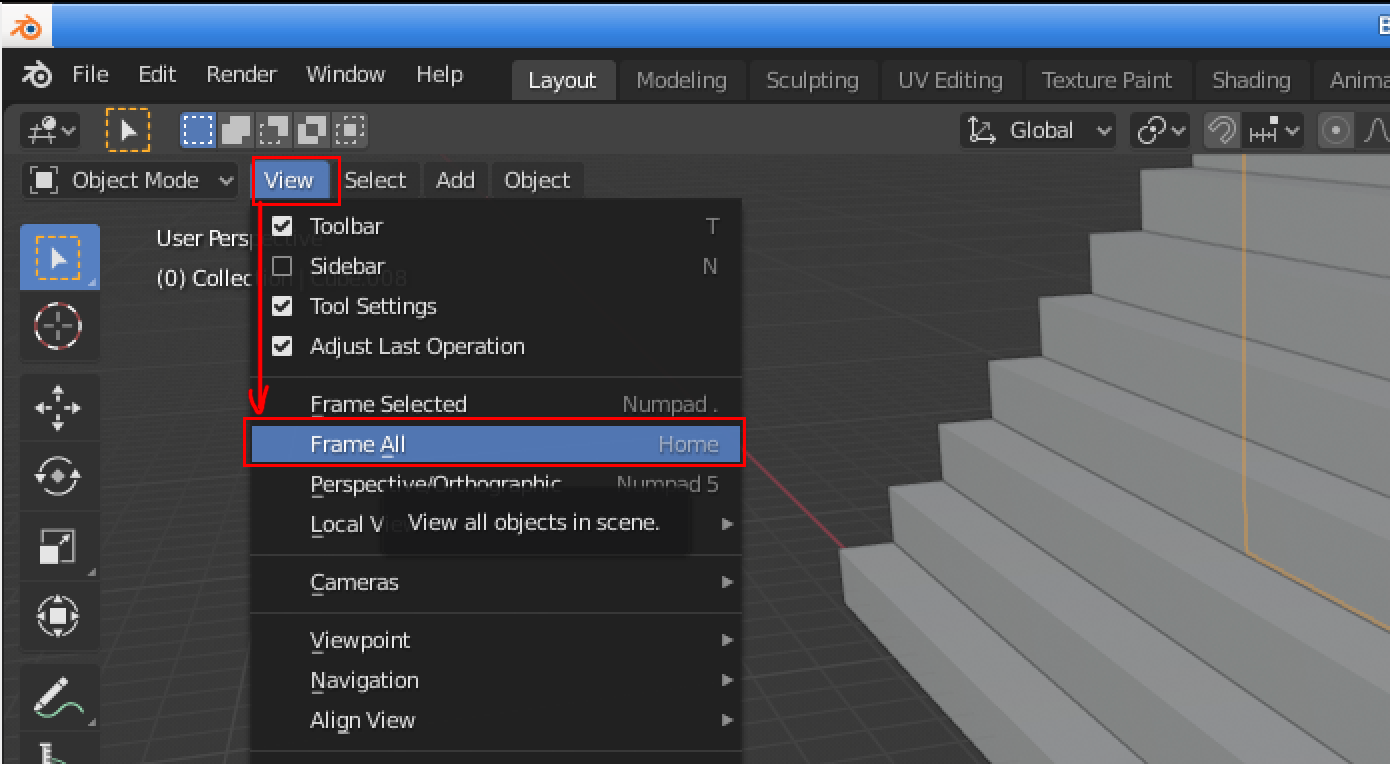
- 显示效果
- 如果只想框选其中一个阶梯呢?
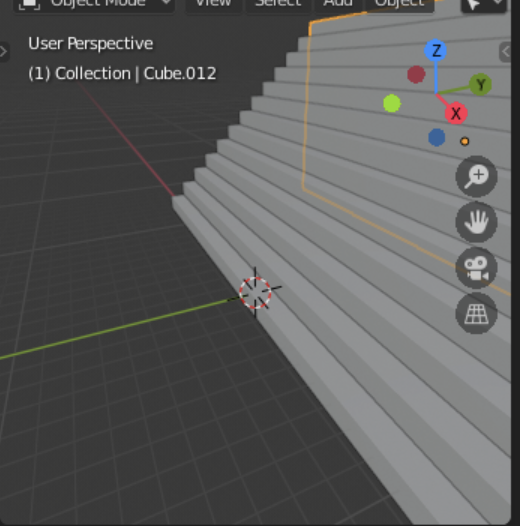
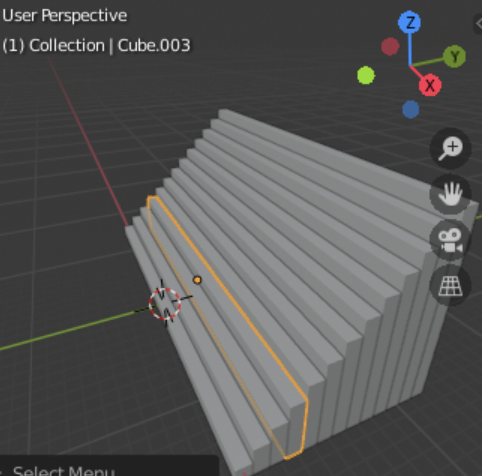
选中
- 选中其中的一个阶梯
- 黄色线框高亮显示
- 点击视图菜单view
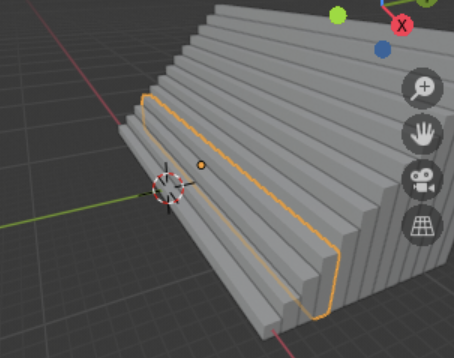
- Frame Selected
- 框选所选
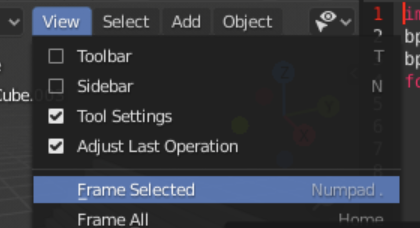
- 以选中对象为主体
- 显示全景
- 如果想要
- 改变 当前视角 呢?
旋转当前视角
- 改变当前视角
|--------------|------|------|
| 键鼠配合 | 操作 | 效果 |
| 鼠标中键 | 滚动 | 镜头推拉 |
| 鼠标中键 | 按住拖动 | 镜头旋转 |
| shift + 鼠标中键 | 点击拖动 | 镜头平移 |
- 从新的角度观察

- 可以来电随机因素吗?
随机因素的引入
-
保存到Code/b3.py
import bpy
import random
bpy.ops.object.select_all(action="SELECT")
bpy.ops.object.delete()
for num in range(10):
r = random.random()
bpy.ops.mesh.primitive_cube_add(size = 1)
bpy.context.object.location = (r,num,0) -
编辑好之后保存
- 在blender中load
- 再RunScript
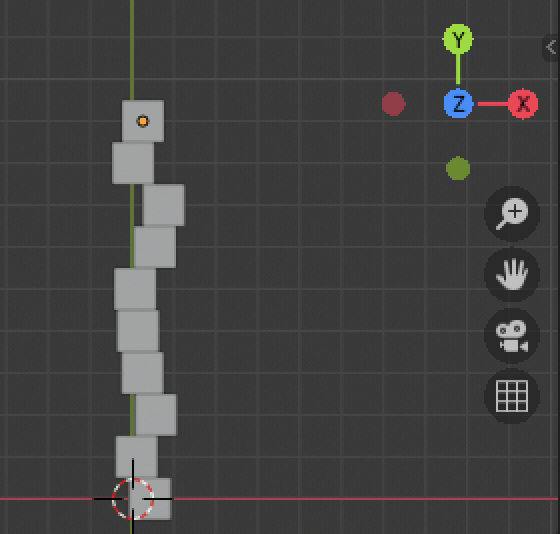
- 从z轴的角度观察
不断Run
- 不断点击文本面板中的
- Run Script
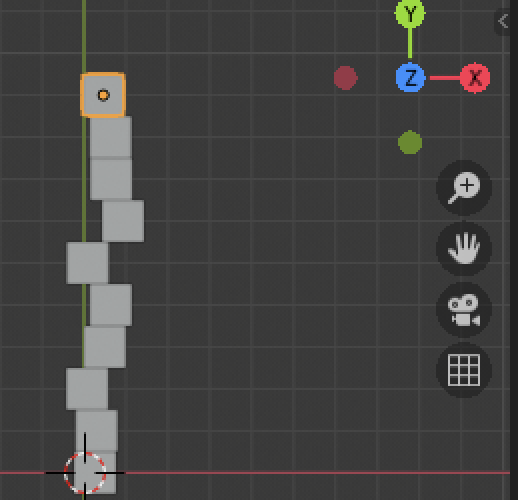
- 长队 不断在扭动
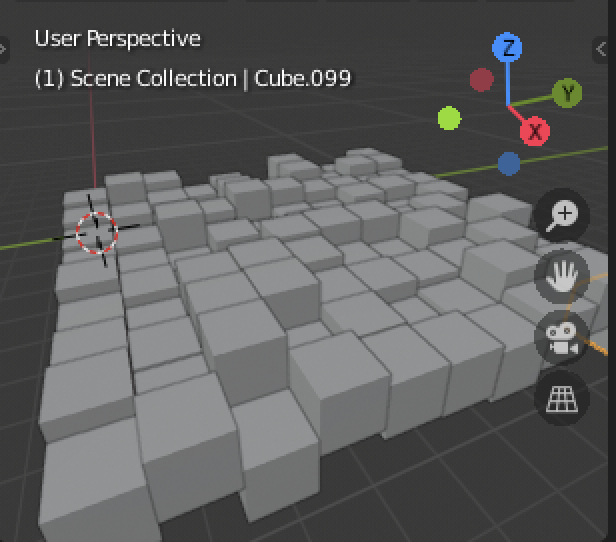
- 可以改成方阵吗?
方阵
- 二重循环
-
生成平面
import bpy
import randombpy.ops.object.select_all(action="SELECT")
bpy.ops.object.delete()
for x in range(10):
for y in range(10):
r = random.random()
bpy.ops.mesh.primitive_cube_add(size=1,location=(x,y,r)) -
再运行
- 更新视图角度
- 点击蓝色的Z
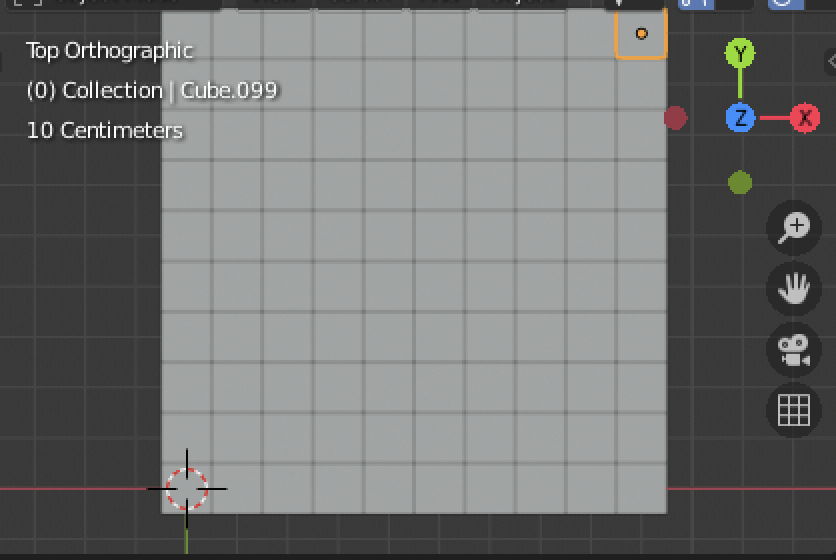
- Frame All
- 框选所有
换角度
- 按下鼠标中键
- 旋转视角
- 再不断点击
- 观察随机变化
- 可以做成三维的嘛?
魔方制作
- 三重循环
-
生成立体
import bpy
import randombpy.ops.object.select_all(action="SELECT")
bpy.ops.object.delete()
for x in range(3):
for y in range(3):
for z in range(3):
bpy.ops.mesh.primitive_cube_add(size=1,location=(x,y,z)) -
总共27个小方块
- 被放置到了合适的位置
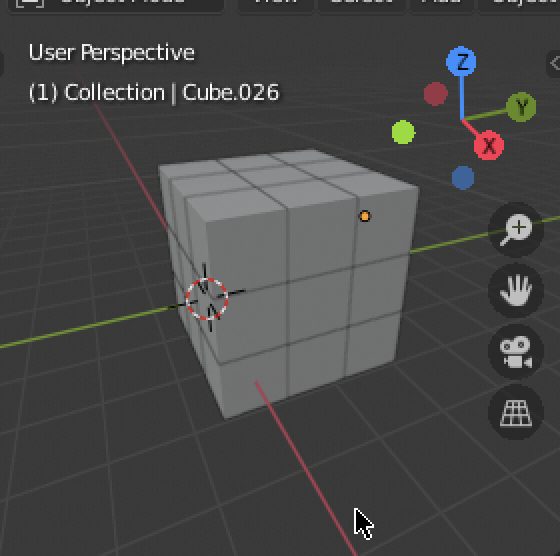
- 同样的Cube
-
不同的location
-
形成了一个魔方
import bpy
import randombpy.ops.object.select_all(action="SELECT")
bpy.ops.object.delete()
for x in range(3):
for y in range(3):
for z in range(3):
bpy.ops.mesh.primitive_cube_add(size=1,location=(x, y,z)) -
想让魔方炸开
爆炸魔方
import bpy
import random

bpy.ops.object.select_all(action="SELECT")
bpy.ops.object.delete()
for x in range(3):
    for y in range(3):
        for z in range(3):
bpy.ops.mesh.primitive_cube_add(size=1,location=(x*2, y*2,z*2))- 在矩阵中穿梭
- 可以旋转一圈吗?
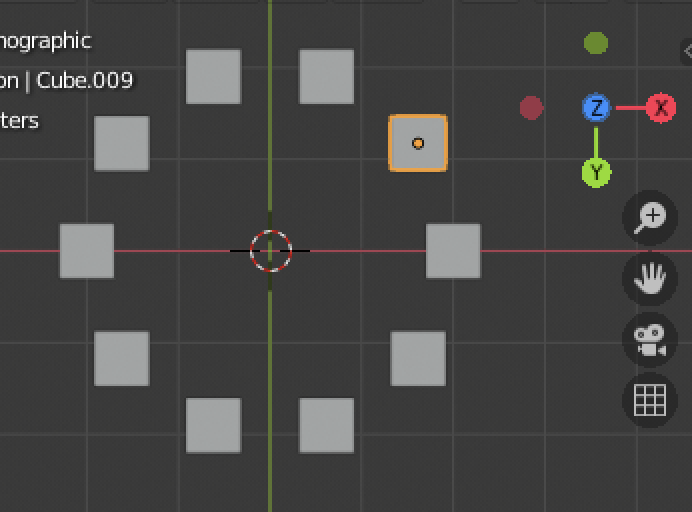
环绕一圈
import bpy
from math import pi,cos,sin
bpy.ops.object.select_all(action="SELECT")
bpy.ops.object.delete()
num = 10
for i in range(num):
    theta = i * pi * 2 / num
    pos = (2*cos(theta), 2*sin(theta), 0)
bpy.ops.mesh.primitive_cube_add(size=0.6,location=pos)- 效果
- 想控制半径
更复杂的环绕
- 不清场景
-
在原来基础上做
import bpy
from math import pi,cos,sin
r = 3
n = 24
for i in range(n):
theta = i * pi * 2/n
pos = (rcos(theta), rsin(theta), 0)
bpy.ops.mesh.primitive_cube_add(size=0.6,location=pos) -
效果
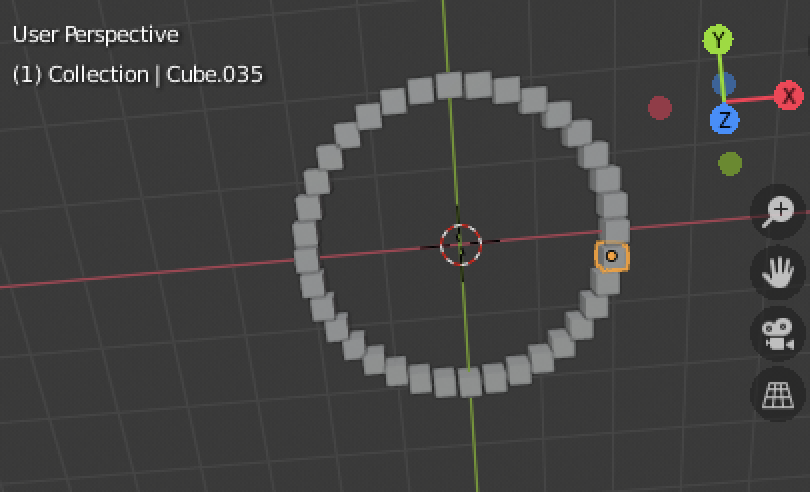
尝试更加通用
import bpy
from math import pi,cos,sin
bpy.ops.object.select_all(action="SELECT")
bpy.ops.object.delete()
num = 36
for i in range(num):
    theta = i * pi * 2 / num
    pos = (2*cos(theta), 2*sin(theta), 0)
bpy.ops.mesh.primitive_cube_add(size=0.3,location=pos)- 动态数量
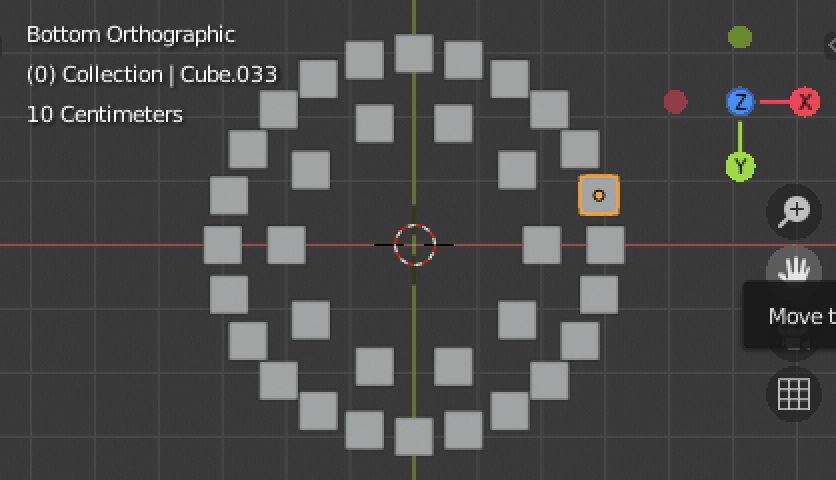
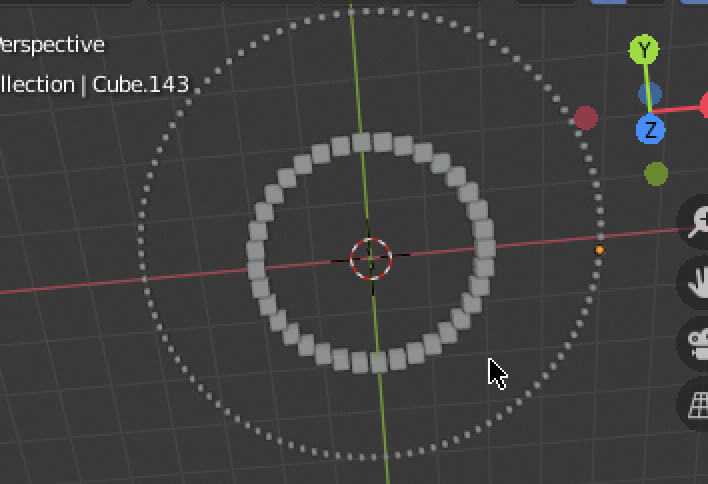
双层效果
import bpy
from math import pi,cos,sin
bpy.ops.object.select_all(action="SELECT")
bpy.ops.object.delete()
num = 36
for i in range(num):
    theta = i * pi * 2/num
    pos = (2*cos(theta), 2*sin(theta), 0)
    bpy.ops.mesh.primitive_cube_add(size=0.3,location=pos)
num = 108
for i in range(num):
    theta = i * pi * 2/num
    pos = (4*cos(theta), 4*sin(theta), 0)
bpy.ops.mesh.primitive_cube_add(size=0.1,location=pos)- 很像放花
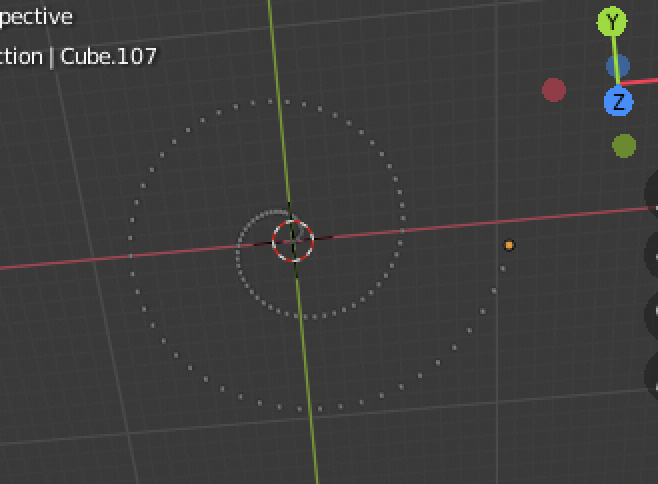
螺旋效果
import bpy
from math import pi,cos,sin
bpy.ops.object.select_all(action="SELECT")
bpy.ops.object.delete()
num = 720
for i in range(num):
    theta = i * pi * 4/num
    i_radius = 0 + i * 0.1
    pos = (i_radius*cos(theta), i_radius*sin(theta), 0.15*i)
bpy.ops.mesh.primitive_cube_add(size=0.01*i, location=pos)- 蚊香
- 如果再加点随机因子呢?
- 期待你的发挥~
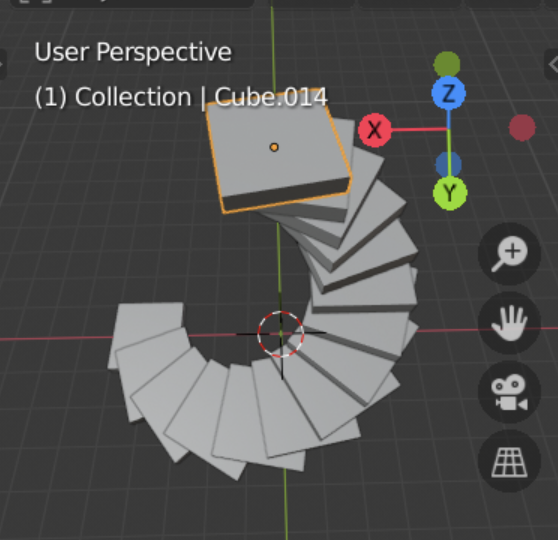
旋转阶梯
import bpy
import math
from mathutils import Vector

# 清空场景
def clear_scene():
    bpy.ops.object.select_all(action='SELECT')
    bpy.ops.object.delete()

# 生成螺旋塔
def create_spiral_tower(
    layers=10,      # 层数
    radius=3,       # 底部半径
    height=0.5,     # 每层高度
    twist=15        # 旋转角度(度)
):
    for i in range(layers):
        # 将角度转换为弧度
        angle = math.radians(i * twist)

        # 计算当前层位置(极坐标转笛卡尔坐标)
        x = radius * math.cos(angle)
        y = radius * math.sin(angle)
        z = i * height

        # 创建立方体层
        bpy.ops.mesh.primitive_cube_add(
            size=2,
            location=(x, y, z)
        )

        # 缩小半径实现螺旋收缩效果
        radius *= 0.9

        # 添加旋转动画(可选)
        bpy.context.object.rotation_euler.z = angle
        bpy.context.object.scale.z = 0.2

# 主程序
if __name__ == "__main__":
    clear_scene()
    create_spiral_tower(layers=15, radius=4, twist=20)
总结
- 这次控制了视角的变化
- 以
所有对象 为全景 FrameAll - 以
所选对象 为全景 FrameSelected - 还可以 手动改变
|--------------|------|------|
| 键鼠配合 | 操作 | 效果 |
| 鼠标中键 | 滚动 | 镜头推拉 |
| 鼠标中键 | 按住拖动 | 镜头旋转 |
| shift + 鼠标中键 | 点击拖动 | 镜头平移 |
- 后面加入了随机的因素
- 一字长蛇
- 方阵
- 立体魔方
- 加入了随机性
- 最后做了
- 圆形
- 螺旋形
- 旋转楼梯
- 都用到了角度的计算