Docker Engine 版本
v29.1.3

参考来源
参考官方文章 Advanced settings configuration in WSL
The wsl.conf and .wslconfig files are used to configure advanced settings in WSL that will be applied on start up of the WSL VM. wsl.conf is used to apply settings on a per WSL distro basis, and .wslconfig is used to apply global settings to WSL.
翻译:
wsl.conf 和 .wslconfig 文件用于配置 WSL 的高级设置,这些设置将在 WSL 虚拟机启动时生效。wsl.conf 用于按 WSL 发行版逐个应用配置,而 .wslconfig 则用于为整个 WSL 系统应用全局设置。
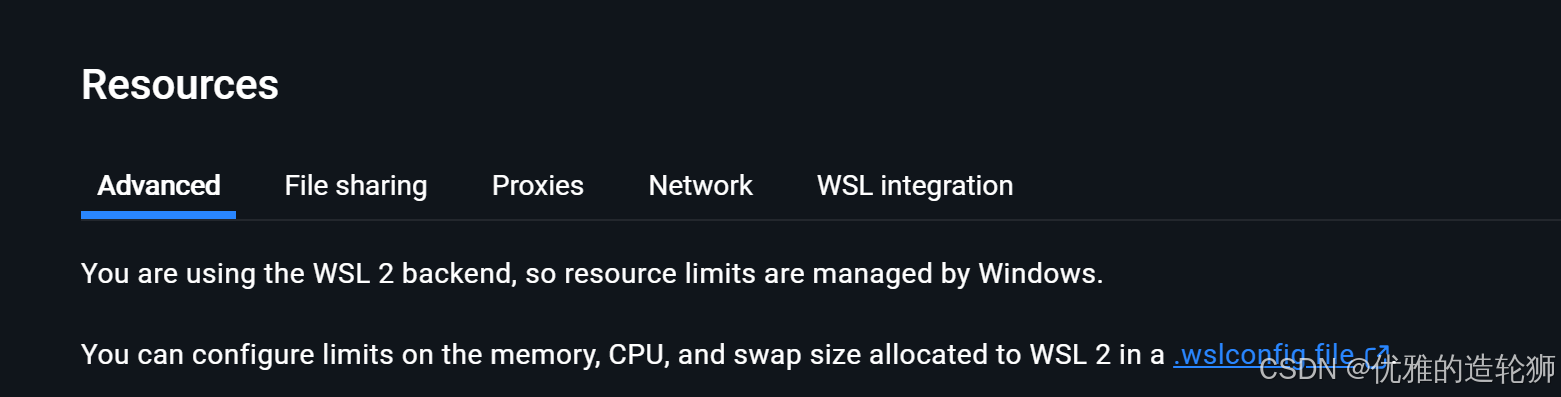
.wslconfig
Configure global settings with .wslconfig across all installed distributions running on WSL.
The .wslconfig file does not exist by default. It must be created and stored in your %UserProfile% directory to apply these configuration settings.
Used to configure settings globally across all installed Linux distributions running as the WSL 2 version.
Can be used only for distributions run by WSL 2. Distributions running as WSL 1 will not be affected by this configuration as they are not running as a virtual machine.
To get to your %UserProfile% directory, in PowerShell, use cd ~ to access your home directory (which is typically your user profile, C:\Users<UserName>) or you can open Windows File Explorer and enter %UserProfile% in the address bar. The directory path should look something like: C:\Users<UserName>.wslconfig.
翻译:
通过.wslconfig文件为所有已安装的WSL发行版配置全局设置
默认情况下不存在.wslconfig文件。必须创建该文件并将其保存在%UserProfile%目录中才能使配置生效
该文件用于为所有以WSL 2版本运行的Linux发行版配置全局设置
仅适用于WSL 2运行的发行版。以WSL 1运行的发行版不受此配置影响,因为它们不以虚拟机方式运行
要进入%UserProfile%目录:在PowerShell中使用cd ~命令进入主目录(通常就是用户配置文件目录C:\Users<用户名>),或者可以在Windows文件资源管理器的地址栏中输入%UserProfile%。目录路径应类似于:C:\Users<用户名>.wslconfig
创建配置文件
进入%USERPROFILE%
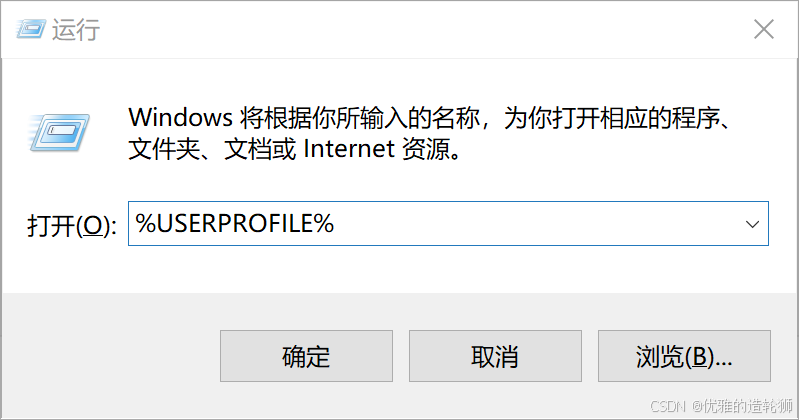
进入创建文件 .wslconfig
.wslconfig file 模板
按需配置,不需要最好保留默认
bash
# 以下设置适用于所有运行在WSL 2上的Linux发行版
[wsl2]

# 限制WSL 2虚拟机内存使用上限为4GB,支持GB或MB为单位(需为整数)
memory=4GB

# 设置虚拟机使用2个虚拟CPU核心
processors=2

# 指定自定义Linux内核路径(默认内核参考:https://github.com/microsoft/WSL2-Linux-Kernel)
kernel=C:\\temp\\myCustomKernel

# 指定自定义内核模块的VHDX文件路径
kernelModules=C:\\temp\\modules.vhdx

# 设置附加内核参数(本例启用对CentOS 6等旧版镜像的支持)
kernelCommandLine = vsyscall=emulate

# 设置交换空间大小为8GB(默认为可用内存的25%)
swap=8GB

# 自定义交换文件存储路径(默认路径:%UserProfile%\AppData\Local\Temp\swap.vhdx)
swapfile=C:\\temp\\wsl-swap.vhdx

# 启用默认网络绑定,将WSL 2的localhost与Windows本地主机连通(当networkingMode=mirrored时此设置无效)
localhostforwarding=true

# 禁用嵌套虚拟化功能
nestedVirtualization=false

# 开启调试控制台,启动WSL 2发行版时显示dmesg日志
debugConsole=true

# 设置最大崩溃转储文件保留数量(默认为5个)
maxCrashDumpCount=10

# 实验性功能配置区
[experimental]
# 启用稀疏VHD优化(节省磁盘空间)
sparseVhd=true
无注释版,有时候中文会导致奇怪的错误
bash
[wsl2]
memory=4GB
processors=2
kernel=C:\\temp\\myCustomKernel
kernelModules=C:\\temp\\modules.vhdx
kernelCommandLine = vsyscall=emulate
swap=8GB
swapfile=C:\\temp\\wsl-swap.vhdx
localhostforwarding=true
nestedVirtualization=false
debugConsole=true
maxCrashDumpCount=10

[experimental]
sparseVhd=true
配置完成后就右键任务栏的dockerdesktop,选择Restart
重启成功,显示对应的是我最新的配置
memory=4GB
processors=2
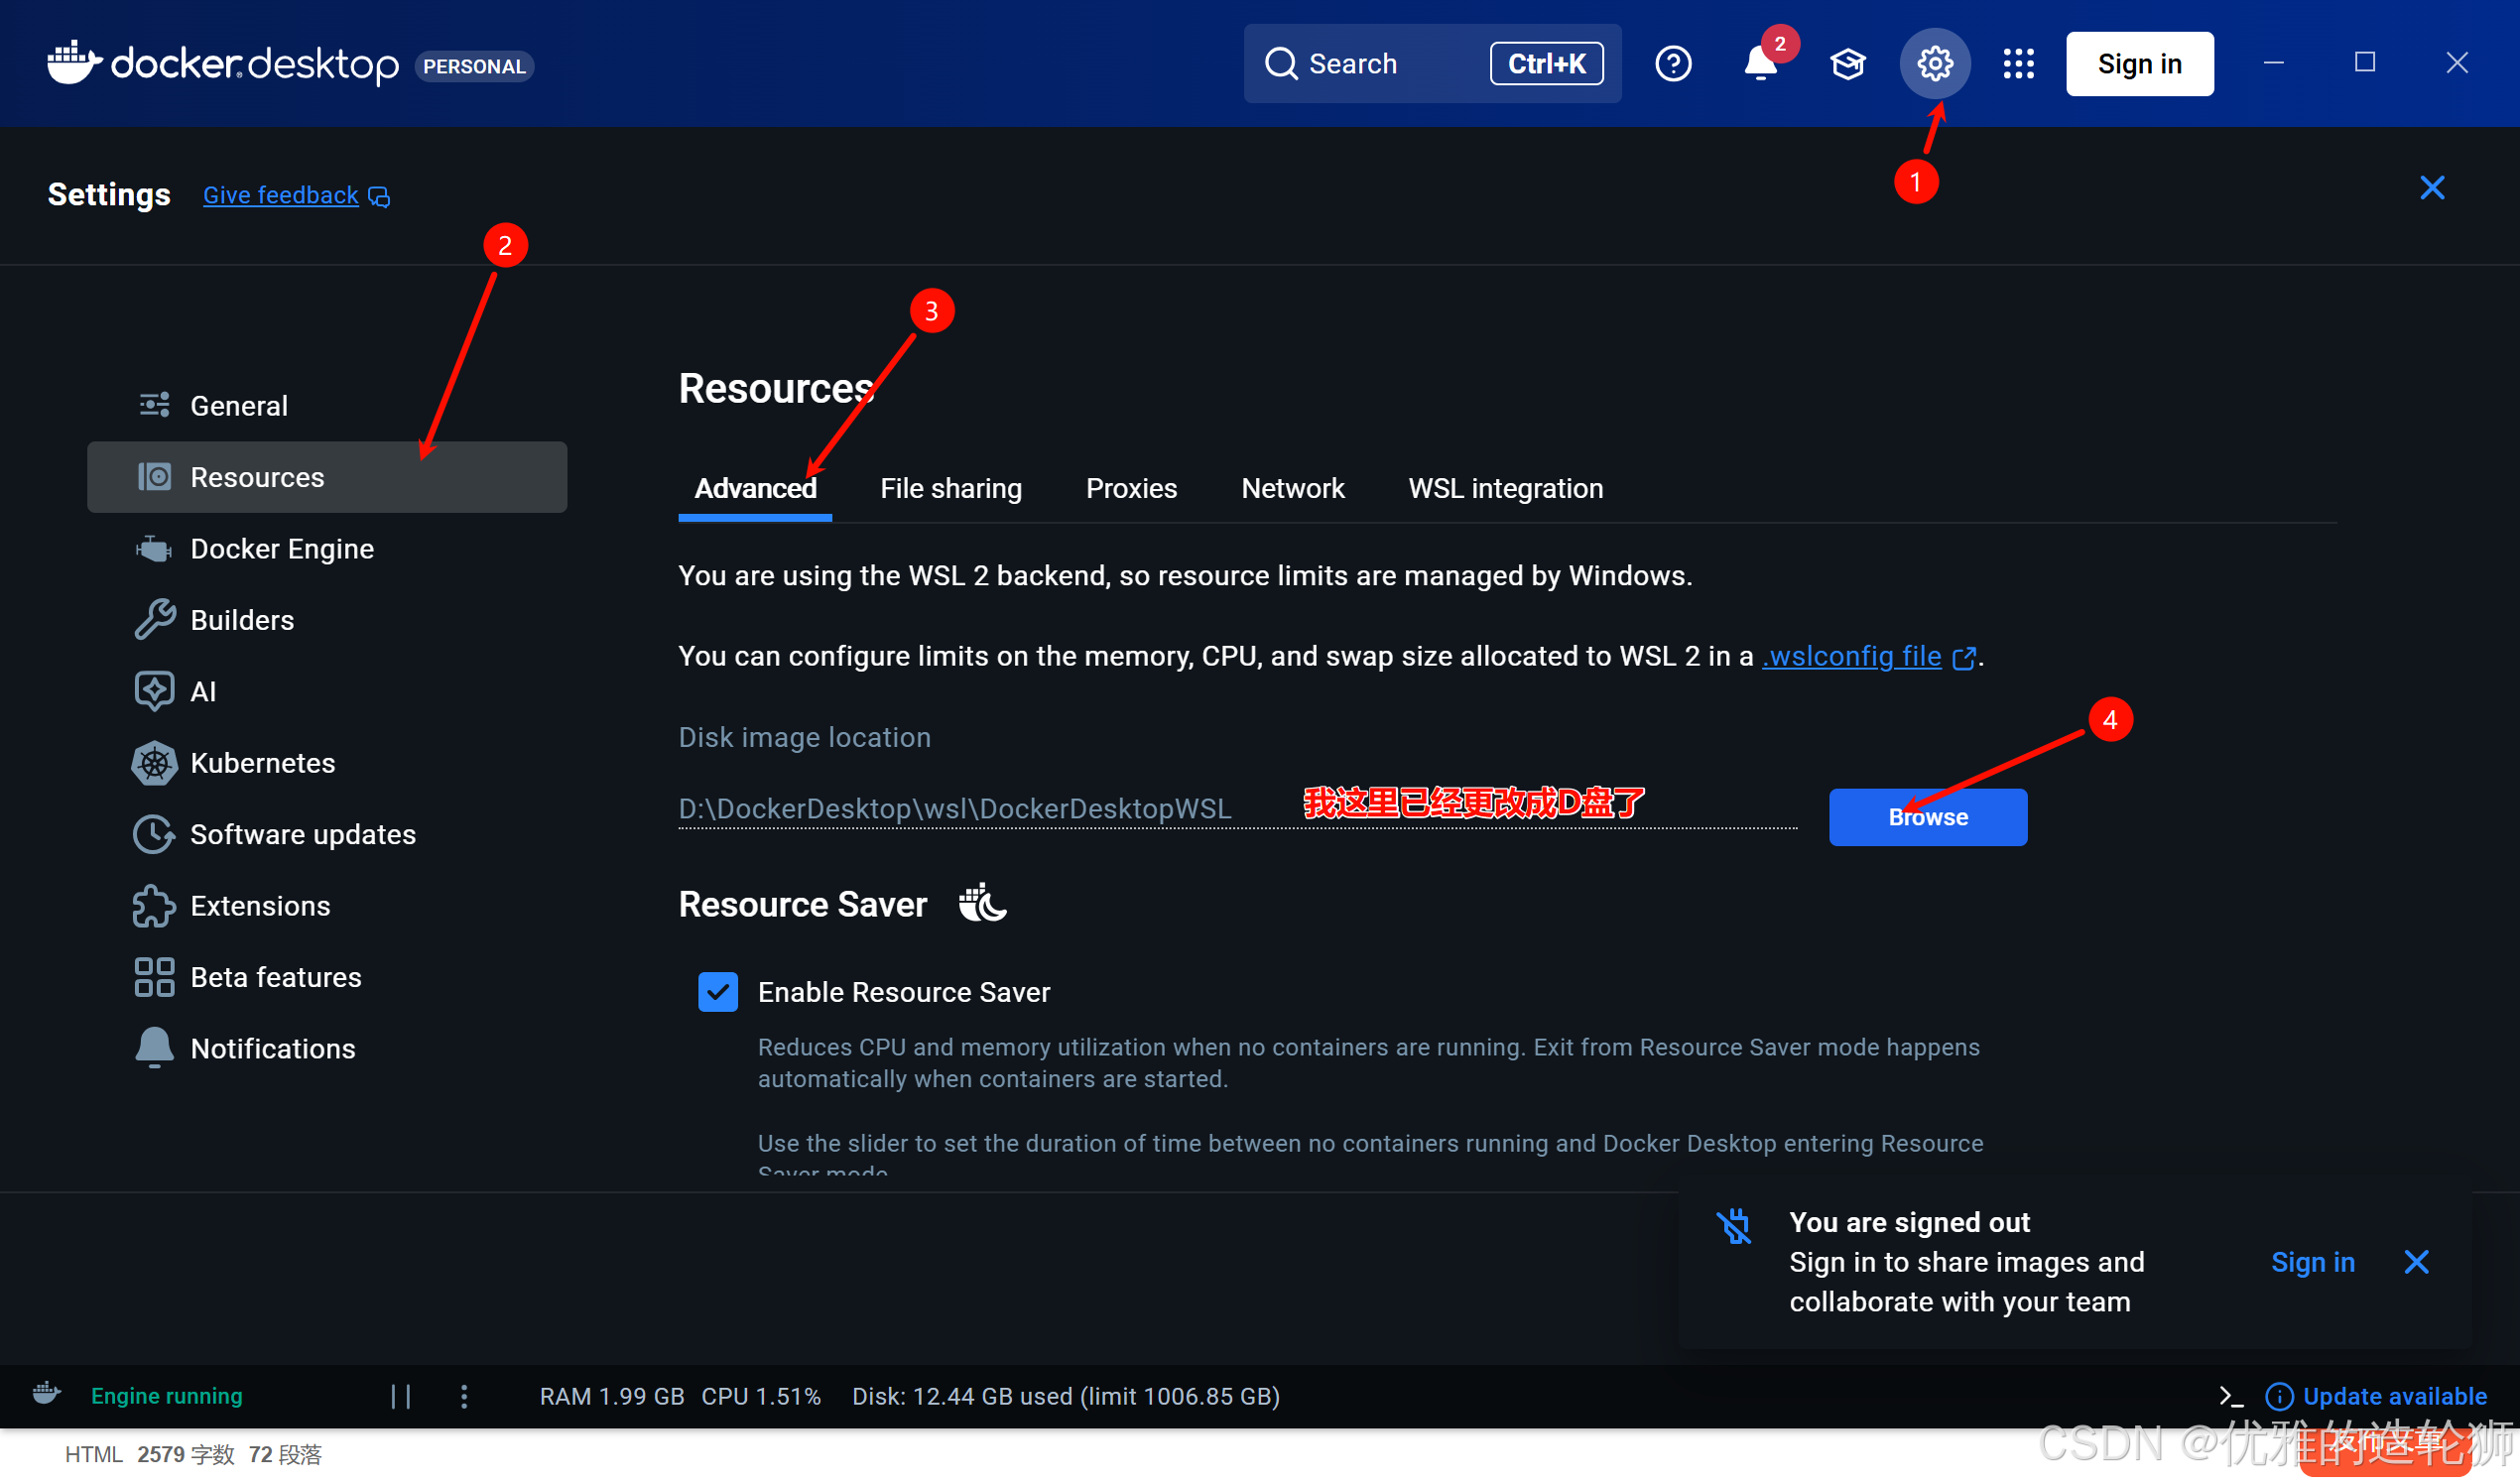
迁移到D盘
点击设置 👉 resource栏 👉 Advance栏 👉更改Disk image location 👉点击Browse选择一个文件夹 👉 Apply & Restart 等待重启就即可