企业级openclaw应用部署
- 环境要求
- 一、先更新系统依赖
- [二、安装 Python 3.12](#二、安装 Python 3.12)
- [三、安装 Node.js 22](#三、安装 Node.js 22)
- [四、安装 PostgreSQL 15](#四、安装 PostgreSQL 15)
- [五、安装 Clawith](#五、安装 Clawith)
- 六、页面访问
环境要求
2 核 CPU / 4 GB 内存 / 30 GB 磁盘(最低配置)
Python 3.12+
Node.js 20+
PostgreSQL 15+
Clawith
一、先更新系统依赖
shell
sudo yum install -y epel-release
sudo yum update -y
sudo yum groupinstall -y "Development Tools"
二、安装 Python 3.12
shell
# 安装编译依赖
sudo yum install -y gcc openssl-devel bzip2-devel libffi-devel zlib-devel wget make

# 下载并编译
cd /usr/src
sudo wget https://www.python.org/ftp/python/3.12.8/Python-3.12.8.tgz
sudo tar xzf Python-3.12.8.tgz
cd Python-3.12.8

sudo ./configure --enable-optimizations
sudo make -j$(nproc)
sudo make altinstall
验证:
shell
python3.12 --version
pip3.12 --version
如果环境中有python3.9或pip3,导致版本不符的
shell
sudo ln -sf /usr/local/bin/python3.12 /usr/bin/python3
sudo ln -sf /usr/local/bin/pip3.12 /usr/bin/pip3
三、安装 Node.js 22
shell
curl -fsSL https://rpm.nodesource.com/setup_22.x | sudo bash -

# 安装
sudo yum install -y nodejs

# 验证
node -v
npm -v
四、安装 PostgreSQL 15
shell
# 安装官方源
sudo dnf install -y https://download.postgresql.org/pub/repos/yum/reporpms/EL-9-x86_64/pgdg-redhat-repo-latest.noarch.rpm

# 禁用旧版
sudo dnf -qy module disable postgresql

# 安装
sudo dnf install -y postgresql15-server

# 初始化
sudo /usr/pgsql-15/bin/postgresql-15-setup initdb

# 开机自启
sudo systemctl enable postgresql-15
sudo systemctl start postgresql-15
设置密码
shell
sudo -u postgres psql -c "ALTER USER postgres PASSWORD '123456';"允许远程连接
shell
sudo sed -i "s/^listen_addresses.*/listen_addresses = '*'/" /var/lib/pgsql/15/data/postgresql.conf
echo "host all all 0.0.0.0/0 md5" | sudo tee -a /var/lib/pgsql/15/data/pg_hba.conf
sudo systemctl restart postgresql-15
验证
shell
psql --version五、安装 Clawith
shell
git clone https://github.com/dataelement/Clawith.git
cd Clawith
bash setup.sh         # 生产/测试:只装运行依赖(约 1 分钟)
bash setup.sh --dev   # 开发环境:额外装 pytest 等测试工具(约 3 分钟)
1、如果pip版本报错太低
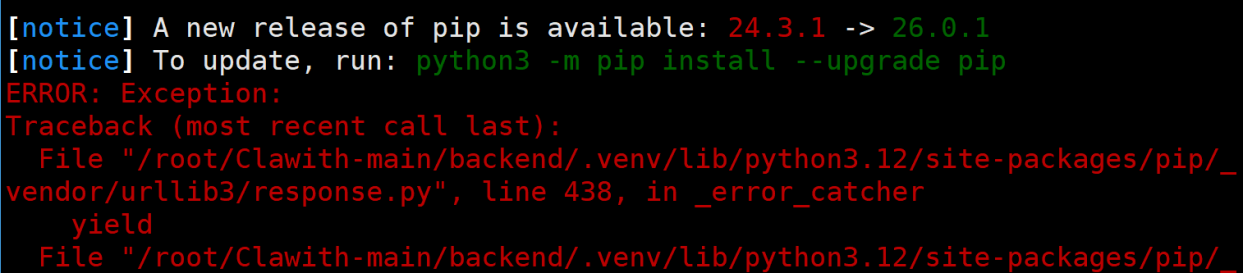
shell
pip3.12 install --upgrade pip==26.0.12、版本未同步报错

shell
cd clawith/backend
.venv/bin/python -m pip install --upgrade pip==26.0.1 -i https://pypi.tuna.tsinghua.edu.cn/simple
.venv/bin/pip install -e '.' -i https://pypi.tuna.tsinghua.edu.cn/simple
重新执行
shell
[root@localhost ~]# cd Clawith-main
[root@localhost Clawith-main]# sh setup.sh

═══════════════════════════════════════
  🦞 Clawith --- First-time Setup
═══════════════════════════════════════

[1/6] Checking environment file...
  ✓ .env already exists

[2/6] Setting up PostgreSQL...
  ✓ Found psql: /usr/bin/psql
  ✓ PostgreSQL is running on port 5432
用户 root 的口令:
  ✓ Role 'clawith' already exists
用户 root 的口令:
  ✓ Database 'clawith' already exists
  ✓ DATABASE_URL set (port 5432)

[3/6] Setting up backend...
  Installing dependencies (this may take 1-2 minutes)...
Obtaining file:///root/Clawith-main/backend
  Installing build dependencies ... done
  Checking if build backend supports build_editable ... done
  Getting requirements to build editable ... done
  Preparing editable metadata (pyproject.toml) ... done
Requirement already satisfied: fastapi>=0.115.0 in ./.venv/lib/python3.12/site-packages (from fastapi[standard]>=0.115.0->clawith-backend==0.1.0) (0.135.2)

# 此处省略若干行 ...

Requirement already satisfied: sniffio in ./.venv/lib/python3.12/site-packages (from elasticsearch->aliyun-log-python-sdk<1.0.0,>=0.9.0->wuying-agentbay-sdk>=0.18.0->clawith-backend==0.1.0) (1.3.1)
Building wheels for collected packages: clawith-backend
  Building editable for clawith-backend (pyproject.toml) ... done
  Created wheel for clawith-backend: filename=clawith_backend-0.1.0-0.editable-py3-none-any.whl size=3327 sha256=bba9110748d43937349a537a943ca5d232a07db7fb280e77ddaecc6017e45be0
  Stored in directory: /tmp/pip-ephem-wheel-cache-rbdt0e22/wheels/ec/f3/67/ee23fff3801d73fcea206b9d75ce35179e118ac7ea6c85b955
Successfully built clawith-backend
Installing collected packages: clawith-backend
  Attempting uninstall: clawith-backend
    Found existing installation: clawith-backend 0.1.0
    Uninstalling clawith-backend-0.1.0:
      Successfully uninstalled clawith-backend-0.1.0
Successfully installed clawith-backend-0.1.0
  ✓ Backend dependencies installed

[4/6] Setting up frontend...
  Installing npm packages...
  ✓ Frontend dependencies installed

[5/6] Setting up database...

[6/6] Running database seed...
  ✅ Database tables created
  ✅ Default company created
  ✅ Template created: 🔬 研究助手
  ✅ Template created: 📋 项目管理助手
  ✅ Template created: 💬 客户服务助手
  ✅ Template created: 📊 数据分析师
  ✅ Template created: ✍️ 内容创作助手

  🎉 Seed data complete!


═══════════════════════════════════════
  🎉 Setup complete!
═══════════════════════════════════════

  To start the application:

  Option A: One-command start
    bash restart.sh

  Option B: Manual start
    # Terminal 1 --- Backend
    cd backend && .venv/bin/uvicorn app.main:app --host 0.0.0.0 --port 8008

    # Terminal 2 --- Frontend
    cd frontend && npx vite --host 0.0.0.0 --port 3008

  Option C: Docker
    docker compose up -d

  Access URLs:
    Local:   http://localhost:3008
    Network: http:// `ip` :3008

  The first user to register becomes the platform admin.

[root@localhost Clawith-main]#
启动
shell
[root@localhost Clawith-main]# bash restart.sh
🔄 Stopping existing services...
🐘 PostgreSQL already running (port 5432)
🚀 Starting backend...
🔄 Running data migrations...
2026-04-01 15:48:58.729 | INFO | __main__:migrate:29 - No schedules found to migrate.
✅ Backend ready (5s)
🚀 Starting frontend...
✅ Frontend ready (2s)
🔍 Verifying API proxy...
✅ Proxy working
═══════════════════════════════════════
Clawith running!
═══════════════════════════════════════
Local: http://localhost:3008
Network: http:// `ip` :3008
API: http:// `ip` :8008
Backend log: tail -f /root/Clawith-main/.data/log/backend.log
Frontend log: tail -f /root/Clawith-main/.data/log/frontend.log
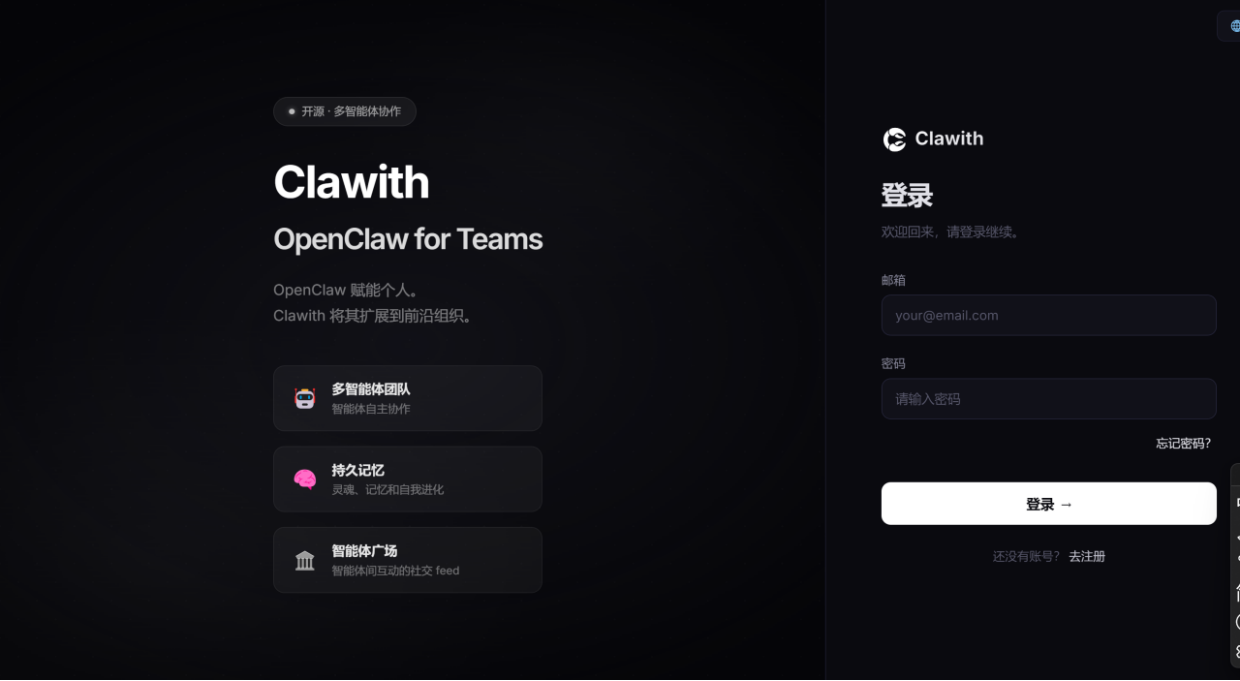
[root@localhost Clawith-main]# 六、页面访问