引言:公司某个网站需要做压测,验证视频分片功能承载能力,刚开始选择了Apache Jmeter,发现Jmeter占用资源太大了,在虚拟机跑500个线程并发就内存溢出了。因为Jmeter一条线程就是一条用户线程,每条线程都需要占用一定空间的内存,因此在高并发量下需要大量资源。一个资深同事建议试试Gatling,它是异步非阻塞线程,对资源占用小且速度个人感觉比Jmeter快,缺点是没有GUI,需要自己写脚本
Windows测试
直接在官网下一个gatling-maven-plugin-demo-java-main.zip,里面有一个可以直接运行的demo
java
package example;

import static io.gatling.javaapi.core.CoreDsl.*;
import static io.gatling.javaapi.http.HttpDsl.*;

import io.gatling.javaapi.core.*;
import io.gatling.javaapi.http.*;

public class BasicSimulation extends Simulation {

  // Load VU count from system properties
  // Reference: https://docs.gatling.io/guides/passing-parameters/
  private static final int vu = Integer.getInteger("vu", 1);

  // Define HTTP configuration
  // Reference: https://docs.gatling.io/reference/script/protocols/http/protocol/
  private static final HttpProtocolBuilder httpProtocol = http.baseUrl("https://api-ecomm.gatling.io")
      .acceptHeader("application/json")
      .userAgentHeader(
          "Mozilla/5.0 (Macintosh; Intel Mac OS X 10_15_7) AppleWebKit/537.36 (KHTML, like Gecko) Chrome/134.0.0.0 Safari/537.36");

  // Define scenario
  // Reference: https://docs.gatling.io/reference/script/core/scenario/
  private static final ScenarioBuilder scenario = scenario("Scenario").exec(http("Session").get("/session"));

  // Define assertions
  // Reference: https://docs.gatling.io/reference/script/core/assertions/
  private static final Assertion assertion = global().failedRequests().count().lt(1L);

  // Define injection profile and execute the test
  // Reference: https://docs.gatling.io/reference/script/core/injection/
  {
    setUp(scenario.injectOpen(atOnceUsers(vu))).assertions(assertion).protocols(httpProtocol);
  }
}直接在terminal执行命令./mvnw clean install ./mvnw gatling:test即可
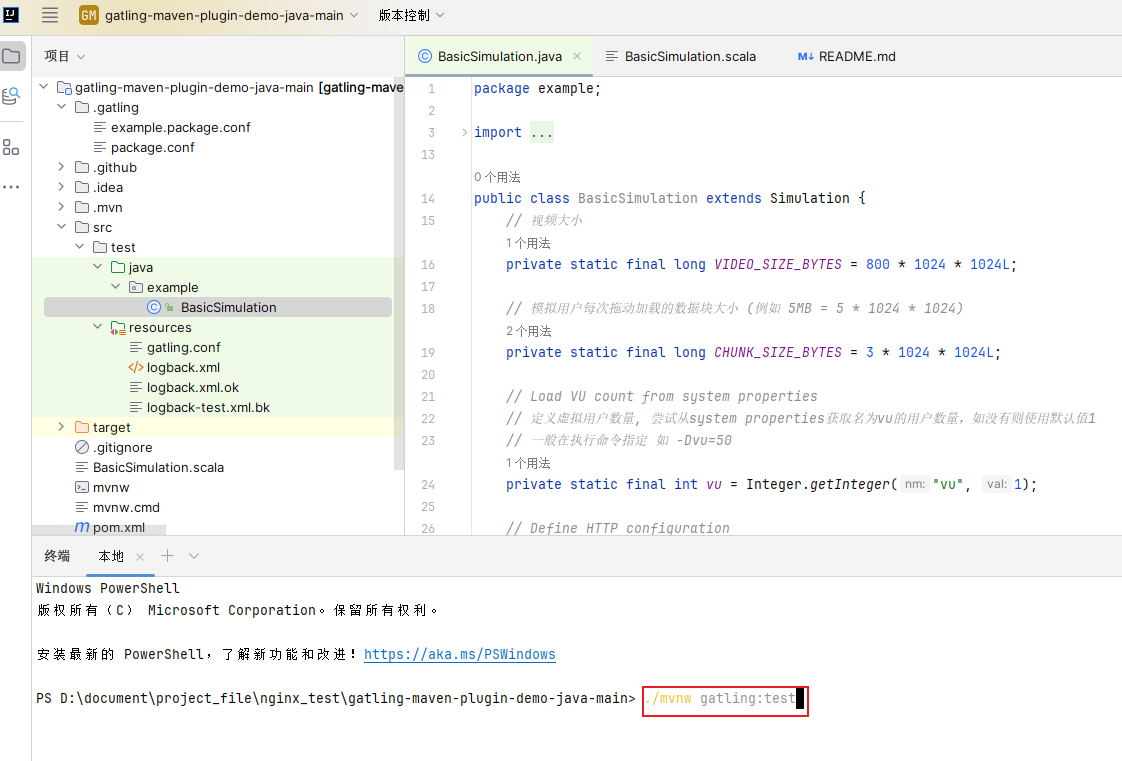
如果是在cmd里面需要更改一下命令mvnw.cmd gatling:test
Demo里面定义了默认并发数量是1
private static final int vu = Integer.getInteger("vu", 1);
可以直接改成自己想要的并发数,也可以通过options指定
如500并发数:./mvnw gatling:test -Dvu=500
Linux测试
在Linux测试最方便就是用docker跑。
1.先准备好.scale测试脚本
(上面的demo是java写的,现在需要一个scale写的脚本)
例如我自己写的关于视频切片功能测试的脚本:
scale
package example

import io.gatling.core.Predef._
import io.gatling.http.Predef._
import scala.concurrent.duration.Duration.Inf
import scala.util.Random

class BasicSimulation extends Simulation {

  // 视频大小 (例如 800MB) ,不要超过目标视频实际大小
  val VIDEO_SIZE_BYTES = 800L * 1024 * 1024

  // 模拟用户每次拖动加载的数据块大小 (例如 3MB)
  val CHUNK_SIZE_BYTES = 3L * 1024 * 1024

  // 获取虚拟用户数量,优先读取系统属性 -Dvu=xx,否则默认为 1
  val vu = Option(System.getProperty("vu")).map(_.toInt).getOrElse(1)

  // 1. 定义 HTTP 协议配置
  val httpProtocol = http
    .baseUrl("http://10.211.2.123:8080")
    .userAgentHeader("Mozilla/5.0 (Windows NT 10.0; Win64; x64) AppleWebKit/537.36 (KHTML, like Gecko) Chrome/123.0.0.0 Safari/537.36")
    .acceptHeader("*/*")
    .connectionHeader("keep-alive")

  // 2. 定义场景
  val myScenario = scenario("Video Range Request")
    .exec { session =>
      // 生成 0 到 (视频大小 - 块大小) 之间的随机数
      val start = Math.abs(Random.nextLong()) % (VIDEO_SIZE_BYTES - CHUNK_SIZE_BYTES)
      val end = start + CHUNK_SIZE_BYTES - 1
      val rangeValue = s"bytes=$start-$end"
      println(s"Range: $rangeValue")
      session.set("rangeHeader", rangeValue)
    }
    .exec(
      http("Get Random Video Chunk")
        // 视频path
        .get("/test.mp4")
        .header("Range", "${rangeHeader}")
        .header("Referer", "http://10.211.2.123:8080/test.mp4")
        .check(
          bodyBytes.transform { (bytes: Array[Byte]) =>
            println(s"Received ${bytes.length} bytes")
            bytes
          }
        )
        .check(status.in(200, 206))
    )

  // 3. assertion
  val assertion = global.failedRequests.count.lt(1)

  // 4. start
  setUp(
    myScenario.inject(
      atOnceUsers(vu)
    )
  ).protocols(httpProtocol)
   .assertions(assertion)
}
2.准备好文件目录
在 Linux 服务器上,创建一个文件夹(比如叫 my-test),并按照 Gatling 的标准结构放好文件:
my-test/
├── results/                # (空文件夹,用来放报告)
└── user-files/             # 关键目录
    └── simulations/        # 把你的scala script放这里
        └── BasicSimulation.scala
3.开启容器测试
进入 my-test 目录,run command
bash
docker run -it --rm \
  -e JAVA_OPTS="-Dvu=10" \
  -v $(pwd)/results:/opt/gatling/results \
  -v $(pwd)/user-files:/opt/gatling/user-files \
denvazh/gatling-
-v $(pwd)/user-files:/opt/gatling/user-files:这句话的意思是:"把服务器上当前目录下的
user-files文件夹,替换掉容器里原本的user-files文件夹"。 -
这样,容器启动后,就能直接看到你上传的
.scala脚本了。 -
JAVA_OPTS="-Dvu=10" 指定concurrent数量
如出现Select run description (optional),enter即可继续