目录
[一、环境安装配置(python 版本 必须大于3.10)](#一、环境安装配置(python 版本 必须大于3.10))
[源码 GitHub - open-edge-platform/anomalib: An anomaly detection library comprising state-of-the-art algorithms and features such as experiment management, hyper-parameter optimization, and edge inference. · GitHub](#源码 GitHub - open-edge-platform/anomalib: An anomaly detection library comprising state-of-the-art algorithms and features such as experiment management, hyper-parameter optimization, and edge inference. · GitHub)
[detect.py 推理代码](#detect.py 推理代码)
[模型转化 export.py](#模型转化 export.py)
一、环境安装配置(python 版本 必须大于3.10)
cuda和cudnn各个版本的Pytorch下载网页版,onnx,ncnn,pt模型转化工具_cuda国内镜像下载网站-CSDN博客
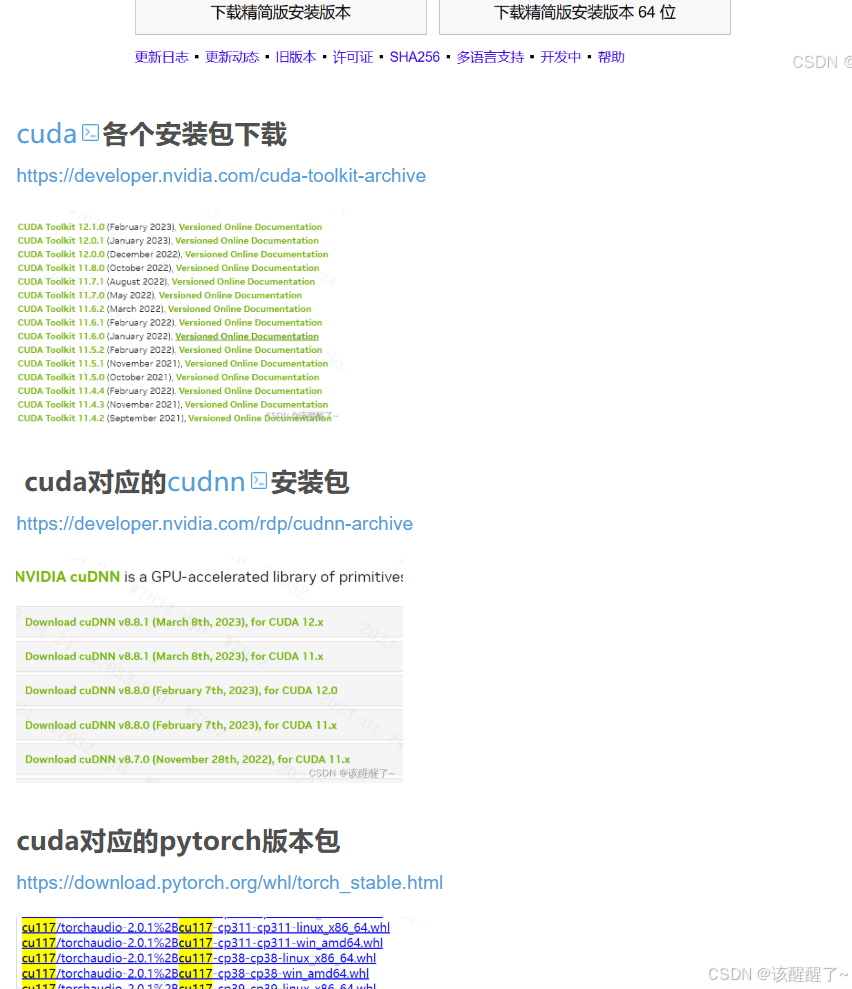
你需要的所有东西都可以下载(如果有链接打不开 就直接去网上搜官网 从官网进入下载)
标准环境
cuda 11.8 cudnn 对应11.8的即可
torch 2.4.0+cu118
torchaudio 2.4.0+cu118
torchmetrics 1.8.0
torchvision 0.19.0+cu118
下面是我的环境
torch 2.1.0
torchaudio 2.1.0
torchmetrics 1.9.0
torchvision 0.16.0
因为我的是11.7的cuda 不想换了 所以就用了 但是注意 我的环境版本只能训练Patchcore 模型 其他的模型都无法训练 版本不够
所以如果你们想训练其他的Anomalib模型需要标准的高版本环境
二、数据集
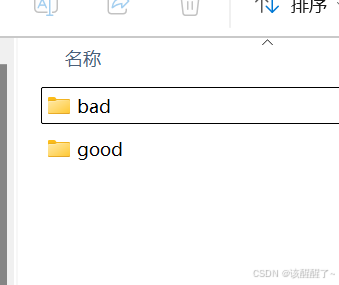
数据集中创建这俩文件夹 放入你的正样本,,负样本是用来验证的也需要放。
两边的数据集需要最少10张图片。图片命名不能用中文
三、训练
源码 GitHub - open-edge-platform/anomalib: An anomaly detection library comprising state-of-the-art algorithms and features such as experiment management, hyper-parameter optimization, and edge inference. · GitHub
你可以在连接中下载 也可以直接pip 安装库
pip install anomalib -i https://pypi.tuna.tsinghua.edu.cn/simple在你的工程中创建三个py文件 train.py detect.py export.py
train.py
import multiprocessing
from anomalib.data import Folder
from anomalib.models import Patchcore
from anomalib.engine import Engine


def main():
    datamodule = Folder(
        name="flat_enameled_wire",                    #训练模型后存放的位置
        root=r"C:\Users\Administrator\Desktop\tscc\200t",   #数据集
        normal_dir="good",                                    #数据集的good
        abnormal_dir="bad",                                #数据集中的bad
        #
        # val_split_mode="none",  # 无验证集
        # test_split_mode="none",  # 无自动测试集
        normal_split_ratio=1.0,  # 全部正常图用于训练

        train_batch_size=1,
        num_workers=0,  # Windows 必须 0
    )

    datamodule.setup()

    model = Patchcore(
        backbone="wide_resnet50_2",                #预训练模型
        pre_trained=True,  # 必须开,否则没法训 开启就是下载预训练模型      并使用

        coreset_sampling_ratio=0.05,
        num_neighbors=5
    )

    engine = Engine(
        devices=1,
        max_epochs=1,
    )

    engine.train(datamodule=datamodule, model=model)


if __name__ == '__main__':
    multiprocessing.freeze_support()
    main()
预训练模型如果网络不好是无法下载的 可以直接用下方链接下载 预训练模型
下载好后将其放到 这个路径中 如果没有就创建 C:\Users\Administrator\.cache\torch\hub\checkpoints
https://download.pytorch.org/models/wide_resnet50_2-95faca4d.pthdetect.py 推理代码
import multiprocessing
from anomalib.data import Folder
# Import the model and engine
from anomalib.models import Patchcore
from anomalib.engine import Engine

def main():
    # Create the datamodule
    datamodule = Folder(
        name="flat_enameled_wire_infer4",
        # root=r"H:\anomalib-main\ttt\train\11",
        root=r"C:\Users\Administrator\Desktop\tscc\test22",
        normal_dir="good",
        abnormal_dir="bad",
        # task="classification",
    )

    # Setup the datamodule
    datamodule.setup()

    model = Patchcore(pre_trained=False)

    # engine = Engine(task="classification")
    engine = Engine()

    engine.predict(
        datamodule=datamodule,
        model=model,
        ckpt_path=r"H:\anomalib-main\results\Patchcore\flat_enameled_wire\v7\weights\lightning\model.ckpt",
    )

if __name__ == '__main__':
    multiprocessing.freeze_support()  # Optional, if your script might be frozen into an executable
    main()
模型转化 export.py
我用的是torch 转化的 如果是高版本的可以直接用官方的
import os
import torch

os.environ["HF_HUB_OFFLINE"] = "1"
os.environ["TRANSFORMERS_OFFLINE"] = "1"
os.environ["KMP_DUPLICATE_LIB_OK"] = "TRUE"

CKPT_PATH = r"H:\anomalib-main\results\Patchcore\flat_enameled_wire\v5\weights\lightning\model.ckpt"
INPUT_SIZE = (3, 224, 224)
ONNX_SAVE_PATH = r"H:\anomalib-main\results\Patchcore\flat_enameled_wire\v5\weights\lightning\model_final.onnx"


from anomalib.models import Patchcore

# 加载模型
model = Patchcore(backbone="wide_resnet50_2", pre_trained=False)
checkpoint = torch.load(CKPT_PATH, map_location="cpu")
model.load_state_dict(checkpoint["state_dict"])
model.eval()

dummy_input = torch.randn(1, *INPUT_SIZE)

torch.onnx.export(
    model,
    dummy_input,
    ONNX_SAVE_PATH,
    opset_version=14,
    do_constant_folding=True,
    input_names=["input"],
    output_names=["output"],
    #  dynamo 参数彻底删掉!
)

print(f"导出成功:{ONNX_SAVE_PATH}")
官方的转化代码
from anomalib.models import Patchcore
from anomalib.engine import Engine

model = Patchcore()
engine = Engine(task="classification")
onnx_model = engine.export(
    model=model,
    export_type='onnx',
    export_root=None,
    input_size=[244, 244],
    transform=None,
    compression_type=None,
    datamodule=None,
    metric=None,
    ov_args=None,
    ckpt_path='E:\\proj\\anomalib\\myProj\\model.ckpt',  # 存放model.ckpt
)
print(onnx_model)