一、搭建SVN
192.168.63.209安装SVN
官网下载: http://subversion.apache.org/packages.html
1,yum install subversion安装
yum install subversion -y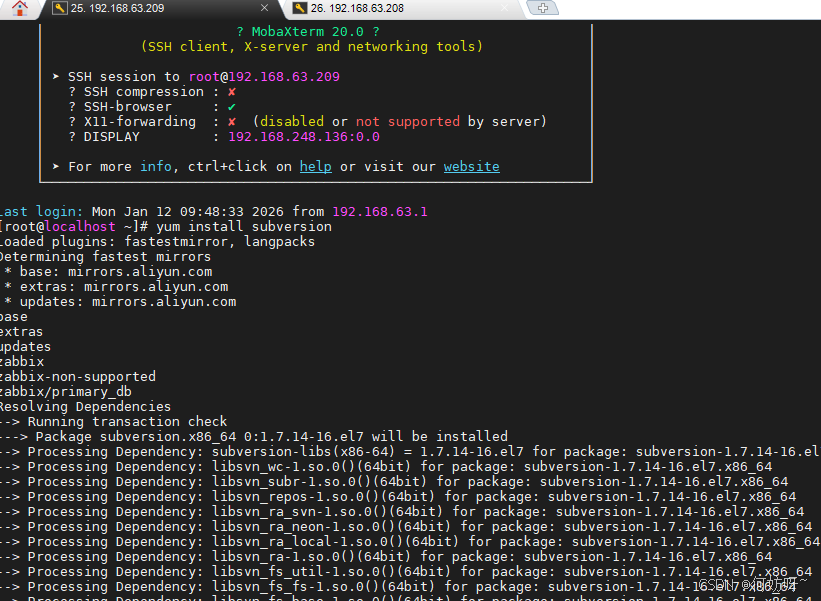
2,新建一个目录用于存储SVN目录
mkdir /data3,新建一个测试仓库
[root@localhost ~]# svnadmin create /data/svn
[root@localhost ~]# ll /data/svn
以下关于目录的说明:
hooks目录:放置hook脚步文件的目录
locks目录:用来放置subversion的db锁文件和db_logs锁文件的目录,用来追踪存取文件库的客户端
format目录:是一个文本文件,里边只放了一个整数,表示当前文件库配置的版本号
conf目录:是这个仓库配置文件(仓库用户访问账户,权限) 4,配置SVN服务的配置文件svnserver.conf:
[root@localhost conf]# pwd
/data/svn/conf
[root@localhost conf]# vim svnserve.conf
### This file controls the configuration of the svnserve daemon, if you
### use it to allow access to this repository. (If you only allow
### access through http: and/or file: URLs, then this file is
### irrelevant.)
### Visit http://subversion.tigris.org/ for more information.
[general]
### These options control access to the repository for unauthenticated
### and authenticated users. Valid values are "write", "read",
### and "none". The sample settings below are the defaults.
anon-access = read  ##注意前边不要有空格,要顶齐
auth-access = write  ##注意前边不要有空格,要顶齐
### The password-db option controls the location of the password
### database file. Unless you specify a path starting with a /,
### the file's location is relative to the directory containing
### this configuration file.
### If SASL is enabled (see below), this file will NOT be used.
### Uncomment the line below to use the default password file.
password-db = passwd        ##注意前边不要有空格,要顶齐
### The authz-db option controls the location of the authorization
### rules for path-based access control. Unless you specify a path
### starting with a /, the file's location is relative to the the
### directory containing this file. If you don't specify an
### authz-db, no path-based access control is done.
### Uncomment the line below to use the default authorization file.
authz-db = authz
### This option specifies the authentication realm of the repository.
### If two repositories have the same authentication realm, they should
### have the same password database, and vice versa. The default realm
### is repository's uuid.
realm = This is My First Test Repository   ##这个是提示信息
[sasl]
### This option specifies whether you want to use the Cyrus SASL
### library for authentication. Default is false.
### This section will be ignored if svnserve is not built with Cyrus
### SASL support; to check, run 'svnserve --version' and look for a line
### reading 'Cyrus SASL authentication is available.'
# use-sasl = true
### These options specify the desired strength of the security layer
### that you want SASL to provide. 0 means no encryption, 1 means
### integrity-checking only, values larger than 1 are correlated
### to the effective key length for encryption (e.g. 128 means 128-bit
### encryption). The values below are the defaults.
# min-encryption = 0
# max-encryption = 256
anon-access = none:表示禁止匿名用户访问。
auth-access = write:表示授权用户拥有读写权限。
password-db = passswd:指定用户名口令文件,即 passwd 文件。
authz-db = authz:指定权限配置文件,即 authz 文件。
realm = My First Repository 指定认证域
[root@localhost conf]# vi passwd
### This file is an example password file for svnserve.
### Its format is similar to that of svnserve.conf. As shown in the
### example below it contains one section labelled [users].
### The name and password for each user follow, one account per line.

[users]
# harry = harryssecret
# sally = sallyssecret
hefang = 12345
hefangya = 12345
6,配置新用户的授权文件
[root@localhost conf]# vi authz
### This file is an example authorization file for svnserve.
### Its format is identical to that of mod_authz_svn authorization
### files.
### As shown below each section defines authorizations for the path and
### (optional) repository specified by the section name.
### The authorizations follow. An authorization line can refer to:
### - a single user,
### - a group of users defined in a special [groups] section,
### - an alias defined in a special [aliases] section,
### - all authenticated users, using the '$authenticated' token,
### - only anonymous users, using the '$anonymous' token,
### - anyone, using the '*' wildcard.
###
### A match can be inverted by prefixing the rule with '~'. Rules can
### grant read ('r') access, read-write ('rw') access, or no access
### ('').

[aliases]
# joe = /C=XZ/ST=Dessert/L=Snake City/O=Snake Oil, Ltd./OU=Research Institute/CN=Joe Average

[groups]
# harry_and_sally = harry,sally
# harry_sally_and_joe = harry,sally,&joe

# [/foo/bar]
# harry = rw
# &joe = r
# * =

# [repository:/baz/fuz]
# @harry_and_sally = rw
# * = r
admin = hefang
user = hefangya
[/data/svn/]
@admin = rw
@user = r
备注:
admin = hefang 创建admin组,组成员为:hefang
user = hefangya 创建用户组,用户成员:hefangya
test:/ 赋予根权限,为了便于管理和权限的控制,可以把权限细化到版本库中相应的目录
@admin = rw admin组有读写的权限
@user = r user组只有读的权限
*= 表示除了上面设置的权限用户组以外,其他所有用户都设置空权限,空权限表示禁止访问本目录,这很重要一定要加上。
备注:版本库的目录格式如下:
\<版本库\>:/项目/目录
@<用户组名> = 权限
<用户名> = 权限
其中\[\]內容有許多写法:
/,表示根目录及其一下的路径,根目录是svnserver启动时指定好的,上述实例中我们指定为:/svn/svndata(/=/svn/svndata)./就是表示对全部版本设置的权限
test:/,表示对版本库test设置权限;
test:/svnadmin,表示对版本库test中的svnadmin项目设置权限;
test:/svnadmin/second,表示对版本库test中的svnadmin项目的目录设置权限;
权限的主体可以是用户组,用户或者*,用户组在前面要以@开头,*表示全部用户
权限分为:r ,w, rw和null ,null空表示没有任何权限。
auhtz配置文件中的每个参数,开头不能有空格,对于组要以@开头,用户不需要。
7,启动svn服务
[root@localhost conf]#svnserve -d -r /data/svn默认端口号3690
[root@localhost ~]# netstat -tunlp | grep svn
tcp        0      0 0.0.0.0:3690            0.0.0.0:*               LISTEN      7741/svnserve
如果想指定端口号则
[root@localhost ~]# svnserve -d --listen-port 8888 -r /data/

[root@localhost ~]# netstat -tunlp | grep svn
tcp        0      0 0.0.0.0:8888            0.0.0.0:*               LISTEN      7770/svnserve
注意:更改svnserver.conf时需要重启SVN服务,更改authz,passwd文件时则不需要重启服务
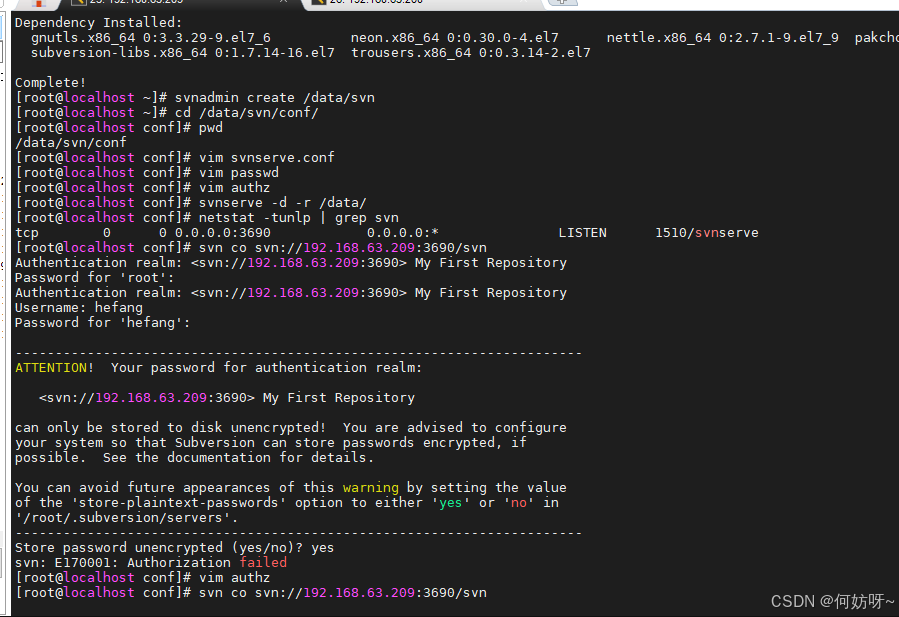
[root@localhost ~]# svn co svn://192.168.63.209:3690/svn
认证领域: <svn://192.168.63.209:3690> My First Repository
"root"的密码:
认证领域: <svn://192.168.63.209:3690> My First Repository
用户名: hefang
"hefang"的密码:

-----------------------------------------------------------------------
注意!  你的密码,对于认证域:

   <svn://192.168.63.209:3690> My First Repository

只能明文保存在磁盘上!  如果可能的话,请考虑配置你的系统,让 Subversion
可以保存加密后的密码。请参阅文档以获得详细信息。

你可以通过在"/root/.subversion/servers"中设置选项"store-plaintext-passwords"为"yes"或"no",
来避免再次出现此警告。
-----------------------------------------------------------------------
保存未加密的密码(yes/no)?yes
取出版本 0。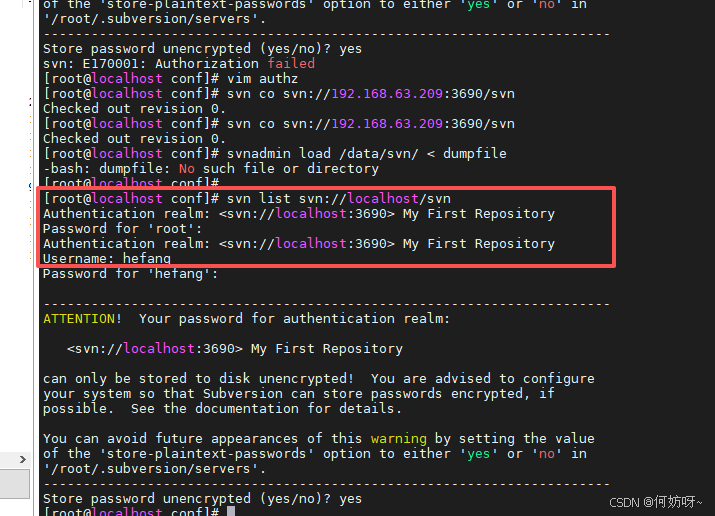
如果失败的话,基本上可以断定authz文件的配置有问题,可以修改下:
admin = hefang
user = hefangya
[/]
@admin = rw
@user = r
* =      ###表示除了上面设置的权限用户组以外,其他所有用户都设置空权限,空权限表示禁止访问本目录
如果报错"条目不可读"问题,在svnserve.conf 文件中,设置anon-access = none, 然后重启svnserver
设置svnserver开机自启
touch /data/sh/svn.sh

which svnserve

vim /data/sh/svn.sh

...................

#!/bin/bash

/usr/bin/svnserve -d -r /data/svn

............................

cd /data/sh

chmod +x /data/sh/svn.sh
ps aux | grep svnserve

/data/sh/svn.sh

ps aux | grep svnserve

vi /etc/rc.d/rc.local

......................

/data/sh/svn.sh

............................

ls -l /etc/rc.d/rc.local

chmod +x /etc/rc.d/rc.local
rebbot
ps aux | grep svnserve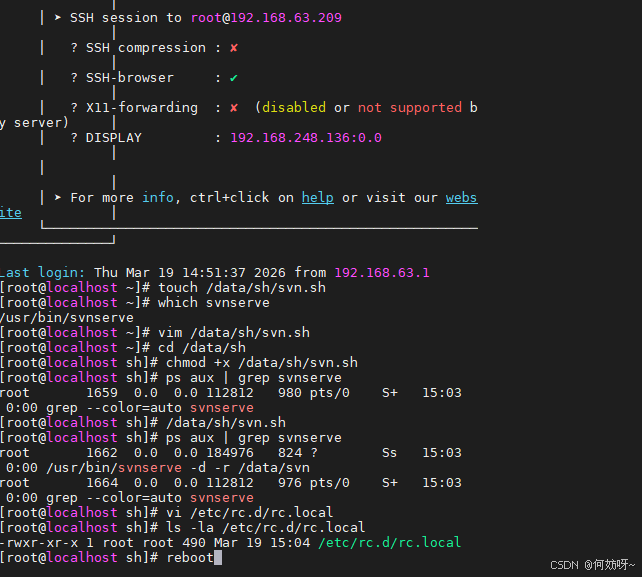
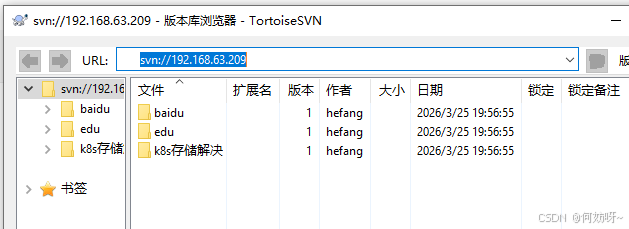
创建分级库
# 自动创建分级目录并提交
svn checkout svn://127.0.0.1/ /tmp/tmp_svn
# 进入这个临时目录
cd /tmp/tmp_svn
# 创建你要的多级目录(和图片一样)
mkdir baidu edu k8s存储解决
#把所有目录加入 SVN 管理
svn add *
#  提交到 SVN 服务器(真正保存到服务器)
svn commit -m "init"
#  提交完了,删除临时目录(用完就扔)
rm -rf /tmp/tmp_svn
二、传统网站部署运维
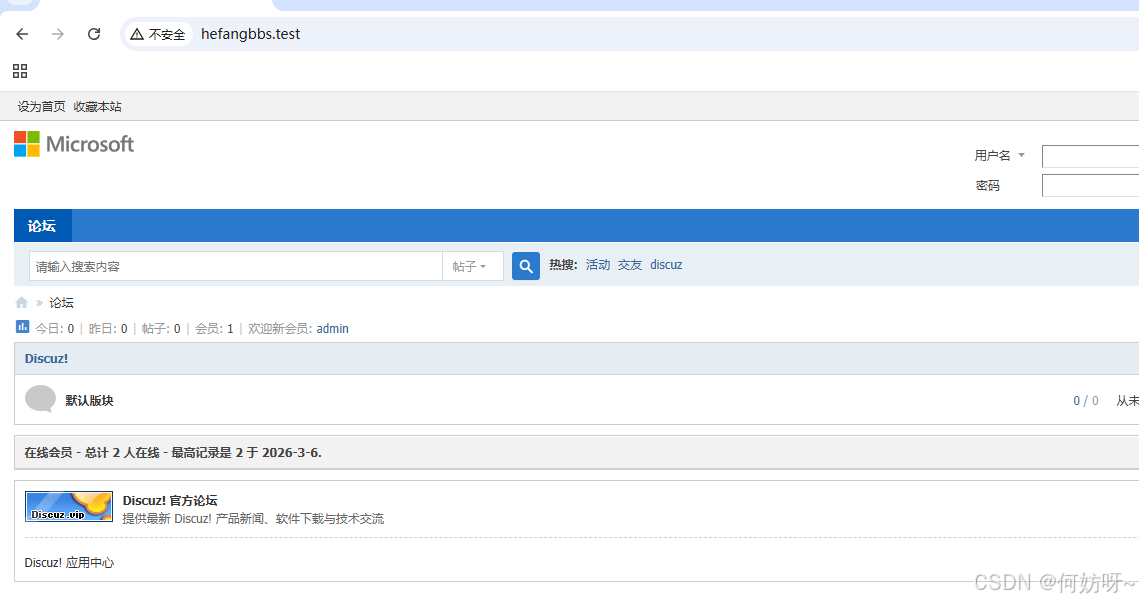
192.168.63.208搭建一个站点测试,参考以下链接https://blog.csdn.net/m0_61024134/article/details/151177291?![]() https://blog.csdn.net/m0_61024134/article/details/151177291?常见运维更新站点文件操作,如:修改站点社区动力logo图片,
https://blog.csdn.net/m0_61024134/article/details/151177291?常见运维更新站点文件操作,如:修改站点社区动力logo图片,
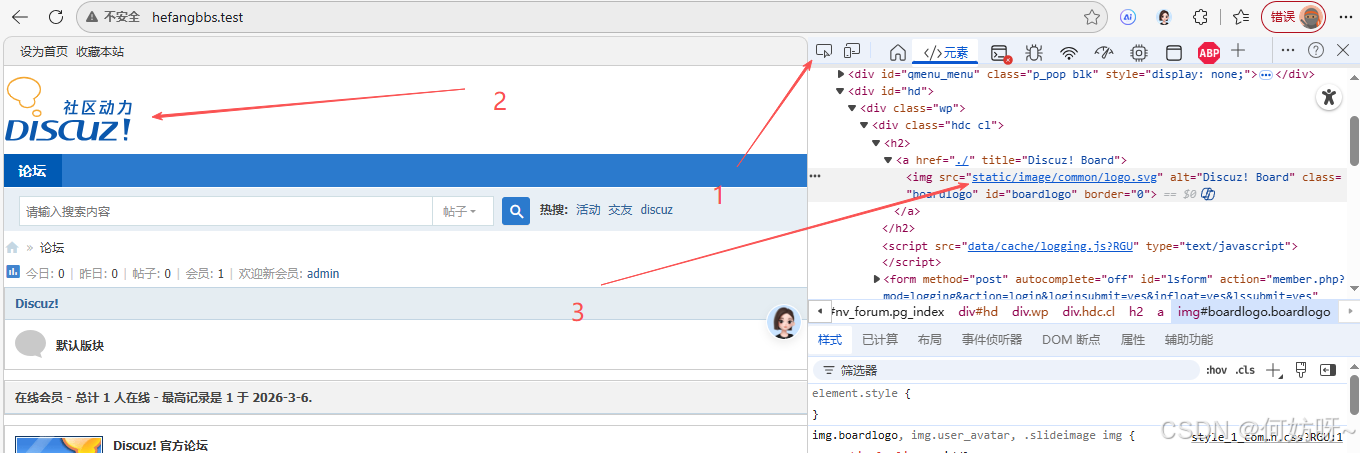
查看logo图片在系统中的位置,浏览器按F12,1、控制台检查,2、选择图片,3、查看图片位置
访问位置 (http://hefangbbs.test/static/image/common/logo.svg)然后ping 域名解析服务器ip地址
通过远程工具(CRT、Xshell、mobaxterm)登录192.168.63.208服务器,查找logo.svg图片文件位置
find / -name logo.svg -type f  #生产环境不建议使用,调用大量资源

locate logo.svg               #时效性,每次使用需要更新locate数据库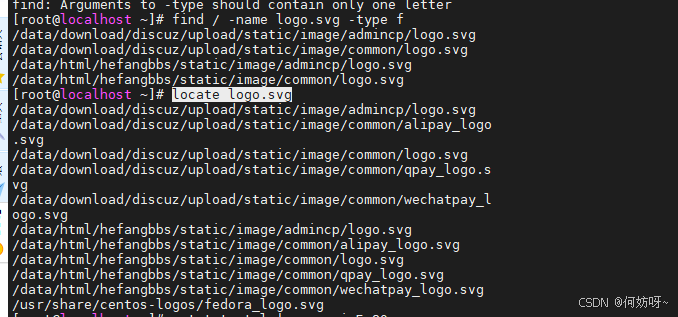
生产环境建议通过WEB软件-80端口-主配置文件-查找虚拟主机-网站发布目录;
netstat -tnlp|grep -aiwE 80   #查看网站使用WEB的进程软件

ps -ef|grep -aiE nginx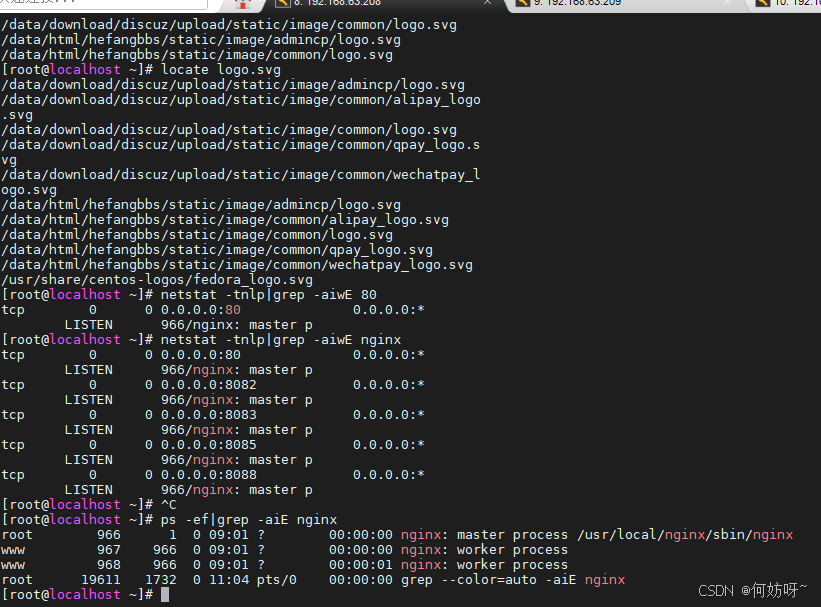
查看logo文件
ls -l /data/html/hefangbbs/static/image/common/logo.svg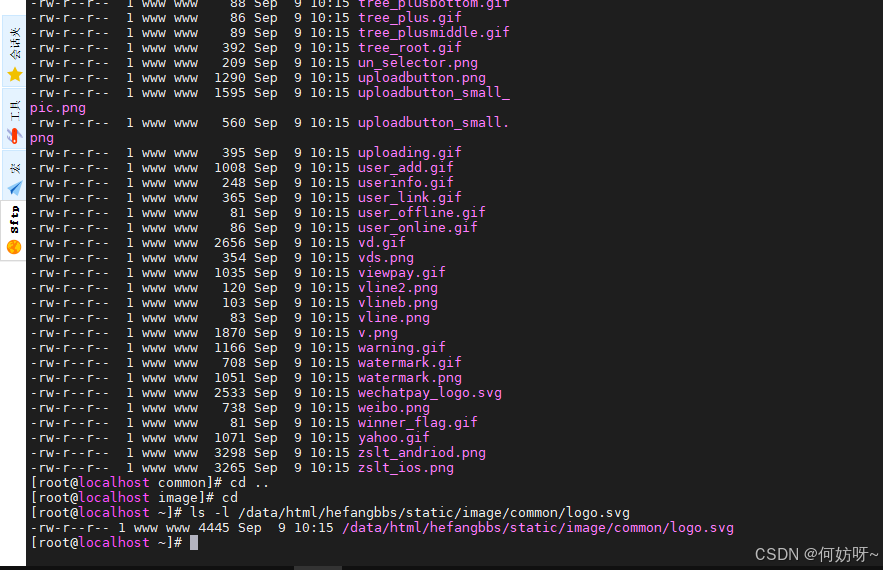
从SVN仓库下载logo.png文件下载到服务器上(如果无SVN,可手动上传文件),操作如下
yum install -y svn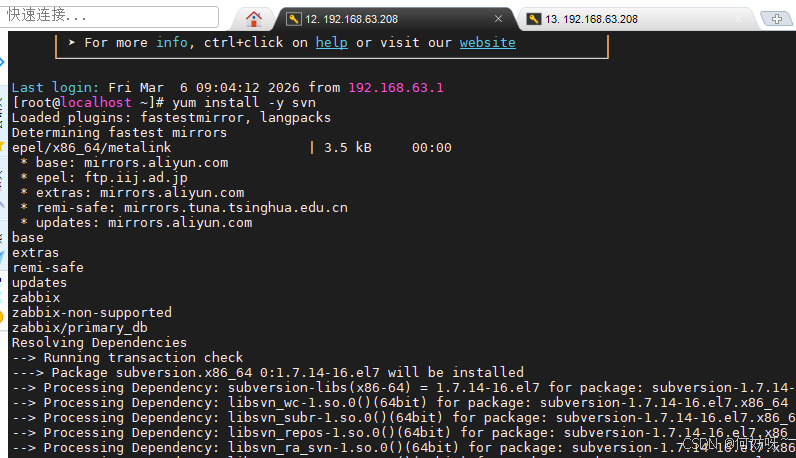
svn checkout svn://192.168.63.209/data/svn/ tmp/`date +%F`
#(需要输入登录与密码,才能访问SVN服务器)
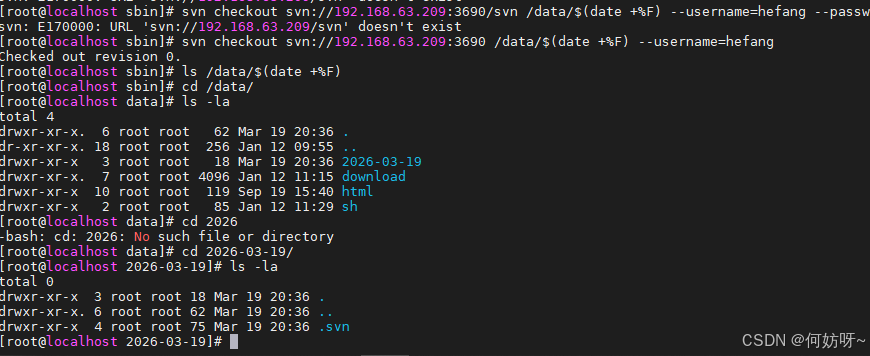
svn checkout svn://192.168.63.209:3690 /data/$(date +%F) --username=hefang
Checked out revision 0.
ls /data/$(date +%F)
cd /data/
ls -la
total 4
drwxr-xr-x. 6 root root 62 Mar 19 20:36 .
dr-xr-xr-x. 18 root root 256 Jan 12 09:55 ..
drwxr-xr-x 3 root root 18 Mar 19 20:36 2026-03-19
drwxr-xr-x. 7 root root 4096 Jan 12 11:15 download
drwxr-xr-x 10 root root 119 Sep 19 15:40 html
drwxr-xr-x 2 root root 85 Jan 12 11:29 sh
cd 2026-03-19/
[ls -la
total 0
drwxr-xr-x 3 root root 18 Mar 19 20:36 .
drwxr-xr-x. 6 root root 62 Mar 19 20:36 ..
drwxr-xr-x 4 root root 75 Mar 19 20:36 .svn
......................................................
#创建网站备份目录已经当前时间格式创建
mkdir -p /data/backup/`date +%F`
#将logo图片进行备份
\cp -a /data/html/hefangbbs/static/image/common/logo.svg /data/backup/`date +%F`
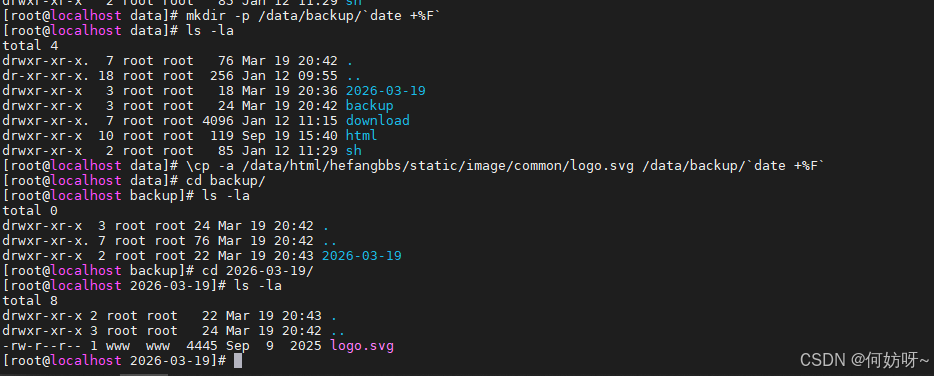
#将logo图片文件更新至网站logo文件位置

cd /data/backup/日期

\cp logo.png /data/html/hefangbbs/static/image/common/
在浏览器清理缓存,然后访问网页验证(静态文件无需重启web服务)
三、Jenkins平台自动化运维平台部署
192.168.63.210安装java-21+Jenkins
安装前在Jenkins官网检查JAVA版本要求Java 支持策略![]() https://www.jenkins.io/doc/book/platform-information/support-policy-java/
https://www.jenkins.io/doc/book/platform-information/support-policy-java/
#运行以下命令以确认系统架构是否为 64 位

hostnamectl

#验证是否有安装java

java -version

#进入 /usr/local 目录并下载 JDK 压缩包

cd /usr/local
wget https://download.oracle.com/java/21/latest/jdk-21_linux-x64_bin.tar.gz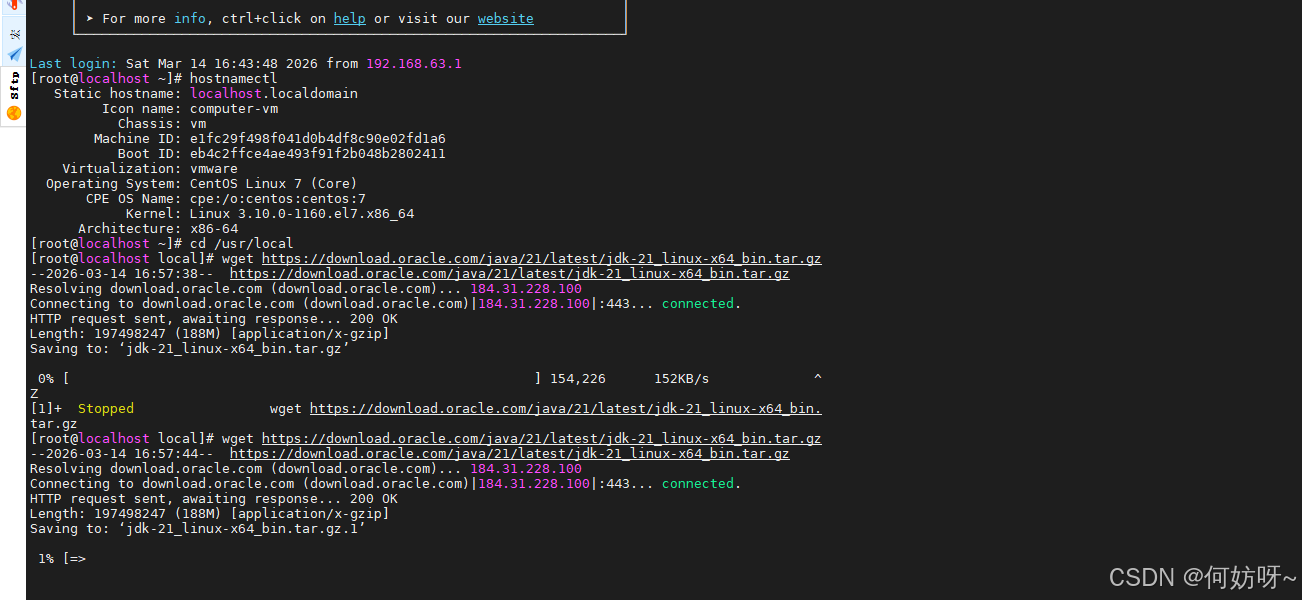
#解压下载的压缩包:

tar -zxvf jdk-21_linux-x64_bin.tar.gz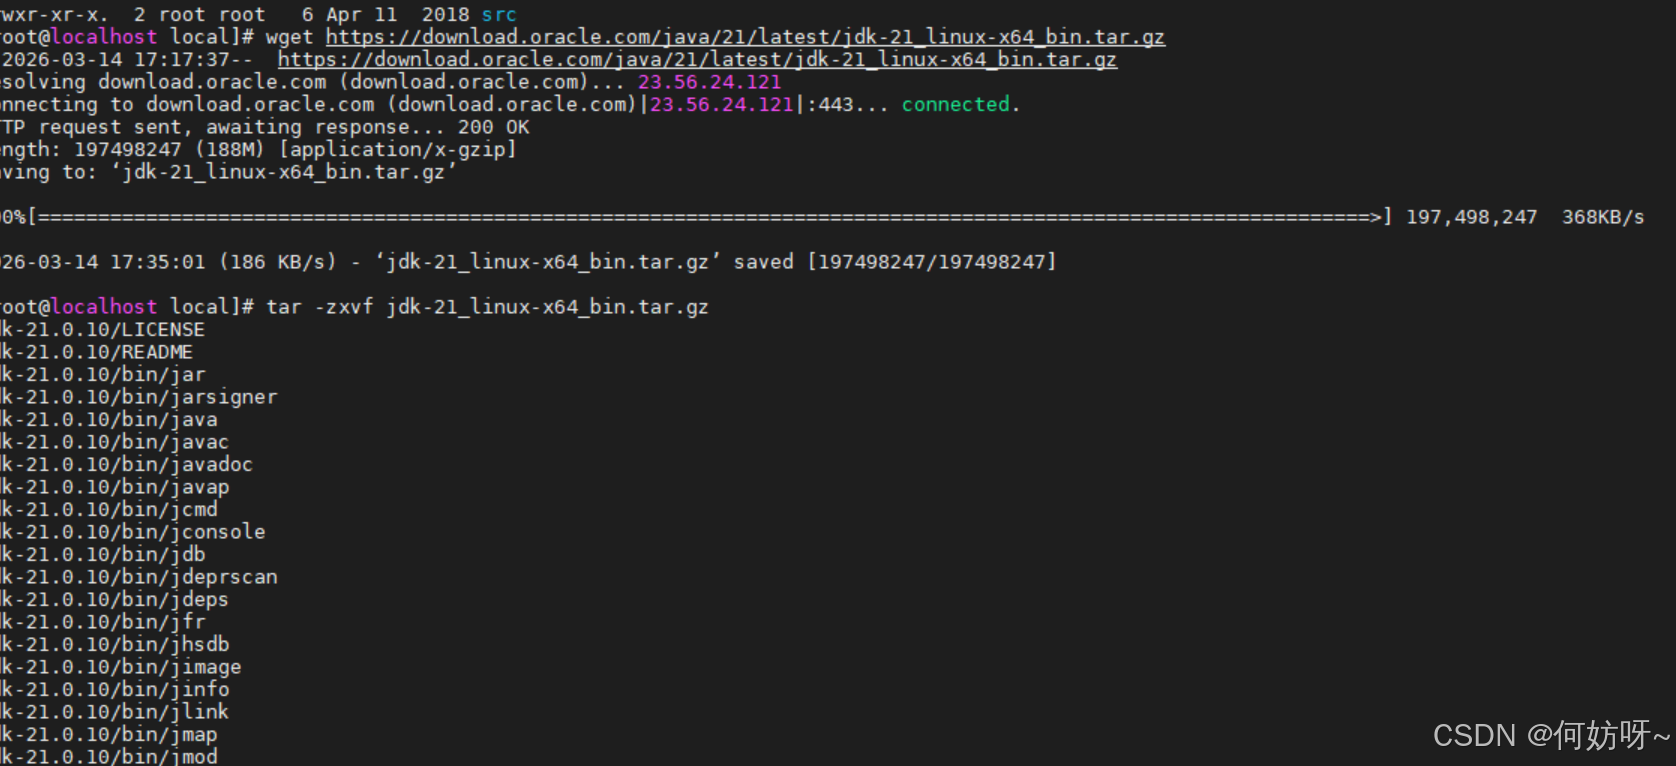
#查看解压后的文件

ls -la /usr/local

#改文件名

mv jdk-21.0.10 jdk-21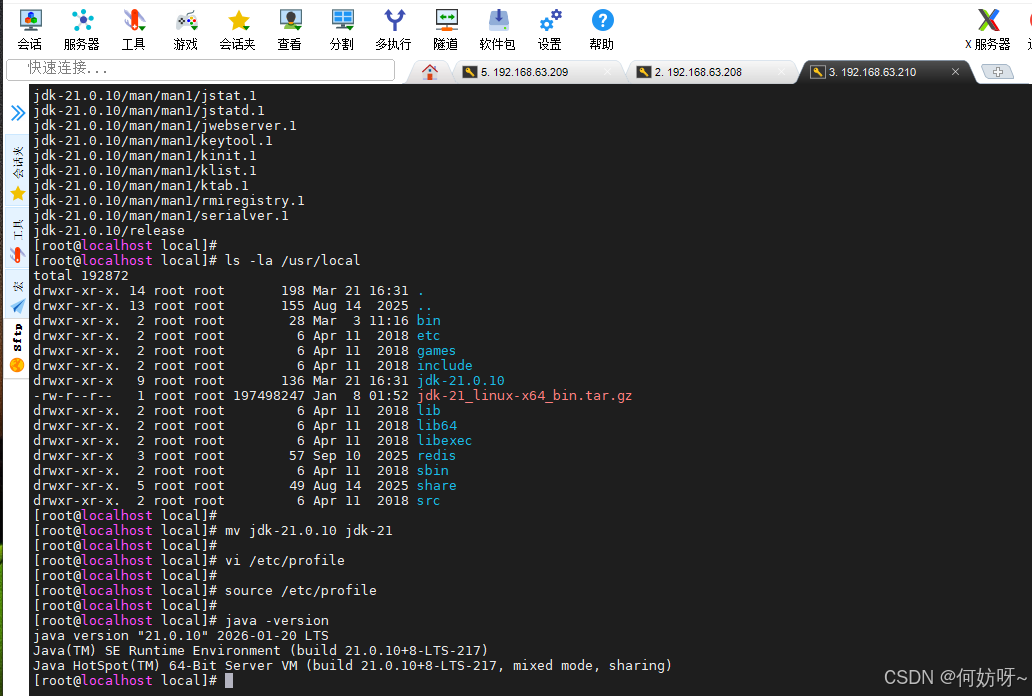
#编辑全局环境变量文件,在文件末尾添加以下内容(根据实际路径调整 JAVA_HOME)

vi /etc/profile

............................

export JAVA_HOME=/usr/local/jdk-21
export PATH=$JAVA_HOME/bin:$PATH
export CLASSPATH=.:$JAVA_HOME/lib/dt.jar:$JAVA_HOME/lib/tools.jar

................................

#保存并退出(按 ESC,输入 :wq)。使配置立即生效: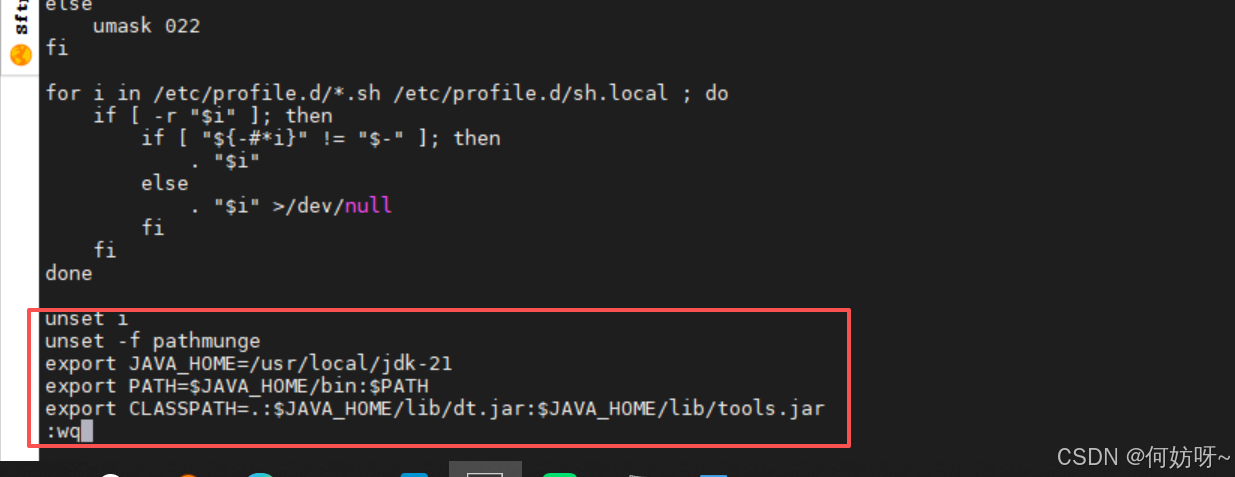
source /etc/profile

#验证安装

java -version
#将新安装的 Java版本设置为默认版本,可创建软链接

rm /usr/bin/java # 删除旧的软链接(如果存在)
ln -s /usr/local/jdk-21/bin/java /usr/bin/java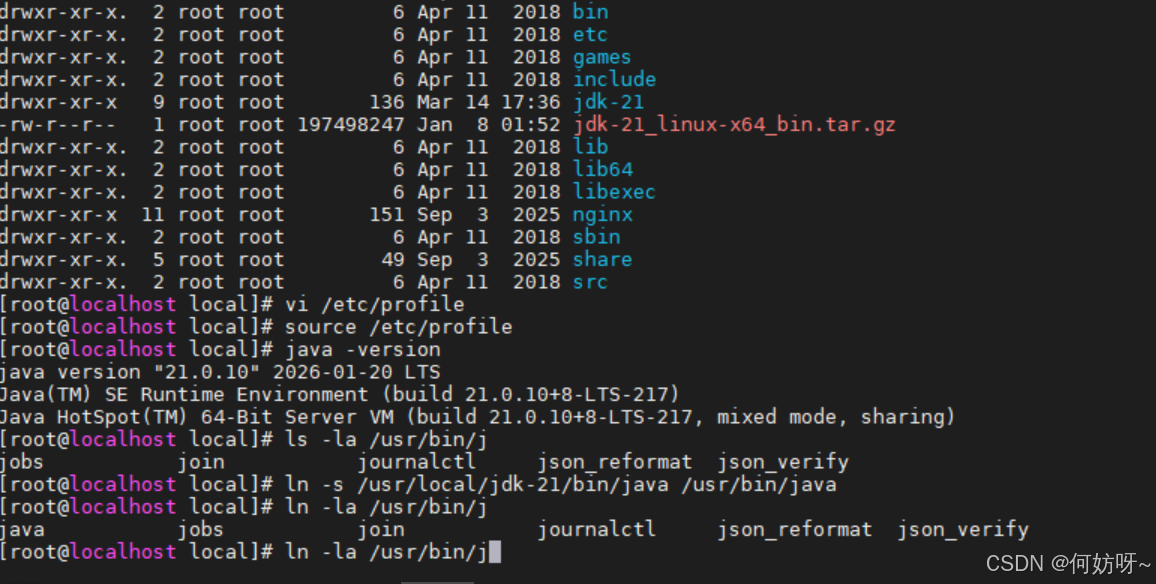
rpm -ql jenkins

wget -O /etc/yum.repos.d/jenkins.repo https://pkg.jenkins.io/rpm/jenkins.repo
ls -la /etc/yum.repos.d/
vi /etc/yum.repos.d/jenkins.repo #把gpgcheck改为0取消验证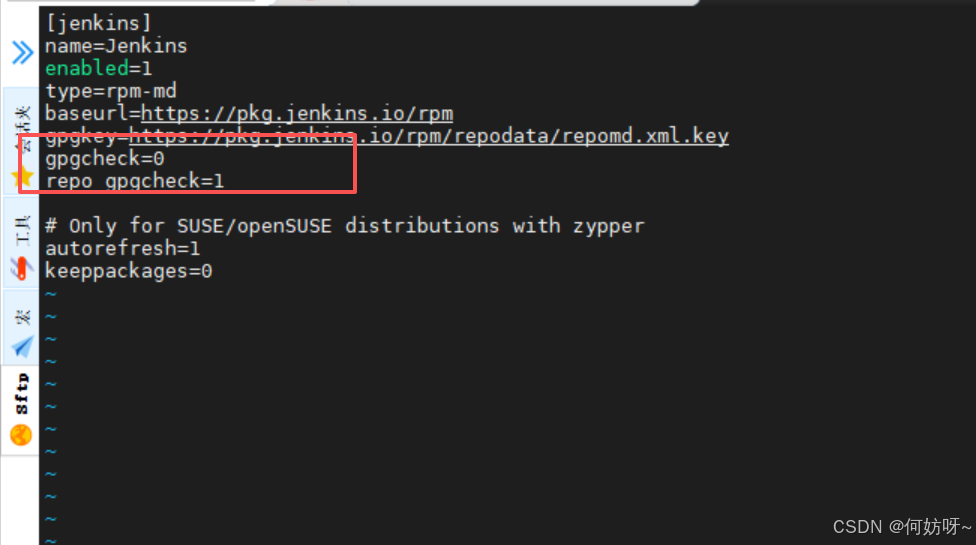
rpm -ql jenkins
yum install -y jenkins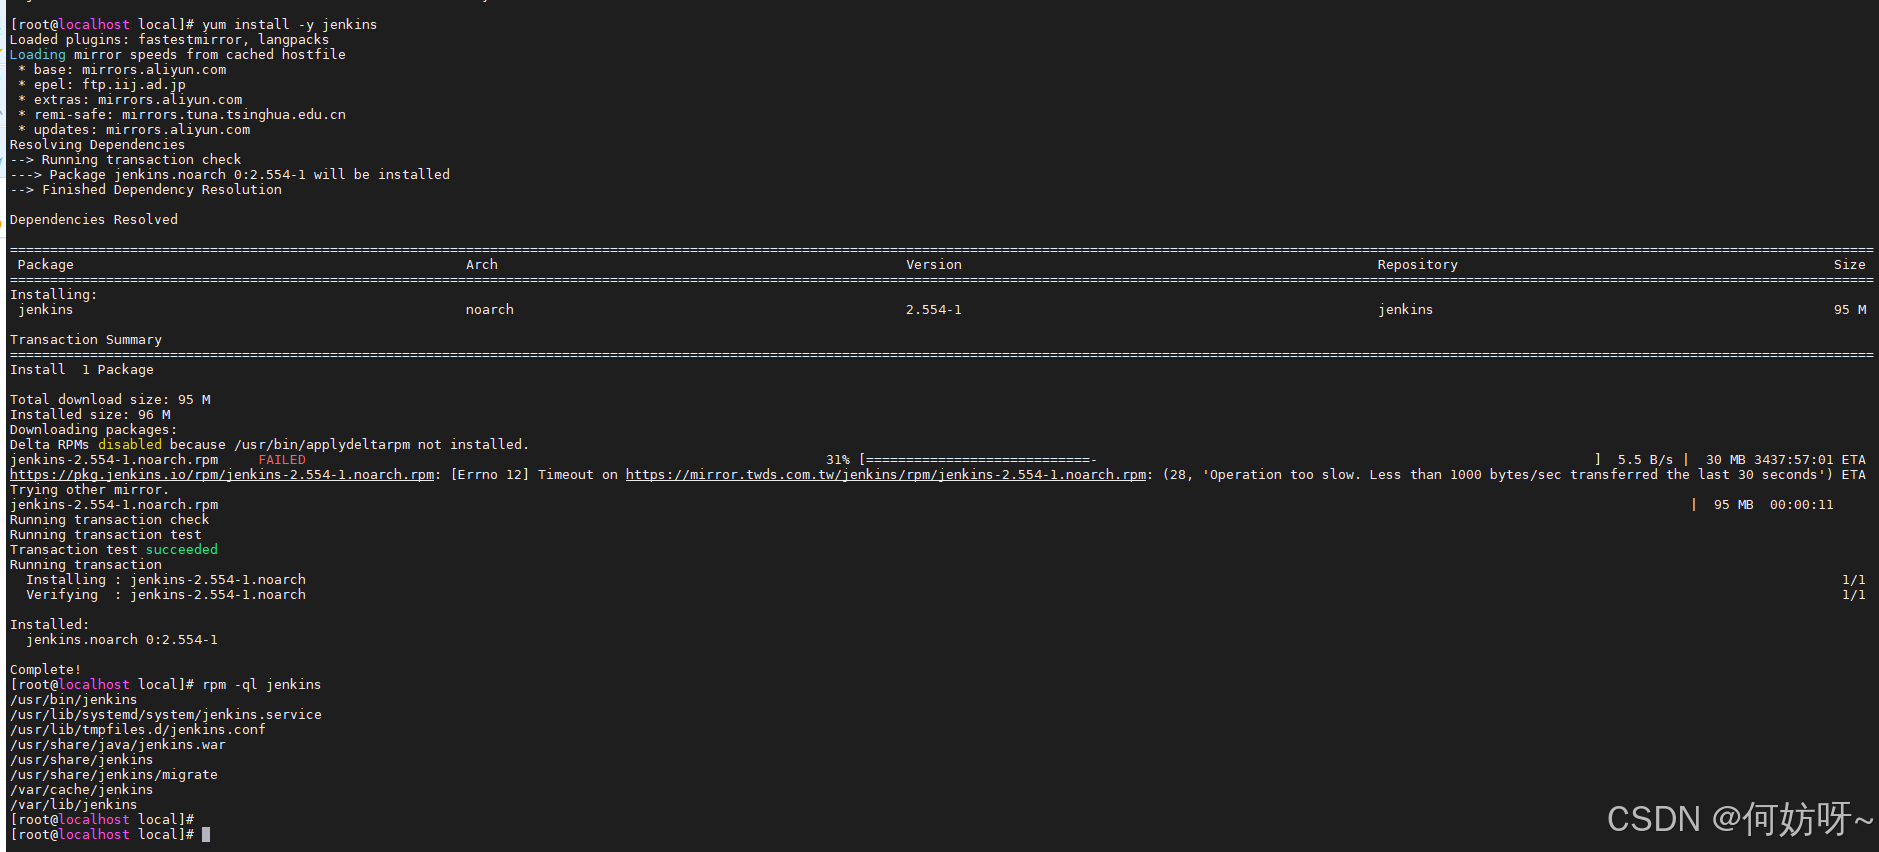
下载字体
yum install -y fontconfig dejavu-sans-fonts
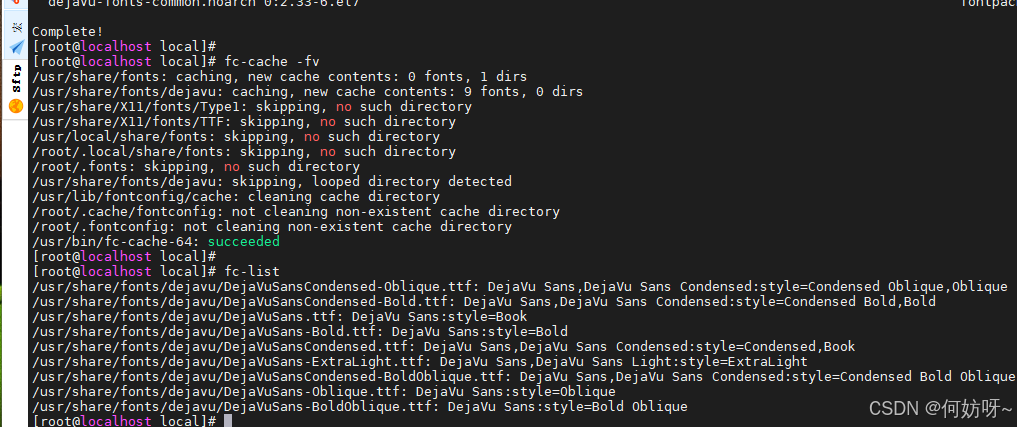
fc-cache -fv
fc-list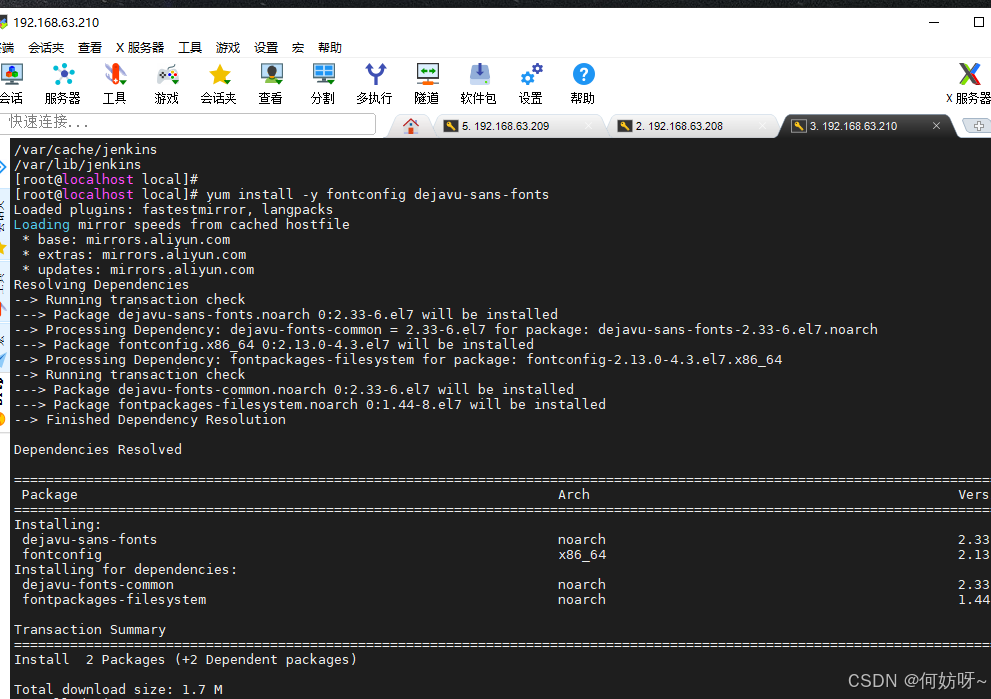
注意:执行下列命令,不然无法自动启动
 echo "JENKINS_HOME=/var/lib/jenkins" >> /etc/profile
source /etc/profile
chown -R root:root /var/lib/jenkins
chmod -R 755 /var/lib/jenkins

netstat -tnlp|grep -aiwE 8080 #如8080默认端被占用,可在下面jenkins.service配置中修改Environment="JENKINS_PORT=8080 改为其他端。

which java

修改下列配置,用户与组改成root,不然会启动失败,

 vi /usr/lib/systemd/system/jenkins.service
...................
User=root
Group=root
Environment="JAVA_HOME=/usr/local/jdk-21"   #这里需要改成which java显示的路径
Environment="JAVA_OPTS=-Djava.awt.headless=true -DJENKINS_HOME=/var/lib/jenkins"
Environment="JENKINS_PORT=8080  #可选操作改为其他端口

....................................................
systemctl daemon-reload
systemctl enable jenkins
systemctl start jenkins.service
systemctl status jenkins.service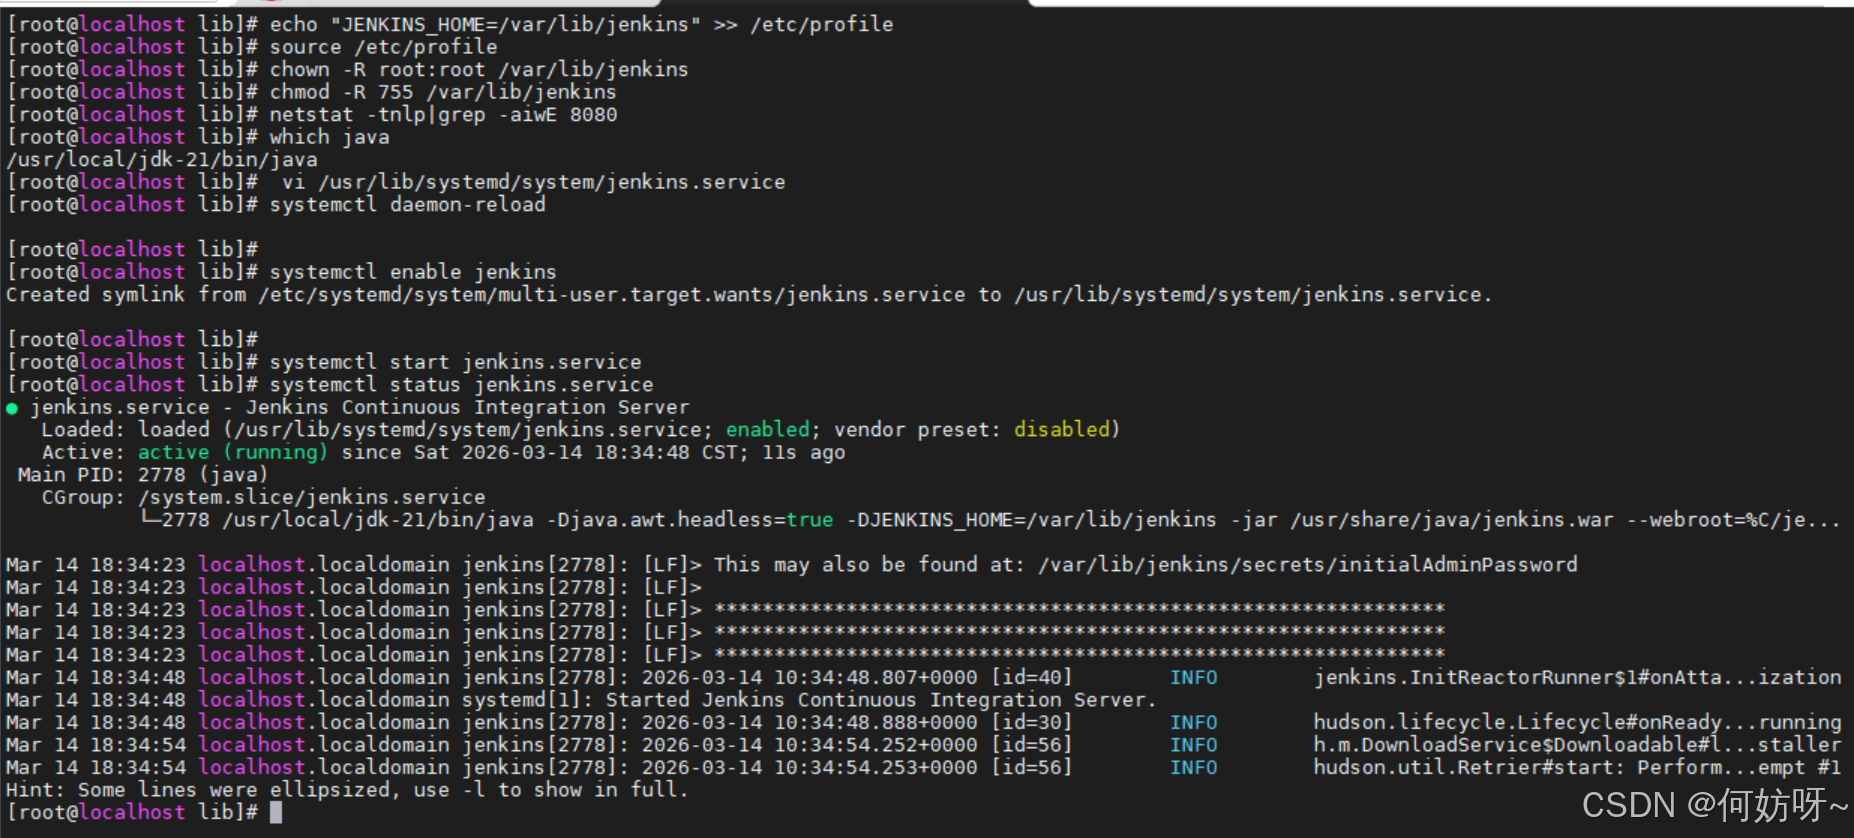
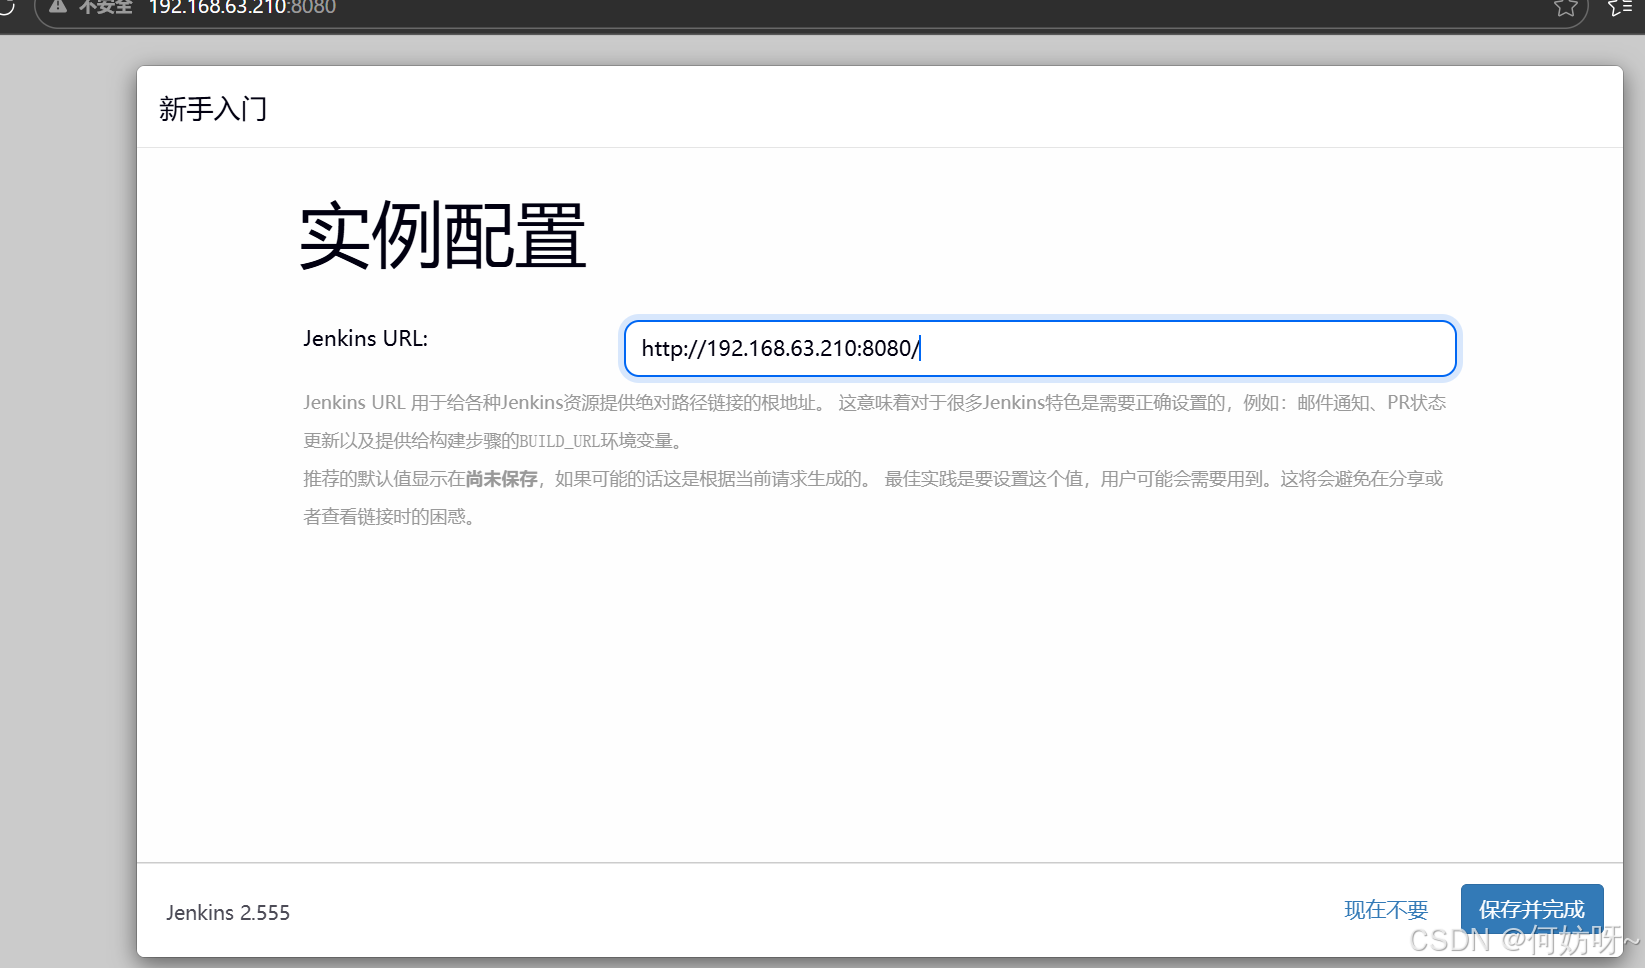
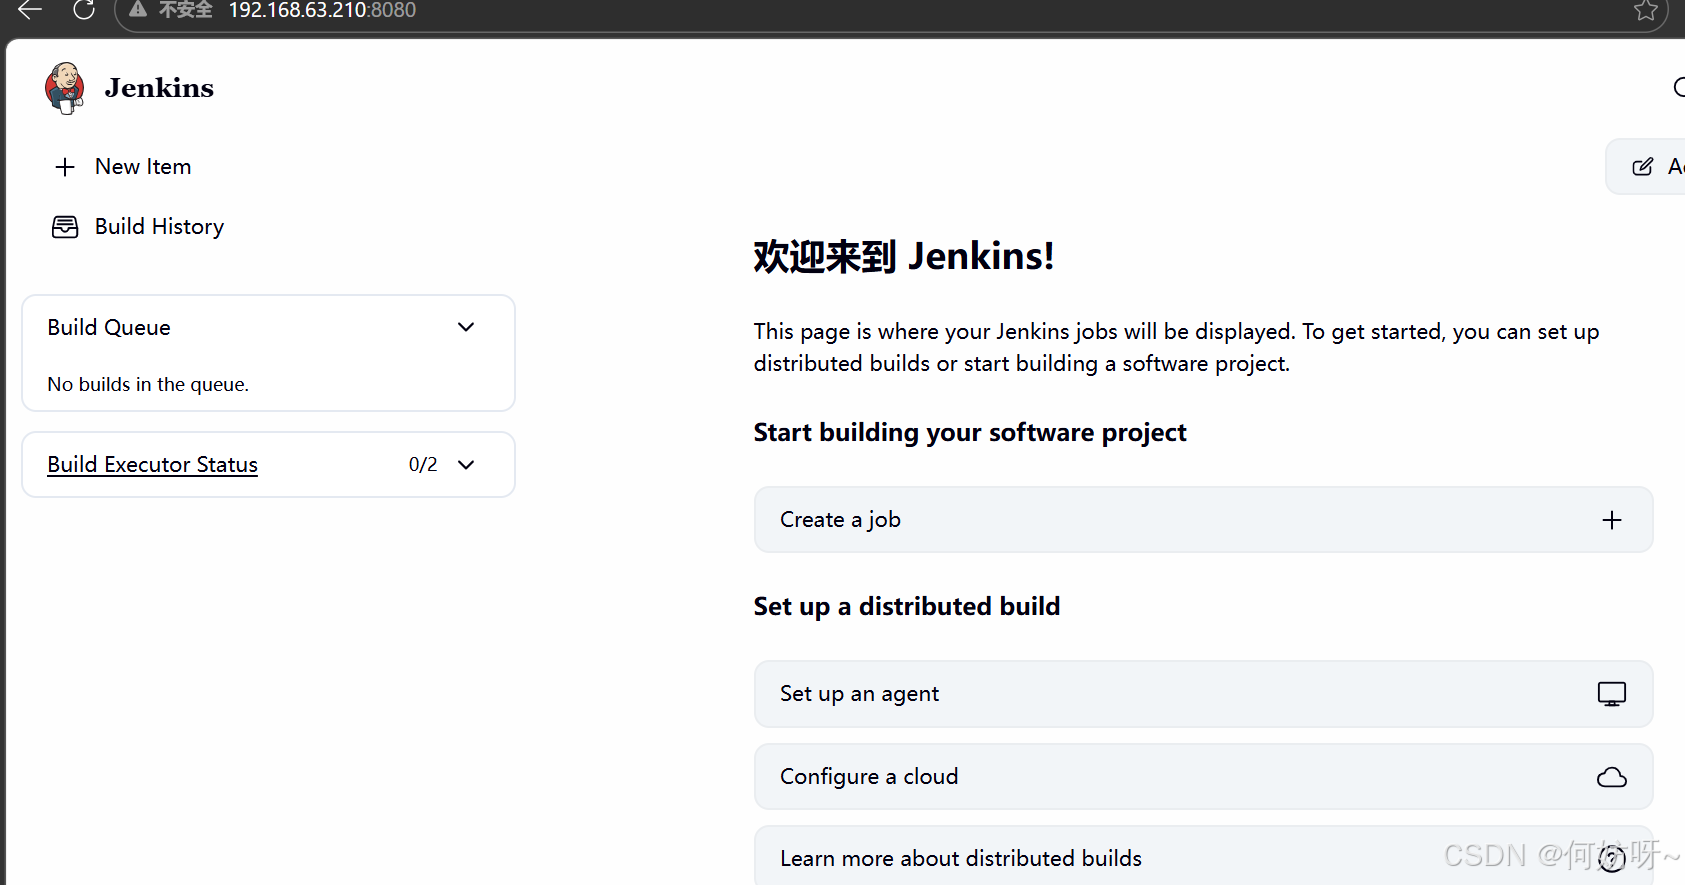
浏览器访问http://192.168.63.210:8080/

查看Jenkins进程,与解锁Jenkins密码

ps -ef|grep jenkins

cat /var/lib/jenkins/secrets/initialAdminPassword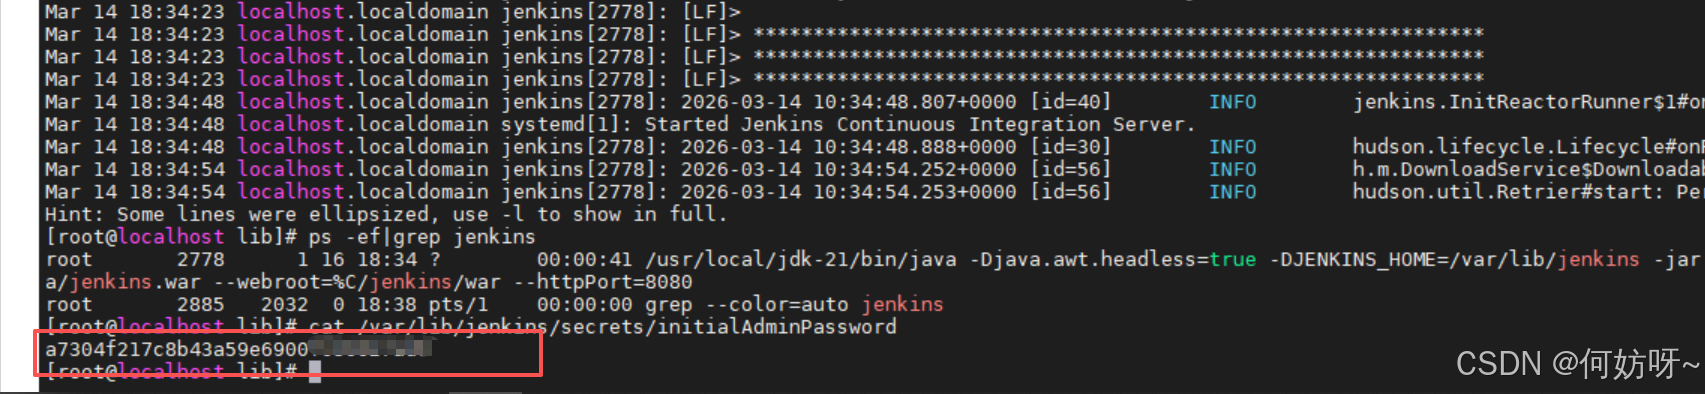
复制查看的密码,继续

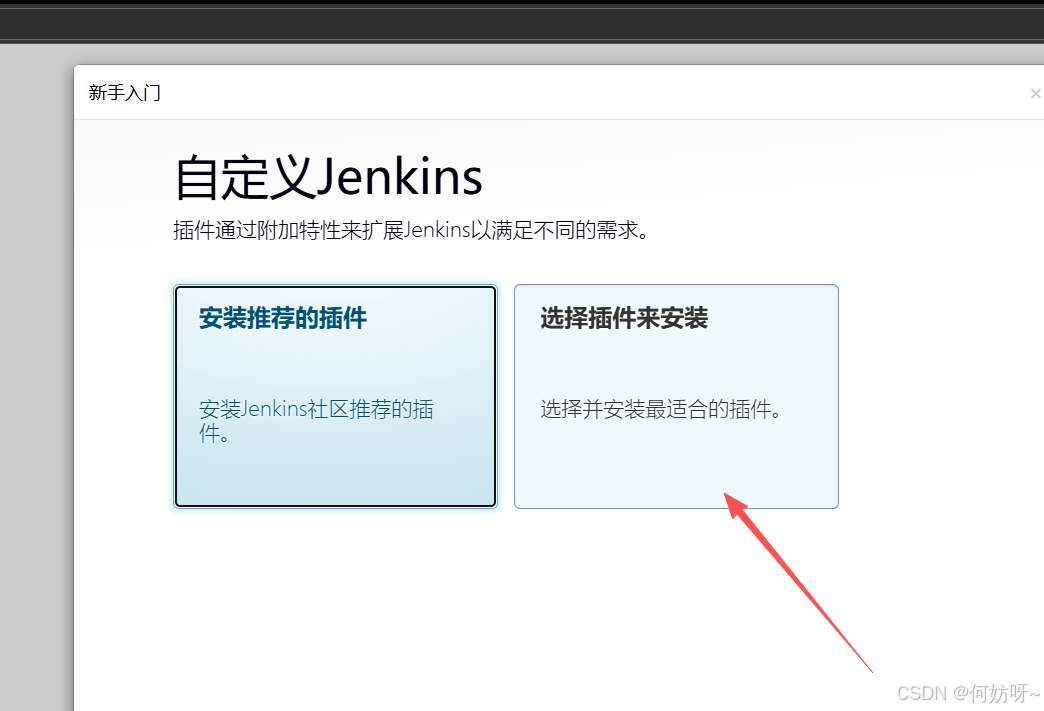
建议选插件来安装
全部不选

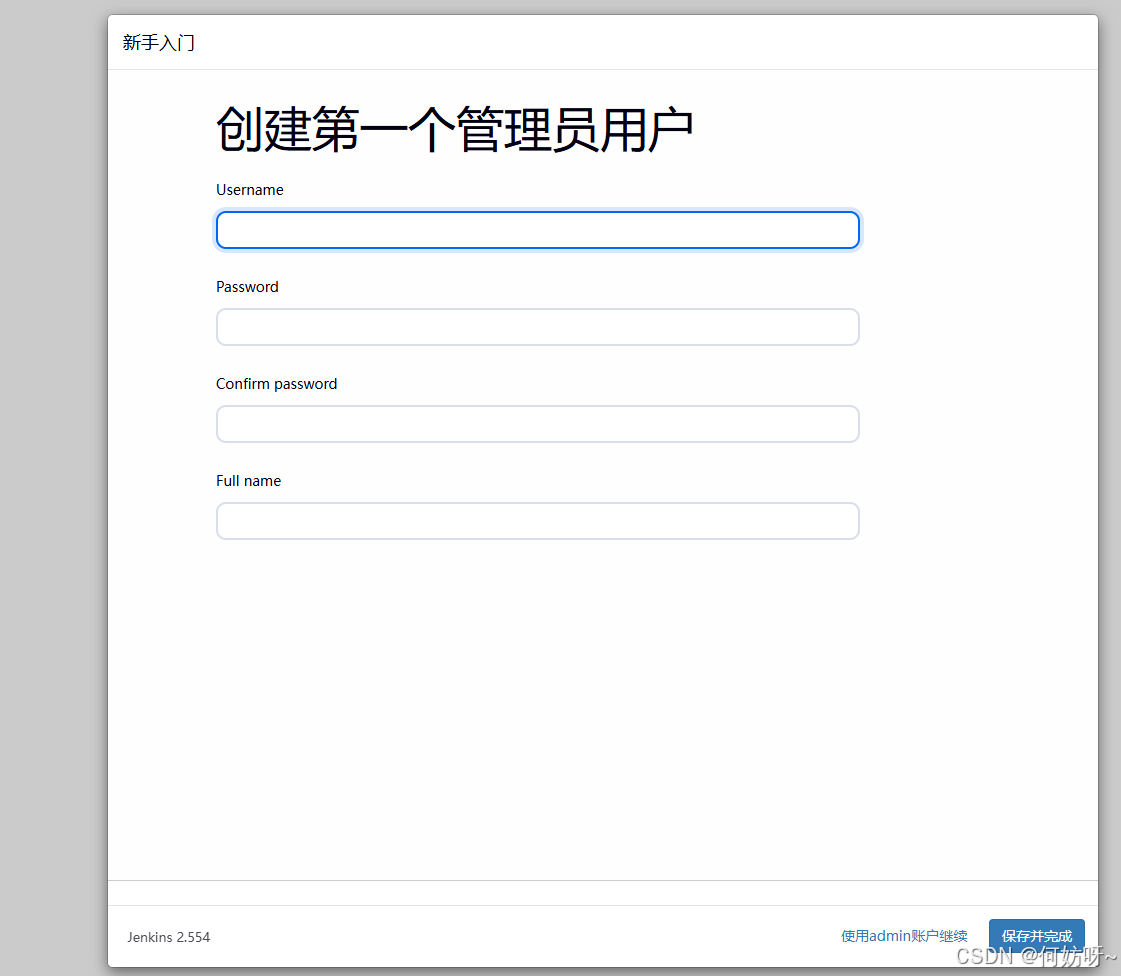
可创建一个管理员用户,或者直接使用admin登录
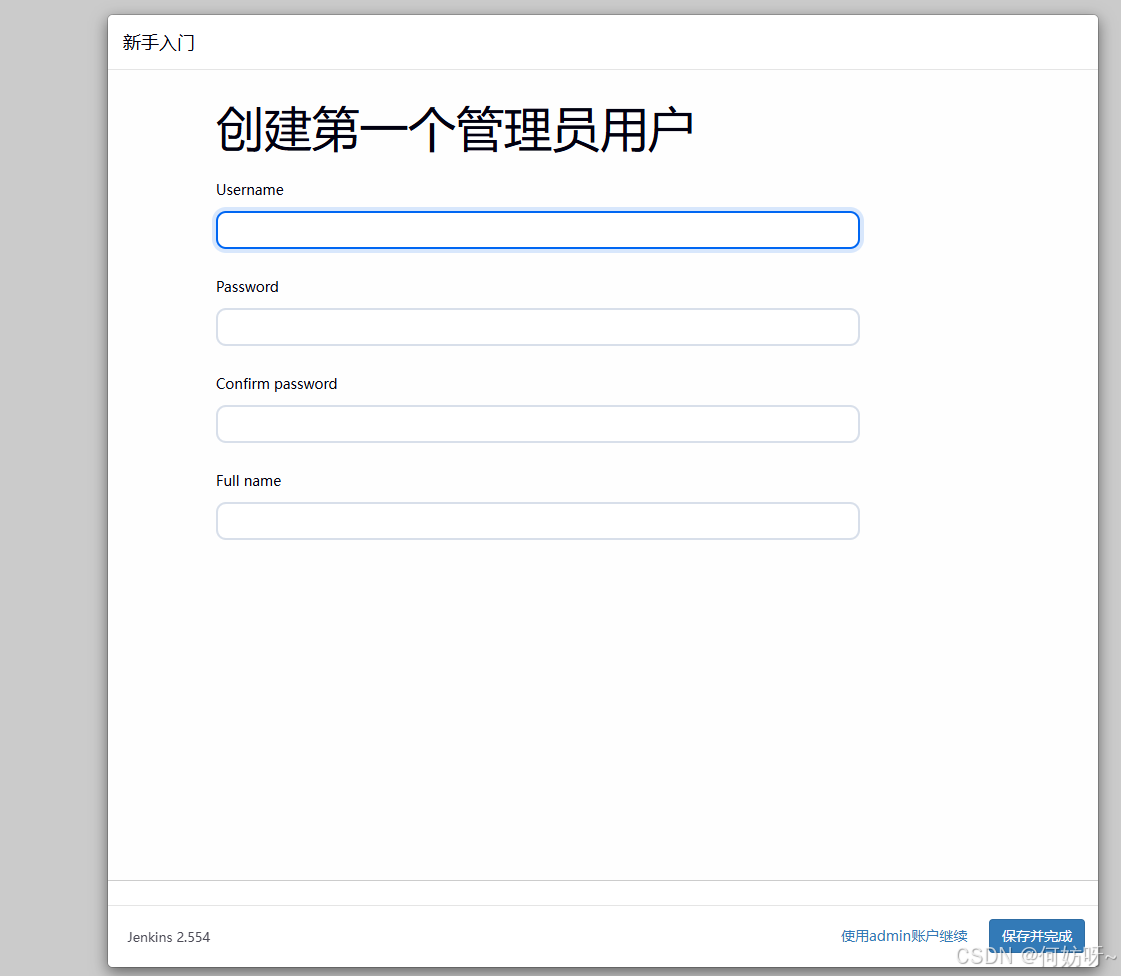
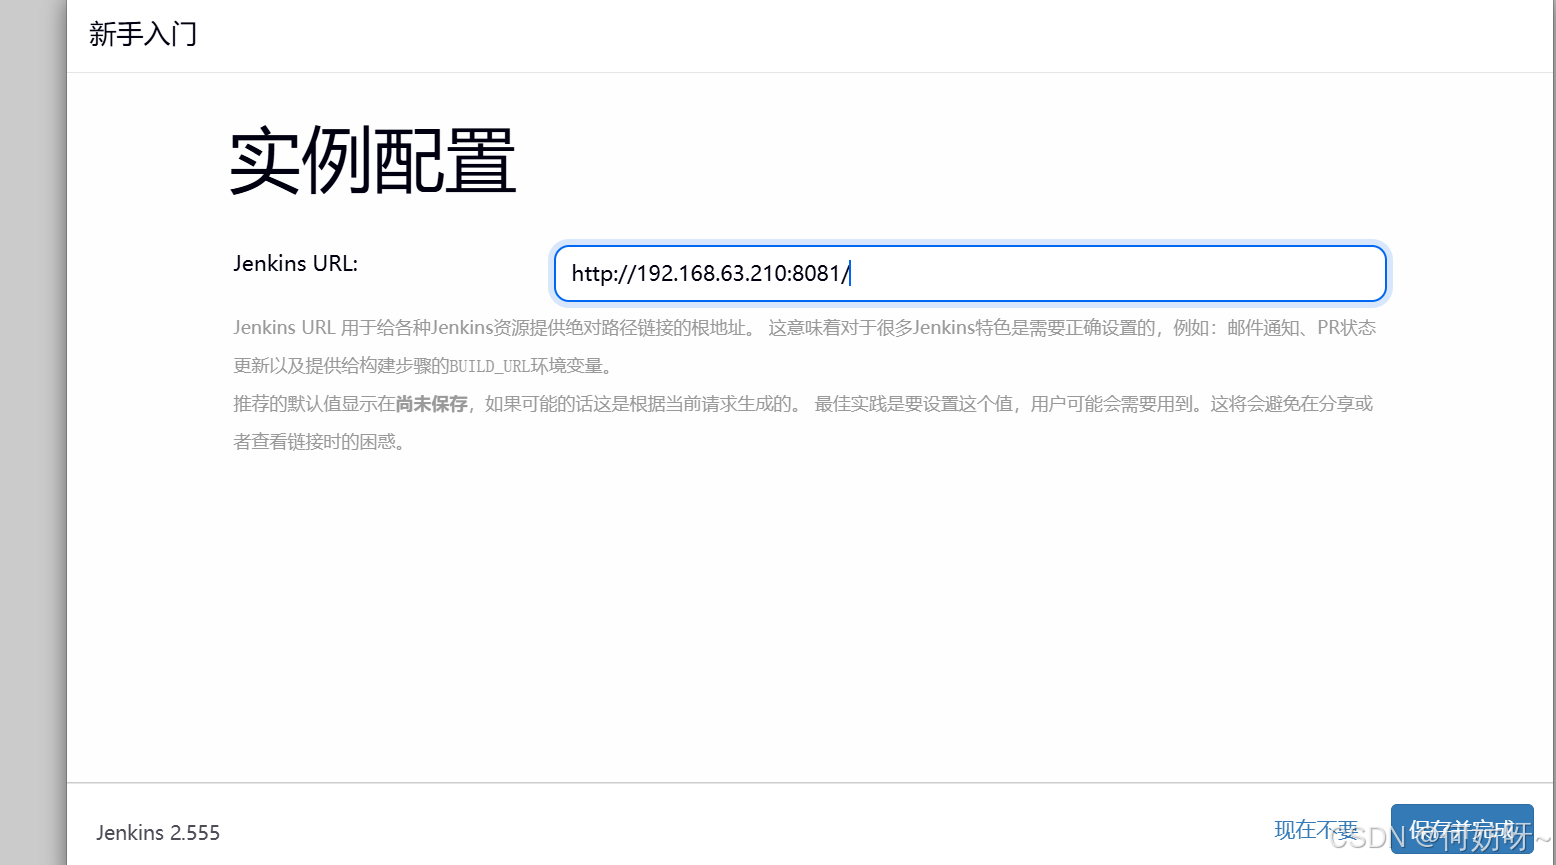
保存并完成
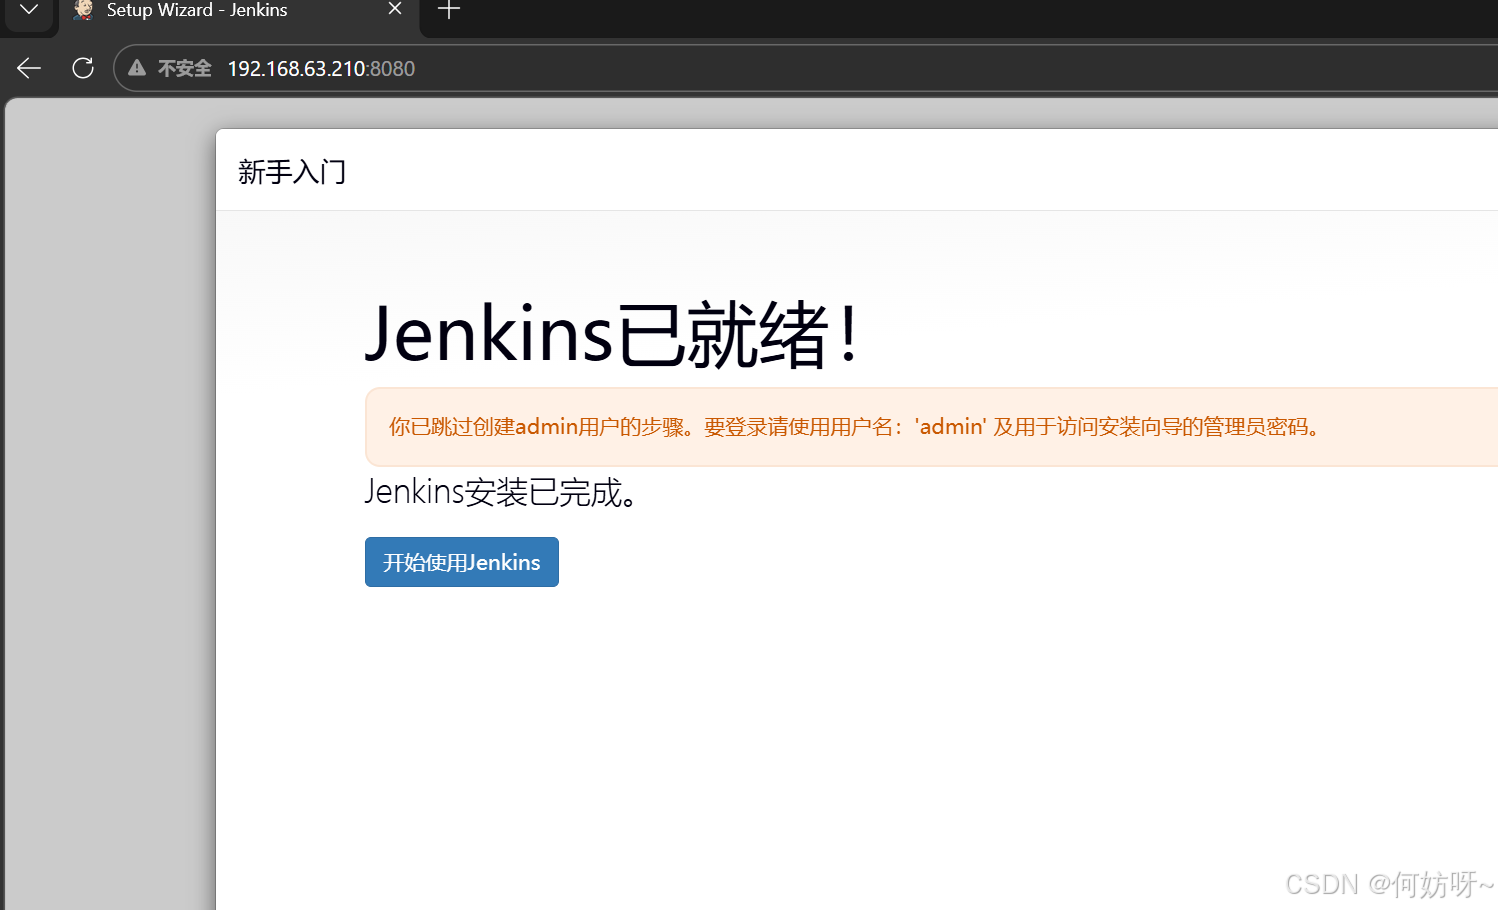 完成进入后是英文界面,可以安装中文插件
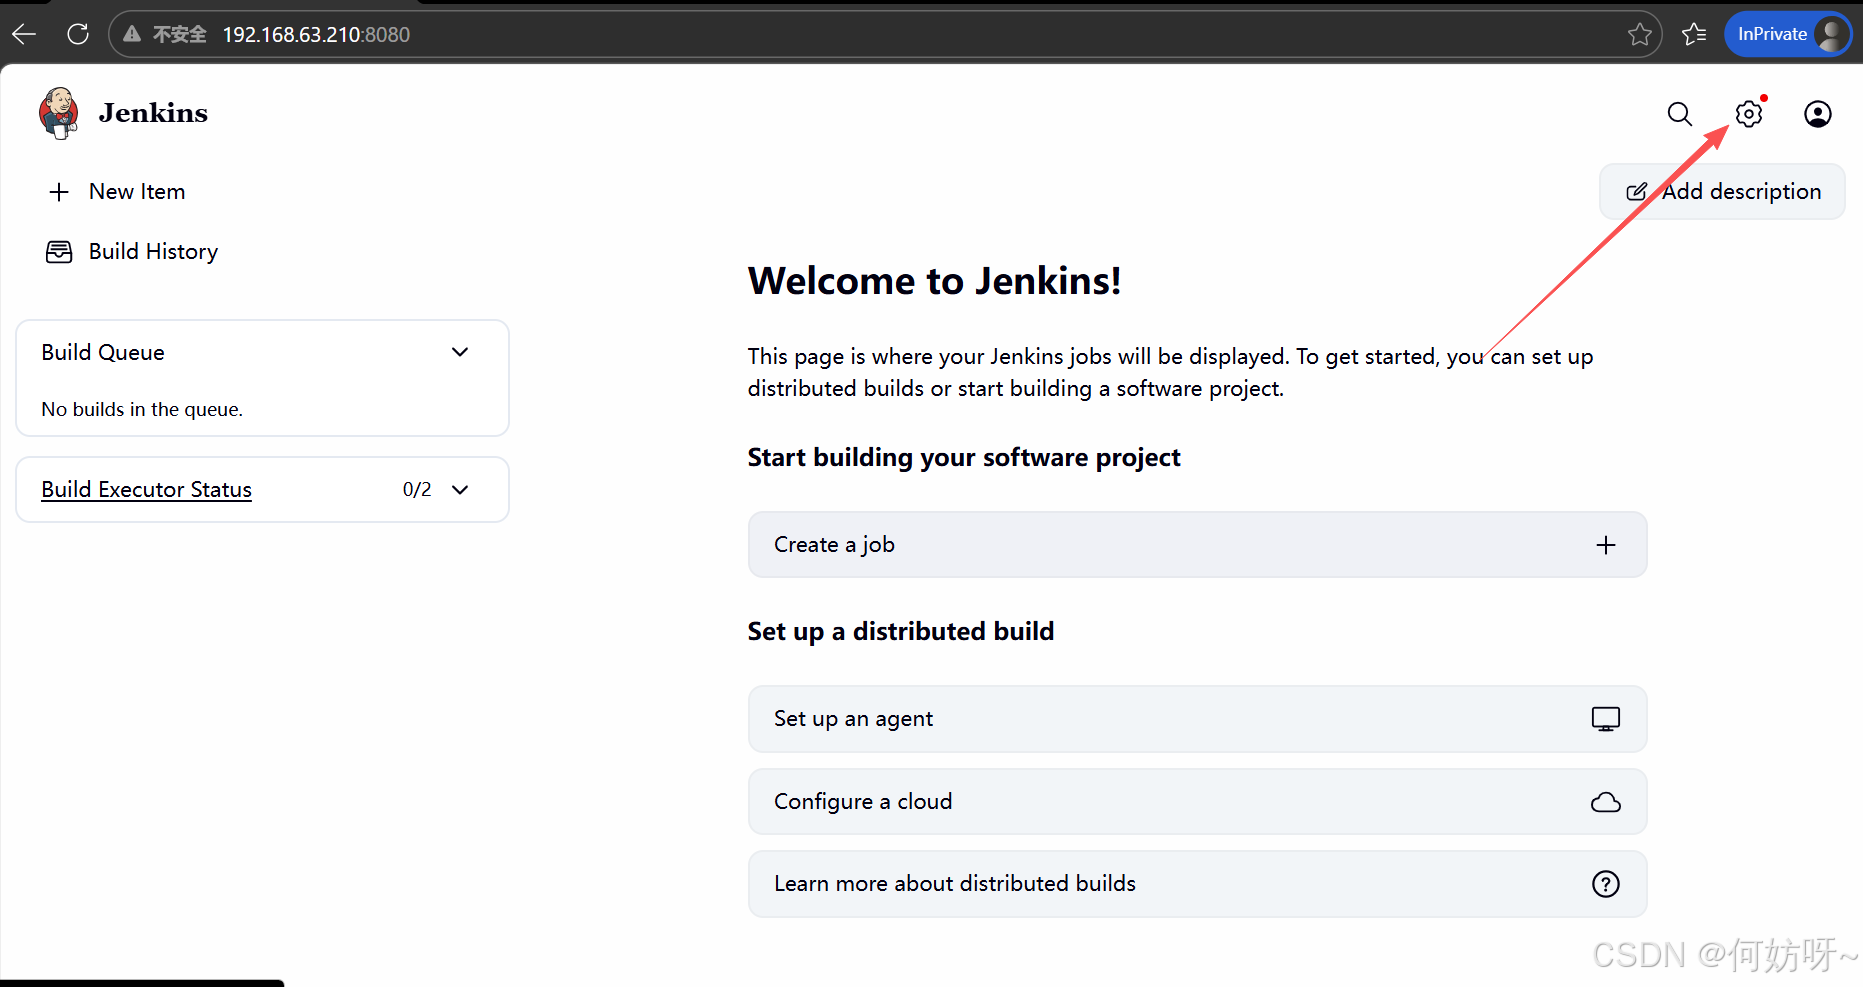
安装插件
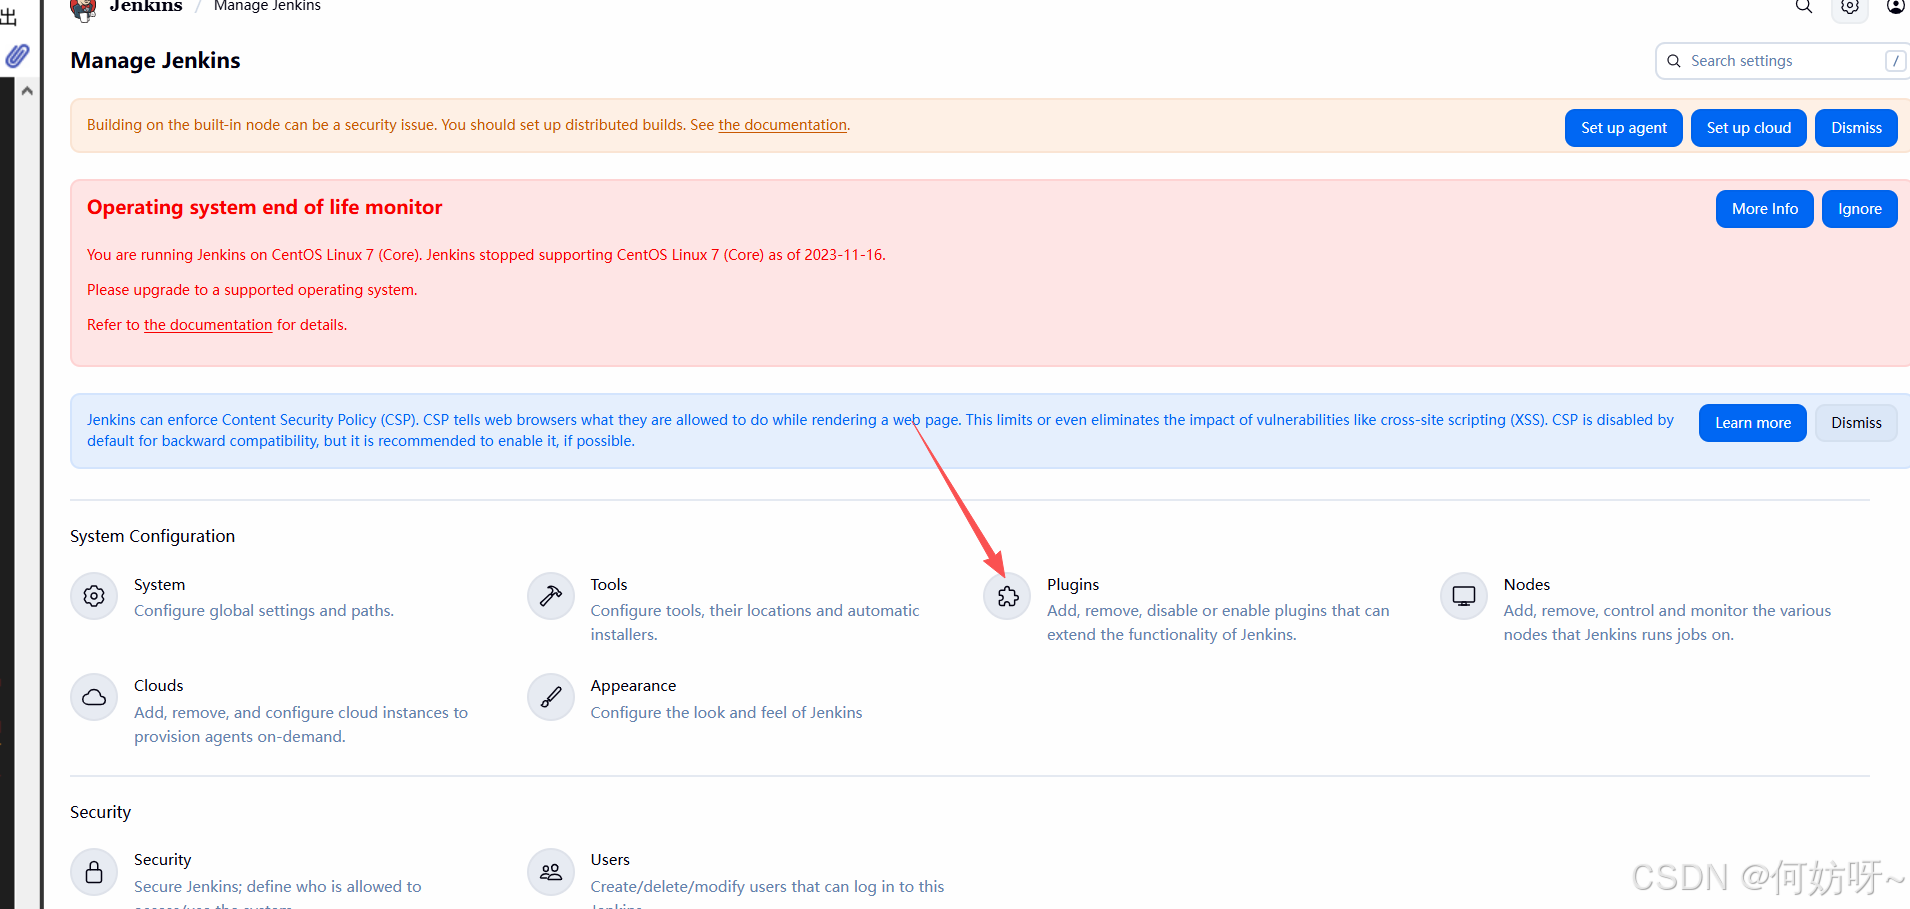
安装中文
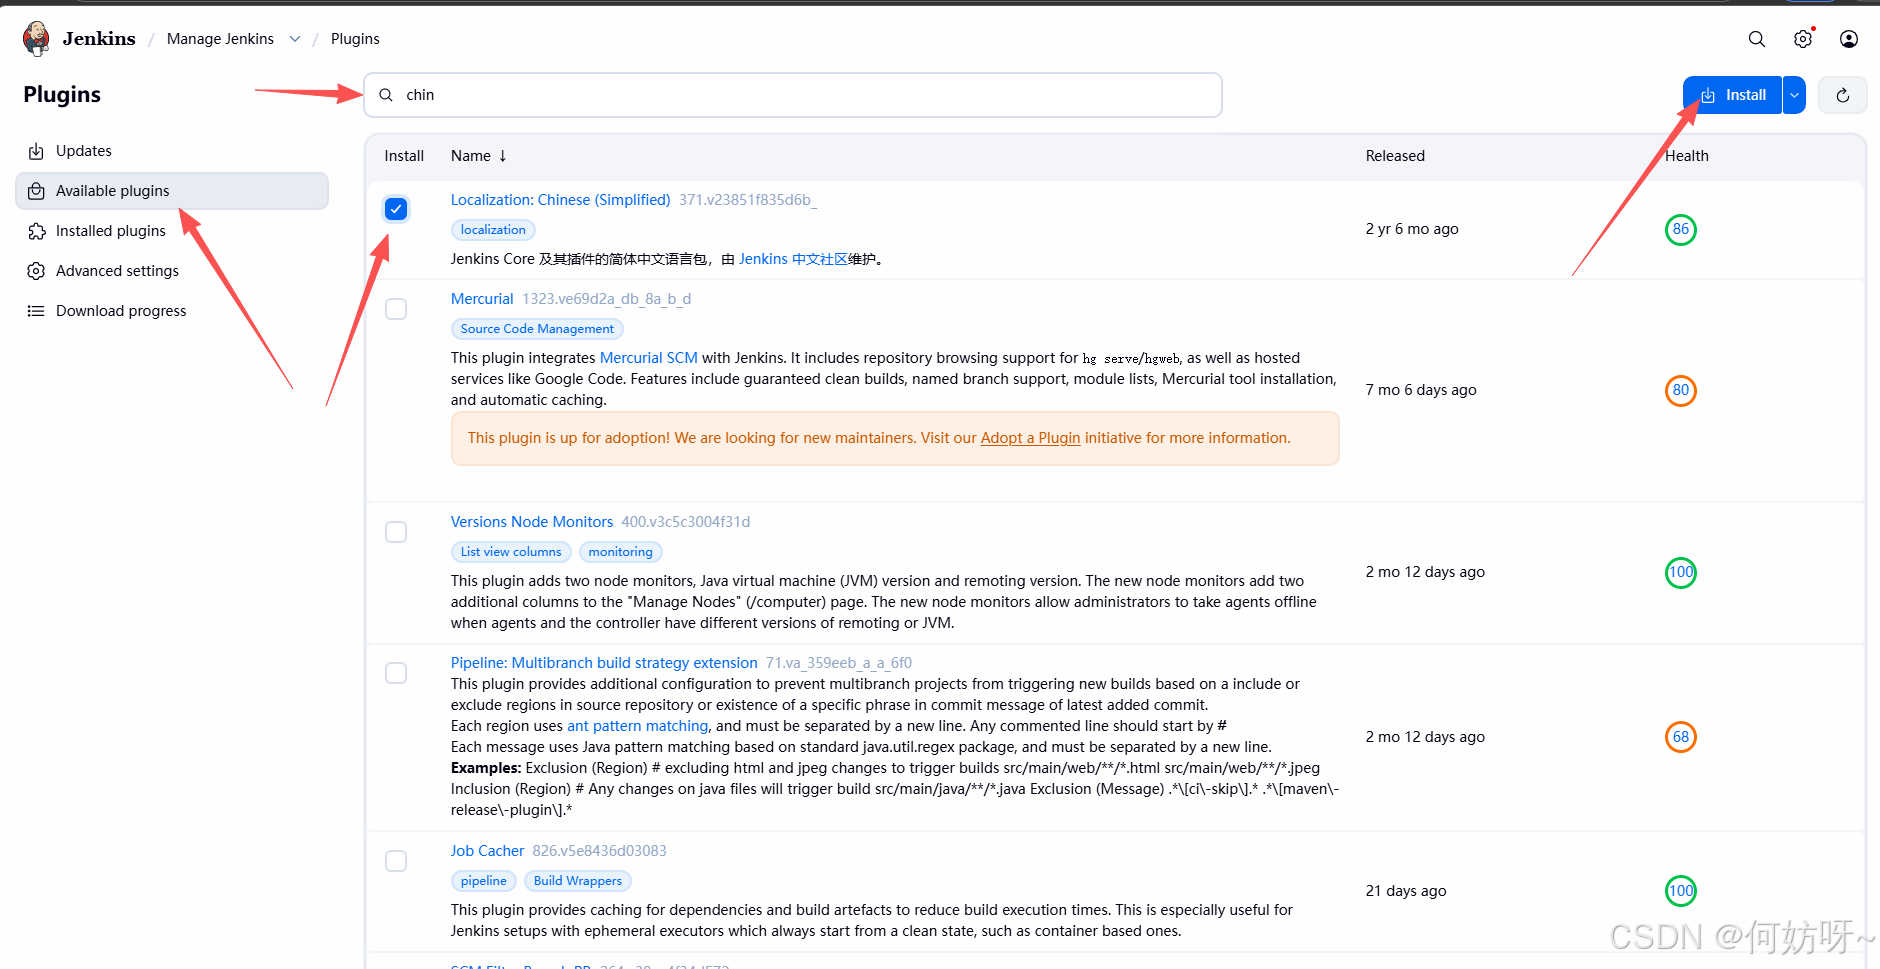
安装中文

中文生效
四、Jenkins平台自动替换门户网站logo图片
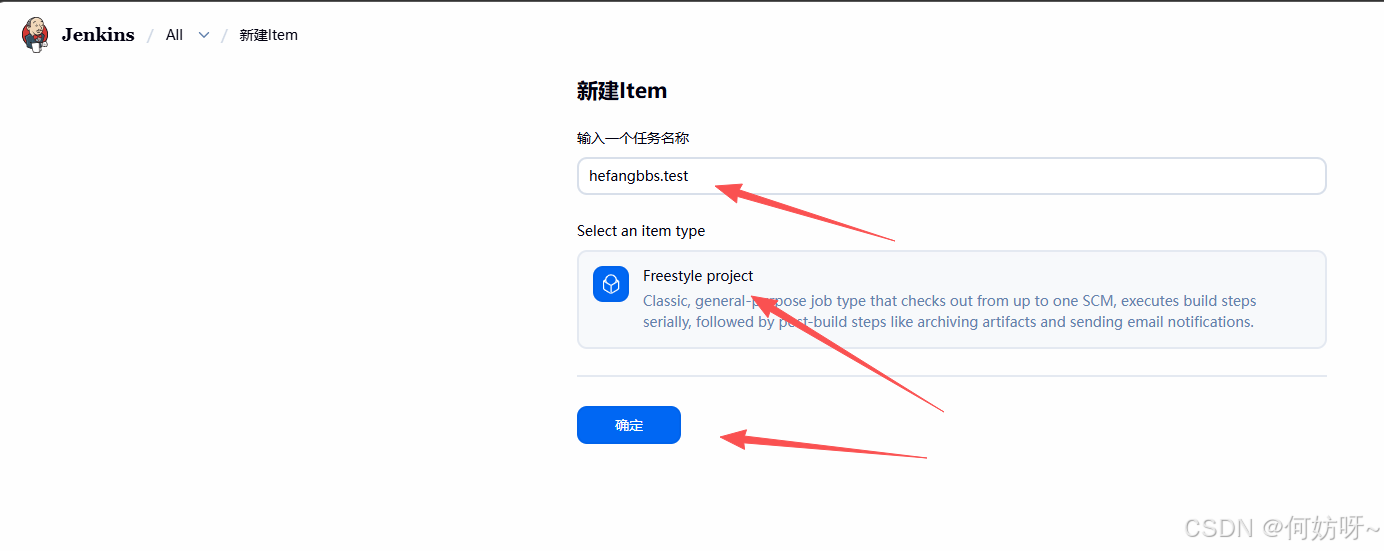
创建工程任务(更新hefangbbs.test/网站的logo图片)
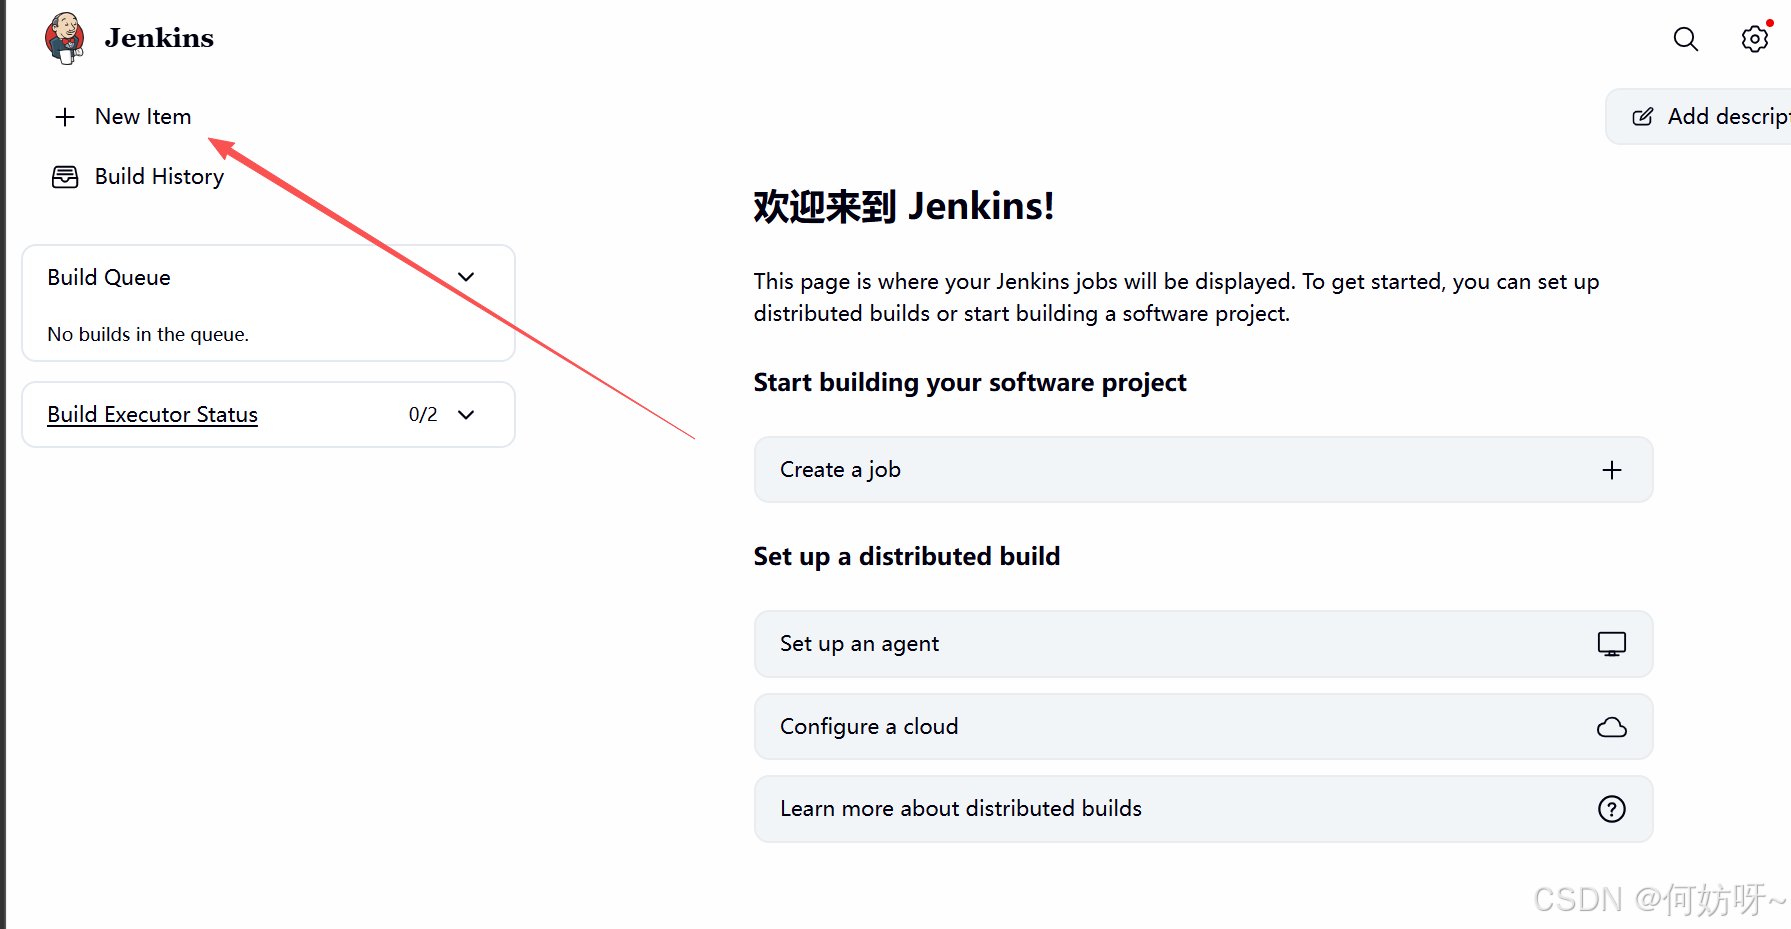
名称建议跟网站一致,任务类型=自由风格,然后确定
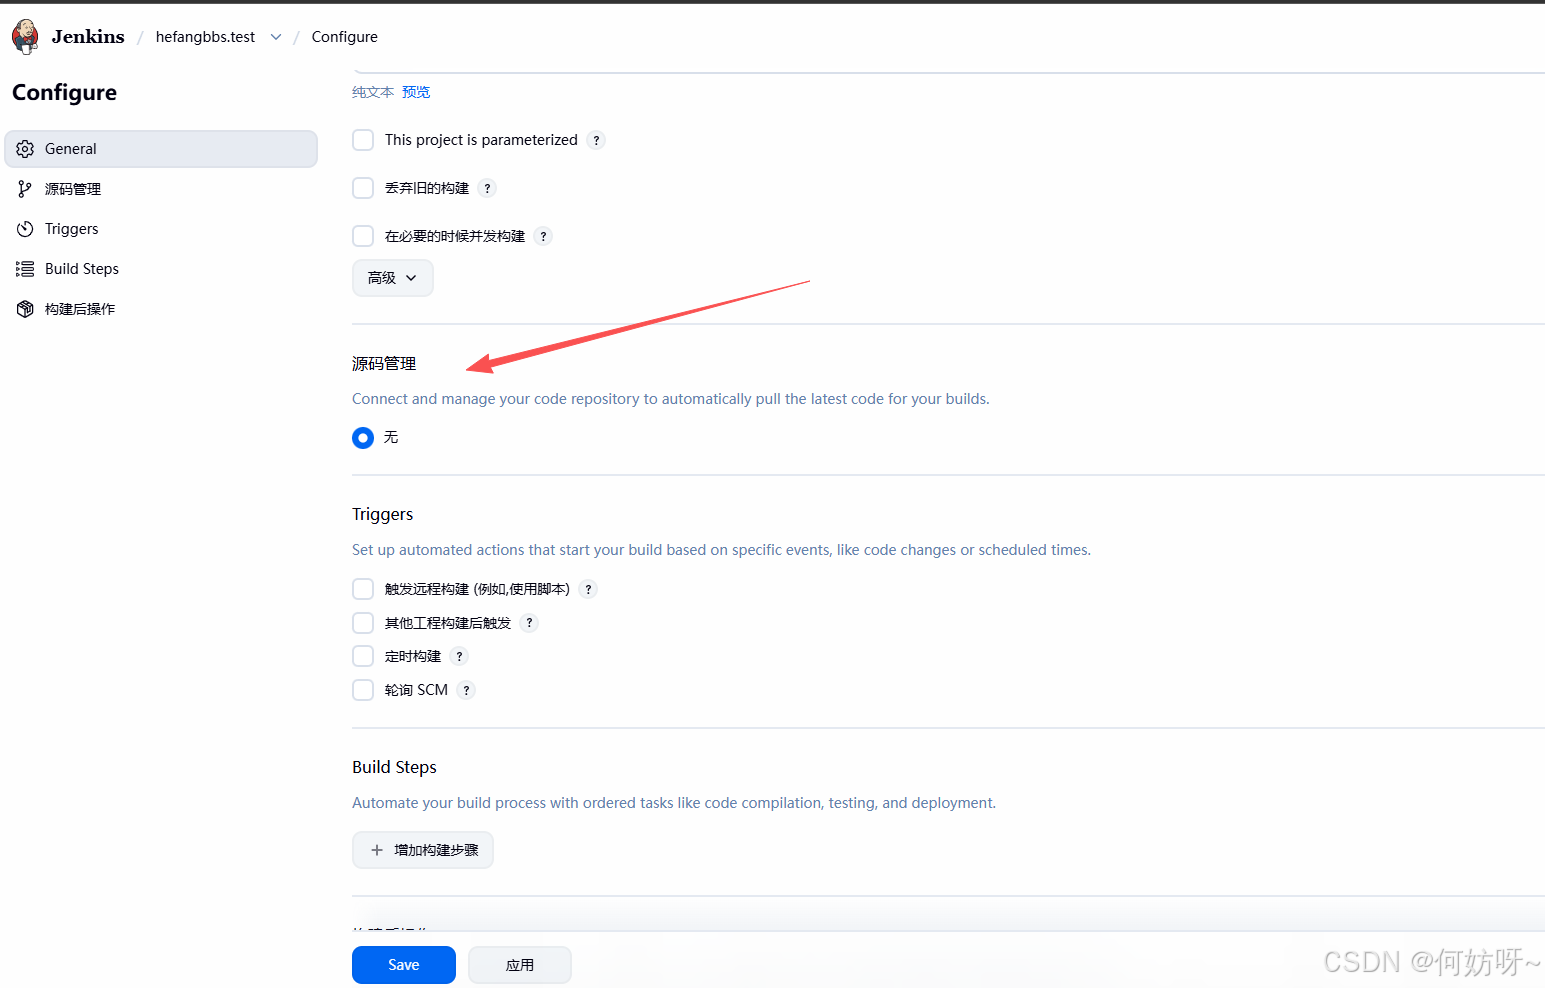
绑定具体子任务:绑定svn仓库地址,实现从svn或GIT下载网站代码--远程创建网站备份目录--备份网站--将新程序更新到服务器网站对应目录
先安装svn或者git插件
安装方法同上述安装中文

配置svn地址
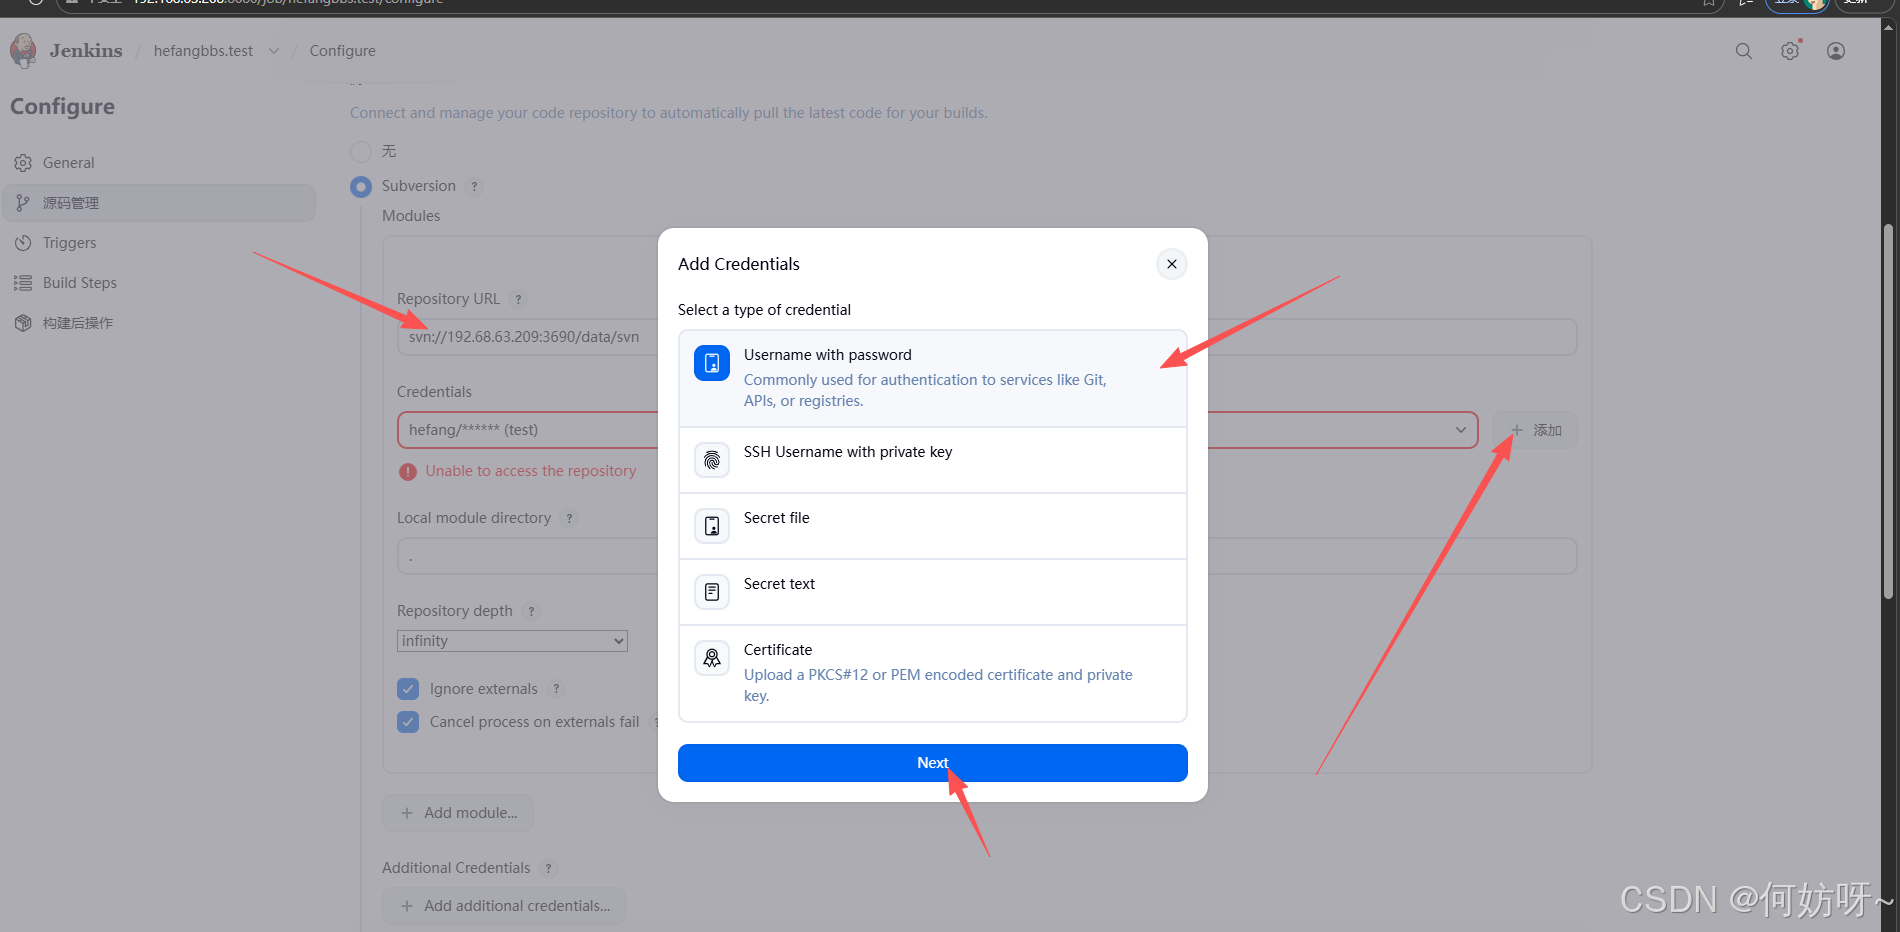
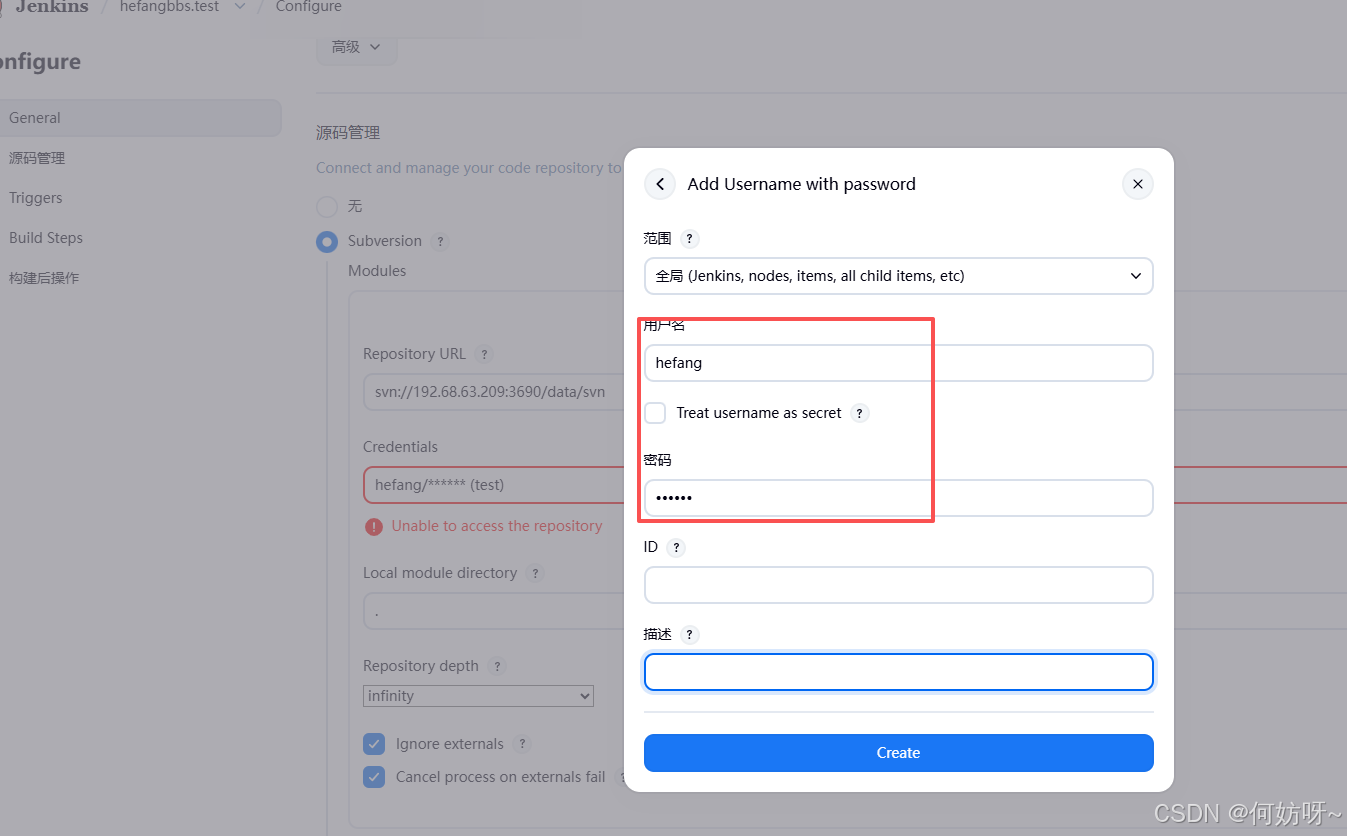
svn账号密码
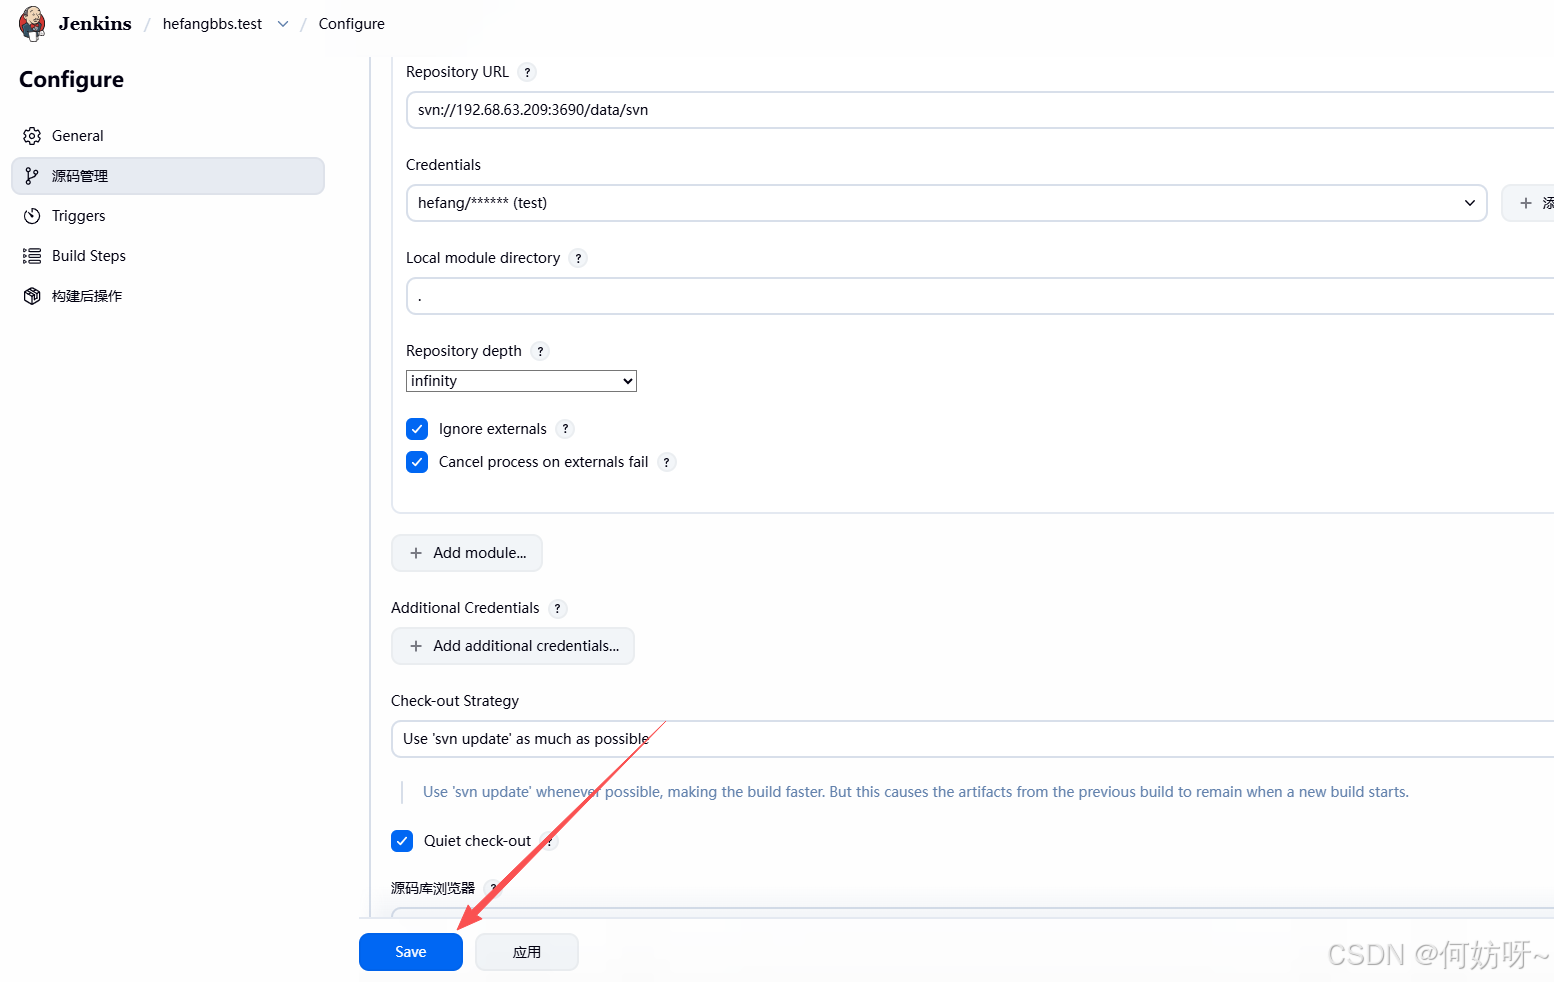
保存后验证
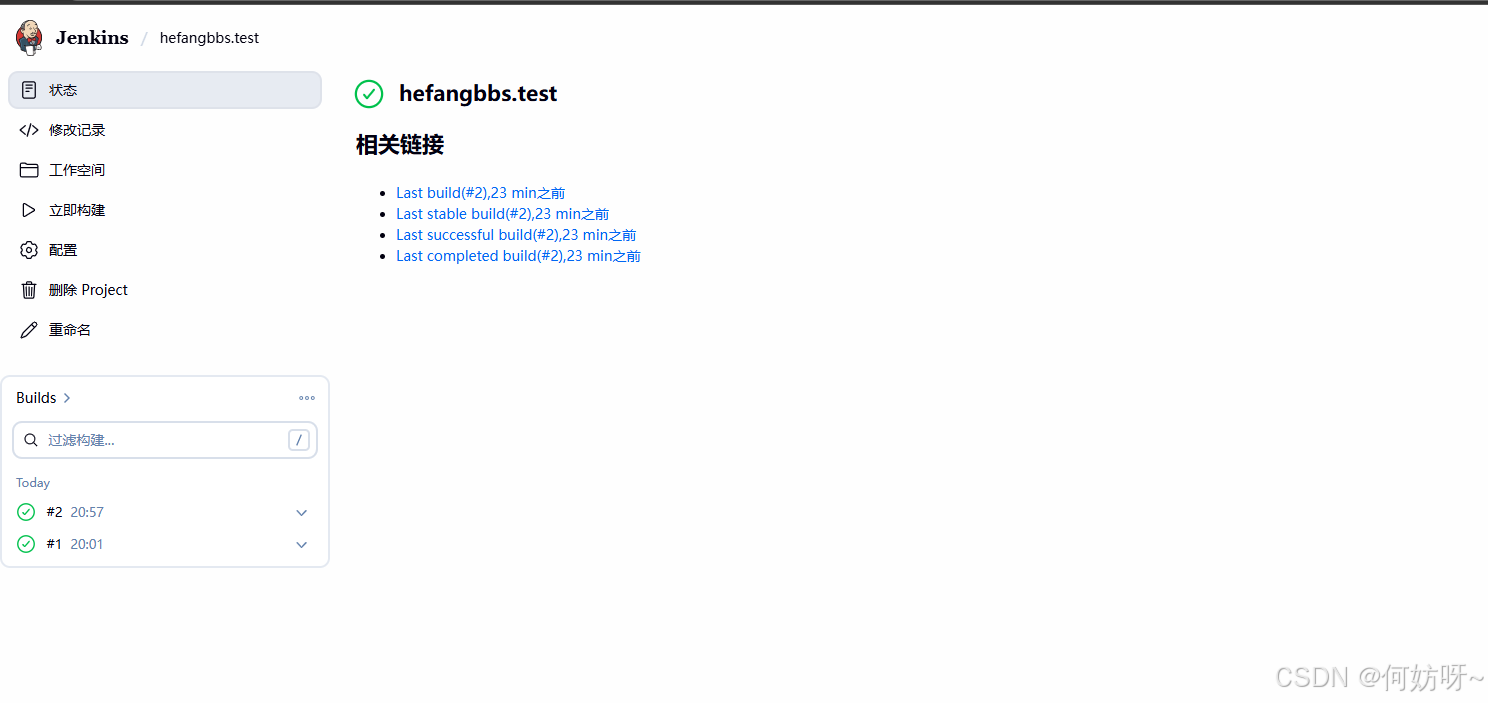
成功链接
从192.168.63.210(Jenkins服务器)上远程192.16863.208(hefangbbs.test站点),提前设置免密登录
ssh-keygen  #执行后一直回车

ls -la /root/.ssh/

生成公私密钥,将公钥拷贝至远程SVN服务器

ssh-copy-id -i /root/.ssh/id_rsa.pub 192.168.63.208   #第一次需输入密码

#在192.168.63.208网站服务器上还原刚刚修改的logo文件,(\cp)强制拷贝
\cp /data/backup/2026-03-19/logo.svg /data/html/hefangbbs/static/image/common/

#后续使用Jenkins全自动化替换部署,第一次需要先使用密码登录ssh@192.168.63.208 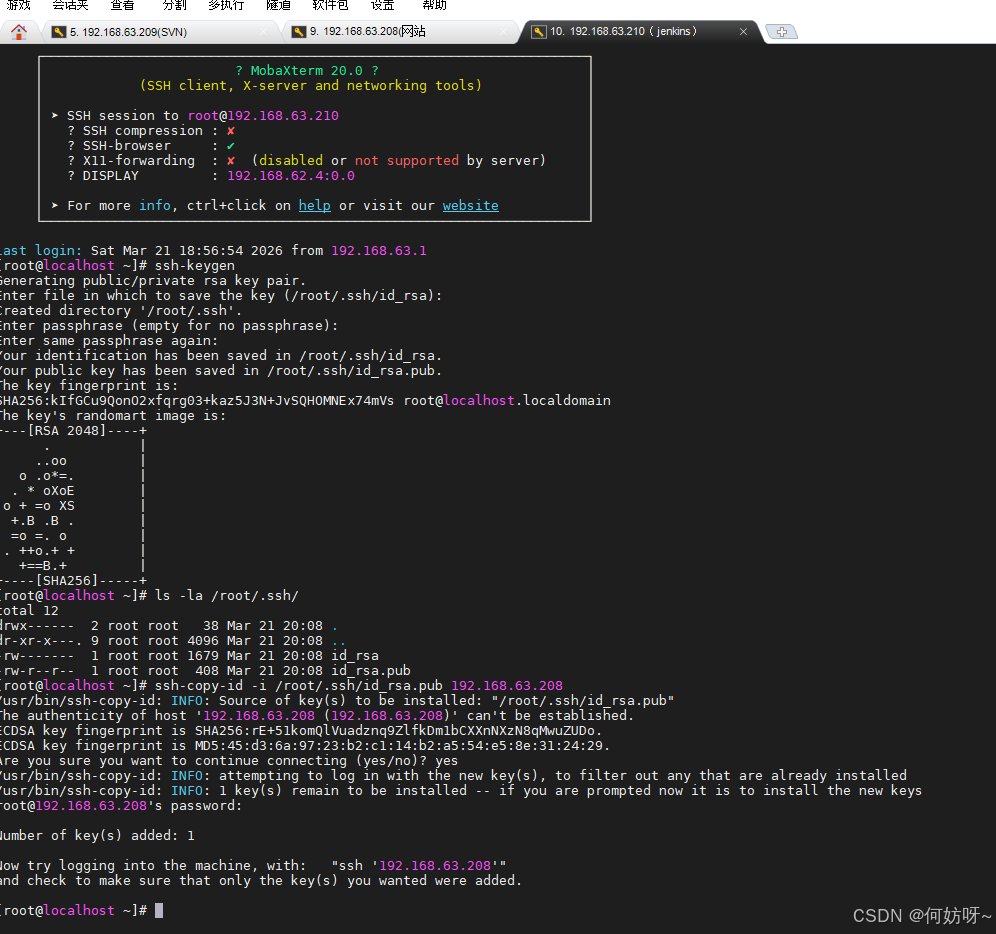
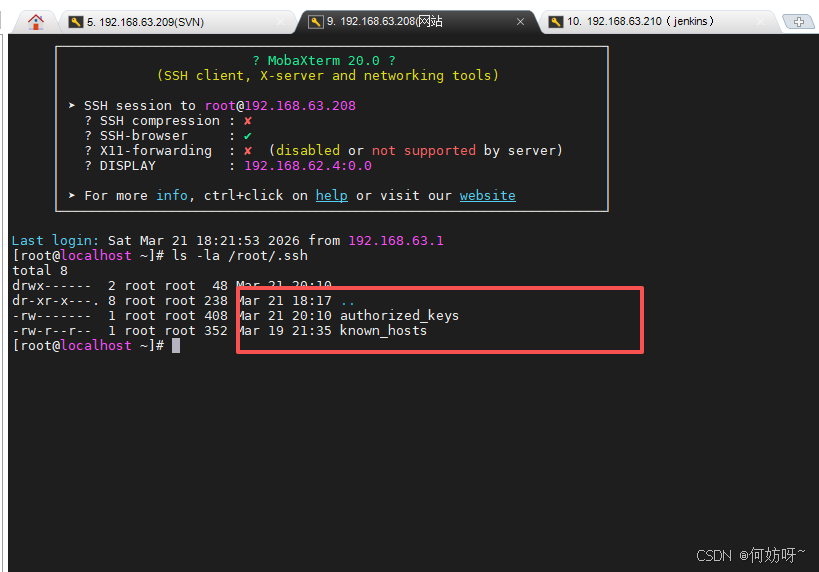
192.168.63.208检查公钥情况
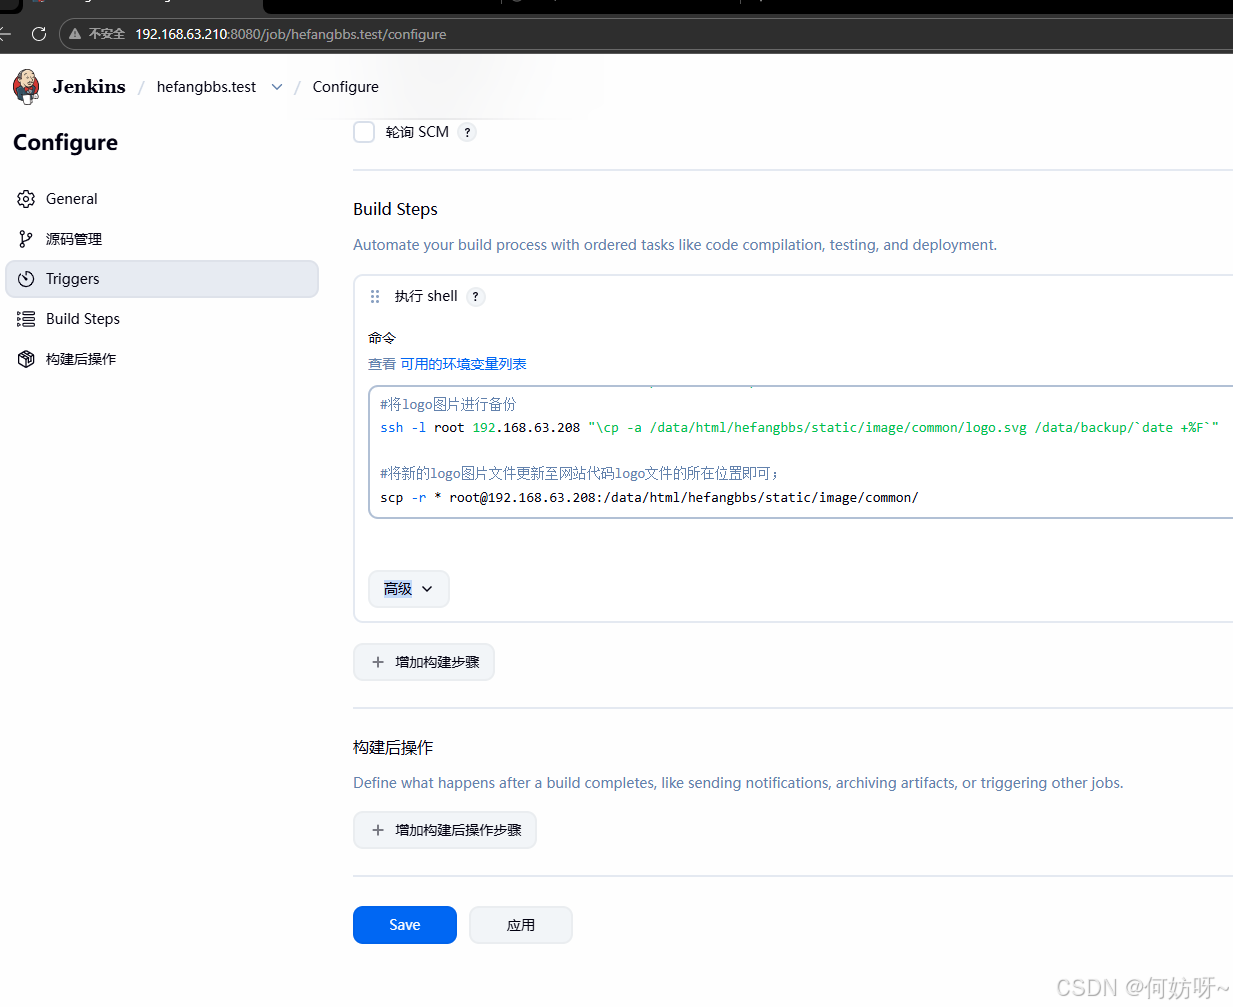
创建新子任务:创建备份网站目录--备份网站配置--将新程序更新到服务器网站对应目录,打开hefangya工程配置--Build Steps增加构建--选执行shell
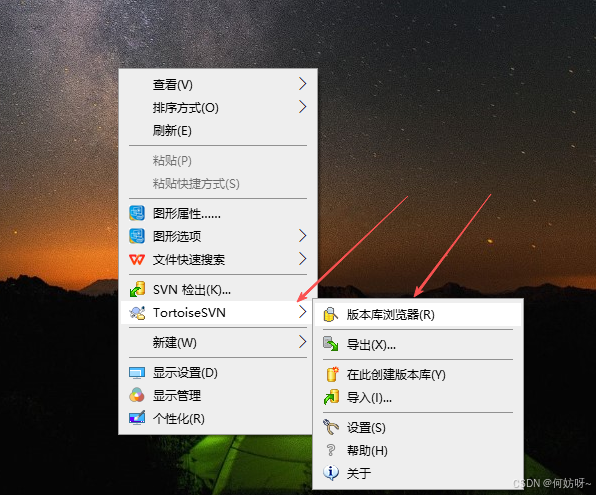
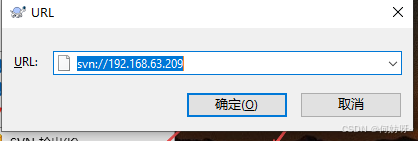
把需要替换的logo.svg文件在tortoiseSVN客户端中上传到对应目录
在Jenkins运行构建的工程,查看是否成功拉取logo.svg文件
ls -la /var/lib/jenkins/workspace/hefangbbs.test

如果异常报错,可以先删除hefangbbs.test工程目录,再重新运行工程
rm -rf /var/lib/jenkins/workspace/hefangbbs.test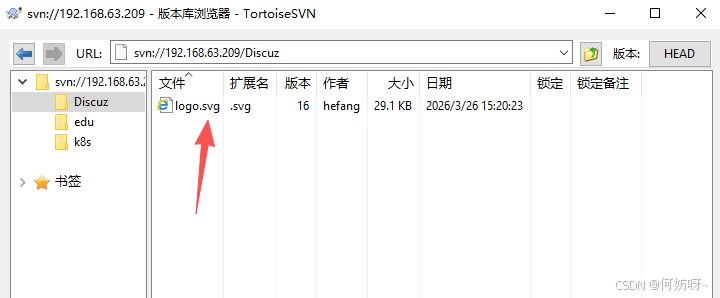
#先把需要替换的logo文件上传到192.168.63.210(hefangbbs.test)工程目录
cd /var/lib/jenkins/workspace/hefangbbs.test

 #创建网站备份目录已经当前时间格式创建
ssh -l root 192.168.63.208 "mkdir -p /data/backup/`date +%F`"

#将logo图片进行备份
ssh -l root 192.168.63.208 "\cp -a /data/html/hefangbbs/static/image/common/logo.svg /data/backup/`date +%F`"

#将新的logo图片文件更新至网站代码logo文件的所在位置即可;*号代表所有文件,可以替换指定文件名
scp -r * root@192.168.63.208:/data/html/hefangbbs/static/image/common/
保存后构建
验证更新情况

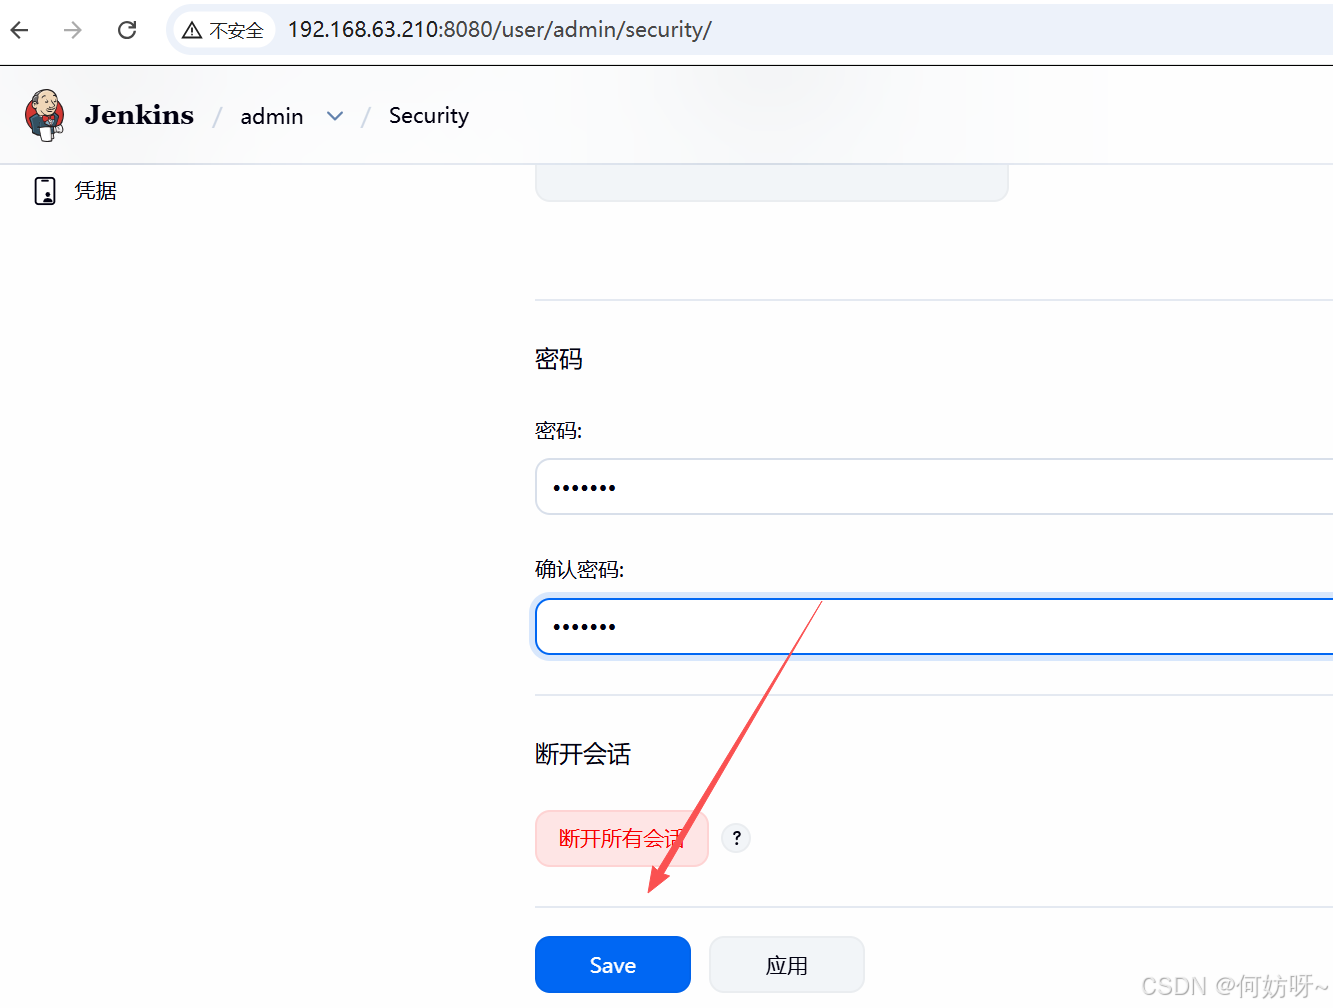
修改admin登录密码
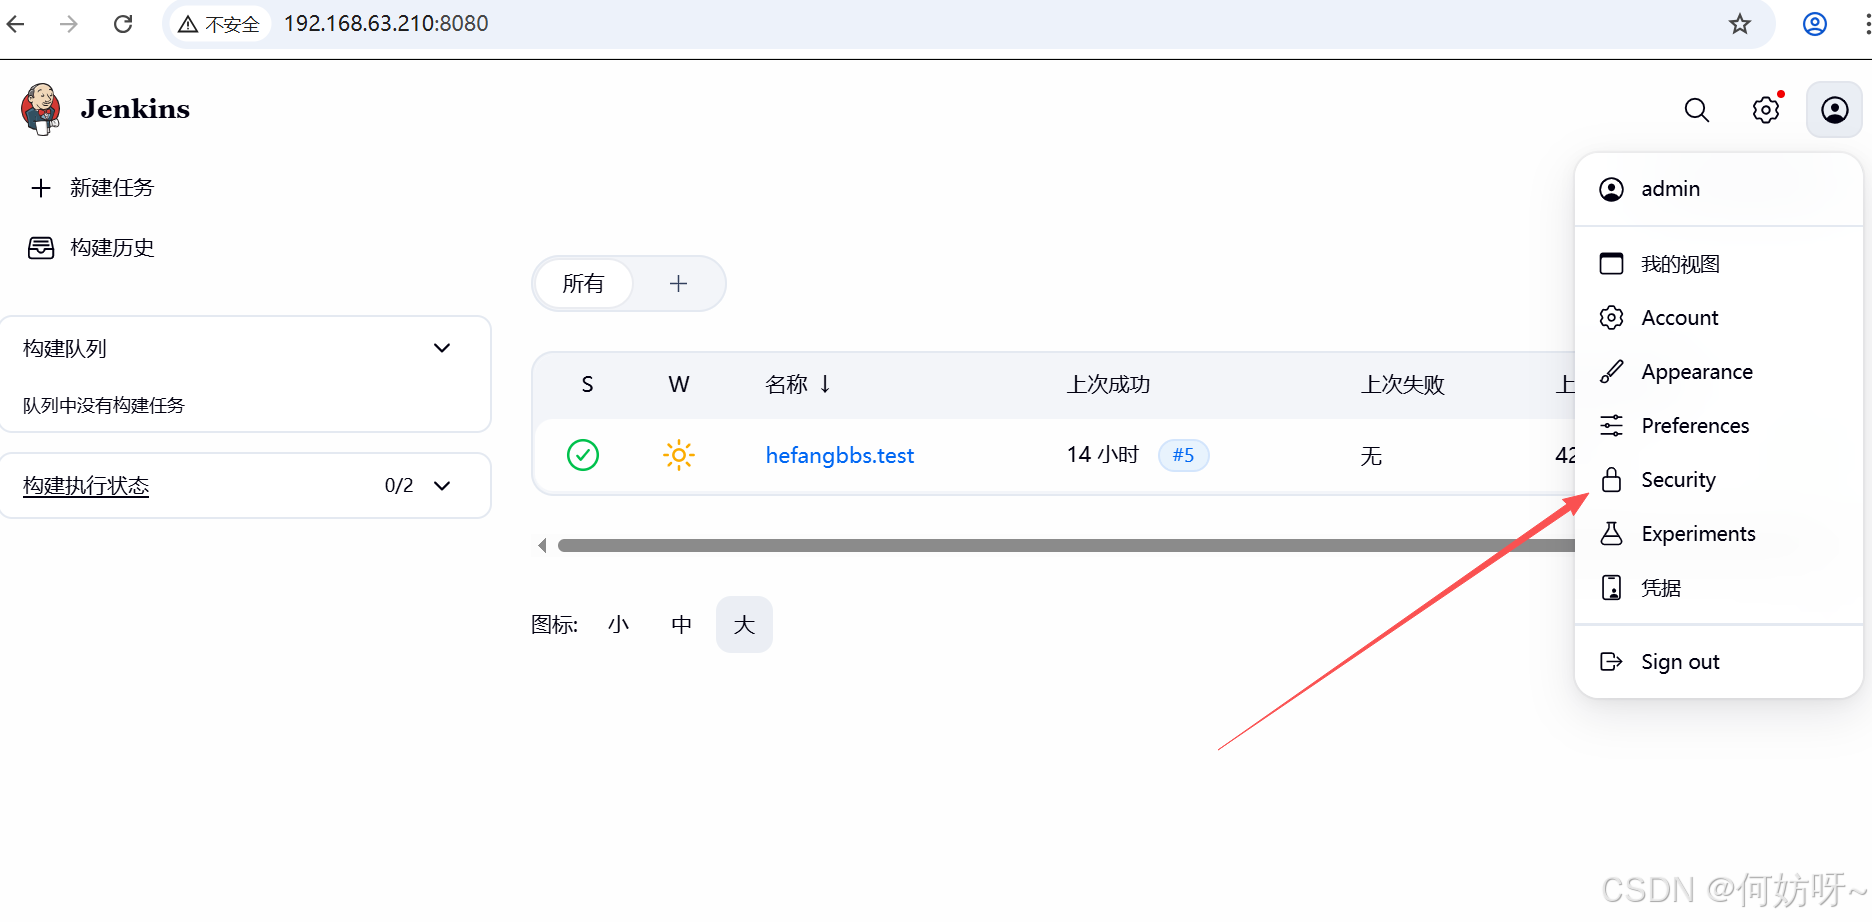
设置密码后保存,重新登录
五、docker中部署Jenkins自动化平台
在docker中安装Jenkins
#查询docker启动状态
ps -ef|grep docker
#如未启动,先启动docker
systemctl enable docker
systemctl start docker
#查看docker地址库
cat /etc/docker/daemon.json
#使用官方默认库查找Jenkins
docker search jenkins
#指定docker库查找Jenkins
docker search docker.1ms.run/library/jenkins/jenkins:lts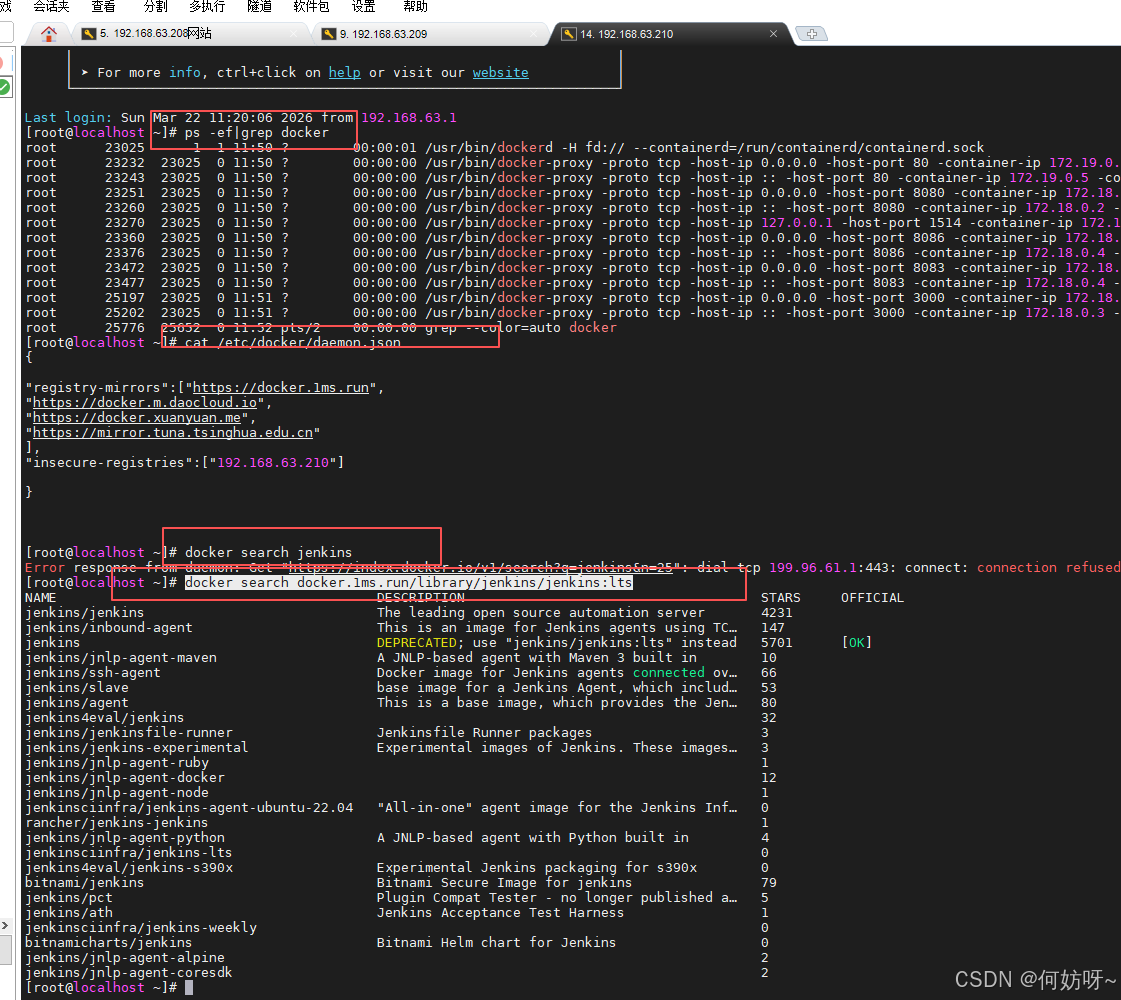
#查看当前容器
docker images
#下载jenkins容器
docker pull jenkins/jenkins
#检查下载容器情况
docker images
#启动Jenkins容器,8081:8080中8080是默认端,不建议修改
docker run -itd -u root -p 8081:8080 --name=jenkins --privileged jenkins/jenkins
#查看运行的容器
docker ps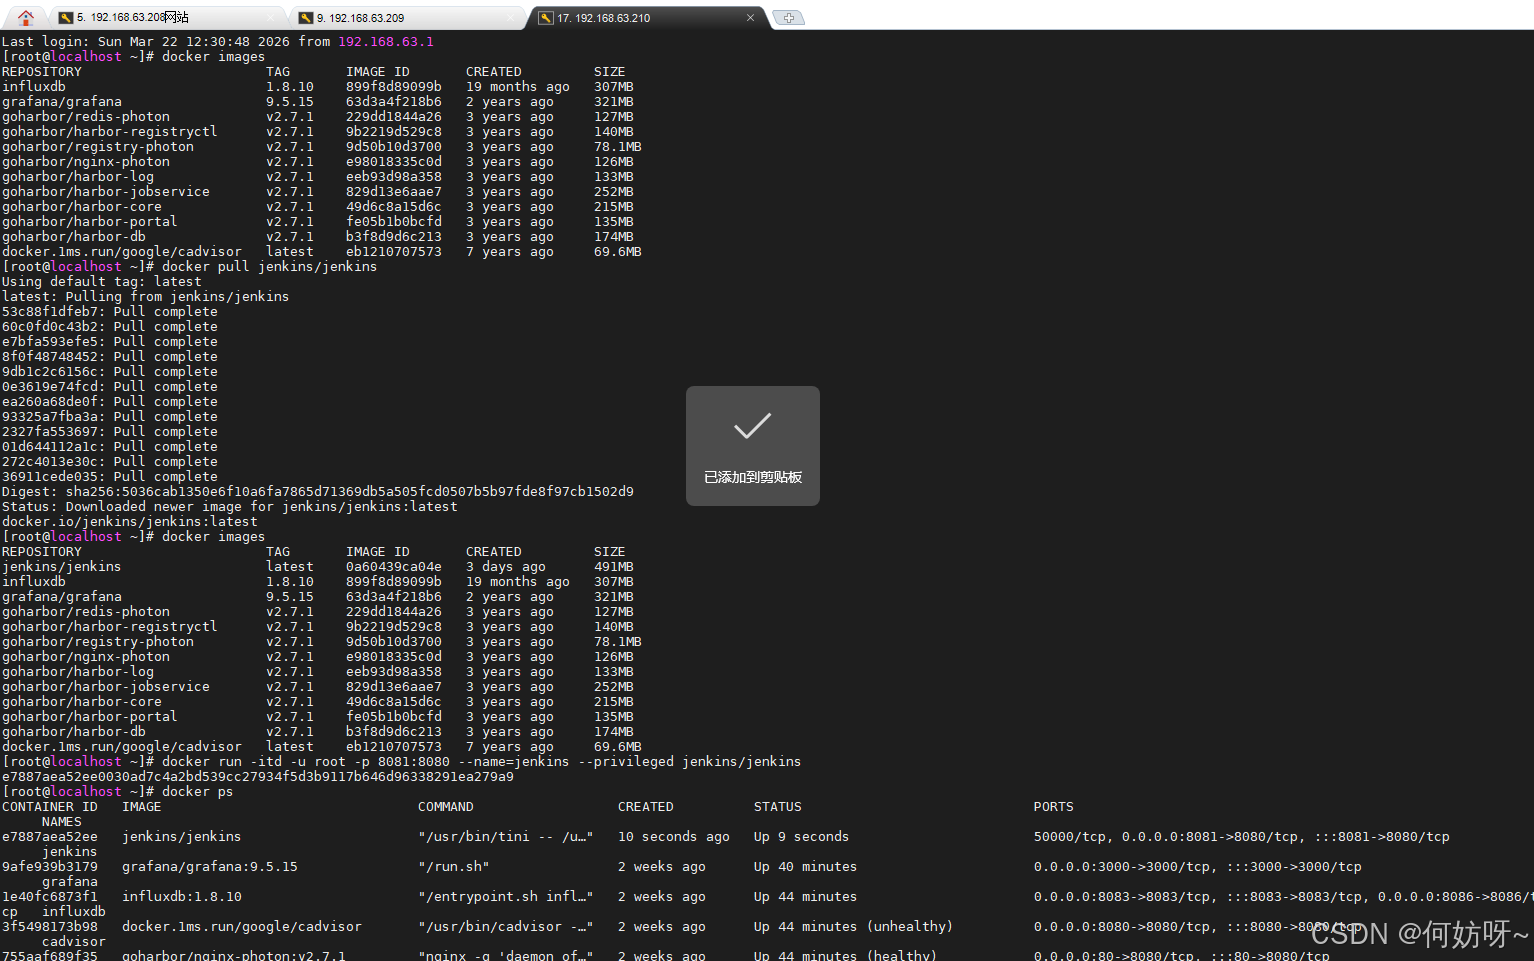
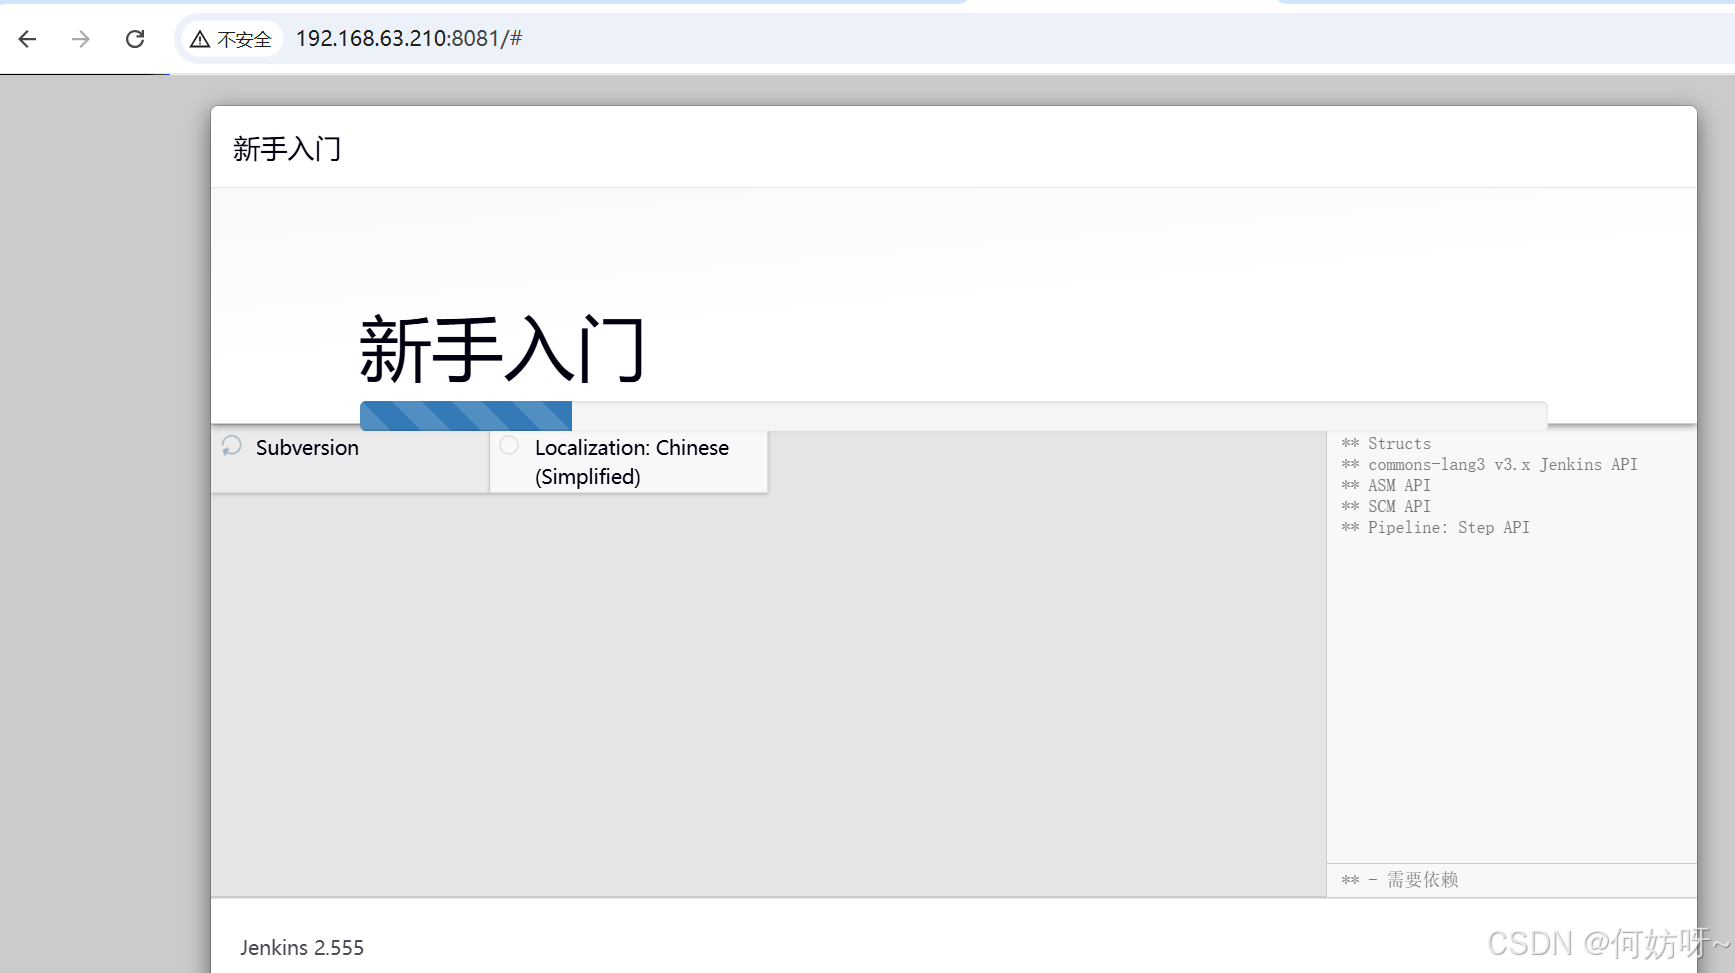
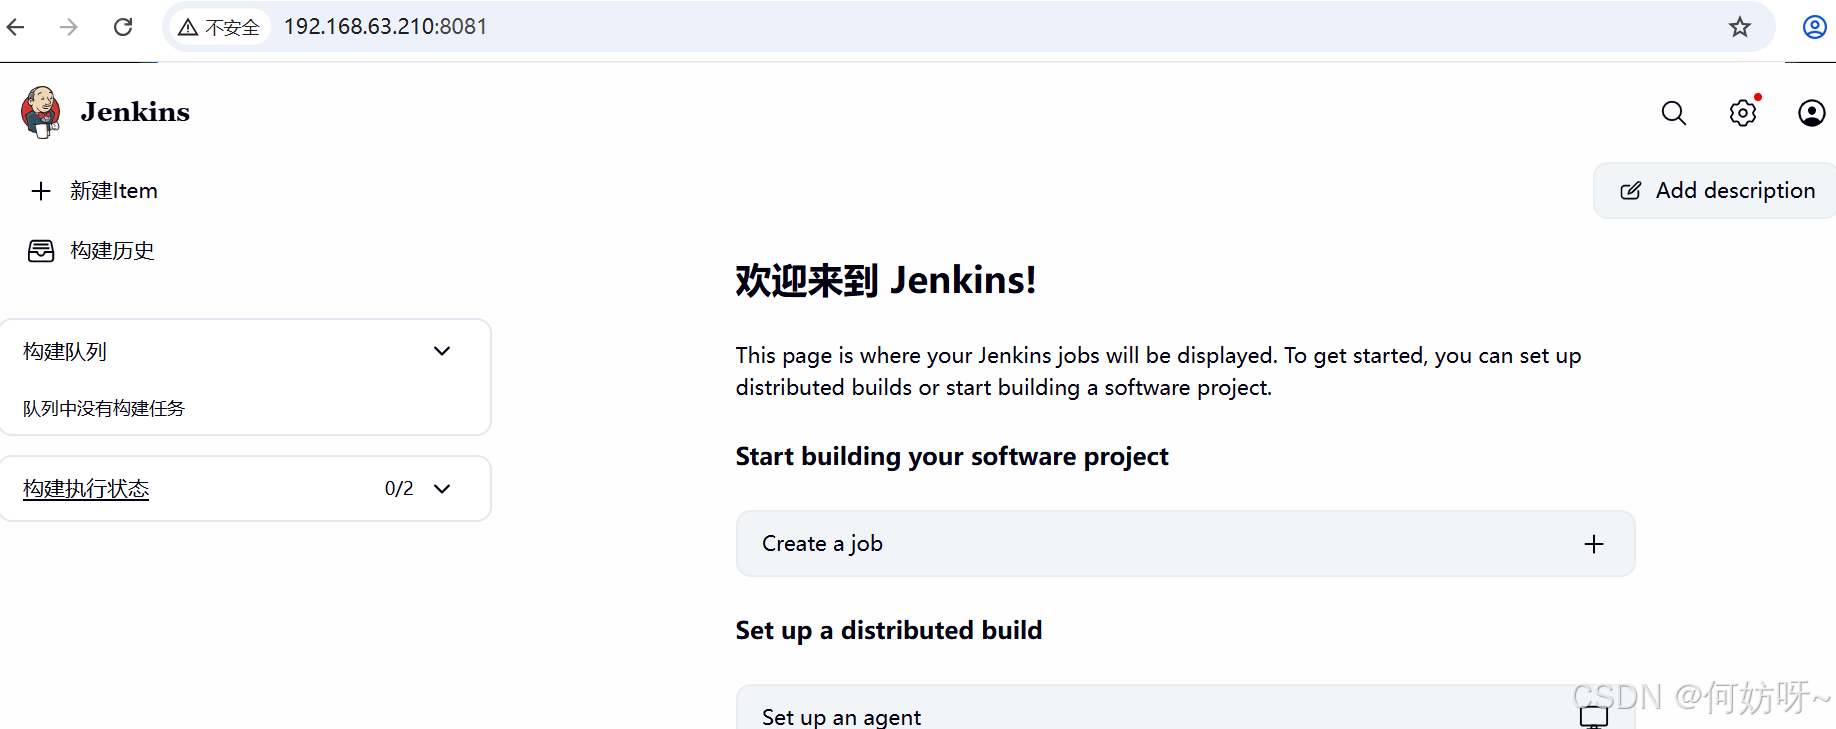
浏览器访问192.168.63.210:8081
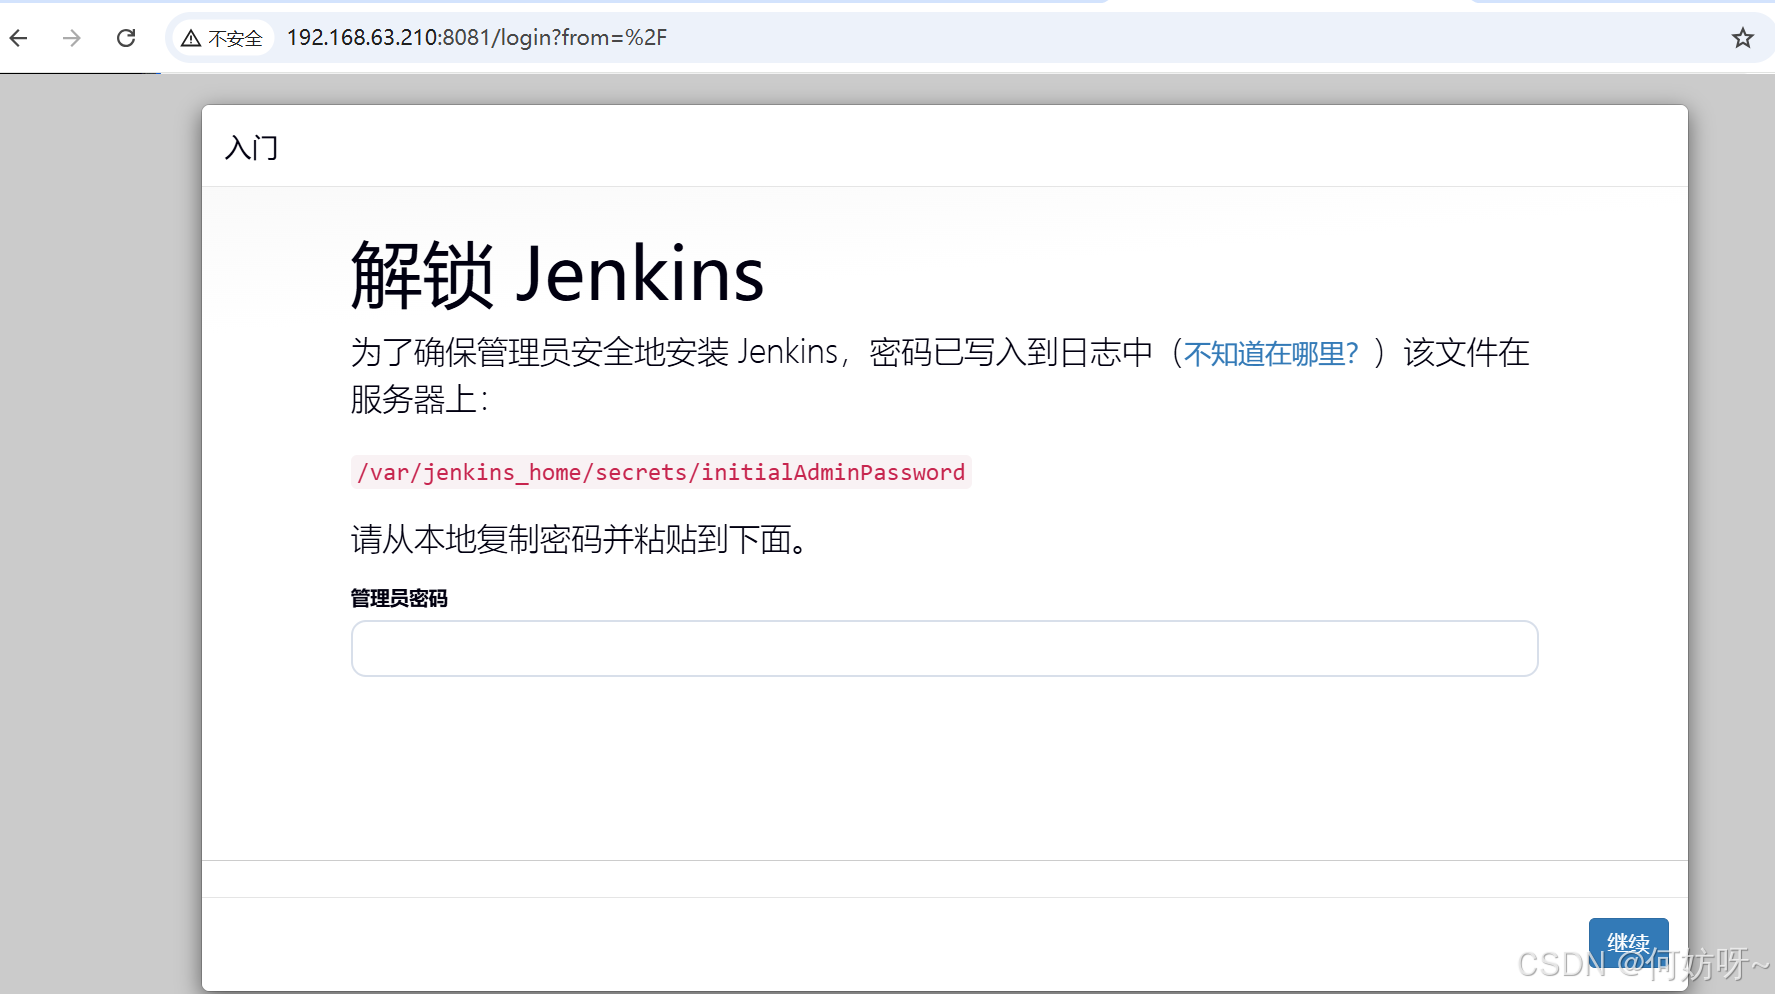
查看Jenkins初始密码
#直接cat查看会报错,可进入容器中查看

docker exec -it jenkins /bin/bash
cat /var/jenkins_home/secrets/initialAdminPassword
exit
#在docker中查看
docker exec -it jenkins cat /var/jenkins_home/secrets/initialAdminPassword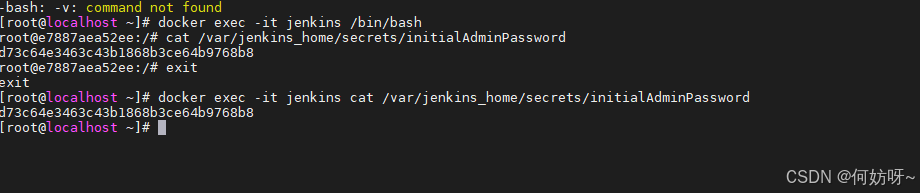
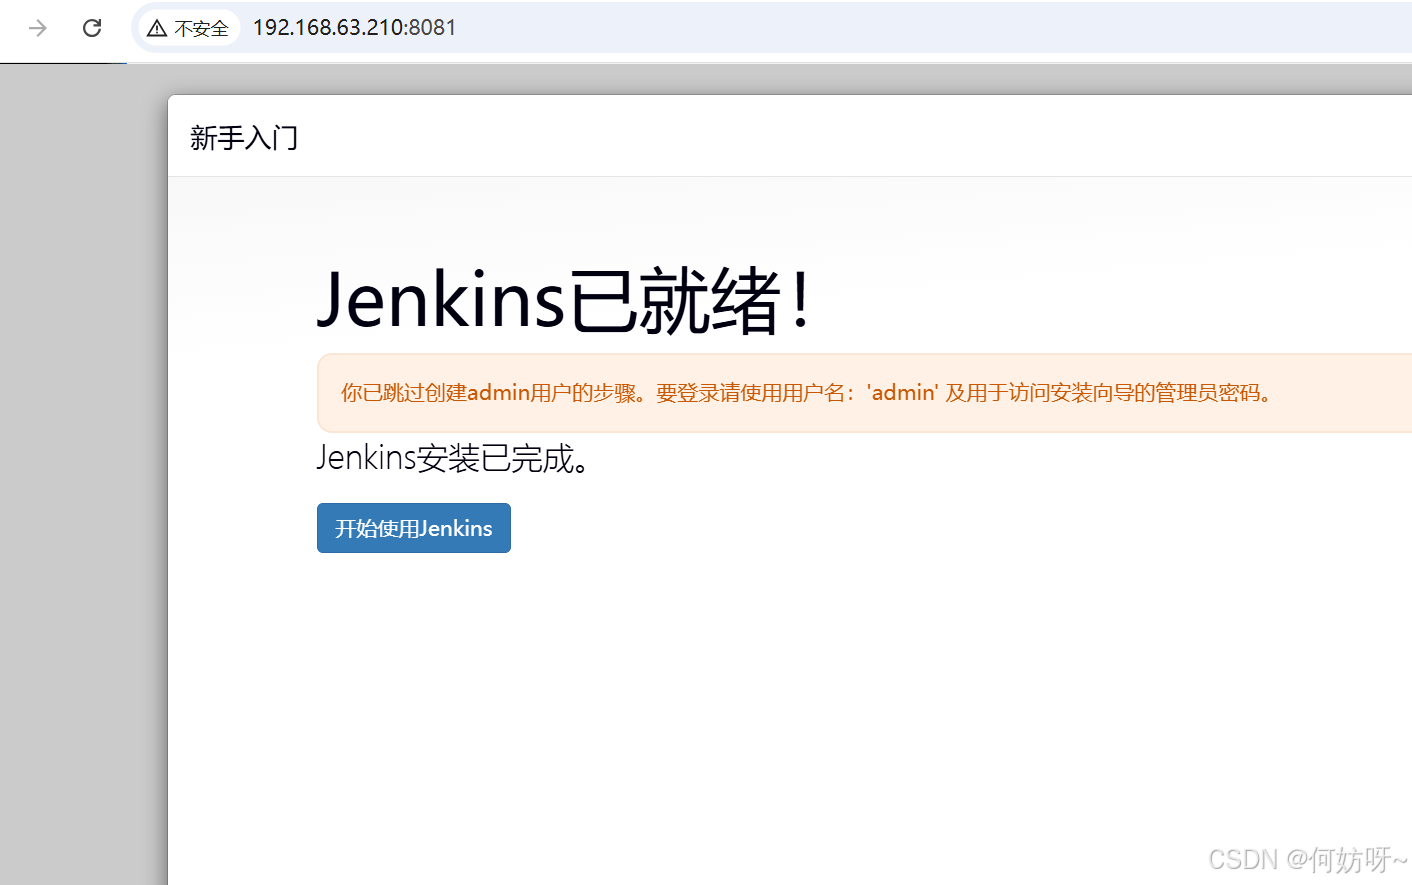
下列操作同Jenkins平台自动化运维平台部署一致