C++AI多模型聊天系统(四)SSH反向隧道/虚拟局域网调用本地Ollama大模型
- 前言
- 一、方案对比
- 二、准备工作(两种方案的共同前提)
-
- [2.1 本地安装Ollama并下载模型](#2.1 本地安装Ollama并下载模型)
- [2.2 确认Ollama正常运行](#2.2 确认Ollama正常运行)
- [2.3 让Ollama监听所有网络地址](#2.3 让Ollama监听所有网络地址)
- [2.4 获取云服务器公网IP](#2.4 获取云服务器公网IP)
- 三、方案一:SSH反向隧道(快速上手)
-
- [3.1 核心原理](#3.1 核心原理)
- [3.2 配置服务器SSH(只需一次)](#3.2 配置服务器SSH(只需一次))
- [3.3 建立隧道(核心命令)](#3.3 建立隧道(核心命令))
- [3.4 验证隧道](#3.4 验证隧道)
-
- [3.4.1 头文件](#3.4.1 头文件)
- [3.4.2 主要区别](#3.4.2 主要区别)
- 3.4.3完整代码
- [3.5 SSH隧道方案的缺点](#3.5 SSH隧道方案的缺点)
- 四、方案二:ZeroTier虚拟局域网
-
- [4.1 什么是虚拟局域网?](#4.1 什么是虚拟局域网?)
- [4.2 第一步:注册ZeroTier并创建网络](#4.2 第一步:注册ZeroTier并创建网络)
- [4.3 第二步:Win11安装ZeroTier并加入网络](#4.3 第二步:Win11安装ZeroTier并加入网络)
- [4.4 第三步:Ubuntu服务器安装并加入网络](#4.4 第三步:Ubuntu服务器安装并加入网络)
- [4.5 第四步:官网后台授权](#4.5 第四步:官网后台授权)
- [4.6 第五步:验证组网成功](#4.6 第五步:验证组网成功)
- [4.7 修改SDK代码指向本地Ollama](#4.7 修改SDK代码指向本地Ollama)
- 五、进阶:Ollama开机自启
前言
前面三篇,我们分别搭好了项目骨架、接入了DeepSeek/豆包/Kimi/千问四个云端大模型。一切似乎都在按计划推进。
但当我兴冲冲地准备在云服务器上部署Ollama本地模型时,打开监控面板一看:
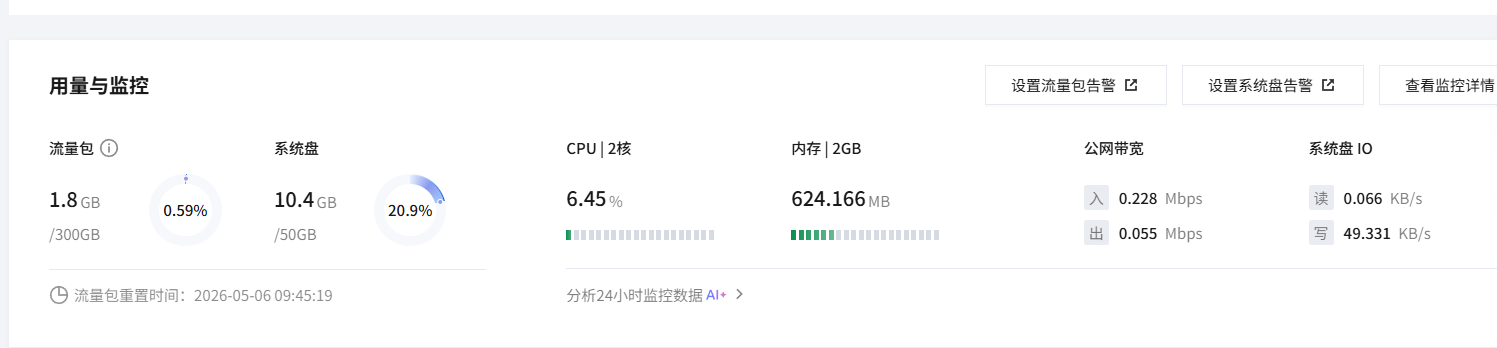
CPU:2核
内存:2GB
这点配置别说跑7B模型了,连把模型文件加载进内存都费劲。
- 要不加钱上更大的云服务器?
- 但是本地显卡(RTX3060)跑7B模型绰绰有余,却因为家庭网络没有公网IP,云服务器访问不到。
云服务器跑不动本地模型,本地显卡又暴露不出去------这就是本文要解决的核心问题。
下面给出两种解决方案:SSH反向隧道(临时快速)和虚拟局域网(长期稳定),以及如何把Ollama接入到我们的ChatSDK体系中。
一、方案对比
| 对比维度 | SSH反向隧道 | 虚拟局域网(ZeroTier) |
|---|---|---|
| 配置难度 | 一条命令 | 需要注册+安装客户端 |
| 稳定性 | 网络波动会断 | 稳定,自动重连 |
| 开机自启 | 需手动重启 | 开机自动组网 |
| 适用场景 | 临时调试 | 长期运行 |
| 流量限制 | 无 | 无(P2P直连) |
我建议:调试阶段用SSH隧道快速验证,确认没问题后用虚拟局域网长期运行。
二、准备工作(两种方案的共同前提)
2.1 本地安装Ollama并下载模型
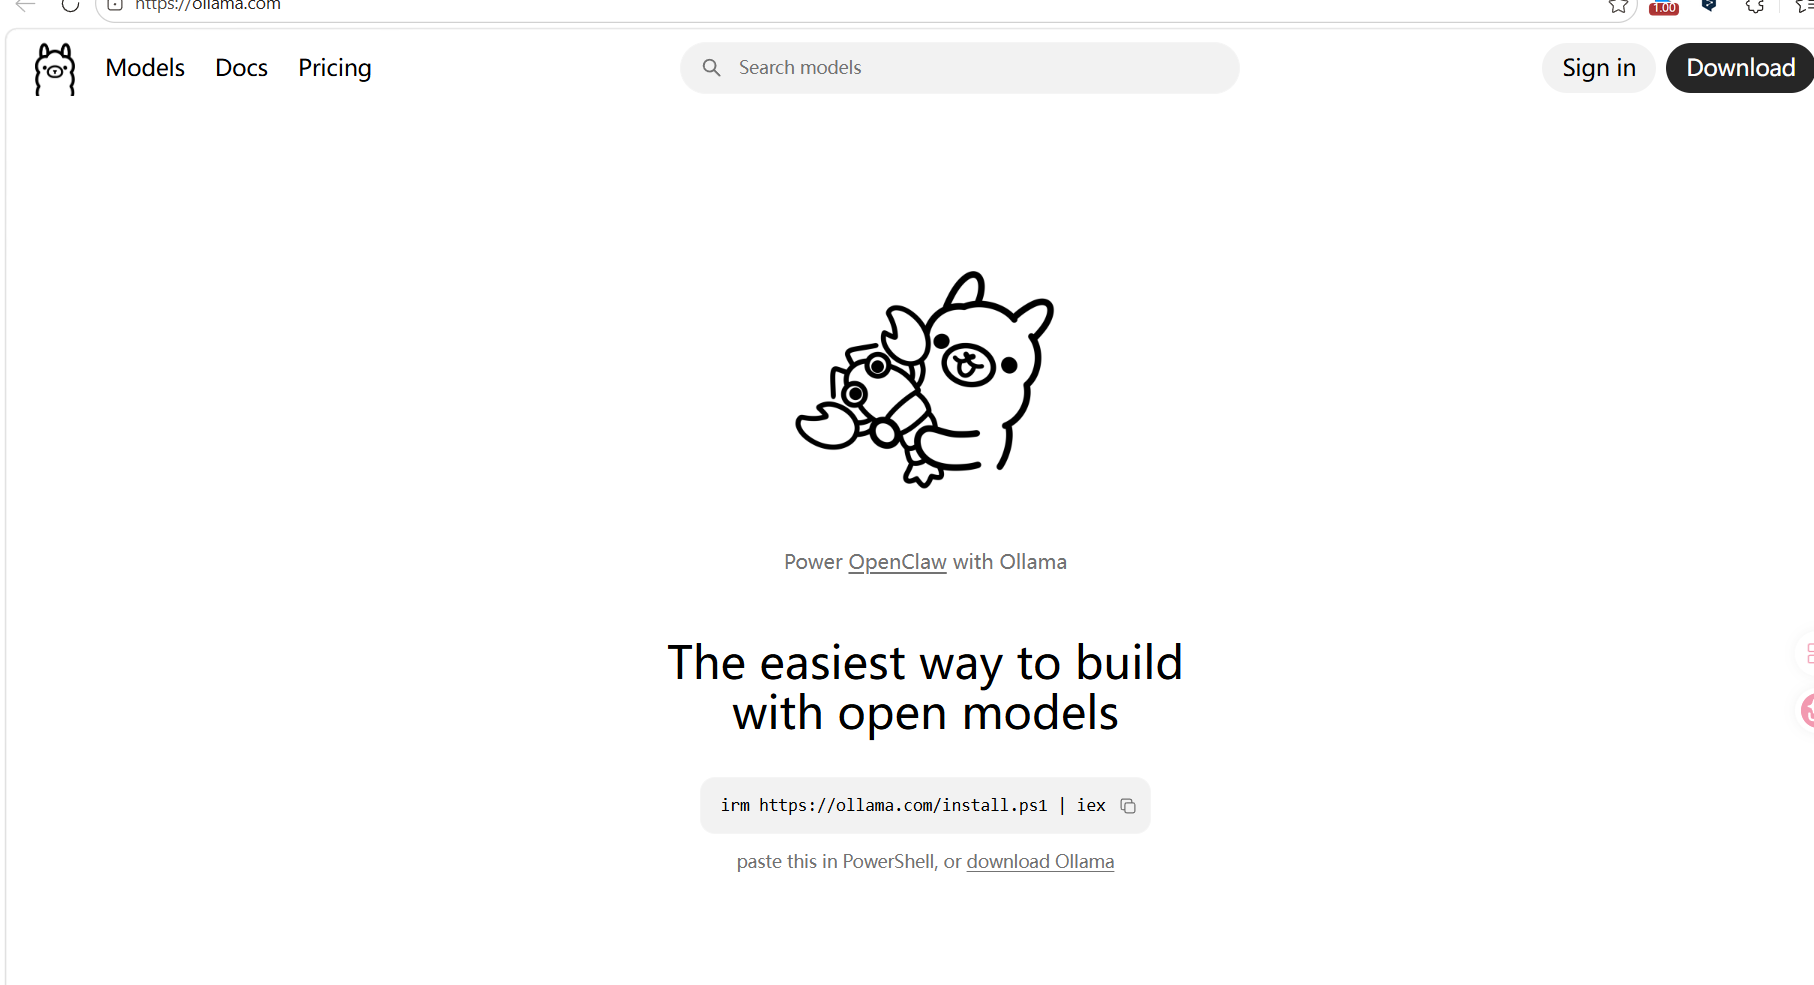
打开 Ollama官网 下载Windows版本并安装。默认模型文件存在C盘,建议在设置里改到D盘或其他空间充足的盘符。
安装完成后,打开CMD,拉取模型:
cmd
ollama pull deepseek-r1:7b如果有更大显存,可以拉更大的模型。7B模型大约占用4-5GB显存。
2.2 确认Ollama正常运行
本地浏览器访问 http://localhost:11434,如果看到 "Ollama is running",说明本地服务正常。
2.3 让Ollama监听所有网络地址
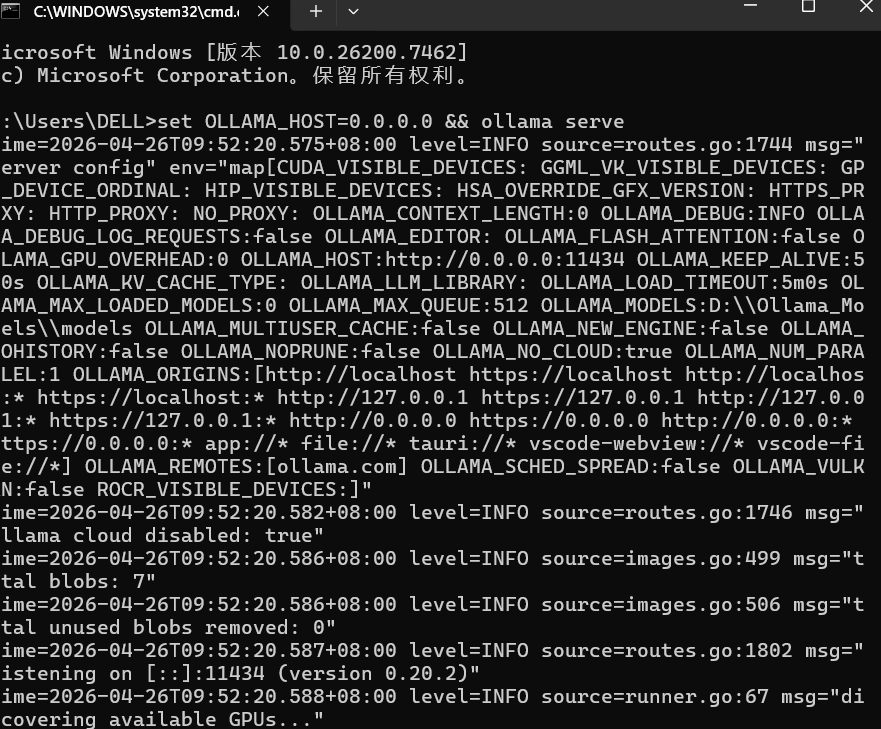
默认Ollama只监听 127.0.0.1(本地),外部访问不了。需要改为监听 0.0.0.0:
cmd
set OLLAMA_HOST=0.0.0.0 && ollama serve这个窗口不能关,关了Ollama就停了。 后面我们会讲怎么设成开机自启的后台服务。
2.4 获取云服务器公网IP
登录云控制台,找到你的服务器,复制公网IP(比如 123456*****),后续两种方案都要用到。
三、方案一:SSH反向隧道(快速上手)
3.1 核心原理
正常情况:服务器主动找你 → 被家庭路由器/防火墙挡住(你没有公网IP)。
反向隧道:你主动找服务器 → 建立一条加密的SSH通道。建立后,服务器访问自己的11434端口,流量会自动通过隧道转发到你本地电脑的11434端口。
服务器 localhost:11434 → SSH隧道 → 你电脑 localhost:11434(Ollama)3.2 配置服务器SSH(只需一次)
登录云服务器,编辑SSH配置:
bash
sudo nano /etc/ssh/sshd_config找到以下配置项,确保是 yes(前面没有#注释):
AllowTcpForwarding yes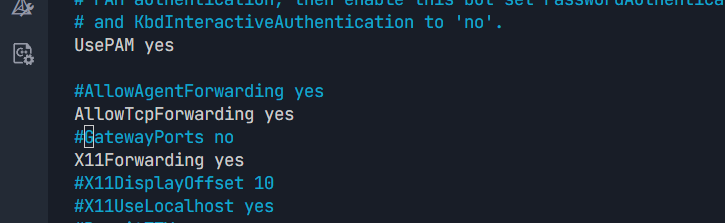
保存后重启SSH服务:
bash
sudo systemctl restart sshd3.3 建立隧道(核心命令)
在你本地Windows电脑上,新开一个CMD窗口,执行:
cmd
ssh -N -o ServerAliveInterval=30 -o ServerAliveCountMax=3 -o ExitOnForwardFailure=yes -R 11434:localhost:11434 ubuntu@你的服务器公网IP输入服务器密码后,命令会卡住不动------这是正常的,说明隧道正在运行。
参数说明:
-N:只建隧道,不登录远程Shell-R 11434:localhost:11434:远程端口11434映射到本地端口11434ServerAliveInterval=30:每30秒发心跳保活ExitOnForwardFailure=yes:端口冲突时直接报错退出
3.4 验证隧道
回到服务器终端,执行:
bash
curl http://localhost:11434
如果返回 "Ollama is running",恭喜!隧道打通了!
这行输出意味着什么?
-
服务器上的 localhost:11434 现在已经等价于我们本地电脑的 Ollama 服务。 对于后续的代码来说,调用 Ollama 和调用 DeepSeek 没有本质区别------都是往一个 HTTP 端点发 JSON 请求,只是 Ollama 不需要 API Key。
-
下面我们把 Ollama 接入到 ChatSDK 的 Provider 体系中
3.4.1 头文件
- 和之前所有模型一样,继承 LLMProvider
cpp
#pragma once
#include "../core/LLMProvider.h"
#include "../core/common.h"

namespace ai_chat_sdk {
class OllamaProvider : public LLMProvider {
public:
    void InitModel(const std::map<std::string, std::string>& modelConfig) override;
    bool IsAvailable() const override;
    std::string GetModelName() const override;
    std::string GetModelDesc() const override;
    virtual std::string GetModelId() const override;

    std::string SendMessage(
        const std::vector<Message>& messages,
        const std::map<std::string, std::string>& requestParam) override;

    std::string SendMessageStream(
        const std::vector<Message>& messages,
        const std::map<std::string, std::string>& requestParam,
        const std::function<void(const std::string&, bool)>& callback) override;

protected:
    bool m_isAvailable = false;
    std::string m_endpoint;
    std::string m_modelName;
    std::string m_path_prefix;
    std::string filterThinkingContent(const std::string& input);
};
}
3.4.2 主要区别
- Ollama 和云端模型最大的区别就两点,其他 90% 的代码都是复用的:
- 区别一:初始化不需要 API Key,但需要明确模型名
cpp
void OllamaProvider::InitModel(const std::map<std::string, std::string>& modelConfig) {
    auto endpointIter = modelConfig.find("endpoint");
    if (endpointIter == modelConfig.end()) {
        m_endpoint = "http://127.0.0.1:11434";      // 默认本地地址
    } else {
        m_endpoint = endpointIter->second;            // SSH隧道用localhost,ZeroTier用虚拟IP
    }

    auto modelIter = modelConfig.find("model");
    if (modelIter == modelConfig.end()) {
        m_modelName = "deepseek-r1:7b";              // 默认模型
    } else {
        m_modelName = modelIter->second;              // 本地拉取的模型名
    }

    // 拆分主机和路径前缀(处理 http://ip:port/v1 这种带路径的地址)
    std::string full_url = m_endpoint;
    if (full_url.find("http://") == 0) full_url = full_url.substr(7);

    size_t slash_pos = full_url.find('/');
    if (slash_pos != std::string::npos) {
        m_endpoint = "http://" + full_url.substr(0, slash_pos);
        m_path_prefix = full_url.substr(slash_pos);
    } else {
        m_path_prefix = "/v1";                       // Ollama默认API路径前缀
    }

    m_isAvailable = true;
}- 区别二:全量请求的路径拼接和云端不同,但 JSON 结构完全一致
Ollama 的 API 完全兼容 OpenAI 格式,所以 SendMessage 和 SendMessageStream 的逻辑和 DeepSeek 几乎一模一样:拼 JSON → HTTP POST → 解析 choices0.message.content。唯一不同的是请求头里不需要 Authorization。
3.4.3完整代码
cpp
#define CPPHTTPLIB_OPENSSL_SUPPORT
#include "../include/model/OllamaProvider.h"
#include "../include/util/myLog.h"
#include "../3rdparty/httplib/httplib.h"
#include "../include/core/common.h"
#include <jsoncpp/json/json.h>
#include <sstream>
#include <map>
#include <regex>

namespace ai_chat_sdk {


void OllamaProvider::InitModel(const std::map<std::string, std::string>& modelConfig) {
    auto endpointIter = modelConfig.find("endpoint");
    if (endpointIter == modelConfig.end()) {
        m_endpoint = "http://127.0.0.1:11434";
    } else {
        m_endpoint = endpointIter->second;
    }

    auto modelIter = modelConfig.find("model");
    if (modelIter == modelConfig.end()) {
        m_modelName = "deepseek-r1:7b";
    } else {
        m_modelName = modelIter->second;
    }

    std::string full_url = m_endpoint;
    if (full_url.find("http://") == 0) full_url = full_url.substr(7);
    else if (full_url.find("https://") == 0) full_url = full_url.substr(8);

    size_t slash_pos = full_url.find('/');
    if (slash_pos != std::string::npos) {
        m_endpoint = "http://" + full_url.substr(0, slash_pos);
        m_path_prefix = full_url.substr(slash_pos);
    } else {
        m_endpoint = "http://" + full_url;
        m_path_prefix = "/v1";
    }

    m_isAvailable = true;
    LOG_INFO("Ollama Init OK: Host={}, Path={}, Model={}",
             m_endpoint, m_path_prefix, m_modelName);
}

bool OllamaProvider::IsAvailable() const {
   return m_isAvailable;
}
std::string OllamaProvider::GetModelName() const { return m_modelName; }
std::string OllamaProvider::GetModelId() const { return "ollama"; }
std::string OllamaProvider::GetModelDesc() const { return "Ollama Local: " + m_modelName; }


// 直接返回原文不做任何过滤
std::string OllamaProvider::filterThinkingContent(const std::string& input) {

    return input;
}


static Json::Value BuildMessagesJson(const std::vector<Message>& messages) {
    Json::Value arr(Json::arrayValue);
    for (const auto& msg : messages) {
        Json::Value obj;
        obj["role"] = msg.role;
        std::string content;
        for (const auto& item : msg.contents) {
            if (item.type == "input_text") {
                content += item.text;
            }
        }
        obj["content"] = content;
        arr.append(obj);
    }
    return arr;
}

// 全量请求(修复日志占位符,逻辑不变
std::string OllamaProvider::SendMessage(
    const std::vector<Message>& messages,
    const std::map<std::string, std::string>& requestParam)
{
    if (!IsAvailable()) {
        LOG_ERR("Ollama Model not initialized");
        return "";
    }

    // 构建请求体
    Json::Value req_body;
    req_body["model"] = m_modelName;
    req_body["messages"] = BuildMessagesJson(messages);
    req_body["temperature"] = 0.7;
    req_body["max_tokens"] = 4096;

    Json::StreamWriterBuilder w;
    w["indentation"] = "";
    std::string req_str = Json::writeString(w, req_body);
    LOG_INFO("Ollama 全量请求: {}", req_str);

    // 正确设置httplib超时
    httplib::Client cli(m_endpoint.c_str());
    cli.set_connection_timeout(30, 0);
    cli.set_read_timeout(300, 0);
    cli.set_keep_alive(true);

    std::string api_path = m_path_prefix + "/chat/completions";
    httplib::Headers headers = {{"Content-Type", "application/json"}};

    auto resp = cli.Post(api_path.c_str(), headers, req_str, "application/json");

    // 错误处理
    if (!resp) {
        LOG_ERR("Ollama 全量请求连接失败: {}", httplib::to_string(resp.error()));
        return "Connection Error";
    }

    LOG_INFO("Ollama 全量响应状态码: {}", resp->status);
    LOG_INFO("Ollama 全量响应内容: {}", resp->body);

    if (resp->status != 200) {
        LOG_ERR("Ollama API错误: 状态码={}, 响应={}", resp->status, resp->body);
        return "API Error: " + std::to_string(resp->status);
    }

    // 解析JSON
    Json::Value root;
    std::istringstream s(resp->body);
    std::string errs;
    if (!Json::parseFromStream(Json::CharReaderBuilder(), s, &root, &errs)) {
        LOG_ERR("Ollama JSON解析失败: {}", errs);
        return "Parse Error";
    }

    // 提取回复
    if (!root.isMember("choices") || !root["choices"].isArray() || root["choices"].empty()) {
        LOG_ERR("Ollama 返回空回复");
        return "空回复";
    }

    std::string result = root["choices"][0]["message"]["content"].asString();
    // 过滤思考内容
    result = filterThinkingContent(result);

    // 修复日志占位符
    LOG_INFO("Ollama 全量响应成功: 长度={}字符", result.length());

    return result;
}

// 流式请求(无修改)
std::string OllamaProvider::SendMessageStream(
    const std::vector<Message>& messages,
    const std::map<std::string, std::string>& requestParam,
    const std::function<void(const std::string&, bool)>& callback)
{
    if (!IsAvailable()) {
        callback("", true);
        return "";
    }

    Json::Value req_body;
    req_body["model"] = m_modelName;
    req_body["messages"] = BuildMessagesJson(messages);
    req_body["stream"] = true;
    req_body["temperature"] = 0.7;
    req_body["max_tokens"] = 4096;

    Json::StreamWriterBuilder w;
    w["indentation"] = "";
    std::string req_str = Json::writeString(w, req_body);

    httplib::Client cli(m_endpoint.c_str());
    cli.set_connection_timeout(30, 0);
    cli.set_read_timeout(300, 0);

    std::string buffer;
    std::string full_response;
    bool is_done = false;

    httplib::Request req;
    req.method = "POST";
    req.path = m_path_prefix + "/chat/completions";
    req.headers = {
        {"Content-Type", "application/json"},
        {"Accept", "text/event-stream"}
    };
    req.body = req_str;

    req.response_handler = [&](const httplib::Response& res) {
        return res.status == 200;
    };

    req.content_receiver = [&](const char* data, size_t len, size_t, size_t) {
        buffer.append(data, len);
        size_t pos;
        while ((pos = buffer.find("\n\n")) != std::string::npos) {
            std::string chunk = buffer.substr(0, pos);
            buffer.erase(0, pos + 2);
            if (chunk.empty() || chunk[0] == ':') continue;
            if (chunk.substr(0, 6) == "data: ") {
                std::string json_part = chunk.substr(6);
                if (json_part == "[DONE]") {
                    callback("", true);
                    is_done = true;
                    return true;
                }
                Json::Value root;
                std::istringstream s(json_part);
                std::string err;
                if (Json::parseFromStream(Json::CharReaderBuilder(), s, &root, &err)) {
                    if (!root["choices"].empty() && root["choices"][0].isMember("delta")) {
                        const Json::Value& delta = root["choices"][0]["delta"];
                        if (delta.isMember("content")) {
                            std::string token = delta["content"].asString();
                            full_response += token;
                            callback(token, false);
                        }
                    }
                }
            }
        }
        return true;
    };

    auto res = cli.send(req);
    if (!res) {
        LOG_ERR("Ollama Stream Network Error");
        callback("", true);
        return "";
    }

    if (!is_done) callback("", true);
    return filterThinkingContent(full_response);
}

}
3.5 SSH隧道方案的缺点
- 电脑重启后隧道断开,需要重新执行建立命令
- 网络波动可能导致隧道意外断开
- 两个CMD窗口(Ollama服务+SSH隧道)都不能关
适合临时调试,不适合长期运行。 如果希望一劳永逸,请看方案二。
四、方案二:ZeroTier虚拟局域网
4.1 什么是虚拟局域网?
把不在同一个地方的两台机器------你家的Windows电脑和腾讯云的Ubuntu服务器------拉进同一个虚拟局域网。相当于用软件拉了一根隐形网线,把两台机器插在同一个交换机上。
组网后,每台设备会分到一个虚拟内网IP:
我们的电脑(Win11):  12.34.5666
云服务器(Ubuntu):12.34.7777
云服务器直接访问 http://12.34.5666:11434 就能调到你本地的Ollama,不需要SSH隧道,没有流量限制。
4.2 第一步:注册ZeroTier并创建网络
打开 ZeroTier官网,注册账号并登录。
点击 "Create a Network" ,系统会生成一个16位的网络ID(比如 abc123456789abcd)。
这个网络ID就是你的"虚拟房间号",两台设备都要加入同一个ID才能互通。
4.3 第二步:Win11安装ZeroTier并加入网络
在 ZeroTier下载页 下载Windows版本并安装。
安装完成后,任务栏右下角会出现ZeroTier图标。右键点击 → "Join New Network..." → 输入你的网络ID。
此时状态会显示 "Waiting for approval"(等待授权),先不用管。
4.4 第三步:Ubuntu服务器安装并加入网络
登录云服务器,执行:
bash
# 安装ZeroTier
curl -s https://install.zerotier.com | sudo bash

# 加入同一个虚拟网络
sudo zerotier-cli join 你的网络ID
4.5 第四步:官网后台授权
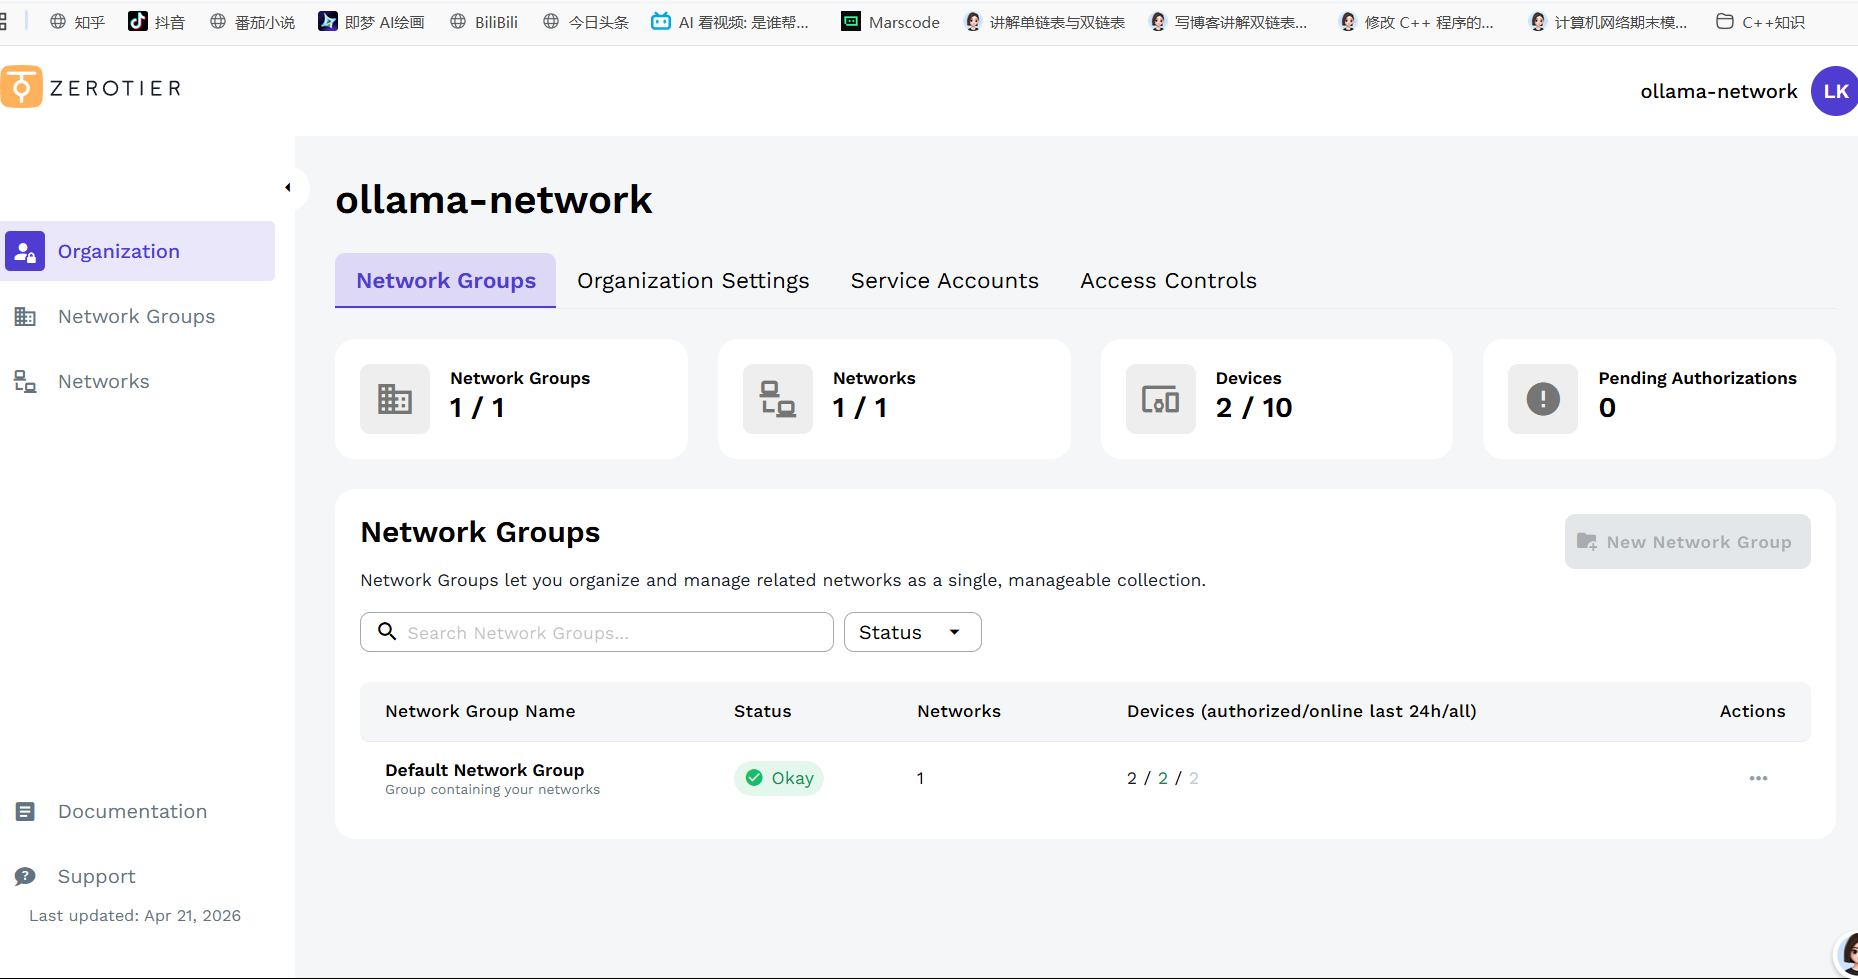
回到 ZeroTier后台,点开你的网络:
- 下方会出现两台设备:你的Win11电脑和Ubuntu服务器
- 两台设备后面的 "Auth"勾选框全部打勾
- 这一步不做,两台设备无法互通!
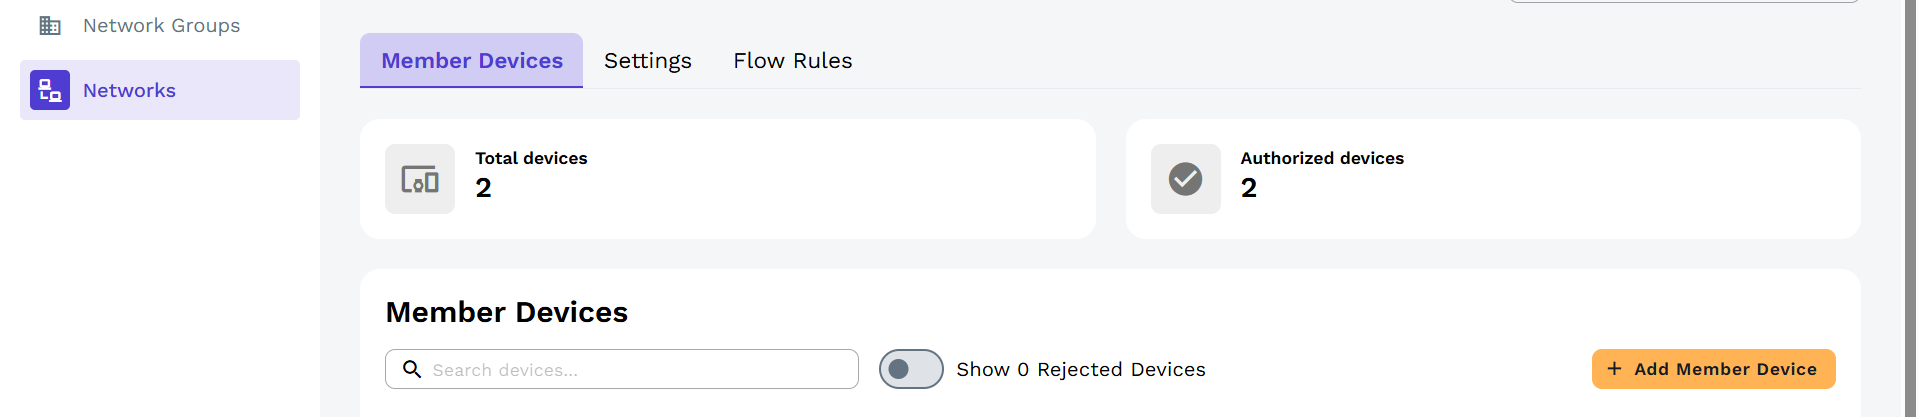
授权后等几秒钟,刷新页面,可以看到每台设备分到的虚拟IP地址(如 12.35.777、12.34.666)。
4.6 第五步:验证组网成功
在云服务器上执行(换成你Win11的ZeroTier IP):
bash
curl http://12.35.777如果返回 "Ollama is running",组网成功!
4.7 修改SDK代码指向本地Ollama
现在,云服务器可以通过ZeroTier的虚拟IP直接访问你本地的Ollama。修改OllamaProvider的初始化代码:
cpp
void OllamaProvider::InitModel(const std::map<std::string, std::string>& modelConfig) {
    auto endpointIter = modelConfig.find("endpoint");
    if (endpointIter == modelConfig.end()) {
        // 原来的 localhost 换成 Win11 的 ZeroTier 虚拟 IP
        m_endpoint = "http://12.35.777";
    } else {
        m_endpoint = endpointIter->second;
    }

    // ... 后面代码完全不变 ...
}
ZeroTier分配的虚拟IP是固定的,不会因为你重启电脑而改变。 只需要在初始化时配置一次。
五、进阶:Ollama开机自启
每次开机都要手动敲set OLLAMA_HOST=0.0.0.0 && ollama serve,太麻烦了。把它设成Windows后台服务,开机自动启动:
以管理员身份打开CMD,执行:
cmd
sc create Ollama binPath= "C:\Users\你的用户名\AppData\Local\Programs\Ollama\ollama.exe serve" type=own start=auto
sc config Ollama obj= LocalSystem
注意:
binPath=后面有个空格,这点很重要。路径换成你自己电脑上Ollama的实际安装路径。
这样设置后,每次开机Ollama自动在后台运行,不用再手动开CMD窗口了。
我的个人主页,欢迎来阅读我的其他文章
https://blog.csdn.net/2402_83322742?spm=1011.2415.3001.5343我的C++AI多模型聊天系统项目专栏
欢迎来阅读指出不足
https://blog.csdn.net/2402_83322742/category_13159665.html?spm=1001.2014.3001.5482