1.创建项目:注意创建Storyboard的
- 删除Storyboard,实现全部用代码控制:
- 删掉整个Main页面
- 在AppDelegate的下方把有关S...Delegate的全部代码删掉
- 在BuildSetting设置页面搜Main,再把UlKit Main Storyboard File Base Named的内容删掉
- 再把S...Delegate页面删掉
- 在Main页面搜索Main,然后在info-Main里搜索,把根目录为Application Scene Mainfest的内容全部删掉
2.创建一个UITabbarcontrol一个UINavagationControl,分别命名为First~Second~Third~,实现一个页面跳转到另一个页面
-
在AppDelegate(启动页?)里创建window(窗口)
-
在这一页里创建UITabBarController和视图控制器
window, var window: UIWindow? 定义window
window = UIWindow(frame: UIScreen.main.bounds)
3.UITabBarController的使用
FirstViewController:默认内容
Swift
import UIKit

class FirstViewController: UIViewController {

    override func viewDidLoad() {
        super.viewDidLoad()
        // Do any additional setup after loading the view.
    }

}
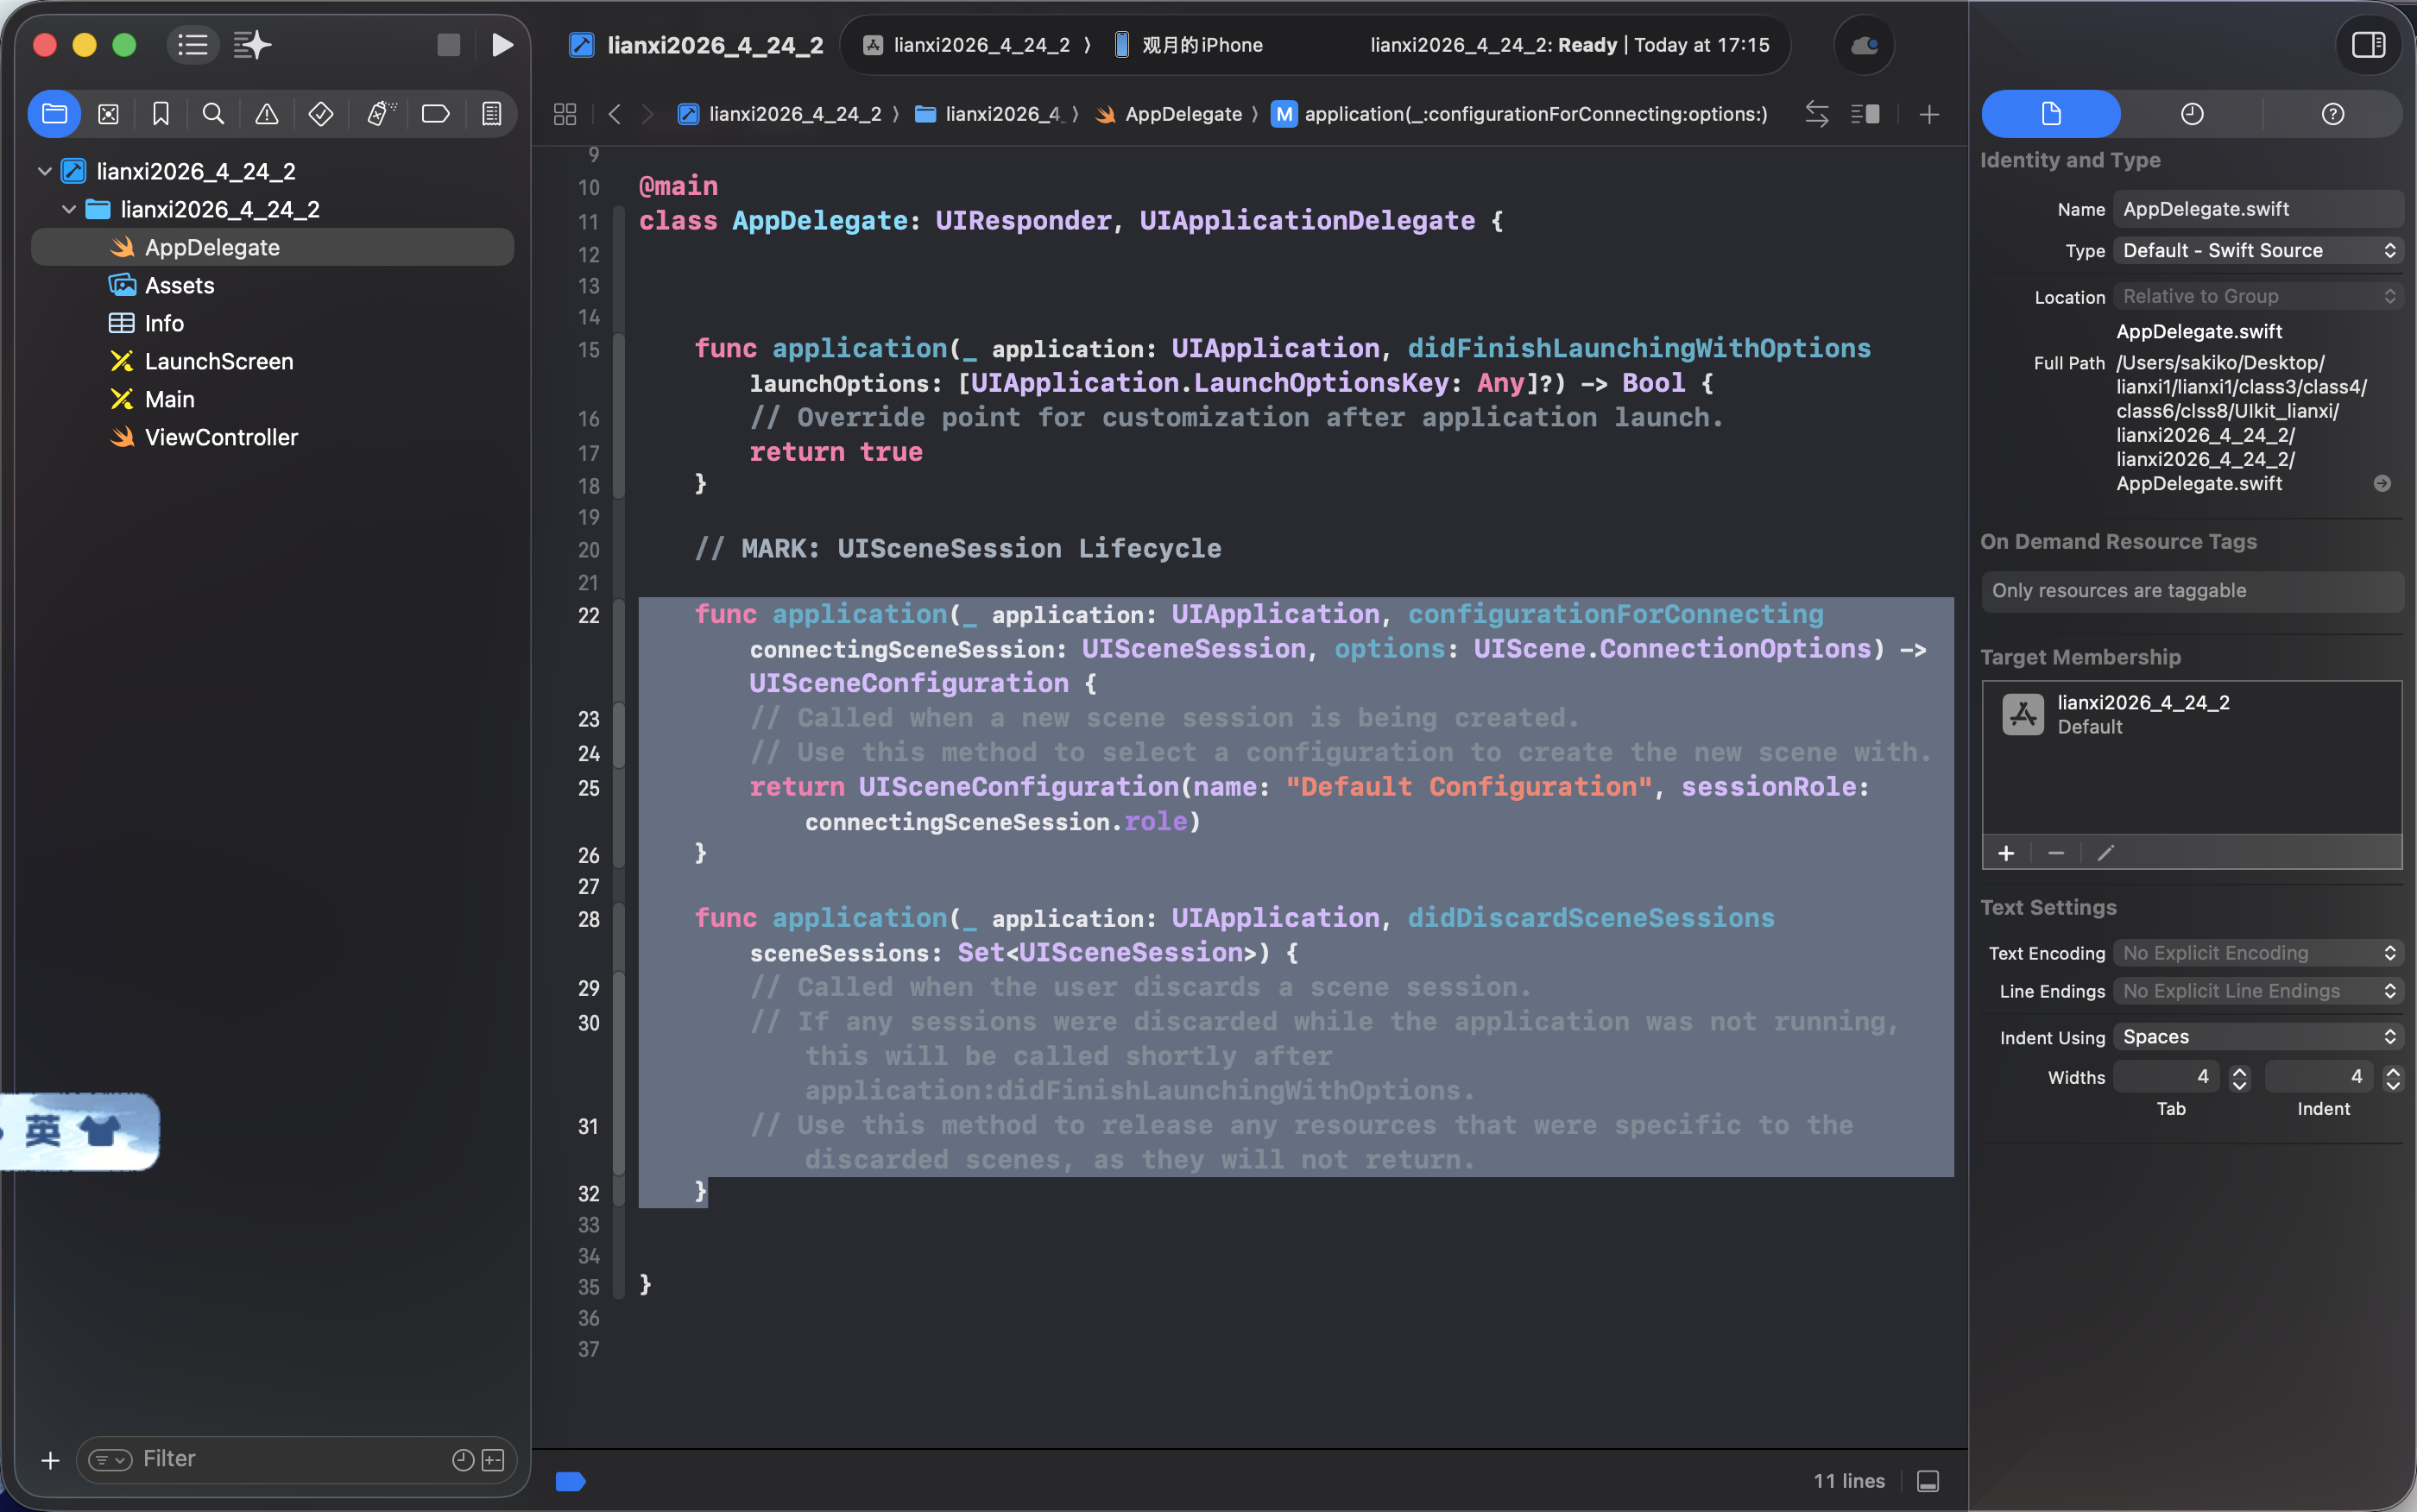
Swift
//
// AppDelegate.swift
// lianxi2026_4_24_3
//
// Created by sakiko on 2026/4/24.
//
import UIKit
@main
class AppDelegate: UIResponder, UIApplicationDelegate {
var window: UIWindow? //创建window
//创建一个新的窗口:代码中使用 UIWindow 的初始化器创建了一个新的 window 实例。
//窗口的尺寸和位置:使用 UIScreen.main.bounds 作为 frame参数,确保这个窗口占据设备屏幕的整个可视区域。
//这意味着窗口将覆盖整个屏幕,从而可以展示所有的 UI 元素。
func application(_ application: UIApplication, didFinishLaunchingWithOptions launchOptions: [UIApplication.LaunchOptionsKey: Any]?) -> Bool {
window = UIWindow(frame: UIScreen.main.bounds)
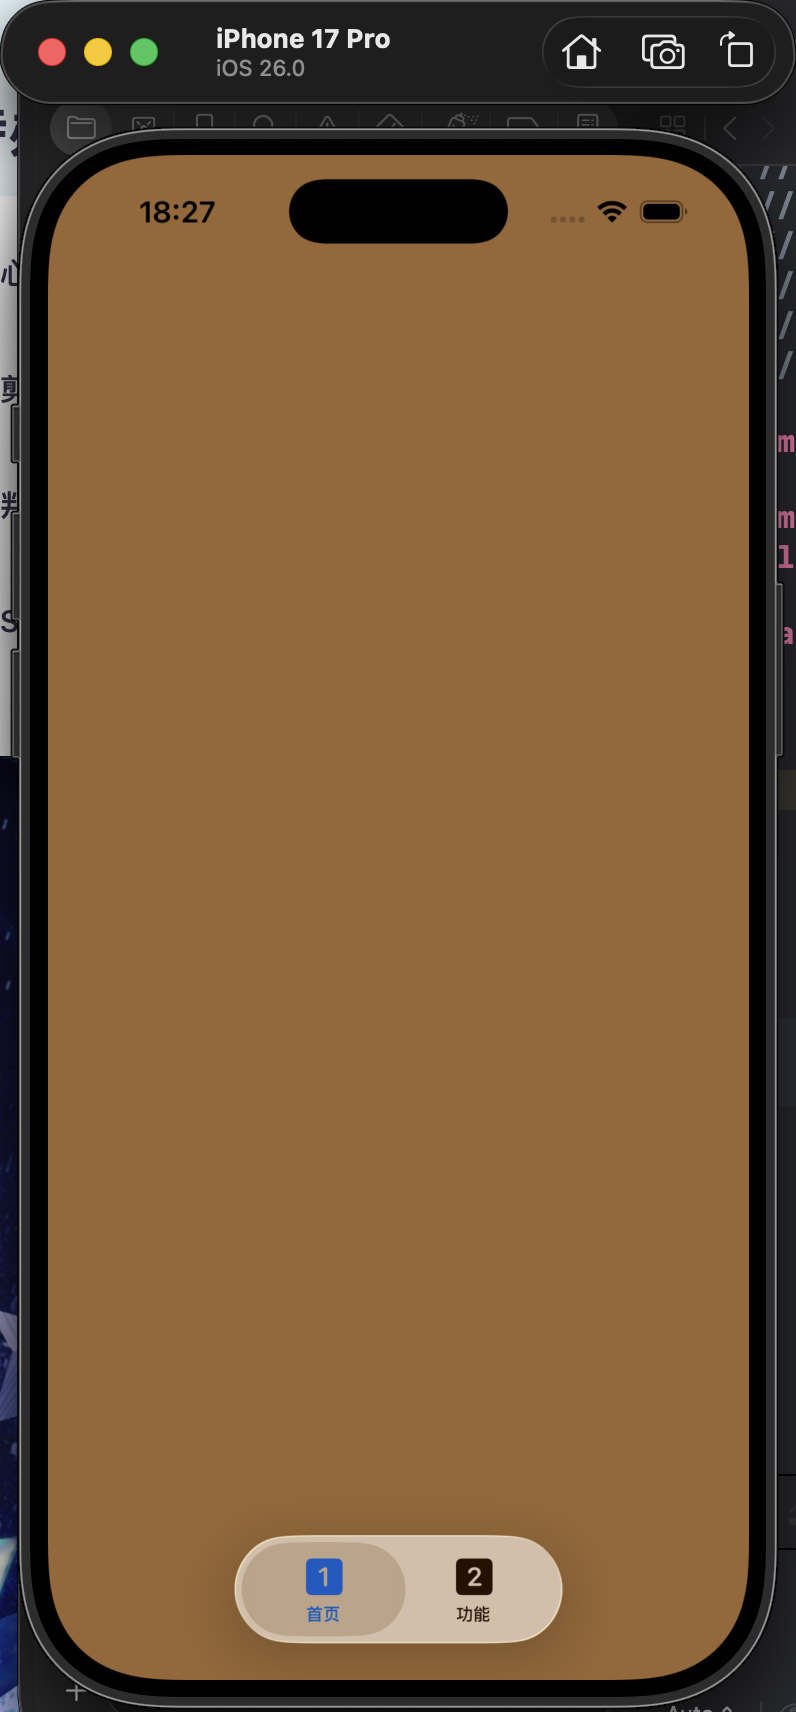
let tabBarController = UITabBarController()
//创建tabBarController作为UITabBarController的实例,用来控制滑动
let firstViewController = FirstViewController()
firstViewController.tabBarItem = UITabBarItem(title: "First", image: UIImage(systemName: "1.square.fill"), tag: 0)
//创建第一个视图控制器,它是另一个页面。需要配置它的tabBarItem属性,利用UITabBarItem
let secondViewController = SecondViewController()
secondViewController.tabBarItem = UITabBarItem(title: "Second", image: UIImage(systemName: "2.square.fill"), tag: 1)
tabBarController.viewControllers = [firstViewController, secondViewController]
//将视图控制器添加到tabBarController(就是需要使用的,呃,页面?)
window?.rootViewController = tabBarController
window?.makeKeyAndVisible()
//window?:这是一个可选类型的窗口对象,可能已经在之前的代码中创建。使用可选链 (?) 是为了安全地访问 window
//rootViewController属性:这个属性用于设置窗口的根视图控制器(即应用程序启动时显示的主要控制器)。在这里,它被设置为 tabBarController,这意味着用户将首先看到标签栏控制器的界面。
return true
}
}UITabBarControl是管导航栏切换的,UINavigation是管页面跳转的(它是一个栈结构).就是一个容器。所有项目的页面都要在这里面。
4.使用UINavigtionController管理页面
这是固定写法,在AppDelegate
let nav = UINavigationController(rootViewController: tabBarController)
window?.rootViewController = nav
Swift
let nav = UINavigationController(rootViewController: tabBarController)
        window?.rootViewController = nav
        window?.makeKeyAndVisible()
UINavigationController 是一个用于管理视图控制器堆栈的类,通常用于实现导航的功能。
rootViewController: tabBarController 表示将一个视图控制器作为根视图控制器(window,就是屏幕)传入导航控制器。
在操作具体页面的时候,通过navigationController来调用页面,就在跳转的同时入栈了。
Swift
**self.navigationController?.pushViewController(four, animated: true)**5.使用UIButton
1.在某个页面中定义一个UIButton,将它添加到页面中
Swift
    override func viewDidLoad() {
        super.viewDidLoad()
        self.view.backgroundColor = .brown
        self.view.addSubview(btn)
        // 在这里
    }
lazy var btn: UIButton = {
let btn = UIButton(type: .system)
btn.setTitle("ToSecondVC", for: .normal) ...

return btn_test}()
说明:
1.指定类型,(type: .system)代表具有系统预设的样式,比如文字颜色和字体,会根据用户的操作(比如按下或释放)改变外观,通常会有轻微的高亮效果。
2.通过setTitle设置UIButton的属性
"ToSecondVC": 这是要设置为按钮标题的字符串。for: .normal: 这里的for参数指定了按钮的状态。.normal表示按钮的普通状态。按钮有多种状态,比如:.normal: 按钮处于默认状态,未被按下,也未被禁用。.highlighted: 按钮被按下、点击时的状态。.disabled: 按钮被禁用,不可点击。.selected: 按钮在被选择状态。
3.闭包的最后,返回该按钮
2.通过addTarget添加按钮功能
Swift
btn.addTarget(self, action: #selector(goToSecondViewController), for: .touchUpInside)addTarget:这个方法用于添加目标-动作模式。当按钮被触摸到时,会触发指定的动作。
self:表示当前的视图控制器实例。
action:#selector(goToSecondViewController):指定当按钮被点击时调用的方法。在这段代码中,一个名为 goToSecondViewController 的方法将被调用。
for:.touchUpInside只有在用户完成触摸并且手指就在按钮内部时,才会触发事件。
3.通过.frame设置按钮位置和大小
Swift
btn.frame = CGRect(x: 100, y: 200, width: 200, height: 50)CGRect 有四个主要参数:
x: 矩形左上角的 x 坐标,表示其相对于父视图左侧的水平距离。y: 矩形左上角的 y 坐标,表示其相对于父视图顶部的垂直距离。width: 矩形的宽度,即按钮的横向尺寸。height: 矩形的高度,即按钮的纵向尺寸。
4.编写这个按钮相关的操作
Swift
@objc func goToSecondViewController() {
let four = FourthViewController()//创建一个页面的实例
self.navigationController?.pushViewController(four, animated: true)
    }
}因为UIkit本身是OC的底层,所以用的@objc
self.navigationController表示当前视图控制器的导航控制器。self就是当前视图的意思.如果当前视图控制器是由UINavigationController管理的,这里就可以使用(AppDelegate有编写)。
pushViewController(four, animated: true):调用方法,将新创建的FourthViewController实例推入到导航堆栈中,以便通过其管理。
animated: true 表示这个推送操作会用动画效果进行。
6.使用UIImageView:UIKit 中的一个类,用于显示图片的视图
UIkit是点阵布局,意味着组件的位置是写死的,不是相对布局。
1.创建一个UIImageView:
Swift
lazy var titleImg: UIImageView {
let titleImg = UIImageView(frame: .init(origin: CGPoint(x: 0, y: 44 + 16), size: CGSize(width: 186, height: 44)))
...
}()
frame : 这是 UIView 的一个属性,表示视图的矩形边界
.init(...):使用了一个简洁的写法来初始化一个矩形(CGRect)对象
origin:指的是一个矩形(CGRect)的左上角的坐标(x和y)。就是左上角的坐标是x: 0, y: 60的意思。
CGSize(width: 186, height: 44) : 定义了矩形的大小,其中宽度为 186 像素,高度为 44 像素
2.给这张UIImage指定显示内容
Swift
titleImg.image = UIImage(named: "home_img_title")
        return titleImg
引用titleImg的image属性,用于指定 UIImageView 实例所要显示的图像,以加载名为 "home_img_title" 的图片(这个文件存在Assets里,注意名称要一致,就和color一样)
return titleImg :将配置好的 titleImg 返回
3.在该页面调用创建好的UIImageView
最上面调用的就在最底层
Swift
self.view.addSubview(titleImg)4.(拓展)调整UIImageView的圆角值
Swift
pamuImg.layer.cornerRadius = 10 //只有这行圆角不会被显示
pamuImg.layer.masksToBounds = true  // 确保内容绘制在圆角内部
5.(拓展)调整UIImageView使其充满屏幕
输入的图片要与背景尺寸一致。否则就会自动拉伸
Swift
    lazy var AmeImg: UIImageView = {
        let AmeImg = UIImageView(frame: view.frame)
        AmeImg.image = UIImage(named: "AmeImg")
        AmeImg.layer.cornerRadius = 24
//        2868 x 1320 iP17pm屏幕尺寸
        AmeImg.layer.masksToBounds = true
        return AmeImg
    }()
7.使用UILabel:UIKit 框架中用于显示文本的类
1.创建一个UILabel,并调用它
Swift
self.view.addSubview(aemeath_name)
...
lazy var aemeath_name: UILabel ={}()
2.设置文本对齐方式
Swift
aemeath_name.textAlignment = .left.center中心对齐
.right右对齐
.left左对齐
.natural根据用户语言习惯自然对齐
.justified两端对齐
3.设置文本字体属性:颜色、字体、字号大小
Swift
    lazy var aemeath_name: UILabel = {

        aemeath_name.font = .systemFont(ofSize: 30)
        aemeath_name.textColor = UIColor(named: "Aemeath_color")
    }()
4.设置文本内容
Swift
aemeath_name.text = "爱弥斯"5.设置文本位置(与UIImage类似),并返回已设置好的UILabel
Swift
let aemeath_name: UILabel = UILabel(frame: .init(x: 16, y: 250, width: 300, height: 200))
return aemeath_name
x,y是左上角的点,后面的是字体框大小
6.允许文本自动换行
myLabel.numberOfLines = 0
8.使用UIControl自定义按钮
在UIControl里,可以放UIImage和UILabel
Swift
   lazy var control: UIControl = {
        let control: UIControl = UIControl(frame: .init(x: 16, y: 104, width: 128, height: 18 + 96))
        control.backgroundColor = .blue
        control.addTarget(self, action: #selector(goToSecondViewController), for: .touchUpInside)
        control.addSubview(pamuImg)
        control.addSubview(subLbl)
        return control
    }()