这两天小米在送 Token,老苏也去凑了下热闹
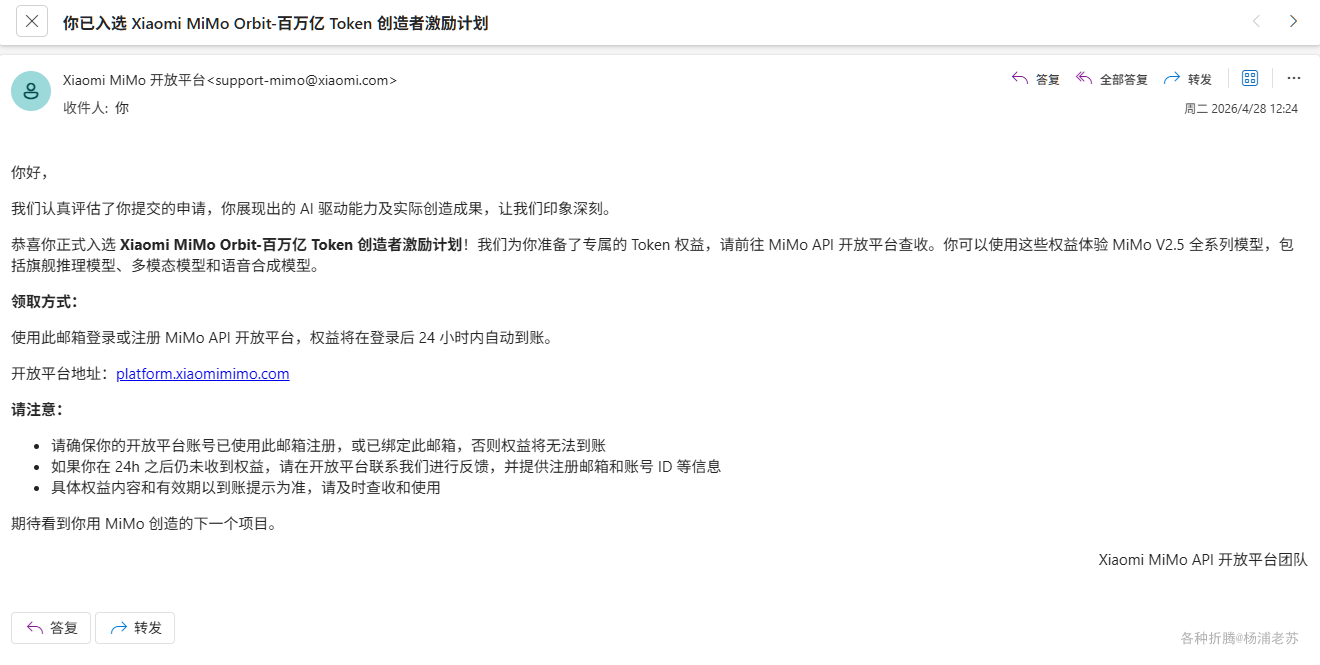
不过没有什么拿的出手的成果,所以跟别人晒出来的相比差了很多

接入 Claude Code CLI 后,做了两件事情:
-
Web Clipper插件最近设置为知笔记一直有报错,而老苏的会员还有将近2年; -
一月份的时候,老苏完成了 将Waline从LeanCloud迁移到MongoDB,当时留了个尾巴,就是
热榜还是使用的LeanCloud国际版的数据;
对应我们非程序员来说,Vibe Coding 最大的意义就在于,只要有源码,我们完全可以自己搞定问题,而不是无休止的等待
对于问题一,只用了 5 轮,不仅解决了报错,还顺便解决了每次剪藏页面都要动态刷新知识库目录,导致等待时间很长的问题。
看起来自主性比较强,只是 Token 消耗的比较快,大约消耗了 15%。如果你也遇到同样的问题,可以试试。代码我放出来了,https://github.com/wbsu2003/web-clipper,但是我建议你自己去下源码 https://github.com/webclipper/web-clipper,再根据自己的需要修改
今天主要讲讲问题二,AI 推荐了不少于 5 个方案,但是老苏选择了一个改动最小,最安全、最轻量的方案,也就是放弃实时更新,采用定时生成 JSON 的方式
- 用
GitHub Actions定时查MongoDB,生成hot-posts.json - 部署到
Hexo的source/ 目录,随博客一起发布 - 定时更新部署分支 (
master) ,无需重新构建Hexo
部署步骤
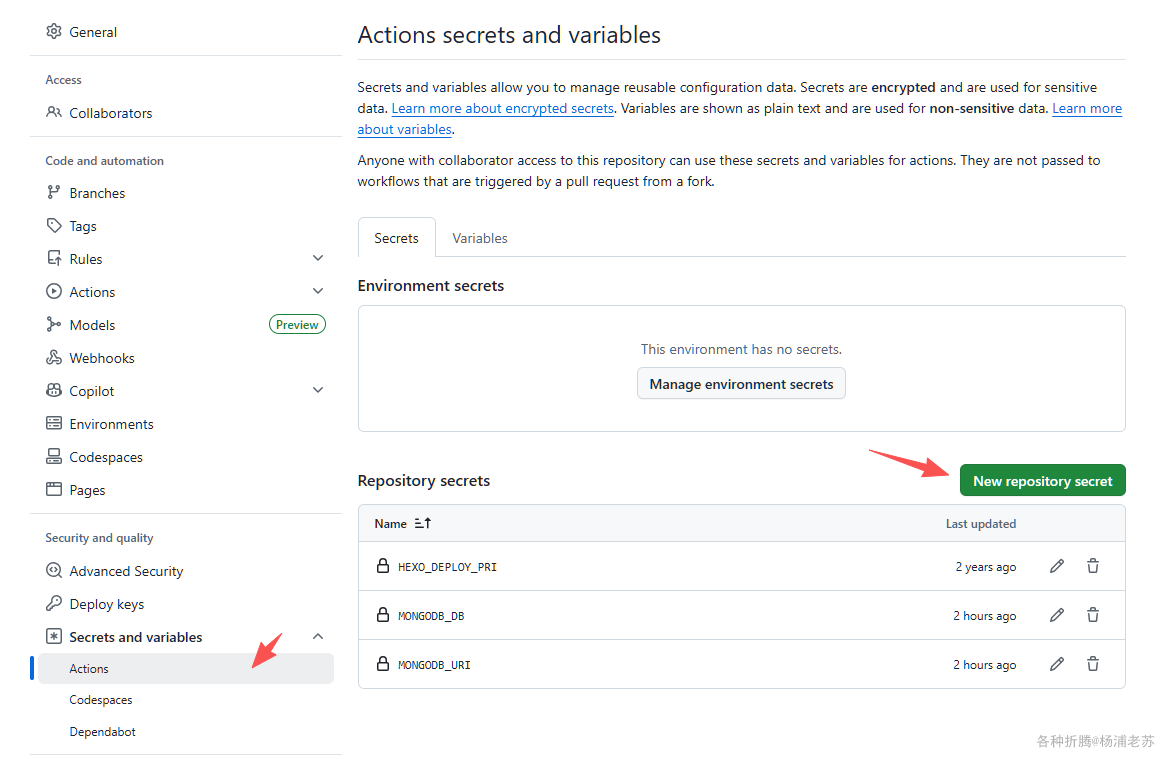
第一步:设置 GitHub Secrets
进入源码仓库 → Settings → Secrets and variables → Actions → New repository secret:
Secret 名 |
值 |
|---|---|
MONGODB_URI |
mongodb://<db_user>:<db_password>@cluster0-shard-xxx.mongodb.net:27017,.../?ssl=true&replicaSet=atlas-xxx-shard-0&authSource=admin&retryWrites=true&w=majority |
MONGODB_DB |
waline |
注意:优先用
Waline支持的标准连接串。所以使用了mongodb://格式,而非mongodb+srv://格式。
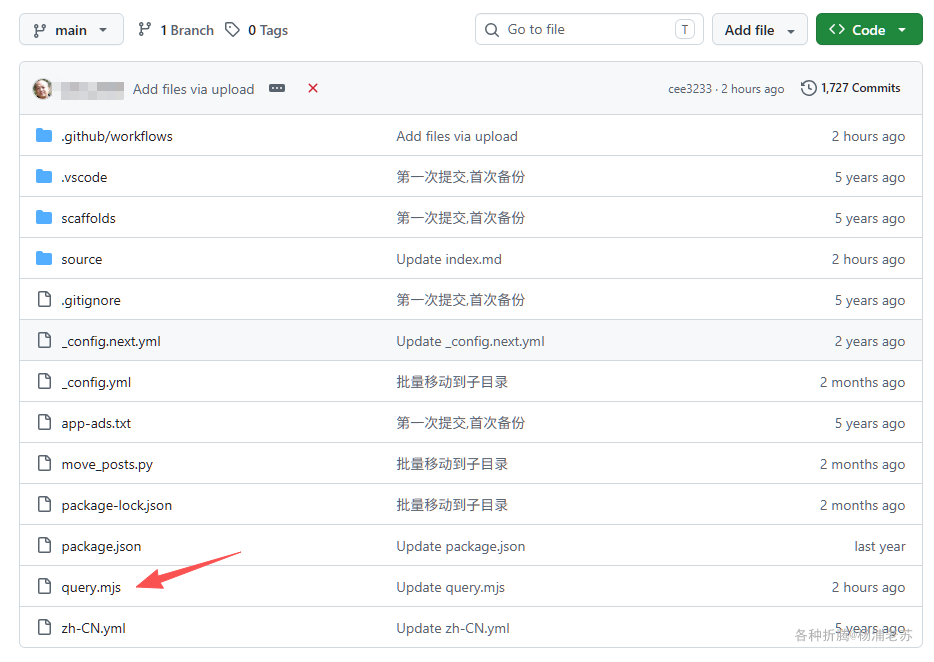
第二步:添加 query.mjs
将 query.mjs 文件放到源码仓库根目录:
javascript
// query.mjs
import { MongoClient } from "mongodb";
import { writeFileSync } from "fs";

const uri = process.env.MONGODB_URI;
const dbName = process.env.MONGODB_DB || "waline";

if (!uri) {
  console.error("MONGODB_URI is not set");
  process.exit(1);
}

const client = new MongoClient(uri);

try {
  await client.connect();
  const col = client.db(dbName).collection("Counter");

  const rows = await col
    .find({ id: { $ne: 0 } })
    .sort({ time: -1 })
    .limit(100)
    .toArray();

  const result = [];
  for (const doc of rows) {
    if (result.length >= 30) break;

    const url = doc.url || "";
    let title = "";
    try {
      title = decodeURIComponent(url).split("/")[4] || "";
    } catch {}

    const heat = doc.time || 0;
    const segment = decodeURIComponent(url).split("/")[1] || "";

    if (doc.xid !== undefined) continue;
    if (!title || title.trim().length === 0) continue;
    if (["page", "categories", "message", "about"].includes(segment)) continue;
    if (heat < 700) continue;

    result.push({ rank: result.length + 1, title, url, heat });
  }

  const outPath = process.env.OUTPUT_PATH || "source/hot-posts.json";
  writeFileSync(outPath, JSON.stringify(result, null, 2));
  console.log(`Wrote ${result.length} entries to ${outPath}`);
} catch (err) {
  console.error("Query failed:", err.message);
  process.exit(1);
} finally {
  await client.close();
}
第三步:添加定时工作流
将文件放到 .github/workflows/update-hot-posts.yml:
yaml
name: Update Hot Posts

on:
  schedule:
    - cron: "17 * * * *"   # 每小时第17分钟
  workflow_dispatch:         # 支持手动触发

jobs:
  update:
    runs-on: ubuntu-latest
    steps:
      - name: Checkout source repo
        uses: actions/checkout@v4
        with:
          repository: wbsu2003/myblog  # 源码仓库

      - name: Checkout deploy repo
        uses: actions/checkout@v4
        with:
          repository: wbsu2003/wbsu2003.github.io  # 博客仓库
          ref: master
          path: .deploy_git
          token: ${{ secrets.DEPLOY_TOKEN }}

      - name: Use Node.js 22
        uses: actions/setup-node@v4
        with:
          node-version: "22"

      - name: Query and update
        env:
          MONGODB_URI: ${{ secrets.MONGODB_URI }}
          MONGODB_DB: ${{ secrets.MONGODB_DB }}
          OUTPUT_PATH: .deploy_git/hot-posts.json
        run: |
          npm install mongodb
          node query.mjs

      - name: Commit if changed
        working-directory: .deploy_git
        run: |
          git config user.name "github-actions[bot]"
          git config user.email "github-actions[bot]@users.noreply.github.com"
          git remote set-url origin https://x-access-token:${{ secrets.DEPLOY_TOKEN }}@github.com/wbsu2003/wbsu2003.github.io.git
          git add hot-posts.json
          git diff --cached --quiet || git commit -m "chore: update hot posts" && git push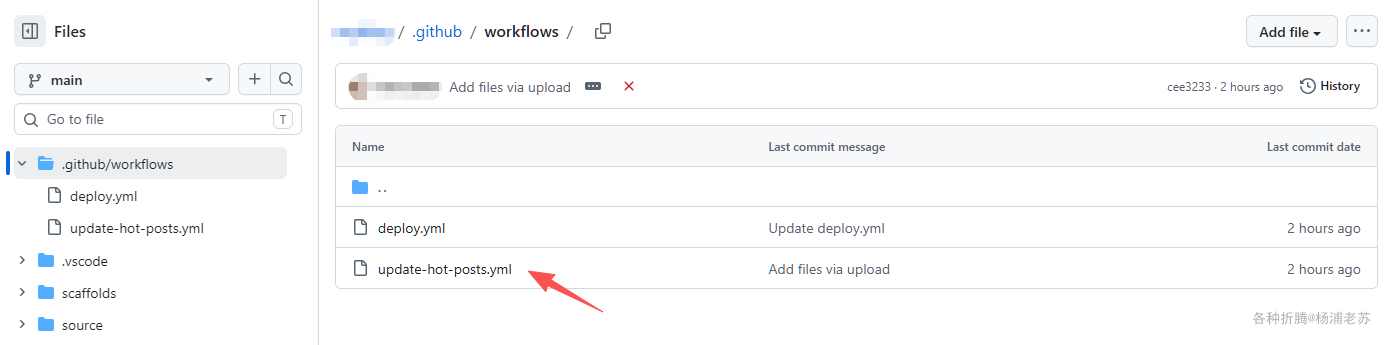
第四步:修改现有的 deploy.yml
在 deploy.yml 的 Install dependencies 和 Deploy hexo 之间,新增一步:
yaml
      - name: Generate hot posts
        env:
          MONGODB_URI: ${{ secrets.MONGODB_URI }}
          MONGODB_DB: ${{ secrets.MONGODB_DB }}
          # 不设置 OUTPUT_PATH,默认写到 source/hot-posts.json,随 Hexo 构建一起处理
        run: |
          npm install mongodb
          node query.mjs
这样每次 push 到 main 构建博客时,也会顺便生成一次热榜。
第五步:前端引入 hot-posts.js
在 Hexo 热榜页面中引入以下脚本,页面中需要有 <div id="top"></div>:
javascript
// hot-posts.js
(function () {
var container = document.getElementById("top");
if (!container) return;
container.innerHTML = "<p>加载中...</p>";
fetch("/hot-posts.json")
.then(function (res) {
if (!res.ok) throw new Error("HTTP " + res.status);
return res.json();
})
.then(function (data) {
if (!data.length) {
container.innerHTML = "<p>暂无热榜数据</p>";
return;
}
container.innerHTML = "";
data.forEach(function (item) {
var p = document.createElement("p");
p.innerHTML =
"<span>" + item.rank + "、</span>" +
"<font color='#ff4d4f'>【文章热度:" + item.heat + "℃】</font>" +
"<a href='" + item.url + "'>" + item.title + "</a>";
container.appendChild(p);
});
})
.catch(function (err) {
console.error("热榜加载失败:", err);
container.innerHTML = "<p>热榜加载失败,请刷新重试</p>";
});
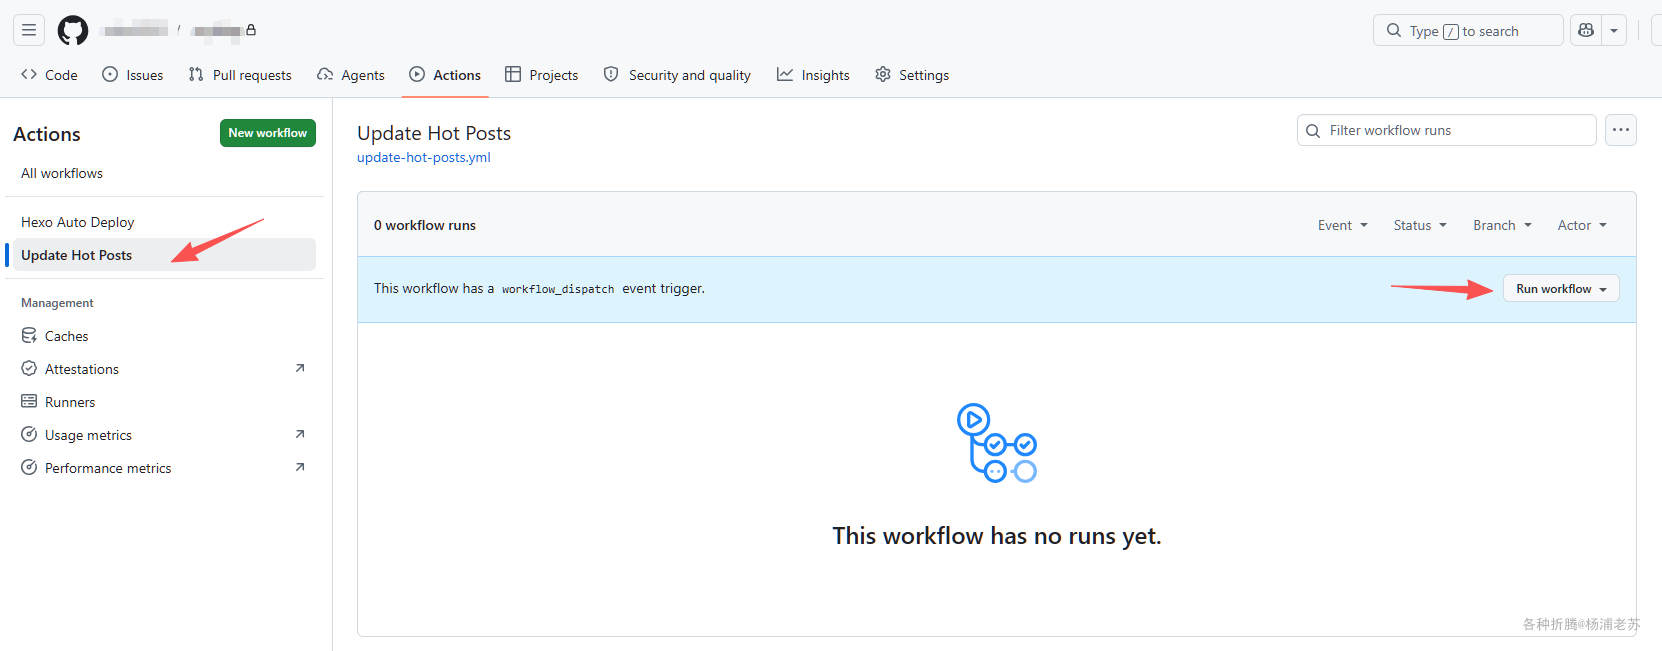
})();验证
- 进入源码仓库 →
Actions→ Update Hot Posts →Run workflow→ 手动触发一次
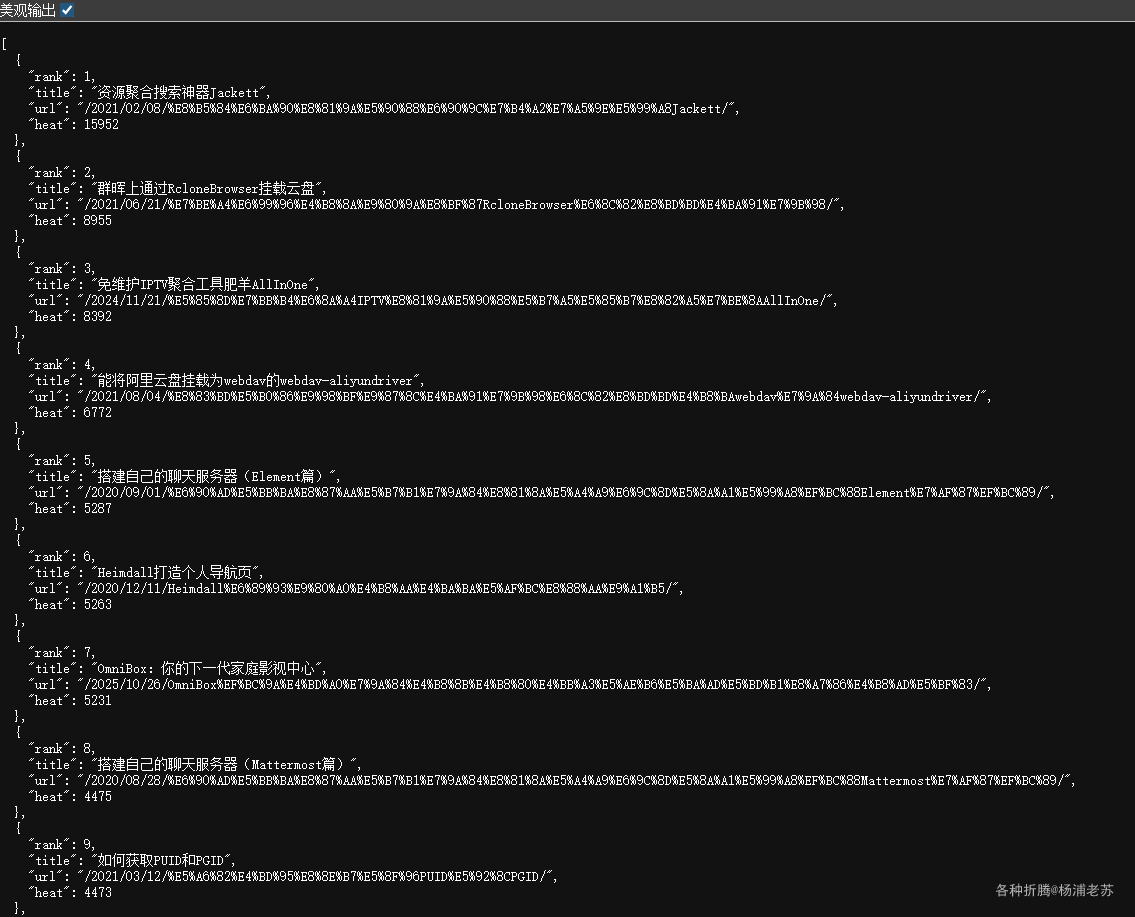
- 检查部署博客仓库的分支(
master)是否生成了hot-posts.json - 访问
https://laosu.tech/hot-posts.json确认能正常返回JSON
- 访问热榜页面确认渲染正常
说明
如何共用
query.mjs 通过 OUTPUT_PATH 环境变量控制 JSON 写入位置:
javascript
const outPath = process.env.OUTPUT_PATH || "source/hot-posts.json";| 工作流 | 是否设置 OUTPUT_PATH | 写入位置 | 原因 |
|---|---|---|---|
update-hot-posts.yml |
设置为 .deploy_git/hot-posts.json |
直接写到部署仓库的 master 分支 → /hot-posts.json |
跳过 Hexo 构建,只更新这一个文件 |
deploy.yml |
不设置(用默认值) | 先写到 source/hot-posts.json,Hexo 构建时复制到 public/,部署时推到根目录 → /hot-posts.json |
随 Hexo 构建流程一起处理 |
两个工作流最终效果一样:部署分支根目录的 /hot-posts.json。区别是定时工作流不需要跑整个 Hexo 构建。这样两个工作流用同一份脚本,不需要维护两份代码。
文件清单
所有文件都放在源码仓库中:
| 文件 | 位置 | 作用 |
|---|---|---|
query.mjs |
仓库根目录 | 查询 MongoDB,生成 JSON |
update-hot-posts.yml |
.github/workflows/ |
每小时定时更新热榜,结果推到部署仓库 |
index.md |
热榜页面,例如 index.md 中 |
前端渲染热榜 |
最终文件结构
bash
myblog/
├── .github/
│   └── workflows/
│       ├── deploy.yml              ← 博客构建部署(增加了热榜生成)
│       └── update-hot-posts.yml    ← 新增每小时定时更新热榜
├── source/
│   └── top/
│       └── index.md                ← 替换现有的热榜页面
├── query.mjs                       ← 新增 MongoDB 查询脚本
└── ...
参考文档
Xiaomi MiMo 100T
地址:https://100t.xiaomimimo.com/
Xiaomi MiMo 开放平台地址:https://platform.xiaomimimo.com/console/plan-manage
用GitHub Actions自动部署Hexo | 老苏的blog