Jenkins 端:配置全局工具与凭据**
-
配置 Maven (可选但推荐):
- 在
Jenkins > 系统管理 > 全局工具配置中,安装并配置 Maven (如命名为maven3)。 - 配置
settings.xml(在 Jenkins 的 Managed Files 中),指向 Nexus 的public组仓库,以加速依赖下载。
这一步我没有做,因为没有用maven的私服
- 在
-
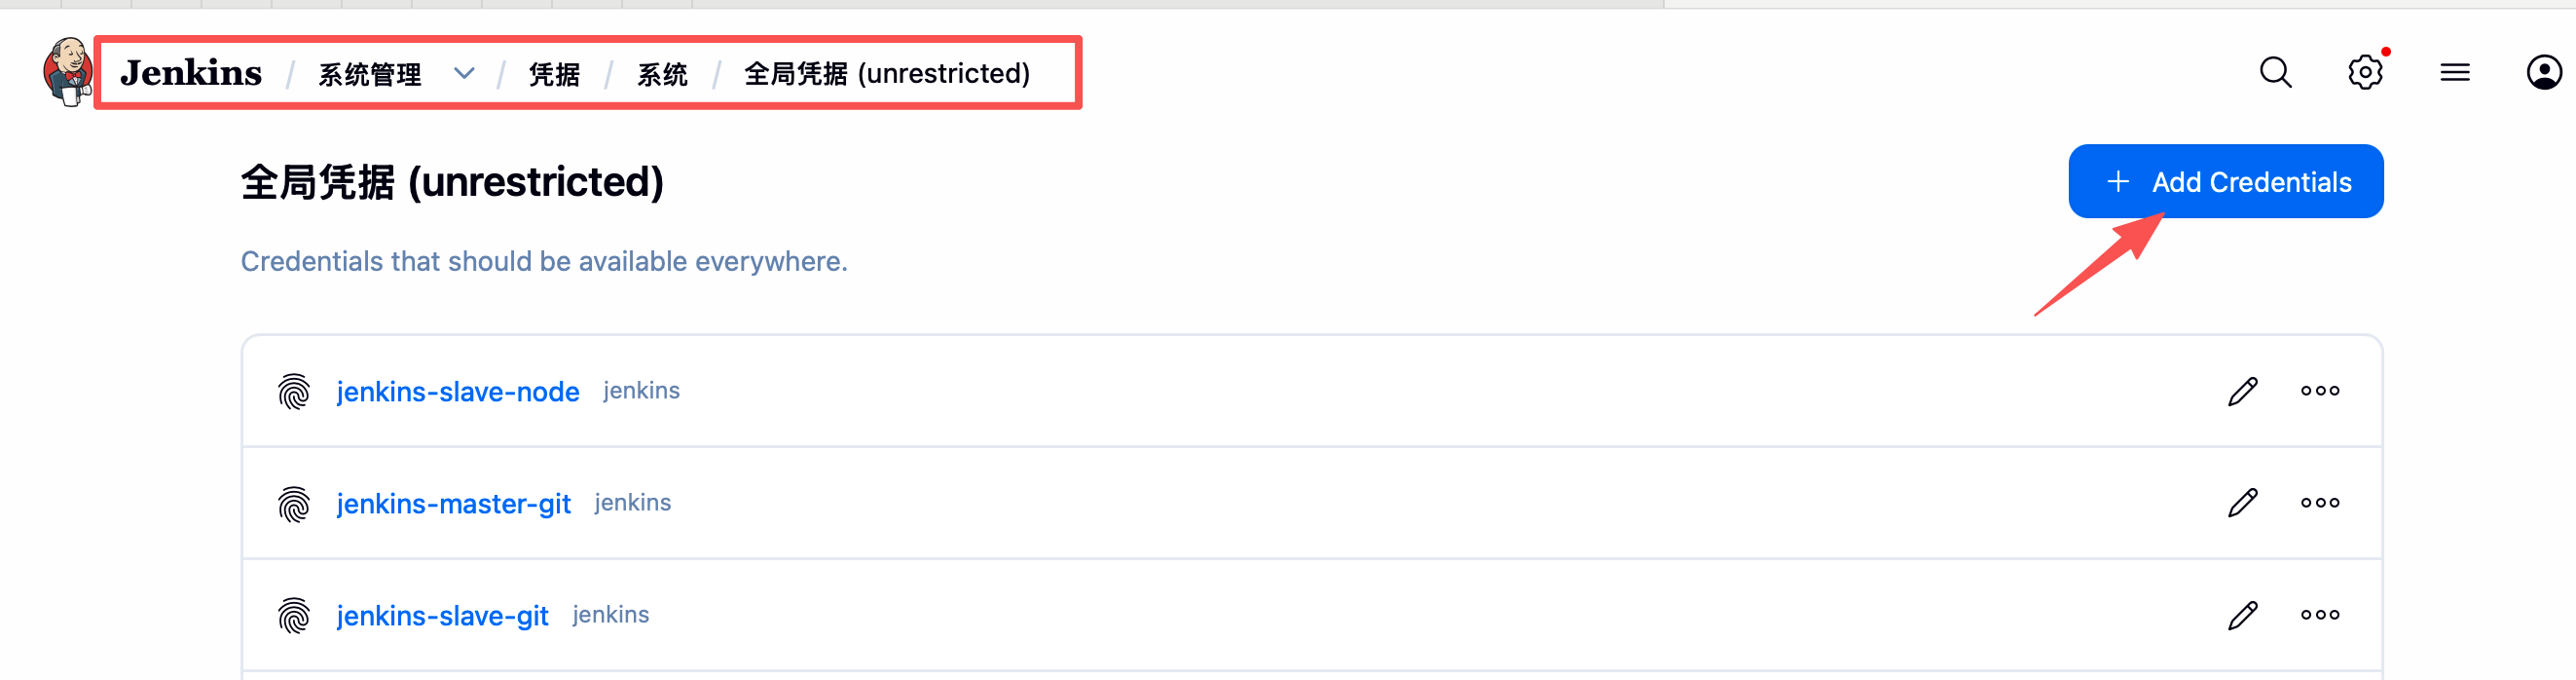
配置凭据 (Credentials):
- 进入
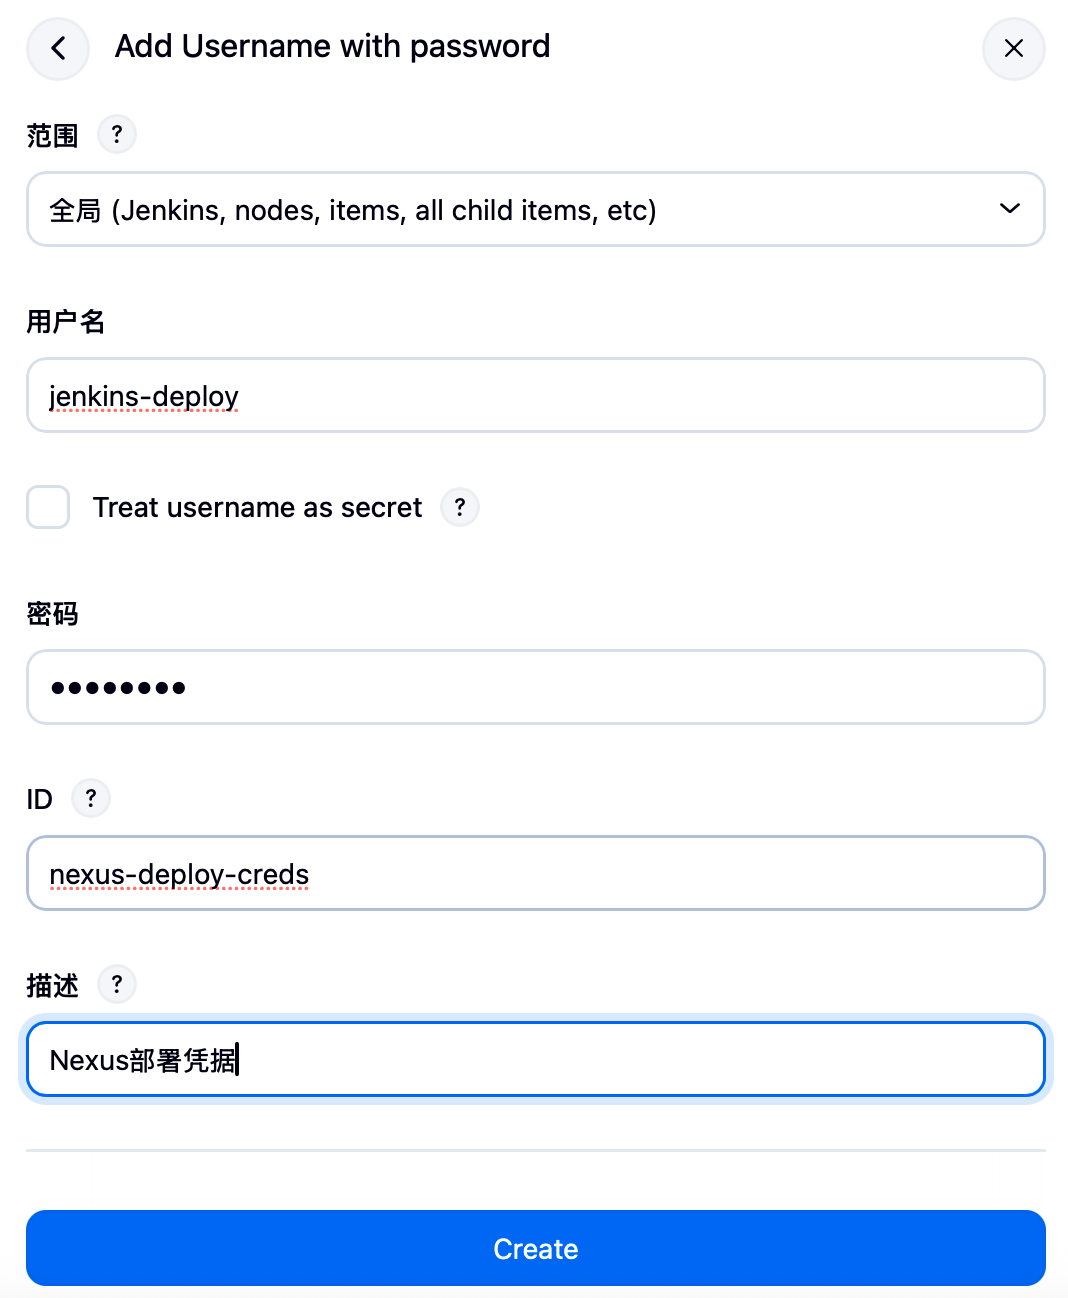
Jenkins > 凭据 > 系统 > 全局凭据, (Kind): 选择Username with password。 - ID :
nexus-deploy-creds(在 Pipeline 中引用此 ID)。 - 用户名 :
jenkins-deployer。 - 密码 :
SecurePass123!。

- 进入
jenkins+Nexus制品库
编写pipeline流水线,将构建好的jar包和前端上传到制品库
ini
pipeline {
    agent any
    tools {
        maven 'maven'
        jdk 'java'
        nodejs 'node'
    }
    options {
        timestamps()
        timeout(time: 1, unit: 'HOURS')
        buildDiscarder(logRotator(numToKeepStr: '10'))
    }
    environment {
        // 前端 NPM 源凭证
        NPM_CONFIG_REGISTRY = credentials('npm-registry')

        // Git 地址
        FRONTEND_GIT_URL = 'git@gitee.com:testpm/frontend-demo.git'
        BACKEND_GIT_URL = 'git@gitee.com:testpm/backend-demo.git'
        SLAVE_GIT_ID = 'jenkins-slave-git'

        // --- 新增:Nexus 配置 ---
        // 请确保在 Jenkins 凭据管理中添加了 ID 为 'nexus-credentials' 的用户名密码凭证
        NEXUS_CREDENTIALS_ID = 'nexus-deploy-creds'
        NEXUS_URL = '172.20.10.6:8081' // 如果端口不是8081请修改
        NEXUS_PROTOCOL = 'http'
        // 假设你已经在 Nexus 创建了名为 'maven-hosted' (存Jar) 和 'frontend-raw' (存Zip) 的仓库
        NEXUS_MAVEN_REPO = 'app-backend'
        NEXUS_FRONTEND_REPO = 'app-frontend-raw'
    }

    stages {
        stage('构建后端') {
            agent {
                node {
                    label 'jenkins-slave'
                    customWorkspace '/home/jenkins/backend'
                }
            }
            stages {
                stage('拉取后端代码') {
                    options {
                        timeout(time: 5, unit: 'MINUTES')
                    }
                    steps {
                        git credentialsId: "${SLAVE_GIT_ID}",
                            url: "${BACKEND_GIT_URL}",
                            branch: 'master'
                    }
                }
                stage('Maven编译') {
                    steps {
                        echo '显示当前工作目录'
                        sh 'pwd'
                        // 编译并跳过测试
                        sh 'mvn clean package -DskipTests -U'
                    }
                }
                // --- 新增:上传 JAR 到 Nexus ---
                stage('上传Jar至Nexus') {
                    steps {
                        script {
                            // 读取 pom.xml 获取 GroupId, ArtifactId, Version
                            def pom = readMavenPom file: "pom.xml"
                            // 查找生成的 jar 包
                            def jarFile = findFiles(glob: "target/*.jar")[0]

                            echo "开始上传 Maven 制品: ${pom.groupId}:${pom.artifactId}:${pom.version}"

                            nexusArtifactUploader(
                                nexusVersion: 'nexus3', //指定 Nexus 版本 (固定填 'nexus3')
                                protocol: "${NEXUS_PROTOCOL}",
                                nexusUrl: "${NEXUS_URL}",
                                groupId: "${pom.groupId}", //从 pom.xml 读取的 GroupId (com.example)
                                version: "${pom.version}", //从 pom.xml 读取的版本号 (1.0.0)
                                repository: "${NEXUS_MAVEN_REPO}",
                                credentialsId: "${NEXUS_CREDENTIALS_ID}",
                                artifacts: [
                                    [artifactId: "${pom.artifactId}", //从 pom.xml 读取的 ArtifactId
                                     classifier: '',  //分类器默认为空
                                     file: "${jarFile.path}", // 要上传的文件路径
                                     type: 'jar']
                                ]
                            )
                        }
                    }
                }
            }
        }

        stage('构建前端') {
            agent {
                node {
                    label 'jenkins-slave'
                    customWorkspace '/home/jenkins/frontend'
                }
            }
            stages {
                stage('获取代码') {
                    options {
                        timeout(time: 5, unit: 'MINUTES')
                    }
                    steps {
                        git url: "${FRONTEND_GIT_URL}",
                            branch: 'master',
                            credentialsId: "${SLAVE_GIT_ID}"
                    }
                }
                stage('安装依赖') {
                    steps {
                        echo '显示当前所在目录'
                        sh 'pwd'
                        echo '清理旧依赖...'
                        sh 'rm -rf node_modules package-lock.json'
                        sh 'npm cache clean --force'
                        echo '安装依赖...'
                        sh 'npm install --legacy-peer-deps'
                        sh 'npm install --registry=${NPM_CONFIG_REGISTRY}'
                    }
                }
                stage('编译构建') {
                    steps {
                        timeout(time: 15, unit: 'MINUTES') {
                            sh 'npm run build'
                            echo '构建完成,dist目录内容:'
                            sh 'ls -la dist/'
                        }
                    }
                }
                // --- 新增:打包并上传前端静态文件 ---
                stage('打包并上传前端至Nexus') {
                    steps {
                        script {
                            // 1. 压缩 dist 目录
                            def zipFile = "frontend-dist-${BUILD_NUMBER}.zip"
                            echo "正在压缩 dist 目录为 ${zipFile}..."
                            sh "zip -r ${zipFile} dist/"

                            // 2. 上传到 Nexus (作为 Raw 类型制品)
                            echo "开始上传前端制品到 Nexus..."
                            nexusArtifactUploader(
                                nexusVersion: 'nexus3',
                                protocol: "${NEXUS_PROTOCOL}",
                                nexusUrl: "${NEXUS_URL}",
                                groupId: 'com.example.frontend', // Raw仓库的GroupID可以自定义
                                version: "${BUILD_NUMBER}",     // 使用构建号作为版本
                                repository: "${NEXUS_FRONTEND_REPO}",
                                credentialsId: "${NEXUS_CREDENTIALS_ID}",
                                artifacts: [
                                    [artifactId: 'web-static',
                                     classifier: '',
                                     file: "${zipFile}",
                                     type: 'zip']
                                ]
                            )
                        }
                    }
                }
            }
        }
    }

    post {
        success {
            echo '✅ 构建及上传成功!'
        }
        changed {
            echo '⚠️  构建结果发生变化,请关注!'
        }
        aborted {
            echo '🛑 流水线被手动终止'
        }
        always {
            cleanWs()
            echo '工作空间清理完成,流水线执行结束'
        }
    }
}
下篇文章将展示企业级pipeline+Nexus 构建实战