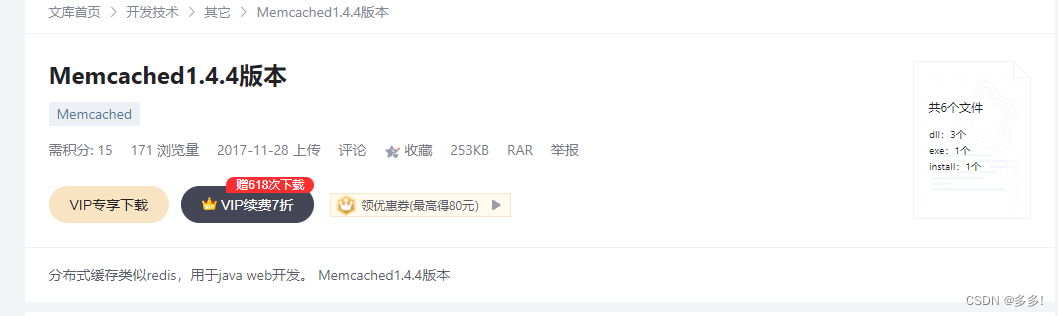
Memcached下载和安装

是一个国内使用量还是比较大的技术
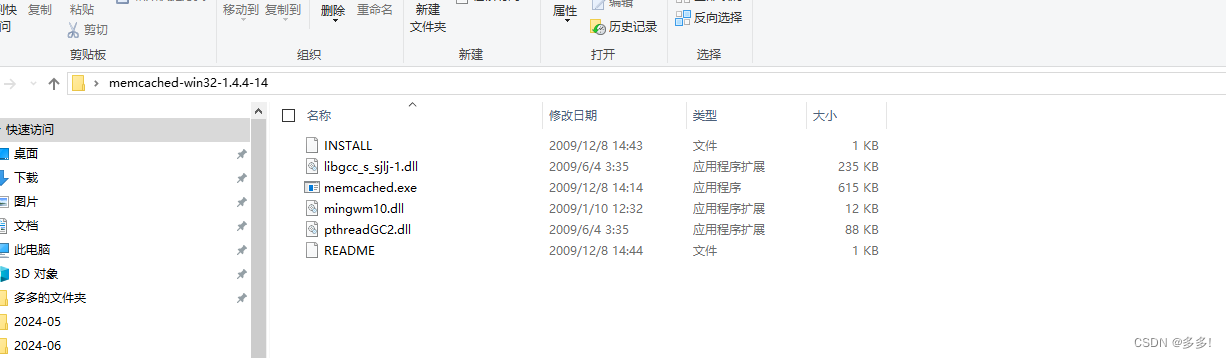
打开文件夹
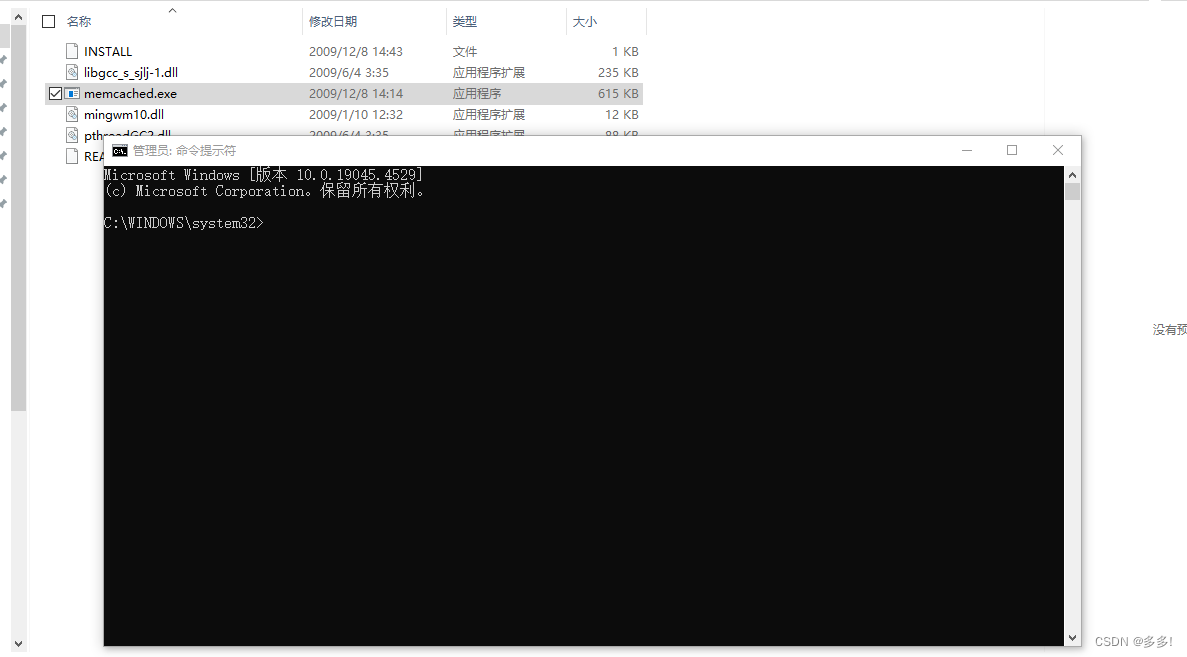
我们需要在命令行窗口启动
注意要以管理员方式运行
先尝试进入指定文件
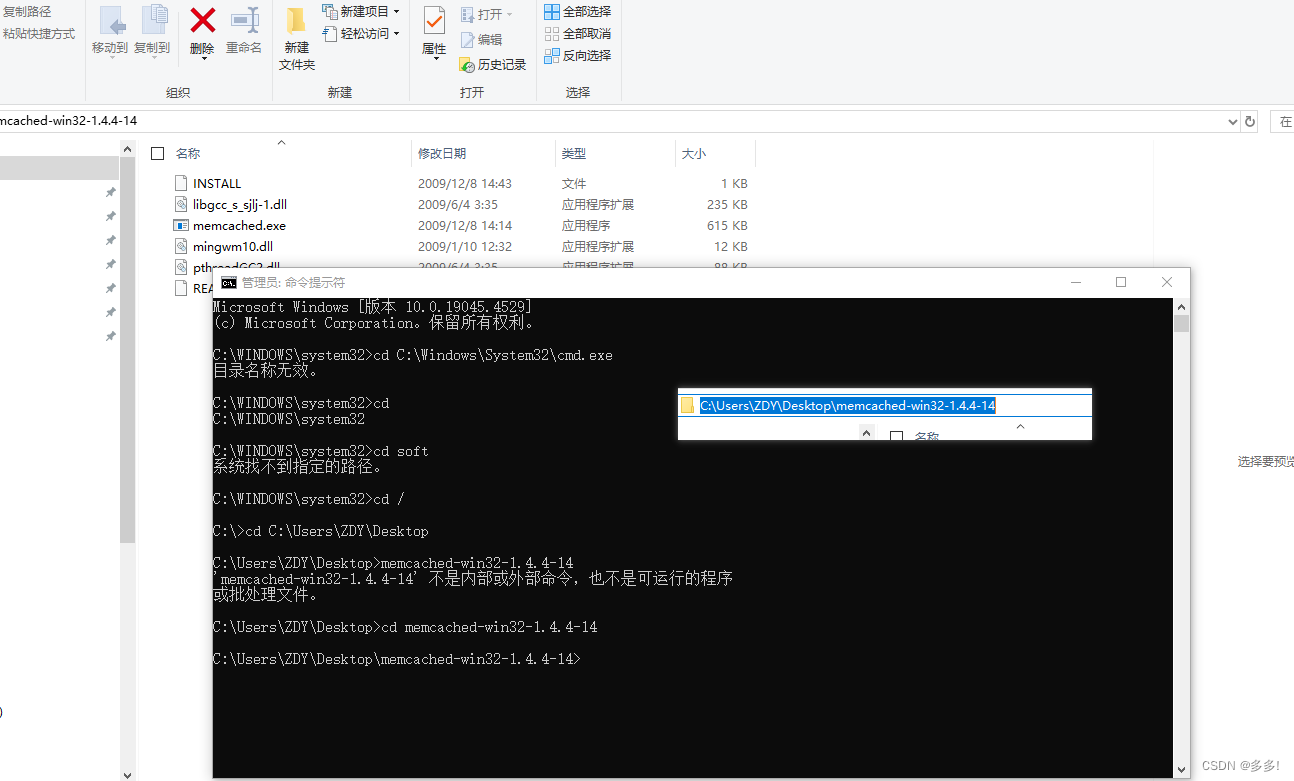
然后又再次运行
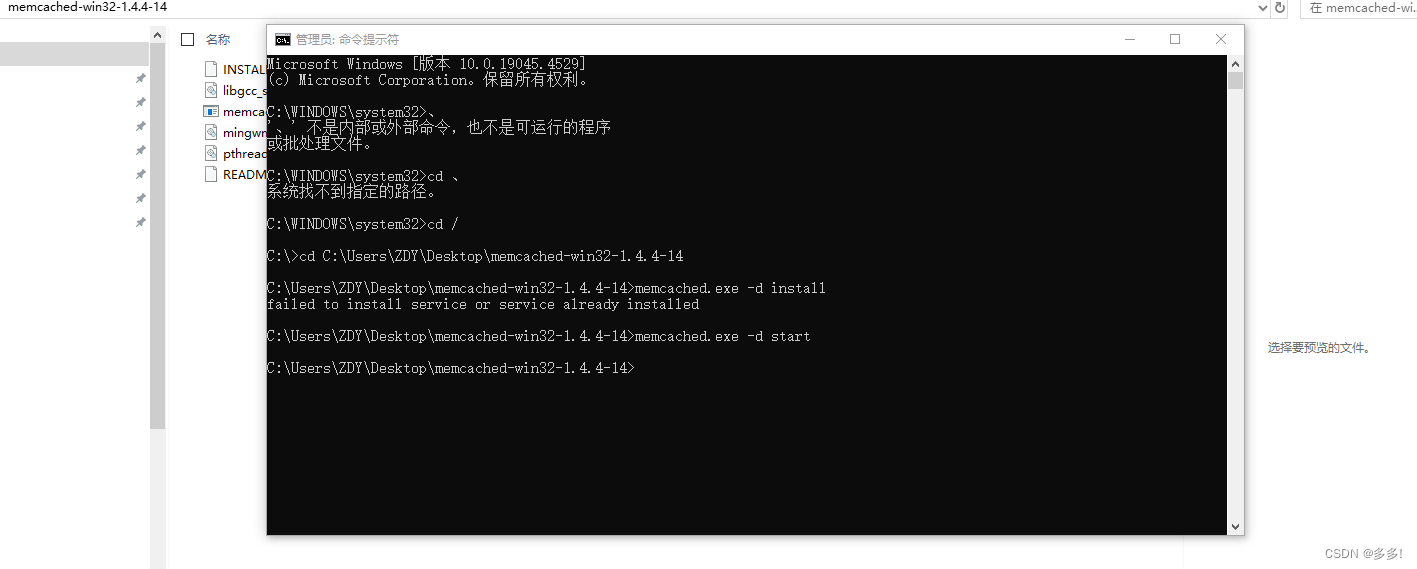
下载
memcached.exe -d install
启动
memcached.exe -d start
停止
memcached.exe -d stop
memcached.exe -d install
memcached.exe -d start
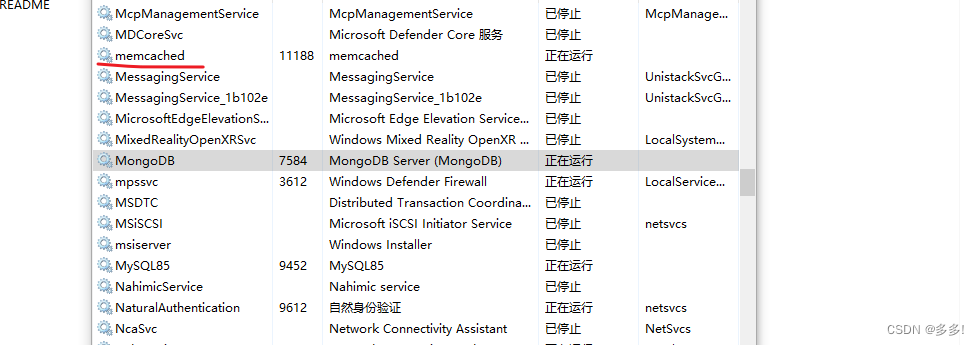
memcached.exe -d stop我们打开任务管理器 发现成功运行
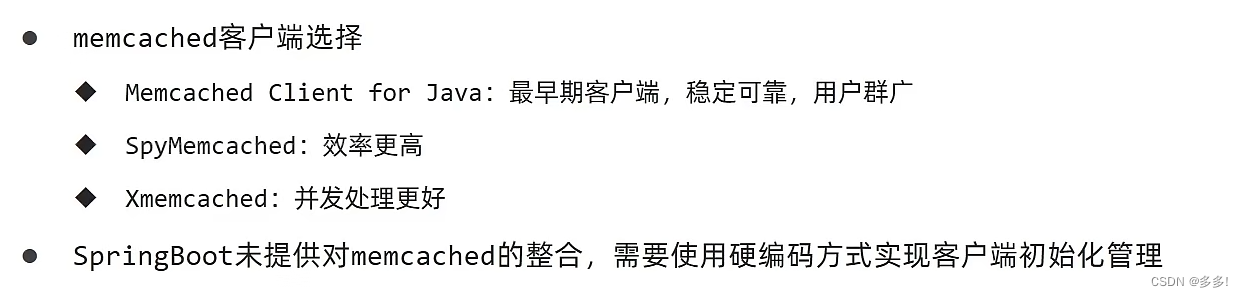
Memcached缓存技术
问题是springboot提供整合技术
还没有纳入到整合中
需要使用硬编码的方式实现给客户端初始化管理
我们打开idea
首先得导入坐标
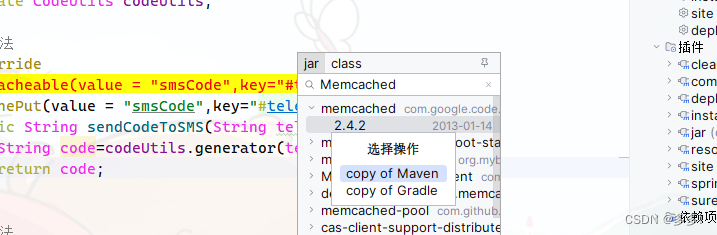
<!--        memcached的依赖-->
        <dependency>
            <groupId>com.google.code.maven-play-plugin.spy</groupId>
            <artifactId>memcached</artifactId>
            <version>2.4.2</version>
        </dependency>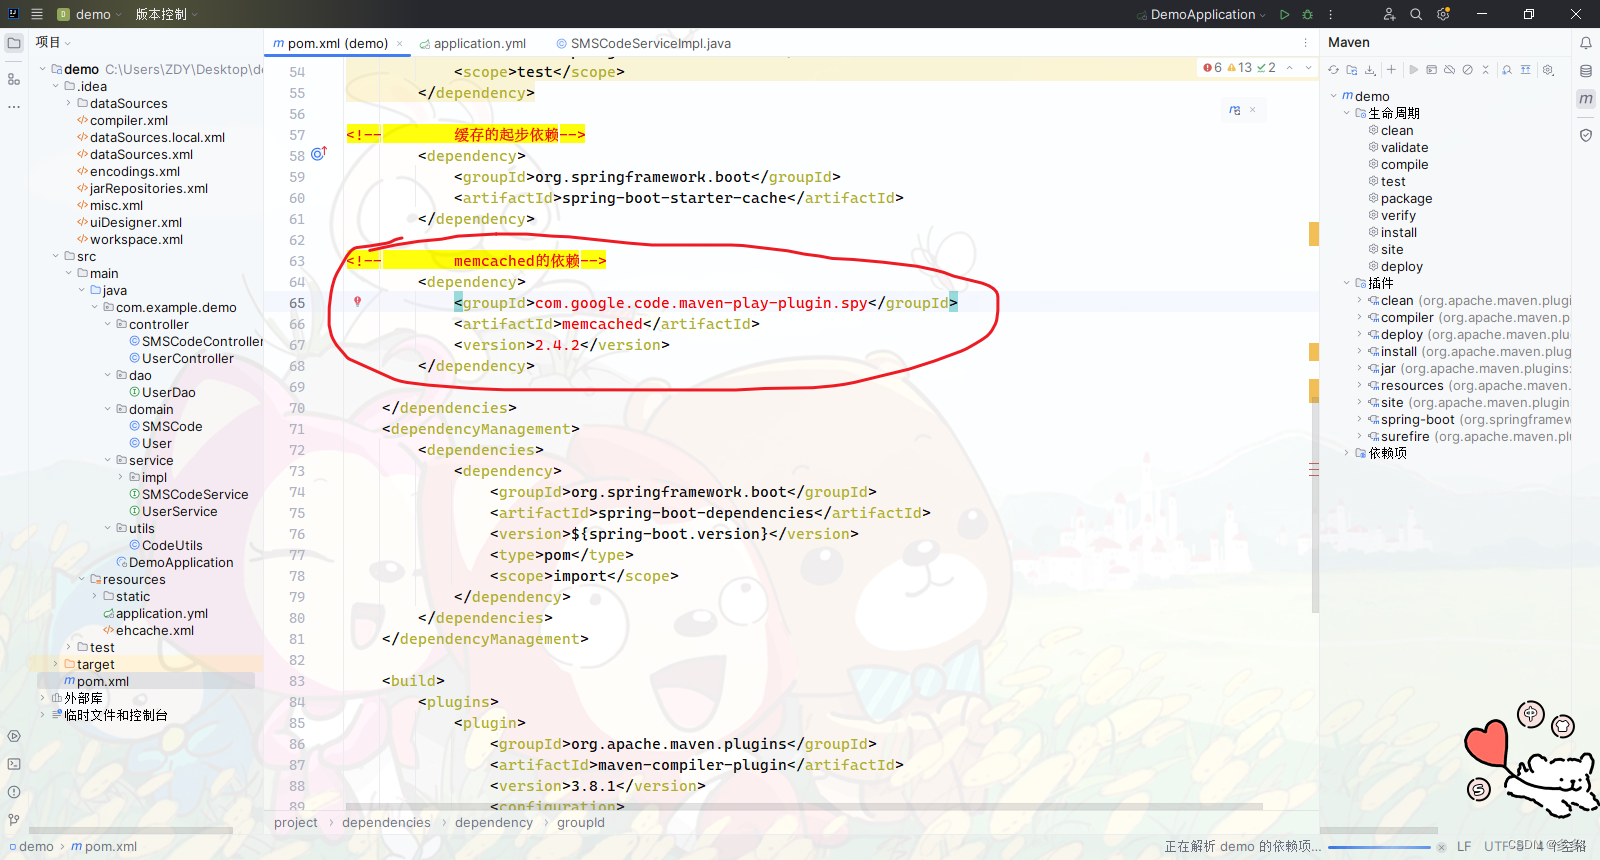
因为springboot没有整合
根本没有配置
所以我们直接采取硬编码的形式
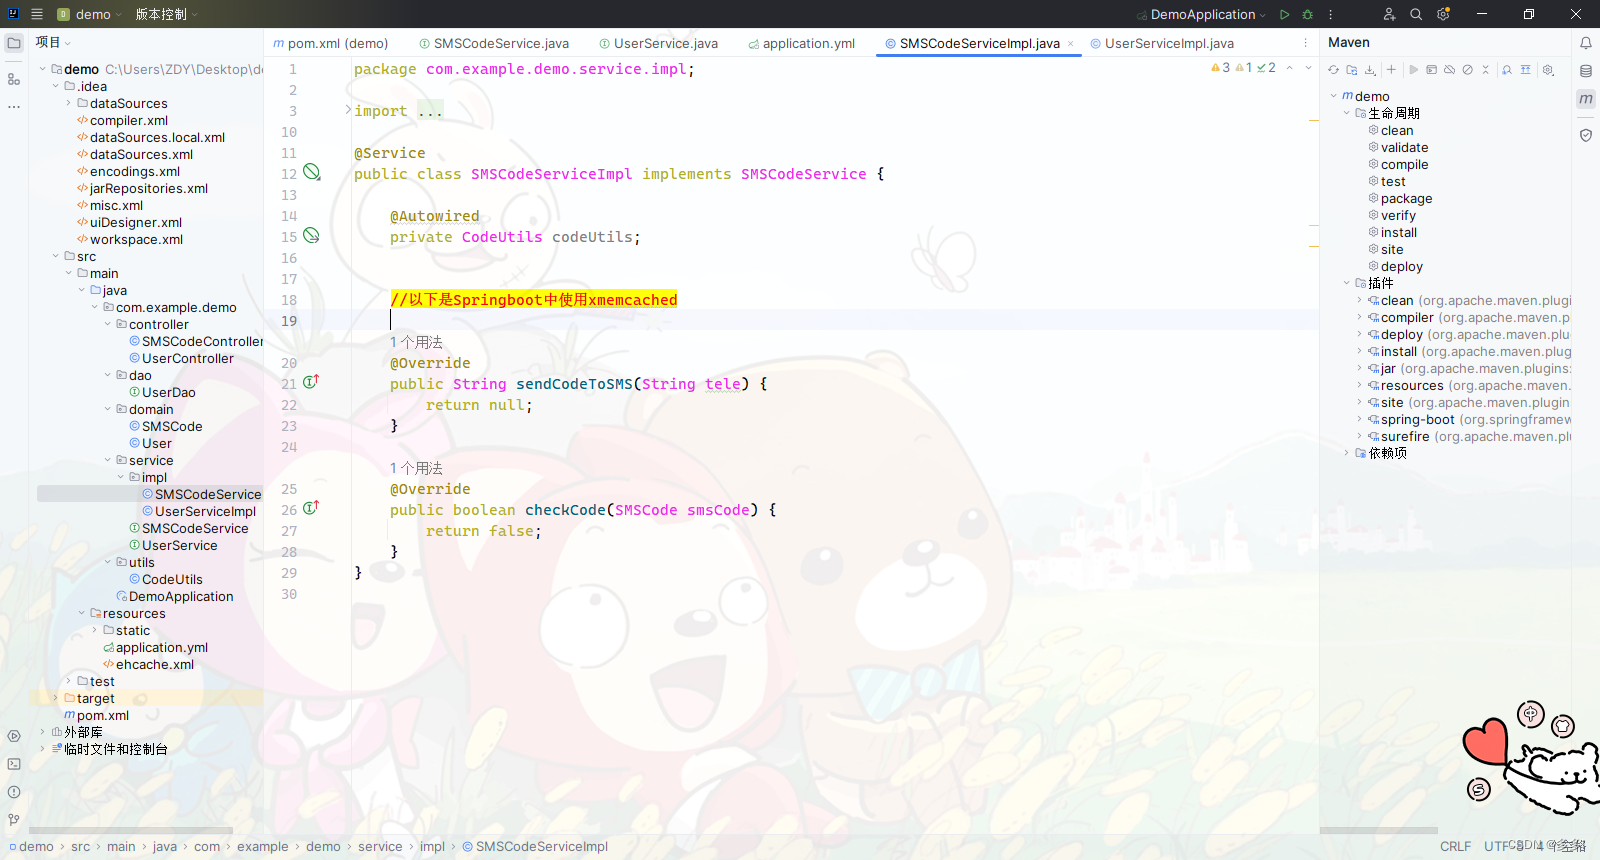
找到业务层的实现类
准备书写代码
我们做一个配置类
目的是为了让Mencached被spring容器加载
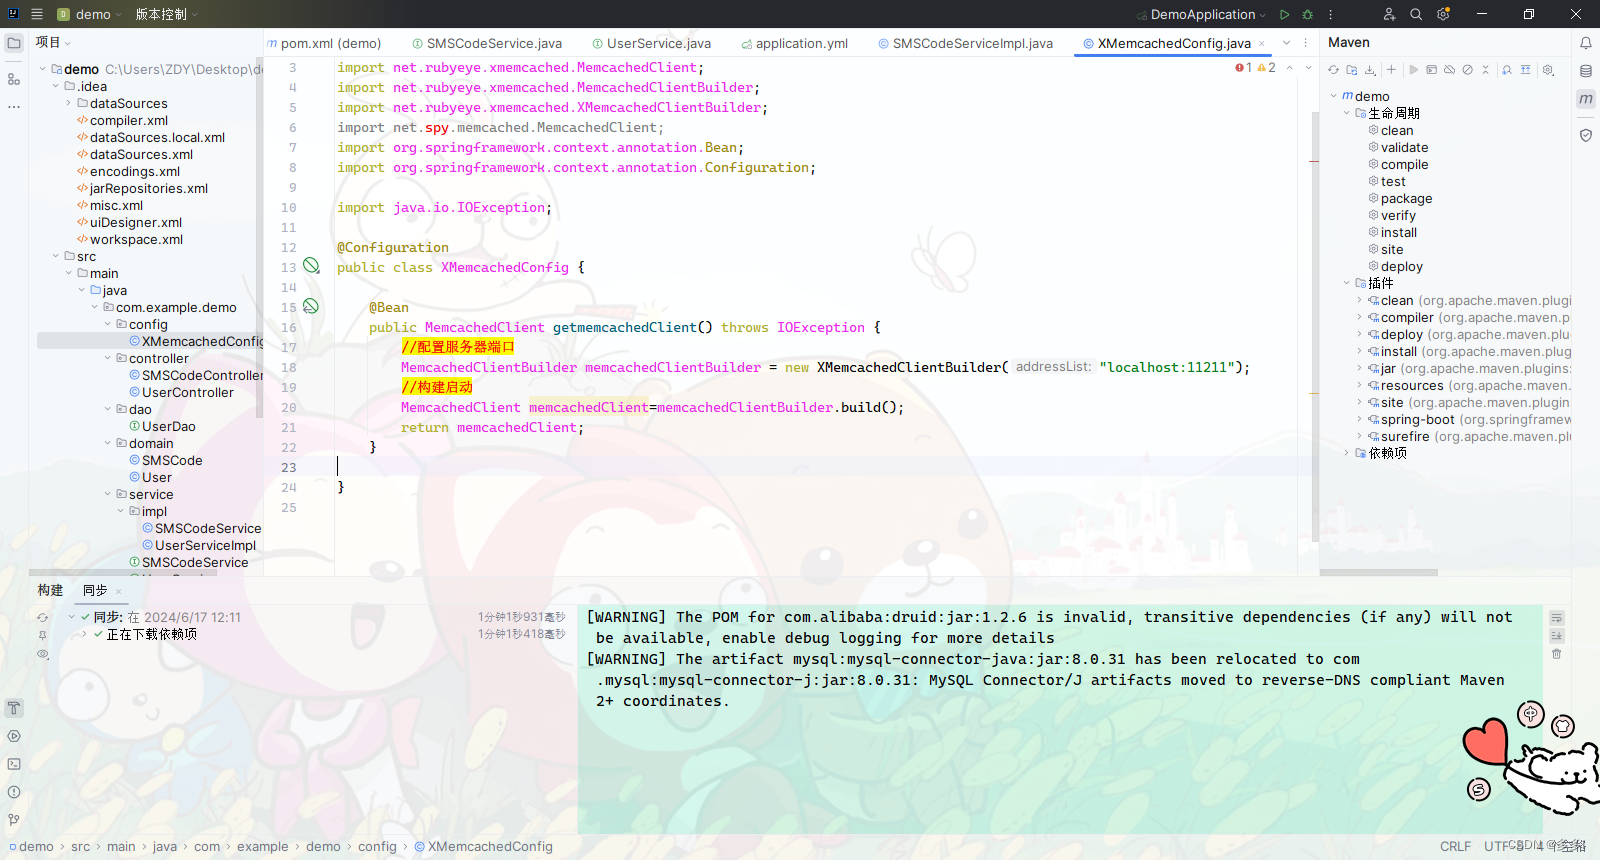
配置一个客户端对象
然后加载为spring容器的bean
package com.example.demo.config;

import net.rubyeye.xmemcached.MemcachedClient;
import net.rubyeye.xmemcached.MemcachedClientBuilder;
import net.rubyeye.xmemcached.XMemcachedClientBuilder;
import net.spy.memcached.MemcachedClient;
import org.springframework.context.annotation.Bean;
import org.springframework.context.annotation.Configuration;

import java.io.IOException;

@Configuration
public class XMemcachedConfig {

    @Bean
    public MemcachedClient getmemcachedClient() throws IOException {
        //配置服务器端口
        MemcachedClientBuilder memcachedClientBuilder = new XMemcachedClientBuilder("localhost:11211");
        //构建启动
        MemcachedClient memcachedClient=memcachedClientBuilder.build();
        return memcachedClient;
    }

}
我们直接进行依赖注入

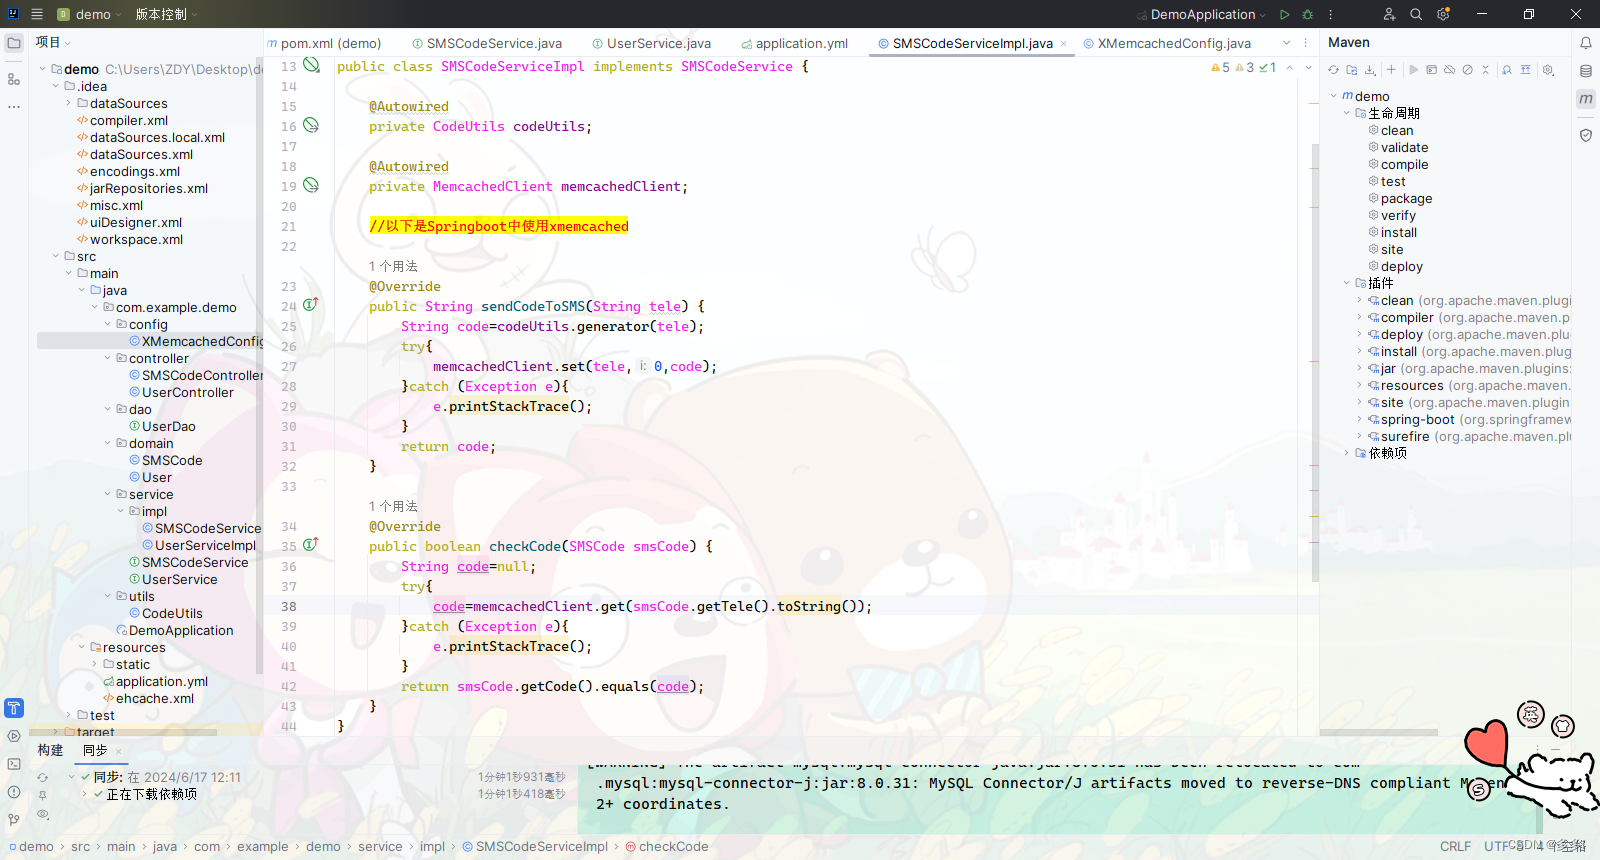
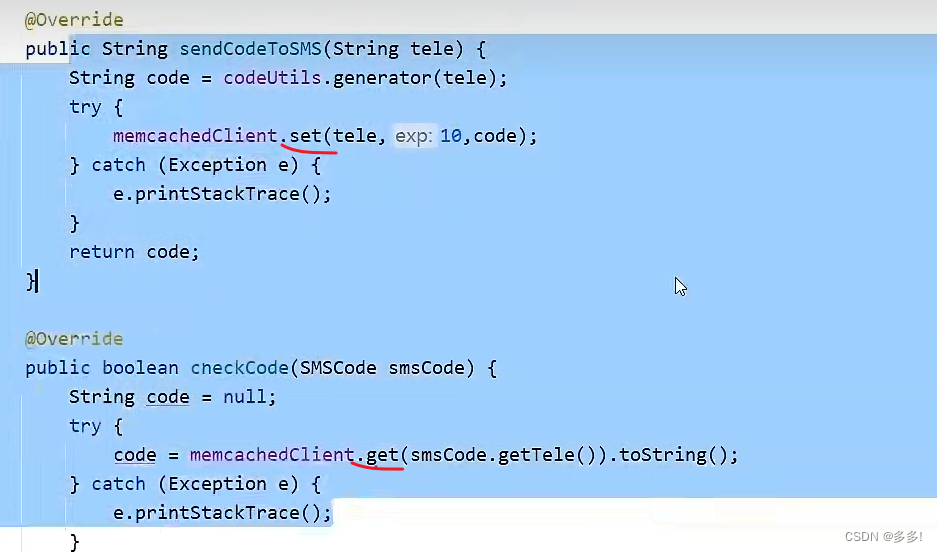
我们接下来补全业务层的代码
书写完毕
package com.example.demo.service.impl;
import com.example.demo.domain.SMSCode;
import com.example.demo.service.SMSCodeService;
import com.example.demo.utils.CodeUtils;
import net.rubyeye.xmemcached.MemcachedClient;
import org.springframework.beans.factory.annotation.Autowired;
import org.springframework.cache.annotation.CachePut;
import org.springframework.cache.annotation.Cacheable;
import org.springframework.stereotype.Service;
@Service
public class SMSCodeServiceImpl implements SMSCodeService {
@Autowired
private CodeUtils codeUtils;
@Autowired
private MemcachedClient memcachedClient;
//以下是Springboot中使用xmemcached
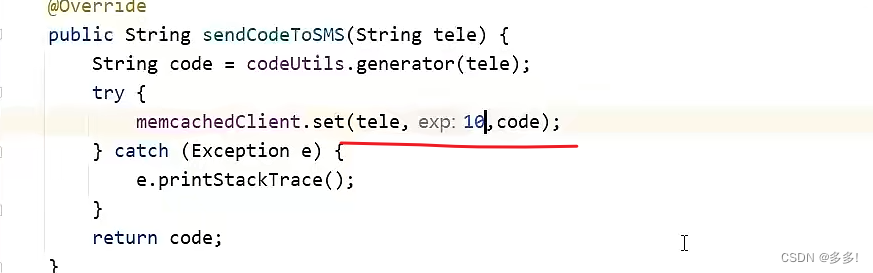
@Override
public String sendCodeToSMS(String tele) {
String code=codeUtils.generator(tele);
try{
memcachedClient.set(tele,0,code);
}catch (Exception e){
e.printStackTrace();
}
return code;
}
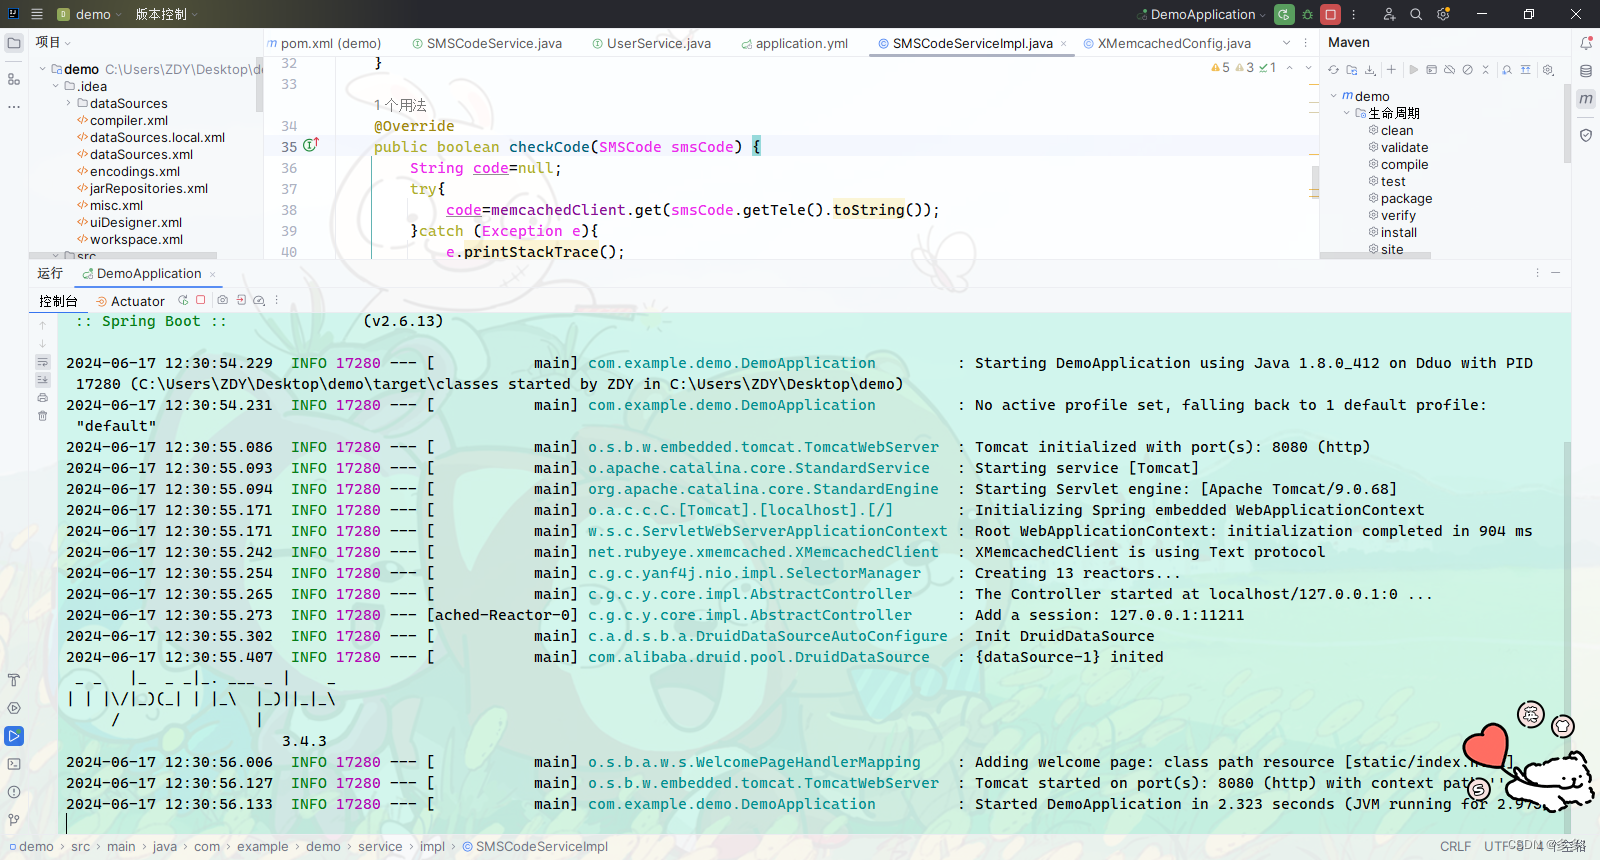
@Override
public boolean checkCode(SMSCode smsCode) {
String code=null;
try{
code=memcachedClient.get(smsCode.getTele().toString());
}catch (Exception e){
e.printStackTrace();
}
return smsCode.getCode().equals(code);
}
}我们要去改一下缓存的注释
我们把之前采用的缓存方案全部注释掉
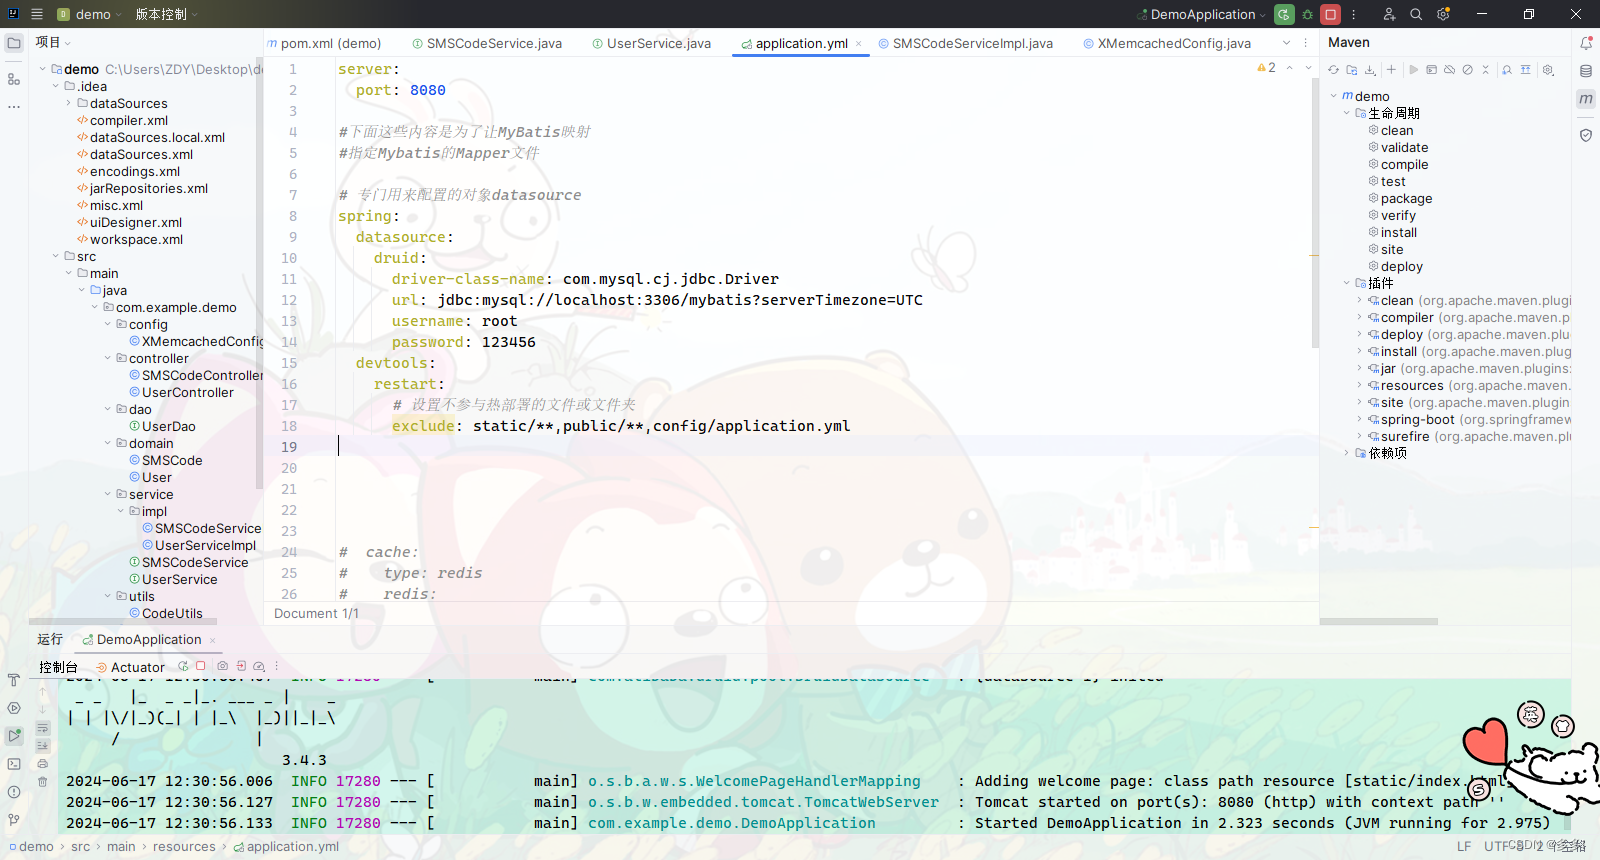
# 专门用来配置的对象datasource
spring:
  datasource:
    druid:
      driver-class-name: com.mysql.cj.jdbc.Driver
      url: jdbc:mysql://localhost:3306/mybatis?serverTimezone=UTC
      username: root
      password: 123456
  devtools:
    restart:
      # 设置不参与热部署的文件或文件夹
      exclude: static/**,public/**,config/application.yml
启动成功
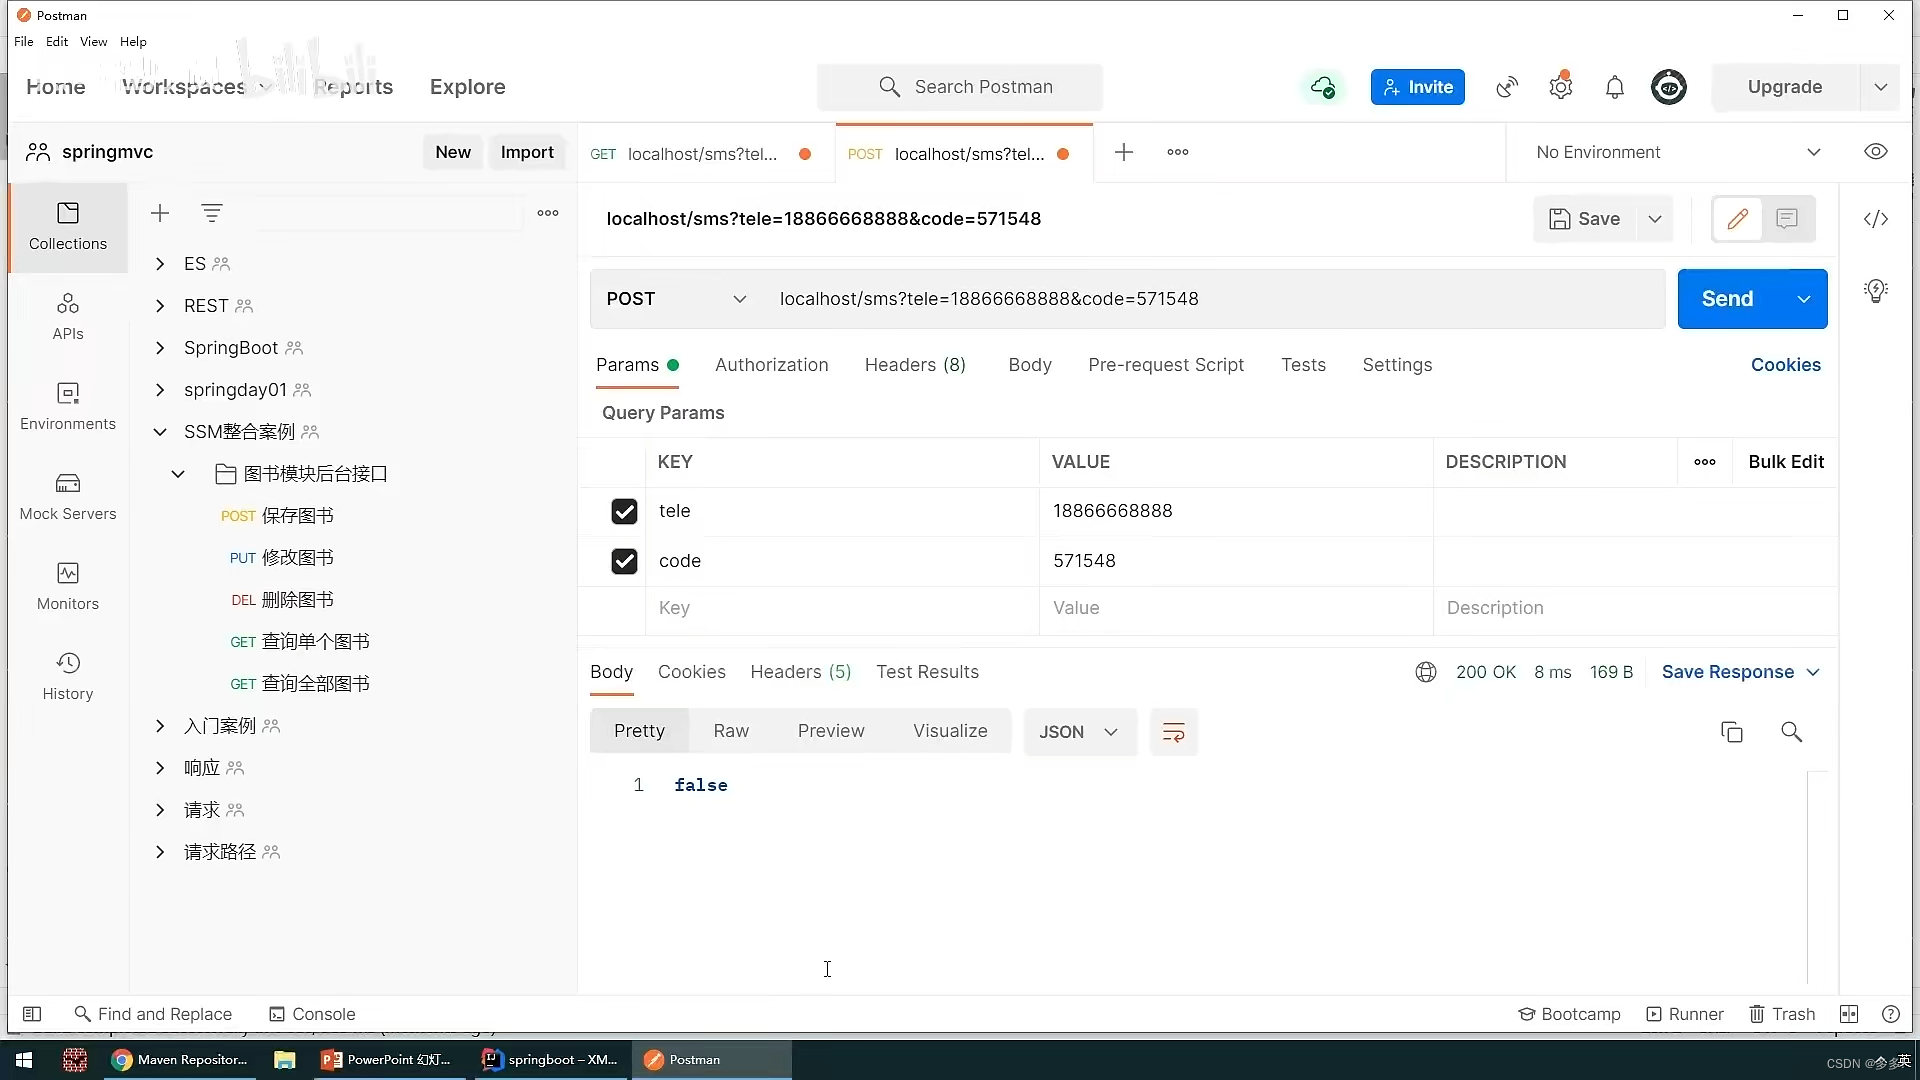
去postman发起请求测试
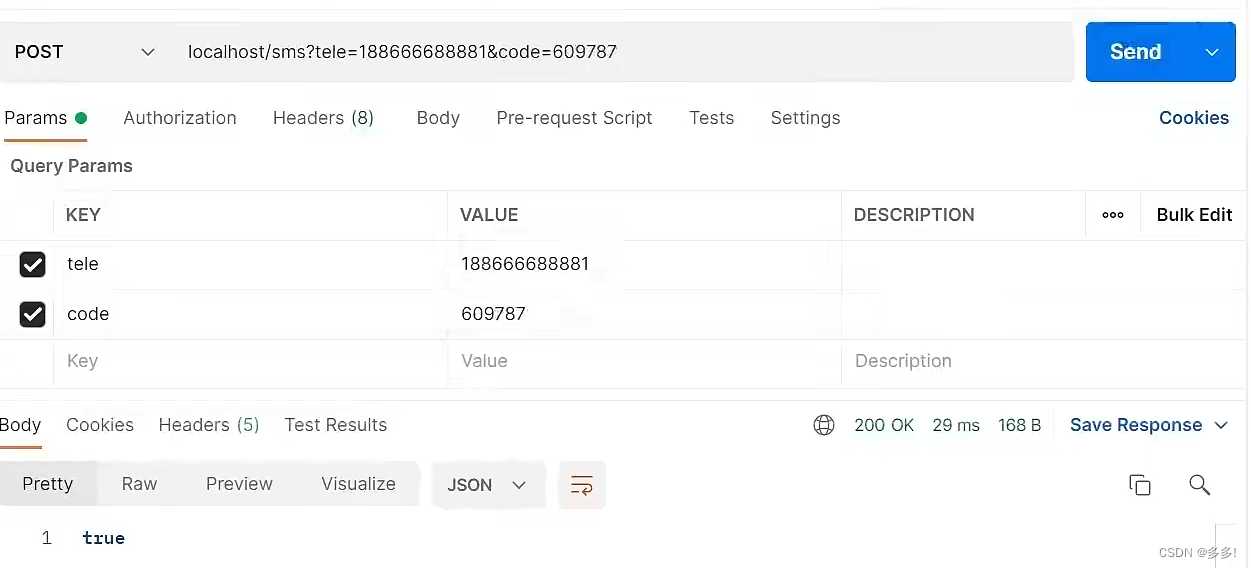
我们通过修改客户端的数值
能改变一些设置
如设置缓存失效时间
硬编码
就是手搓客户端对象
然后交给spring容器管理后
在业务层的实现类注入
使用缓存的时候使用set
获取缓存数据的时候使用get
但是我们这边还有个问题
就是在书写客户端的时候
这个数据应该从配置文件里去处理

先写一个类
这个类有成员属性 代表的是各种配置信息
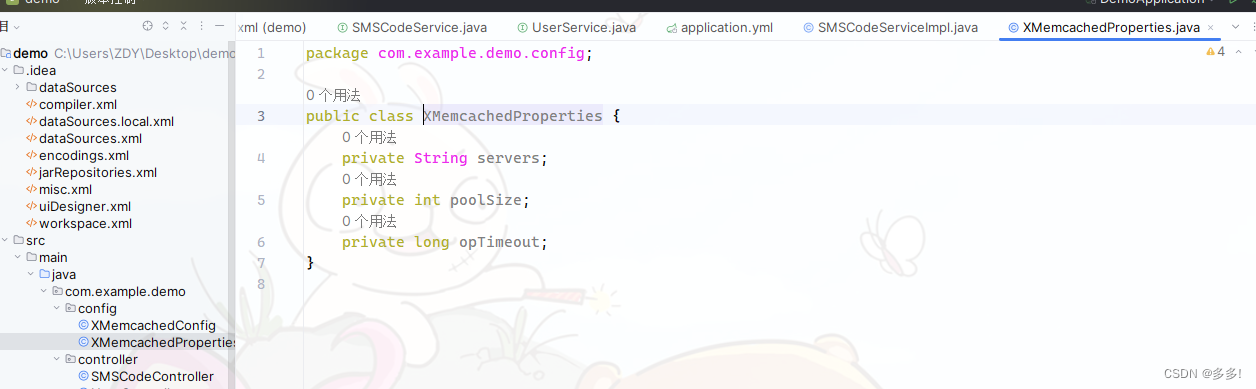
我们需要做的是自定义配置

memcached:
  servers: localhost:11211
  poolSize: 10
  opTimeout: 3000
然后在类里面去读取
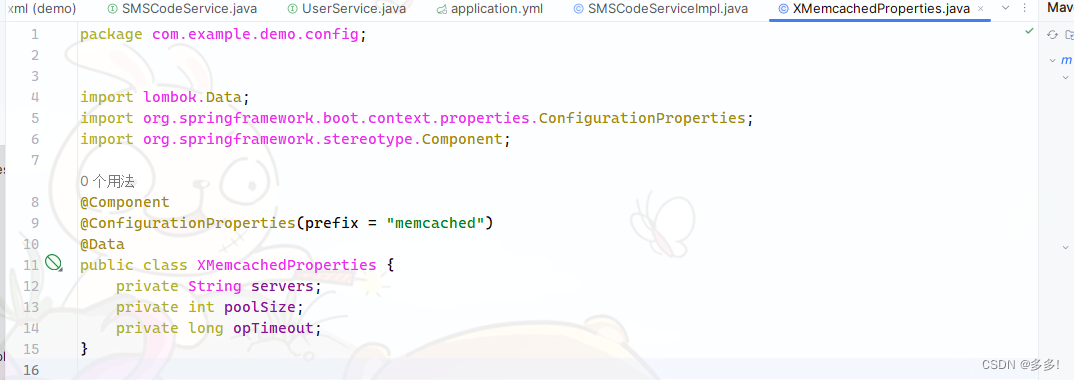
package com.example.demo.config;


import lombok.Data;
import org.springframework.boot.context.properties.ConfigurationProperties;
import org.springframework.stereotype.Component;

@Component
@ConfigurationProperties(prefix = "memcached")
@Data
public class XMemcachedProperties {
    private String servers;
    private int poolSize;
    private long opTimeout;
}
这样我们的类就能成功加载
@Component注解又能让这个类被spring容器管理
我们在这边直接注入就行

只不过是数值换了一个地方加载
package com.example.demo.config;

import net.rubyeye.xmemcached.MemcachedClient;
import net.rubyeye.xmemcached.MemcachedClientBuilder;
import net.rubyeye.xmemcached.XMemcachedClientBuilder;

import org.springframework.beans.factory.annotation.Autowired;
import org.springframework.context.annotation.Bean;
import org.springframework.context.annotation.Configuration;

import java.io.IOException;

@Configuration
public class    XMemcachedConfig {

    @Autowired
    private XMemcachedProperties memcachedProperties;

    @Bean
    public MemcachedClient getmemcachedClient() throws IOException {
        //配置服务器端口
        MemcachedClientBuilder memcachedClientBuilder = new XMemcachedClientBuilder(memcachedProperties.getServers());
        //配置数据库连接池最大连接量
        memcachedClientBuilder.setConnectionPoolSize(memcachedProperties.getPoolSize());
        //配置缓存时间
        memcachedClientBuilder.setConnectTimeout(memcachedProperties.getOpTimeout());
        //构建启动
        MemcachedClient memcachedClient=memcachedClientBuilder.build();
        return memcachedClient;
    }

}
发起请求
成功
个人号推广
博客主页
Web后端开发
https://blog.csdn.net/qq_30500575/category_12624592.html?spm=1001.2014.3001.5482
Web前端开发
https://blog.csdn.net/qq_30500575/category_12642989.html?spm=1001.2014.3001.5482
数据库开发
https://blog.csdn.net/qq_30500575/category_12651993.html?spm=1001.2014.3001.5482
项目实战
https://blog.csdn.net/qq_30500575/category_12699801.html?spm=1001.2014.3001.5482
算法与数据结构
https://blog.csdn.net/qq_30500575/category_12630954.html?spm=1001.2014.3001.5482
计算机基础
https://blog.csdn.net/qq_30500575/category_12701605.html?spm=1001.2014.3001.5482
回忆录
https://blog.csdn.net/qq_30500575/category_12620276.html?spm=1001.2014.3001.5482