python
import cv2 as cv
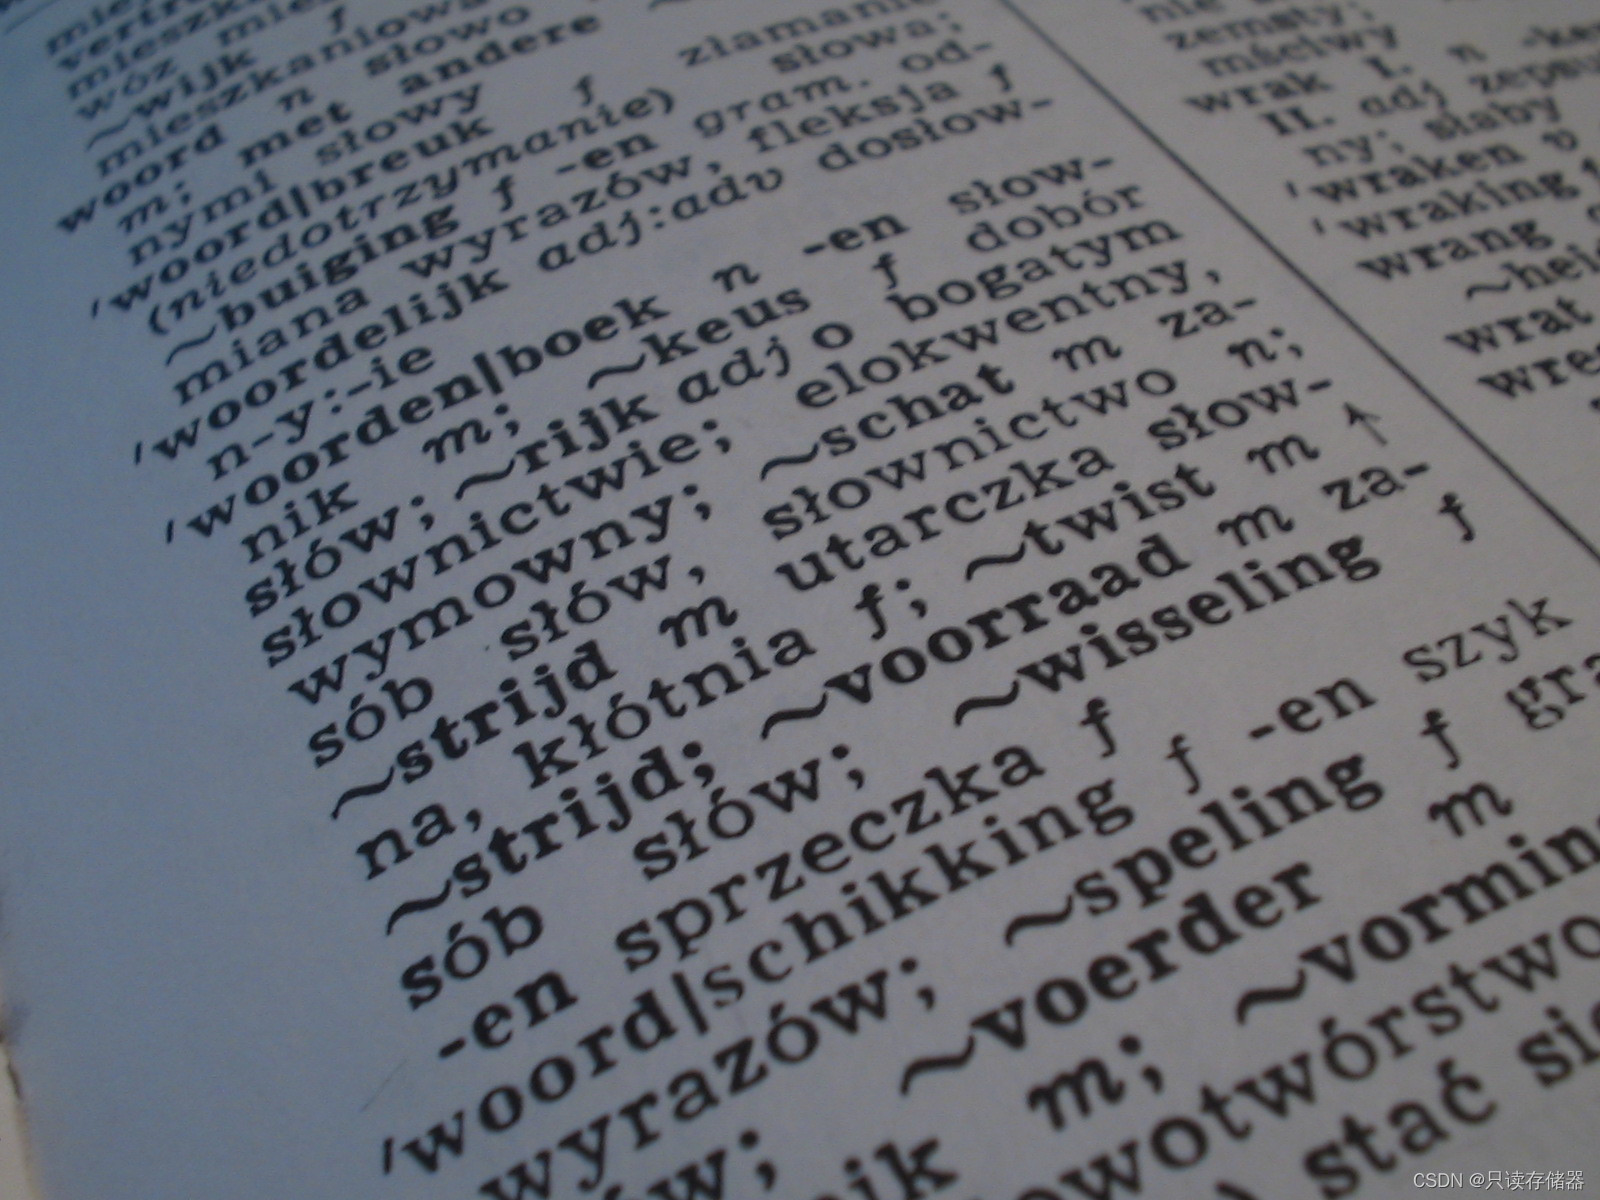
img=cv.imread('bookpage.jpg')
img=cv.cvtColor(img,cv.COLOR_RGBA2GRAY)
_,result=cv.threshold(img,50,255,cv.THRESH_BINARY)
adaptive = cv.adaptiveThreshold(img,255,cv.ADAPTIVE_THRESH_GAUSSIAN_C,cv.THRESH_BINARY,21,4)
cv.imshow('img',img)
cv.imshow('result',result)
cv.imshow('adaptive',adaptive)
cv.waitKey(0)
cv.destroyAllWindows()短短几行代码,却能让图像发生变化amazing😁
python
#HandTrackingMin.py

from unittest import result

import cv2
import mediapipe as mp
import time

cap = cv2.VideoCapture(0)  # 摄像头数字
# 索引0指的是系统的默认摄像头
# 索引1指的是连接的第二个摄像头获取数据

mpHands = mp.solutions.hands
hands = mpHands.Hands()  #  只用RGB,所以需要转换为RGB
mapDraw = mp.solutions.drawing_utils

pTime = 0
cTime = 0

while True:
    success, img = cap.read()
    imageRGB = cv2.cvtColor(img, cv2.COLOR_BGR2RGB)
    results = hands.process(imageRGB)
    # print(results.multi_hand_landmarks) 手的检查

    if results.multi_hand_landmarks:
        for handLms in results.multi_hand_landmarks:
            for id, lm in enumerate(handLms.landmark):
                # print(id, lm)
                h,w,c = img.shape
                cx,cy = int(lm.x*w),int(lm.y*h)
                print(id,cx,cy)
                if id==4:
                    cv2.circle(img,(cx,cy),15,(0,0,255),cv2.FILLED) # 检查landmark==0,4

            mapDraw.draw_landmarks(img, handLms, mpHands.HAND_CONNECTIONS) #获取手部骨架的连接线

    cTime = time.time()
    fps = 1 / (cTime - pTime)
    pTime = cTime

    cv2.putText(img,str(int(fps)),(10,70),cv2.FONT_HERSHEY_PLAIN,3,(0,0,255),3)

    cv2.imshow('Image', img)
    cv2.waitKey(1)  #运行摄像头
python
#HangTrackingModule.py

import cv2
import mediapipe as mp
import time

class handDetector():
    def __init__(self, mode=False, maxHands=4, detectionCon=0.5, trackCon=0.5):
        self.mode = mode
        self.maxHands = maxHands
        self.detectionCon = detectionCon
        self.trackCon = trackCon
        self.mpHands = mp.solutions.hands # 使用mediapipe库的手部姿势估计模型
        self.hands = self.mpHands.Hands(self.mode, max_num_hands=self.maxHands, min_detection_confidence=self.detectionCon, min_tracking_confidence=self.trackCon)
        self.mapDraw = mp.solutions.drawing_utils

    def findHands(self, img, draw=True):
        imageRGB = cv2.cvtColor(img, cv2.COLOR_BGR2RGB)
        self.results = self.hands.process(imageRGB)
        if self.results.multi_hand_landmarks:   # 检查是否检测到手部
            for handLms in self.results.multi_hand_landmarks:
                if draw:
                    self.mapDraw.draw_landmarks(img, handLms, self.mpHands.HAND_CONNECTIONS) # 绘制手部关键点和连接线
        return img

    def findPositions(self, img, handNo=0, draw=True):
        lmList = []
        if self.results.multi_hand_landmarks:
            myHand = self.results.multi_hand_landmarks[handNo]
            for id, lm in enumerate(myHand.landmark):
                h, w, c = img.shape
                cx, cy = int(lm.x * w), int(lm.y * h) # 计算坐标
                lmList.append([id, cx, cy])
                if draw:
                    cv2.circle(img, (cx, cy), 5, (255, 255, 255), cv2.FILLED)  # Highlight the landmark
        return lmList

def main():
    pTime = 0
    cap = cv2.VideoCapture(0)
    detector = handDetector()
    while True:
        success, img = cap.read() # 读取摄像头的图像帧
        img = detector.findHands(img)
        lmList = detector.findPositions(img)
        if len(lmList) != 0:
            print(lmList[4])  # 打印关键点

        cTime = time.time() # 获取当前时间
        fps = 1 / (cTime - pTime)  # 计算帧率
        pTime = cTime   # 更新上一帧的时间
        cv2.putText(img, str(int(fps)), (10, 70), cv2.FONT_HERSHEY_PLAIN, 3, (255, 0, 0), 3)
        cv2.imshow('Image', img)
        if cv2.waitKey(1) & 0xFF == ord('q'):
            break

    cap.release()
    cv2.destroyAllWindows()

if __name__ == '__main__':
    main()
车🚗(GitHub上看到的,蛮有意思的
python
# Code Changed, Optimized And Commented By: NeuralNine (Florian Dedov)

import math
import random
import sys
import os

import neat
import pygame

# Constants
# WIDTH = 1600
# HEIGHT = 880

WIDTH = 1920
HEIGHT = 1000

CAR_SIZE_X = 60
CAR_SIZE_Y = 60

BORDER_COLOR = (255, 255, 255, 255)  # Color To Crash on Hit

current_generation = 0  # Generation counter


class Car:

    def __init__(self):
        # Load Car Sprite and Rotate
        self.sprite = pygame.image.load('car.png').convert()  # Convert Speeds Up A Lot
        self.sprite = pygame.transform.scale(self.sprite, (CAR_SIZE_X, CAR_SIZE_Y))
        self.rotated_sprite = self.sprite

        # self.position = [690, 740] # Starting Position
        self.position = [830, 920]  # Starting Position
        self.angle = 0
        self.speed = 0

        self.speed_set = False  # Flag For Default Speed Later on

        self.center = [self.position[0] + CAR_SIZE_X / 2, self.position[1] + CAR_SIZE_Y / 2]  # Calculate Center

        self.radars = []  # List For Sensors / Radars
        self.drawing_radars = []  # Radars To Be Drawn

        self.alive = True  # Boolean To Check If Car is Crashed

        self.distance = 0  # Distance Driven
        self.time = 0  # Time Passed

    def draw(self, screen):
        screen.blit(self.rotated_sprite, self.position)  # Draw Sprite
        self.draw_radar(screen)  # OPTIONAL FOR SENSORS

    def draw_radar(self, screen):
        # Optionally Draw All Sensors / Radars
        for radar in self.radars:
            position = radar[0]
            pygame.draw.line(screen, (0, 255, 0), self.center, position, 1)
            pygame.draw.circle(screen, (0, 255, 0), position, 5)

    def check_collision(self, game_map):
        self.alive = True
        for point in self.corners:
            # If Any Corner Touches Border Color -> Crash
            # Assumes Rectangle
            if game_map.get_at((int(point[0]), int(point[1]))) == BORDER_COLOR:
                self.alive = False
                break

    def check_radar(self, degree, game_map):
        length = 0
        x = int(self.center[0] + math.cos(math.radians(360 - (self.angle + degree))) * length)
        y = int(self.center[1] + math.sin(math.radians(360 - (self.angle + degree))) * length)

        # While We Don't Hit BORDER_COLOR AND length < 300 (just a max) -> go further and further
        while not game_map.get_at((x, y)) == BORDER_COLOR and length < 300:
            length = length + 1
            x = int(self.center[0] + math.cos(math.radians(360 - (self.angle + degree))) * length)
            y = int(self.center[1] + math.sin(math.radians(360 - (self.angle + degree))) * length)

        # Calculate Distance To Border And Append To Radars List
        dist = int(math.sqrt(math.pow(x - self.center[0], 2) + math.pow(y - self.center[1], 2)))
        self.radars.append([(x, y), dist])

    def update(self, game_map):
        # Set The Speed To 20 For The First Time
        # Only When Having 4 Output Nodes With Speed Up and Down
        if not self.speed_set:
            self.speed = 20
            self.speed_set = True

        # Get Rotated Sprite And Move Into The Right X-Direction
        # Don't Let The Car Go Closer Than 20px To The Edge
        self.rotated_sprite = self.rotate_center(self.sprite, self.angle)
        self.position[0] += math.cos(math.radians(360 - self.angle)) * self.speed
        self.position[0] = max(self.position[0], 20)
        self.position[0] = min(self.position[0], WIDTH - 120)

        # Increase Distance and Time
        self.distance += self.speed
        self.time += 1

        # Same For Y-Position
        self.position[1] += math.sin(math.radians(360 - self.angle)) * self.speed
        self.position[1] = max(self.position[1], 20)
        self.position[1] = min(self.position[1], WIDTH - 120)

        # Calculate New Center
        self.center = [int(self.position[0]) + CAR_SIZE_X / 2, int(self.position[1]) + CAR_SIZE_Y / 2]

        # Calculate Four Corners
        # Length Is Half The Side
        length = 0.5 * CAR_SIZE_X
        left_top = [self.center[0] + math.cos(math.radians(360 - (self.angle + 30))) * length,
                    self.center[1] + math.sin(math.radians(360 - (self.angle + 30))) * length]
        right_top = [self.center[0] + math.cos(math.radians(360 - (self.angle + 150))) * length,
                     self.center[1] + math.sin(math.radians(360 - (self.angle + 150))) * length]
        left_bottom = [self.center[0] + math.cos(math.radians(360 - (self.angle + 210))) * length,
                       self.center[1] + math.sin(math.radians(360 - (self.angle + 210))) * length]
        right_bottom = [self.center[0] + math.cos(math.radians(360 - (self.angle + 330))) * length,
                        self.center[1] + math.sin(math.radians(360 - (self.angle + 330))) * length]
        self.corners = [left_top, right_top, left_bottom, right_bottom]

        # Check Collisions And Clear Radars
        self.check_collision(game_map)
        self.radars.clear()

        # From -90 To 120 With Step-Size 45 Check Radar
        for d in range(-90, 120, 45):
            self.check_radar(d, game_map)

    def get_data(self):
        # Get Distances To Border
        radars = self.radars
        return_values = [0, 0, 0, 0, 0]
        for i, radar in enumerate(radars):
            return_values[i] = int(radar[1] / 30)

        return return_values

    def is_alive(self):
        # Basic Alive Function
        return self.alive

    def get_reward(self):
        # Calculate Reward (Maybe Change?)
        # return self.distance / 50.0
        return self.distance / (CAR_SIZE_X / 2)

    def rotate_center(self, image, angle):
        # Rotate The Rectangle
        rectangle = image.get_rect()
        rotated_image = pygame.transform.rotate(image, angle)
        rotated_rectangle = rectangle.copy()
        rotated_rectangle.center = rotated_image.get_rect().center
        rotated_image = rotated_image.subsurface(rotated_rectangle).copy()
        return rotated_image


def run_simulation(genomes, config):
    # Empty Collections For Nets and Cars
    nets = []
    cars = []

    # Initialize PyGame And The Display
    pygame.init()
    screen = pygame.display.set_mode((WIDTH, HEIGHT), pygame.FULLSCREEN)

    # For All Genomes Passed Create A New Neural Network
    for i, g in genomes:
        net = neat.nn.FeedForwardNetwork.create(g, config)
        nets.append(net)
        g.fitness = 0

        cars.append(Car())

    # Clock Settings
    # Font Settings & Loading Map
    clock = pygame.time.Clock()
    generation_font = pygame.font.SysFont("Arial", 30)
    alive_font = pygame.font.SysFont("Arial", 20)
    game_map = pygame.image.load('map.png').convert()  # Convert Speeds Up A Lot

    global current_generation
    current_generation += 1

    # Simple Counter To Roughly Limit Time (Not Good Practice)
    counter = 0

    while True:
        # Exit On Quit Event
        for event in pygame.event.get():
            if event.type == pygame.QUIT:
                sys.exit(0)

        # For Each Car Get The Acton It Takes
        for i, car in enumerate(cars):
            output = nets[i].activate(car.get_data())
            choice = output.index(max(output))
            if choice == 0:
                car.angle += 10  # Left
            elif choice == 1:
                car.angle -= 10  # Right
            elif choice == 2:
                if (car.speed - 2 >= 12):
                    car.speed -= 2  # Slow Down
            else:
                car.speed += 2  # Speed Up

        # Check If Car Is Still Alive
        # Increase Fitness If Yes And Break Loop If Not
        still_alive = 0
        for i, car in enumerate(cars):
            if car.is_alive():
                still_alive += 1
                car.update(game_map)
                genomes[i][1].fitness += car.get_reward()

        if still_alive == 0:
            break

        counter += 1
        if counter == 30 * 40:  # Stop After About 20 Seconds
            break

        # Draw Map And All Cars That Are Alive
        screen.blit(game_map, (0, 0))
        for car in cars:
            if car.is_alive():
                car.draw(screen)

        # Display Info
        text = generation_font.render("Generation: " + str(current_generation), True, (0, 0, 0))
        text_rect = text.get_rect()
        text_rect.center = (900, 450)
        screen.blit(text, text_rect)

        text = alive_font.render("Still Alive: " + str(still_alive), True, (0, 0, 0))
        text_rect = text.get_rect()
        text_rect.center = (900, 490)
        screen.blit(text, text_rect)

        pygame.display.flip()
        clock.tick(60)  # 60 FPS


if __name__ == "__main__":
    # Load Config
    config_path = "./config.txt"
    config = neat.config.Config(neat.DefaultGenome,
                                neat.DefaultReproduction,
                                neat.DefaultSpeciesSet,
                                neat.DefaultStagnation,
                                config_path)

    # Create Population And Add Reporters
    population = neat.Population(config)
    population.add_reporter(neat.StdOutReporter(True))
    stats = neat.StatisticsReporter()
    population.add_reporter(stats)

    # Run Simulation For A Maximum of 1000 Generations
    population.run(run_simulation, 1000)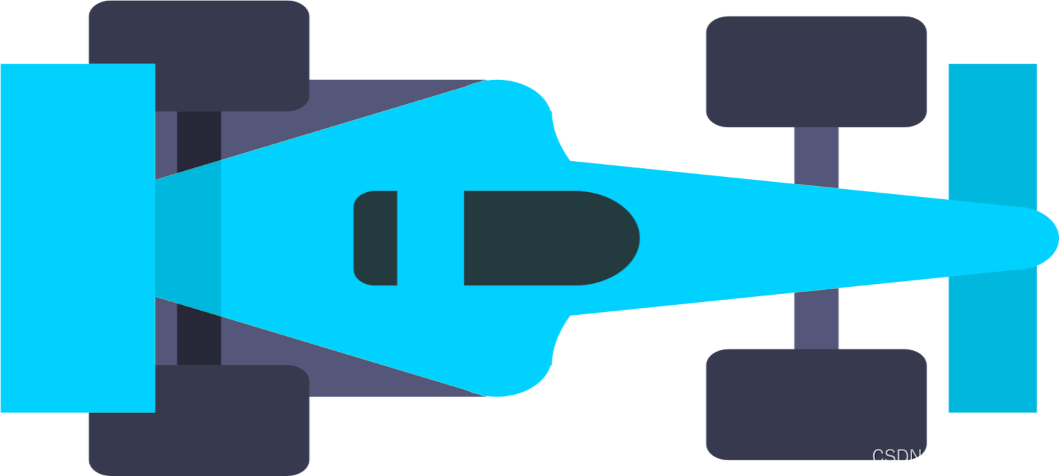
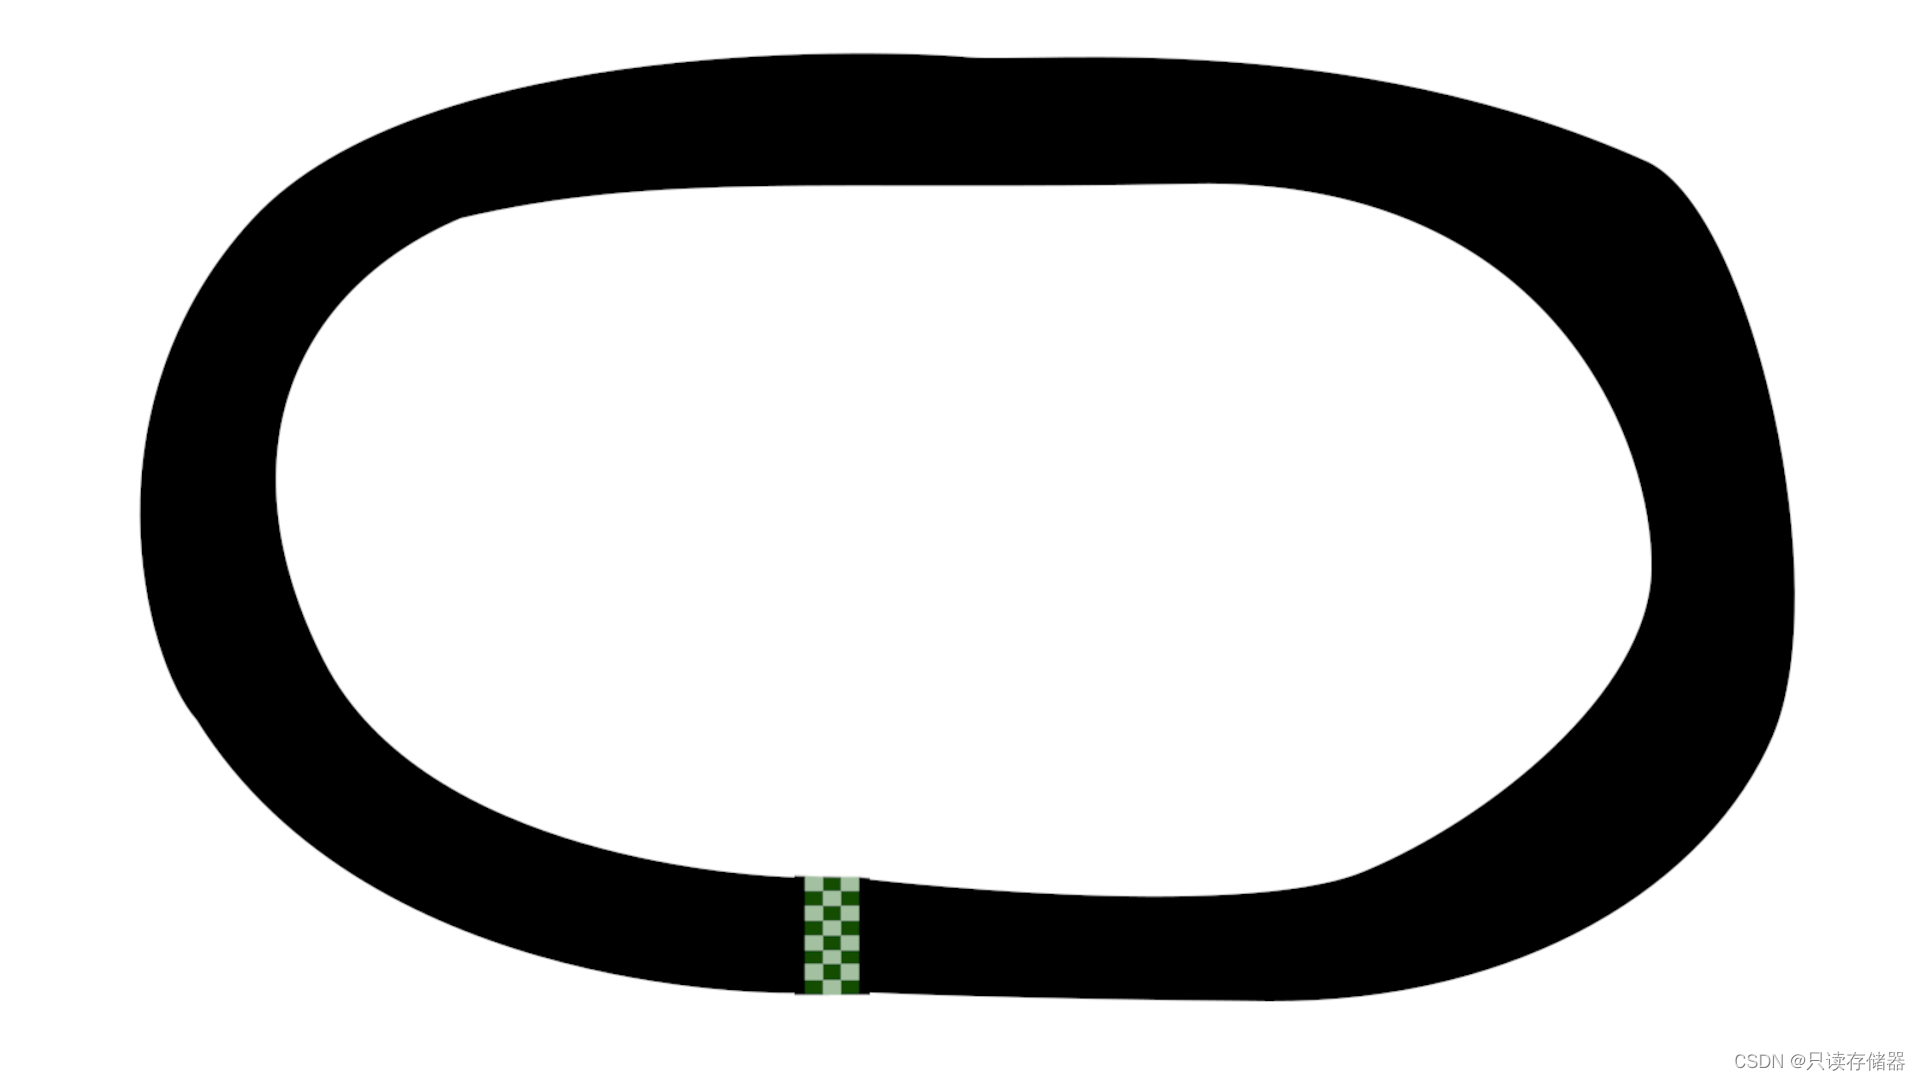
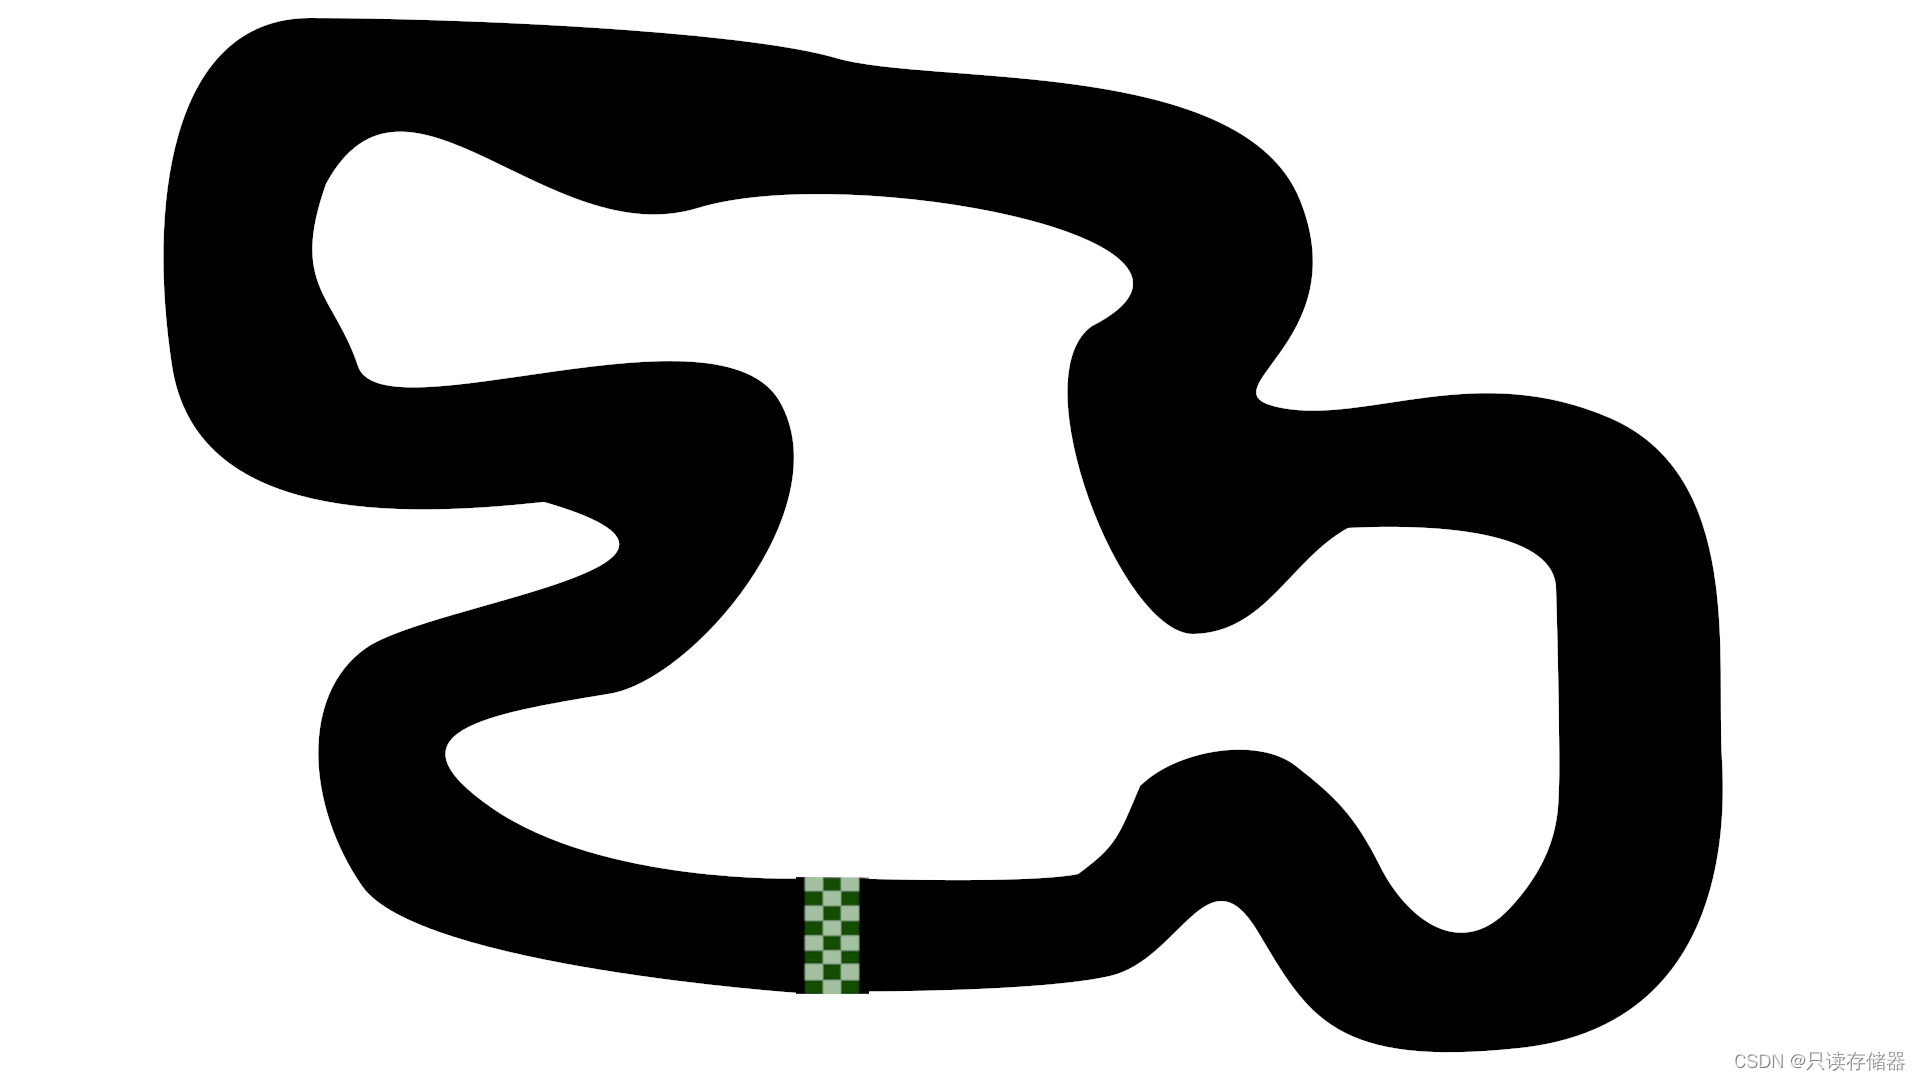
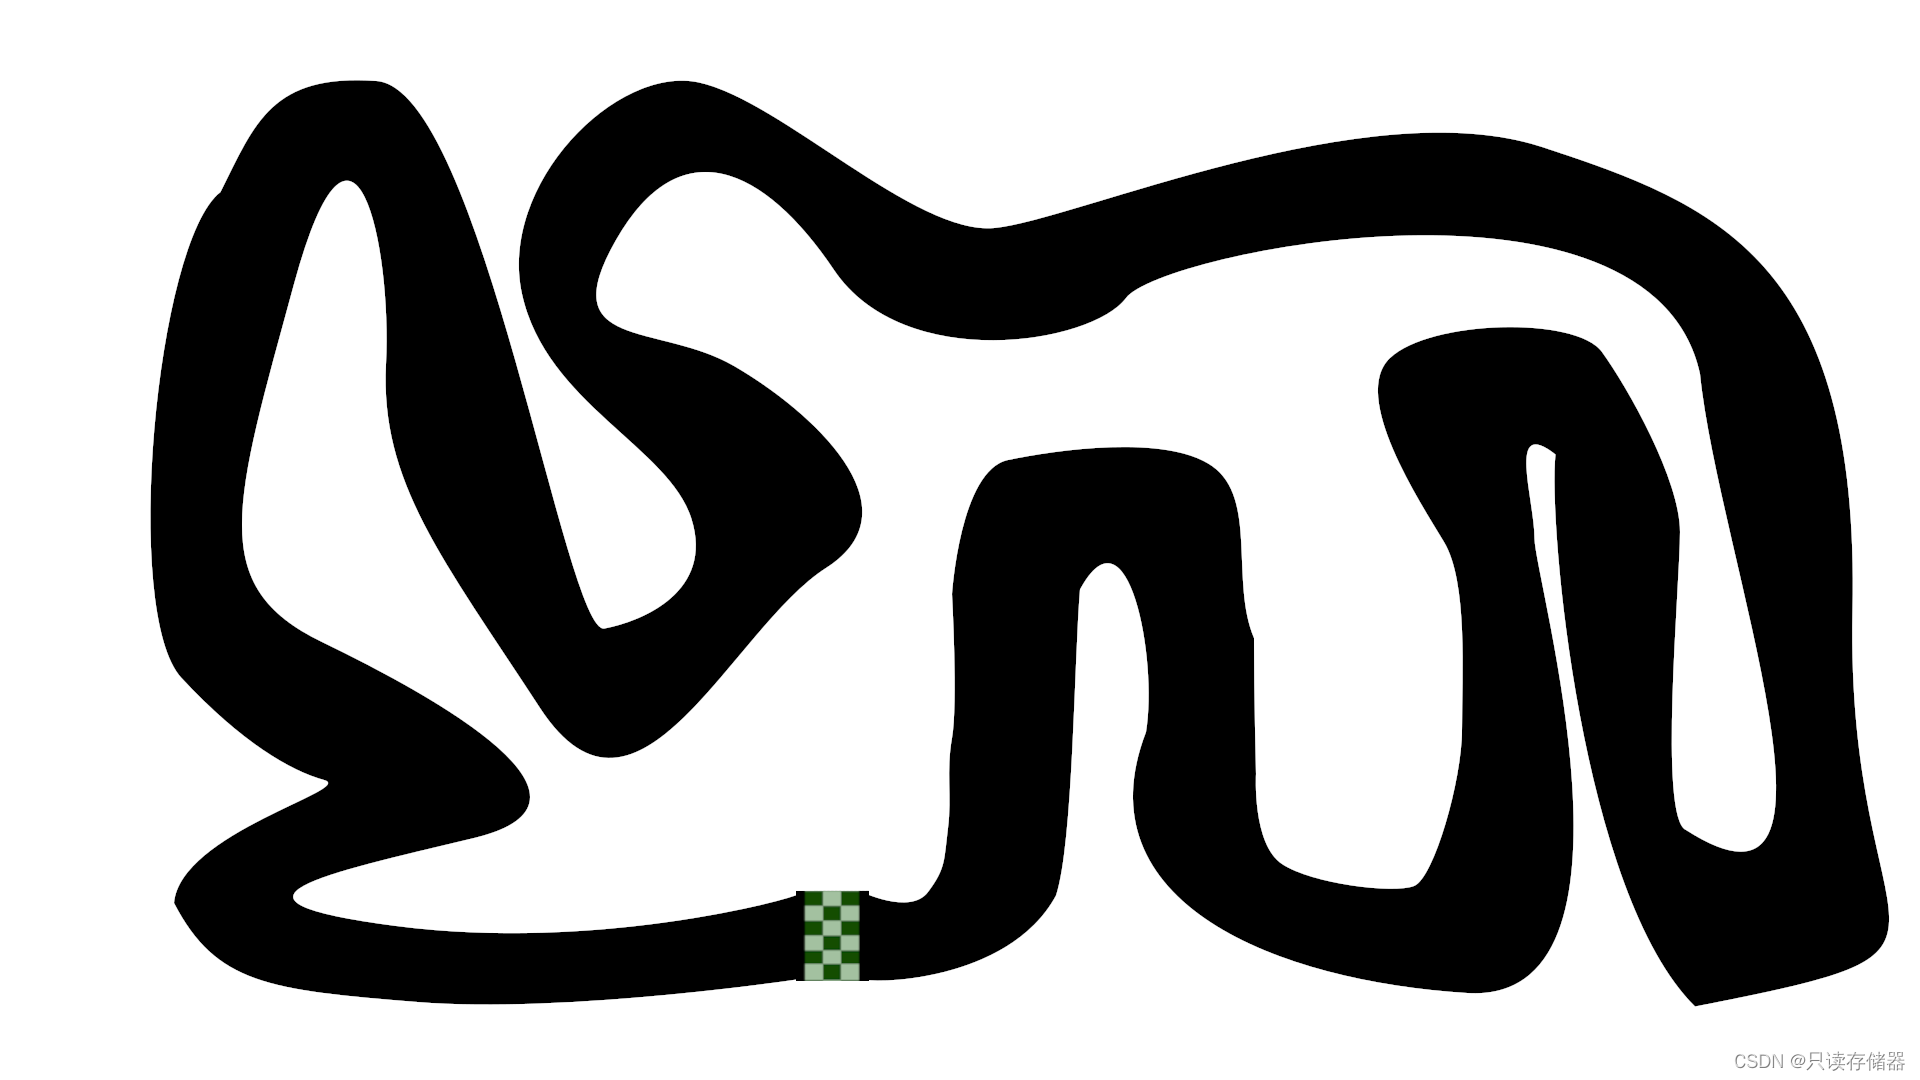
不过我的电脑显示到后面就有点恐怖了😨感觉像一堆爬行动物在跑
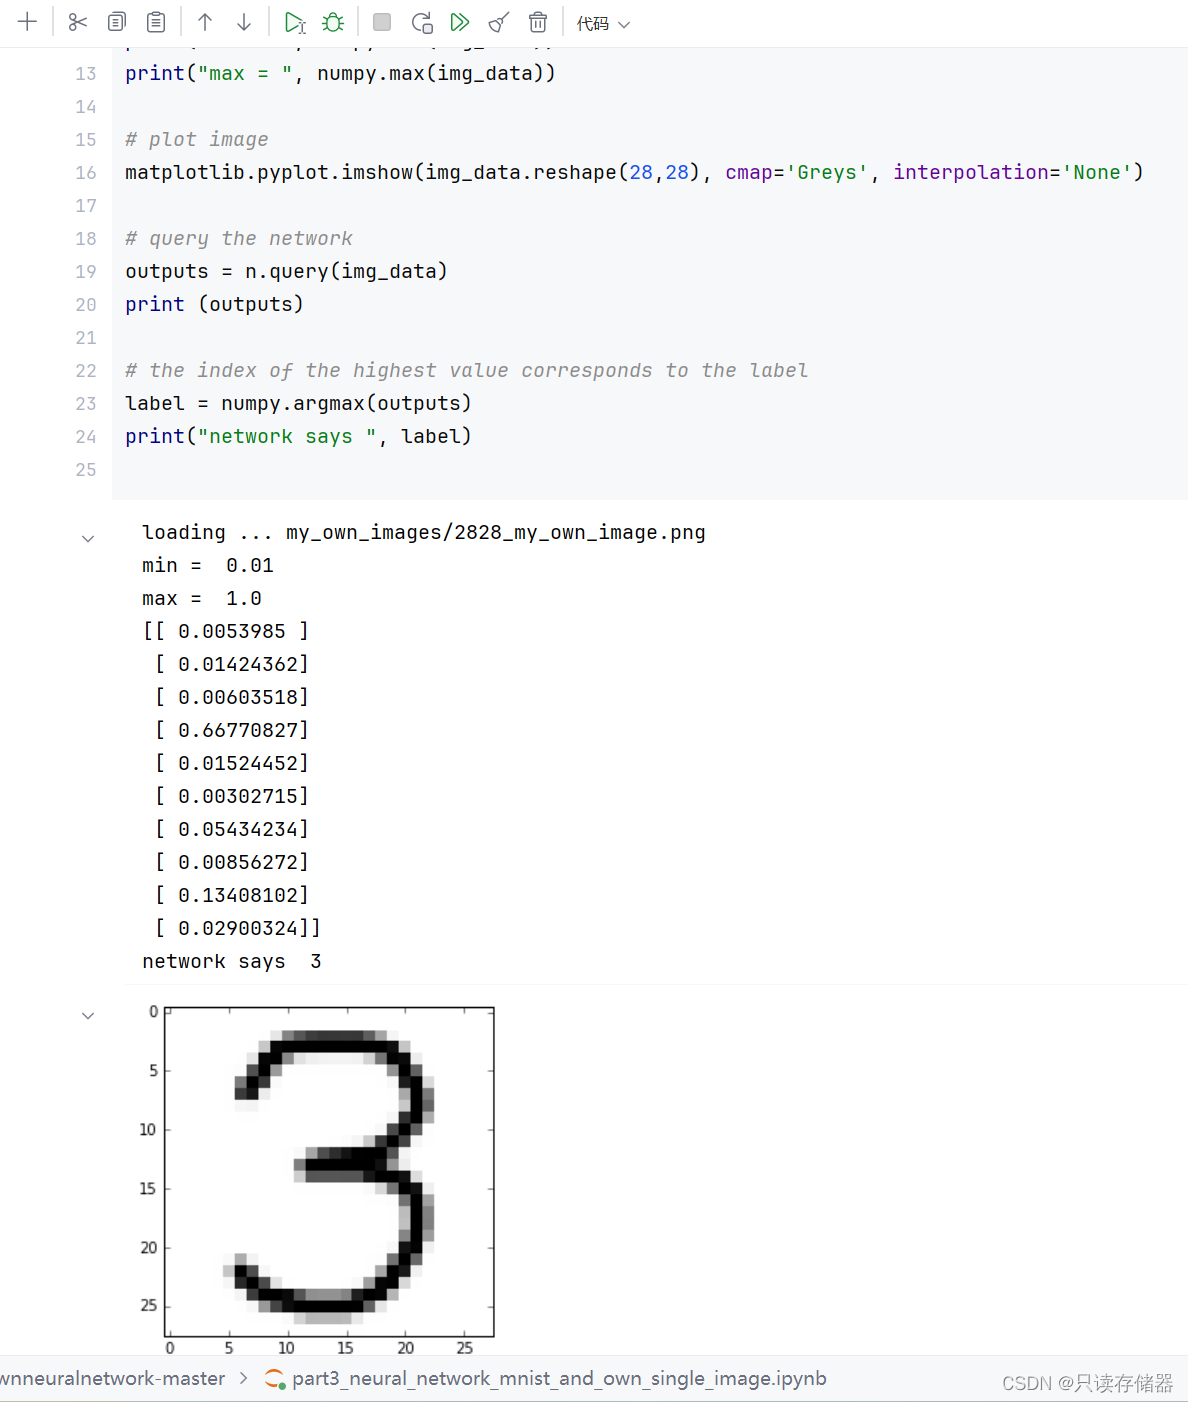
数字识别
python
import os
import cv2
import numpy as np
import matplotlib.pyplot as plt
import tensorflow as tf

# 加载模型
try:
    model = tf.keras.models.load_model('handwritten.model.keras')
    print("Model loaded successfully.")
except Exception as e:
    print(f"Failed to load model: {e}")
    exit()

# 图像文件夹路径更新为正确的路径
image_folder = 'E:/pythonProfessional/chat-bot'

image_number = 1
while True:
    image_path = f"{image_folder}/digit{image_number}.png"
    if not os.path.isfile(image_path):
        print(f"No more images found. Stopped at image number {image_number}.")
        break

    try:
        # 读取图像,并确保图像正确加载
        img = cv2.imread(image_path, cv2.IMREAD_GRAYSCALE)
        if img is None:
            raise ValueError("Image could not be read, it may be corrupted or in an unsupported format.")

        print(f"Processing {image_path}...")

        # 图像预处理
        img = cv2.resize(img, (28, 28))  # 调整图像大小
        img = np.invert(img)  # 反色处理
        img = img / 255.0  # 归一化
        img = img.reshape(1, 28, 28)  # 添加批量维度

        # 模型预测
        prediction = model.predict(img)
        predicted_digit = np.argmax(prediction)
        print(f"The number is probably a {predicted_digit}")
        plt.imshow(img.reshape(28, 28), cmap=plt.cm.binary)
        plt.title(f"Predicted Digit: {predicted_digit}")
        plt.show()
    except Exception as e:
        print(f"Error processing image {image_number}: {e}")

    image_number += 1

python
#image_gradients_and_canny_edge_detection
import cv2
import numpy as np
from matplotlib import pyplot as plt

img = cv2.imread("canny.jpg", cv2.IMREAD_GRAYSCALE)
lap = cv2.Laplacian(img, cv2.CV_64F, ksize=3)
lap = np.uint8(np.absolute(lap))
sobelX = cv2.Sobel(img, cv2.CV_64F, 1, 0)
sobelY = cv2.Sobel(img, cv2.CV_64F, 0, 1)
edges = cv2.Canny(img,100,200)

sobelX = np.uint8(np.absolute(sobelX))
sobelY = np.uint8(np.absolute(sobelY))

sobelCombined = cv2.bitwise_or(sobelX, sobelY)

titles = ['image', 'Laplacian', 'sobelX', 'sobelY', 'sobelCombined', 'Canny']
images = [img, lap, sobelX, sobelY, sobelCombined, edges]
for i in range(6):
    plt.subplot(2, 3, i+1), plt.imshow(images[i], 'gray')
    plt.title(titles[i])
    plt.xticks([]),plt.yticks([])

plt.show()
python
#opencv_Background_Subtraction

import numpy as np
import cv2 as cv
cap = cv.VideoCapture('vtest.avi')
#kernel = cv.getStructuringElement(cv.MORPH_ELLIPSE, (3,3))
fgbg = cv.bgsegm.createBackgroundSubtractorMOG()
#fgbg = cv.bgsegm.BackgroundSubtractorGMG()
#fgbg = cv.createBackgroundSubtractorMOG2(detectShadows=True)
#fgbg = cv.createBackgroundSubtractorKNN(detectShadows=True)
while True:
    ret, frame = cap.read()
    if frame is None:
        break
    fgmask = fgbg.apply(frame)
    #fgmask = cv.morphologyEx(fgmask, cv.MORPH_OPEN, kernel)

    cv.imshow('Frame', frame)
    cv.imshow('FG MASK Frame', fgmask)

    keyboard = cv.waitKey(30)
    if keyboard == 'q' or keyboard == 27:
        break
cap.release()
cv.destroyAllWindows()
滤波啥的变化

感谢阅读🌸