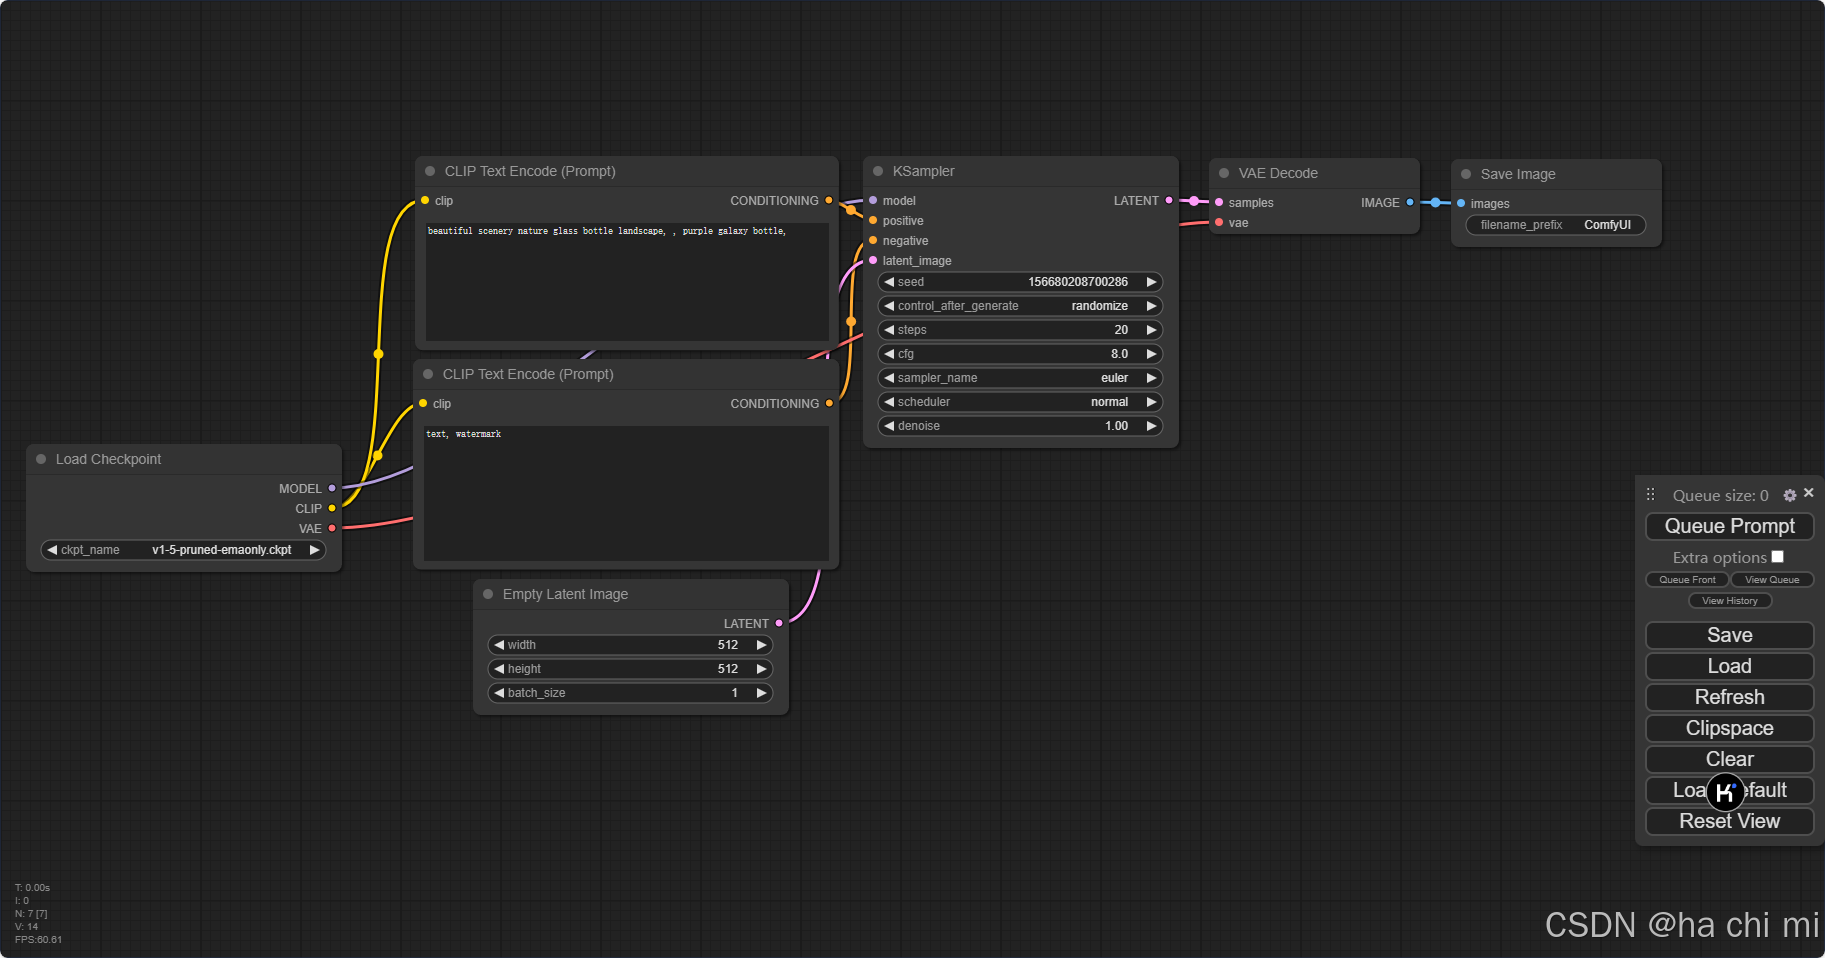
在服务器Ubuntu22.04系统下,ComfyUI的部署
- 一、ubuntu22.04基本环境配置
-
-
- [1.1 更换清华Ubuntu镜像源](#1.1 更换清华Ubuntu镜像源)
- [1.2 更新包列表:](#1.2 更新包列表:)
- [2. 安装英伟达显卡驱动](#2. 安装英伟达显卡驱动)
-
-
- [2.1 使用wget在命令行下载驱动包](#2.1 使用wget在命令行下载驱动包)
- [2.2 更新软件列表和安装必要软件、依赖](#2.2 更新软件列表和安装必要软件、依赖)
- [2.2 卸载原有驱动](#2.2 卸载原有驱动)
- [2.3 安装驱动](#2.3 安装驱动)
- [2.4 安装CUDA](#2.4 安装CUDA)
- [2.5 环境变量配置](#2.5 环境变量配置)
-
-
- 二、安装miniconda环境
-
-
- [1. 下载miniconda3](#1. 下载miniconda3)
- [2. 安装miniconda3](#2. 安装miniconda3)
- [3. 切换到bin文件夹](#3. 切换到bin文件夹)
- [4. 输入pwd获取路径](#4. 输入pwd获取路径)
- [5. 打开用户环境编辑页面](#5. 打开用户环境编辑页面)
- [6. 重新加载用户环境变量](#6. 重新加载用户环境变量)
- [7. 初始化conda](#7. 初始化conda)
- 8.验证是否安装成功
- 9.conda配置
-
- 三、克隆Comfyui仓库
-
-
- 3.1官网地址:Comfyui的GitHub地址(https://github.com/comfyanonymous/ComfyUI.git)
- 3.2如果下载速度较慢可添加`https://mirror.ghproxy.com/`镜像源
- 3.3进入到Comfyui文件夹内
- [3.4 创建Comfyui需要的环境](#3.4 创建Comfyui需要的环境)
- 3.5安装依赖
- [3.6 修改端口启动](#3.6 修改端口启动)
-
一、ubuntu22.04基本环境配置
1.1 更换清华Ubuntu镜像源
- 删除原来的文件
Plain
rm /etc/apt/sources.list- 开始编辑新文件
Plain
vim /etc/apt/sources.list- 先按i键,粘贴以下内容
Plain
# 默认注释了源码镜像以提高 apt update 速度,如有需要可自行取消注释
deb https://mirrors.tuna.tsinghua.edu.cn/ubuntu/ jammy main restricted universe multiverse
# deb-src https://mirrors.tuna.tsinghua.edu.cn/ubuntu/ jammy main restricted universe multiverse
deb https://mirrors.tuna.tsinghua.edu.cn/ubuntu/ jammy-updates main restricted universe multiverse
# deb-src https://mirrors.tuna.tsinghua.edu.cn/ubuntu/ jammy-updates main restricted universe multiverse
deb https://mirrors.tuna.tsinghua.edu.cn/ubuntu/ jammy-backports main restricted universe multiverse
# deb-src https://mirrors.tuna.tsinghua.edu.cn/ubuntu/ jammy-backports main restricted universe multiverse

# 以下安全更新软件源包含了官方源与镜像站配置,如有需要可自行修改注释切换
deb https://mirrors.tuna.tsinghua.edu.cn/ubuntu/ jammy-security main restricted universe multiverse
# deb-src https://mirrors.tuna.tsinghua.edu.cn/ubuntu/ jammy-security main restricted universe multiverse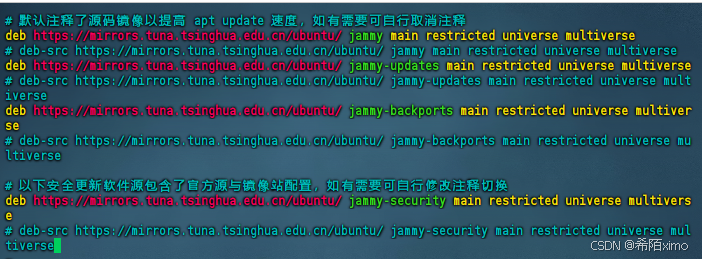
-
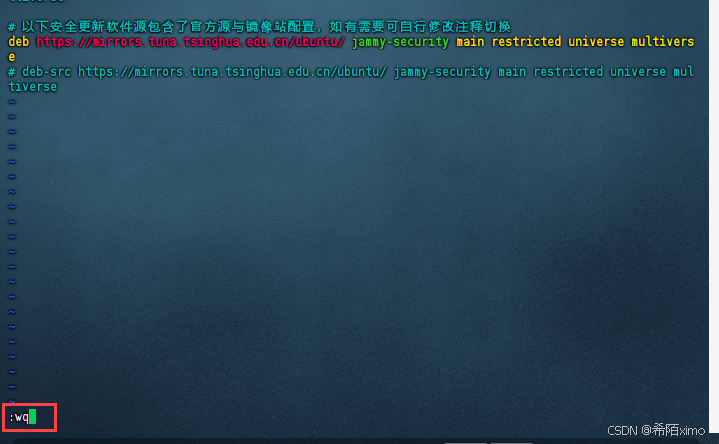
确保内容跟上述图片一致
-
按esc键,再输入冒号+wq保存

1.2 更新包列表:
- 打开终端,输入以下命令:
Shell
sudo apt-get update
Shell
sudo apt upgrade- 更新时间较长,请耐心等待
2. 安装英伟达显卡驱动
2.1 使用wget在命令行下载驱动包
Shell
wget https://cn.download.nvidia.com/XFree86/Linux-x86_64/550.100/NVIDIA-Linux-x86_64-550.100.run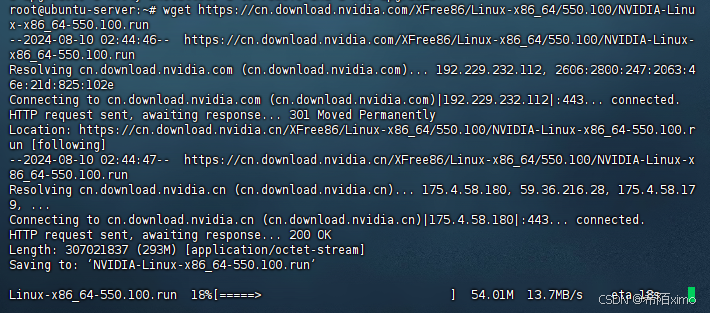
2.2 更新软件列表和安装必要软件、依赖
Shell
sudo apt-get install g++
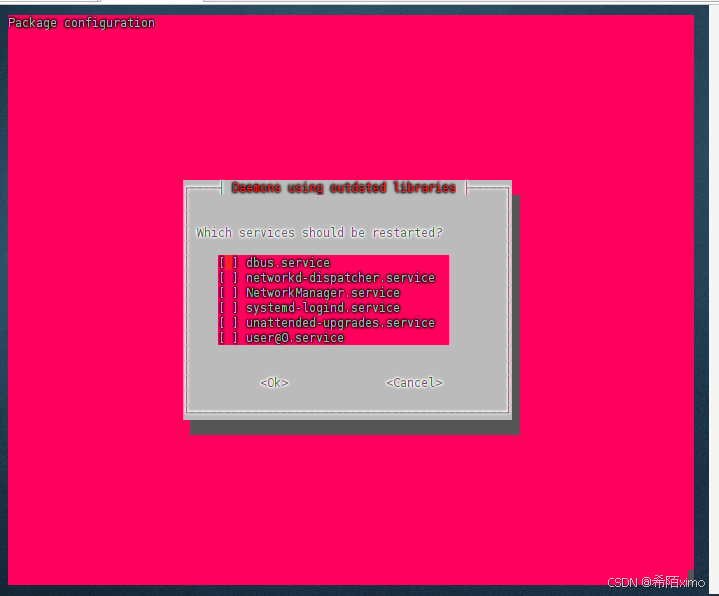
点击回车enter即可

Plain
sudo apt-get install gcc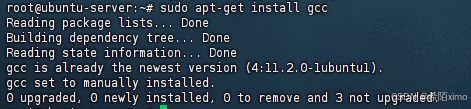
Plain
sudo apt-get install make

点击回车enter即可
成功安装
2.2 卸载原有驱动
Shell
sudo apt-get remove --purge nvidia* 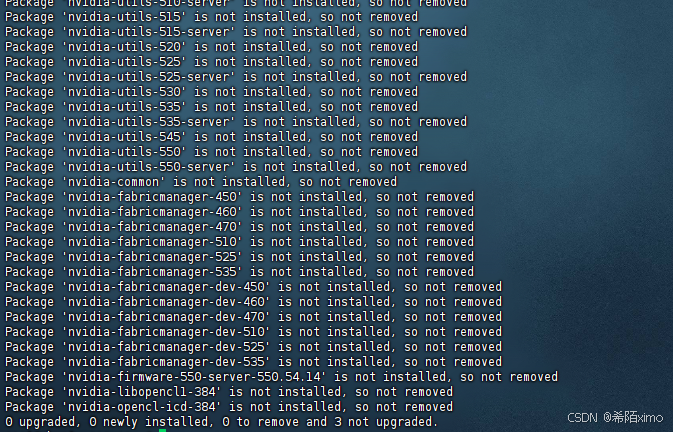
- 1.使用vim修改配置文件
Shell
sudo vim /etc/modprobe.d/blacklist.conf- 2.按i键进入编辑模式,在文件尾增加两行:
Shell
blacklist nouveau
options nouveau modeset=0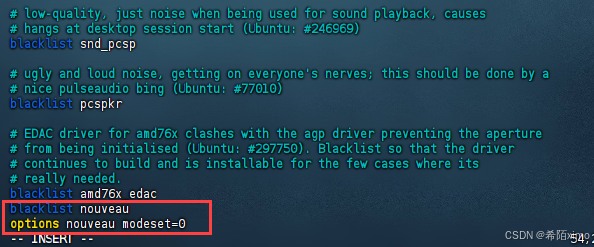
-
3.按esc键退出编辑模式,输入:wq保存并退出
-
4.更新文件
Shell
sudo update-initramfs -u这里等待时间较久

- 5.重启电脑:
Shell
sudo reboot这里需要等一会才能连上
2.3 安装驱动
- 1.授予执行权限
Shell
sudo chmod 777 NVIDIA-Linux-x86_64-550.100.run- 2.执行安装命令
Shell
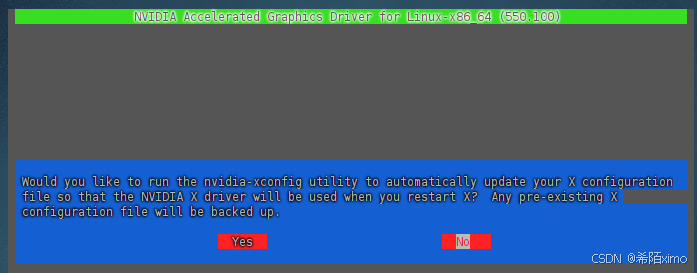
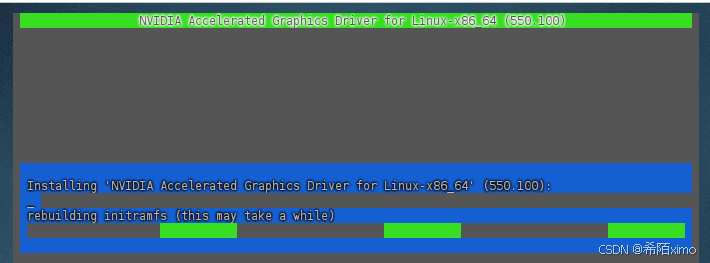
sudo ./NVIDIA-Linux-x86_64-550.100.run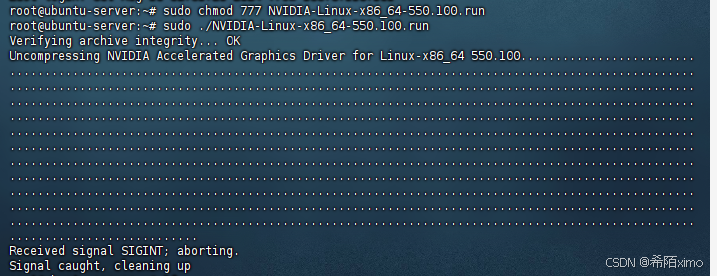
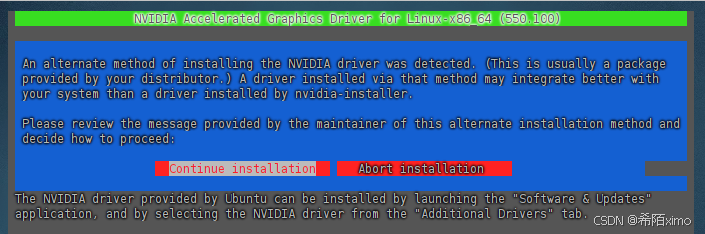
这里一直按回车就行,默认选择
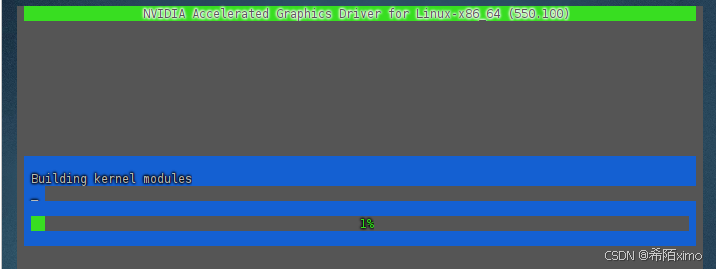
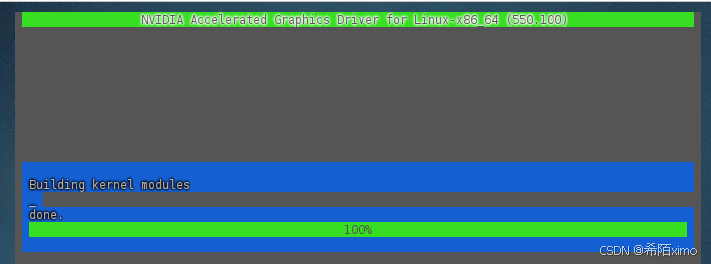
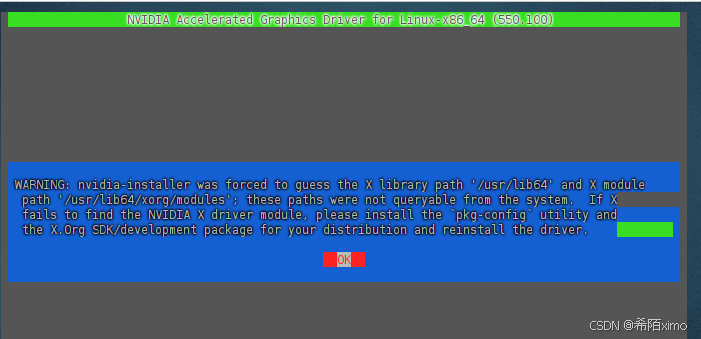
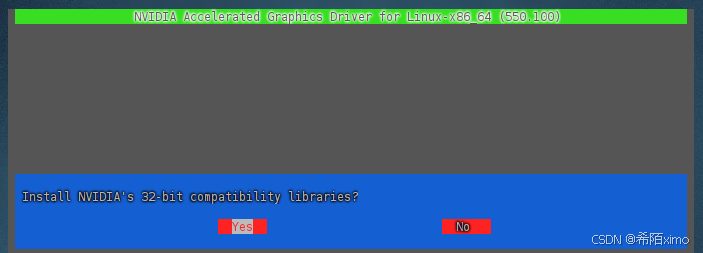
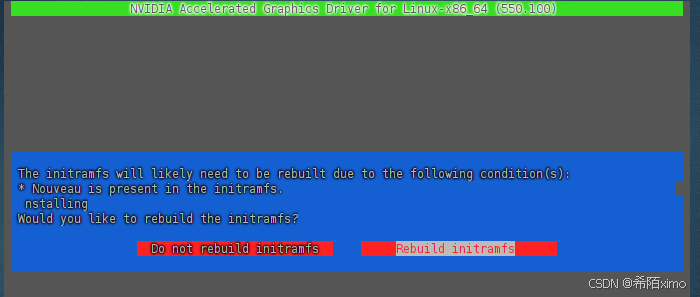
一直按回车enter键,直到安装成功
- 3.检测显卡驱动是否安装成功
Shell
nvidia-smi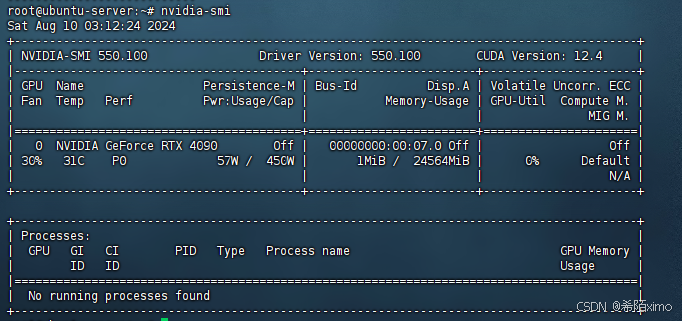
2.4 安装CUDA
Shell
wget https://developer.download.nvidia.com/compute/cuda/12.4.0/local_installers/cuda_12.4.0_550.54.14_linux.run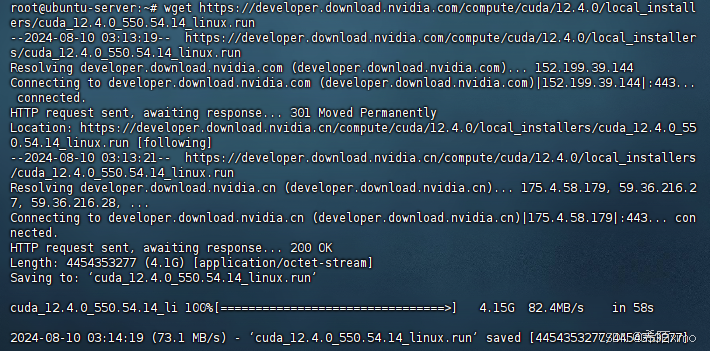
执行安装命令
Shell
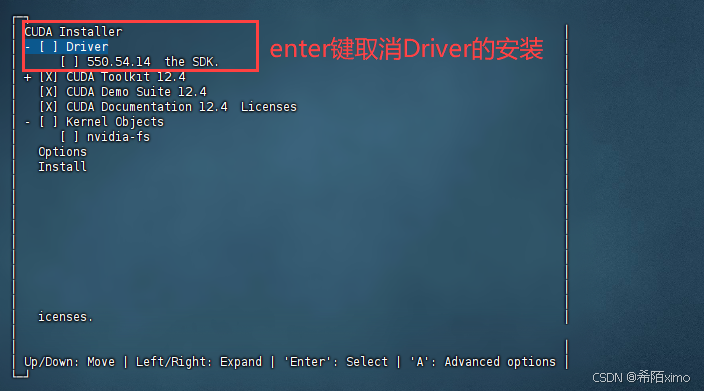
sudo sh ./cuda_12.4.0_550.54.14_linux.run- 1.输出accept开始安装

- 2.然后注意这里要按enter取消勾选第一个选项,因为之前已经安装了驱动
- 3.接着选择Install开始安装
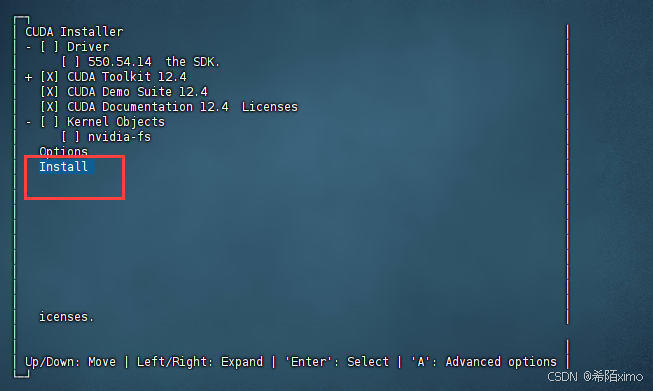
- 4.安装完成
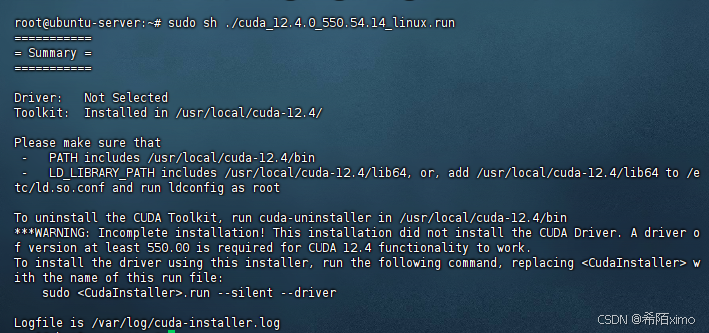
2.5 环境变量配置
- 1.以vim方式打开配置文件
Shell
sudo vim ~/.bashrc- 2.按i键进入编辑模式,在文件尾增加下面内容:
Shell
export PATH="/usr/local/cuda-12.4/bin:$PATH"
export LD_LIBRARY_PATH="/usr/local/cuda-12.4/lib64:$LD_LIBRARY_PATH"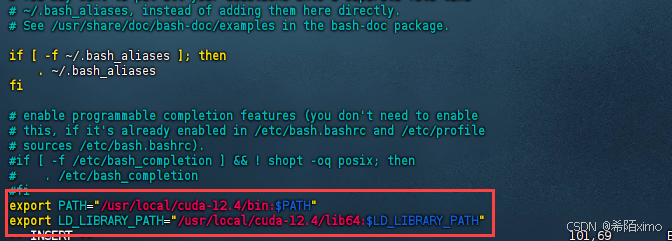
-
按esc键退出编辑模式,输入:wq保存并退出
-
3.更新环境变量
Shell
source ~/.bashrc- 4.检测CUDA是否安装成功
Shell
nvcc -V
二、安装miniconda环境
1. 下载miniconda3
Shell
wget https://mirrors.cqupt.edu.cn/anaconda/miniconda/Miniconda3-py310_23.10.0-1-Linux-x86_64.sh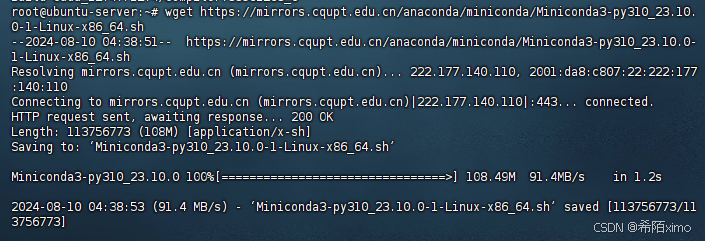
2. 安装miniconda3
Shell
bash Miniconda3-py310_23.10.0-1-Linux-x86_64.sh -u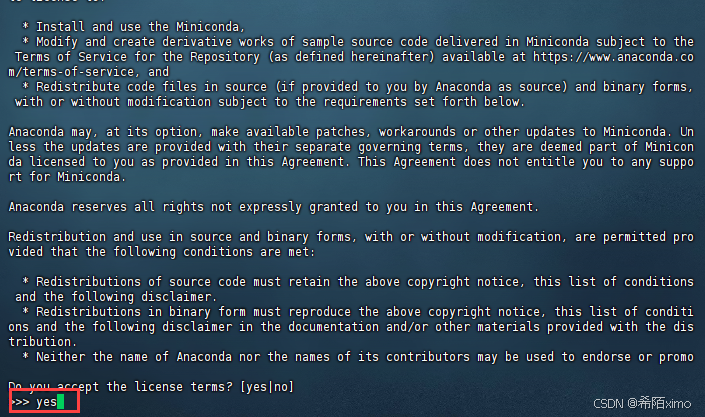
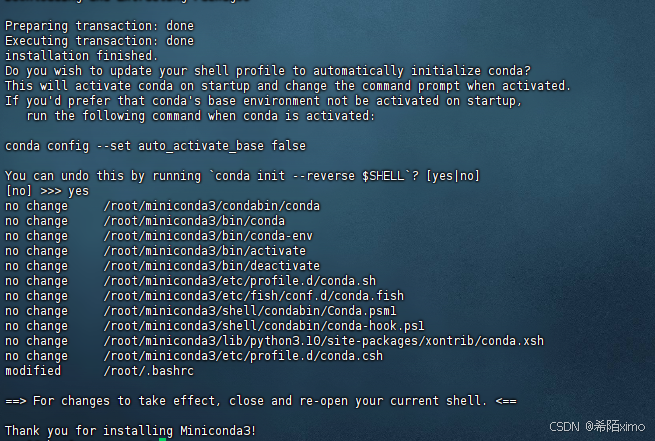
直接一直enter键,到输入路径和yes
这边建议路径为:miniconda3
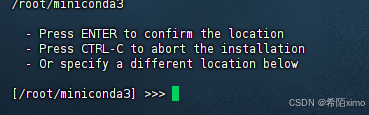
直接回车enter即可,再次输入yes
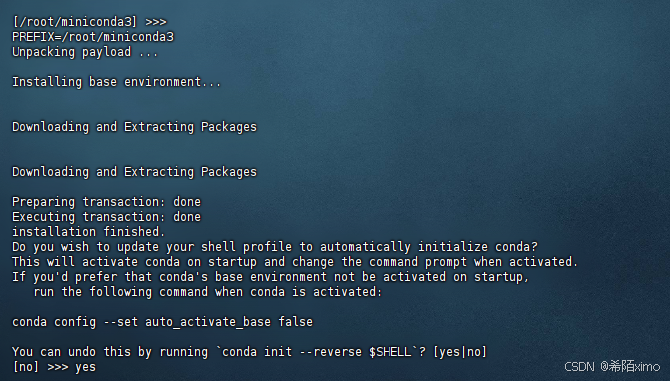
成功安装
3. 切换到bin文件夹
Shell
cd miniconda3/bin/4. 输入pwd获取路径
Shell
pwd复制这里的路径
5. 打开用户环境编辑页面
Shell
vim ~/.bashrc - 点击键盘I键进入编辑模式,在最下方输入以下代码
Shell
export PATH="/root/miniconda3/bin:$PATH"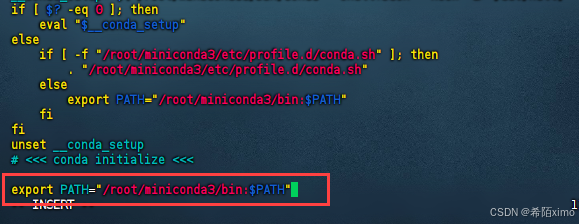
按esc键退出编辑模式,输入:wq保存并退出
6. 重新加载用户环境变量
Shell
source ~/.bashrc
7. 初始化conda
Shell
conda init bash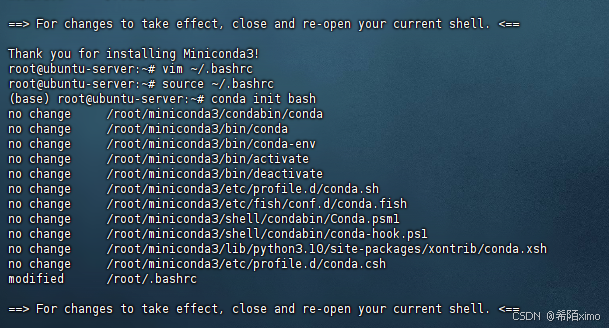
8.验证是否安装成功
Shell
conda -V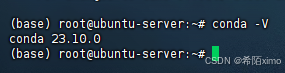
9.conda配置
-
1.配置清华镜像源
代码如下:
Shell
conda config --add channels https://mirrors.tuna.tsinghua.edu.cn/anaconda/pkgs/free/
conda config --add channels https://mirrors.tuna.tsinghua.edu.cn/anaconda/pkgs/main/
conda config --add channels https://mirrors.tuna.tsinghua.edu.cn/anaconda/cloud/conda-forge/
- 2.设置搜索时显示通道地址
Shell
conda config --set show_channel_urls yes
- 3.配置pip 镜像源
Shell
pip config set global.index-url https://pypi.tuna.tsinghua.edu.cn/simple
三、克隆Comfyui仓库
3.1官网地址:Comfyui的GitHub地址
bash
git clone https://github.com/comfyanonymous/ComfyUI.git3.2如果下载速度较慢可添加https://mirror.ghproxy.com/镜像源
bash
git clone https://mirror.ghproxy.com/https://github.com/comfyanonymous/ComfyUI.git3.3进入到Comfyui文件夹内
bash
cd ComfyUI3.4 创建Comfyui需要的环境
bash
conda create -n comfyui python=3.10
conda activate comfyui
3.5安装依赖
bash
pip install torch torchvision torchaudio --extra-index-url https://download.pytorch.org/whl/cu121
bash
pip install -r requirements.txt3.6 修改端口启动
bash
python main.py --port 15070 --listen 0.0.0.0
--port 50000: 设置服务器监听的端口为业务端口,此处改为业务端口。启动成功后,访问http://主机IP:端口