1、通过yum安装
(1)下载mysql
在Linux找个地方输入以下命令
wget https://dev.mysql.com/get/mysql80-community-release-el7-3.noarch.rpm(2)安装mysql yum 仓库配置文件
[root@VM-8-15-centos ~]# sudo rpm -Uvh mysql80-community-release-el7-3.noarch.rpm(3)先清理缓存(可能以前被操作过)
[root@VM-8-15-centos ~]# sudo yum clean all(4)生成缓存
[root@VM-8-15-centos ~]# sudo yum makecache(5)安装Mysql
[root@VM-8-15-centos ~]# sudo yum install mysql-community-server 如果报异常:
The GPG keys listed for the "MySQL 8.0 Community Server" repository are already installed but they are not correct for this package.
Check that the correct key URLs are configured for this repository.
Failing package is: mysql-community-client-plugins-8.0.40-1.el7.x86_64
GPG Keys are configured as: file:///etc/pki/rpm-gpg/RPM-GPG-KEY-mysql
那么就重新来过一次,添加 --nogpgcheck
[root@VM-8-15-centos ~]#sudo yum install mysql-community-server --nogpgcheck(6)启动Mysql服务
[root@VM-8-15-centos ~]# sudo systemctl start mysqld(7)设置开机启动
[root@VM-8-15-centos ~]# sudo systemctl enable mysqld(8)查看Mysql 服务状态
[root@VM-8-15-centos ~]# sudo systemctl status mysqld
● mysqld.service - MySQL Server
   Loaded: loaded (/usr/lib/systemd/system/mysqld.service; enabled; vendor preset: disabled)
   Active: active (running) since Tue 2024-11-12 17:49:35 CST; 1min 13s ago
     Docs: man:mysqld(8)
           http://dev.mysql.com/doc/refman/en/using-systemd.html
 Main PID: 29395 (mysqld)
   Status: "Server is operational"
   CGroup: /system.slice/mysqld.service
           └─29395 /usr/sbin/mysqld

Nov 12 17:49:27 VM-8-15-centos systemd[1]: Starting MySQL Server...
Nov 12 17:49:35 VM-8-15-centos systemd[1]: Started MySQL Server.
2、登录Mysql
(1)查找临时登录密码
[root@VM-8-15-centos log]# sudo grep 'temporary password' /var/log/mysqld.log
2024-11-12T09:49:30.521947Z 6 [Note] [MY-010454] [Server] A temporary password is generated for root@localhost: g.<we6/h<W7f
(2)输入密码并且修改密码(密码规则是4种类型字符)
登录命令: mysql -u root -p
修改密码:set password for root@localhost='Admin123!';
[root@VM-8-15-centos log]# mysql -u root -p
Enter password:
Welcome to the MySQL monitor.  Commands end with ; or \g.
Your MySQL connection id is 8
Server version: 8.0.40

Copyright (c) 2000, 2024, Oracle and/or its affiliates.

Oracle is a registered trademark of Oracle Corporation and/or its
affiliates. Other names may be trademarks of their respective
owners.

Type 'help;' or '\h' for help. Type '\c' to clear the current input statement.

mysql> set password for root@localhost='Admin123!';
Query OK, 0 rows affected (0.01 sec)
3、修改远程链接并且生效
(1)选中mysql数据库
sql
mysql> use mysql;
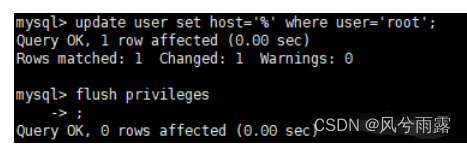
(2)设置允许远程连接并生效
sql
mysql> update user set host='%' where user='root';
mysql> flush privileges;
root表示想要被连接的数据库的用户名
其中"%"表示允许所有机器能访问root用户
(3)开放防火墙3306端口
mysql已经可以本地连接上了,但要用图形化界面远程连接,需开放防火墙的3306端口才行
--permanent代表永久生效,否则重启linux后则需要再次开启
sql
 [root@localhost mysql-8.0]# firewall-cmd --add-port=3306/tcp --permanent

 [root@localhost mysql-8.0]# firewall-cmd --reload
查看防火墙端口开放状态
sql
[root@localhost mysql-8.0]# firewall-cmd --list-all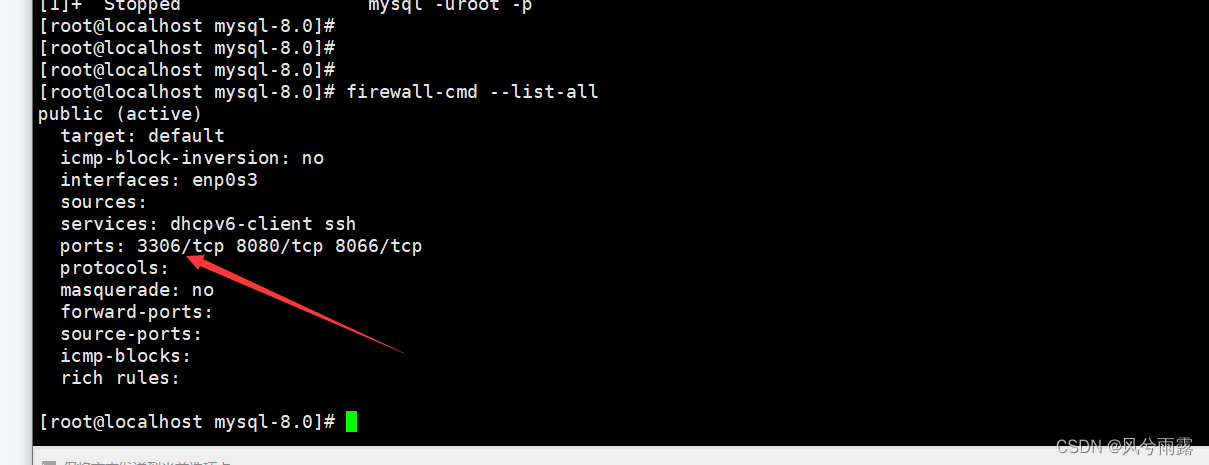
自此在linux系统上安装mysql8已经完成,并且可以使用图形化界面远程连接
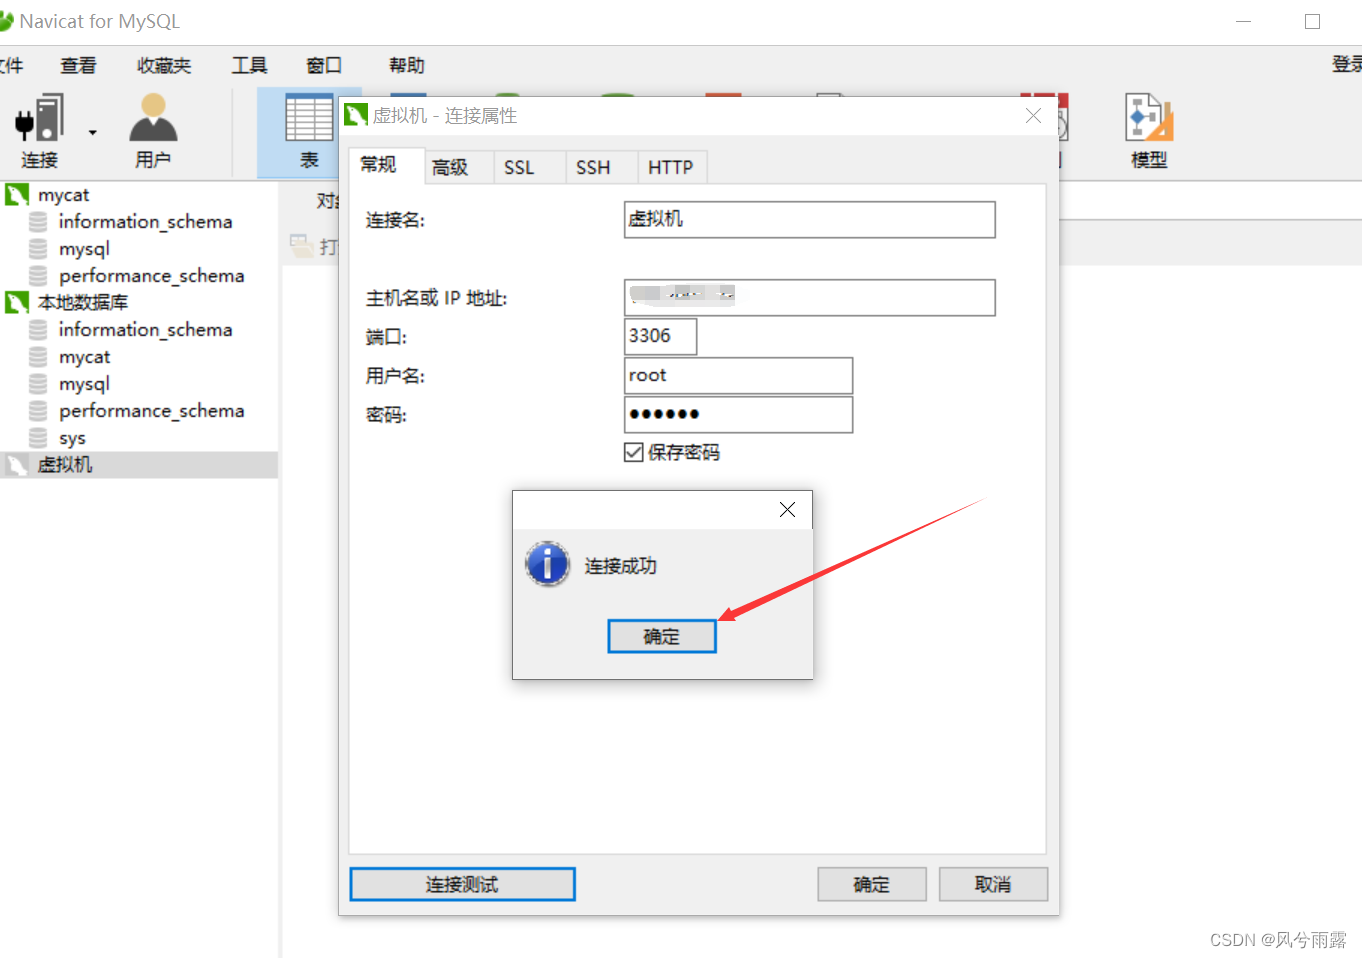
- 可视化界面链接mysql
我这里是使用Navicat for MySQL
获取数据库IP:
sql
[root@localhost mysql-8.0]# ifconfiginet 192.200.xx.xx 就是你服务器的地址
输入链接IP、账号root、密码123456,端口号 3306,显示"连接成功"代表流程通了