一、前言
在之前我们已经为大家介绍了STM32的三种开发方式。一种是非常底层的寄存器开发,另一种是稍微简单一些的标准库开发,最后就是搭配cube MX的HAL库开发。我们可以发现,尽管HAL库开发很简单但是前期的配置太麻烦了。我们既需要安装keil也要安装cube MX才能进行HAL库的开发。那有没有一种集成化环境,能够将工程生成,代码编辑,代码编译,代码下载结合为一体呢?答案是有的,这就是ST官方推出了专门为STM32开发设计的cube IDE。cube IDE将上述的内容都集成化到一个软件内,让我们在开发STM32时不用在多个软件之间切换,在一定程度上提高了我们的开发效率。那么,本次教程,就让我们来学习一下如何安装和配置cube IDE吧!
二、谁适合本次教程
cube IDE是使用 Eclipse IDE进行魔改的并且使用的是gcc的编译器。在有的地方可能跟我们一开始接触的传统的keil中的编译器编译规则有所不同。所以,在学习本次教程之前,请确保自己有一定的STM32的基础和一定的解决问题的能力。本篇教程已经不面向纯新手了,因为cubeIDE发布比较晚,并且生态也不是非常完善,如果是新手使用的话可能会遇到你无法解决的问题。如果你准备好了,那就让我们开始吧!
三、资料的准备
这次同样会涉及到cube IDE的下载ST的下载大家都懂,所以这里我也就不推荐大家自己下载了,在我给的资料中已经准备好了本次教程所需的所有资料其中就包括了cube IDE的安装包以及已经生成好的工程。
资料下载: https://pan.baidu.com/s/135_Wah7m_yPlCPFI-w7Veg?pwd=clxm 提取码: clxm
四、cube IDE的安装
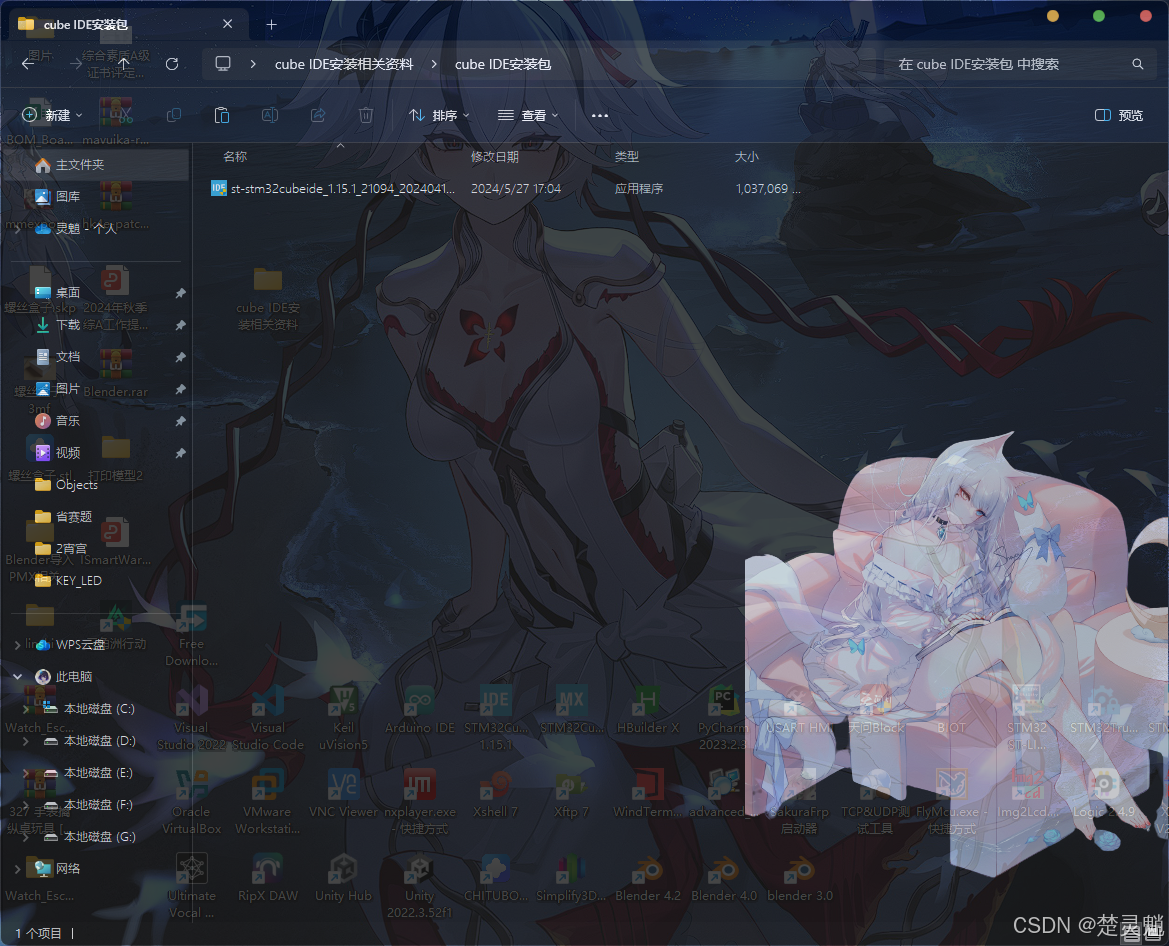
将我给的资料包进行解压,进入cube IDE安装包文件夹,就可以看到cube IDE的安装包了:
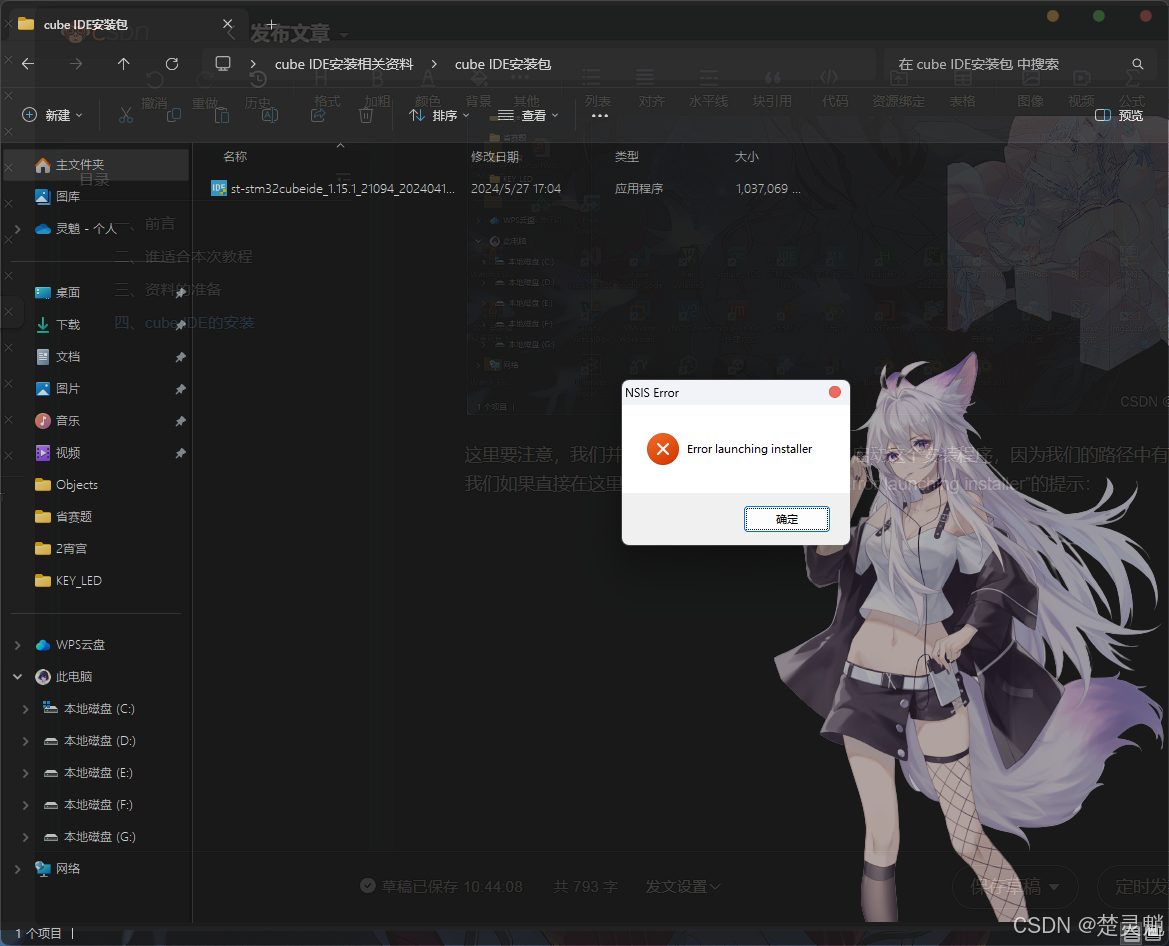
这里要注意,我们并不能直接在这个资料文件夹中启动这个安装程序,因为我们的路径中有中文,我们如果直接在这里启动这个安装程序就会收到"Error launching installer"的提示:
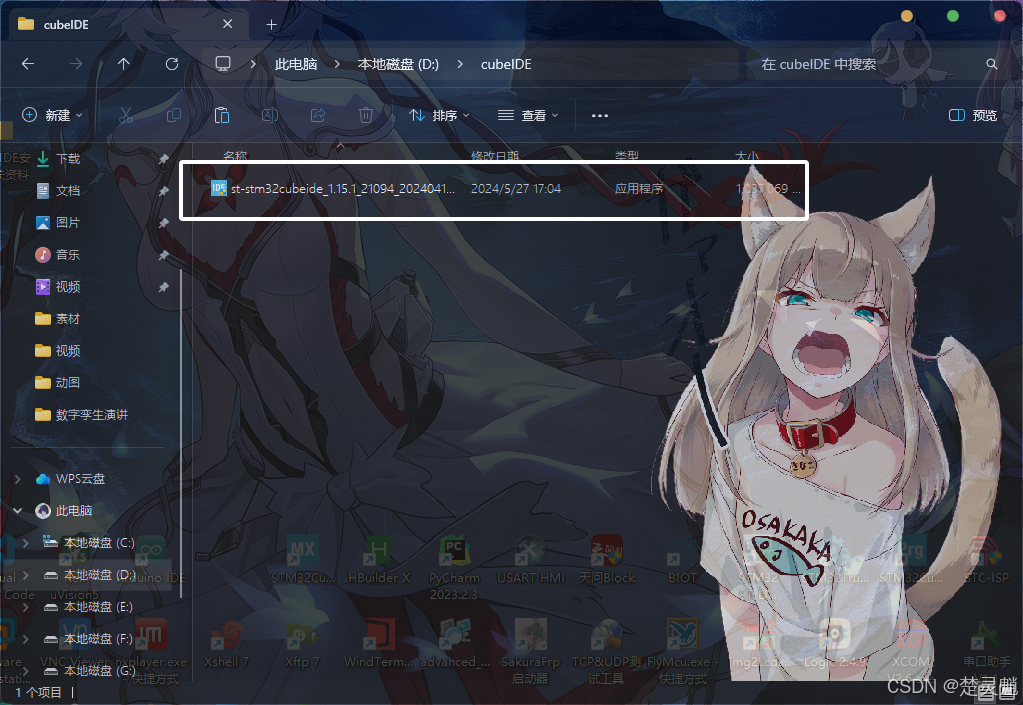
我们将其复制到一个没有中文的目录:
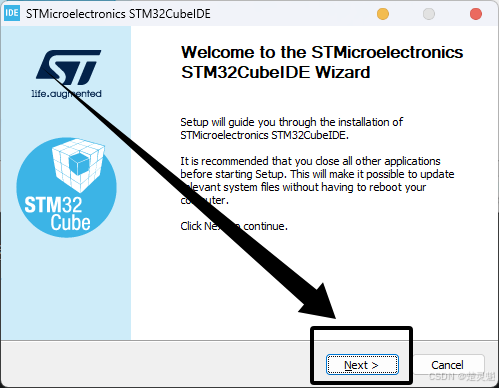
然后双击启动安装引导程序:

我们直接点击"Next":
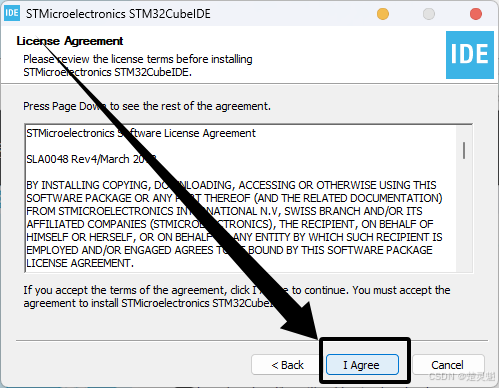
下面点击"我同意":
这里我们选择一下安装路径,注意我们这里的路径不能有一点中文,选择好以后,点击"Next":

这里我们将两个都勾选上,然后点击"Install":

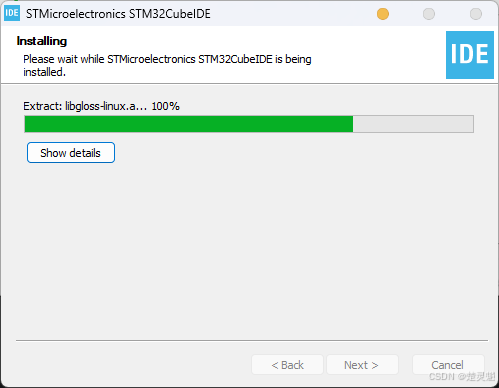
随后就进入了安装步骤,我们等待安装结束:
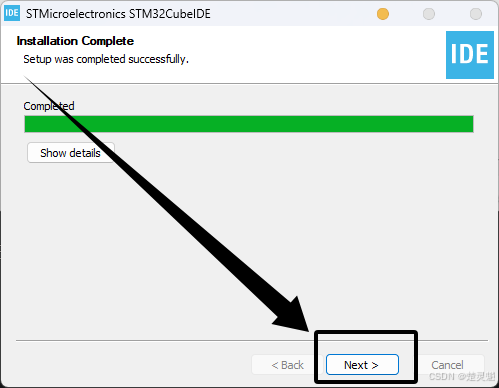
在安装完成以后,我们直接点击"Next":
随后点击"Finish":

在安装完成以后,我们的桌面就有cube IDE的图标了:

至此,cube IDE的安装就已经完成了。
五、cube IDE的汉化
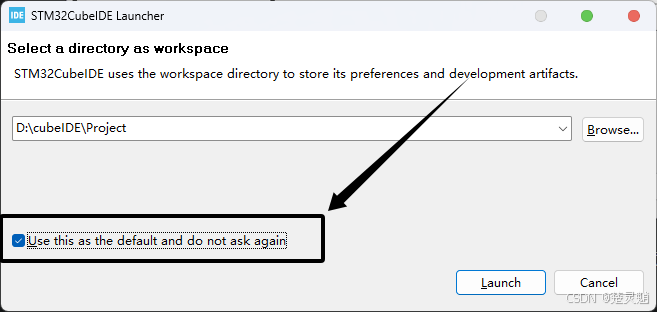
当我们安装好cube IDE以后,就可以开始对cube IDE进行汉化了。这里我们首先启动cube IDE,当我们首次启动cube IDE时会提示我们选择工作空间的位置,这里的位置我们可以选择一个没有中文路径的文件夹。以后默认添加的工程都会放在这个工作空间中:
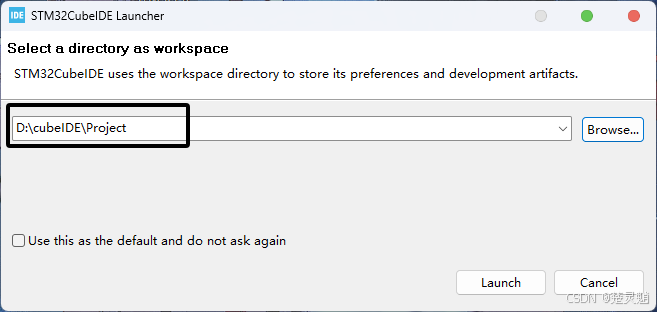
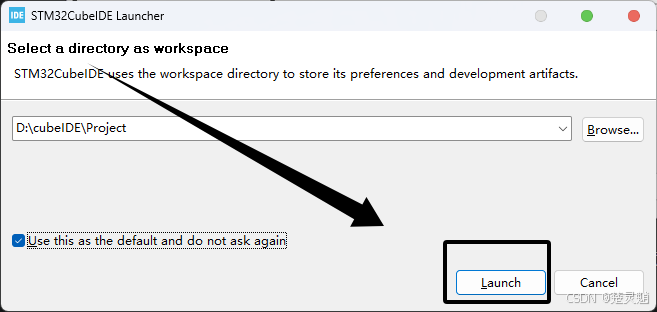
下面我们再将"Use this as the default and do not ask again"打上勾,这个选项表示以后不再询问我们:
在做完前面的步骤以后,我们直接点击"Launch":
在第一次进入时,可能会弹出这个窗口,我们直接点击"OK"即可:
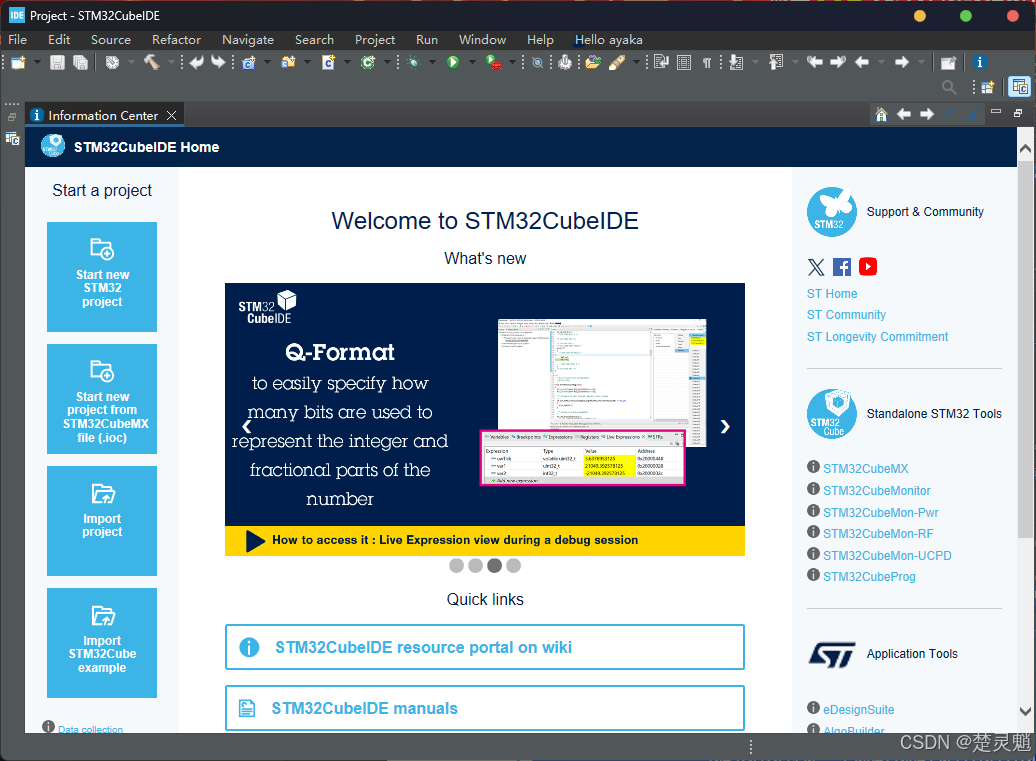
随后我们就进入了cube IDE的主页了:
我们首先点击上方菜单栏的"Help":
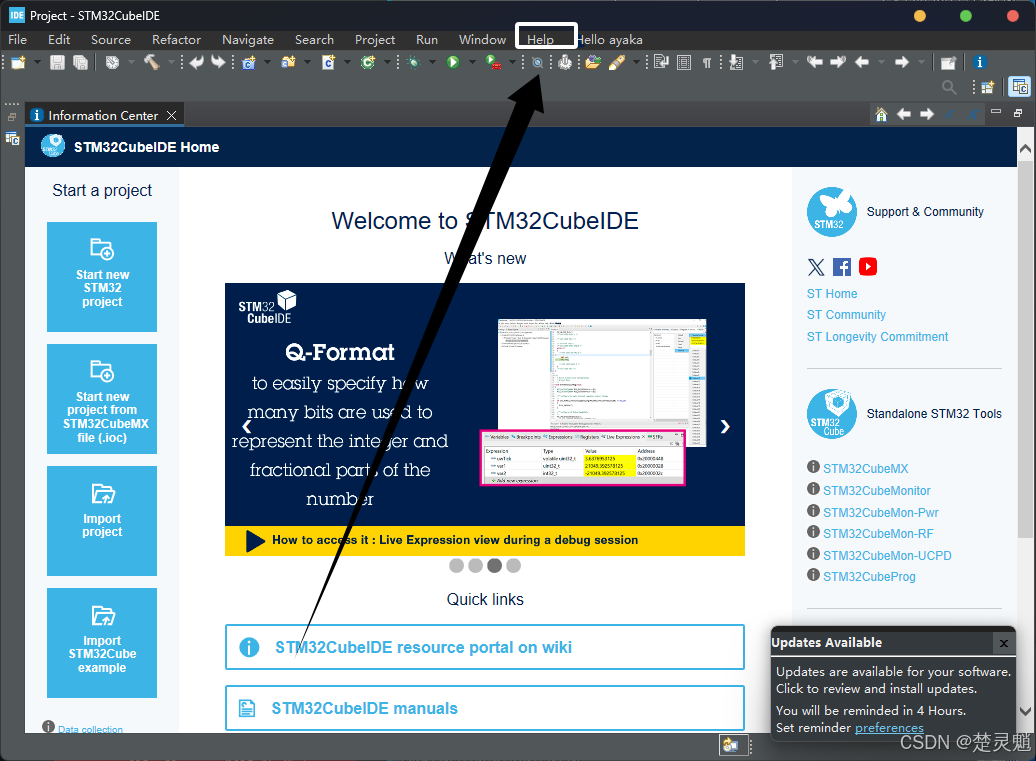
随后我们再点击"Install New Software":
随后在弹出的窗口中点击"Add":

将下面的链接填入"Location"处:
https://mirrors.ustc.edu.cn/eclipse/technology/babel/update-site/latest/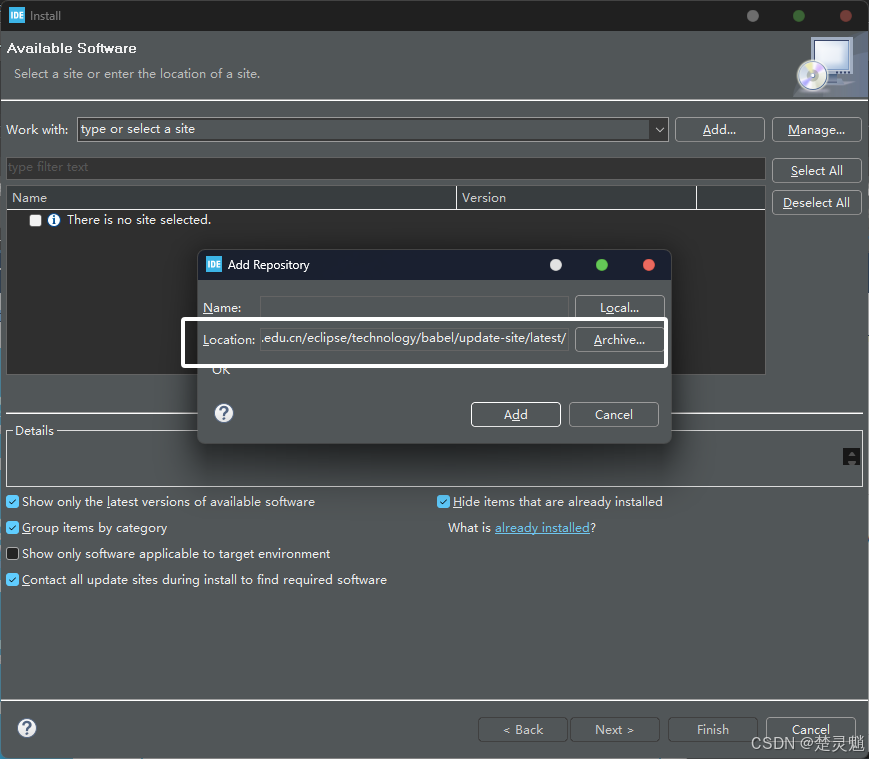
随后再点击"Add":
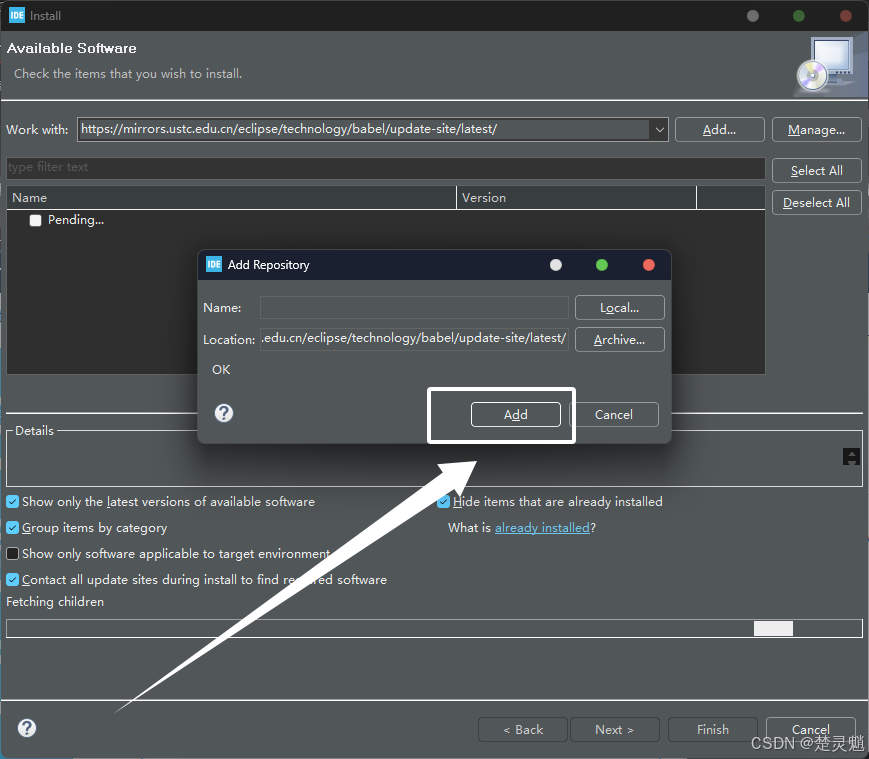
点击了"Add"以后,就能看到下方有一个进度条开始加载了,我们等待加载完成:
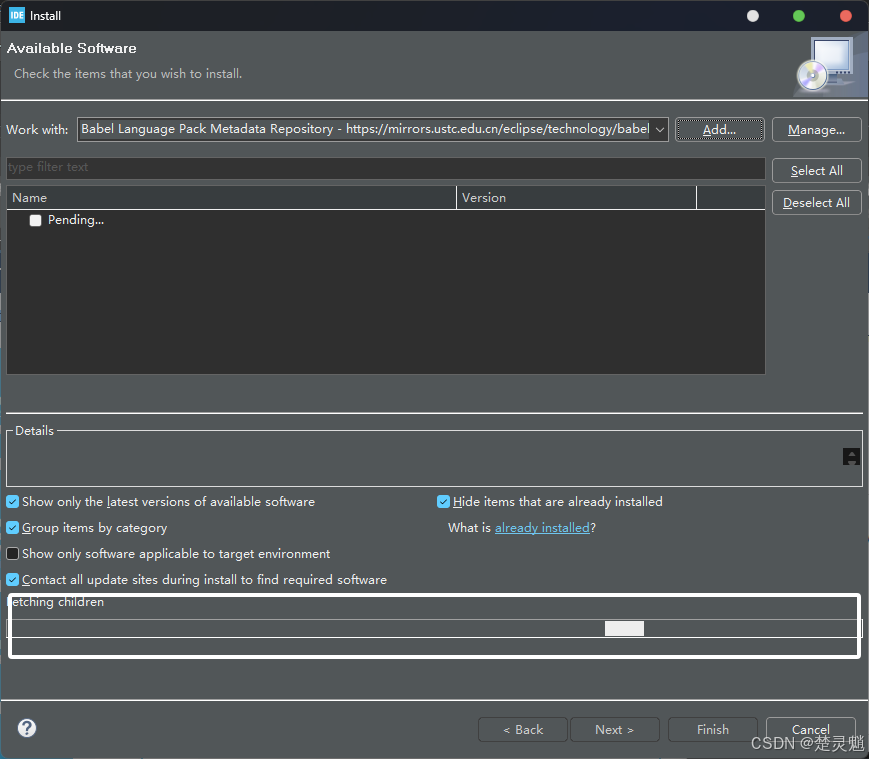
加载完成以后,我们就可以看到这里多了许多的插件:
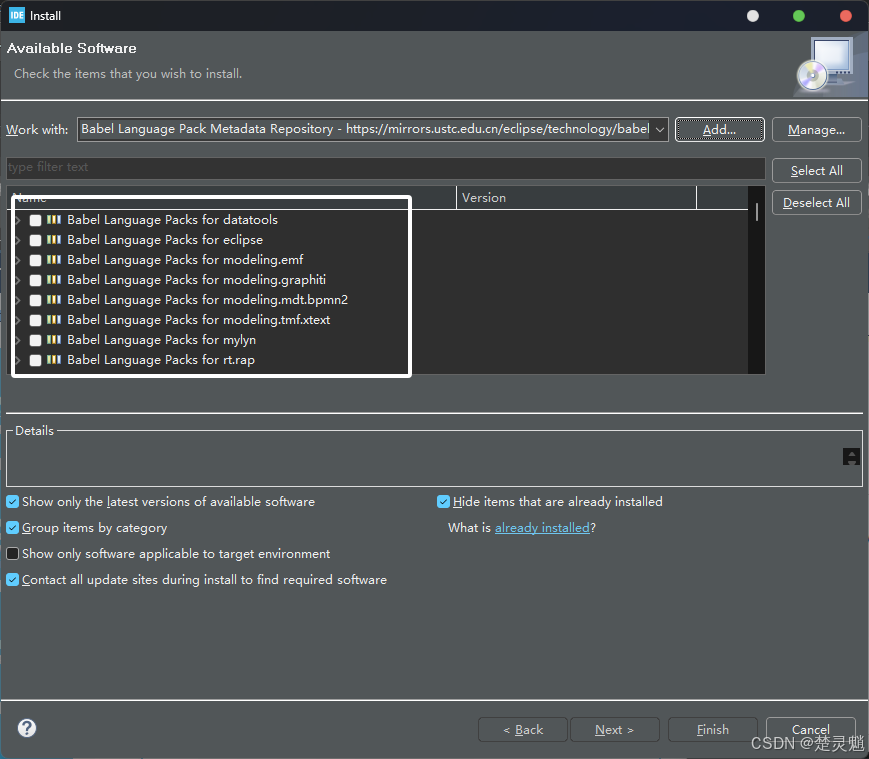
这里我们将列表中的中文插件打上勾,使用简体还是繁体大家视情况而定:
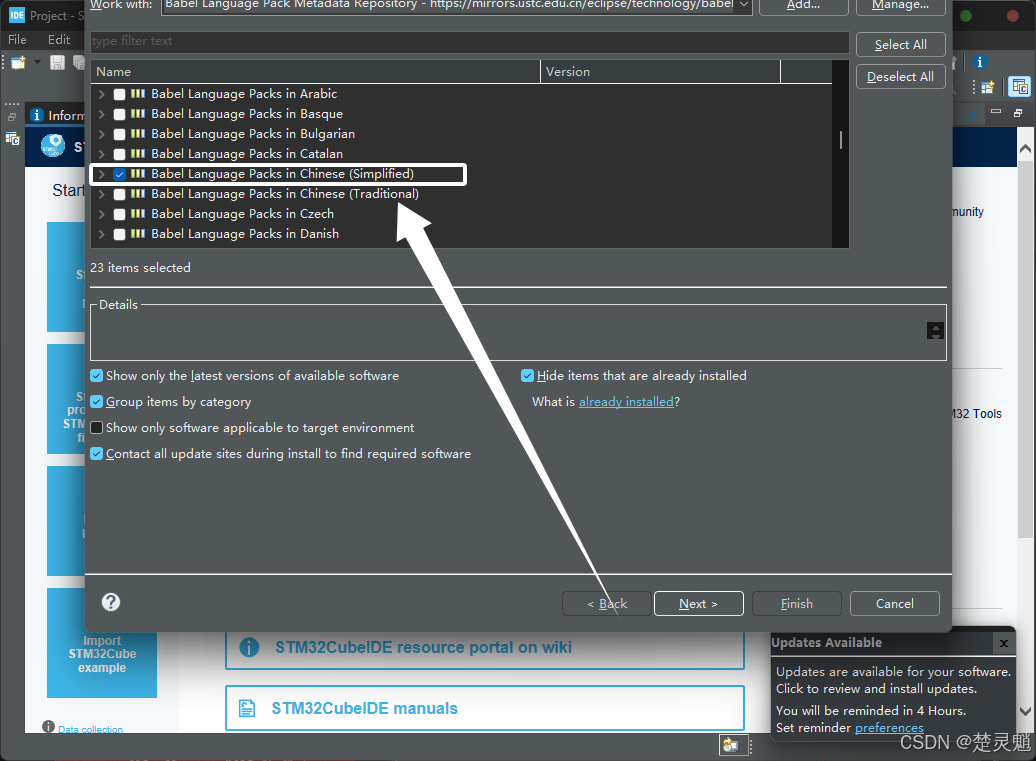
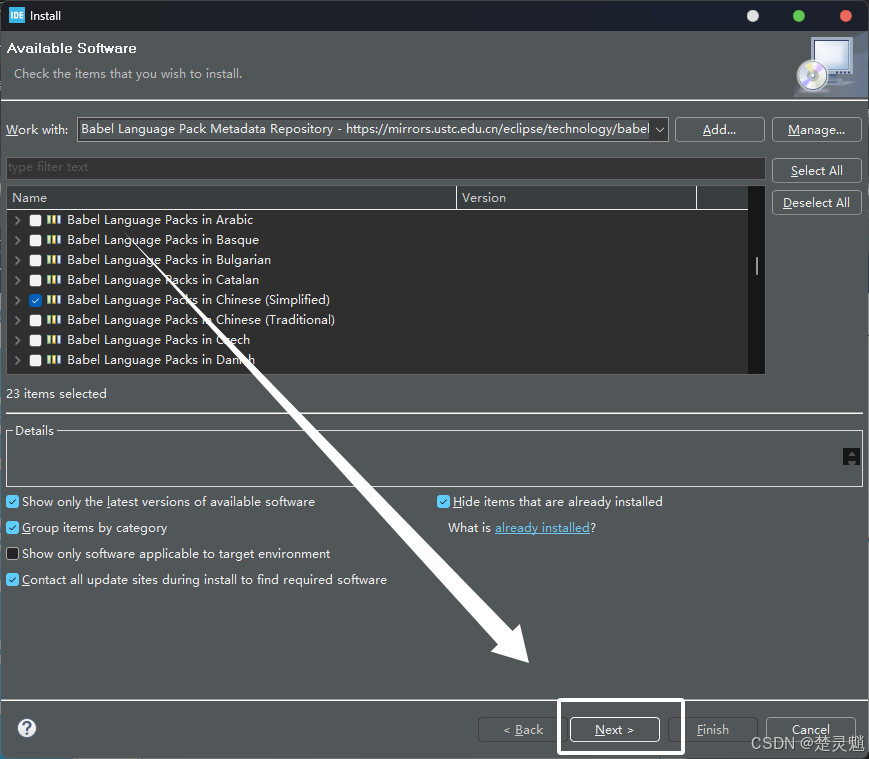
当勾选好语言以后,我们再点击"Next":
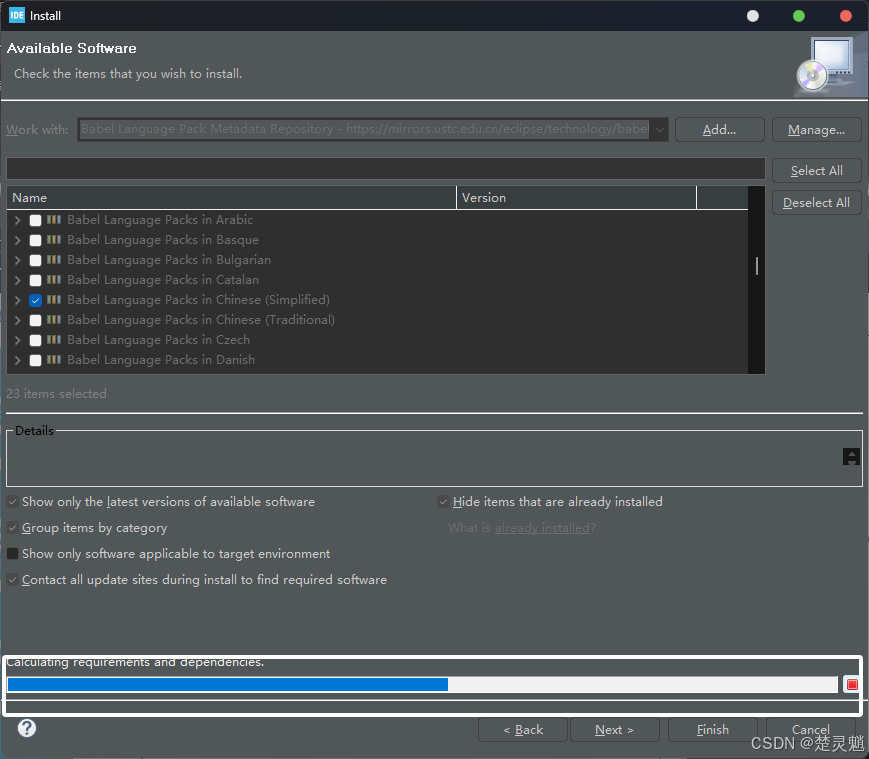
随后就出现了插件安装的进度条:
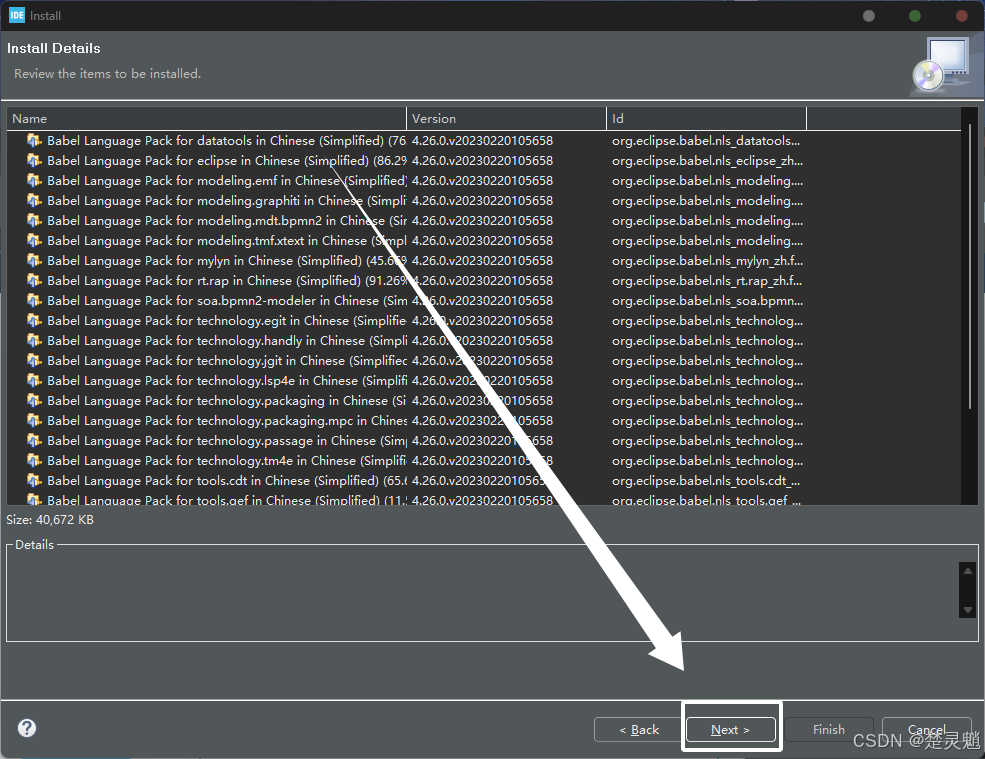
安装完成以后点击"Next":
下面选择"I accept the terms of the license agreement":
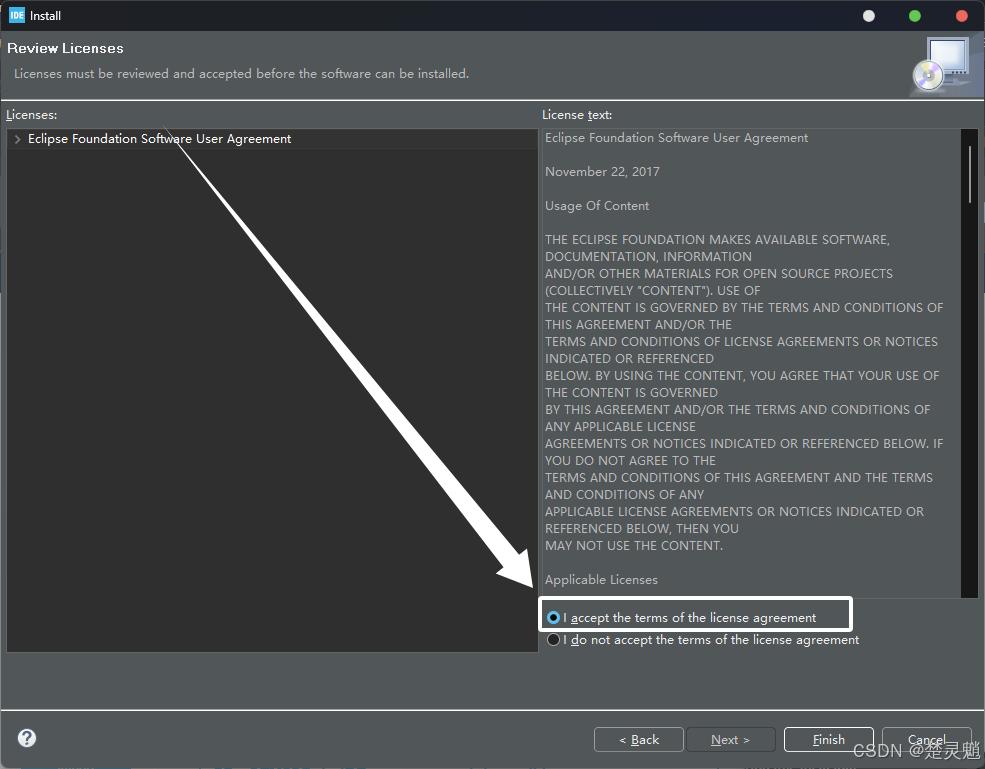
随后再点击"Finish":

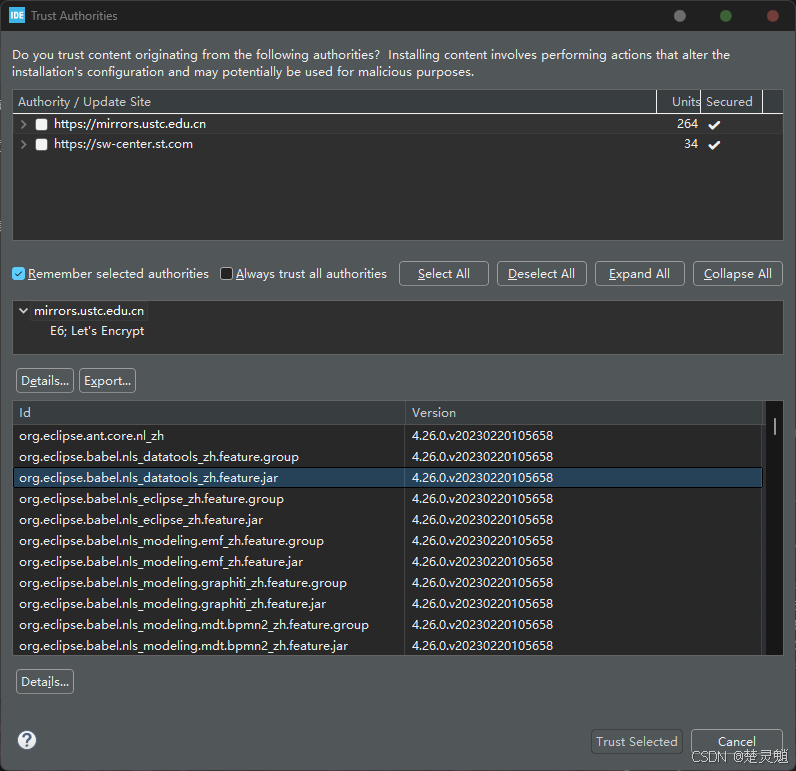
等待进度条跑完以后,就会弹出下面的窗口:
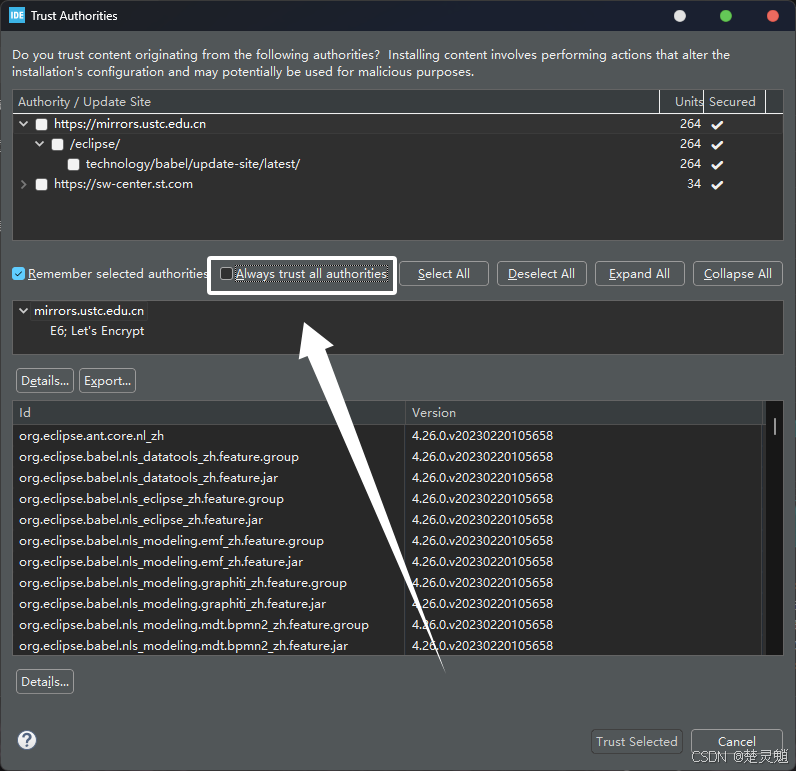
随后我们将"Always trust all authorities"打上勾:
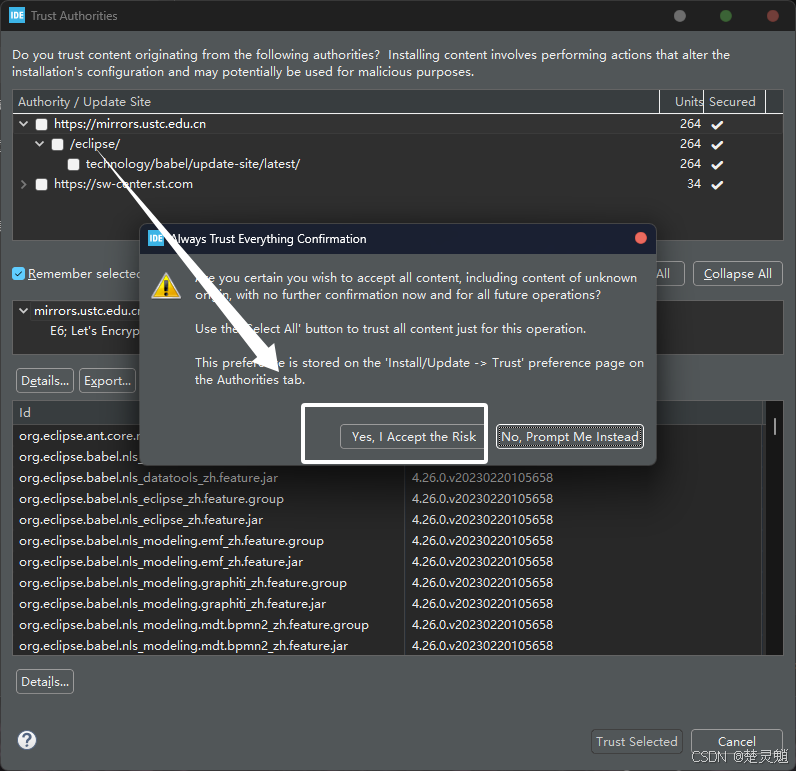
在打勾时弹出的窗口中,我们选择"Yes, I Accept the Risk":
随后再点击"Select All":
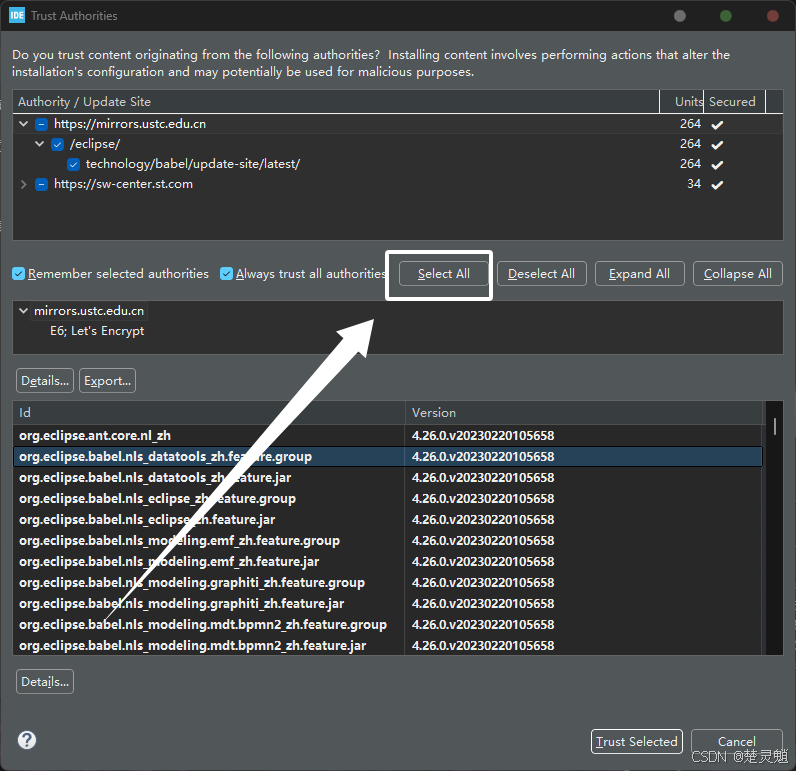
随后再点击"Trust Selected":
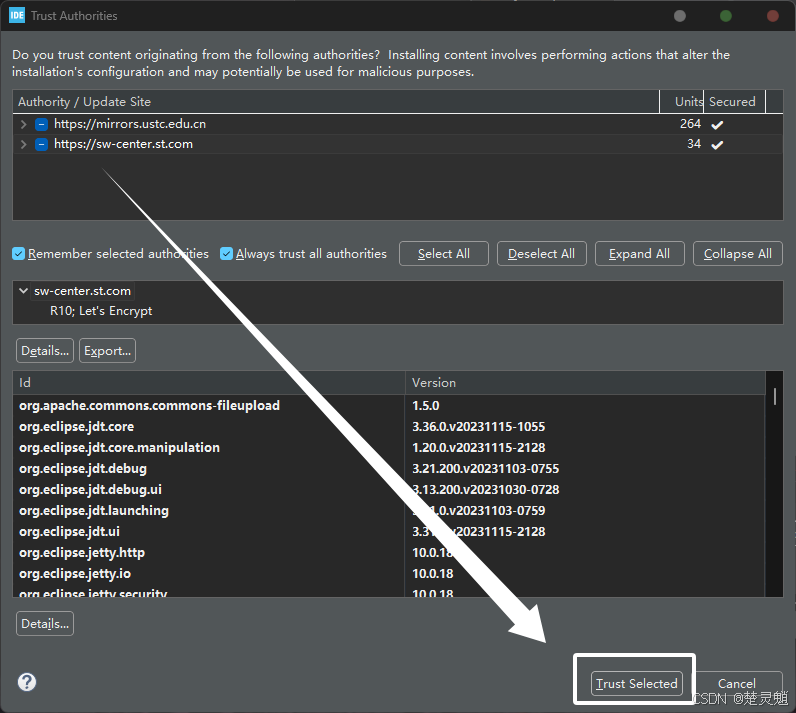
这时下方会出现一个进度条,我们等待完成:
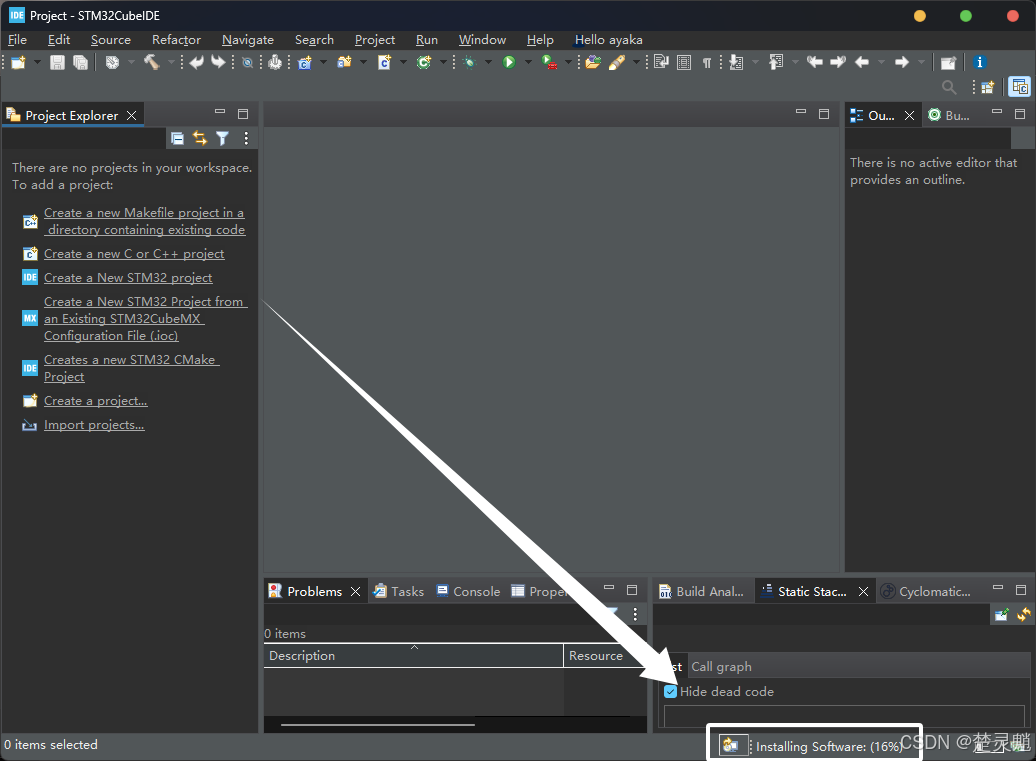
在完成以后,这里会提示我们重启IDE,我们直接点击"Restart Now"即可:
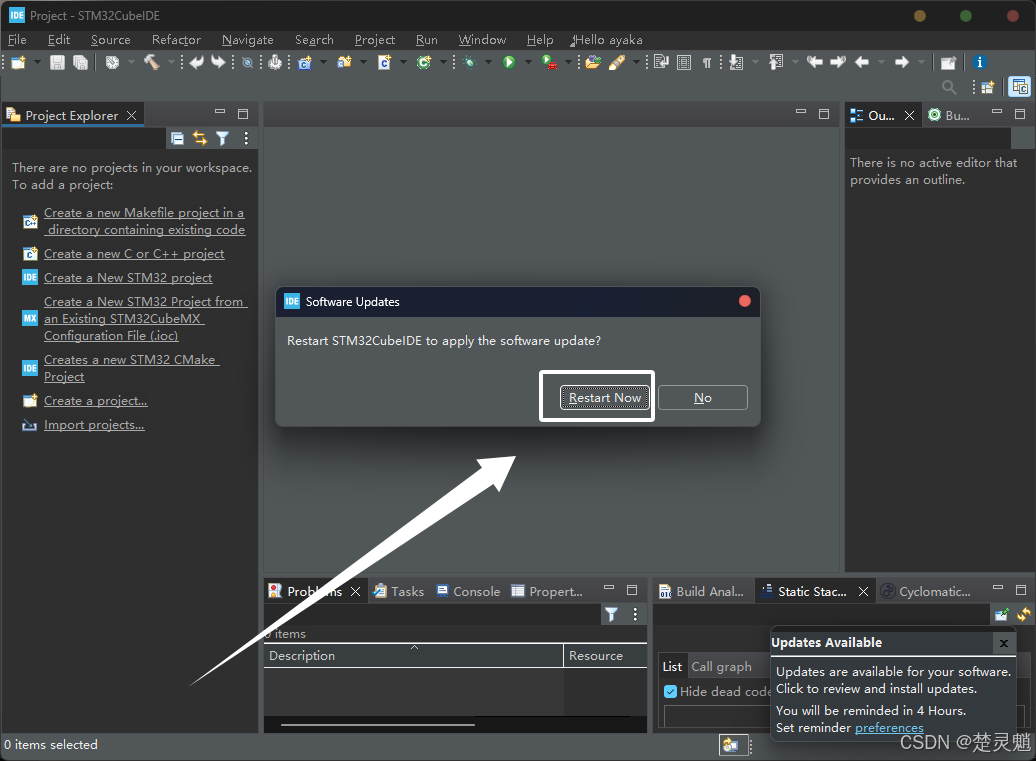
在重启以后,我们的cube IDE就已经是中文的了。如果你重启以后IDE仍然没有变为中文,可以考虑重复上面的步骤。如果你在安装插件时窗口没有按照预期弹出也可以尝试重复上面的步骤。
至此,我们cube IDE的汉化就已经完成了。
六、cube IDE新建工程
当我们汉化完cube IDE以后,我们就可以开始新建一个cube IDE的工程了。我们同样的需要打开cube IDE:

接着我们再点击菜单栏中的"文件",再点击"新建":
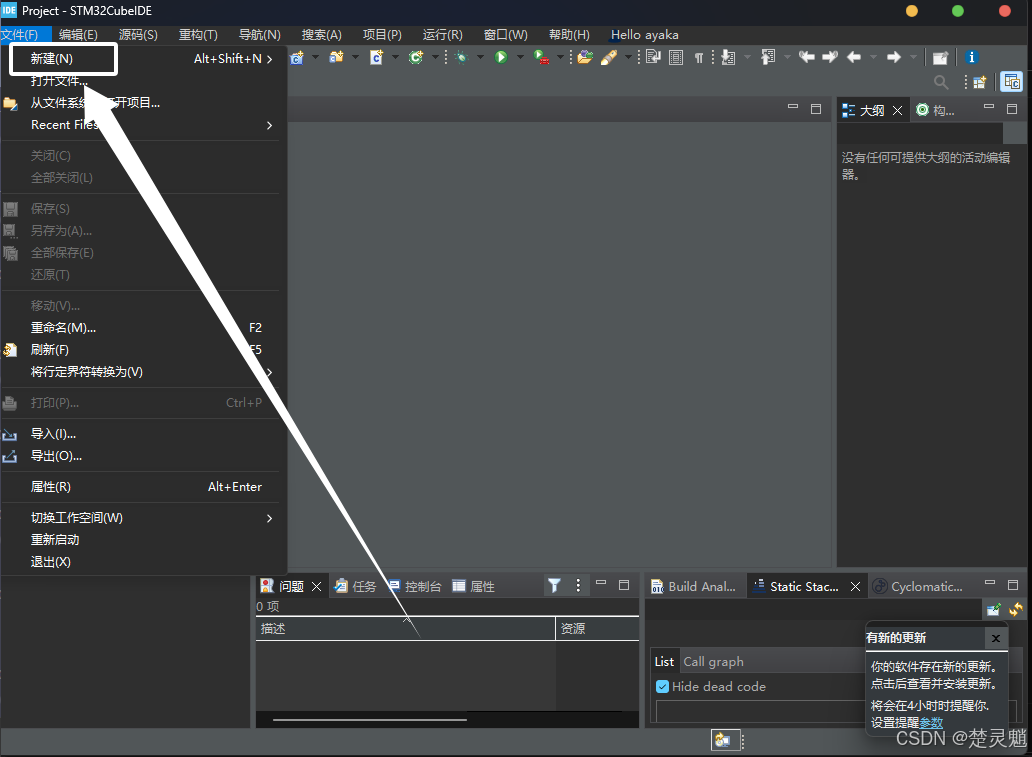
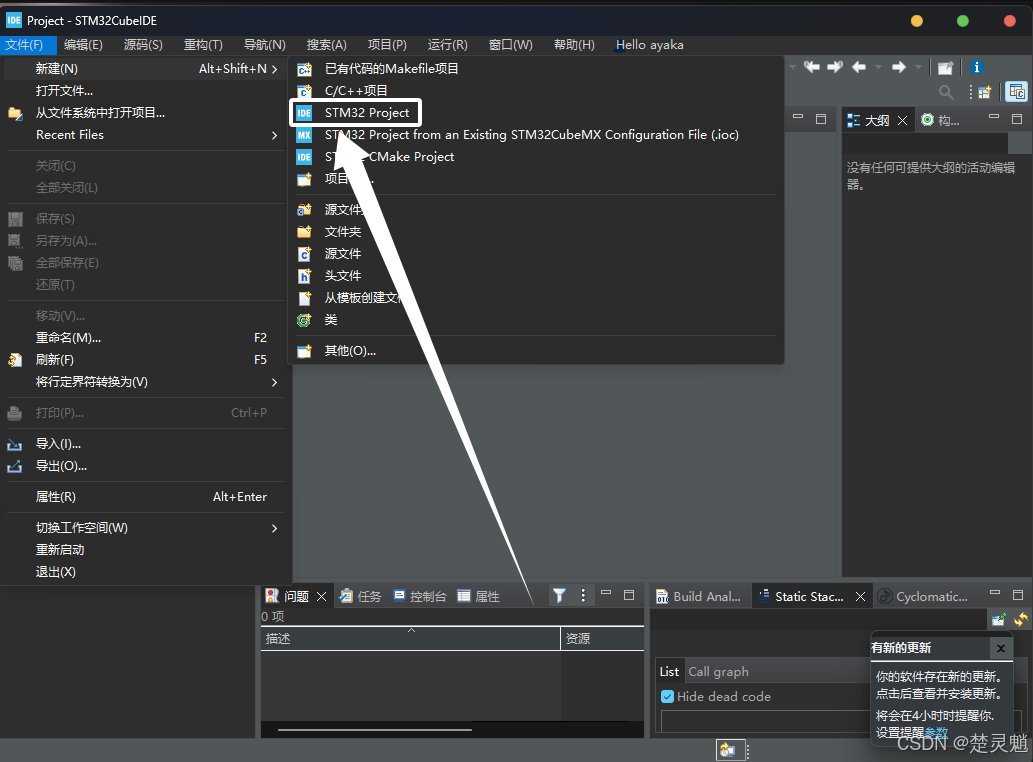
再点击"新建"菜单下的"STM32 Project":
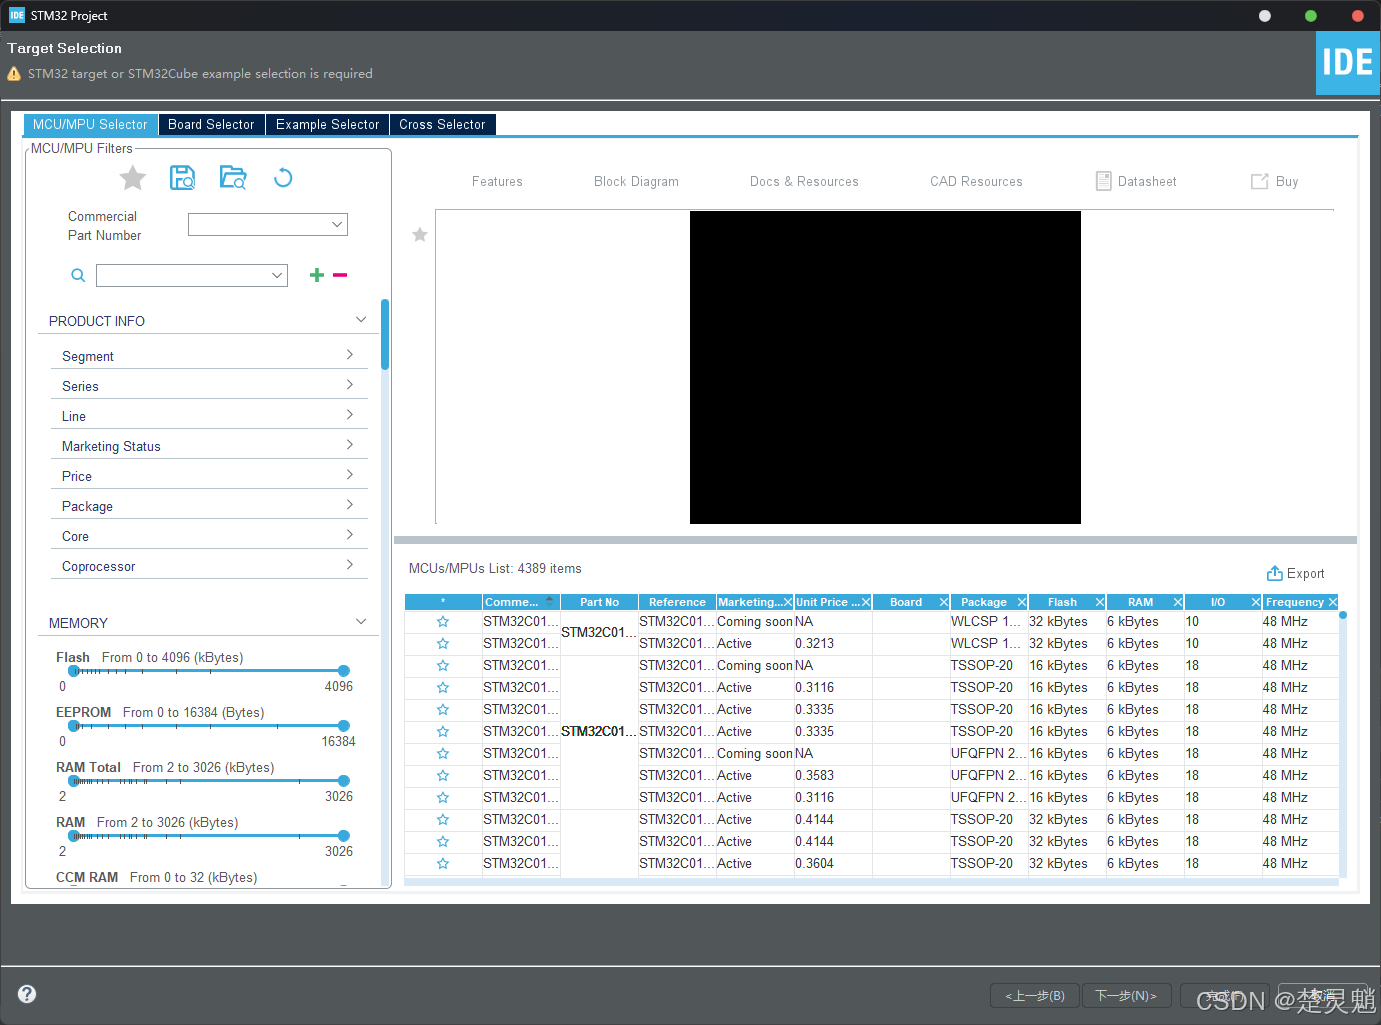
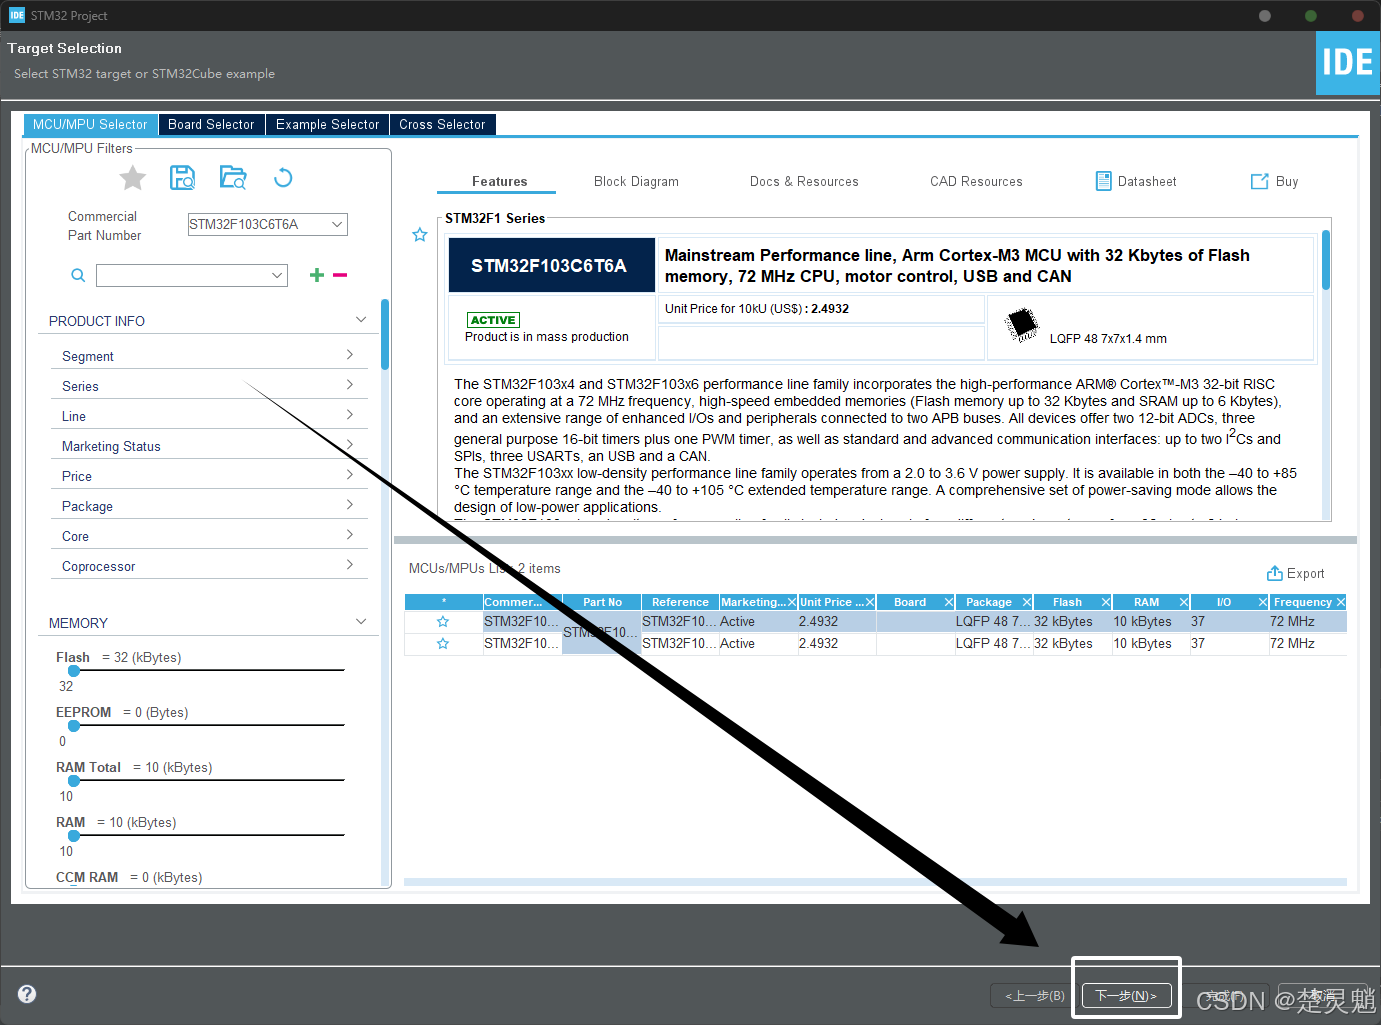
随后我们就看到这个芯片选择界面了,是不是觉得非常熟悉,没错,这里的芯片选择界面和cube MX是一样的,包括内部的芯片配置也是一样的:
我们这里直觉输入我们的芯片的型号,我这里使用的是"STM32F103C6T6"的芯片,所以直接输入"STM32F103C6T6":
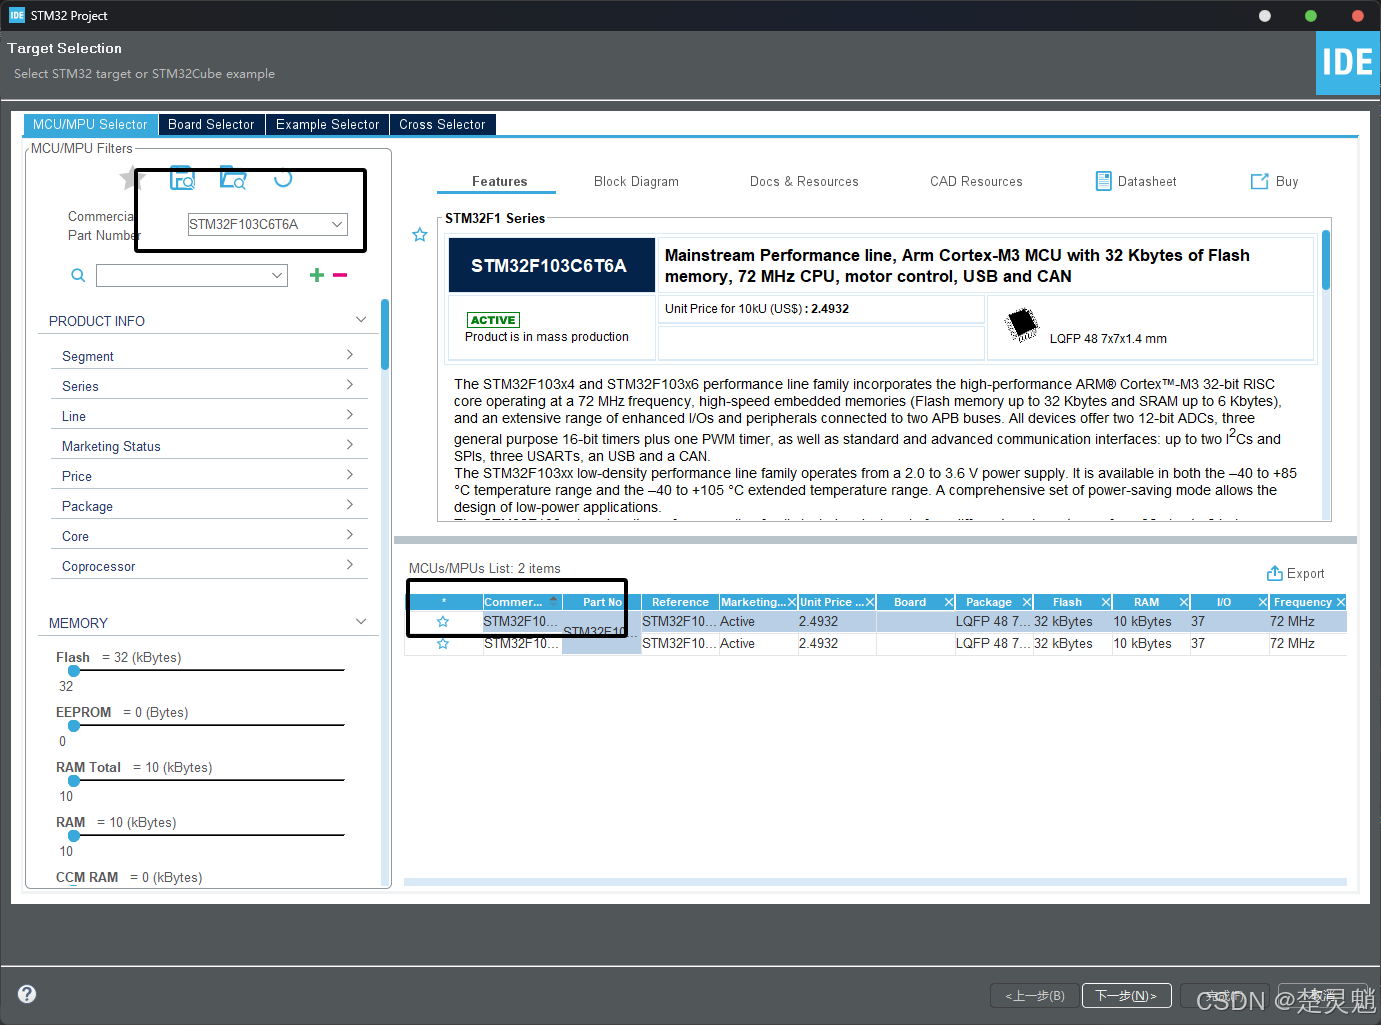
选择好芯片以后,我们直接点击"下一步":
随后我们就看到了这个界面:
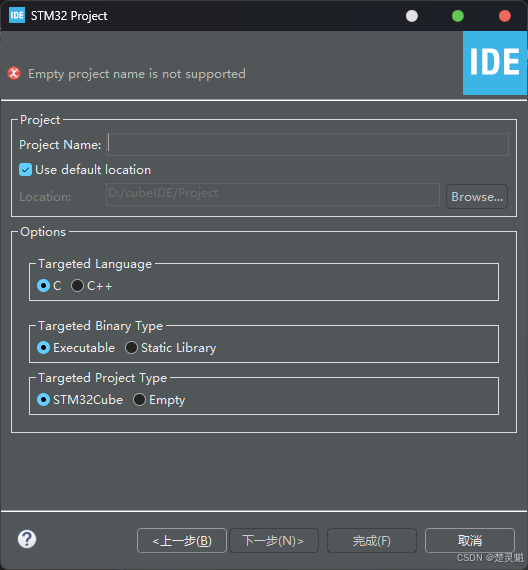
这里我们要给我们的工程命名,这里因为是测试,我这里直接将工程命名为"Test"
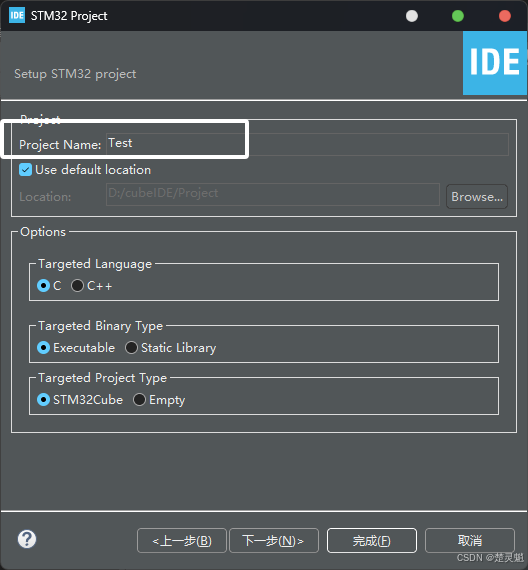
下面便是工程路径的选择,我们这里如果想要自己定义工程的路径,我们这里就需要将"Use default location"的勾去掉:
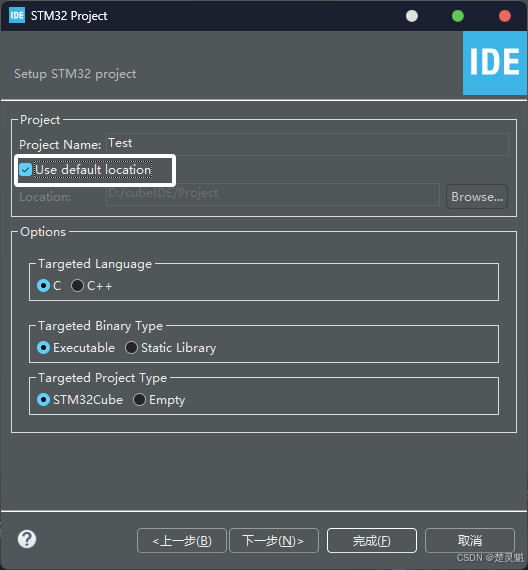
去掉以后,下面的路径选择框就已经亮起了:
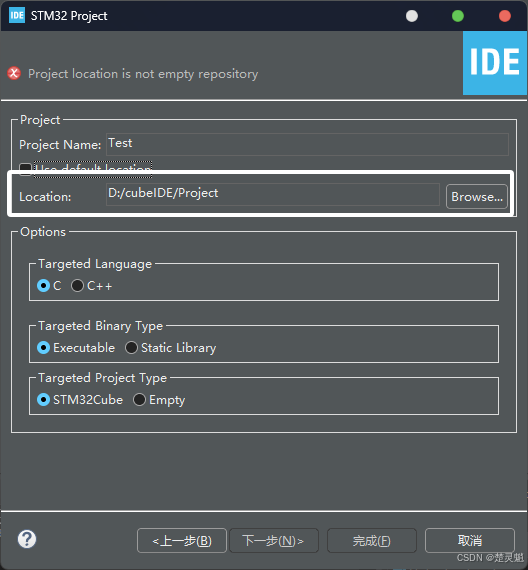
如果这里不取消勾,工程就被放在我们一开始配置的工作空间中。我这里直接保持默认,然后继续点击"完成"即可:
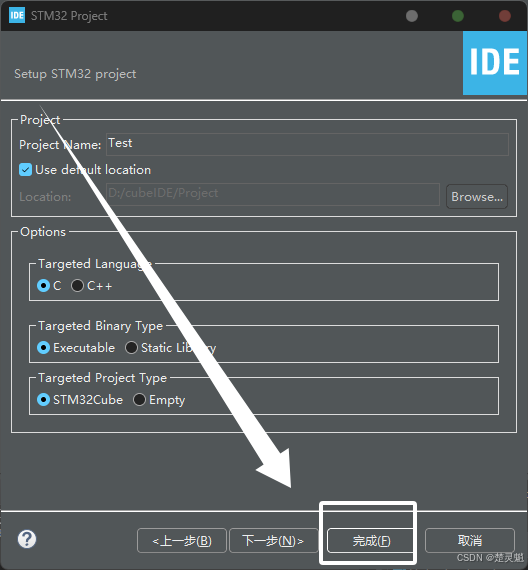
随后就来到了我们熟悉的STM32配置界面,使用过cube MX的小伙伴对这个界面一定不陌生,操作和cube MX可以说是一样的:
这里如何配置STM32我在cube MX的安装教程中已经讲了,如果你还不会配置请看下面的cube MX安装与配置教程:
cube MX安装与配置:STM32从零开始的STM32 HAL库环境搭建-CSDN博客
因为上面已经讲过了,这里我就不作详细的讲解了。
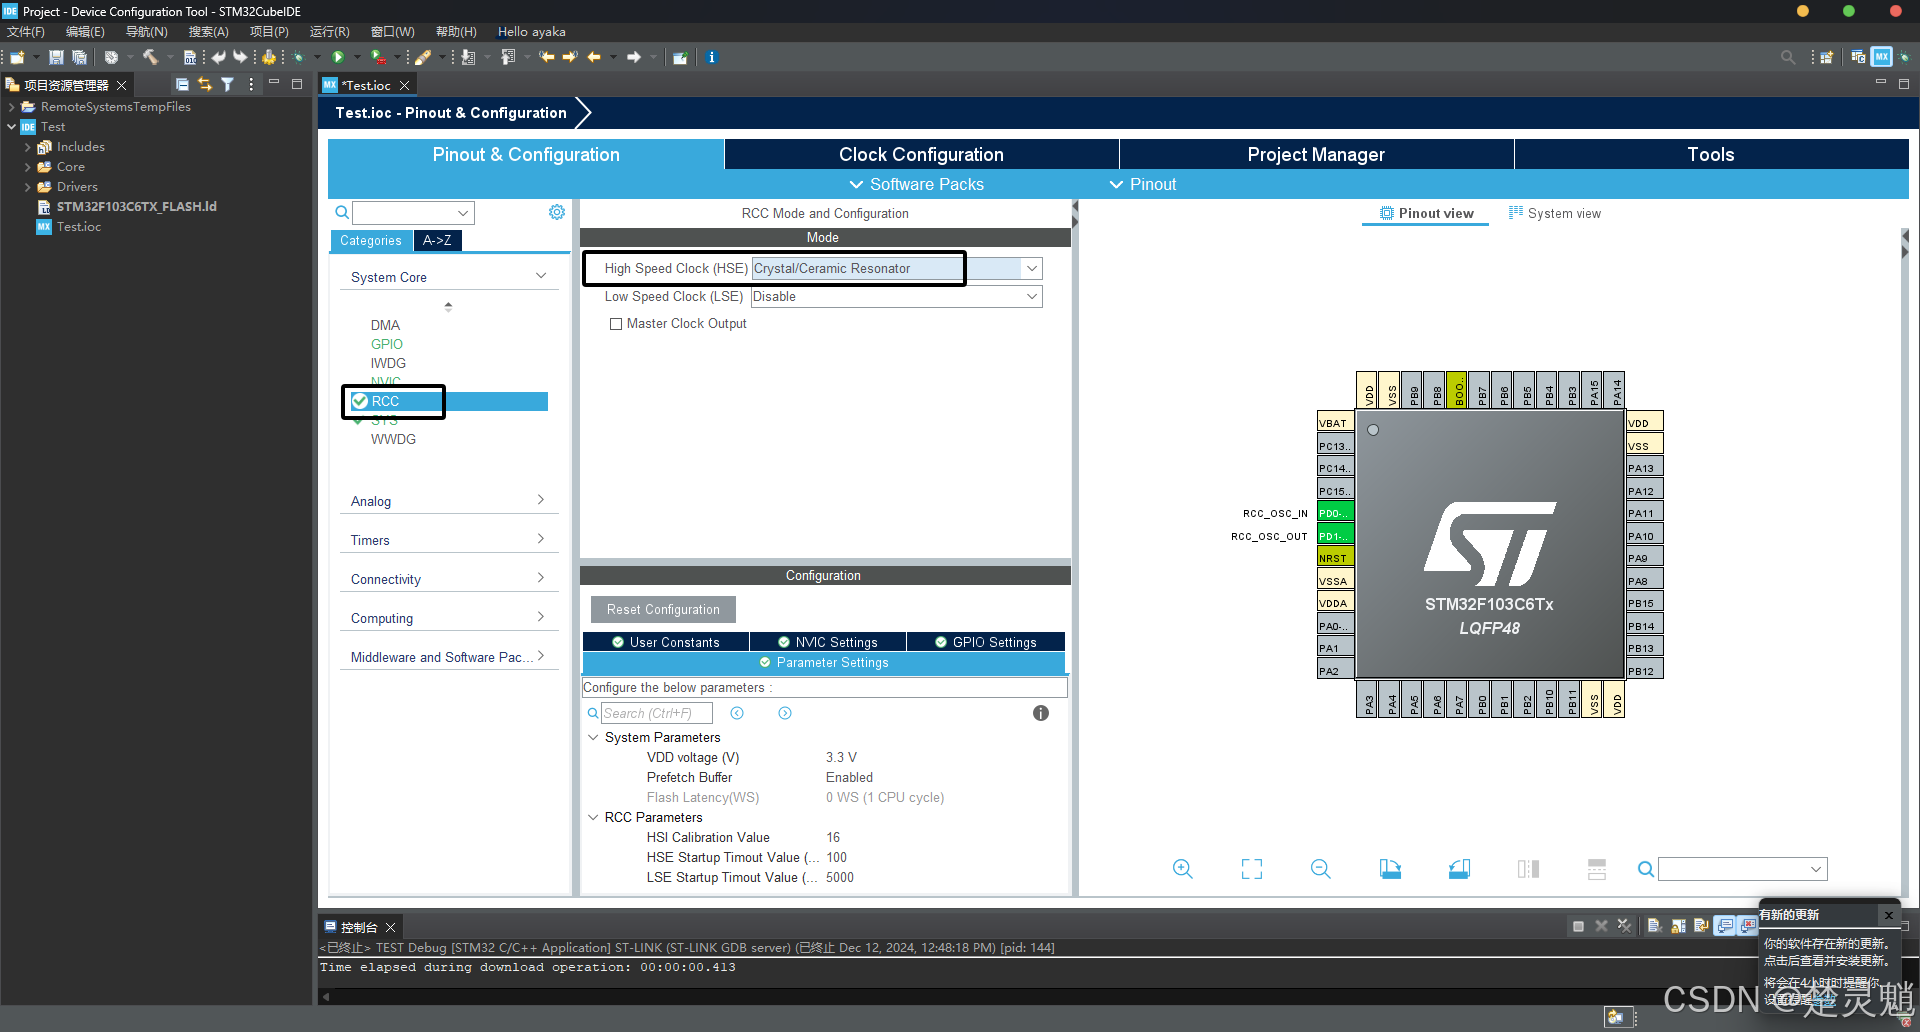
我们首先配置RCC,这里我将时钟配置为了外部高速时钟:
随后配置sys中的调试接口:
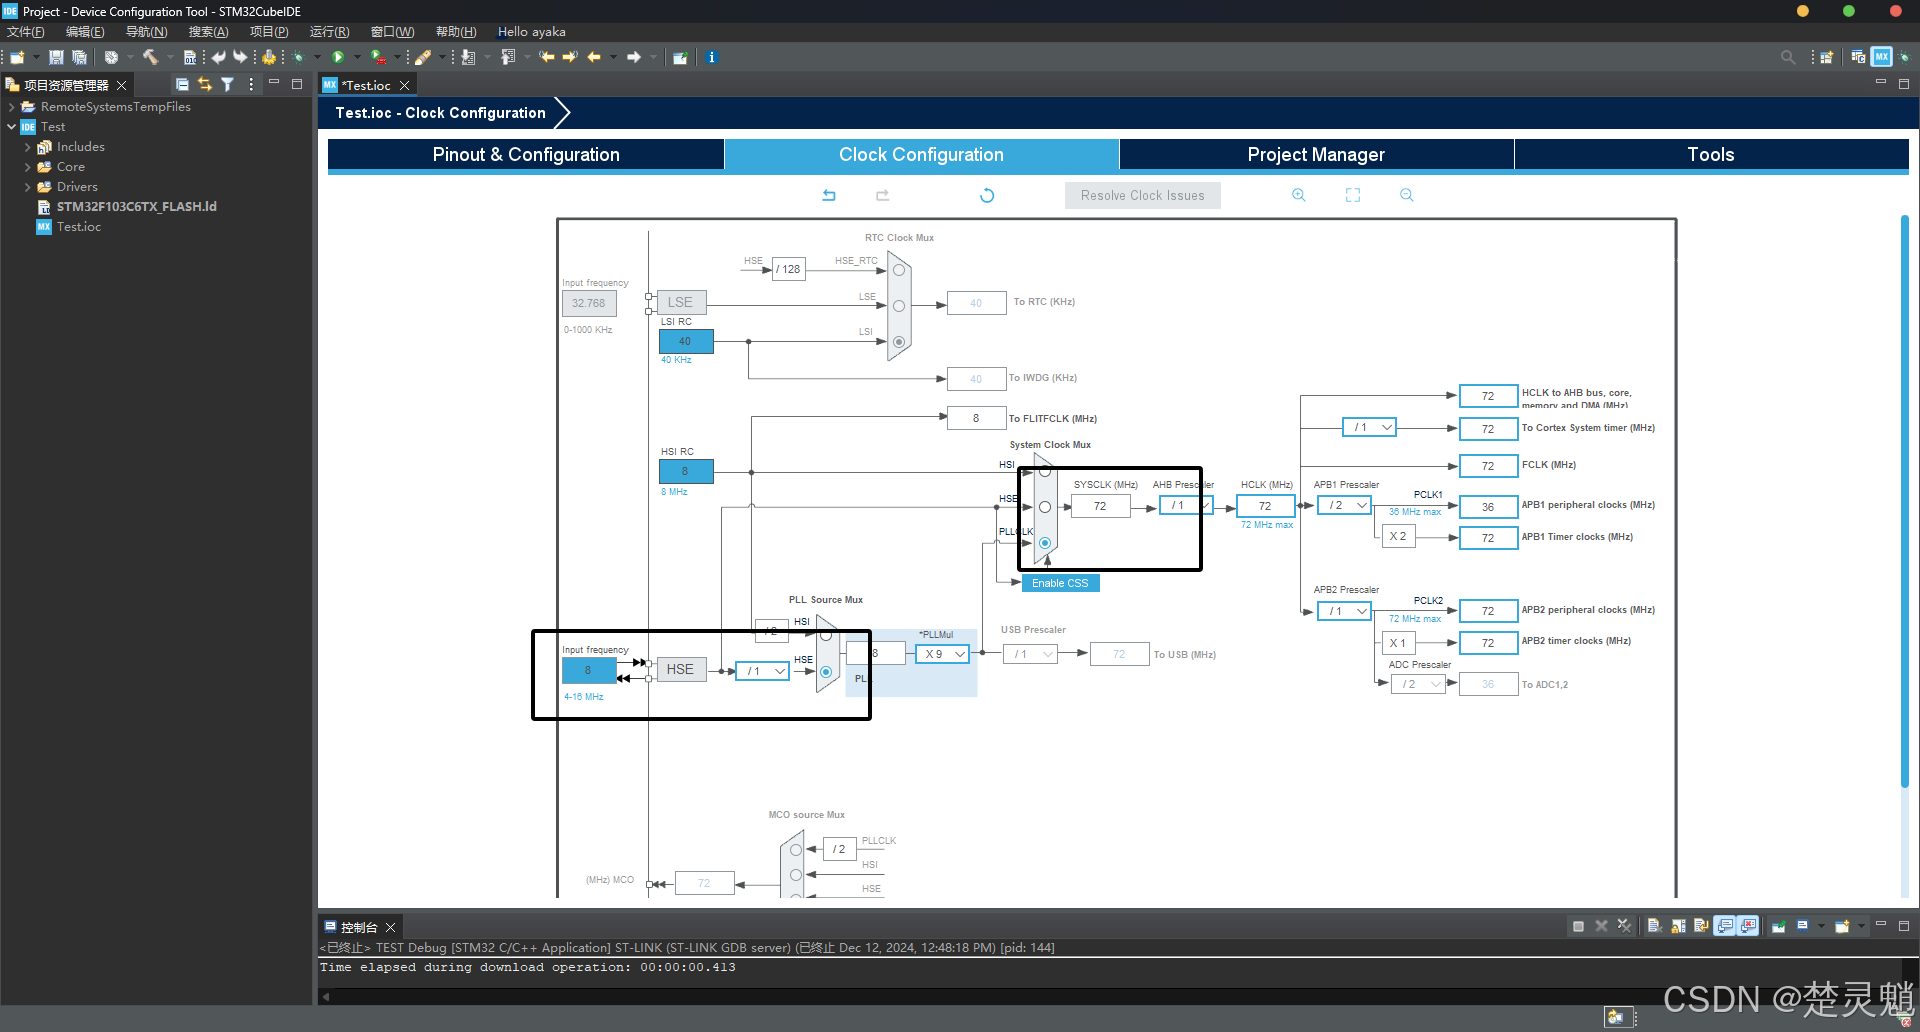
最后配置时钟为外部时钟,并且系统时钟的频率为72MHz:
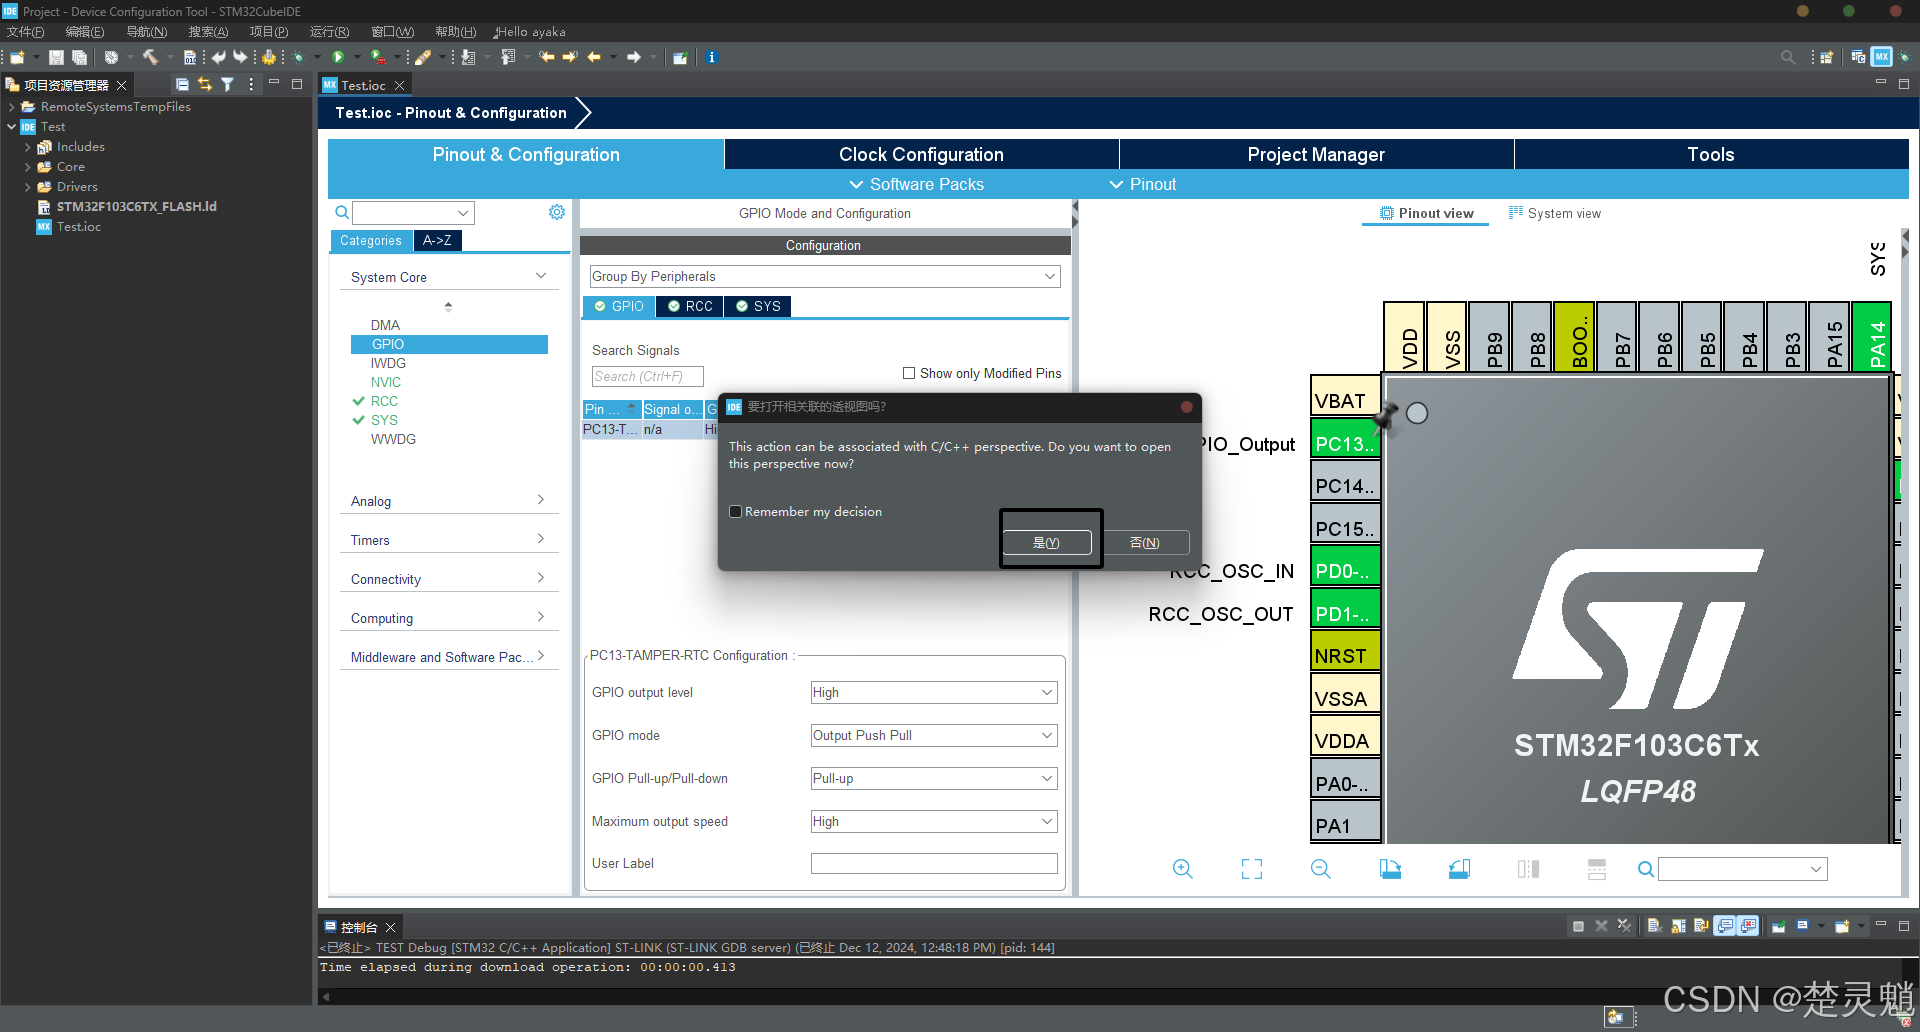
随后我们讲GPIOC13配置为输出模式:
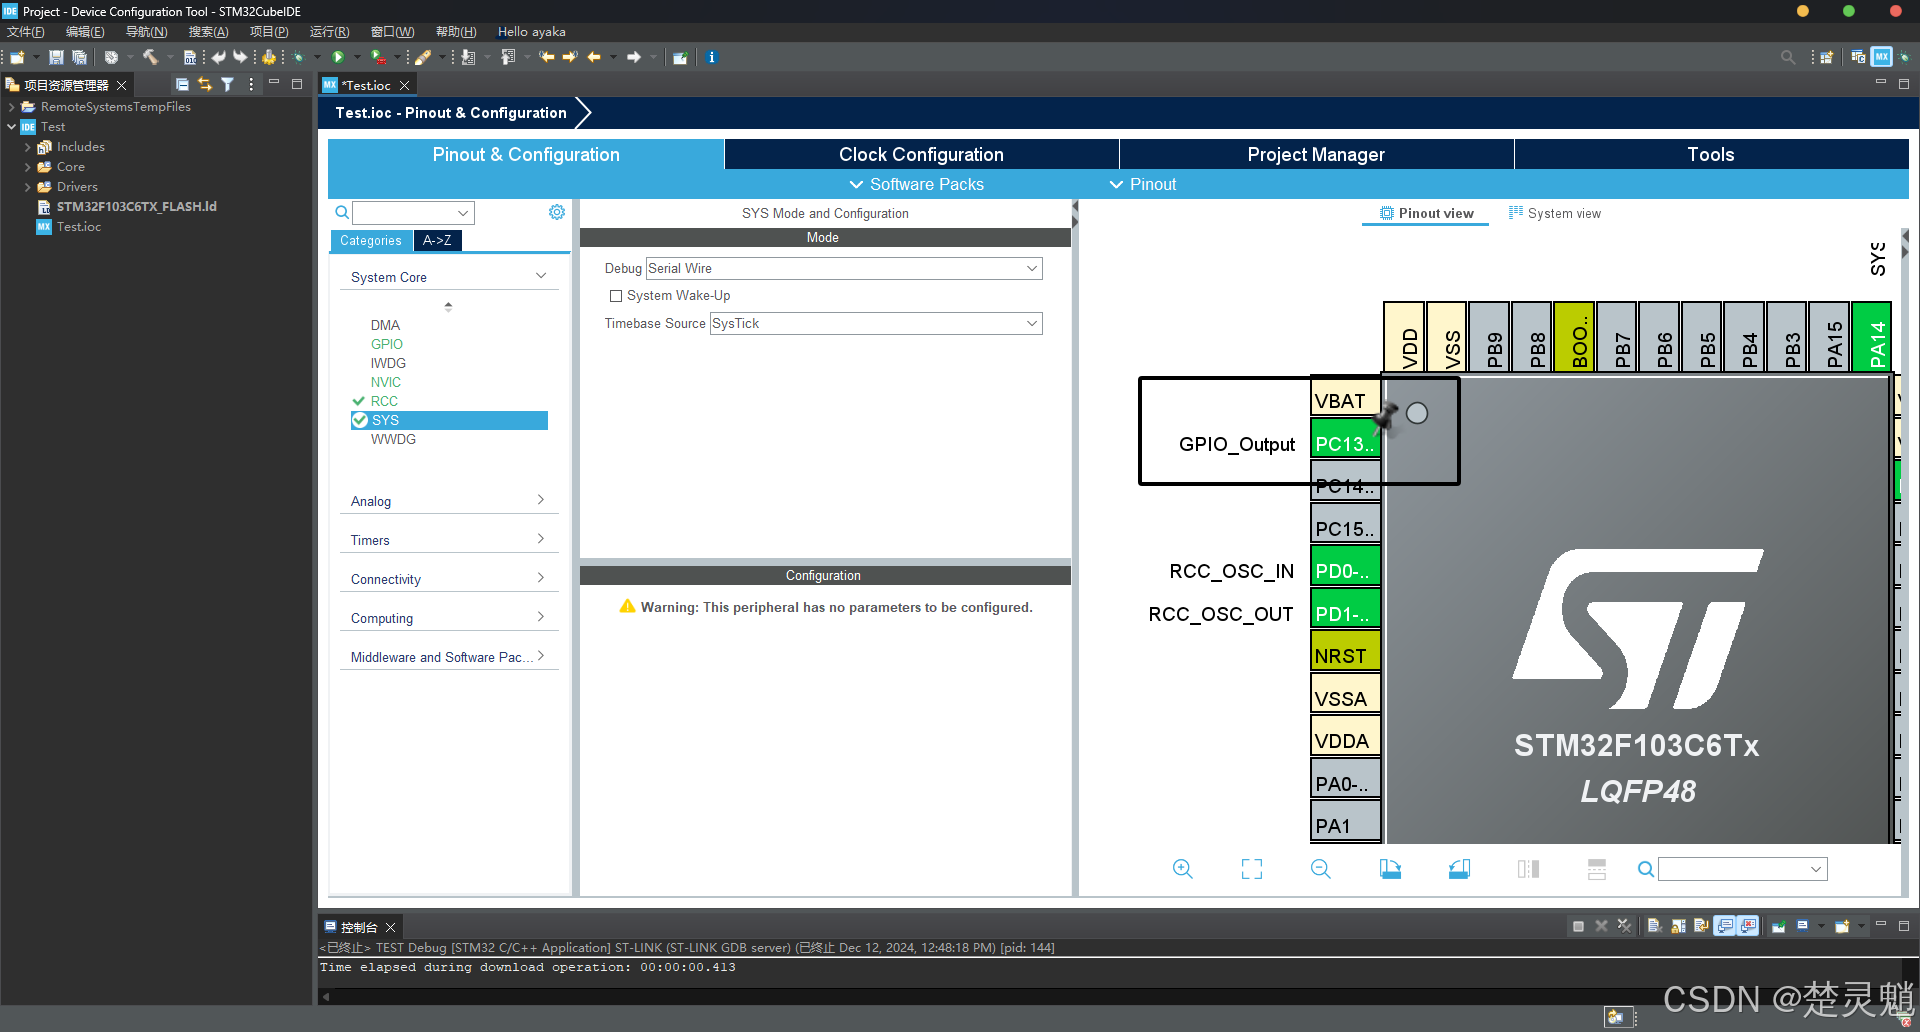
随后再对GPIOC13进行如下的具体配置:
如此一来我们就完成了STM32F103C6T6的基础配置,这里我们不用配置别的东西,点击到cube MX直接按下"Ctrl + S"即可,按下后弹出选择框,问我们要生成代码吗?我们直接点击"是":

下面这个对话框表示"此操作可以与C/C++透视图相关联。你现在要打开这个透视图吗?"我们同样的点击"是"即可:
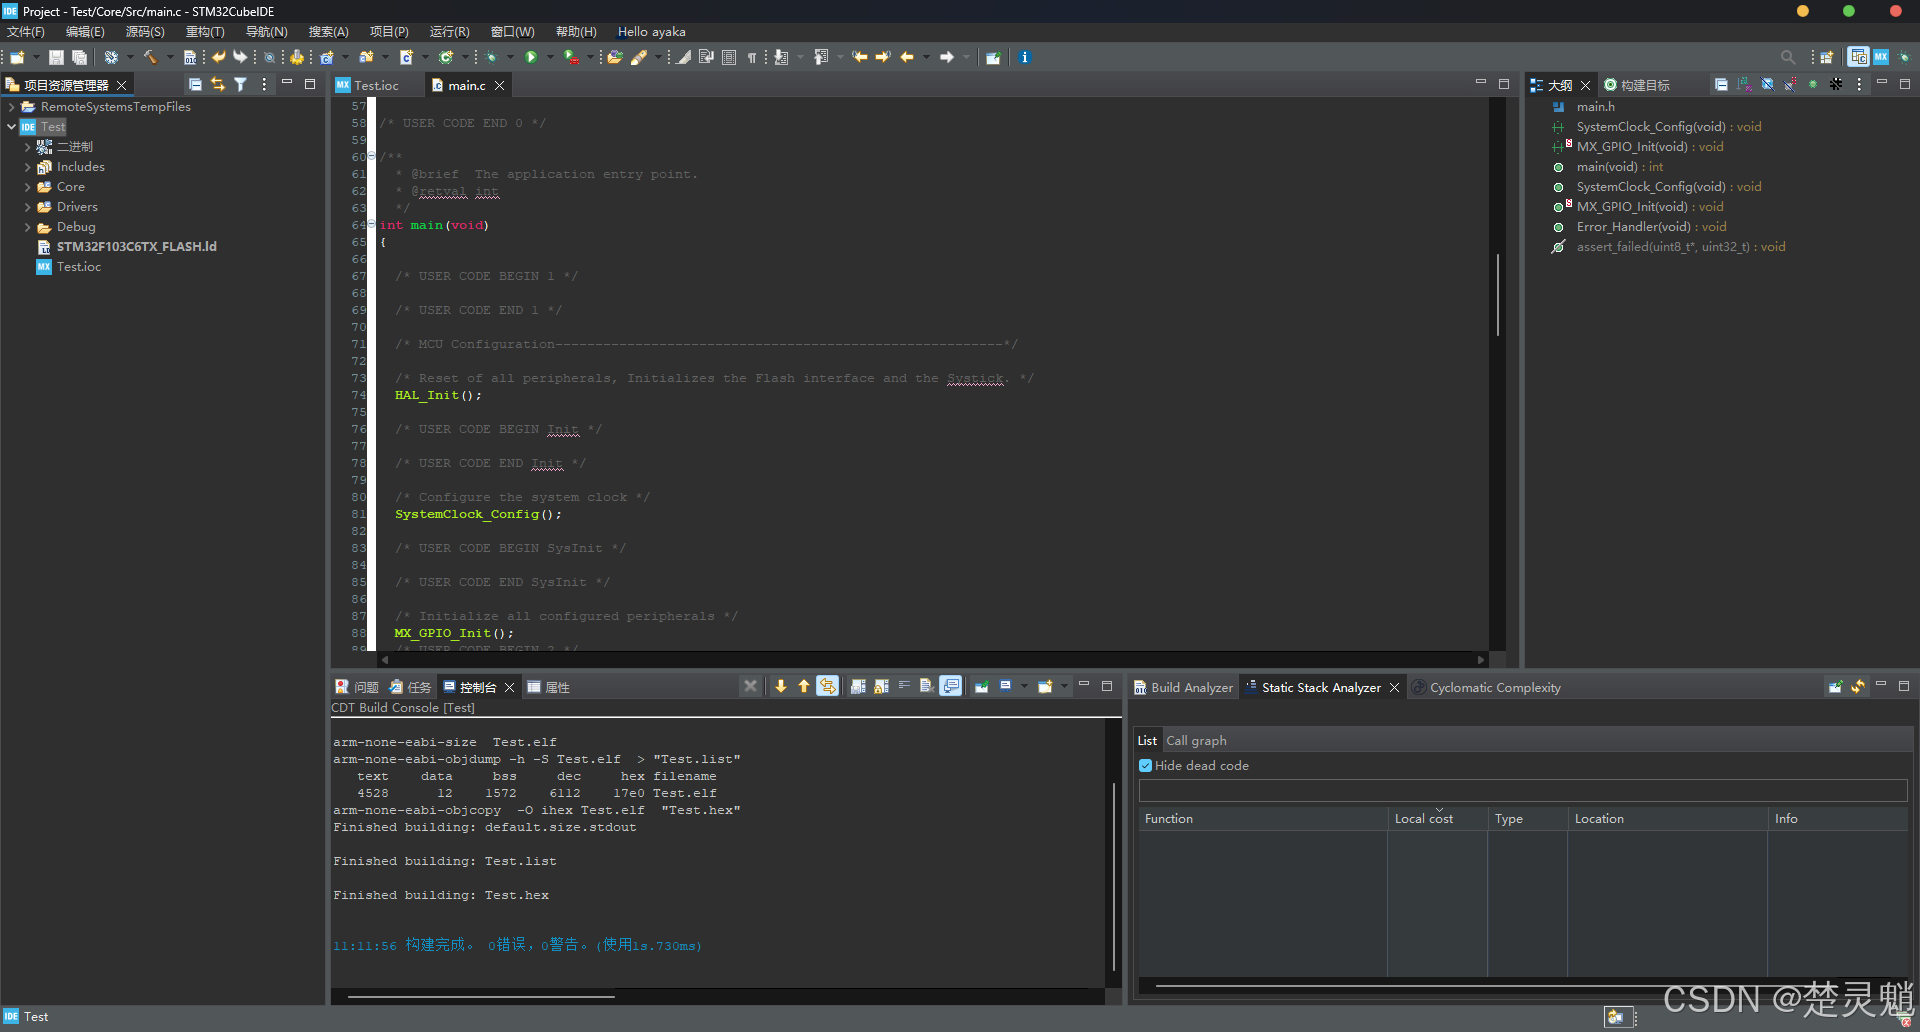
随后就可以看到我们的代码已经生成完成了:
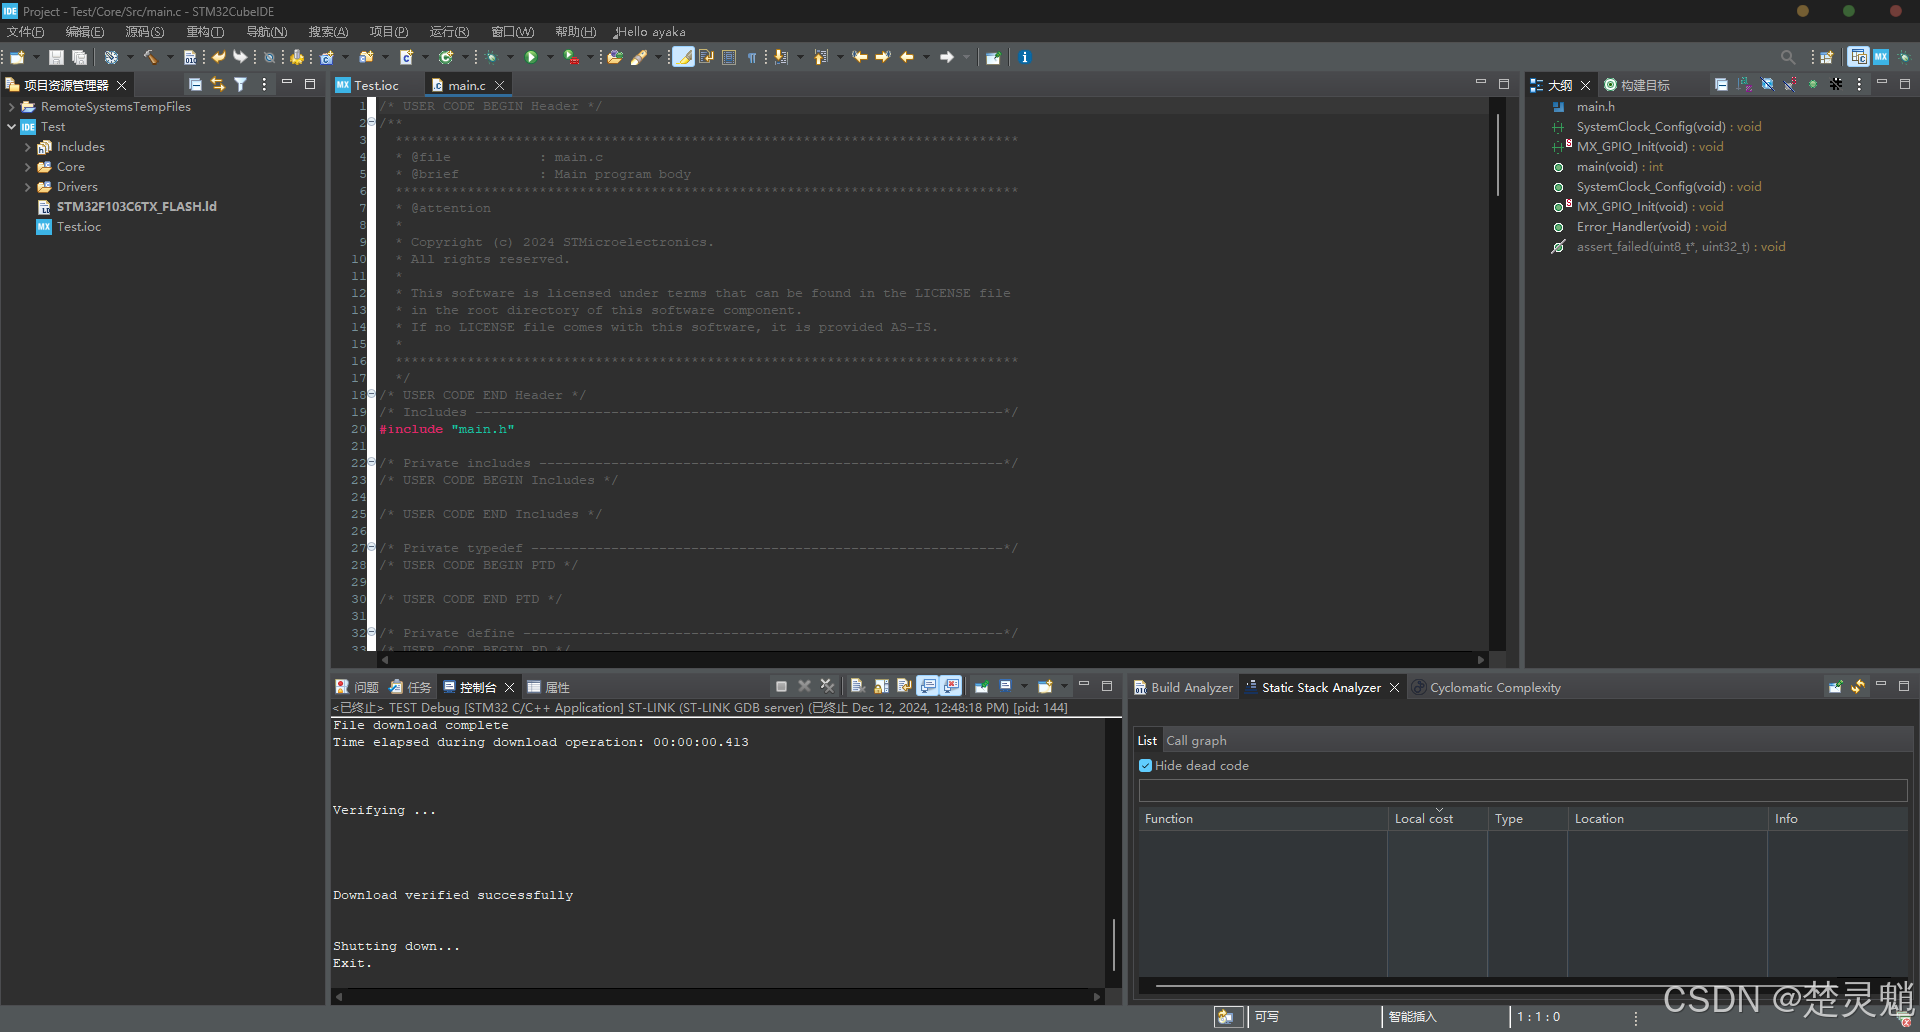
这里我们先点击左上角的"锤子"进行编译,如果你的"锤子"是灰色的,那么在左边的工程栏中双击选中工程:
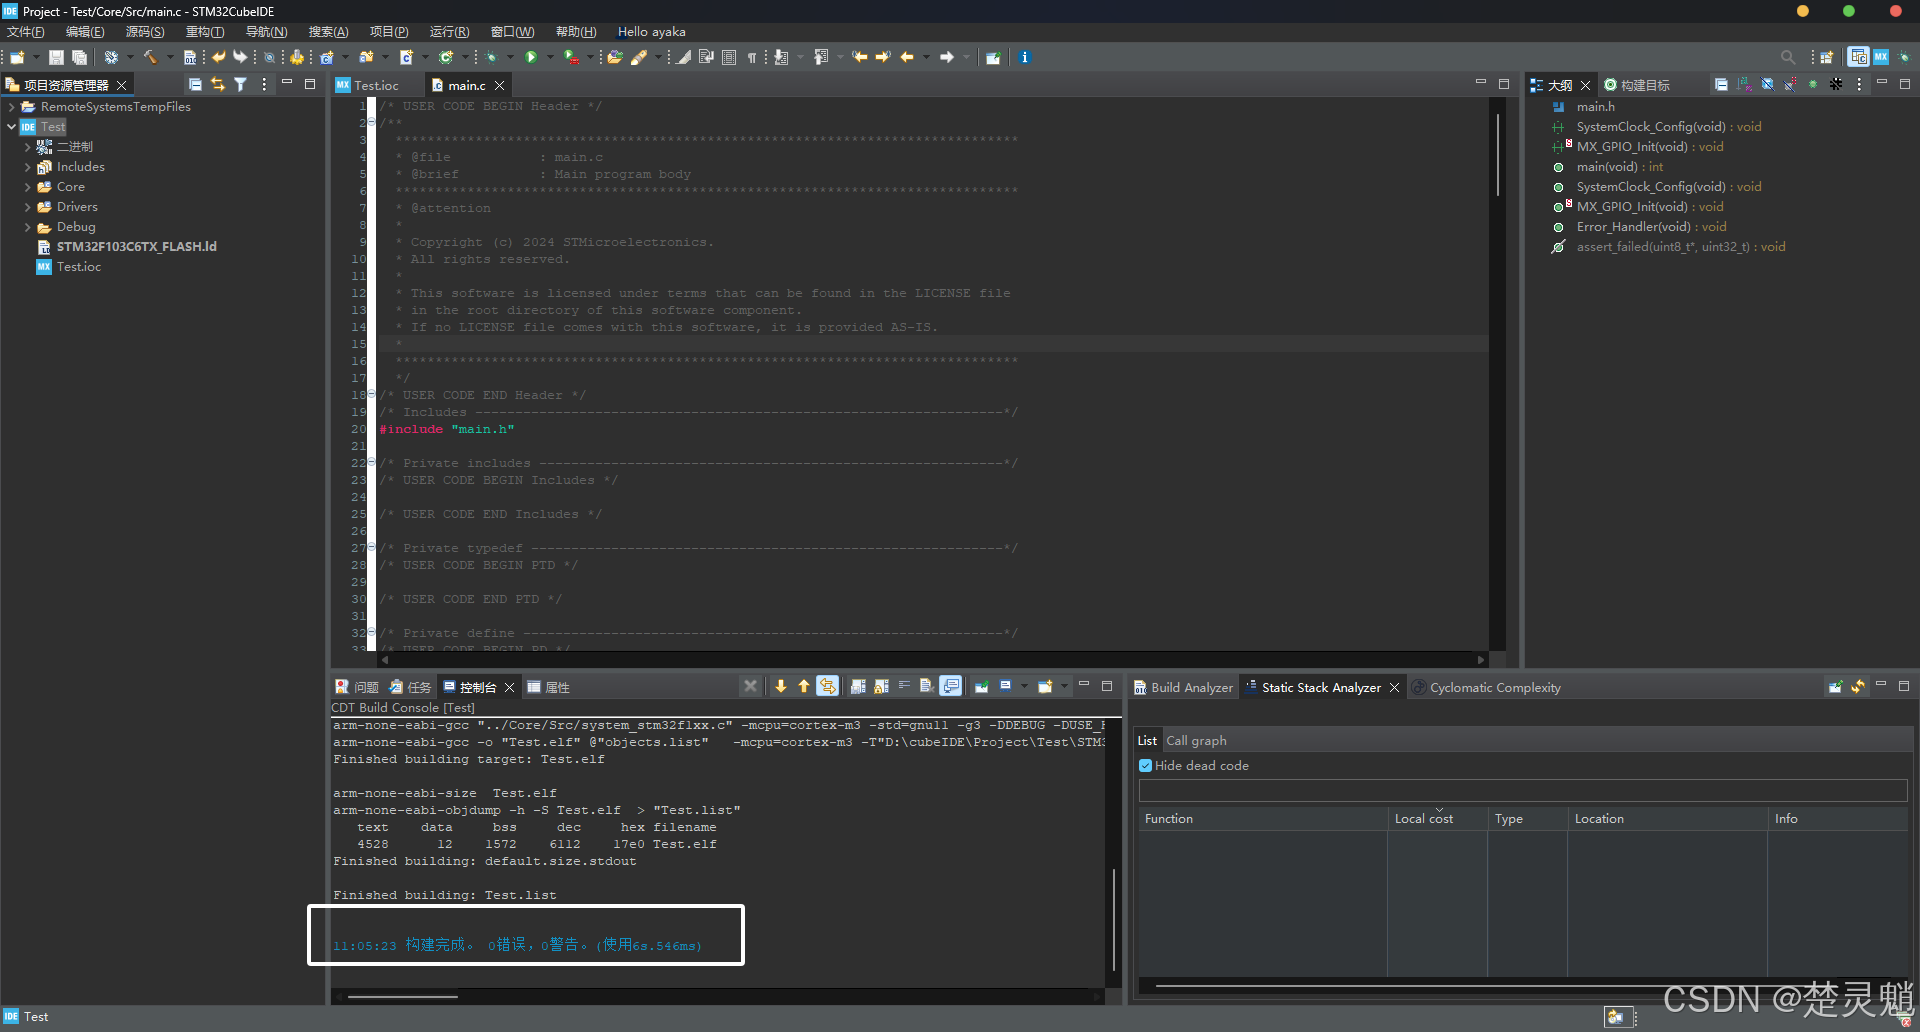
编译后按理说应该是没有错误没有警告的,这也表示我们生成的工程没有问题:
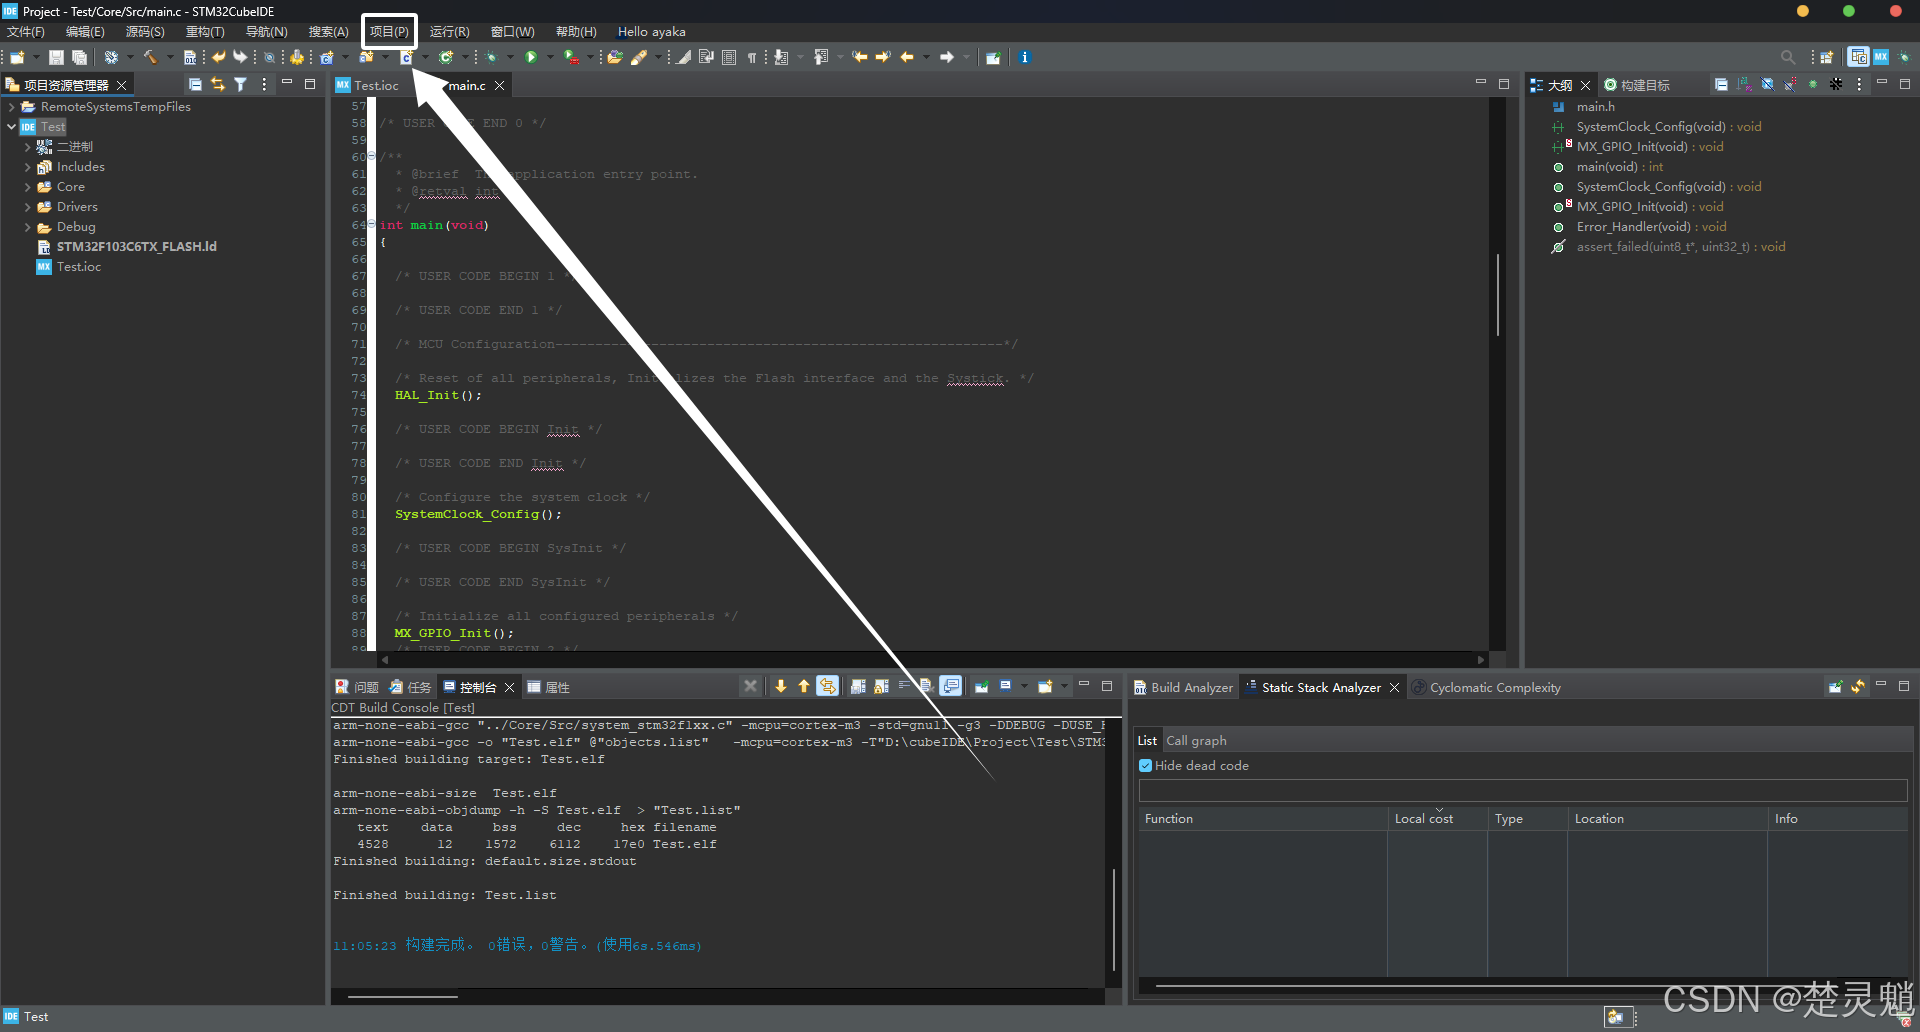
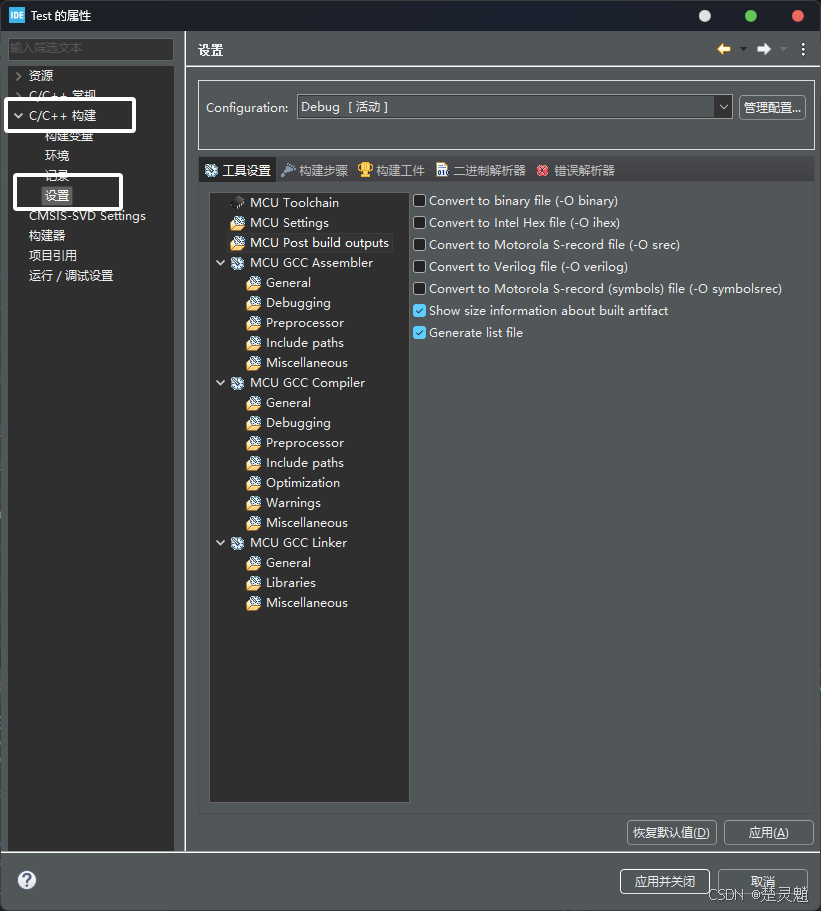
这样编译工程并不会生成hex文件,我们还需要进行一些配置。我们首先点击上方菜单栏的"项目":
随后再点击"属性":
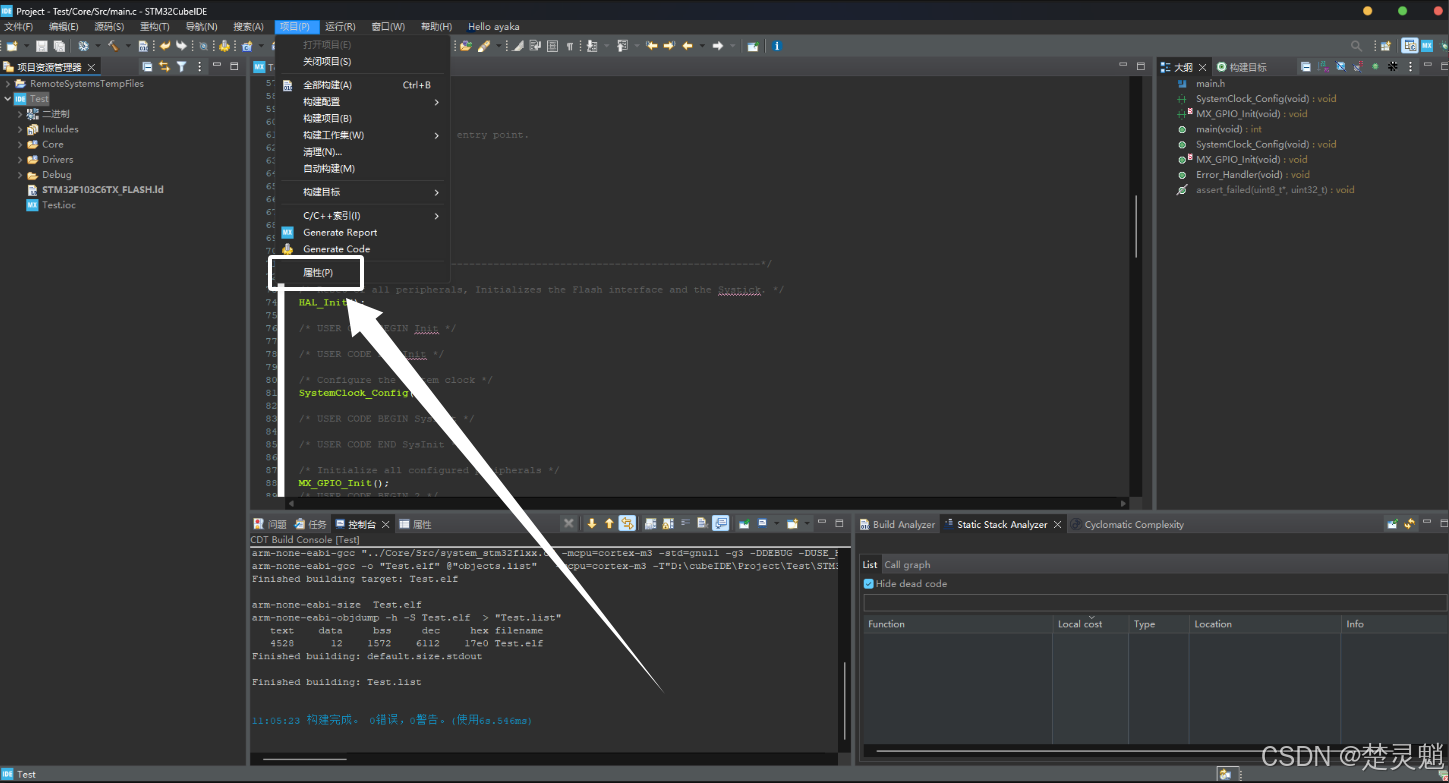
点击了属性以后,就能看到以下窗口了:
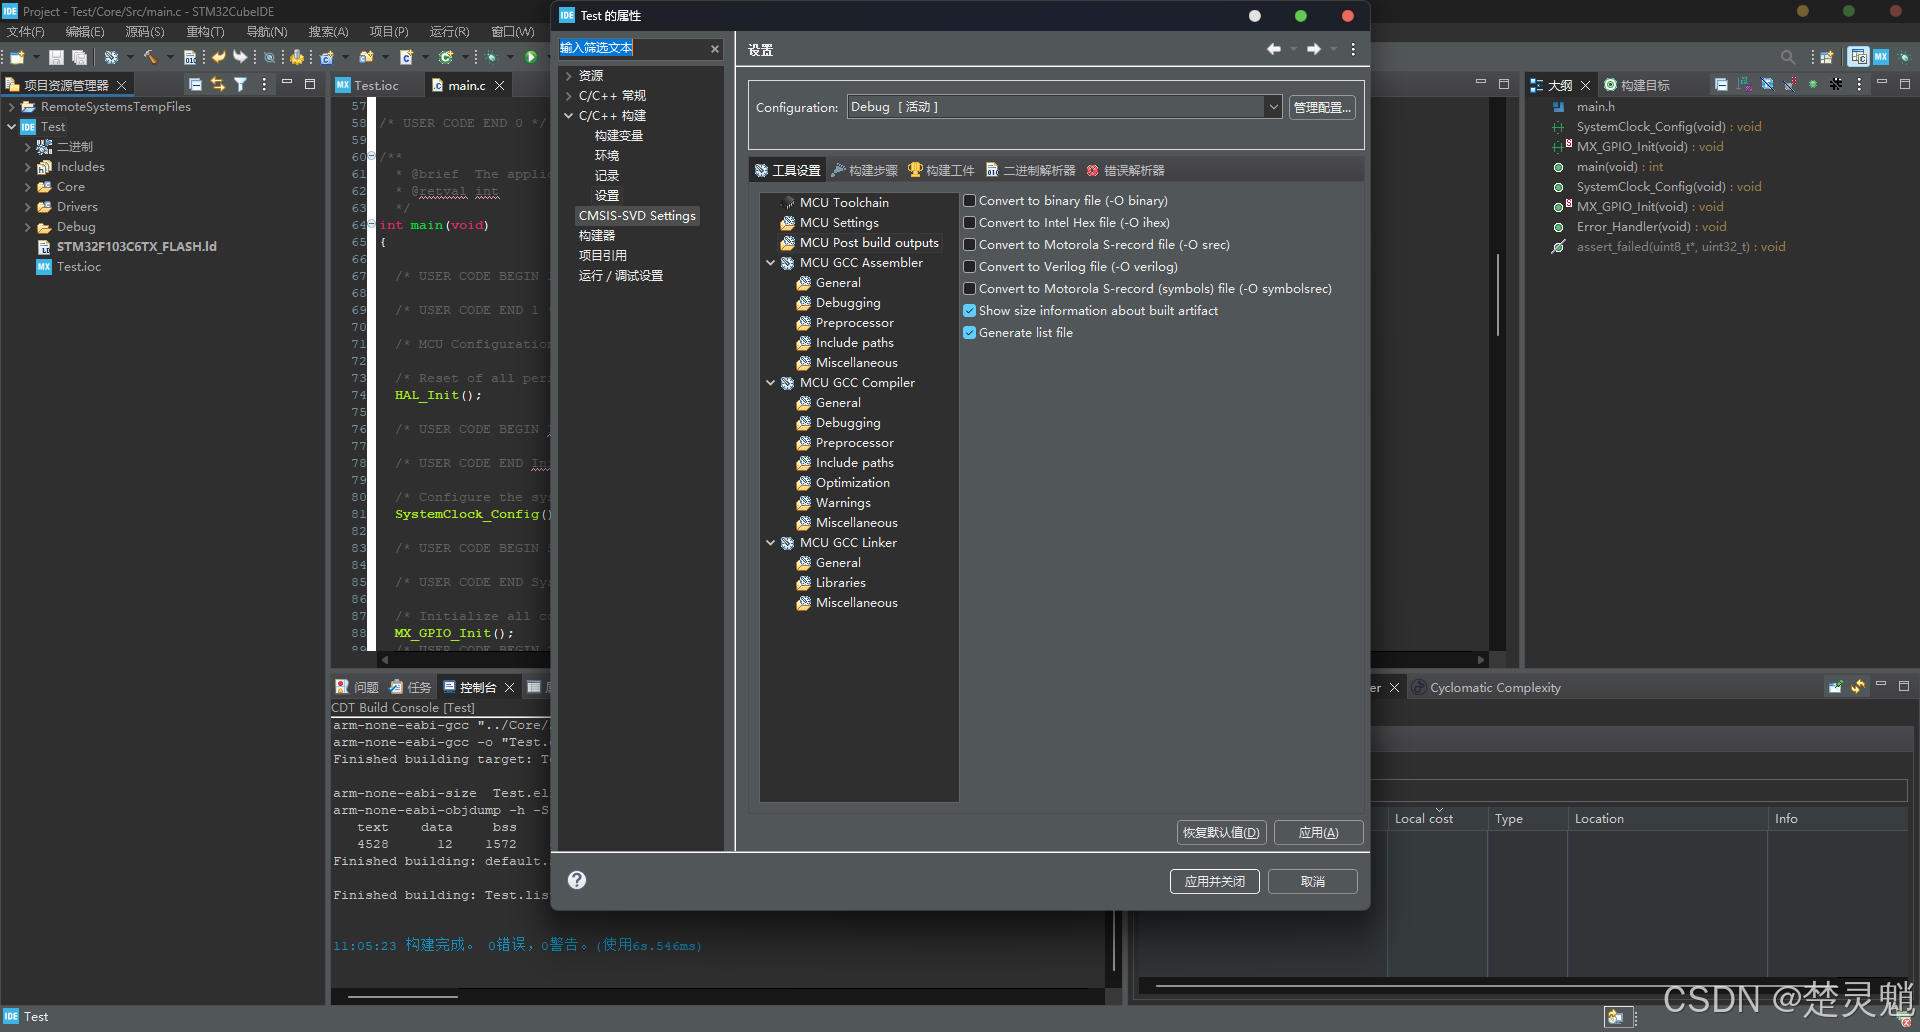
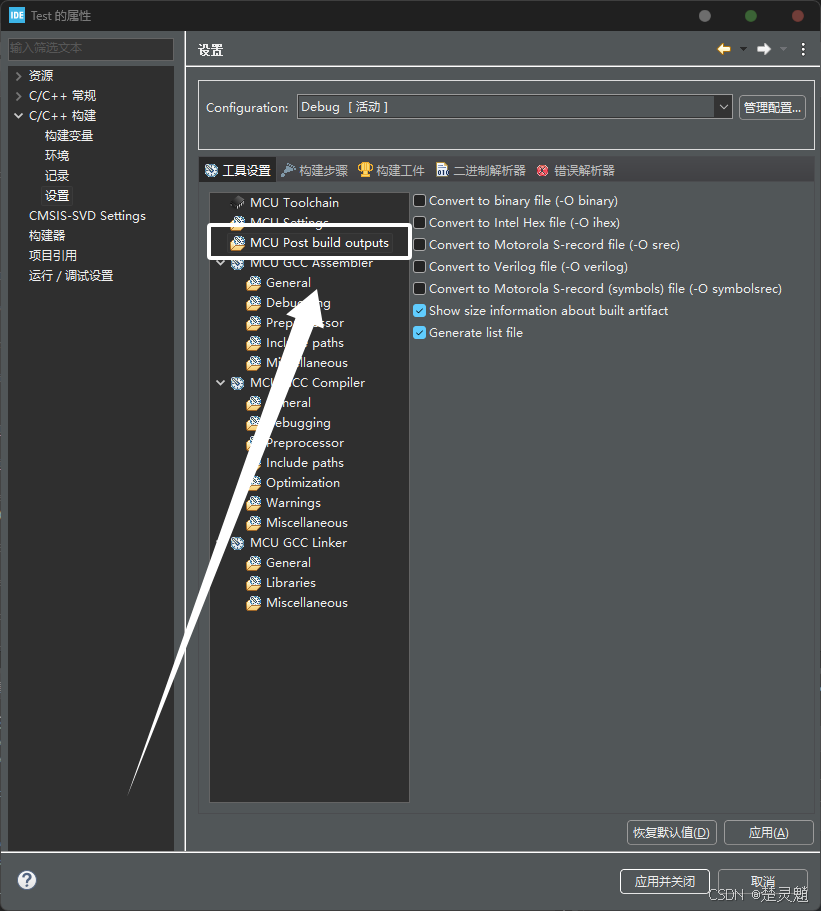
这里我们点击"C/C++构建"下拉框下的"设置":
随后我们再点击"MCU Post build outputs":
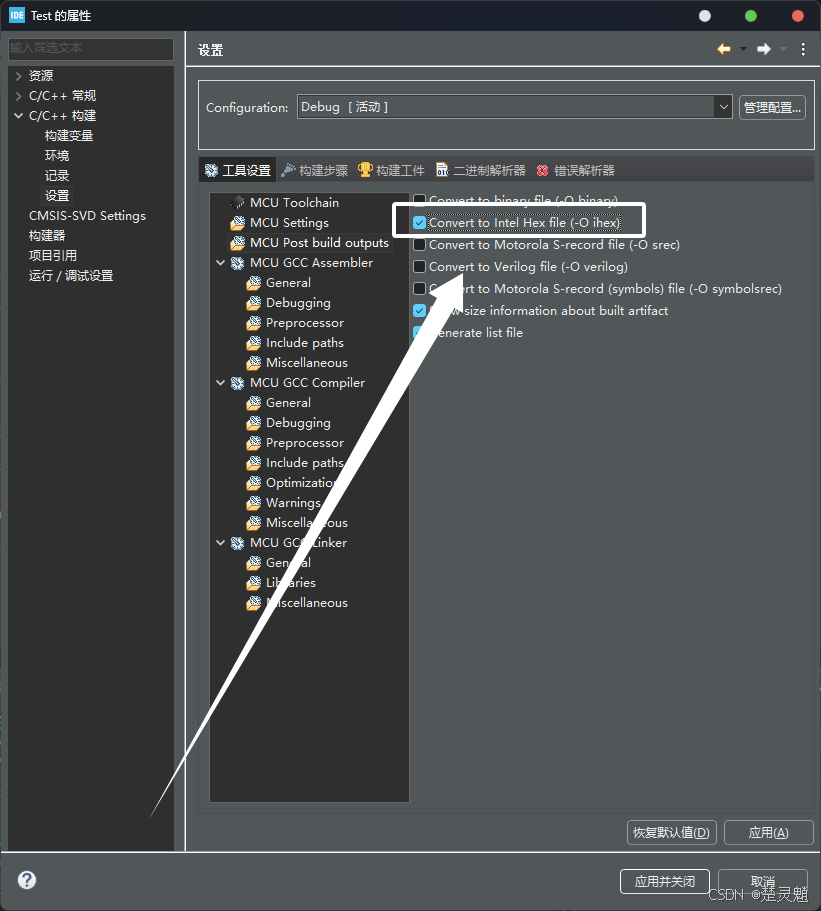
随后再将"Convert to Intel Hex file (-O ihex)"前面的勾打上:
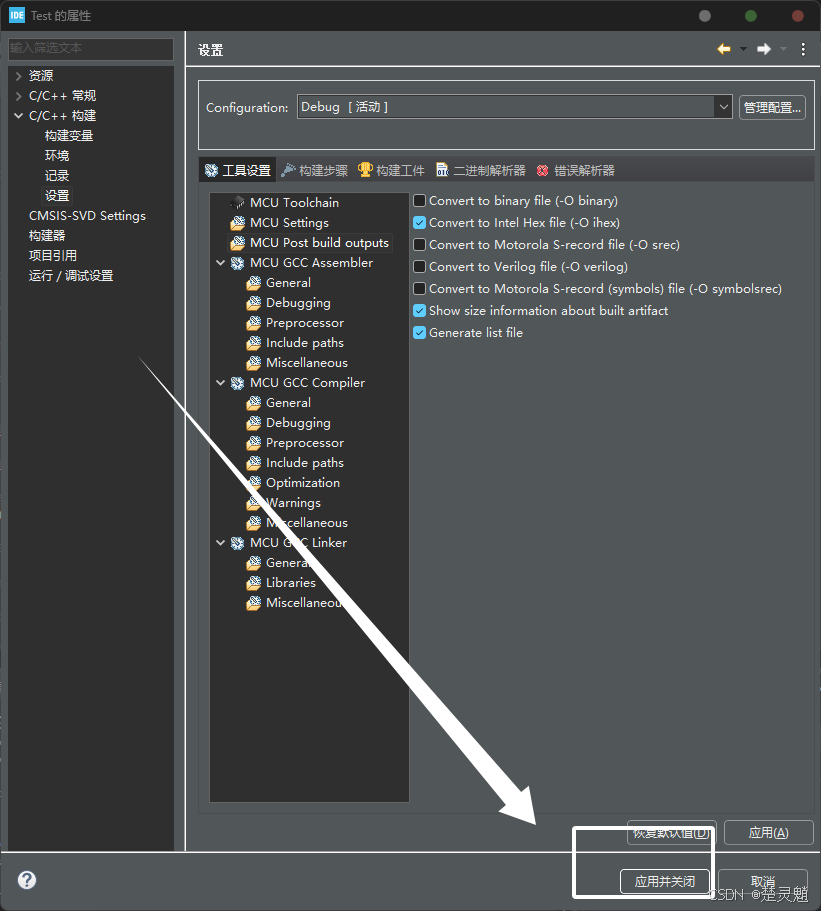
随后我们再点击"应用并关闭":
再次编译:
现在我们的工程应该就已经生成hex了。我们去工程了目录下寻找一下。我们可以看到hex被生成到了工程目录下的Debug目录下:

下面我们来写一个LED闪烁的代码,这里只需要在主函数的while中写一个引脚电平翻转的函数和一个延时函数就可以实现:
cpp
HAL_GPIO_TogglePin(GPIOC, GPIO_PIN_13);
HAL_Delay(500);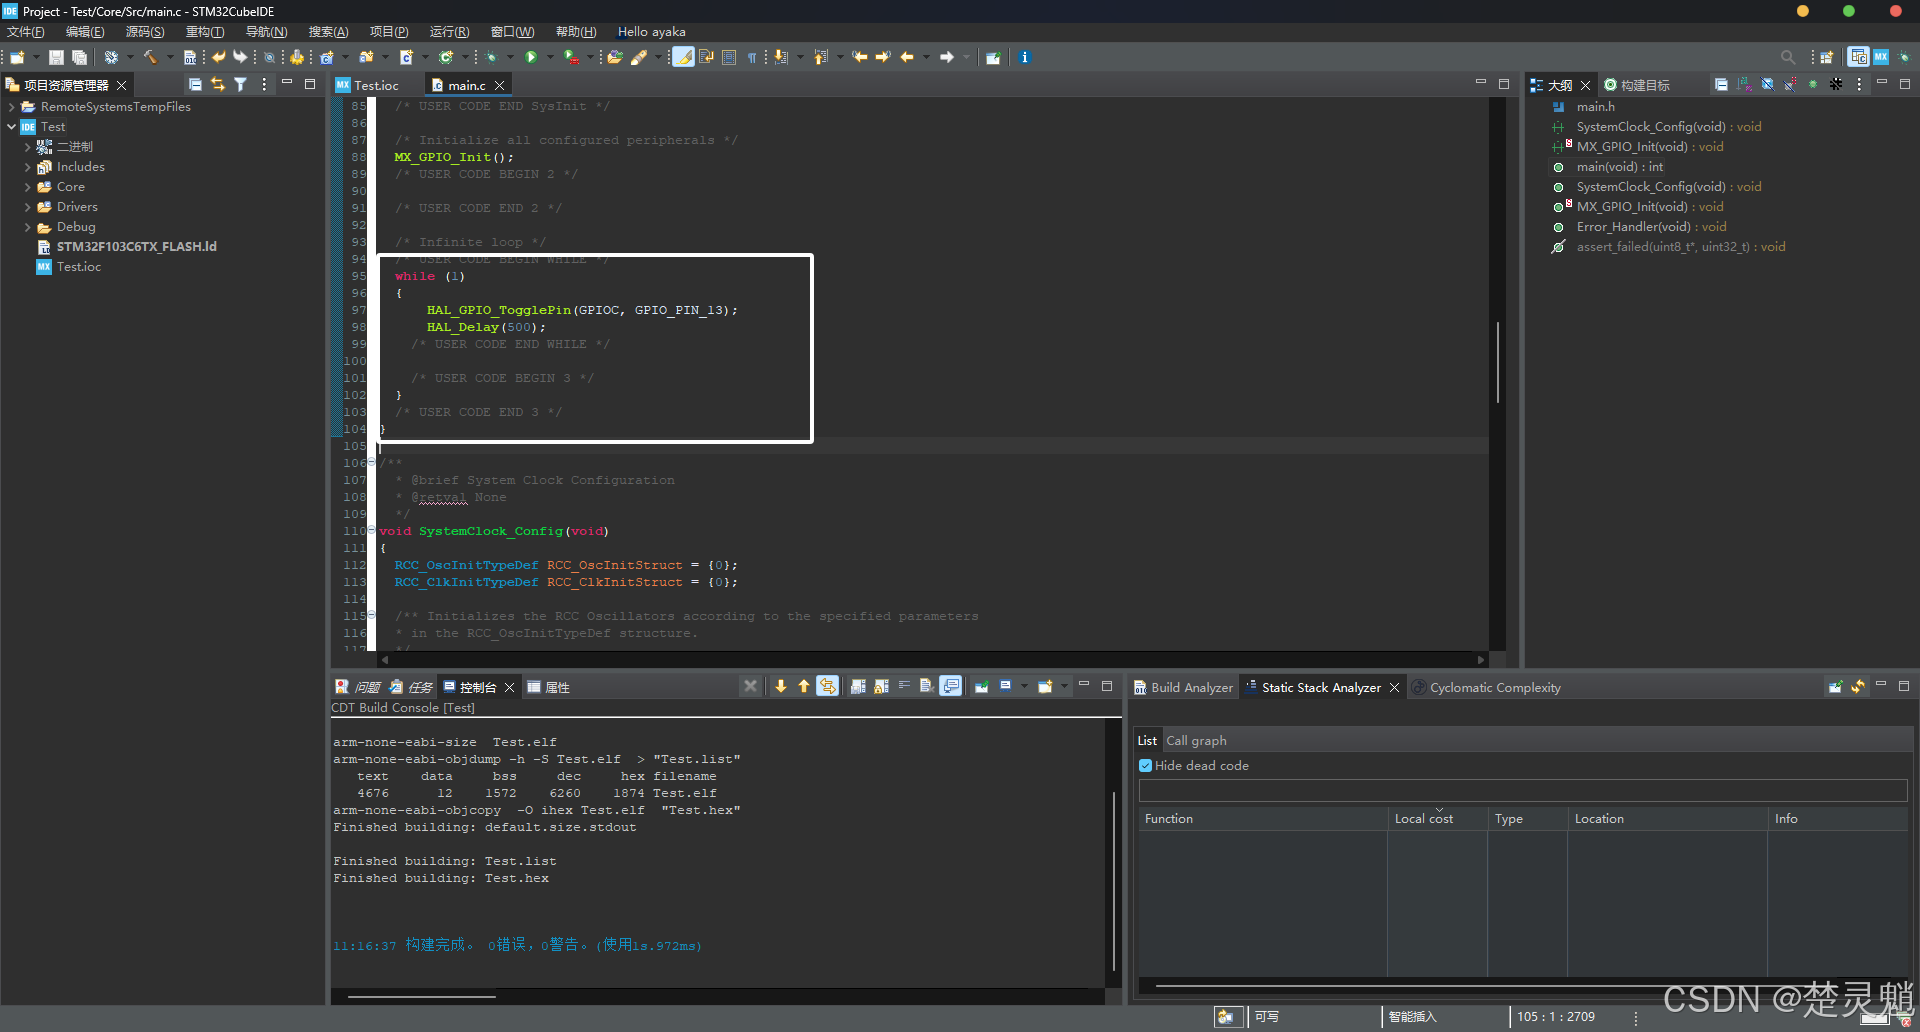
我们再次编译,同样应该是没有错误没有警告的。:
我们这里使用"STM32 ST-LINK Utility"软件将hex烧录到STM32中:

软件的安装包我同样也放在了资料中:
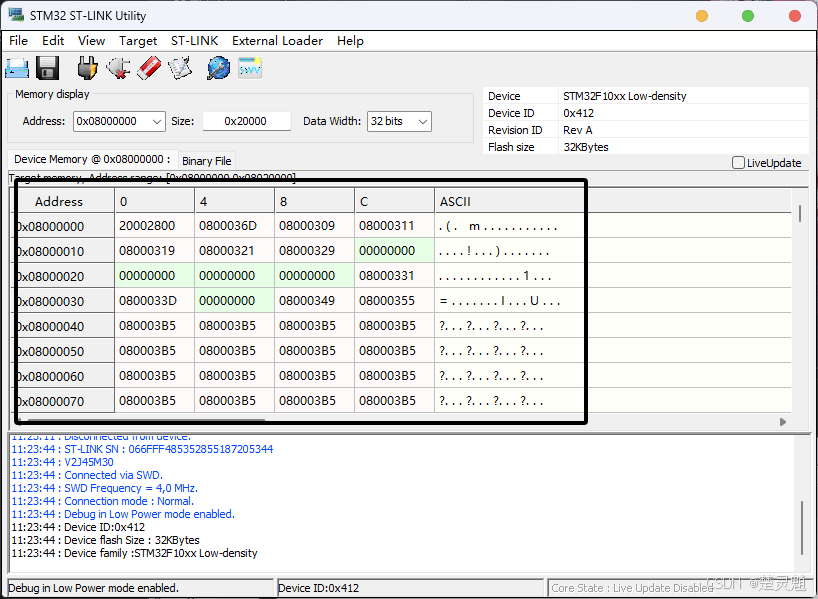
我们启动软件以后,首先点击"插头"图标链接芯片:
在连接成功后,下方会出现每个地址存放的值:
如果你这里连接失败了,或者是没有找到芯片,那就需要检查一下STLink与STM32的连接是否正常。检查STLink是不是能够使用的,最简单的办法就是打开keil看看能不能读到STLink的ID。
当我们连接成功以后,可以点击如图所示的图标选择hex文件:
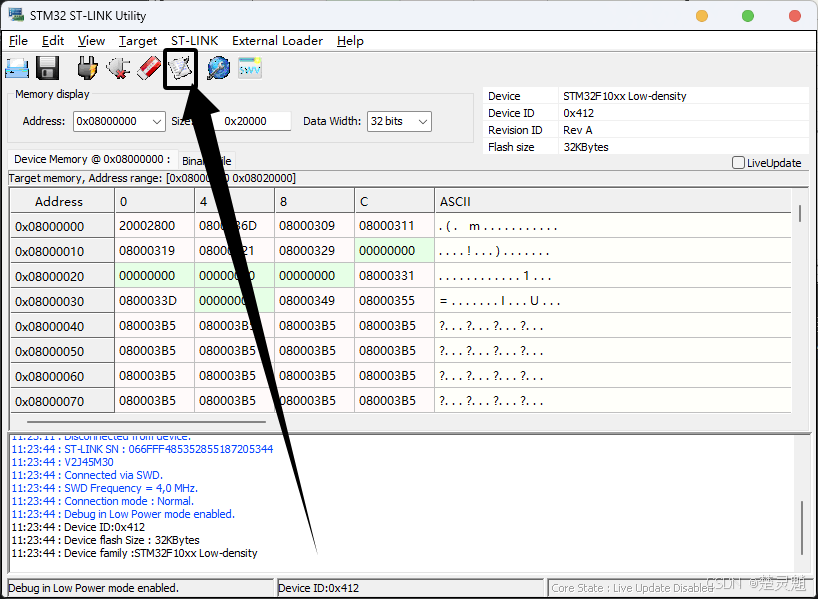
将hex选择进来以后,就弹出了下面的窗口:
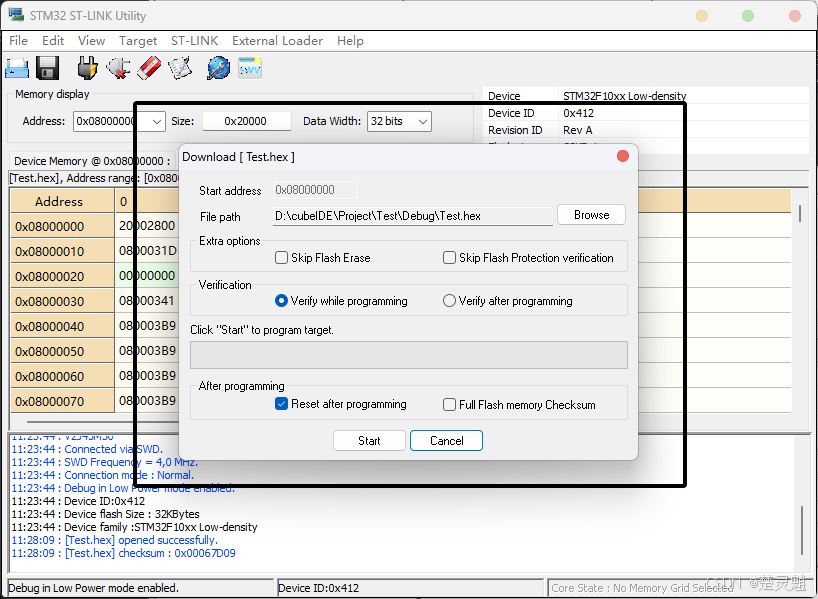
我们什么都不用选择,直接点击"Start"即可:

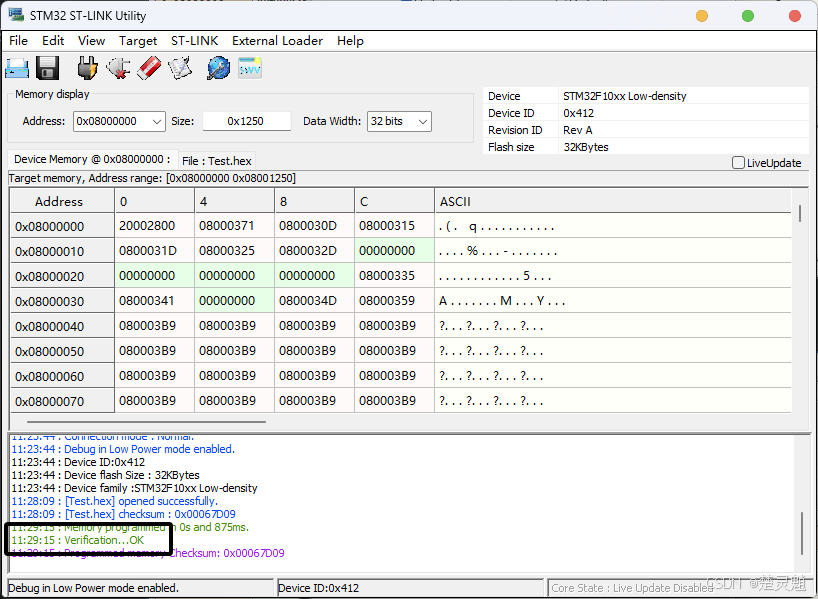
我们可以看到下方提示OK,表示我们的程序已经正确的下载到了STM32中:
我们可以看到LED正常闪烁,说明我们的环境和代码都没有问题:


至此我们cube IDE的环境搭建就已经完成了。
七、结语
虽说cube IDE的存在解决了我们在开发过程中跨IDE反复切换的问题,但同时也出现了一些新的问题,比如cube IDE使用的编译器为GCC编译器,可能会有一些语法与以前不兼容。因为cube IDE是使用其它的IDE魔改的,所以与GCC的兼容可能也有一些问题。当然,这些IDE之间大家如何选择就看大家自己了。那么最后,感谢大家的观看!