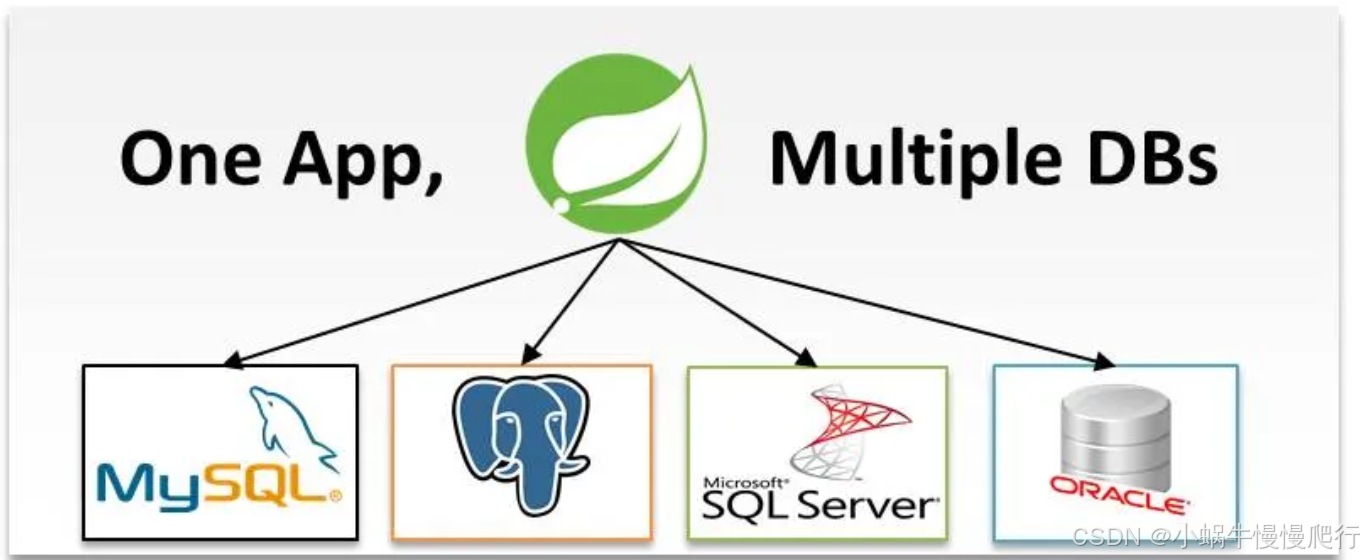
 在现代微服务架构中,通常需要与多个数据库交互的服务。这可能是由于各种原因,例如遗留系统集成、不同类型的数据存储需求,或者仅仅是为了优化性能。Spring Boot 具有灵活的配置和强大的数据访问库,可以轻松配置多个数据库。在本综合指南中,我们将探讨如何在 Spring Boot 微服务中设置和管理多个数据库连接。
1. 简介
微服务通常需要与各种数据库交互。每个微服务可能需要不同类型的数据库,例如用于事务数据的 SQL 数据库和用于非结构化数据的 NoSQL 数据库。Spring Boot 为配置和管理多个数据源提供了出色的支持,使其成为现代微服务架构的理想选择。
2.为什么要使用多个数据库?
您可能需要在微服务中使用多个数据库的原因如下:
- **遗留系统集成:**与遗留系统的现有数据库集成。
- **优化性能:**使用针对特定类型的数据(例如关系型与非关系型)优化的不同数据库。
- **数据隔离:**出于安全、合规或组织原因分离数据。
- **可扩展性:**在不同的数据库之间分配数据负载以提高性能。
3.设置 Spring Boot 项目
首先,创建一个新的 Spring Boot 项目。您可以使用 Spring Initializr 或您喜欢的 IDE 来设置项目。
Maven 依赖项
在您的 中pom.xml包含 Spring Data JPA 和您将使用的数据库的依赖项(例如,内存中的 H2、PostgreSQL、MySQL 等)。
XML
<dependencies>
    <dependency>
        <groupId>org.springframework.boot</groupId>
        <artifactId>spring-boot-starter-data-jpa</artifactId>
    </dependency>
    <dependency>
        <groupId>org.springframework.boot</groupId>
        <artifactId>spring-boot-starter-web</artifactId>
    </dependency>
    <dependency>
        <groupId>com.h2database</groupId>
        <artifactId>h2</artifactId>
        <scope>runtime</scope>
    </dependency>
    <dependency>
        <groupId>org.postgresql</groupId>
        <artifactId>postgresql</artifactId>
        <scope>runtime</scope>
    </dependency>
</dependencies>
4.配置多个数据源
在application.yml或application.properties文件中,配置每个数据库的连接属性。
application.yml
python
spring:
  datasource:
    primary:
      url: jdbc:h2:mem:primarydb
      driver-class-name: org.h2.Driver
      username: sa
      password: password
    secondary:
      url: jdbc:postgresql://localhost:5432/secondarydb
      driver-class-name: org.postgresql.Driver
      username: postgres
      password: password
jpa:
    primary:
      database-platform: org.hibernate.dialect.H2Dialect
      hibernate:
        ddl-auto: update
    secondary:
      database-platform: org.hibernate.dialect.PostgreSQLDialect
      hibernate:
        ddl-auto: update
5.创建数据源配置类
接下来,为每个数据源创建单独的配置类。
主数据源配置
java
package com.example.config;
import org.springframework.beans.factory.annotation.Qualifier;
import org.springframework.boot.context.properties.ConfigurationProperties;
import org.springframework.boot.jdbc.DataSourceBuilder;
import org.springframework.context.annotation.Bean;
import org.springframework.context.annotation.Configuration;
import org.springframework.data.jpa.repository.config.EnableJpaRepositories;
import org.springframework.orm.jpa.JpaTransactionManager;
import org.springframework.orm.jpa.LocalContainerEntityManagerFactoryBean;
import org.springframework.orm.jpa.vendor.HibernateJpaVendorAdapter;
import org.springframework.transaction.PlatformTransactionManager;
import javax.persistence.EntityManagerFactory;
import javax.sql.DataSource;
@Configuration
@EnableJpaRepositories(
    basePackages = "com.example.primary.repository",
    entityManagerFactoryRef = "primaryEntityManagerFactory",
    transactionManagerRef = "primaryTransactionManager"
)
public class PrimaryDataSourceConfig {
    @Bean(name = "primaryDataSource")
    @ConfigurationProperties(prefix = "spring.datasource.primary")
    public DataSource primaryDataSource() {
        return DataSourceBuilder.create().build();
    }
    @Bean(name = "primaryEntityManagerFactory")
    public LocalContainerEntityManagerFactoryBean primaryEntityManagerFactory(
            @Qualifier("primaryDataSource") DataSource dataSource) {
        LocalContainerEntityManagerFactoryBean em = new LocalContainerEntityManagerFactoryBean();
        em.setDataSource(dataSource);
        em.setPackagesToScan(new String[] { "com.example.primary.entity" });
        HibernateJpaVendorAdapter vendorAdapter = new HibernateJpaVendorAdapter();
        em.setJpaVendorAdapter(vendorAdapter);
        return em;
    }
    @Bean(name = "primaryTransactionManager")
    public PlatformTransactionManager primaryTransactionManager(
            @Qualifier("primaryEntityManagerFactory") EntityManagerFactory entityManagerFactory) {
        return new JpaTransactionManager(entityManagerFactory);
    }
}
辅助数据源配置
java
package com.example.config;
import org.springframework.beans.factory.annotation.Qualifier;
import org.springframework.boot.context.properties.ConfigurationProperties;
import org.springframework.boot.jdbc.DataSourceBuilder;
import org.springframework.context.annotation.Bean;
import org.springframework.context.annotation.Configuration;
import org.springframework.data.jpa.repository.config.EnableJpaRepositories;
import org.springframework.orm.jpa.JpaTransactionManager;
import org.springframework.orm.jpa.LocalContainerEntityManagerFactoryBean;
import org.springframework.orm.jpa.vendor.HibernateJpaVendorAdapter;
import org.springframework.transaction.PlatformTransactionManager;
import javax.persistence.EntityManagerFactory;
import javax.sql.DataSource;
@Configuration
@EnableJpaRepositories(
    basePackages = "com.example.secondary.repository",
    entityManagerFactoryRef = "secondaryEntityManagerFactory",
    transactionManagerRef = "secondaryTransactionManager"
)
public class SecondaryDataSourceConfig {
    @Bean(name = "secondaryDataSource")
    @ConfigurationProperties(prefix = "spring.datasource.secondary")
    public DataSource secondaryDataSource() {
        return DataSourceBuilder.create().build();
    }
    @Bean(name = "secondaryEntityManagerFactory")
    public LocalContainerEntityManagerFactoryBean secondaryEntityManagerFactory(
            @Qualifier("secondaryDataSource") DataSource dataSource) {
        LocalContainerEntityManagerFactoryBean em = new LocalContainerEntityManagerFactoryBean();
        em.setDataSource(dataSource);
        em.setPackagesToScan(new String[] { "com.example.secondary.entity" });
        HibernateJpaVendorAdapter vendorAdapter = new HibernateJpaVendorAdapter();
        em.setJpaVendorAdapter(vendorAdapter);
        return em;
    }
    @Bean(name = "secondaryTransactionManager")
    public PlatformTransactionManager secondaryTransactionManager(
            @Qualifier("secondaryEntityManagerFactory") EntityManagerFactory entityManagerFactory) {
        return new JpaTransactionManager(entityManagerFactory);
    }
}
6. 定义实体管理器
为每个数据库定义实体类。确保将它们放在配置类中指定的相应包中。
主数据库实体
java
package com.example.primary.entity;
import javax.persistence.Entity;
import javax.persistence.GeneratedValue;
import javax.persistence.GenerationType;
import javax.persistence.Id;
@Entity
public class PrimaryEntity {
    @Id
    @GeneratedValue(strategy = GenerationType.IDENTITY)
    private Long id;
    private String name;
    // getters and setters
}
辅助数据库实体
java
package com.example.secondary.entity;
import javax.persistence.Entity;
import javax.persistence.GeneratedValue;
import javax.persistence.GenerationType;
import javax.persistence.Id;
@Entity
public class SecondaryEntity {
    @Id
    @GeneratedValue(strategy = GenerationType.IDENTITY)
    private Long id;
    private String description;
    // getters and setters
}
7. 创建存储库
为每个数据库创建存储库接口,确保它们按照配置放置在正确的包中。
主存储库
java
package com.example.primary.repository;
import com.example.secondary.entity.SecondaryEntity;
import org.springframework.data.jpa.repository.JpaRepository;
public interface SecondaryRepository extends JpaRepository<SecondaryEntity, Long> {
}
二级存储库
java
package com.example.secondary.repository;
import com.example.secondary.entity.SecondaryEntity;
import org.springframework.data.jpa.repository.JpaRepository;
public interface SecondaryRepository extends JpaRepository<SecondaryEntity, Long> {
}
8.测试配置
最后,创建一个简单的 REST 控制器来测试设置。此控制器将使用两个存储库来执行 CRUD 操作。
java
package com.example.controller;
import com.example.primary.entity.PrimaryEntity;
import com.example.primary.repository.PrimaryRepository;
import com.example.secondary.entity.SecondaryEntity;
import com.example.secondary.repository.SecondaryRepository;
import org.springframework.beans.factory.annotation.Autowired;
import org.springframework.web.bind.annotation.GetMapping;
import org.springframework.web.bind.annotation.RestController;
@RestController
public class TestController {
    @Autowired
    private PrimaryRepository primaryRepository;
    @Autowired
    private SecondaryRepository secondaryRepository;
    @GetMapping("/test")
    public String test() {
        PrimaryEntity primaryEntity = new PrimaryEntity();
        primaryEntity.setName("Primary Entity");
        primaryRepository.save(primaryEntity);
        SecondaryEntity secondaryEntity = new SecondaryEntity();
        secondaryEntity.setDescription("Secondary Entity");
        secondaryRepository.save(secondaryEntity);
        return "Entities saved!";
    }
}