###项目地址
一、搭建Apache
1.安装Apache
yum install -y httpd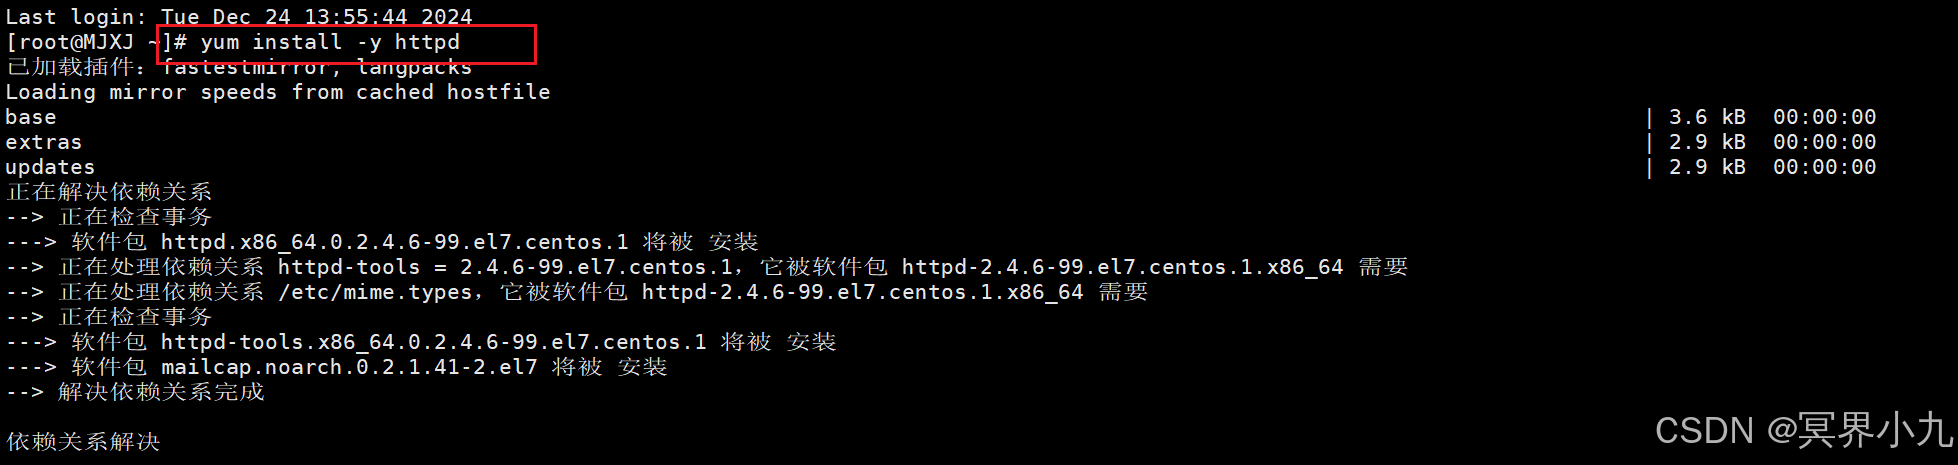
2.启动Apache服务
systemctl start httpd.service
systemctl status httpd.service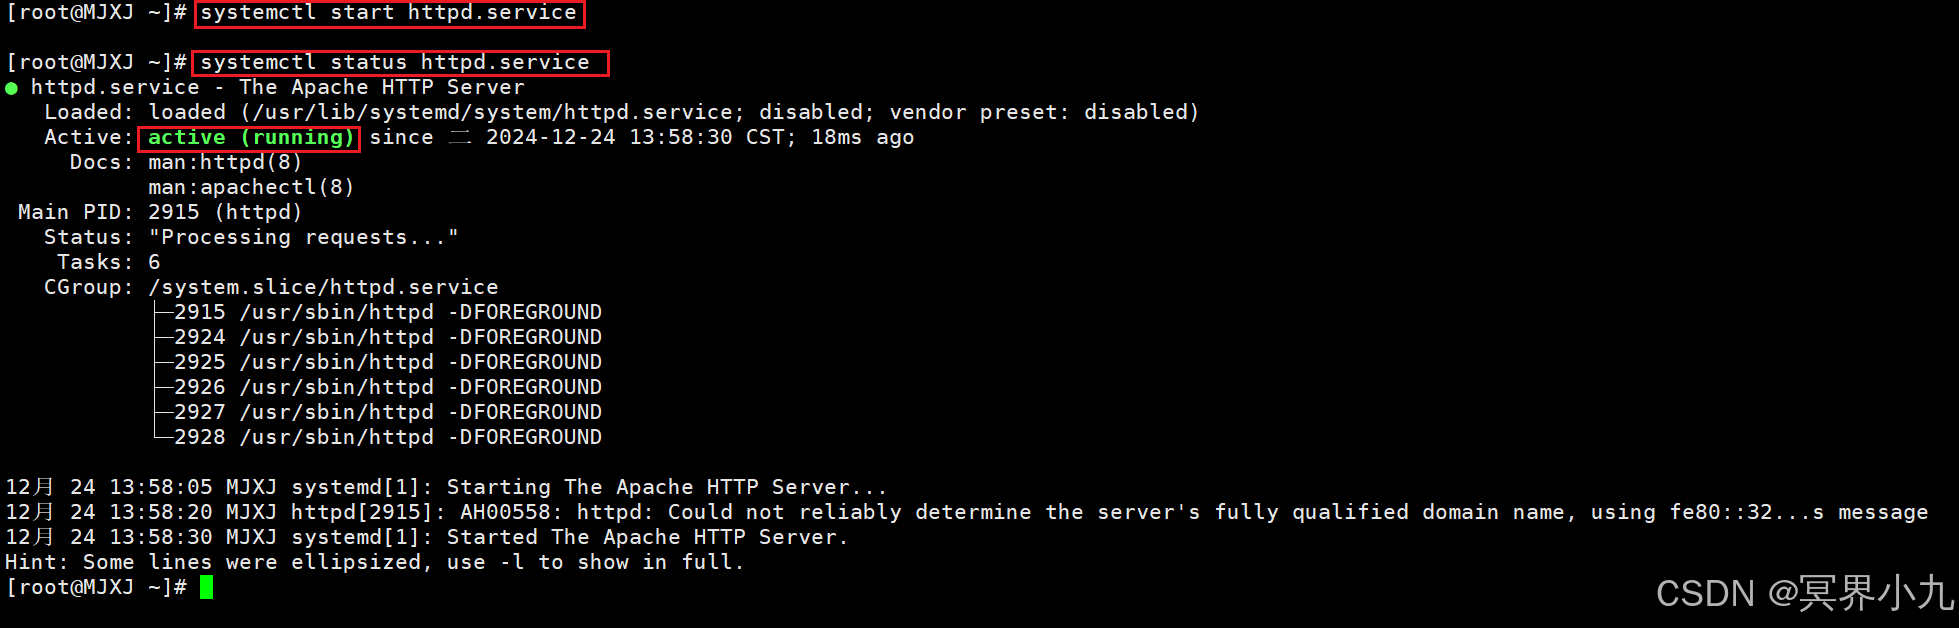
3.设置开机启动服务
systemctl enable httpd.service
4.开放防火墙的80端口
firewall-cmd --zone=public --add-port=80/tcp --permanent
firewall-cmd --reload
firewall-cmd --list-ports
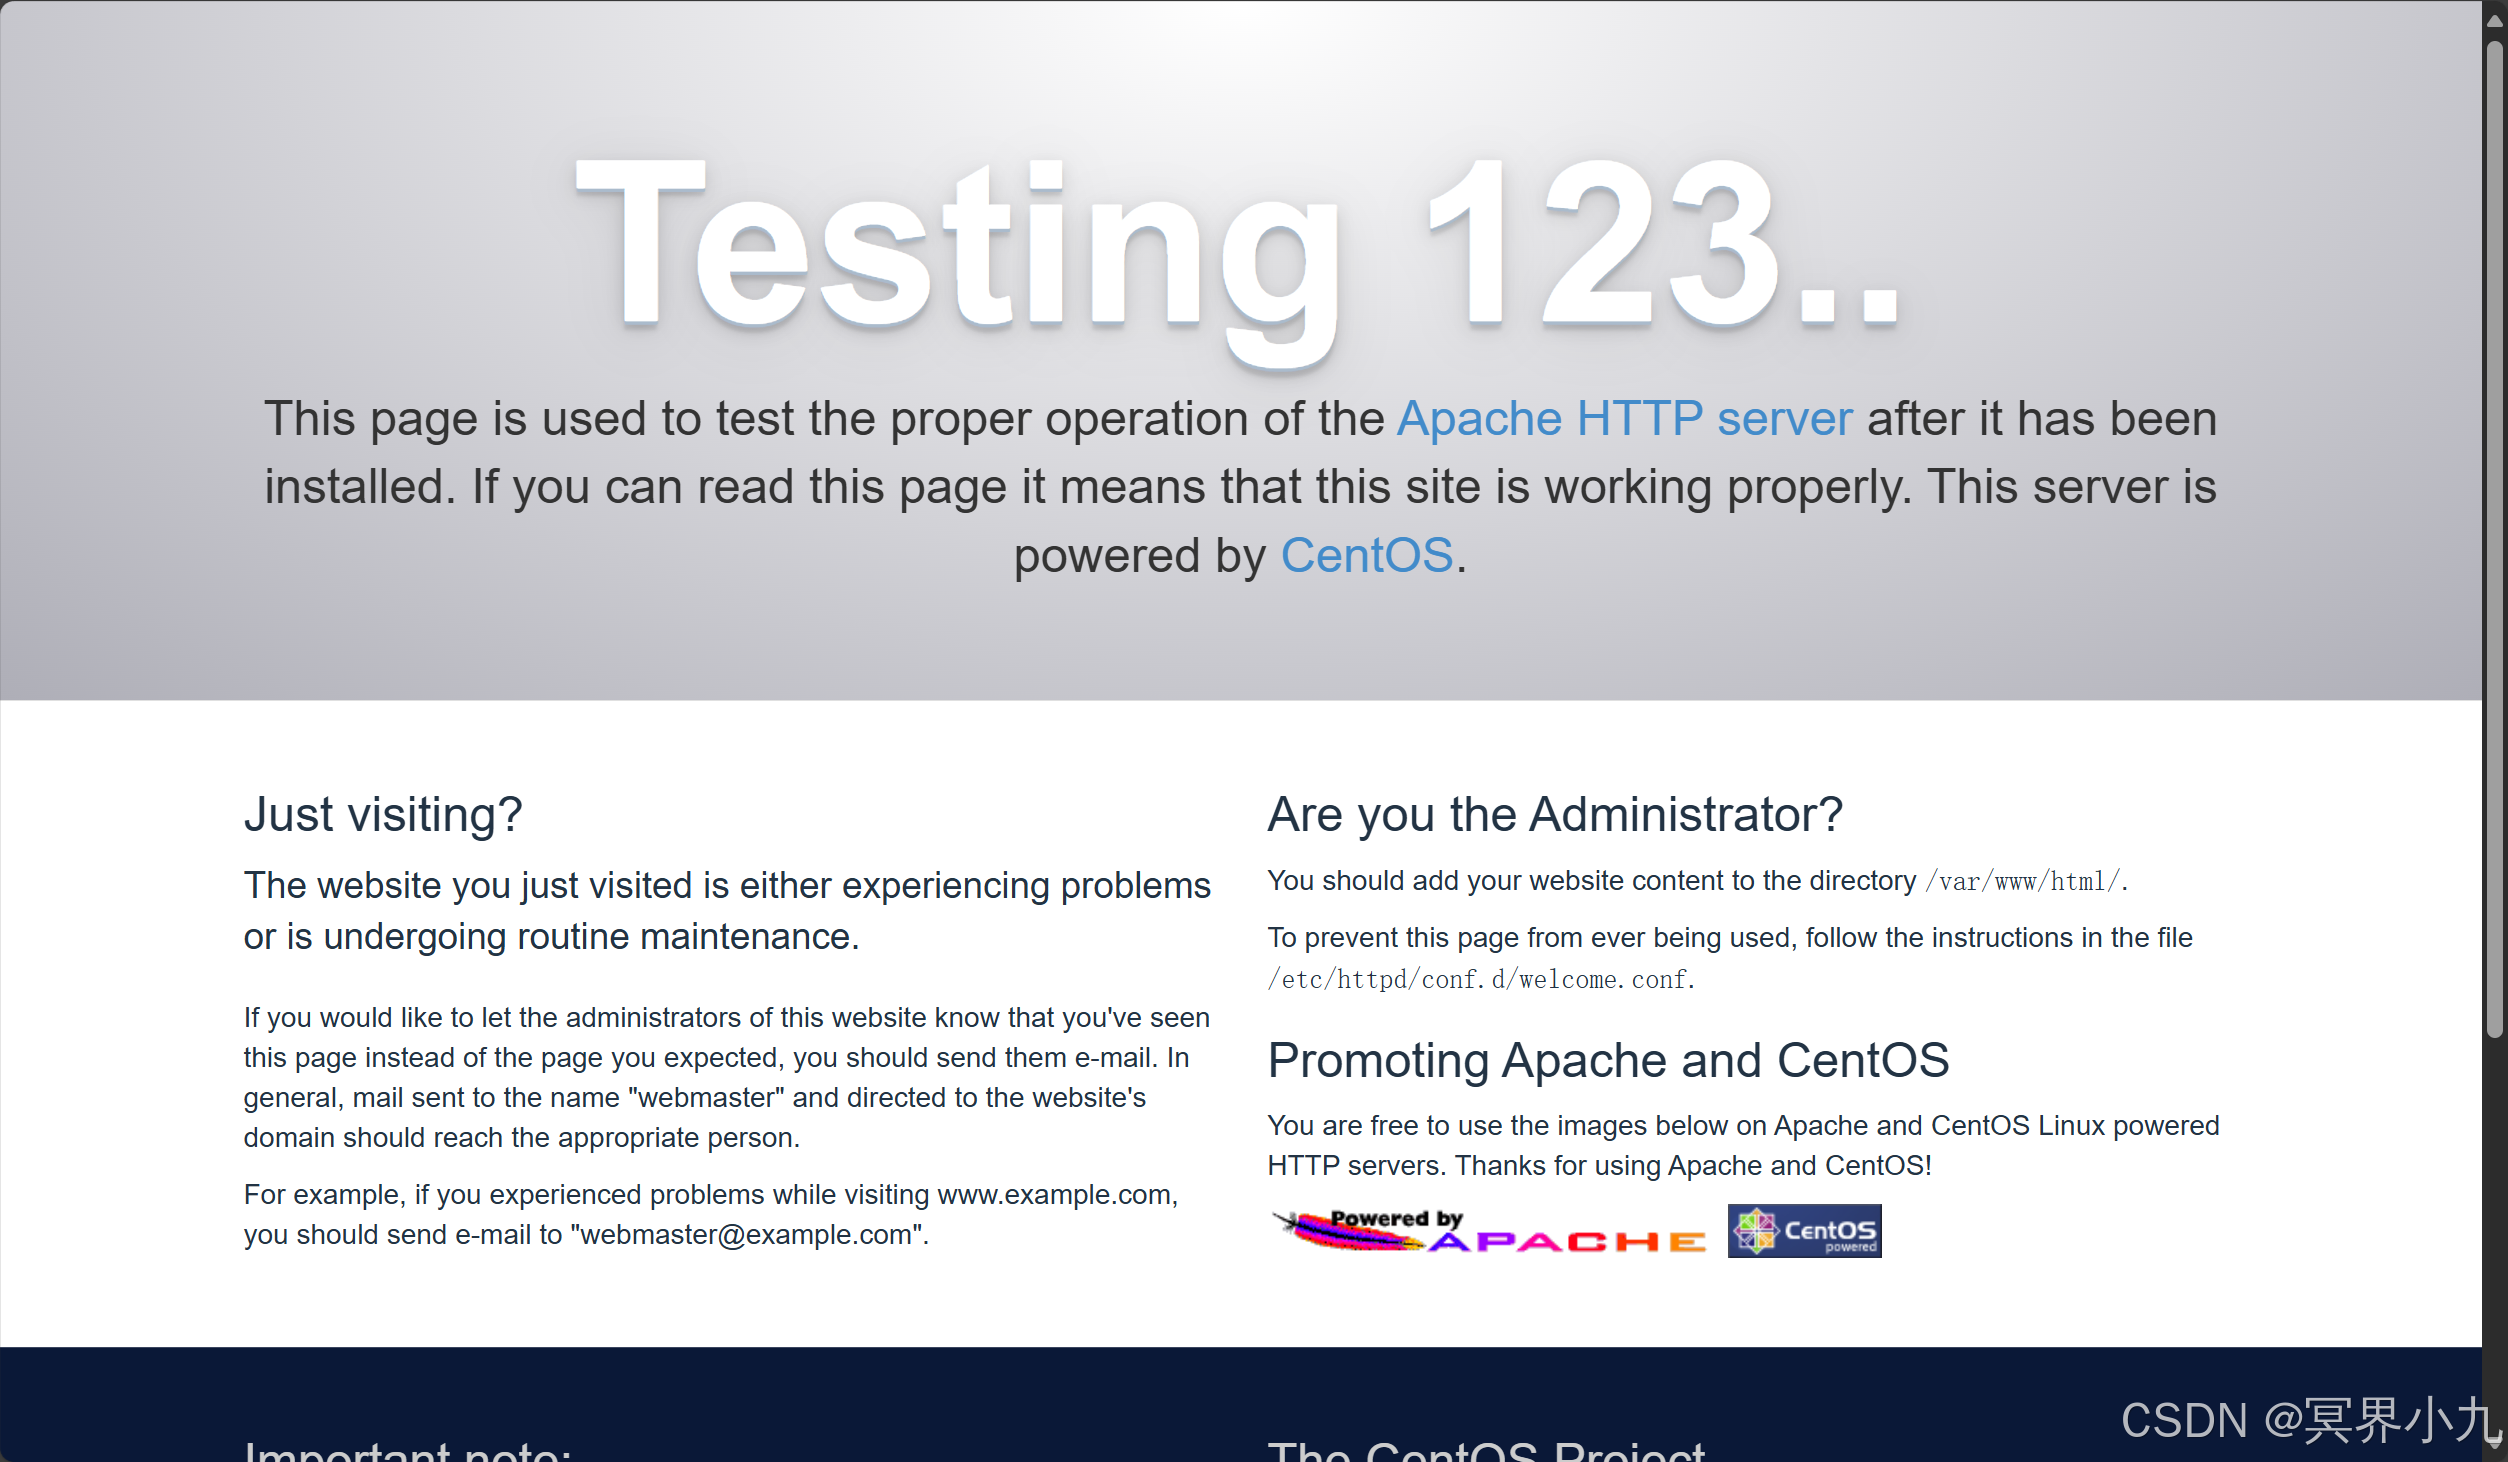
5.Apache测试(在浏览器输入ip访问即可)
二、搭建Mysql
1.获取MySQL5.7 Community Repository软件包
wget https://dev.mysql.com/get/mysql57-community-release-el7-8.noarch.rpm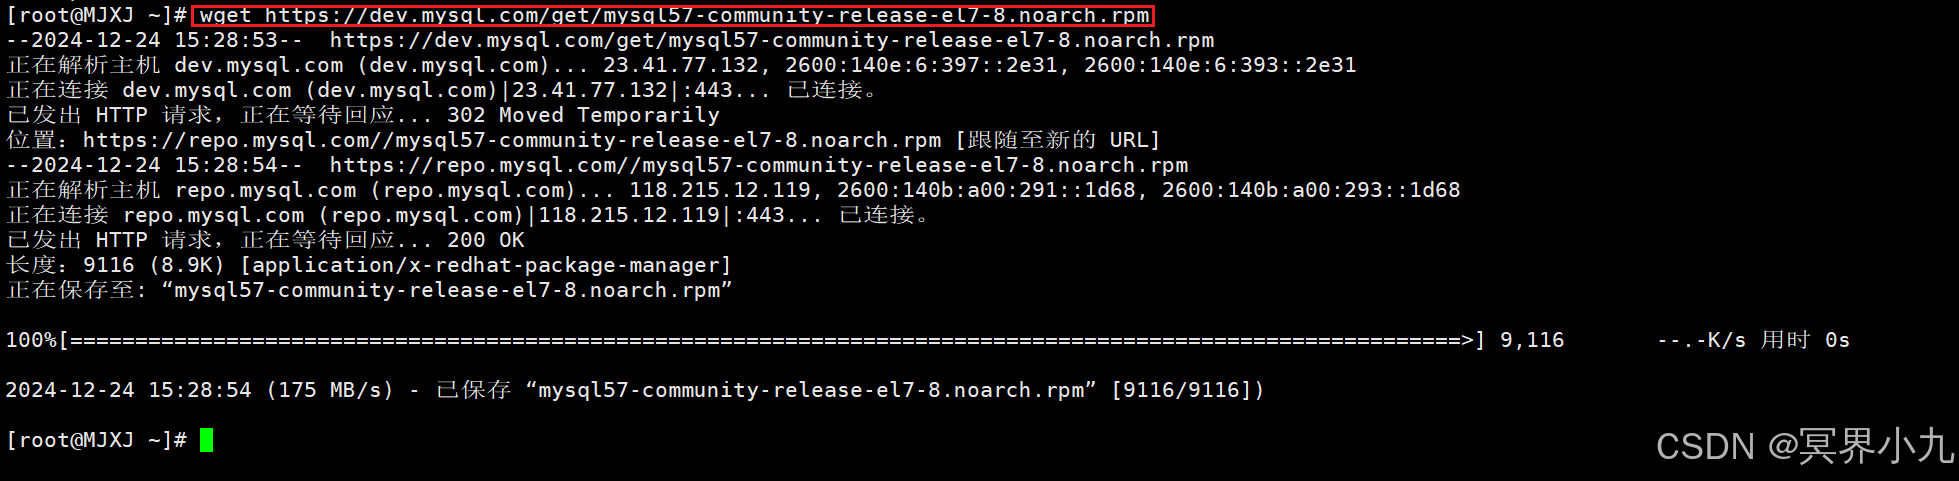
2.安装软件包
rpm -ivh mysql57-community-release-el7-8.noarch.rpm
3.安装MySQL服务
cd /etc/yum.repos.d这里先切换到yum软件仓库配置文件的目录,接下来使用yum包管理器安装MySQL服务,命令如下:
yum -y install mysql-server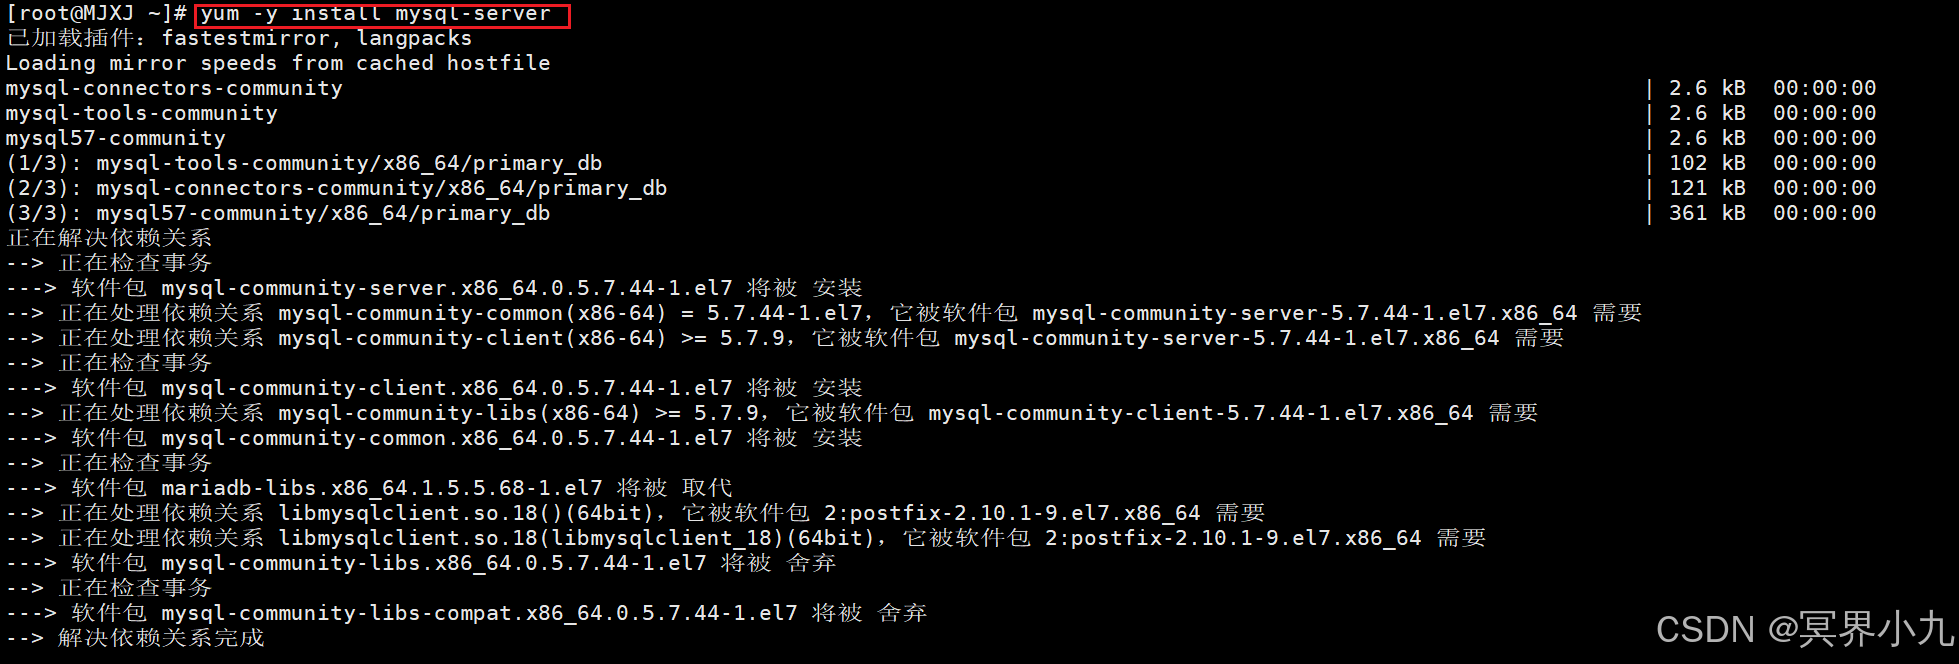
到这里,如果安装的时候出现公钥尚未安装的问题,请不要着急,根据下面的步骤来解决问题。如果没有问题的话则直接进行步骤4。

rpm --import https://repo.mysql.com/RPM-GPG-KEY-mysql-2022首先,执行上面的命令;该命令的作用是导入MySQL软件仓库的GPG公钥。
在软件仓库中使用GPG公钥可以确保软件包的完整性和认证,以防止未经授权的修改或潜在的风险。
紧接着,重新执行一下安装服务的命令。
yum -y install mysql-server4.操作MySQL服务
如果你没有出现公钥尚未安装的问题,就正常继续往下。
首先,启动MySQL服务,并设置开机自动启动。
# 启动服务
systemctl start mysqld
# 查看状态
systemctl status mysqld
# 设置开机自动启动
systemctl enable mysqld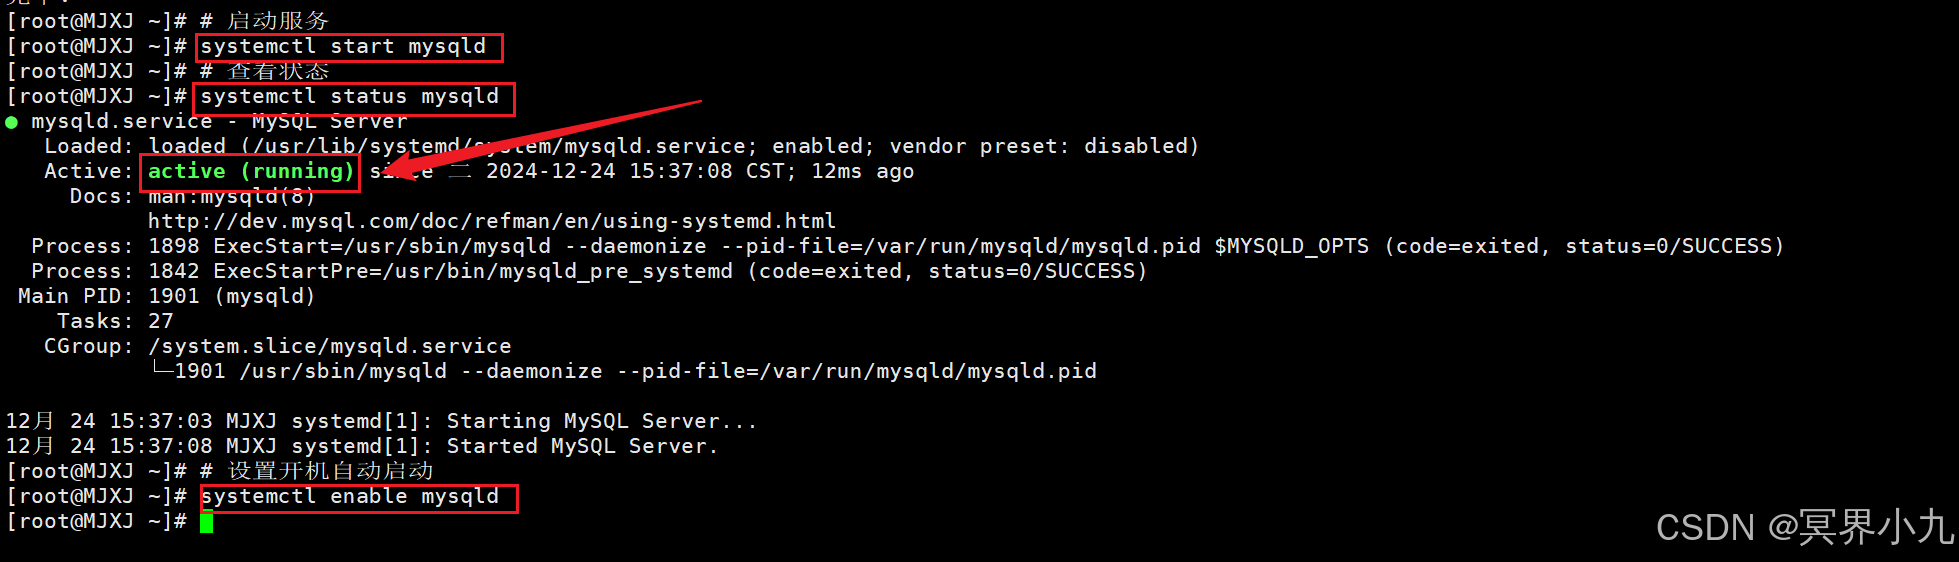
5.登录及密码配置
(1)首先,查看安装后随机生成的MySQL密码。
grep 'A temporary password' /var/log/mysqld.log
(2)接着,登录MySQL数据库。
mysql -uroot -p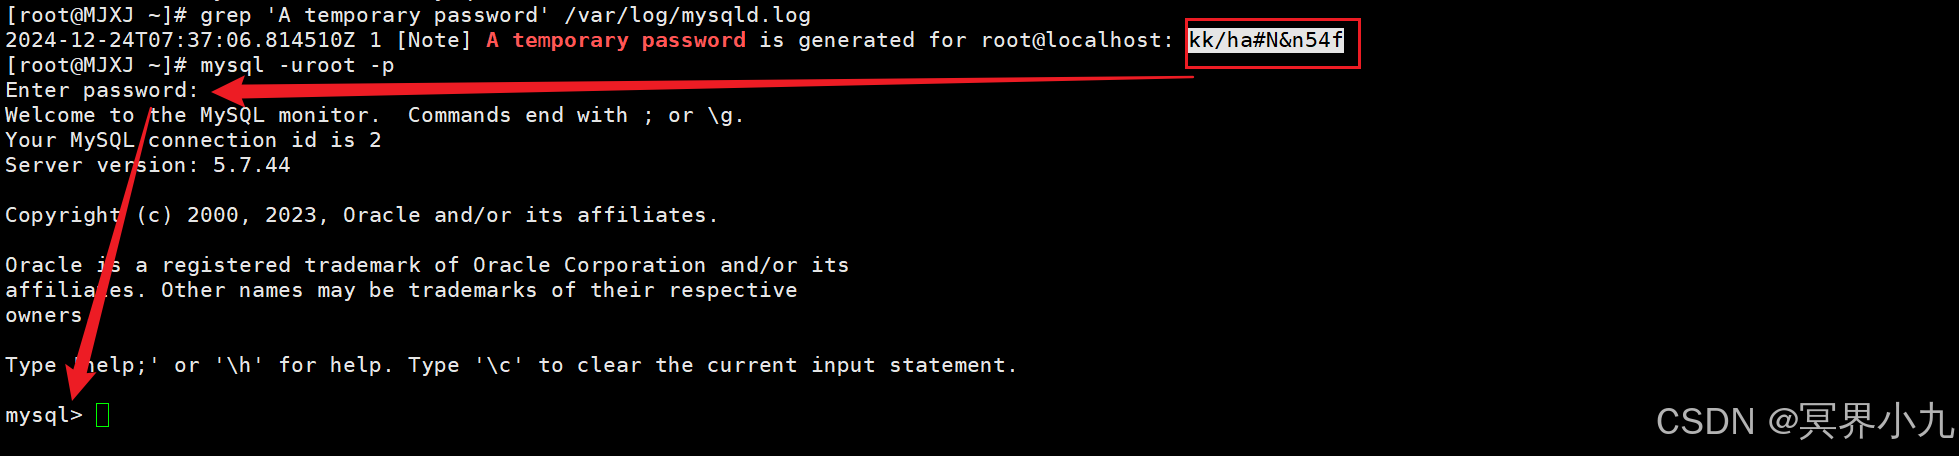
在上面的图片中,在输入密码处黏贴前面复制的密码。
特别注意:由于密码不是明文显示的,所以不会直接显示,不要以为是键盘坏了或者什么情况。
(3)修改验证密码的强度等级和长度
由于不支持设置简单的密码,如果出于学习的目的,想设置简单好记的密码,就需要进行下面的操作。
建议:工作环境下不建议设置简单密码。
首先执行修改验证密码强度等级的命令,将等级设置为LOW,也就是低级的。命令如下:
set global validate_password_policy=LOW;
接着设置密码的长度,这里需要设置多少位数的简单密码就设置多少位数,我这里设置密码为root,所以设置长度为4。
set global validate_password_length=4;
到了这里,就能执行设置密码的命令了。
ALTER USER USER() IDENTIFIED BY 'root';
三、搭建PHP
1.选用remi的源来安装
yum install epel-release
rpm -ivh http://rpms.famillecollet.com/enterprise/remi-release-7.rpm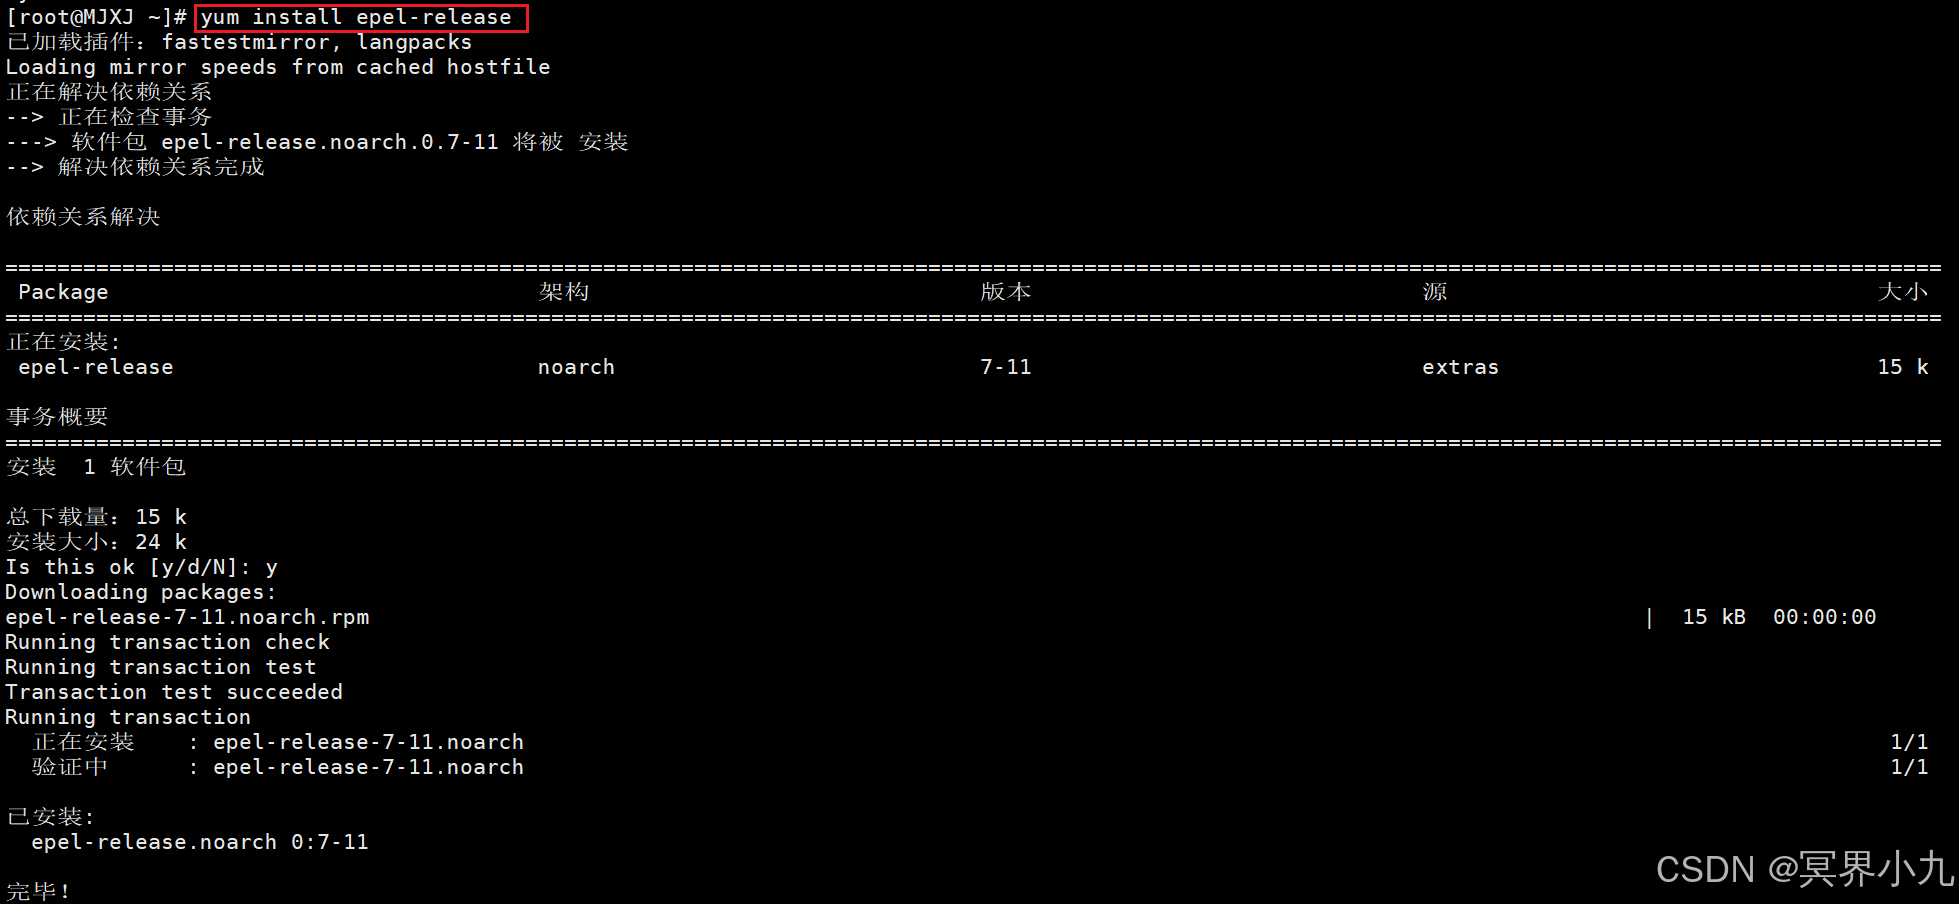

2.安装PHP
yum --enablerepo=remi install php74-php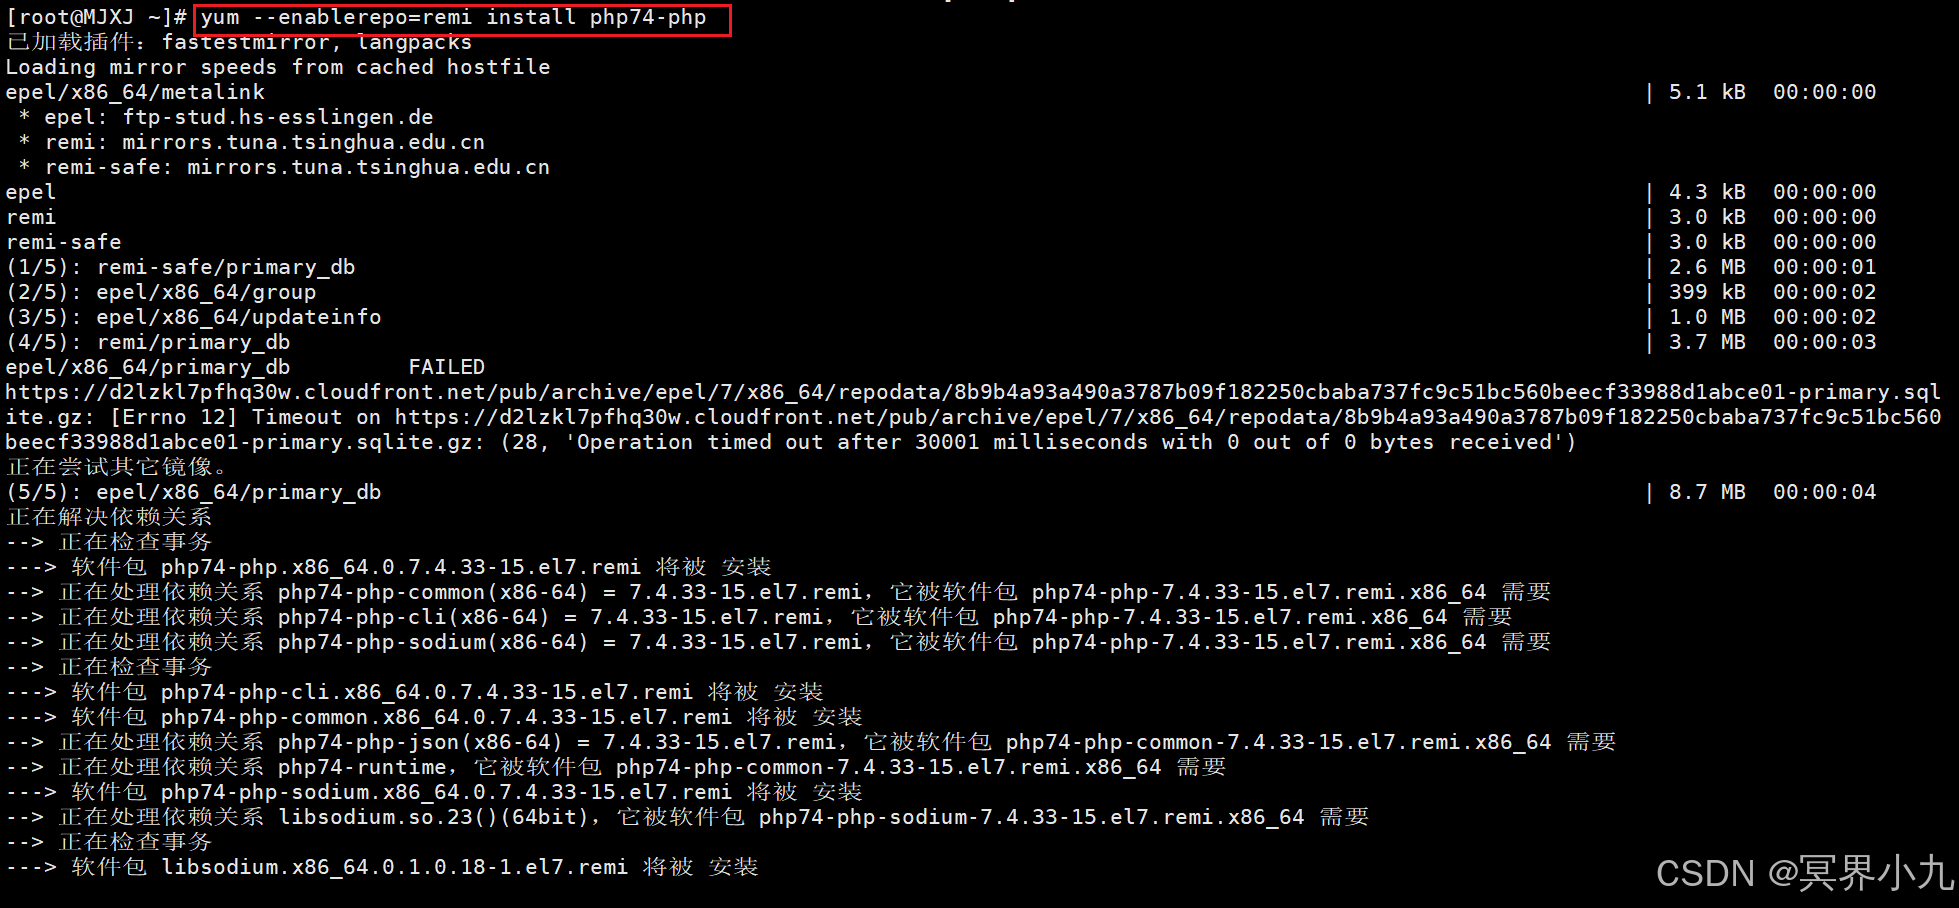
3.安装所需要php扩展模块
yum --enablerepo=remi install php74-php php74-php-gd php74-php-xml php74-php-sockets php74-php-session php74-php-snmp php74-php-mysql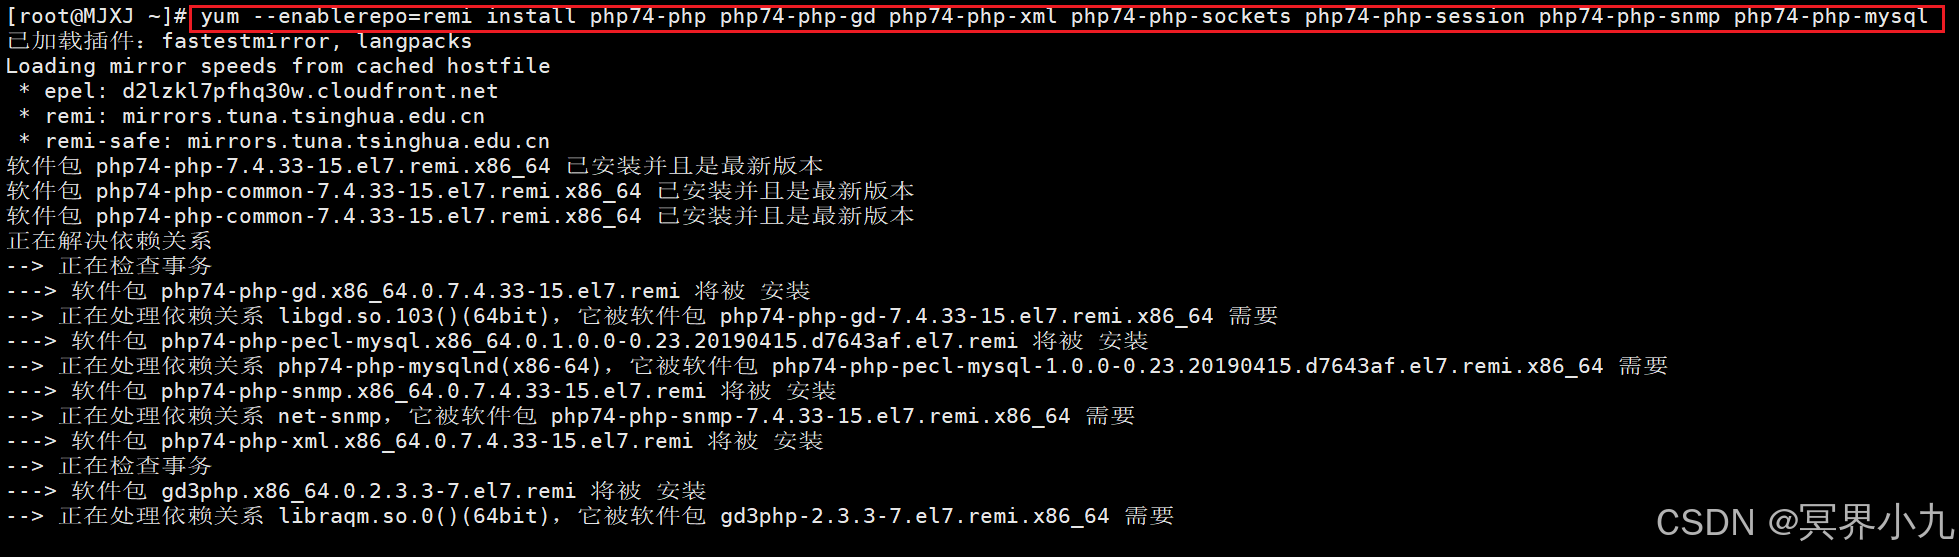
注:扩展安装格式php74-php-扩展模块名,缺什么扩展只要按照格式安装相应模块即可
4.链接php文件
ln -s /opt/remi/php74/root/usr/bin/php /usr/bin/php
php -v
四、部署项目
1.将项目利用xftp传入/var/www/html/文件
2.授予文件权限
chomd -R 777 /var/www/html
ll /var/www/html/open-master/
3.修改SELinux配置文件
sudo vi /etc/selinux/config
4.修改Apache配置文件
vim /etc/httpd/conf/httpd.conf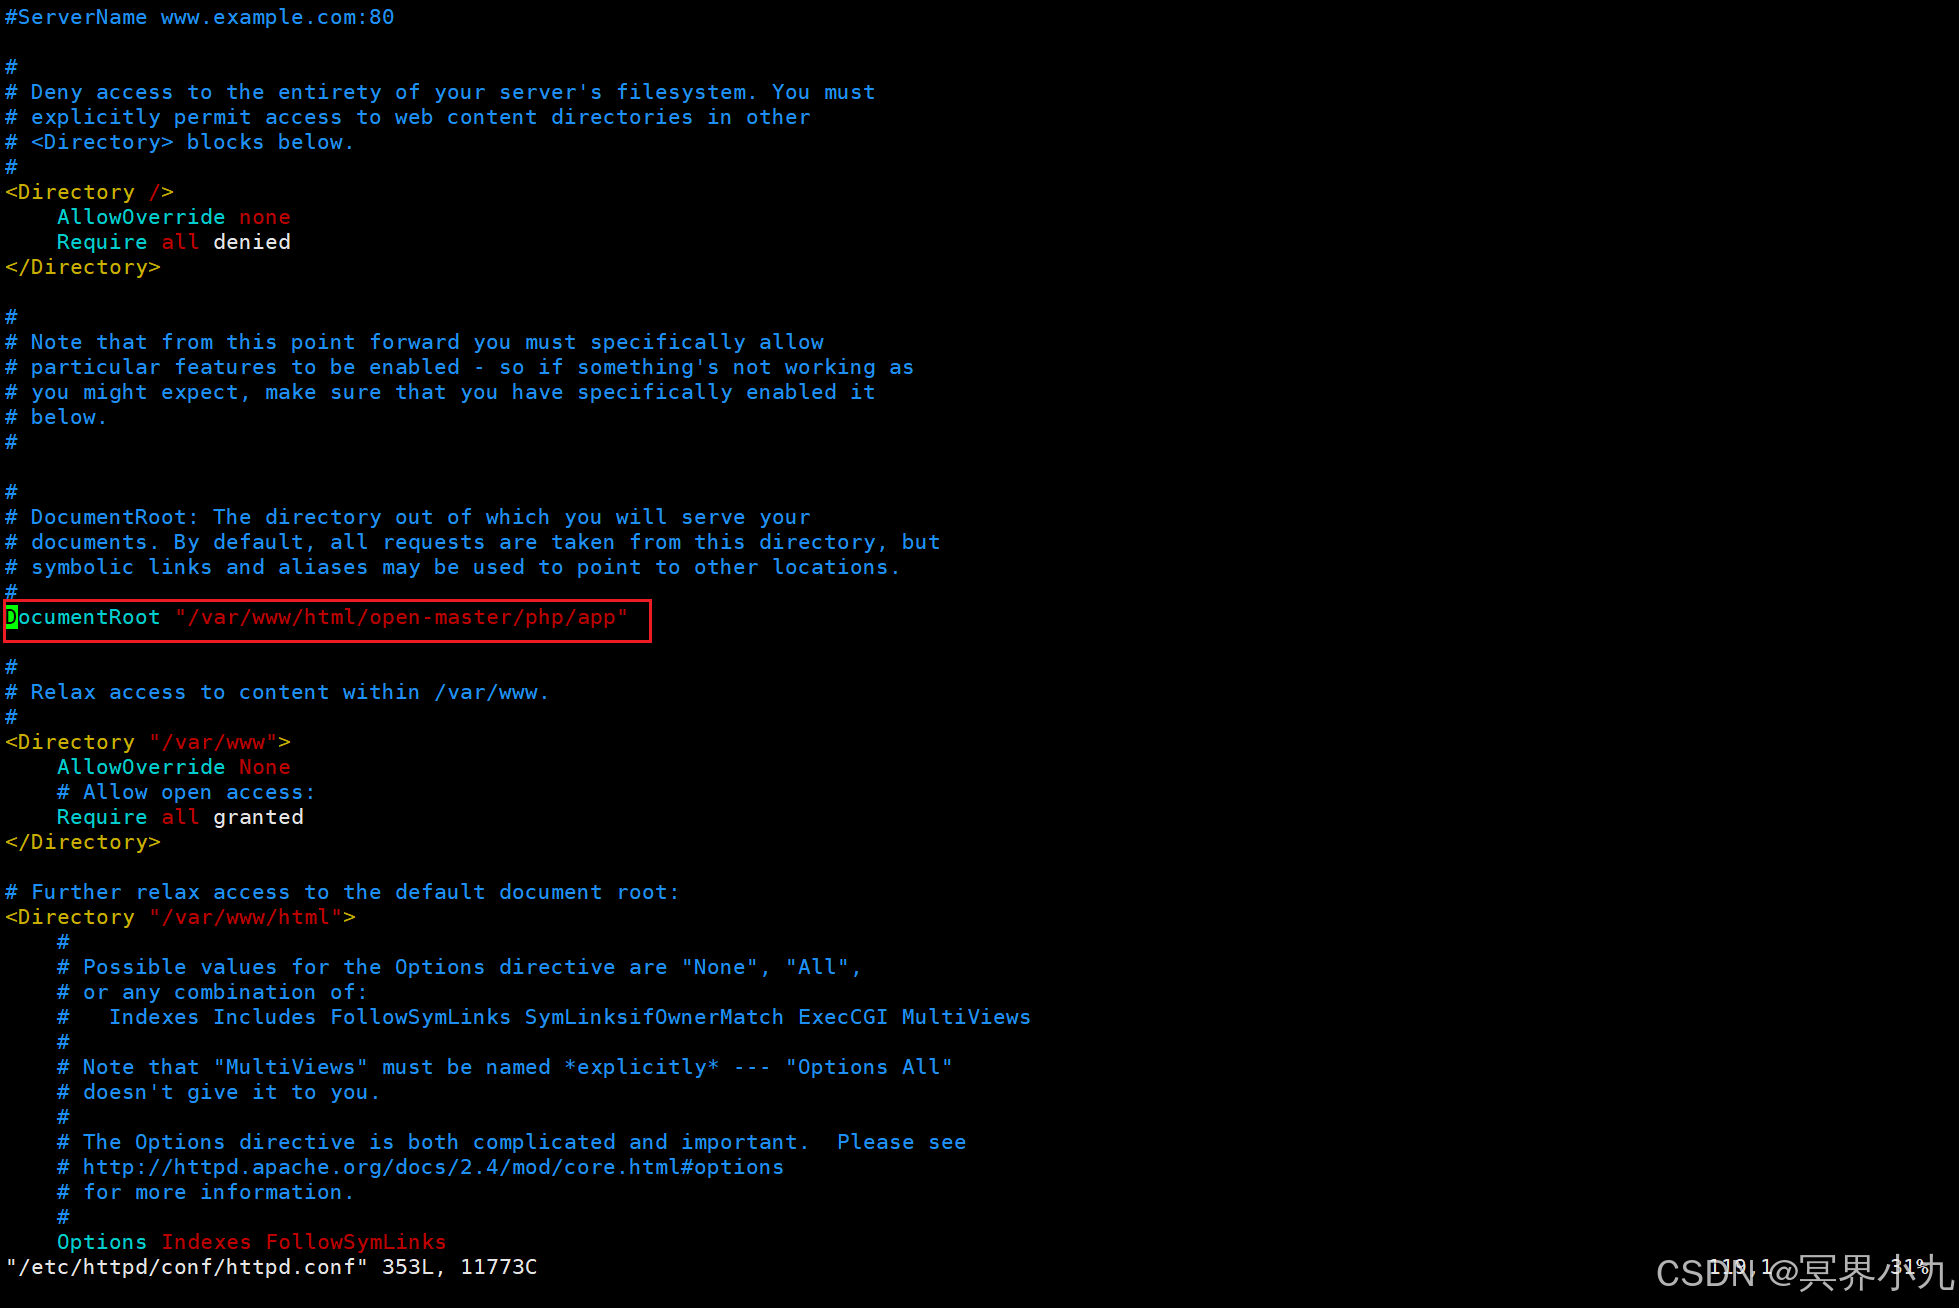
5.重启Centos7
reboot
6.部署服务器
浏览器里输入ip网址加/index,如下图所示:
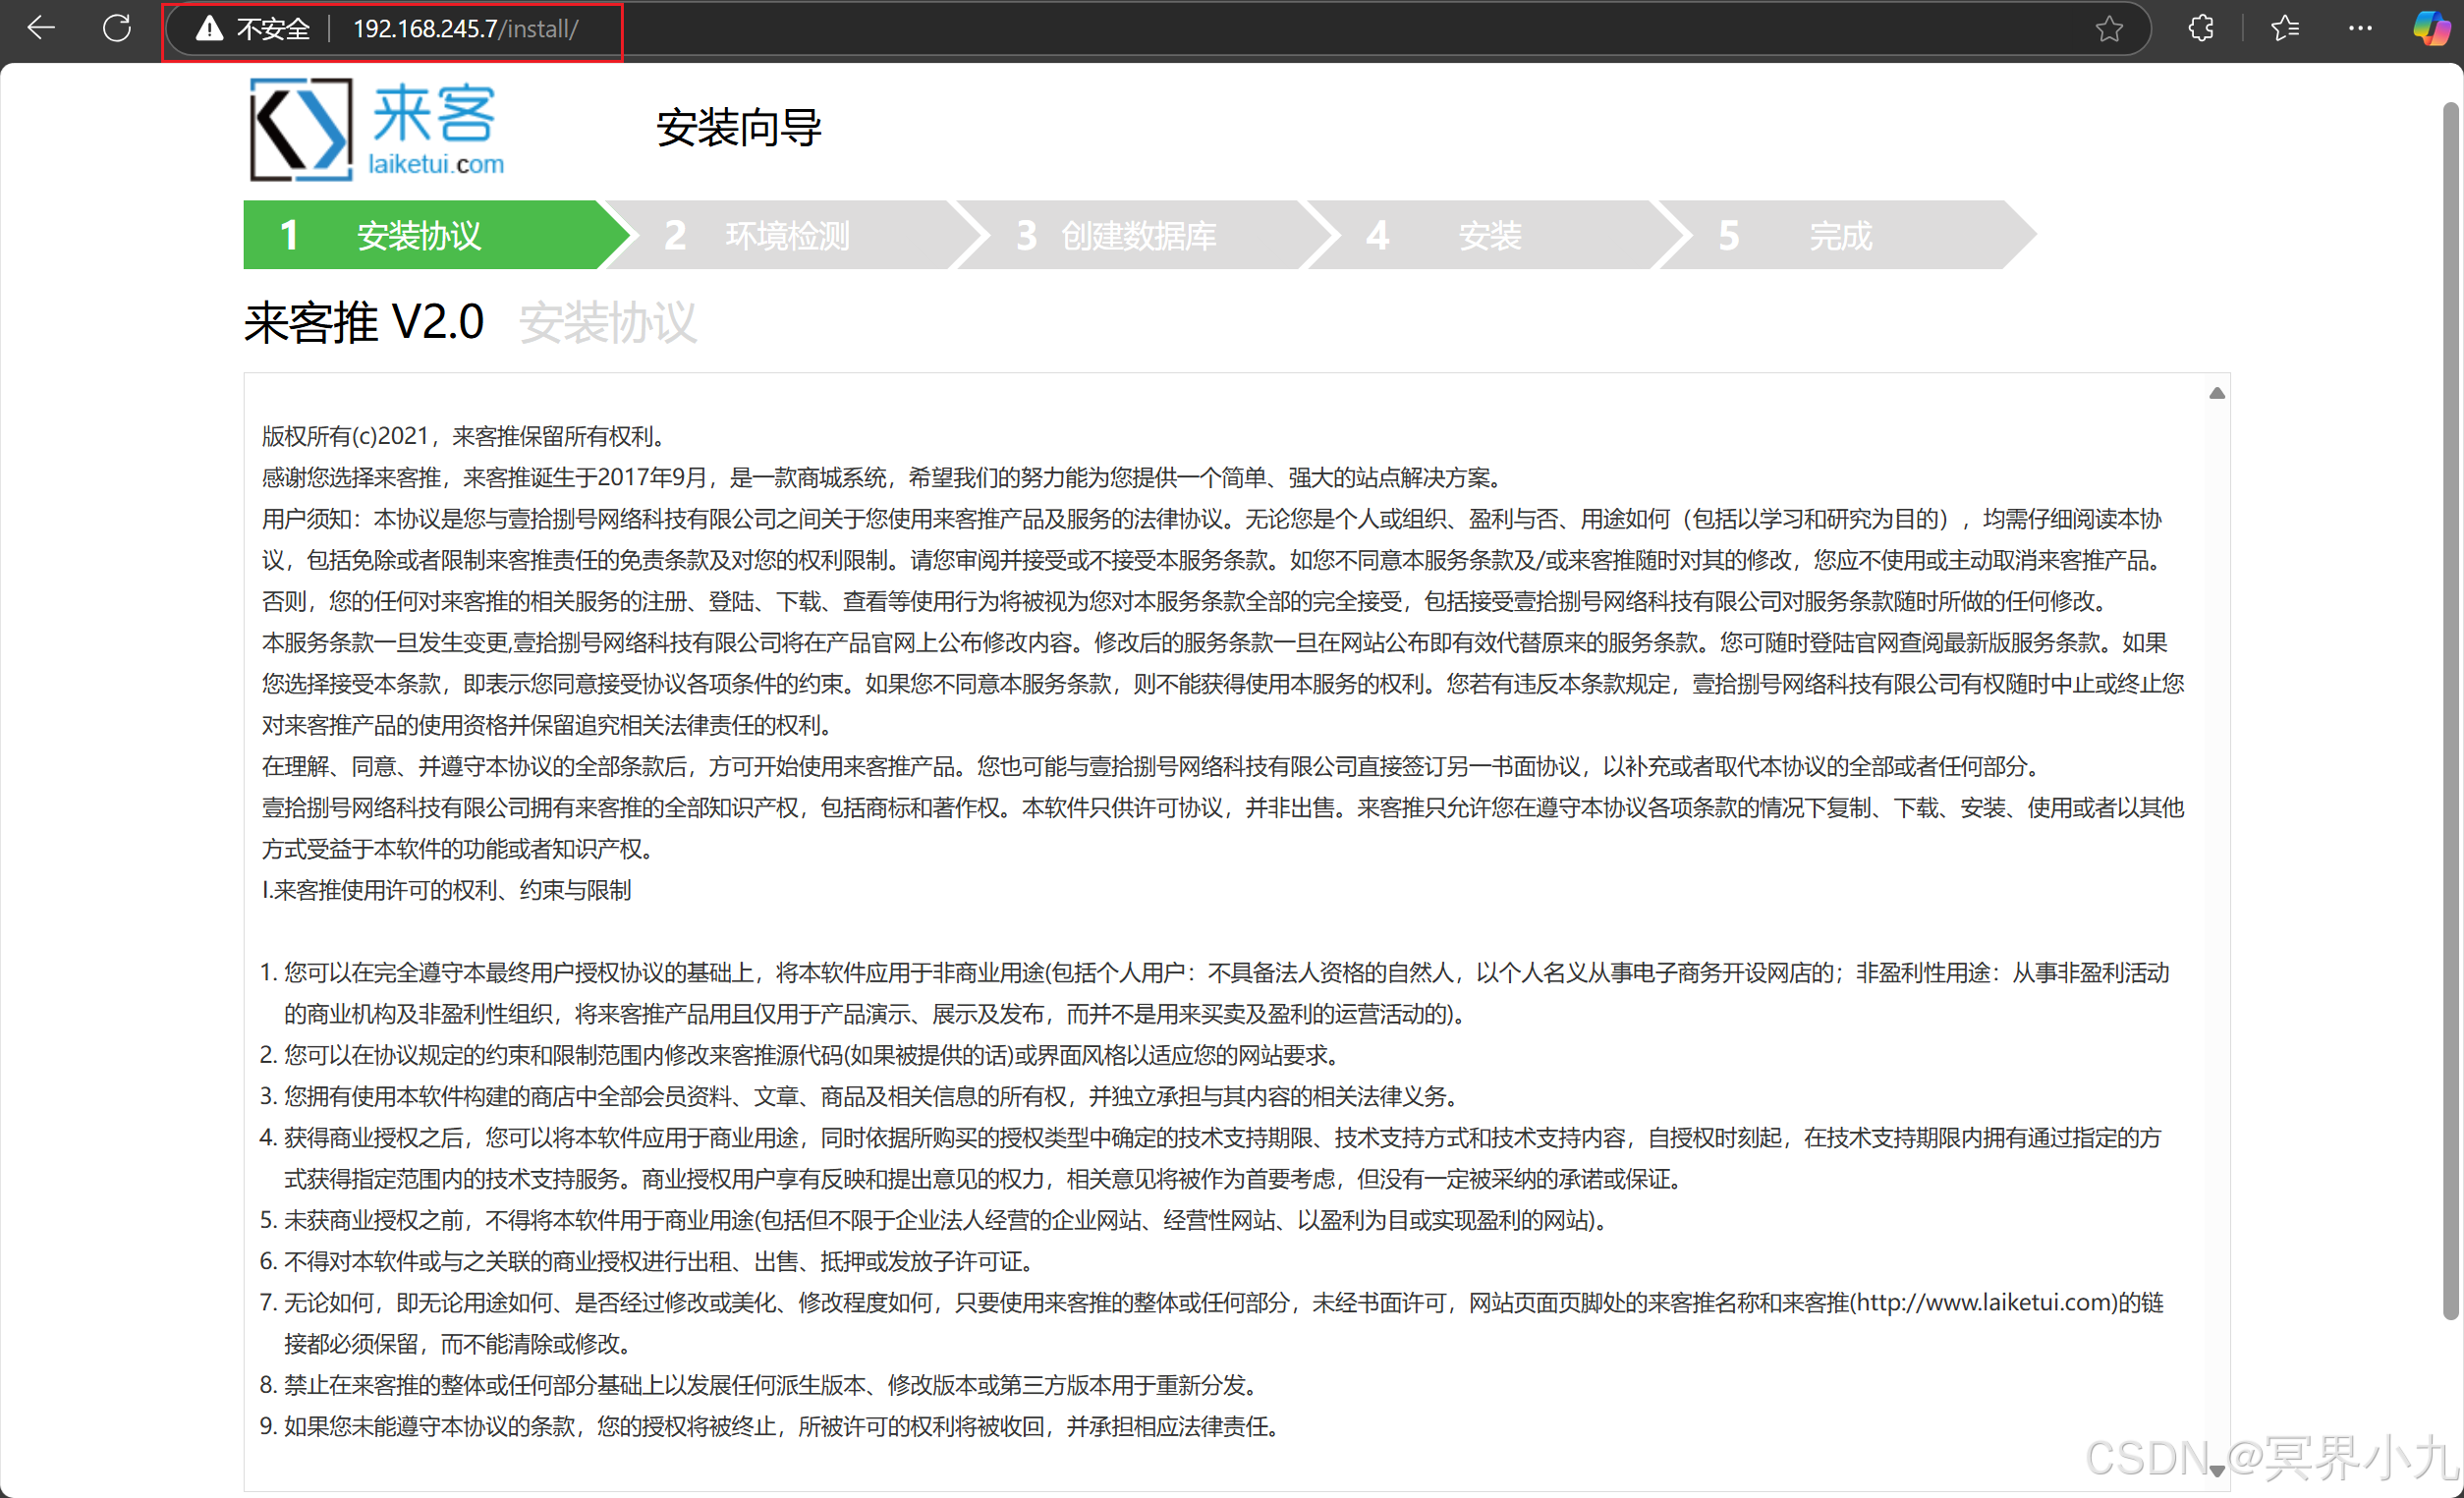
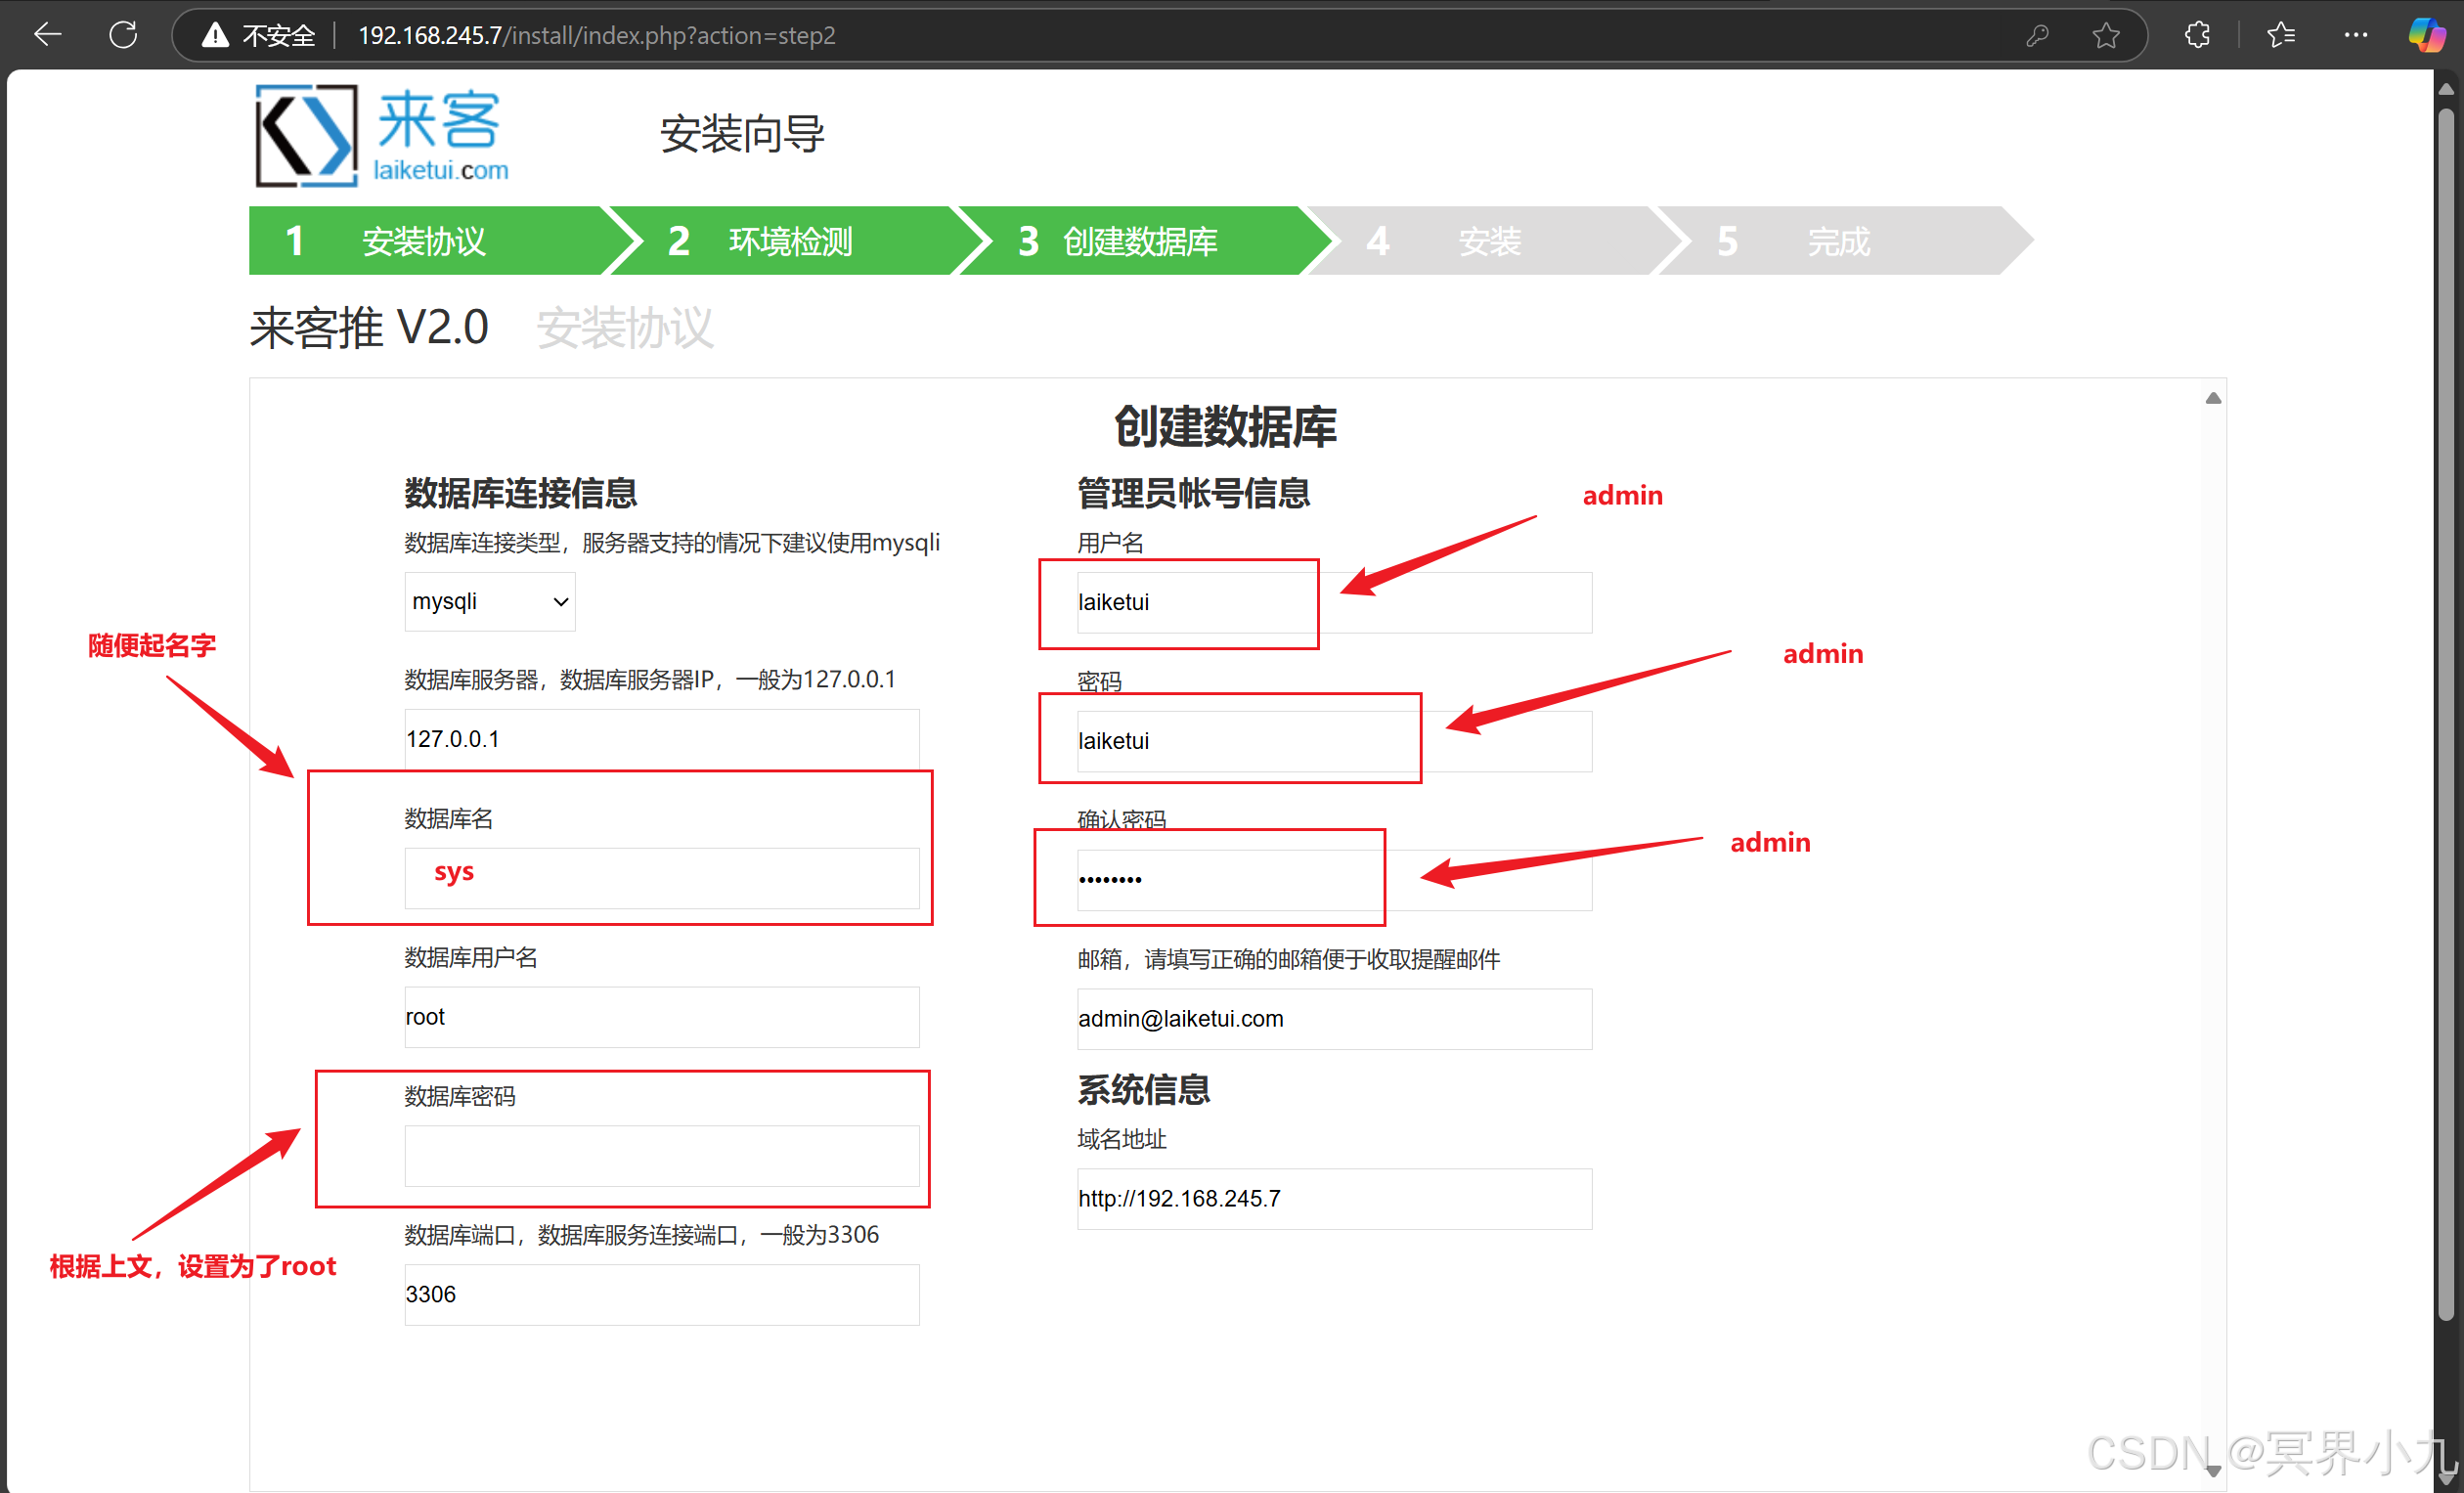
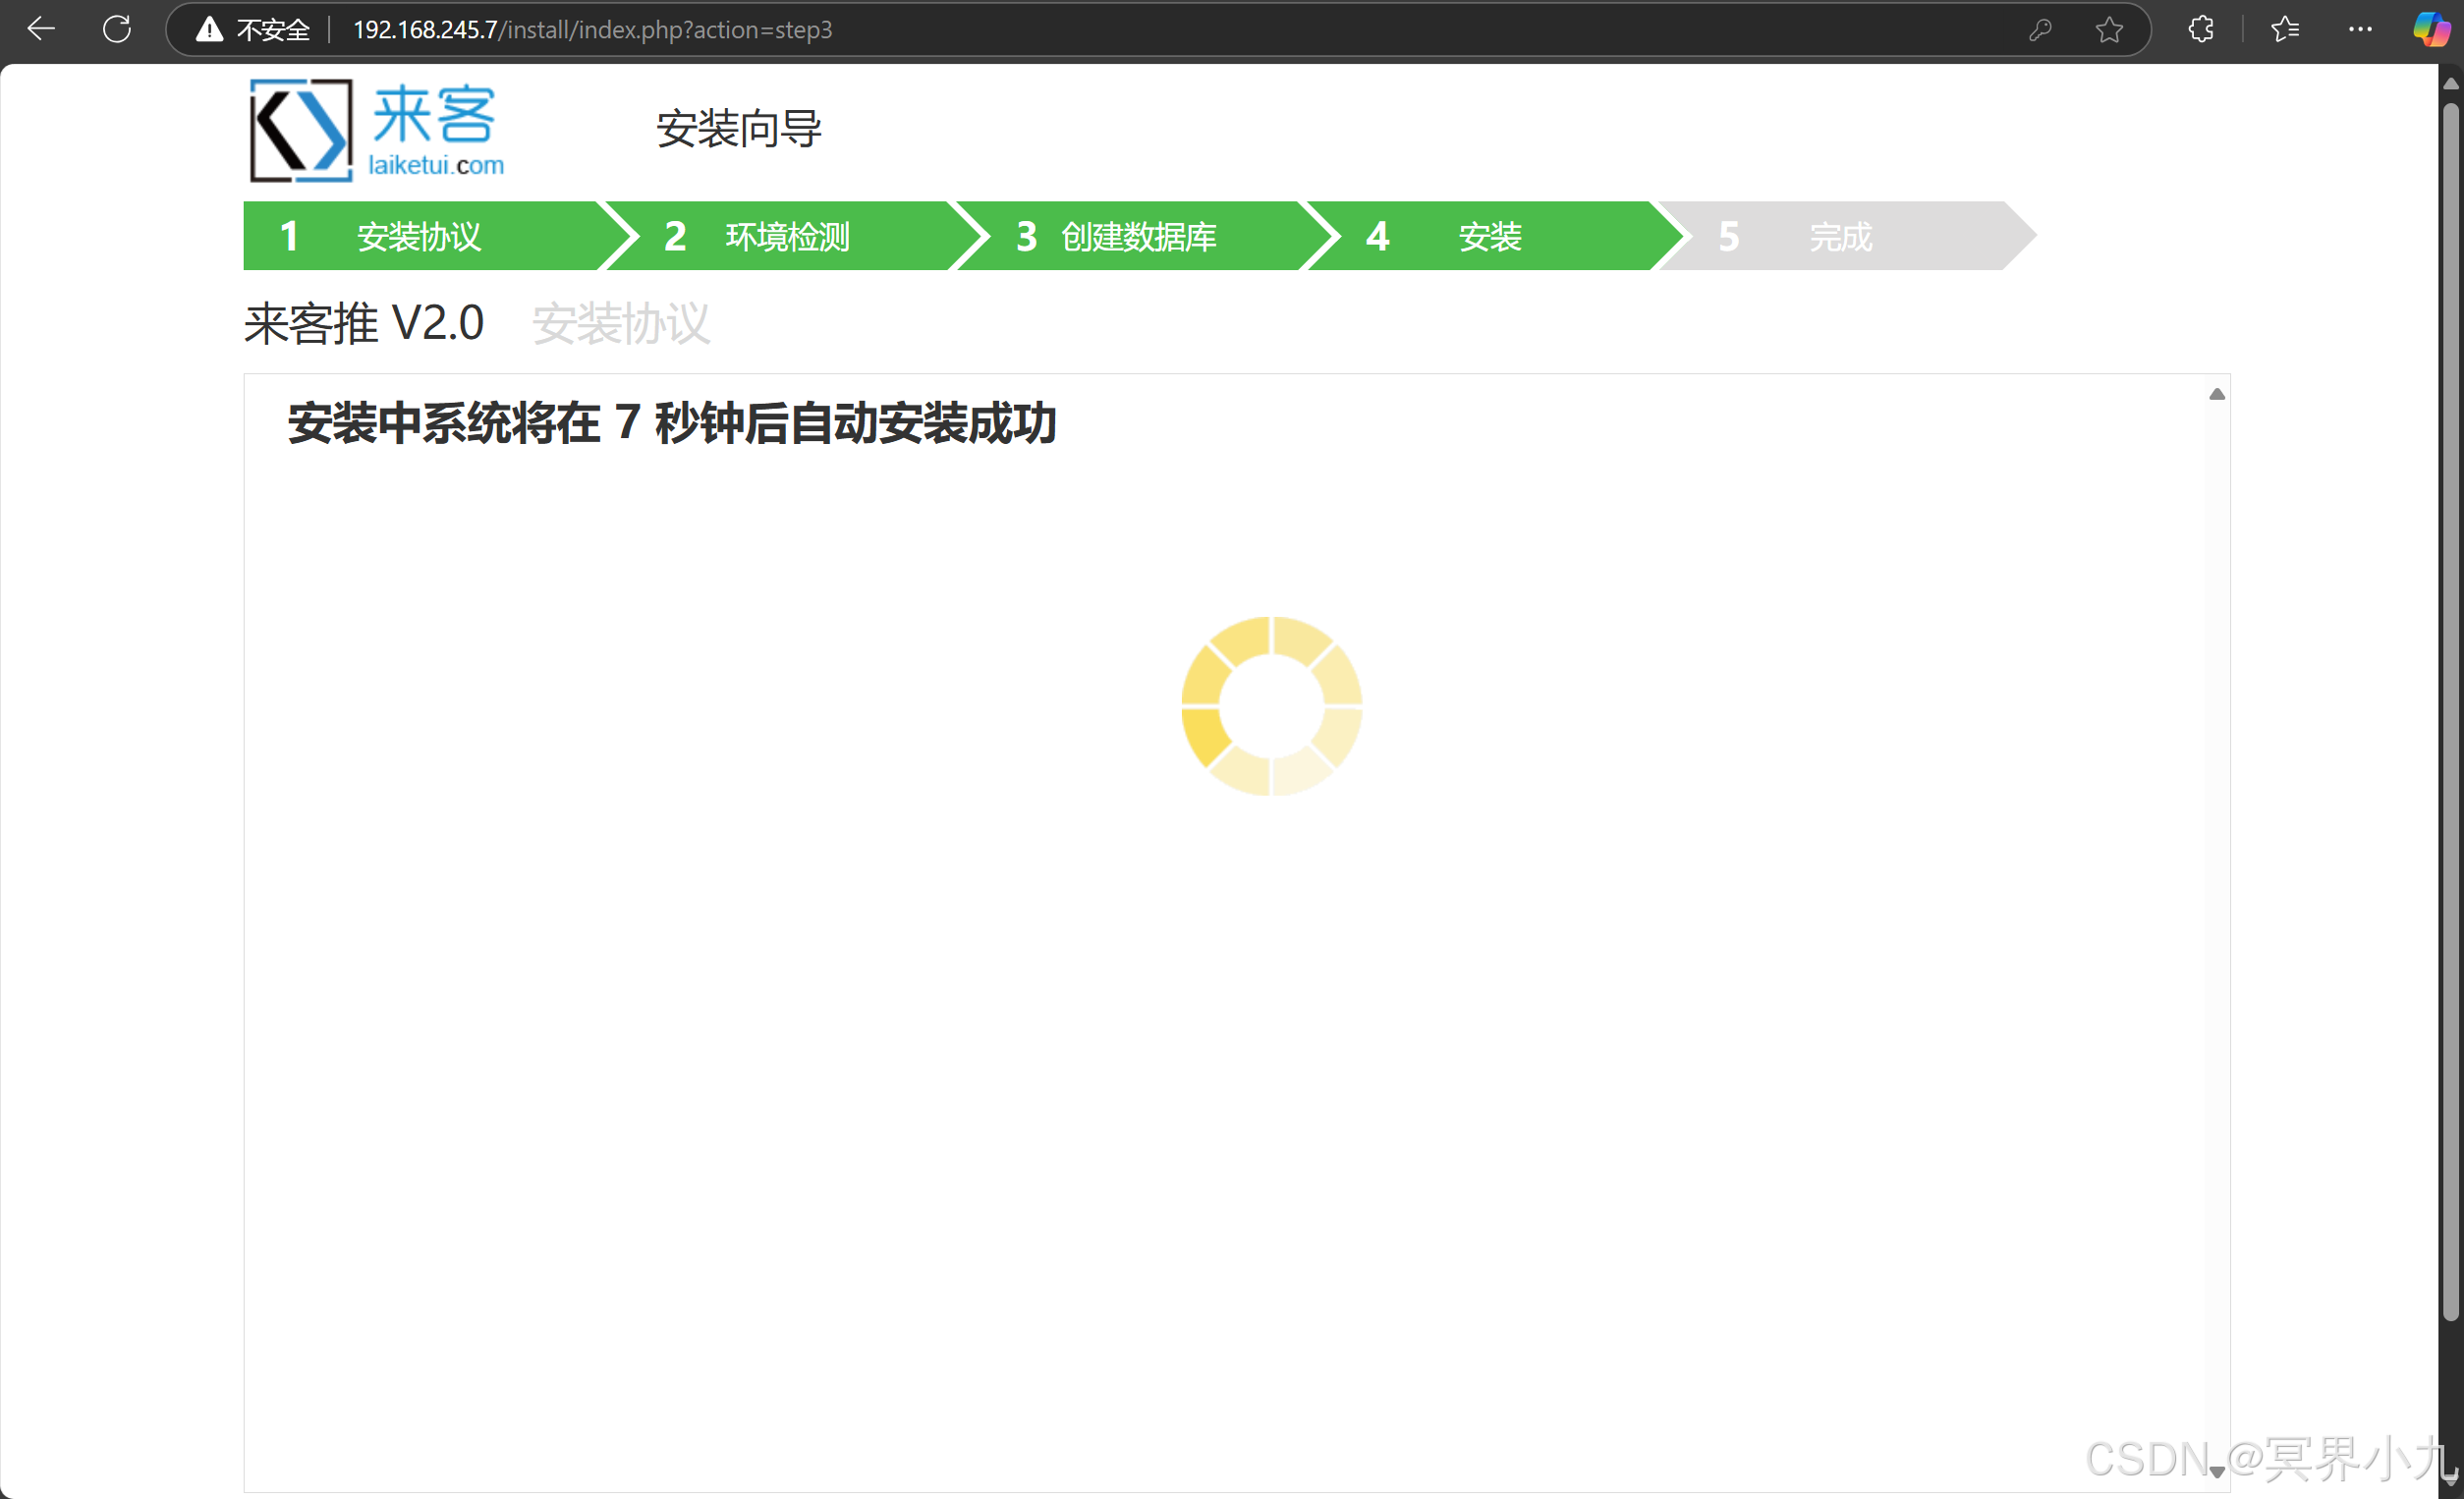
一直下一步,到第三步,按照下图修改
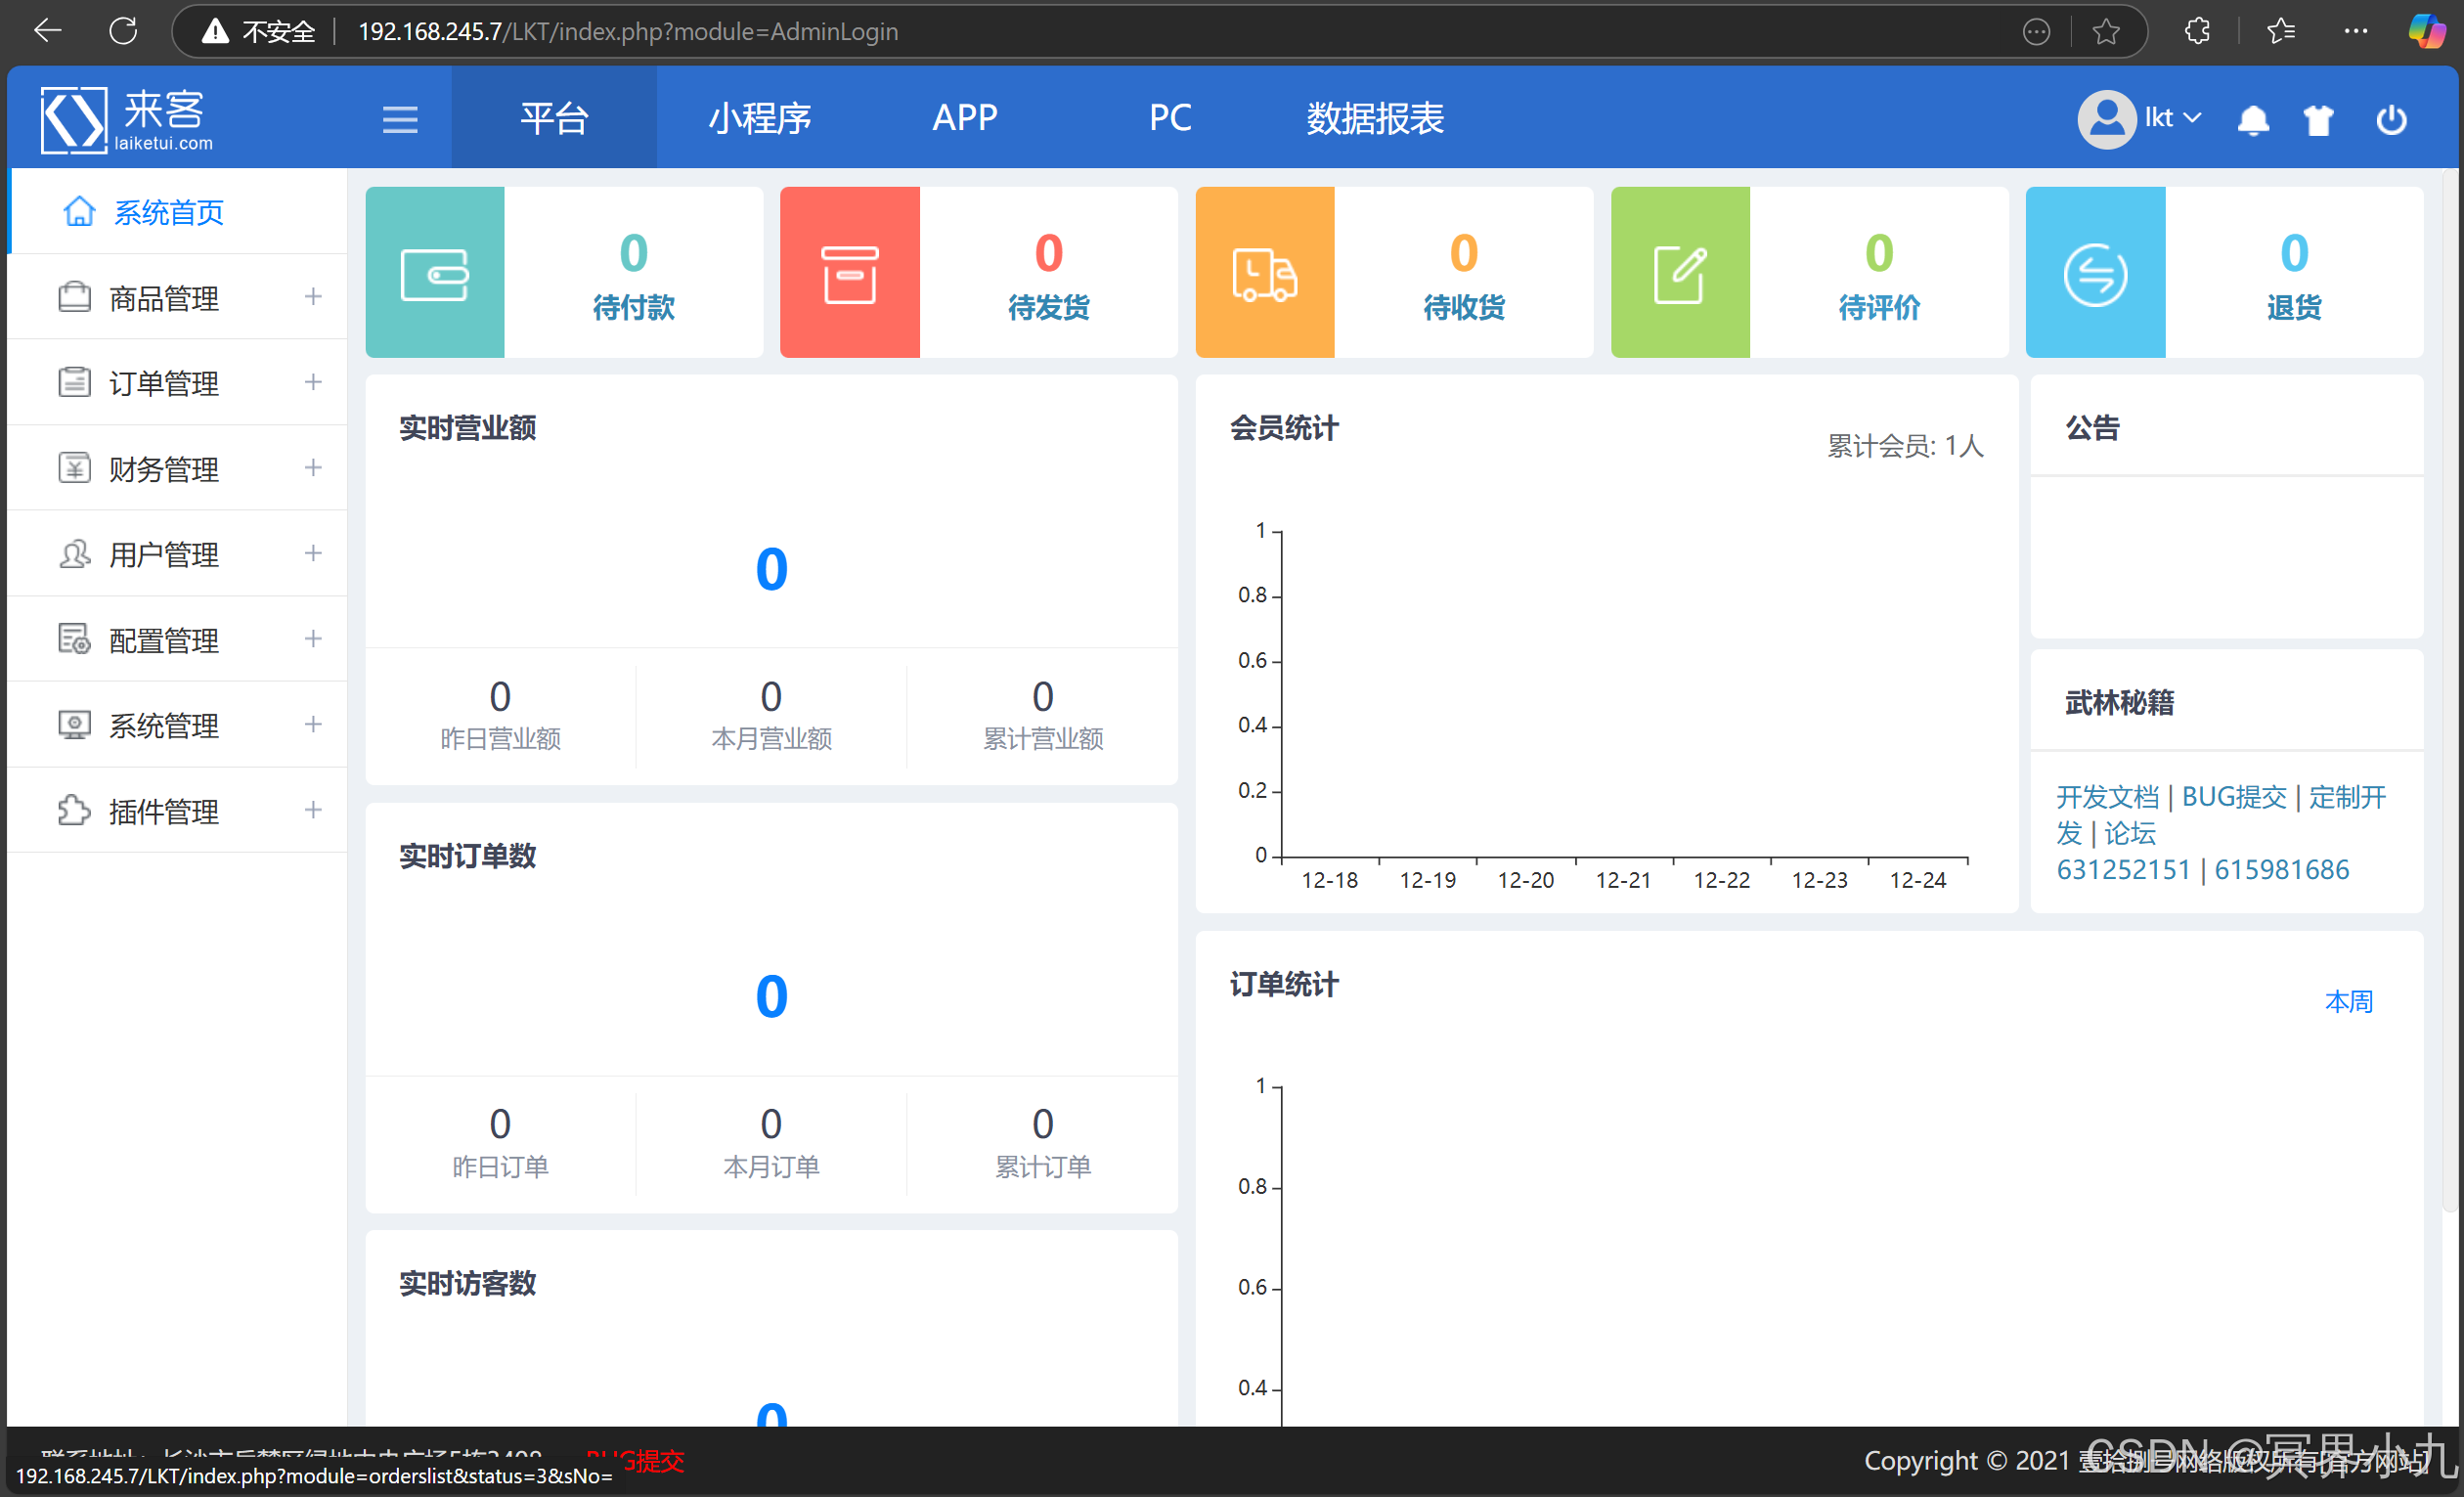
等待几秒之后便可登录后台
登录后台系统
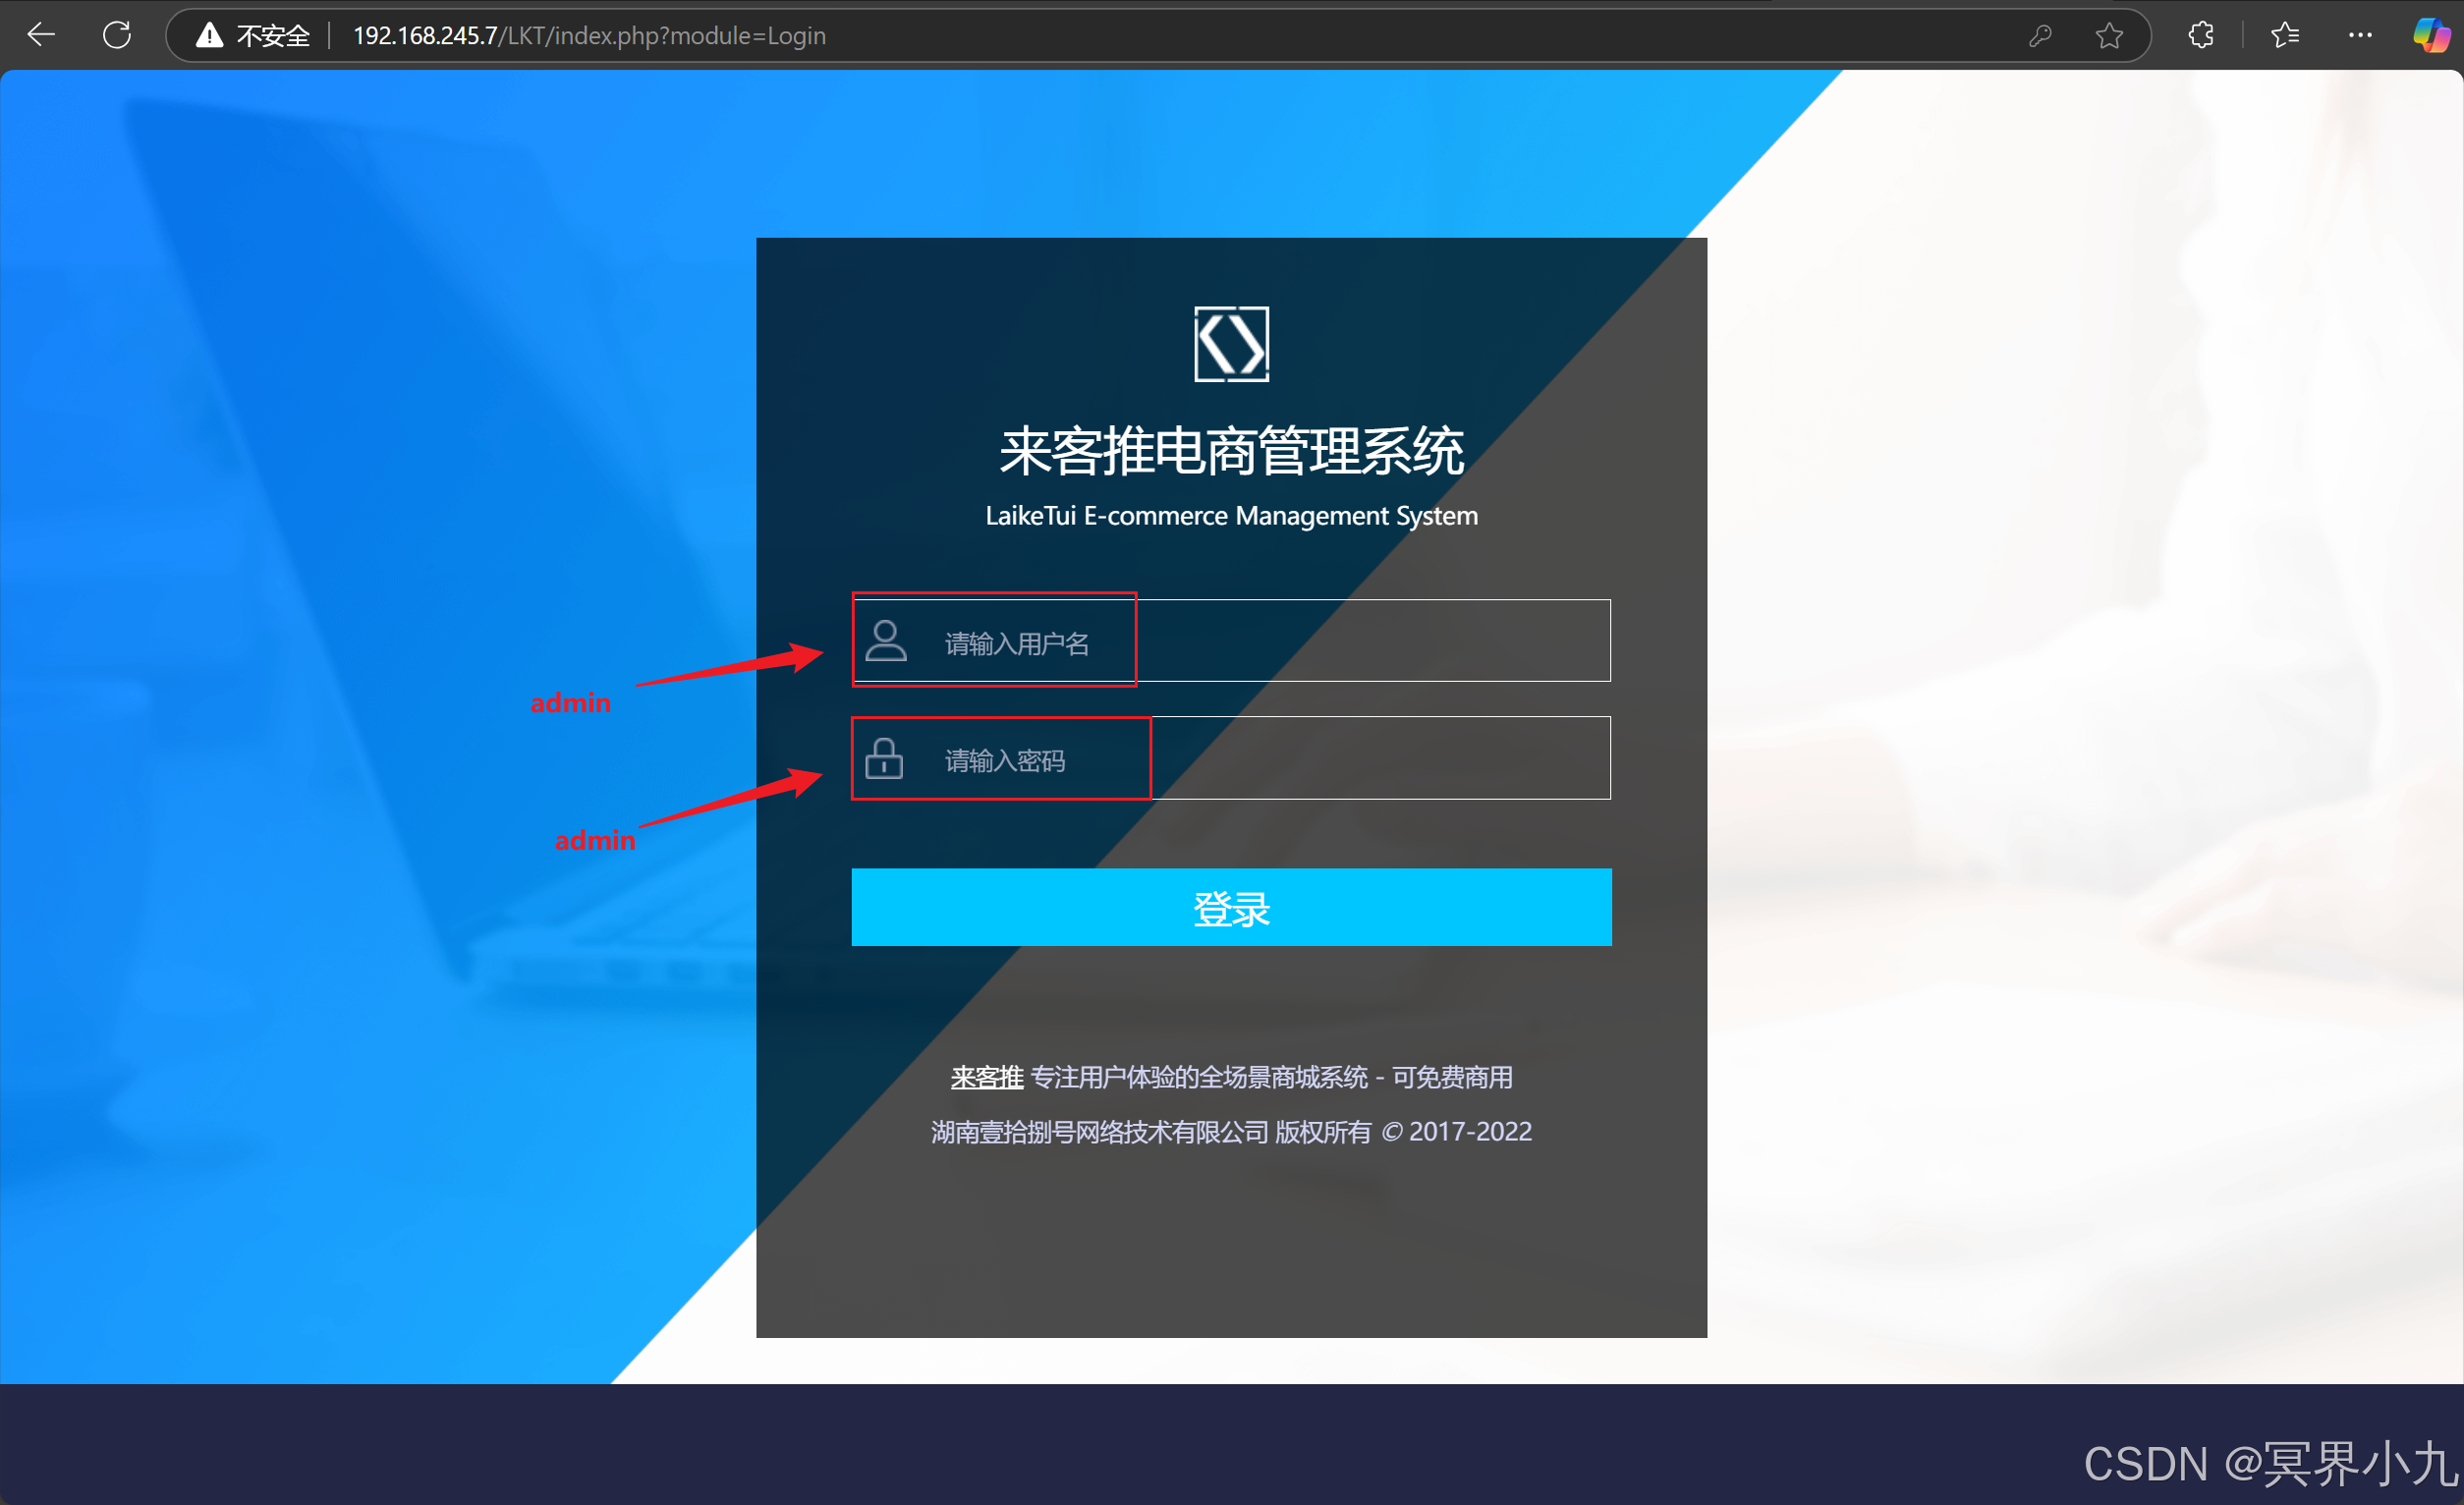
成功进入了,鼓掌