目录
- 作业介绍
- 环境光贴图预计算
- 传输项的预计算
-
- [Diffuse unshadowed](#Diffuse unshadowed)
- [Diffuse shadowed](#Diffuse shadowed)
- [Diffuse Inter-reflection(bonus)](#Diffuse Inter-reflection(bonus))
- 实时球谐光照计算
GitHub主页:https://github.com/sdpyy1
作业实现:https://github.com/sdpyy1/CppLearn/tree/main/games202
作业介绍
物体在不同光照下的表现不同,PRT(Precomputed Radiance Transfer) 是一个计算物体在不同光照下表现的方法。光线在一个环境中,会经历反射,折射,散射,甚至还会物体的内部进行散射。为了模拟具有真实感的渲染结果,传统的Path Tracing 方法需要考虑来自各个方向的光线、所有可能的传播形式并且收敛速度极慢。PRT 通过一种预计算方法,该方法在离线渲染的 Path Tracing 工具链中预计算 lighting 以及 light transport 并将它们用球谐函数拟合后储存,这样就将时间开销转移到了离线中。最后通过使用这些预计算好的数据,我们可以轻松达到实时渲染严苛的时间要求,同时渲染结果可以呈现出全局光照的效果。
PRT 方法存在的限制包括:
• 不能计算随机动态场景的全局光照
• 场景中物体不可变动
本次作业的工作主要分为两个部分:cpp 端的离线预计算部分以及在 WebGL框架上使用预计算数据部分
PRT课上最终得出的结论是对渲染方程的计算,可以先把光照和其余部分分别计算球谐展开后系数相乘(针对BRDF是diffuse的情况),所以我们只需要针对光照算球谐展开的系数,然后针对其余部分算一个球谐展开的系数,传递给顶点着色器后相乘就是顶点的着色
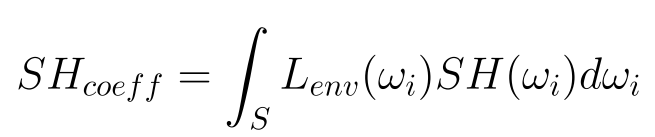
环境光贴图预计算
要做的就是把L(wi)项用球谐函数表示,因为球谐函数都一样,不一样的只有系数,所以只需要预计算出系数,系数求法如下,针对球谐函数的任何一项求他的系数都是算一个积分
根据作业提示,需要完成函数,输入为天空盒的6个面图片
cpp
    std::vector<Eigen::Array3f> PrecomputeCubemapSH(const std::vector<std::unique_ptr<float[]>> &images,
                                                    const int &width, const int &height,
                                                    const int &channel)
    {
下面这一步是把6张贴图每个像素的方向向量都存起来了
cpp
        std::vector<Eigen::Vector3f> cubemapDirs;
        cubemapDirs.reserve(6 * width * height);
        for (int i = 0; i < 6; i++)
        {
            Eigen::Vector3f faceDirX = cubemapFaceDirections[i][0];
            Eigen::Vector3f faceDirY = cubemapFaceDirections[i][1];
            Eigen::Vector3f faceDirZ = cubemapFaceDirections[i][2];
            for (int y = 0; y < height; y++)
            {
                for (int x = 0; x < width; x++)
                {
                    float u = 2 * ((x + 0.5) / width) - 1;
                    float v = 2 * ((y + 0.5) / height) - 1;
                    Eigen::Vector3f dir = (faceDirX * u + faceDirY * v + faceDirZ).normalized();
                    cubemapDirs.push_back(dir);
                }
            }
        }
接着对系数数组初始化
cpp
// 表示球谐系数的个数
        constexpr int SHNum = (SHOrder + 1) * (SHOrder + 1);
        std::vector<Eigen::Array3f> SHCoeffiecents(SHNum);
        for (int i = 0; i < SHNum; i++)
            SHCoeffiecents[i] = Eigen::Array3f(0);
最后遍历每个方向向量进行计算系数
cpp
for (int i = 0; i < 6; i++)
{
for (int y = 0; y < height; y++)
{
for (int x = 0; x < width; x++)
{
// TODO: here you need to compute light sh of each face of cubemap of each pixel
// TODO: 此处你需要计算每个像素下cubemap某个面的球谐系数
Eigen::Vector3f dir = cubemapDirs[i * width * height + y * width + x];
int index = (y * width + x) * channel;
Eigen::Array3f Le(images[i][index + 0], images[i][index + 1],
images[i][index + 2]);
}
}
}
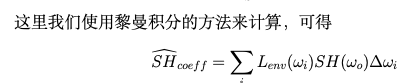
计算方法就是遍历每一个像素,通过黎曼积分的方法来说,每个像素点都对每个球谐函数的系数有贡献
cpp
        for (int i = 0; i < 6; i++)
        {
            for (int y = 0; y < height; y++)
            {
                for (int x = 0; x < width; x++)
                {
                    // TODO: here you need to compute light sh of each face of cubemap of each pixel
                    // TODO: 此处你需要计算每个像素下cubemap某个面的球谐系数
                    Eigen::Vector3f dir = cubemapDirs[i * width * height + y * width + x];
                    int index = (y * width + x) * channel;
                    // 当前像素的RGB值
                    Eigen::Array3f Le(images[i][index + 0], images[i][index + 1],
                                      images[i][index + 2]);
                    // 计算当前像素的面积
                    float delta_wi = CalcArea(x, y, width, height);
                    Eigen::Vector3d _dir(Eigen::Vector3d(dir[0], dir[1], dir[2]).normalized());//这里dir要变成Eigen::Vector3d类型
                    // 计算当前像素点对每个基函数系数的黎曼积分求法的贡献
                    for(int l = 0;l < SHNum; l++){
                        for(int m = -l; m <= l; m++){
                            SHCoeffiecents[sh::GetIndex(l,m)] += Le * sh::EvalSH(l,m,_dir)*delta_wi;
                        }
                    }
                }
            }
}对于作业提到的伽马矫正,可以参考我之前的博客伽马矫正
传输项的预计算
对于漫反射传输项来说,分为 unshadowed, shadowed, interreflection 三
种情况,我们将分别计算这三种情况的漫反射传输球谐系数。
Diffuse unshadowed
这种情况下渲染方程的BRDF项为常数,此时渲染方程为

Li项已经处理掉了,就剩下max()项了

作业中只需要写出transport部分在给定一个方向时的值
cpp
                if (m_Type == Type::Unshadowed)
                {
                    // TODO: here you need to calculate unshadowed transport term of a given direction
                    // TODO: 此处你需要计算给定方向下的unshadowed传输项球谐函数值
                    return 0;
                }
这里就只剩一个点乘和max了
cpp
                float dot_product = wi.dot(n);
                if (m_Type == Type::Unshadowed)
                {
                    // TODO: here you need to calculate unshadowed transport term of a given direction
                    // TODO: 此处你需要计算给定方向下的unshadowed传输项球谐函数值
                    return dot_product > 0 ? dot_product : 0;
                }
Indoor的数据
cpp
0.518558 0.510921 0.498186
-0.0139227 -0.0198673 -0.0233177
-0.0229861 -0.0361469 -0.0237983
0.0263383 0.0681837 0.0585552
-0.0508792 -0.0607283 -0.0570984
0.0515054 0.035726 0.0207611
0.0147266 0.0112063 -0.026747
0.00411617 0.0257427 0.0428588
0.0642155 0.0399902 0.0190308
每一行代表一个基函数的参数,可以理解为把原光照函数投影到某一个基函数后的RGB分量分别为多少
Diffuse shadowed
相对于unshadowed,就多出来一项Visibility
cpp
                    // 从顶点位置发射一条光线,与场景相交说明被遮挡了
                    if(dot_product > 0.0f && !scene->rayIntersect(Ray3f(v, wi.normalized())))
                    {
                        return dot_product;
                    }else{
                        return 0.0f;
                    }
当定义好函数后调用了
cpp
auto shCoeff = sh::ProjectFunction(SHOrder, shFunc, m_SampleCount);这行代码根据SH的阶数、被展开的函数、采样数来得到展开后SH的系数
到这里 光照项和转移项都分别计算了它们的SH展开的系数并存储在txt文件中(通过跑该程序)
cpp
7905
0.213508 0.153329 0.206834 -0.0845127 -0.060769 0.144391 0.0588847 -0.0591535 -0.0178413
0.219123 0.147477 0.190788 -0.134417 -0.0519802 0.135719 0.0171978 -0.101493 0.0164001
0.206635 0.160885 0.201914 -0.0758193 -0.0472086 0.167402 0.0471802 -0.052247 -0.00859244
0.185821 0.153003 0.162114 -0.119748 -0.0931989 0.143295 0.00899377 -0.0984071 -0.0184536
0.206635 0.160885 0.201914 -0.0758193 -0.0472086 0.167402 0.0471802 -0.052247 -0.00859244
每一行代表一个顶点的球谐展开系数。因为T部分不仅与入射方向有关,也与顶点的具体位置有关,所以每固定一个顶点,球谐展开系数都是不一样的
Diffuse Inter-reflection(bonus)
这里就需要考虑光线的多次弹射,渲染方程变成

计算一个顶点的系数时,不仅考虑到来自环境光的光照,还考虑来自别的地方弹射过来的光的影响,仿照光线追踪的写法,从着色点射出采样光线,若击中物体,则把光线反过来求出它对着色点的贡献(如果递归的写就可以求出击中物体的值,递归到最后一层就是本身着色点的值)
cpp
std::unique_ptr<std::vector<double>> computeInterreflectionSH(Eigen::MatrixXf* directTSHCoeffs, const Point3f& pos, const Normal3f& normal, const Scene* scene, int bounces)
{
    std::unique_ptr<std::vector<double>> coeffs(new std::vector<double>());
    coeffs->assign(SHCoeffLength, 0.0);

    if (bounces > m_Bounce)
        return coeffs;

    const int sample_side = static_cast<int>(floor(sqrt(m_SampleCount)));
    std::random_device rd;
    std::mt19937 gen(rd());
    std::uniform_real_distribution<> rng(0.0, 1.0);
    for (int t = 0; t < sample_side; t++) {
        for (int p = 0; p < sample_side; p++) {
            double alpha = (t + rng(gen)) / sample_side;
            double beta = (p + rng(gen)) / sample_side;
            double phi = 2.0 * M_PI * beta;
            double theta = acos(2.0 * alpha - 1.0);
	    //这边模仿ProjectFunction函数写

            Eigen::Array3d d = sh::ToVector(phi, theta);
            const auto wi = Vector3f(d.x(), d.y(), d.z());
            double H = wi.normalized().dot(normal);
            Intersection its;
            if (H > 0.0 && scene->rayIntersect(Ray3f(pos, wi.normalized()), its))
            {
                MatrixXf normals = its.mesh->getVertexNormals();
                Point3f idx = its.tri_index;
                Point3f hitPos = its.p;
                Vector3f bary = its.bary;

                Normal3f hitNormal =
                    Normal3f(normals.col(idx.x()).normalized() * bary.x() +
                        normals.col(idx.y()).normalized() * bary.y() +
                        normals.col(idx.z()).normalized() * bary.z())
                    .normalized();

                auto nextBouncesCoeffs = computeInterreflectionSH(directTSHCoeffs, hitPos, hitNormal, scene, bounces + 1);

                for (int i = 0; i < SHCoeffLength; i++)
                {
                    auto interpolateSH = (directTSHCoeffs->col(idx.x()).coeffRef(i) * bary.x() +
                        directTSHCoeffs->col(idx.y()).coeffRef(i) * bary.y() +
                        directTSHCoeffs->col(idx.z()).coeffRef(i) * bary.z());

                    (*coeffs)[i] += (interpolateSH + (*nextBouncesCoeffs)[i]) * H;
                }
            }
        }
    }

    for (unsigned int i = 0; i < coeffs->size(); i++) {
        (*coeffs)[i] /= sample_side * sample_side;
    }

    return coeffs;
}
cpp
for (int i = 0; i < mesh->getVertexCount(); i++)
{
const Point3f& v = mesh->getVertexPositions().col(i);
const Normal3f& n = mesh->getVertexNormals().col(i).normalized();
auto indirectCoeffs = computeInterreflectionSH(&m_TransportSHCoeffs, v, n, scene, 1);
for (int j = 0; j < SHCoeffLength; j++)
{
m_TransportSHCoeffs.col(i).coeffRef(j) += (*indirectCoeffs)[j];
}
std::cout << "computing interreflection light sh coeffs, current vertex idx: " << i << " total vertex idx: " << mesh->getVertexCount() << std::endl;
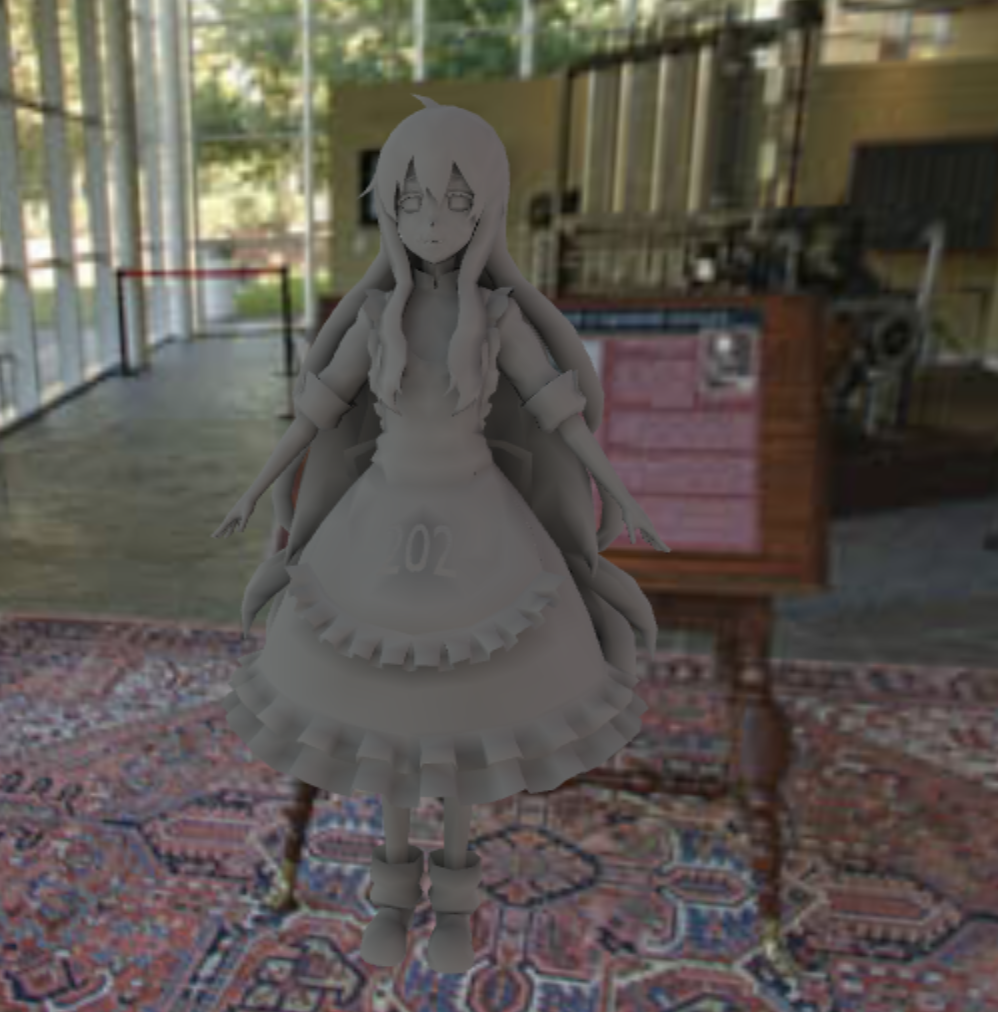
}实时球谐光照计算
这里我不展示如何跑通代码,只展示主要的逻辑点。跑通代码可以参考博客:https://zhuanlan.zhihu.com/p/596050050
对于预计算数据使用就是在顶点着色器中,要求一个顶点的着色,就要把光照项的每一个系数与T项对应的系数相乘后相加即可
从下面代码可以看出,三个颜色通道单独计算
cpp
//prtVertex.glsl

attribute vec3 aVertexPosition;
attribute vec3 aNormalPosition;
attribute mat3 aPrecomputeLT;

uniform mat4 uModelMatrix;
uniform mat4 uViewMatrix;
uniform mat4 uProjectionMatrix;
uniform mat3 uPrecomputeL[3];

varying highp vec3 vNormal;
varying highp mat3 vPrecomputeLT;
varying highp vec3 vColor;

float L_dot_LT(mat3 PrecomputeL, mat3 PrecomputeLT) {
  vec3 L_0 = PrecomputeL[0];
  vec3 L_1 = PrecomputeL[1];
  vec3 L_2 = PrecomputeL[2];
  vec3 LT_0 = PrecomputeLT[0];
  vec3 LT_1 = PrecomputeLT[1];
  vec3 LT_2 = PrecomputeLT[2];
  return dot(L_0, LT_0) + dot(L_1, LT_1) + dot(L_2, LT_2);
}

void main(void) {
  // 无实际作用,避免aNormalPosition被优化后产生警告
  vNormal = (uModelMatrix * vec4(aNormalPosition, 0.0)).xyz;

  for(int i = 0; i < 3; i++)
  {
    vColor[i] = L_dot_LT(aPrecomputeLT, uPrecomputeL[i]);
  }

  gl_Position = uProjectionMatrix * uViewMatrix * uModelMatrix * vec4(aVertexPosition, 1.0);
}
以R通道举例

一行(顶点的系数)乘一列(环境光贴图系数的R通道)结果作为着色点的R通道值

至于还有一个作业要做旋转。
我的理解是如果环境光贴图进行了旋转,其实修改的就只是环境光贴图的球谐展开的系数,其他的不会变,而且因为球谐函数的特性,很容易就能求旋转后的系数。先理解了就行