1.安装 GitLab 服务器
1.以容器的形式安装 GitLab
bash
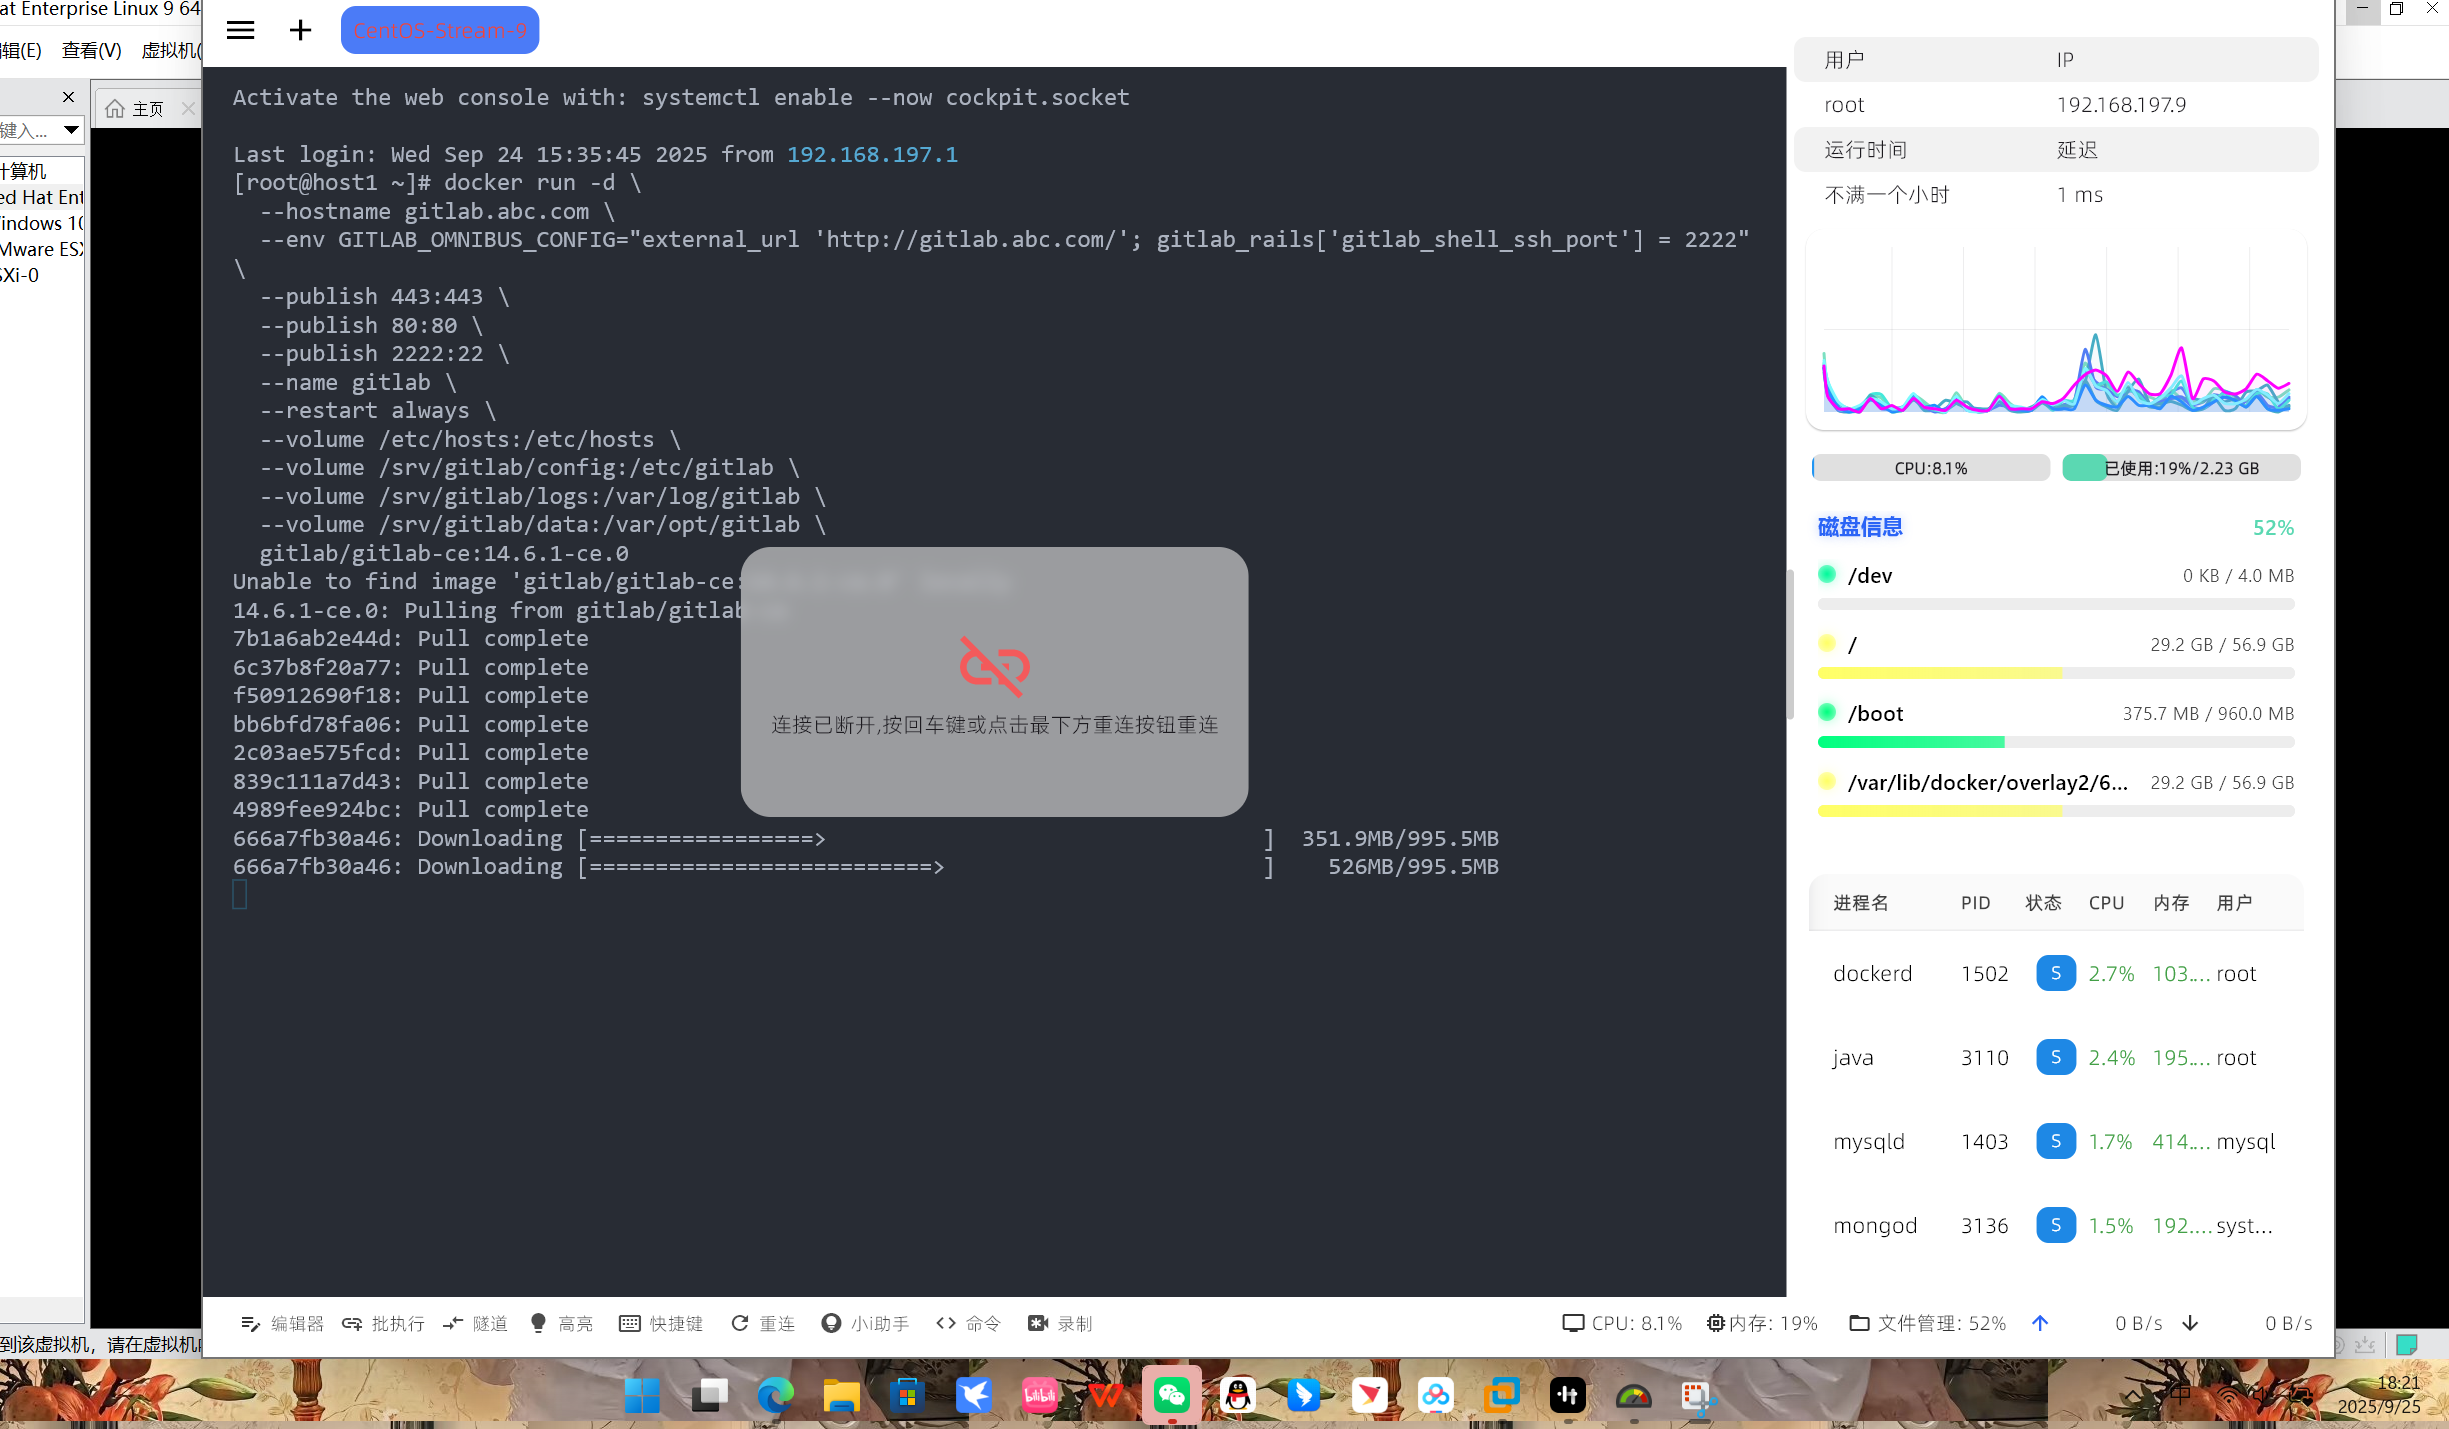
[root@host1 ~]# docker run -d \
--hostname gitlab.abc.com \
--env GITLAB_OMNIBUS_CONFIG="external_url 'http://gitlab.abc.com/'; gitlab_rails['gitlab_shell_ssh_port'] = 2222" \
--publish 443:443 \
--publish 80:80 \
--publish 2222:22 \
--name gitlab \
--restart always \
--volume /etc/hosts:/etc/hosts \
--volume /srv/gitlab/config:/etc/gitlab \
--volume /srv/gitlab/logs:/var/log/gitlab \
--volume /srv/gitlab/data:/var/opt/gitlab \
gitlab/gitlab-ce:14.6.1-ce.0
Unable to find image 'gitlab/gitlab-ce:14.6.1-ce.0' locally
14.6.1-ce.0: Pulling from gitlab/gitlab-ce
7b1a6ab2e44d: Already exists
6c37b8f20a77: Already exists
f50912690f18: Already exists
bb6bfd78fa06: Already exists
2c03ae575fcd: Already exists
839c111a7d43: Already exists
4989fee924bc: Already exists
666a7fb30a46: Pull complete
Digest: sha256:5a0b03f09ab2f2634ecc6bfeb41521d19329cf4c9bbf330227117c048e7b5163
Status: Downloaded newer image for gitlab/gitlab-ce:14.6.1-ce.0
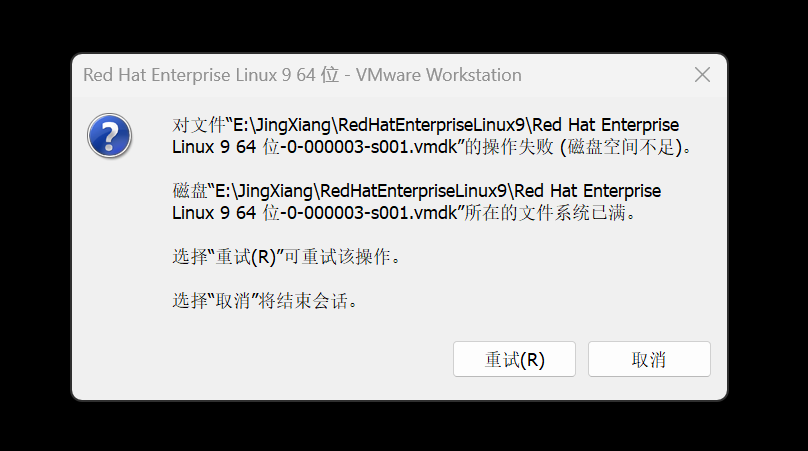
82d51c73b78cdb168a2e394afc01e3317624f900dfb589b31380cbec8e677d17提示:留够磁盘空间!!!

2.从 GitLab 容器中获取初始 root 密码
bash
[root@host1 ~]# docker exec -it gitlab grep 'Password:' /etc/gitlab/initial_root_password
Password: *******************************
3.使用浏览器访问 GitLab 服务器(一定要等初始化完成)
执行以下命令,查看容器是否还在初始化(GitLab 首次启动需 几分钟到十几分钟):
bash
docker logs -f gitlab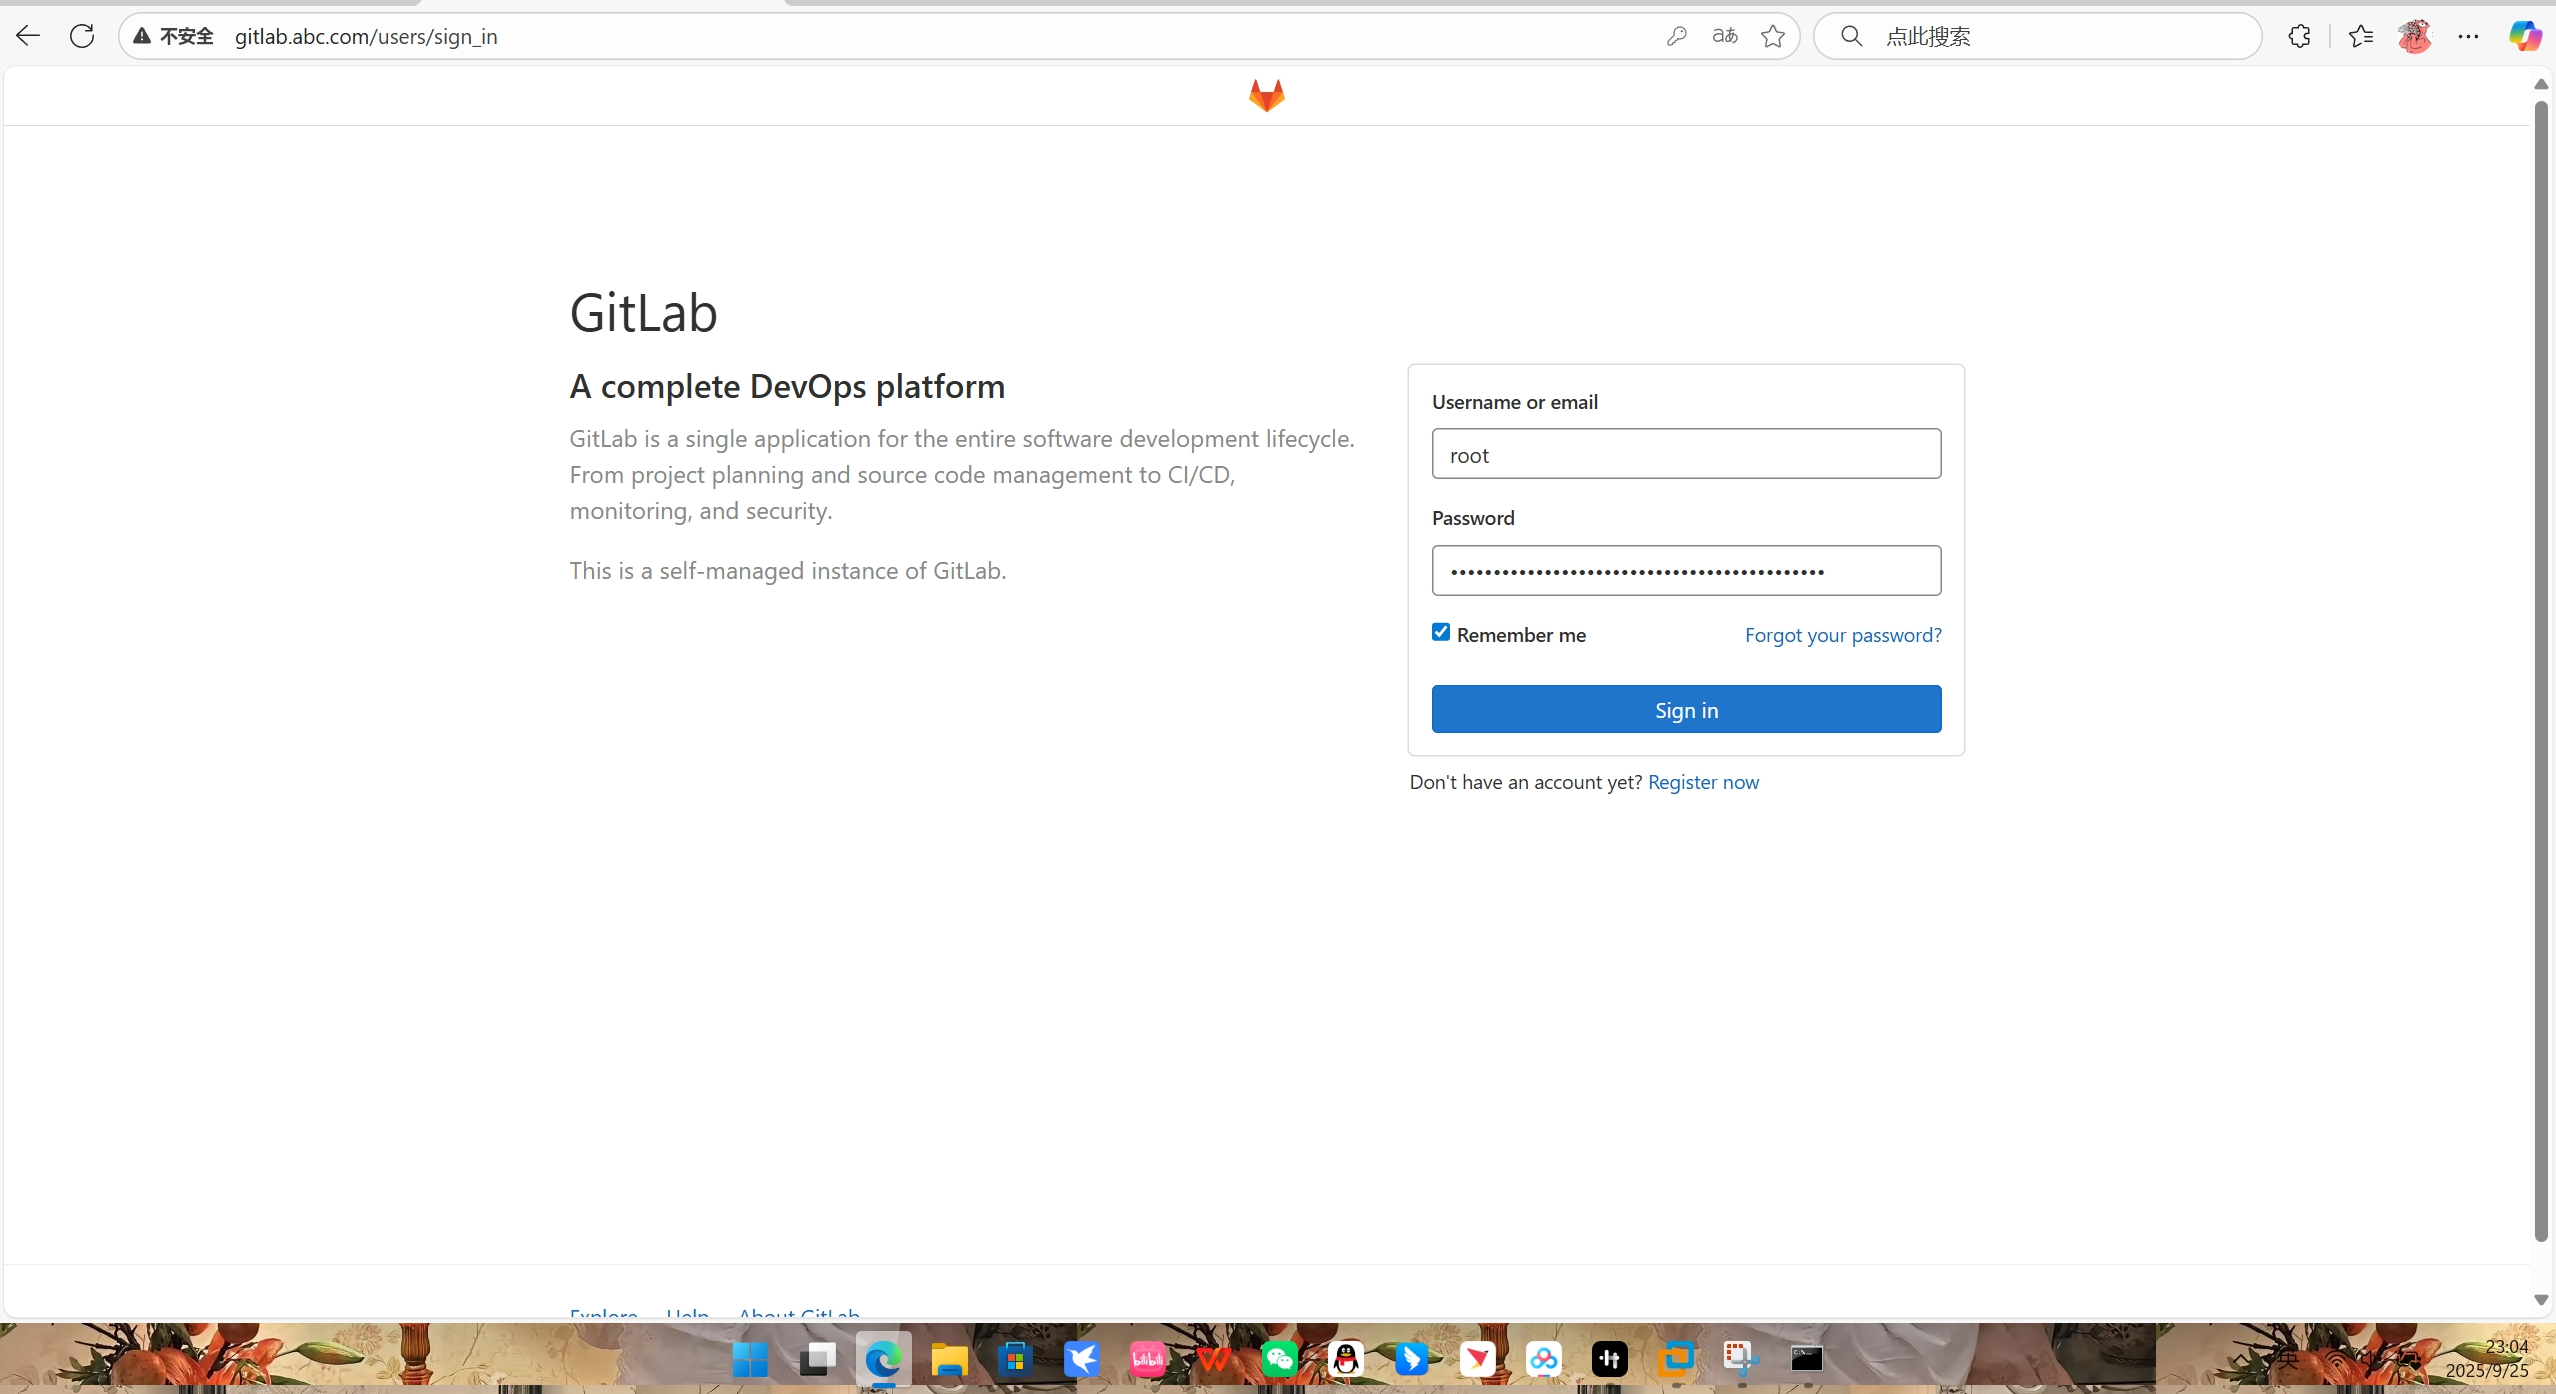
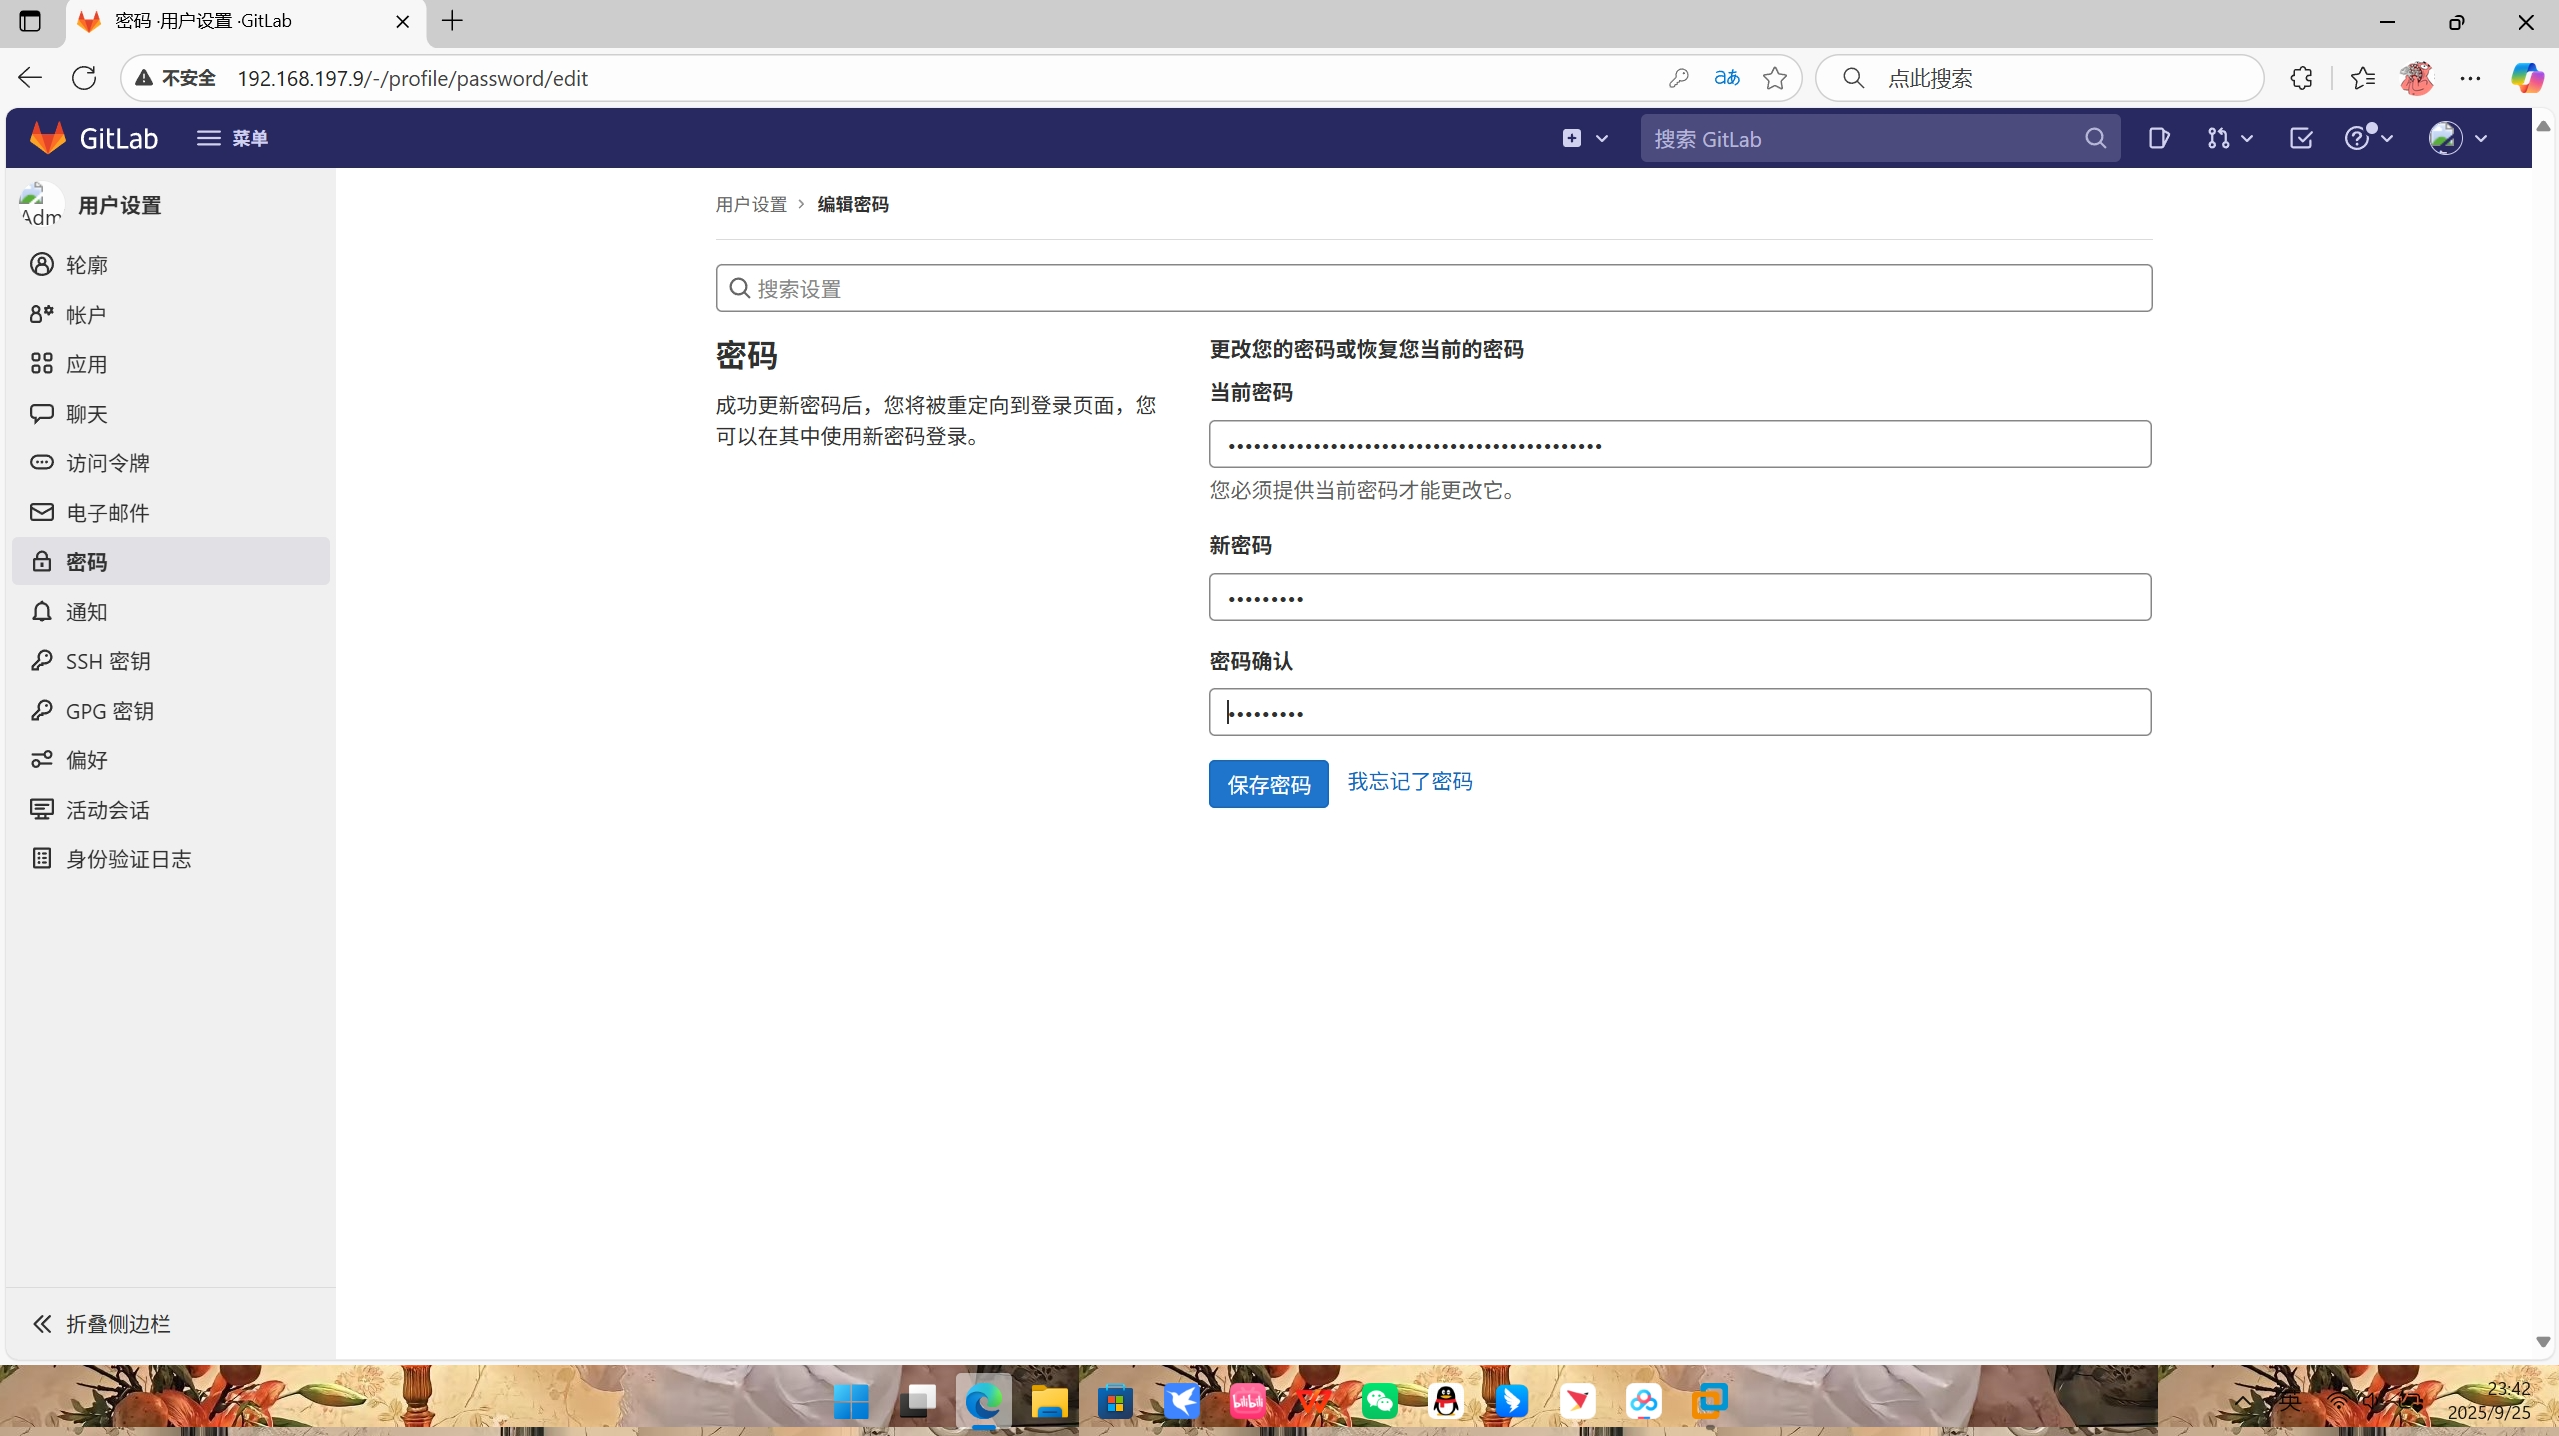
4.成功登录后,建议立即修改 root 密码
2.创建测试用的项目
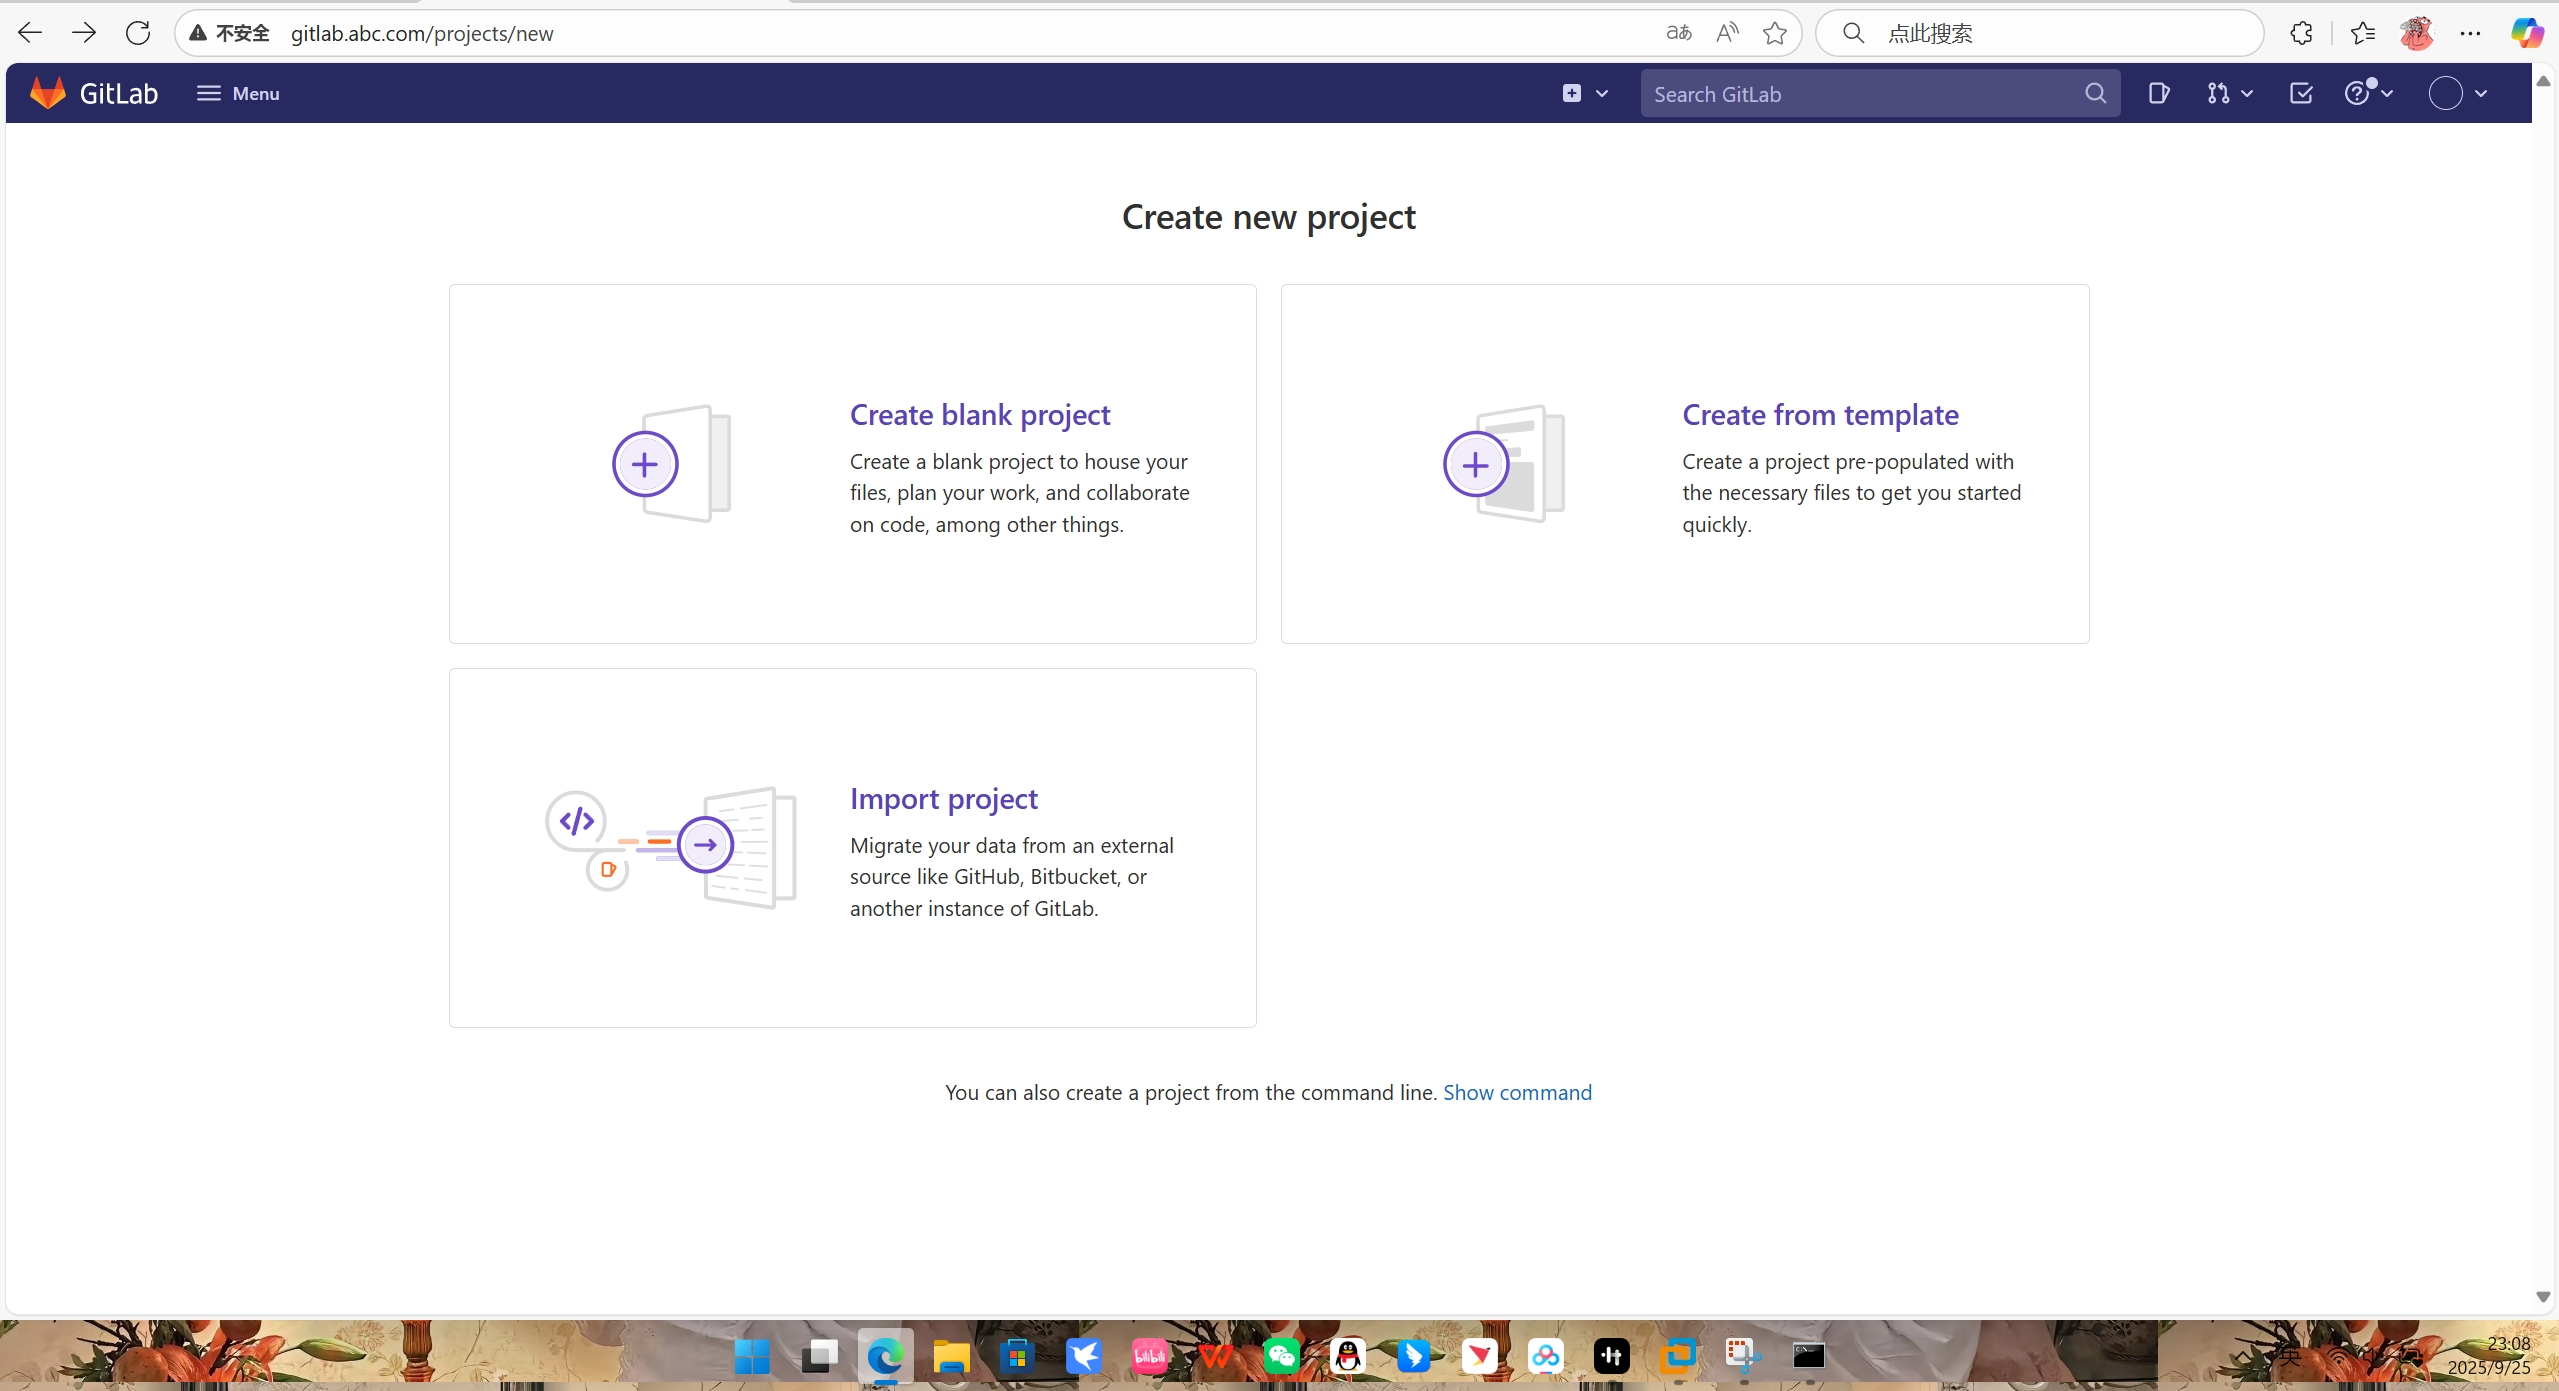
1.首先创建一个项目。单击"Menu"按钮,选择 "Projects">"Create new project".开
"Create new project"界面。
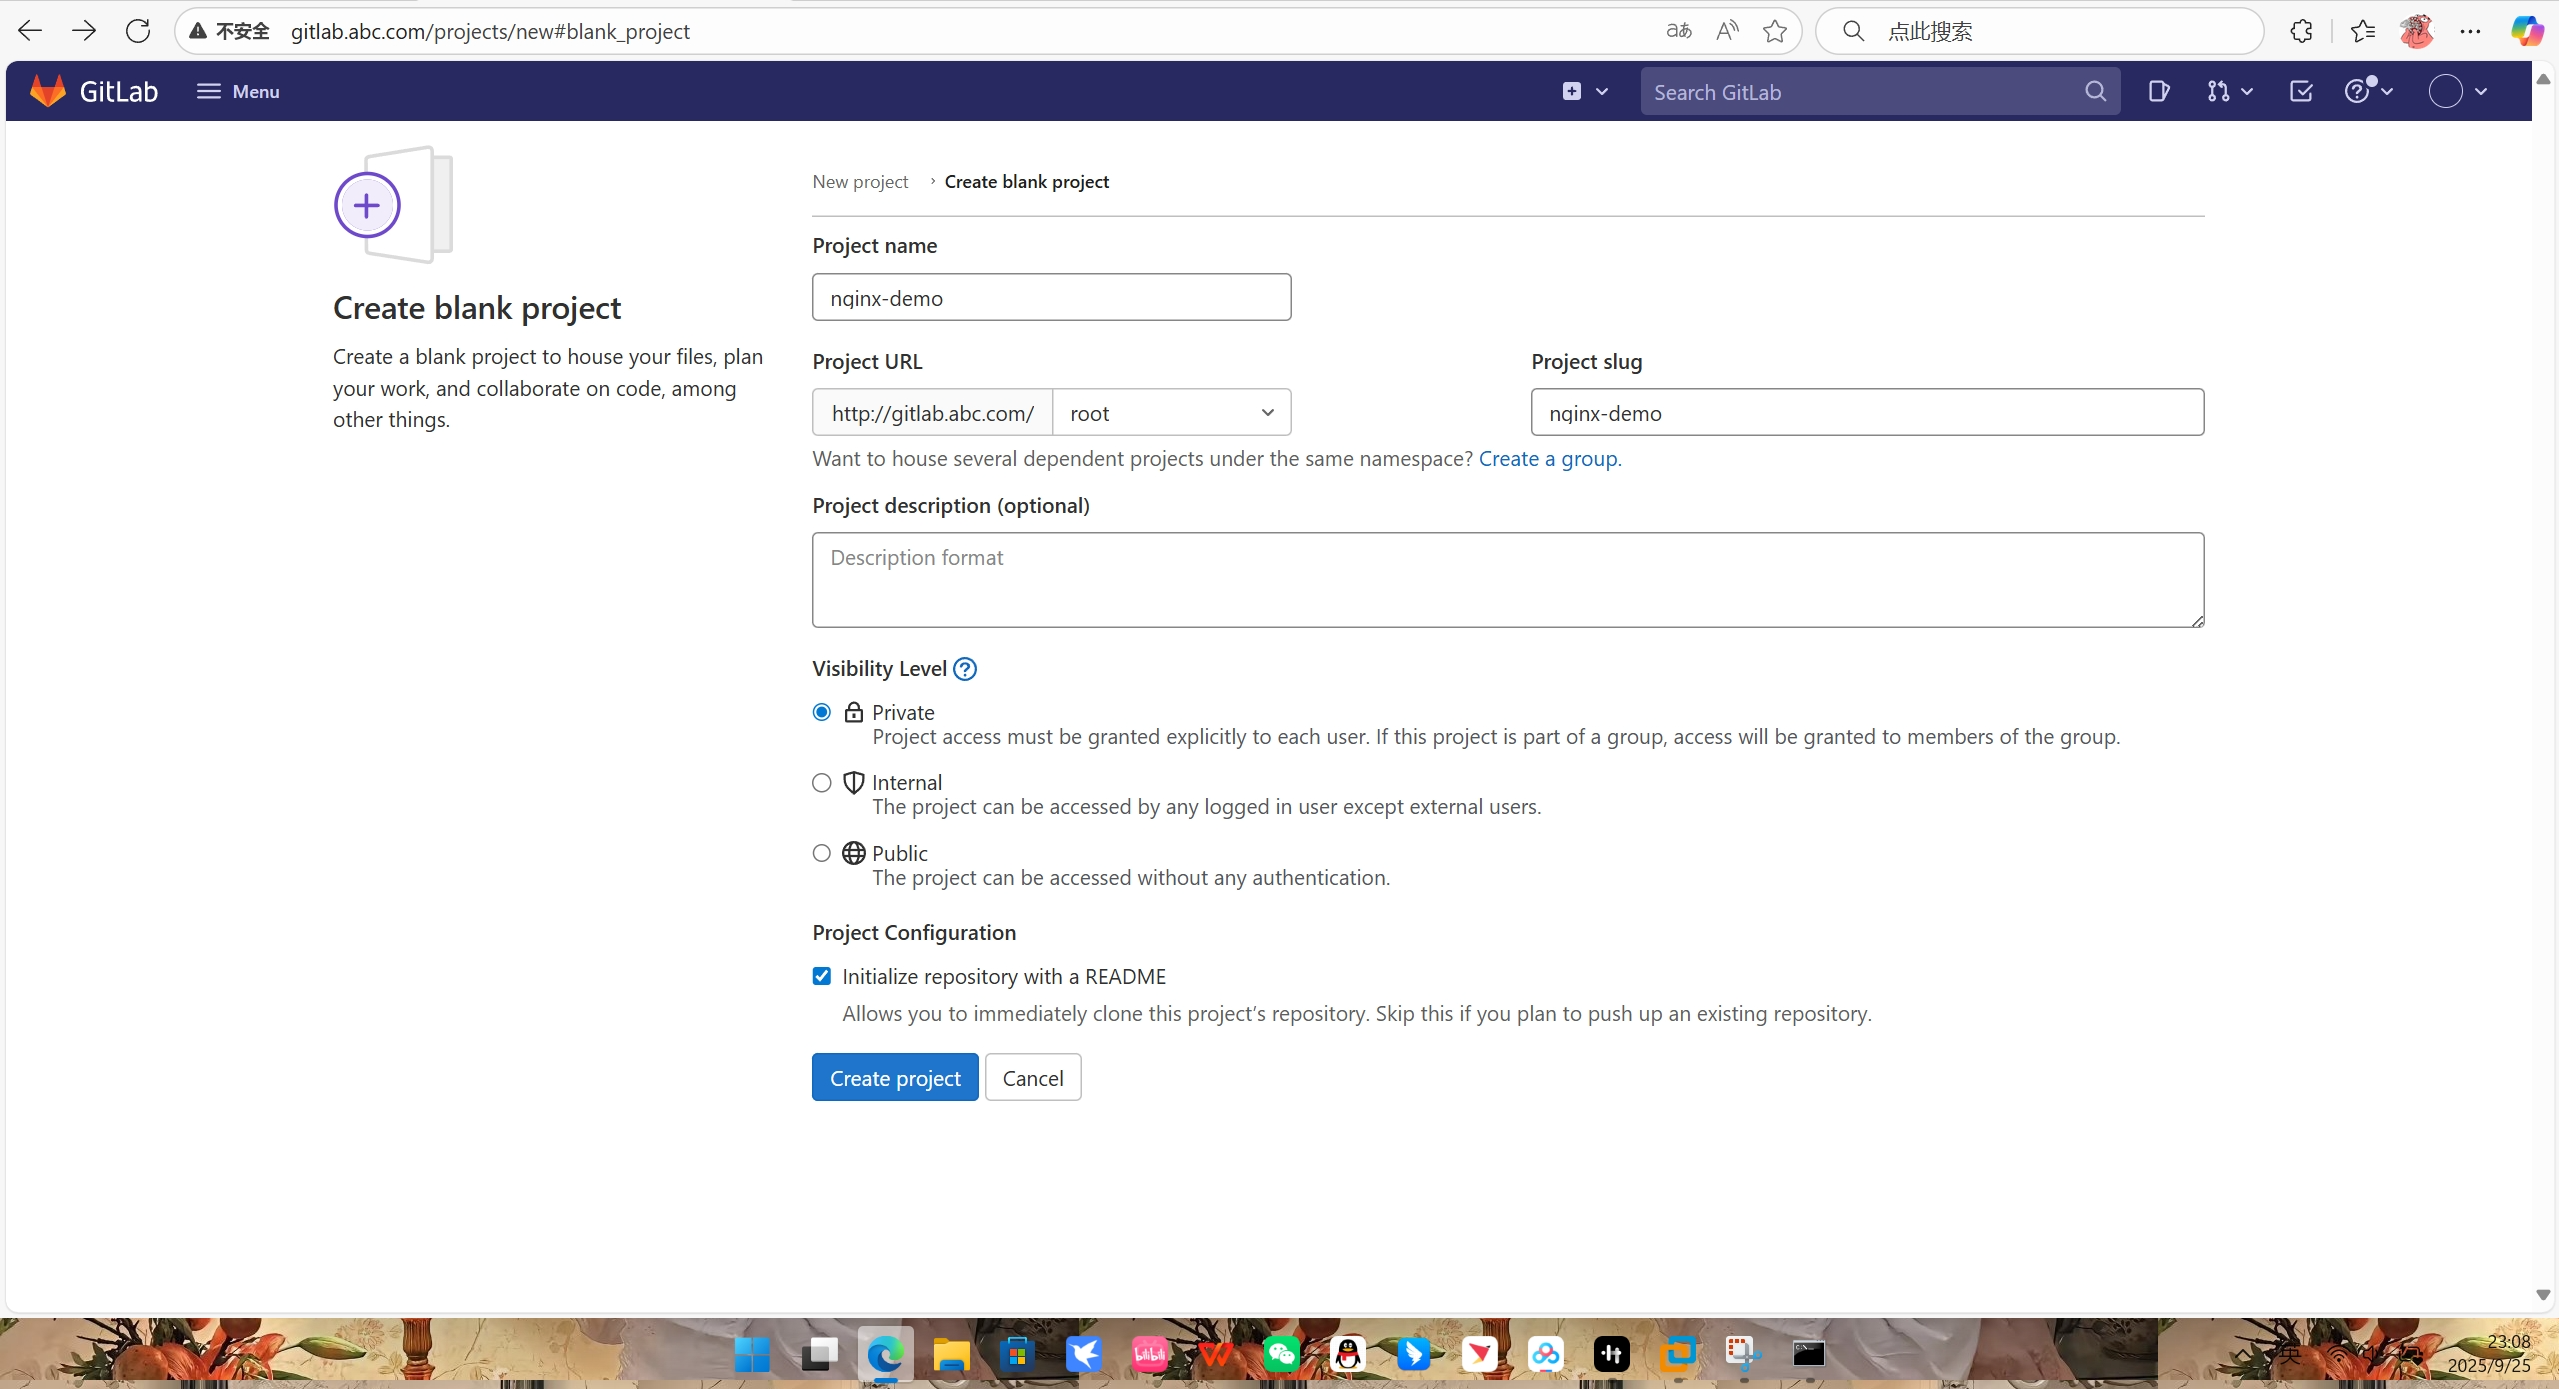
2.单击"Create blank project"按钮,出现图所示的界面,在"Project name"文本框中输入项目名称(本例为nginx-demo),其他选项保持默认设置,单击"Create projiect"按钮完成观目的创建。一个项目就是一个代码仓库。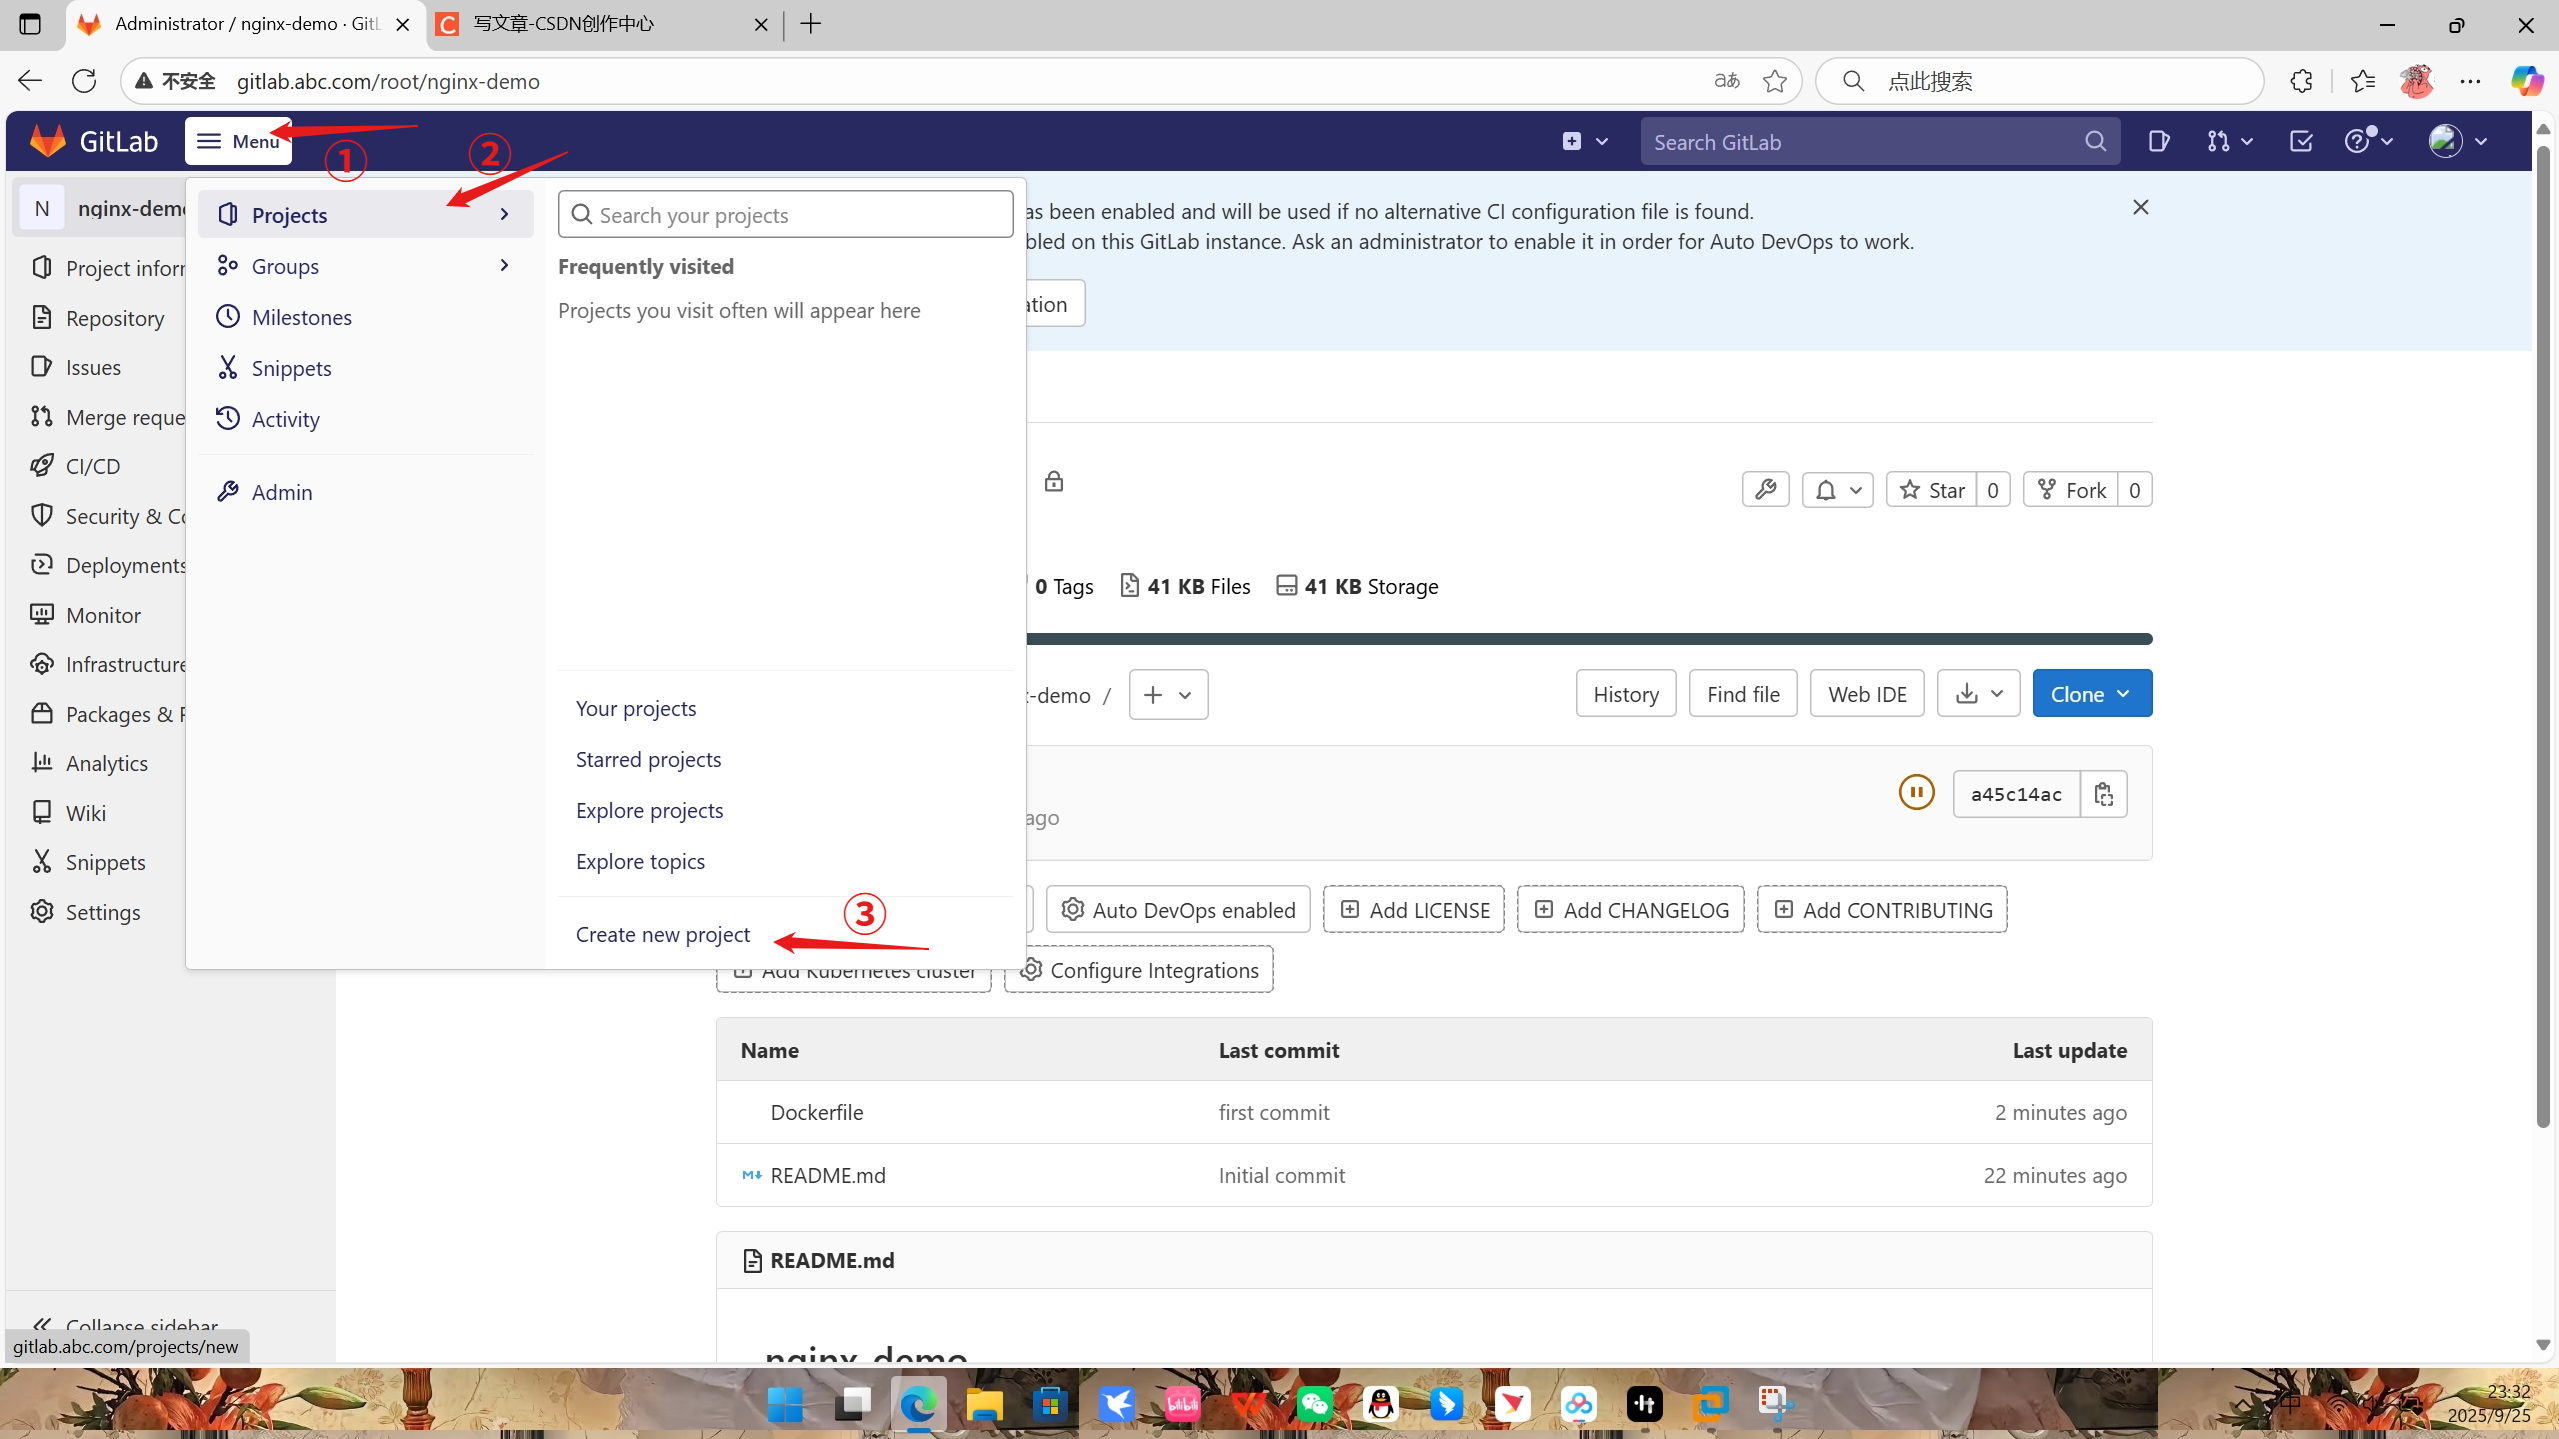
3.项目创建成功后会显示其洋细信息,除了项目的文件列表,还会会出 Git 操作的代码仓库
地址信息(单志"Clone"下拉故短电出下拉莱单,其中包會可复get.@SSH和 up 两种)
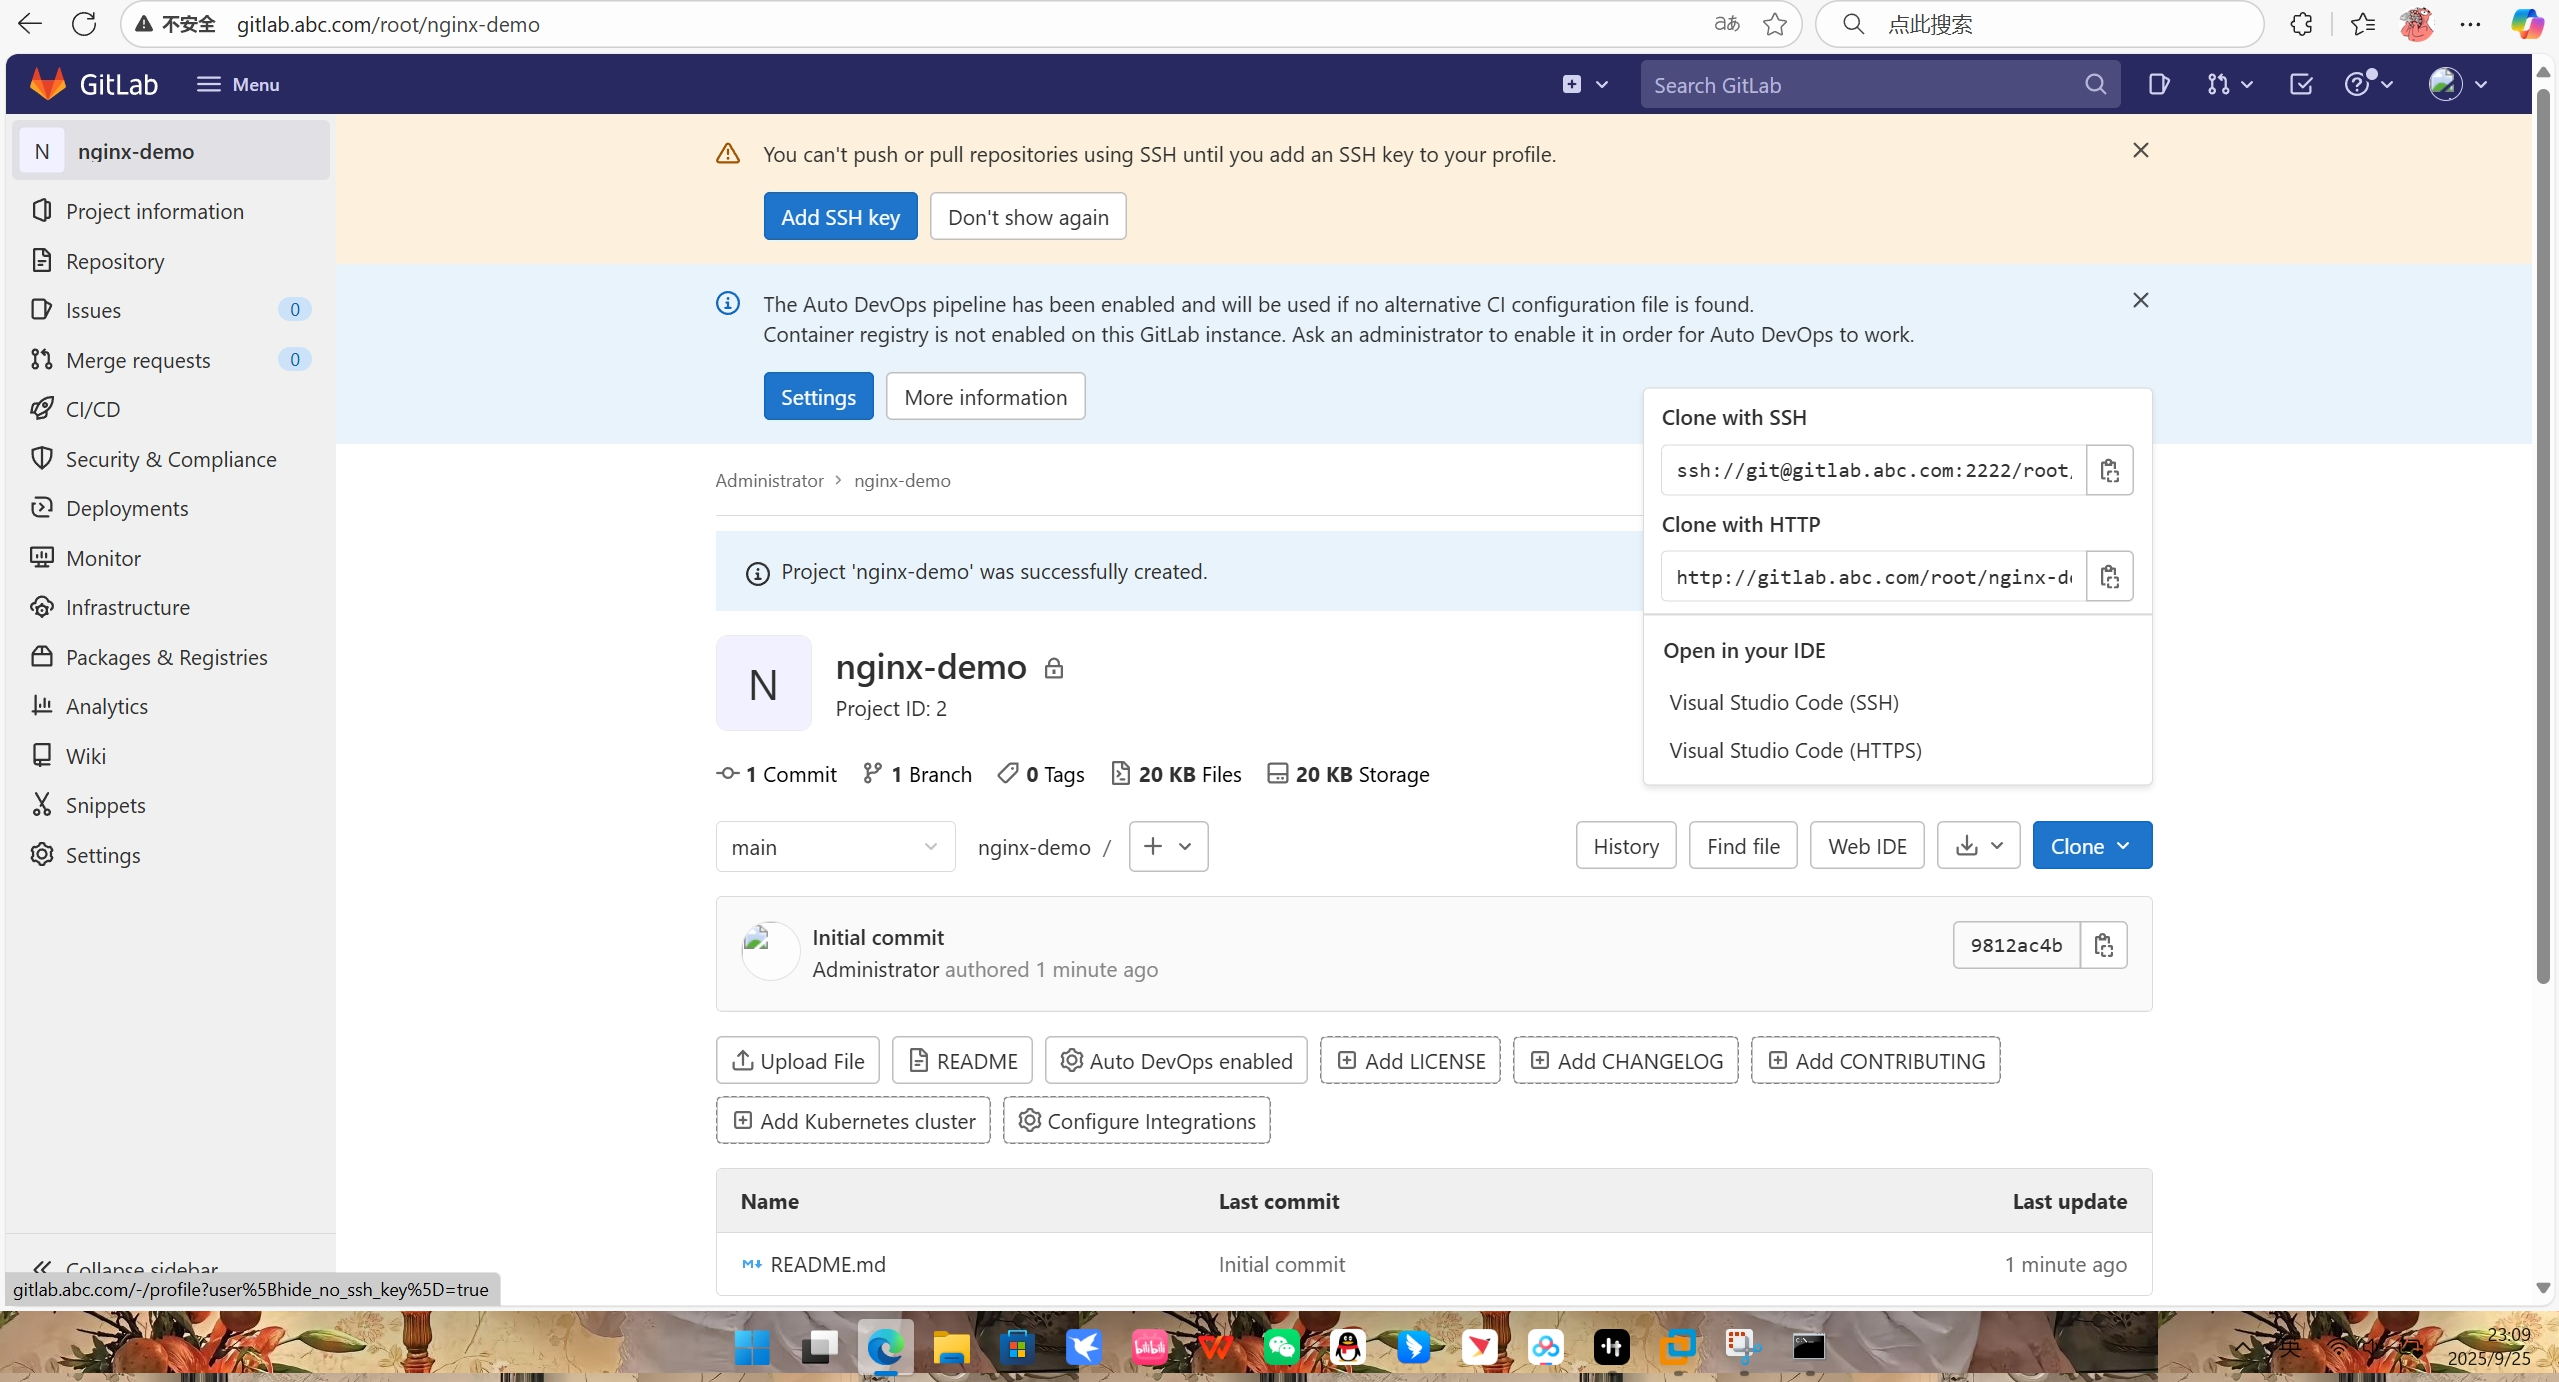
4.用户的本地代码仓库和GitLab 代码仓库之间的传输通过SSH加密,需要设置 SSH 密钥。由于首次使用 GitLab 服务器,没有设置 SSH密钥,项目详细信息界面顶端会给出相应的提示信息
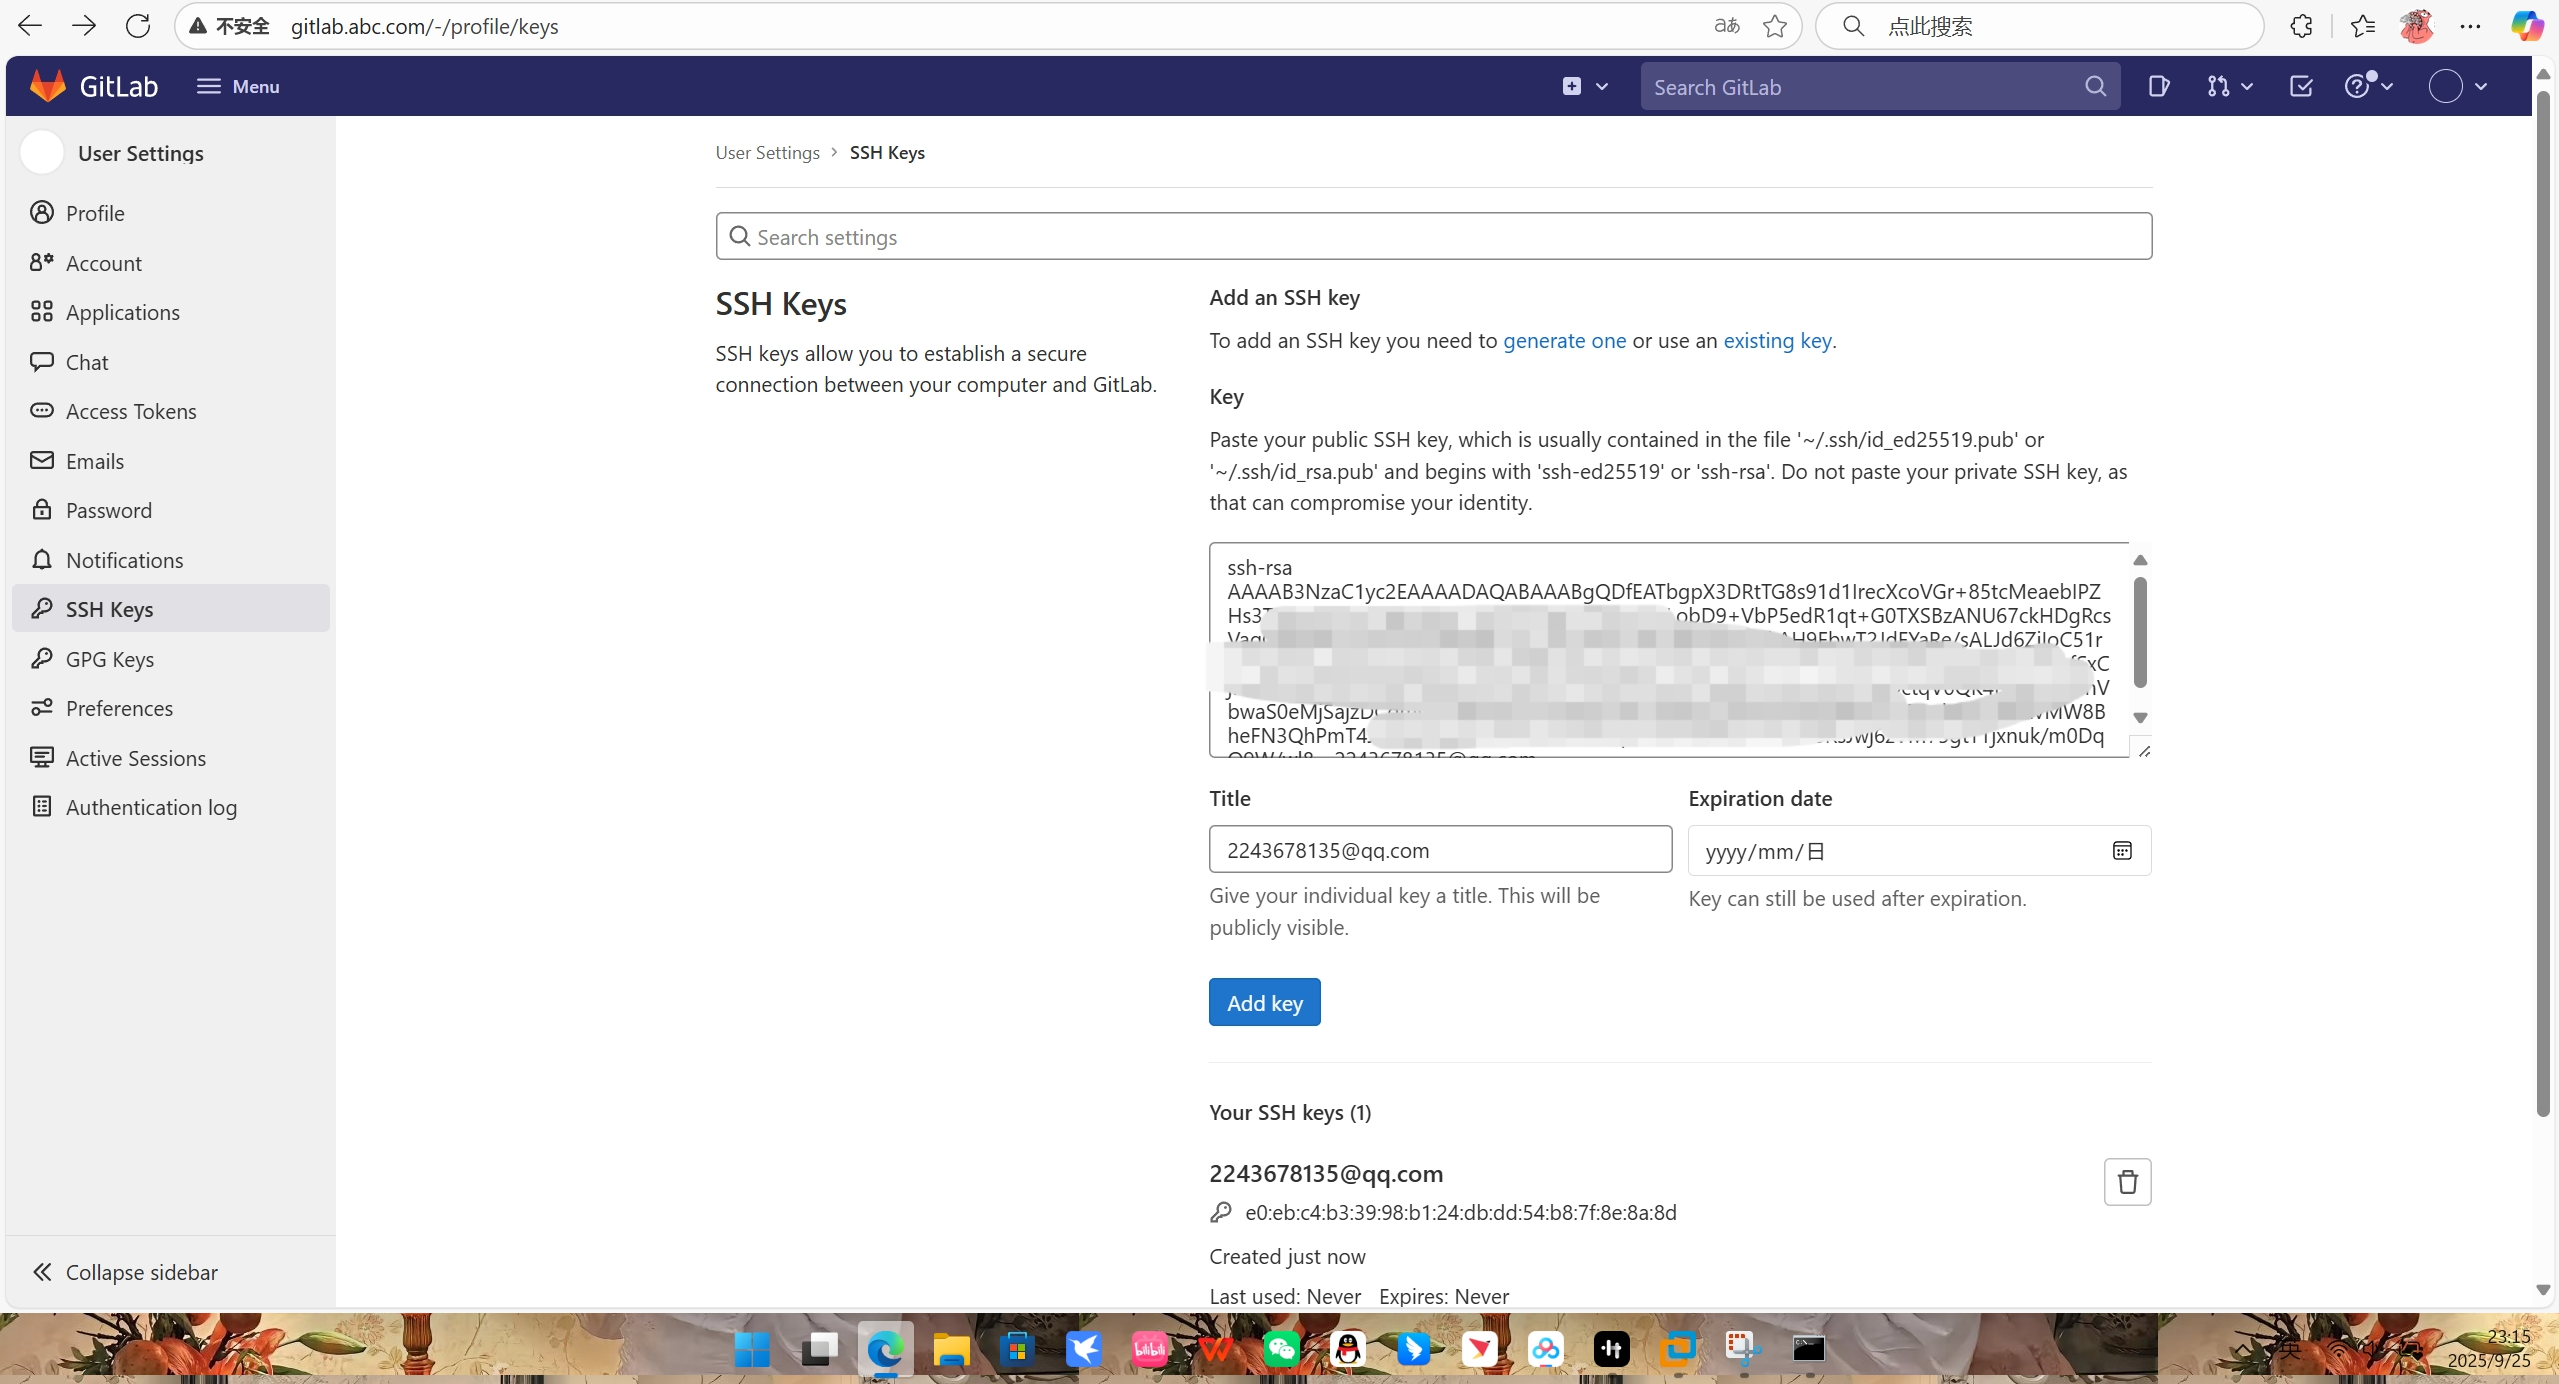
5.单击提示信息下方的"Add SSH key"按钮,打开图7-7所示的界面,将复制的公钥信息
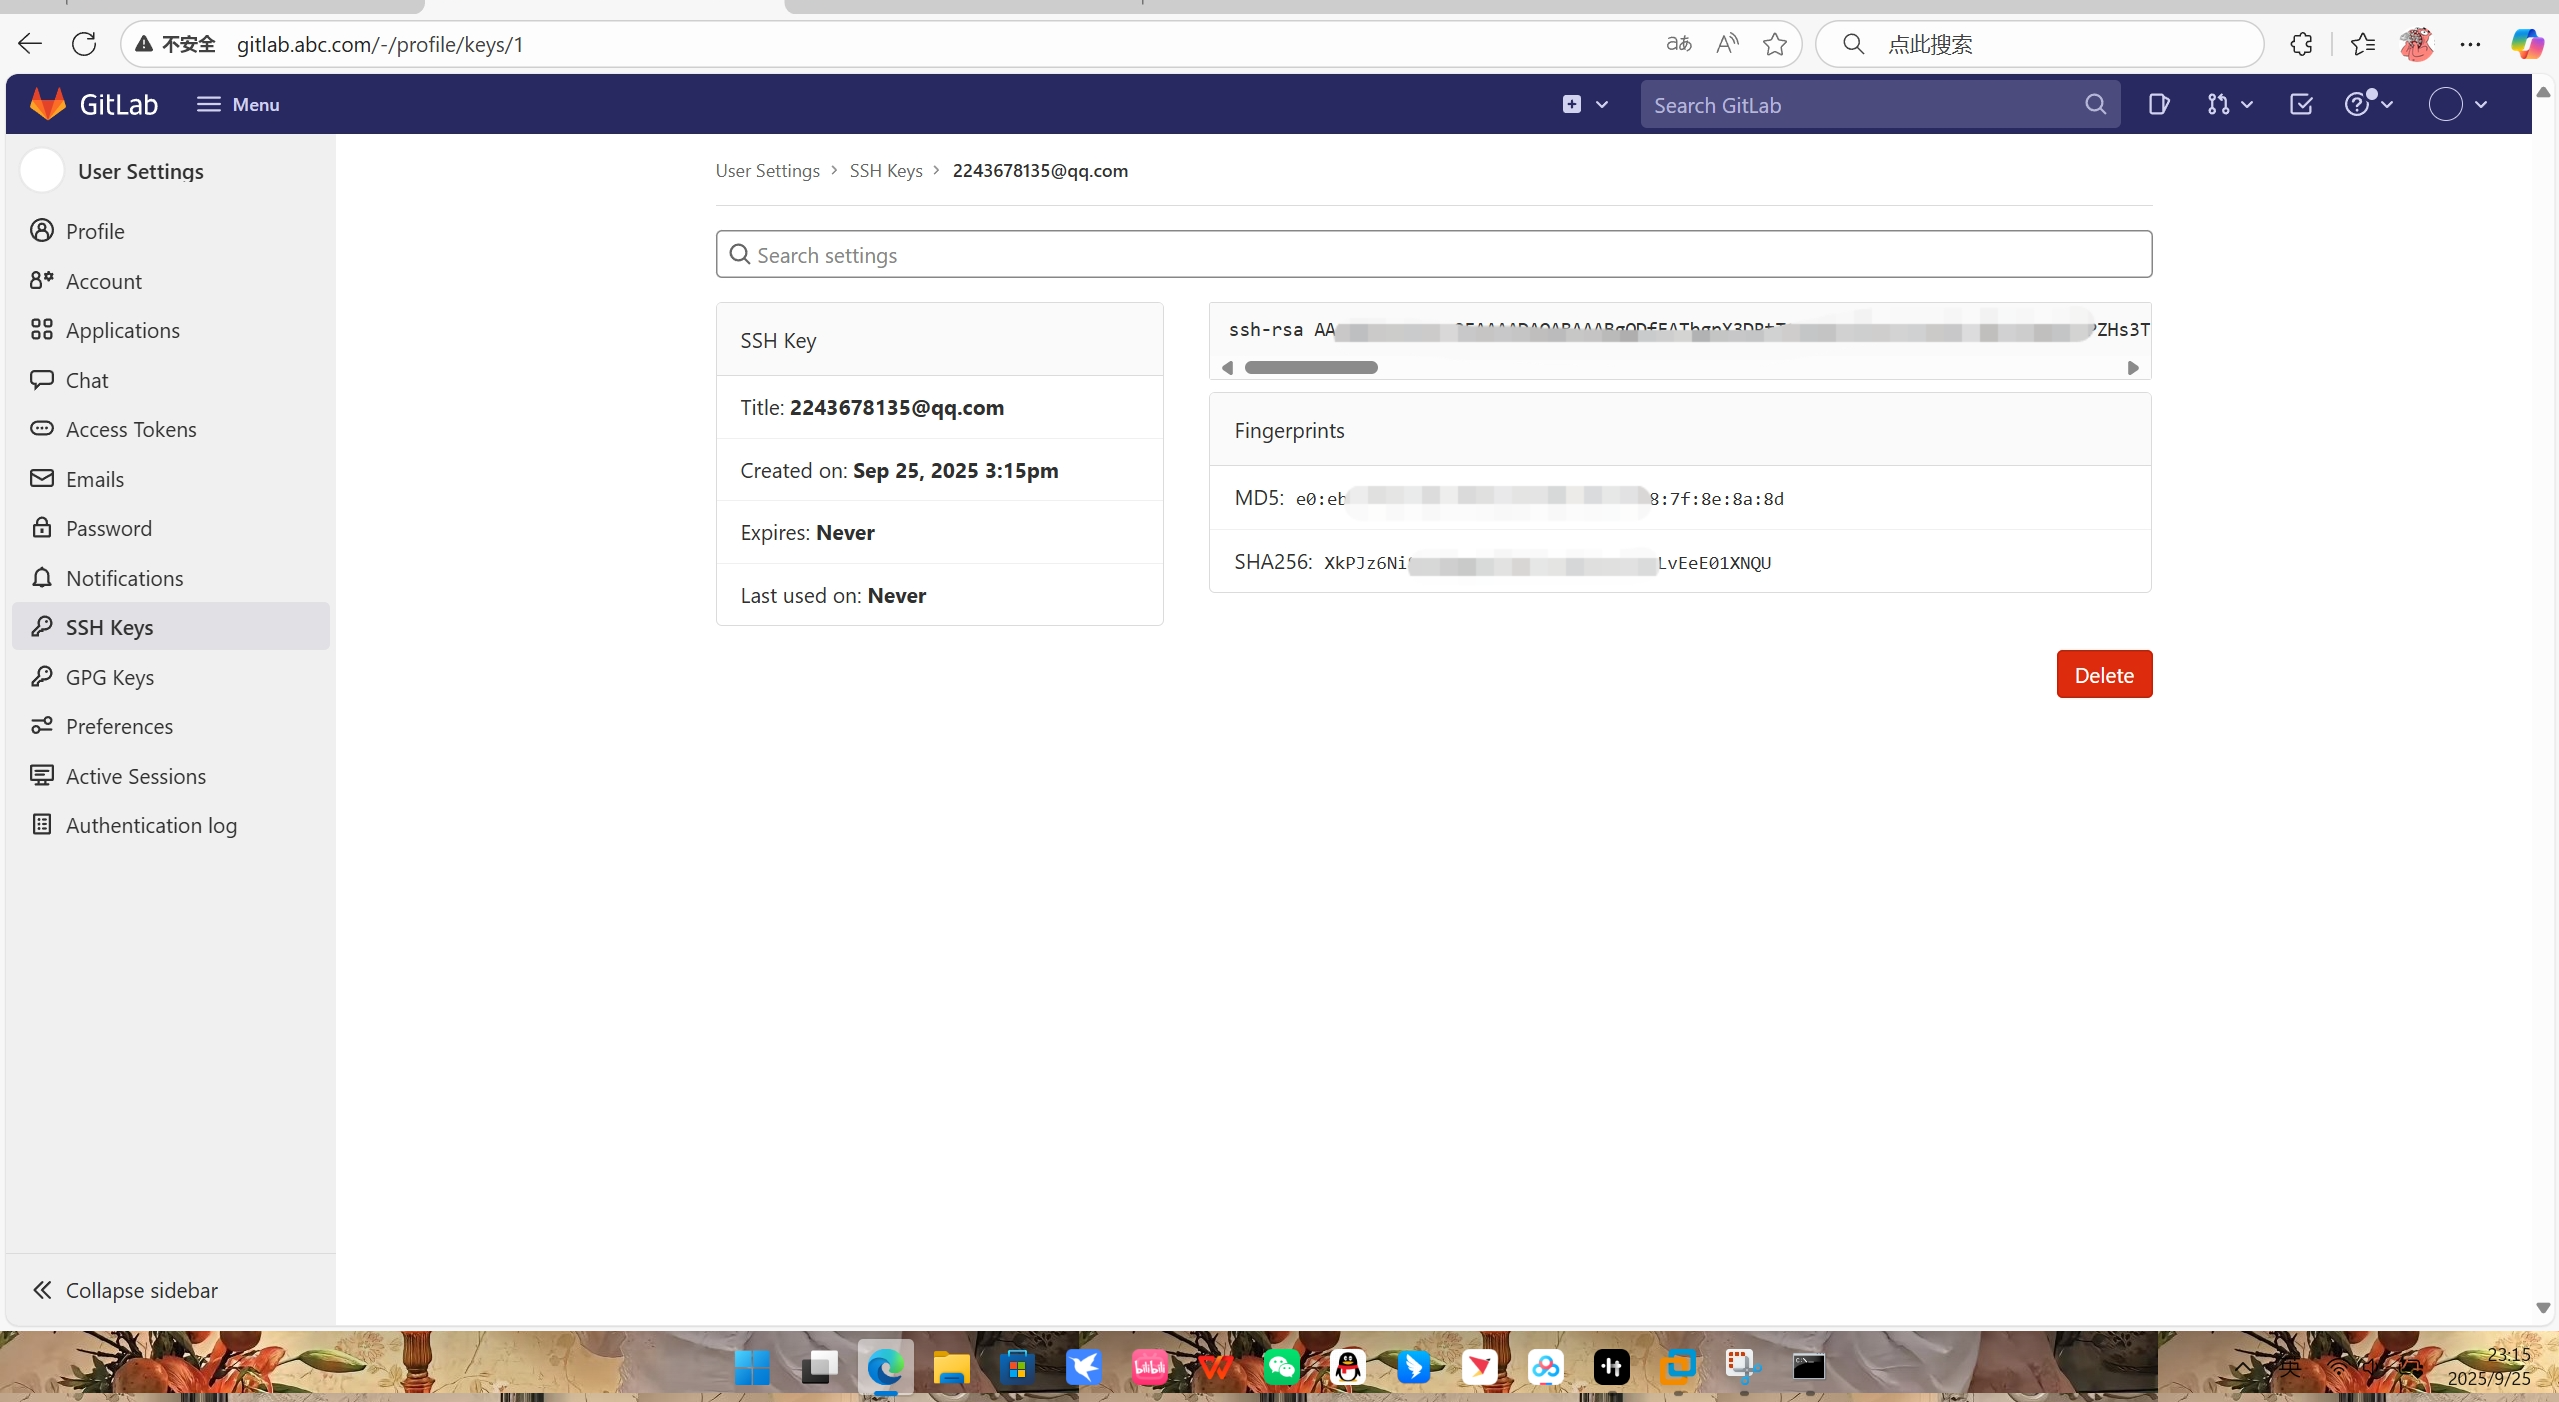
粘贴到"Key"文本框中,并单击"Add key"按钮完成 SSH密钥的设置。

3.将项目代码提交到代码仓库
1.确保安装有 Git 客户端,如果没有安装则術要机行 yum install git ,进行安装。Git 客户端还需要进一步设置用户名和邮作账户
bash
[root@host1 ~]# yum install git -y
上次元数据过期检查:0:57:06 前,执行于 2025年09月25日 星期四 22时22分17秒。
依赖关系解决。
====================================================================================================================
 软件包                         架构                 版本                             仓库                     大小
====================================================================================================================
安装:
 git                            x86_64               2.47.3-1.el9                     appstream                51 k
安装依赖关系:
 git-core                       x86_64               2.47.3-1.el9                     appstream               4.7 M
 git-core-doc                   noarch               2.47.3-1.el9                     appstream               3.0 M
 perl-Error                     noarch               1:0.17029-7.el9                  appstream                42 k
 perl-Git                       noarch               2.47.3-1.el9                     appstream                38 k
 perl-TermReadKey               x86_64               2.38-11.el9                      appstream                37 k
 perl-lib                       x86_64               0.65-483.el9                     appstream                15 k

事务概要
====================================================================================================================
安装  7 软件包

总下载:7.9 M
安装大小:40 M
下载软件包:
(1/7): git-2.47.3-1.el9.x86_64.rpm                                                   57 kB/s |  51 kB     00:00
(2/7): perl-Error-0.17029-7.el9.noarch.rpm                                          149 kB/s |  42 kB     00:00
(3/7): perl-Git-2.47.3-1.el9.noarch.rpm                                             202 kB/s |  38 kB     00:00
(4/7): perl-TermReadKey-2.38-11.el9.x86_64.rpm                                      172 kB/s |  37 kB     00:00
(5/7): perl-lib-0.65-483.el9.x86_64.rpm                                             125 kB/s |  15 kB     00:00
(6/7): git-core-doc-2.47.3-1.el9.noarch.rpm                                         296 kB/s | 3.0 MB     00:10
(7/7): git-core-2.47.3-1.el9.x86_64.rpm                                             456 kB/s | 4.7 MB     00:10
--------------------------------------------------------------------------------------------------------------------
总计                                                                                769 kB/s | 7.9 MB     00:10
运行事务检查
事务检查成功。
运行事务测试
事务测试成功。
运行事务
  准备中  :                                                                                                     1/1
  安装    : git-core-2.47.3-1.el9.x86_64                                                                        1/7
  安装    : git-core-doc-2.47.3-1.el9.noarch                                                                    2/7
  安装    : perl-lib-0.65-483.el9.x86_64                                                                        3/7
  安装    : perl-TermReadKey-2.38-11.el9.x86_64                                                                 4/7
  安装    : perl-Error-1:0.17029-7.el9.noarch                                                                   5/7
  安装    : perl-Git-2.47.3-1.el9.noarch                                                                        6/7
  安装    : git-2.47.3-1.el9.x86_64                                                                             7/7
  运行脚本: git-2.47.3-1.el9.x86_64                                                                             7/7
  验证    : git-2.47.3-1.el9.x86_64                                                                             1/7
  验证    : git-core-2.47.3-1.el9.x86_64                                                                        2/7
  验证    : git-core-doc-2.47.3-1.el9.noarch                                                                    3/7
  验证    : perl-Error-1:0.17029-7.el9.noarch                                                                   4/7
  验证    : perl-Git-2.47.3-1.el9.noarch                                                                        5/7
  验证    : perl-TermReadKey-2.38-11.el9.x86_64                                                                 6/7
  验证    : perl-lib-0.65-483.el9.x86_64                                                                        7/7

已安装:
  git-2.47.3-1.el9.x86_64                git-core-2.47.3-1.el9.x86_64      git-core-doc-2.47.3-1.el9.noarch
  perl-Error-1:0.17029-7.el9.noarch      perl-Git-2.47.3-1.el9.noarch      perl-TermReadKey-2.38-11.el9.x86_64
  perl-lib-0.65-483.el9.x86_64

完毕!
bash
[root@host1 ~]# git config --global user.name "sjl"
[root@host1 ~]# git config --global user.email "2243678135@qq.com"
-global选项用于全局配置,表示本机上所有的代码仓库都会使用这个配置。用户也可以为其个仓库指定不同的用户名和邮件账户。
2.将Gitlab 服务器上的nginx-demo代码仓库复制到本地。这里使用 SSH的地址,可以有接从 nginx-demo代码仓库中复制
bash
[root@host1 ~]# mkdir ch07 && cd ch07
[root@host1 ch07]# git clone ssh://git@gitlab.abc.com:2222/root/nginx-demo.git
正克隆到 'nginx-demo'...
The authenticity of host '[gitlab.abc.com]:2222 ([192.168.197.9]:2222)' can't be established.
ED25519 key fingerprint is SHA256:HcytyfEXUSX+CgcktB+mtWU4Nhz+Bk1JCxPqHNV2xHE.
This key is not known by any other names
Are you sure you want to continue connecting (yes/no/[fingerprint])? yes
Warning: Permanently added '[gitlab.abc.com]:2222' (ED25519) to the list of known hosts.
Enter passphrase for key '/root/.ssh/id_rsa':
remote: Enumerating objects: 3, done.
remote: Counting objects: 100% (3/3), done.
remote: Total 3 (delta 0), reused 0 (delta 0), pack-reused 0
接收对象中: 100% (3/3), 完成.
3.将当前目录切换到本地仓库目录
bash
[root@host1 ch07]# cd nginx-demo
[root@host1 nginx-demo]#
4.在该目录中创建 Dockerfile,并向该文件添加以下内容,然后保存该文件。
bash
[root@host1 nginx-demo]# cat > Dockerfile << EOF
FROM nginx
RUN echo "Hello! This is nginx server " > /usr/share/nginx/html/index.html
EOF
Dockerfile 本身是代码文件,这里准备的 Dockerfile非常简单,主要用作实验。
5.将该目录中的源文件添加到本地仓库。如果使用句点作为路径参数,则表示使用当前目录
bash
[root@host1 nginx-demo]# git add .6.将源文件提交到本地仓库,-m选项指定备注信息。
bash
[root@host1 nginx-demo]# git commit -m "first commit"
[main a45c14a] first commit
 1 file changed, 2 insertions(+)
 create mode 100644 Dockerfile
7.将本地仓库的所有内容推送到远程仓库。
bash
[root@host1 nginx-demo]# git push origin main
Enter passphrase for key '/root/.ssh/id_rsa':
枚举对象中: 4, 完成.
对象计数中: 100% (4/4), 完成.
使用 8 个线程进行压缩
压缩对象中: 100% (3/3), 完成.
写入对象中: 100% (3/3), 345 字节 | 345.00 KiB/s, 完成.
总共 3(差异 0),复用 0(差异 0),包复用 0(来自  0 个包)
To ssh://gitlab.abc.com:2222/root/nginx-demo.git
   9812ac4..a45c14a  main -> main
8.查看 Gitlab务器上的nginxcdemo代码仓库的内容,可以发现该内容已更新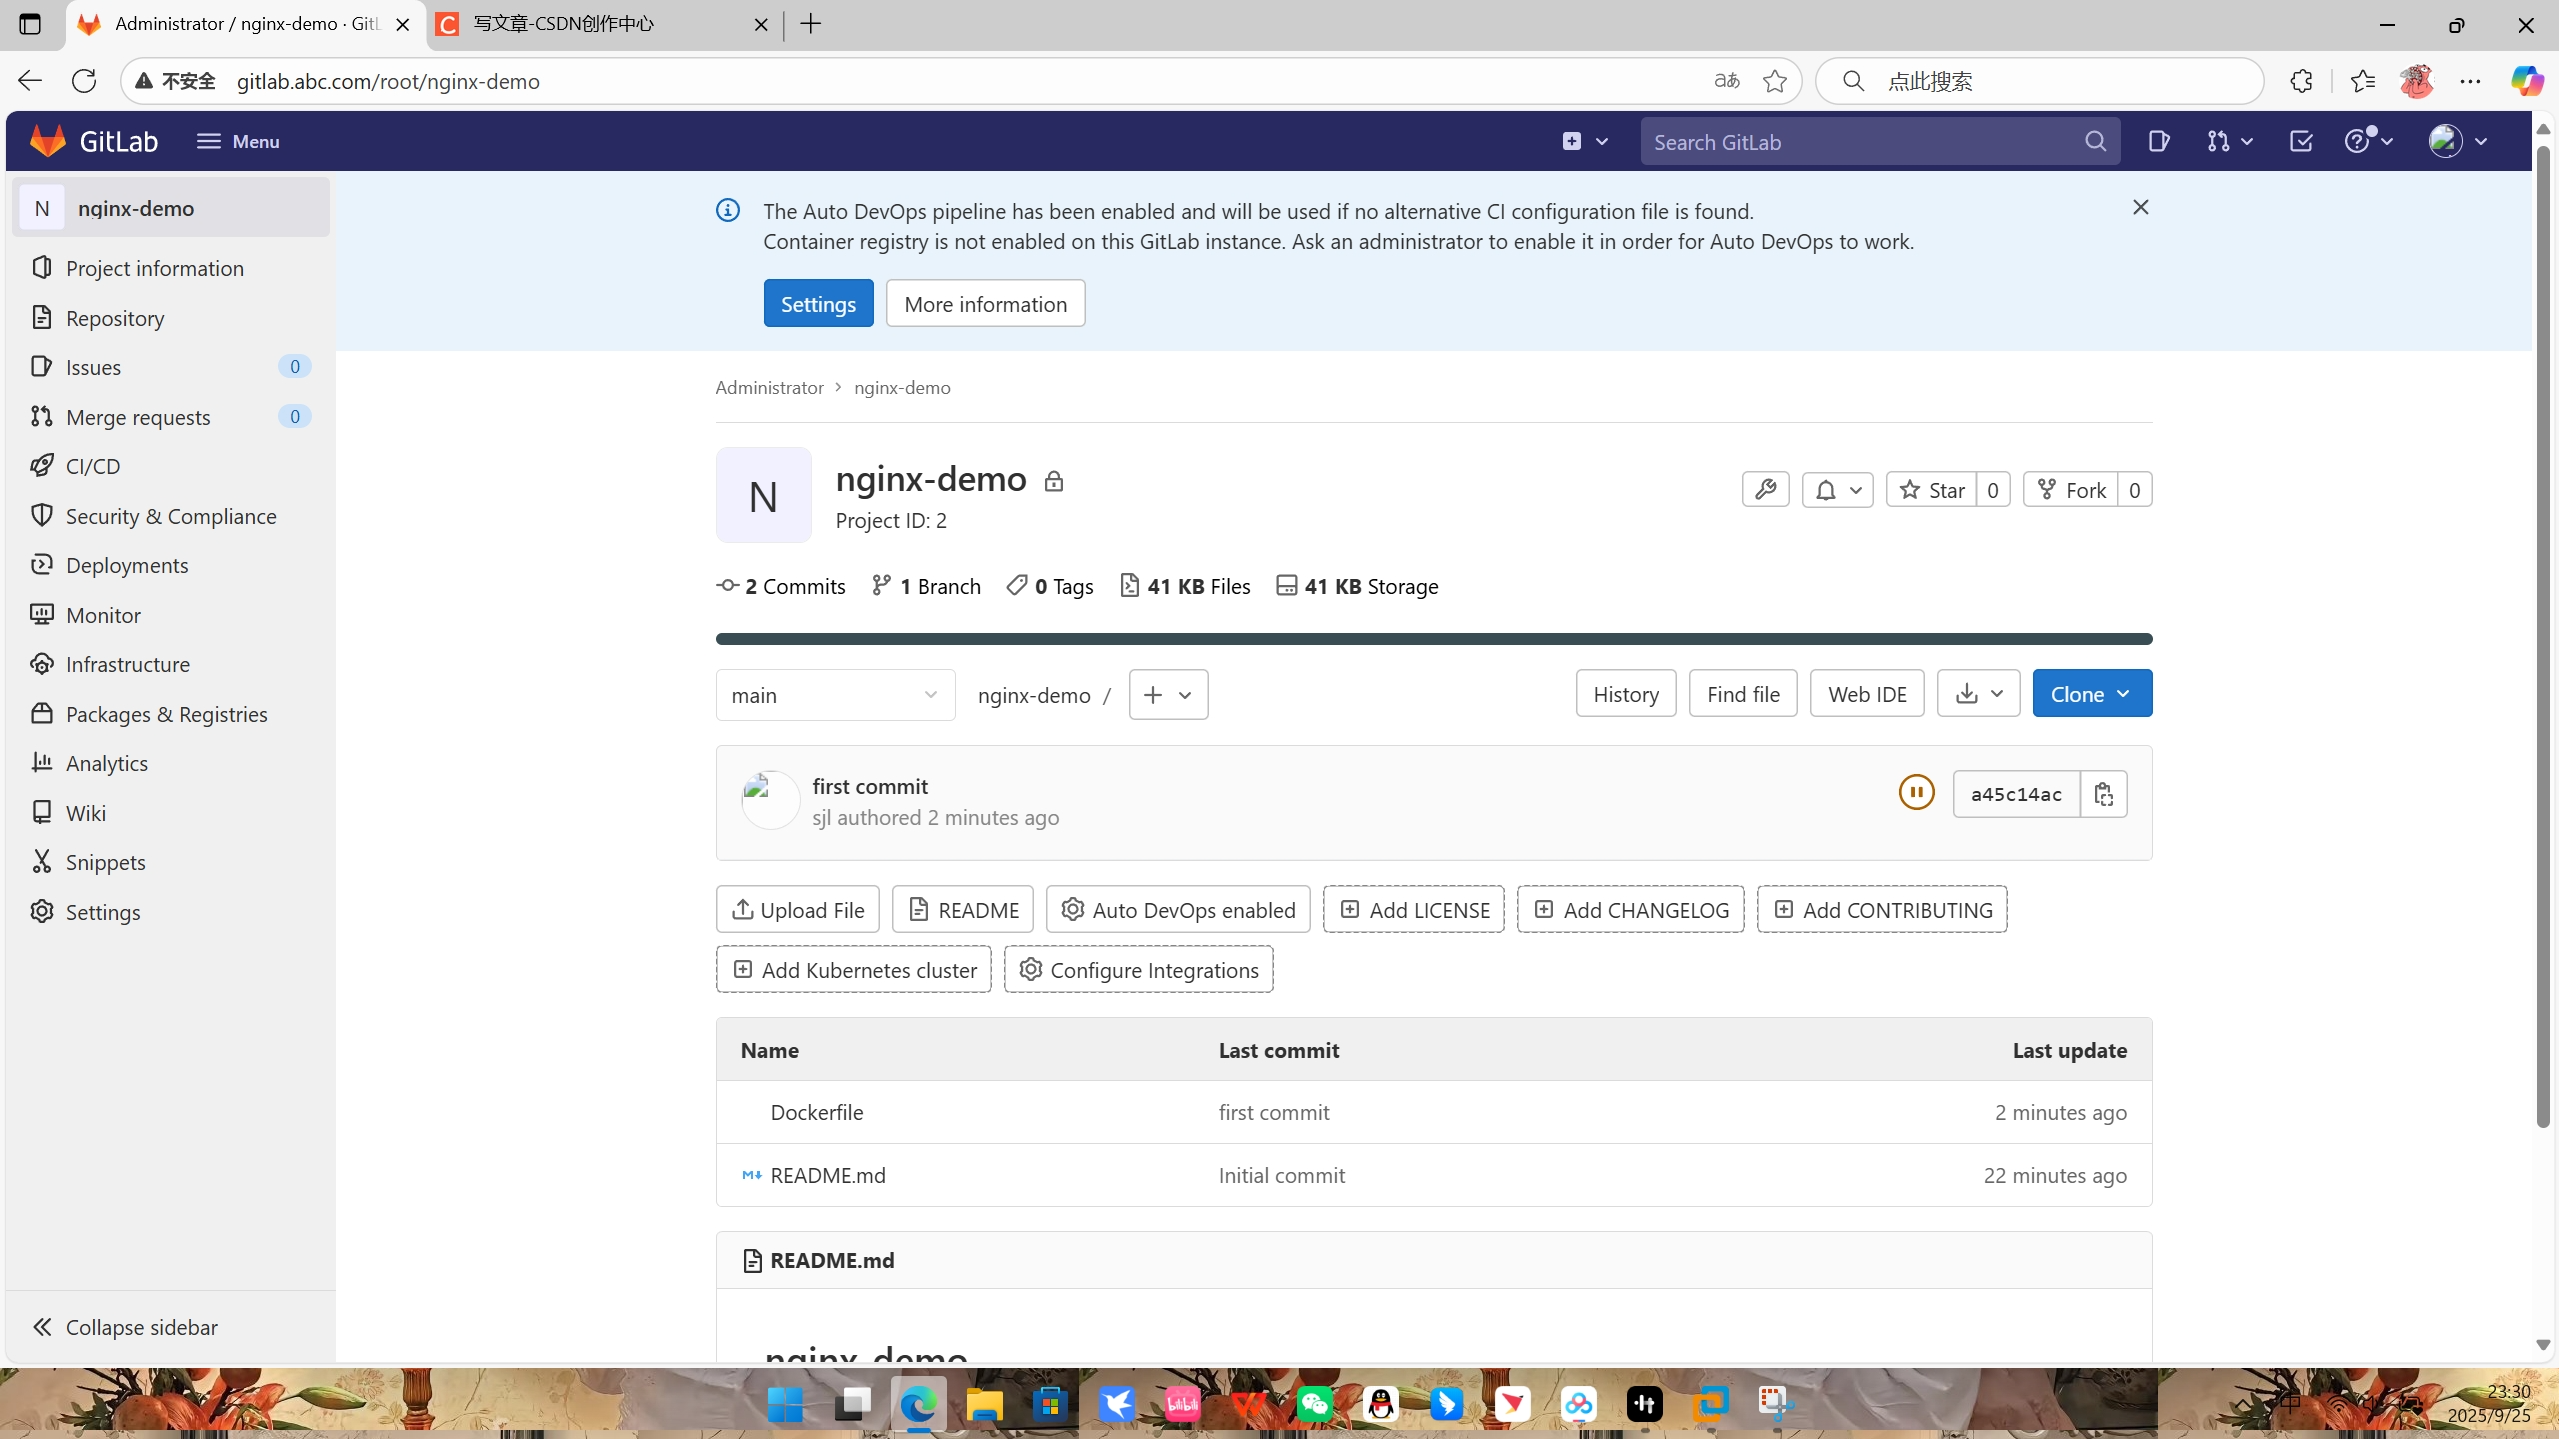
提醒!!!
一定要改密码!!!