[1. 安装 Docker 和 Docker Compose](#1. 安装 Docker 和 Docker Compose)
[2. 启动 Docker 服务](#2. 启动 Docker 服务)
[3. 创建项目目录](#3. 创建项目目录)
[4. 权限设置(可选)](#4. 权限设置(可选))
[1. docker-compose.yml 文件](#1. docker-compose.yml 文件)
[Nginx 服务:](#Nginx 服务:)
[PHP 服务:](#PHP 服务:)
[MySQL 服务:](#MySQL 服务:)
[2. Nginx 配置文件](#2. Nginx 配置文件)
[HTTP 配置(端口 80)](#HTTP 配置(端口 80))
[HTTPS 配置(端口 443)](#HTTPS 配置(端口 443))
[三、启动 Docker 服务](#三、启动 Docker 服务)
[1. 启动容器](#1. 启动容器)
[2. 查看容器状态](#2. 查看容器状态)
[3. 进入容器](#3. 进入容器)
[四、安装 WordPress](#四、安装 WordPress)
[1. 手动创建 wp-config.php 文件](#1. 手动创建 wp-config.php 文件)
[2. 完成 WordPress 安装](#2. 完成 WordPress 安装)
[五、安装 PHP mysqli 扩展(如果需要)](#五、安装 PHP mysqli 扩展(如果需要))
前言
在本文中,我们将使用 Docker 在 CentOS 系统上搭建 LNMP 环境(Linux、Nginx、MySQL、PHP),并通过 Nginx 和 PHP-FPM 来部署 WordPress。我们将详细解释每个步骤和配置,确保你可以顺利完成部署。
一、环境准备
1. 安装 Docker 和 Docker Compose
具体步骤请查看该连接:
https://blog.csdn.net/kirito0000/article/details/152418142?spm=1001.2014.3001.5501
2. 启动 Docker 服务
确保 Docker 服务正在运行:
sudo systemctl start docker
sudo systemctl enable docker
3. 创建项目目录
在 /opt 目录下创建 docker-lnmp 项目目录,并进入该目录:
mkdir -p /opt/docker-lnmp
cd /opt/docker-lnmp
在该目录下,我们将创建所需的子目录和配置文件:
mkdir -p nginx/conf.d
mkdir -p nginx/html
mkdir -p wordpress_data
mkdir -p mysql_data
mkdir -p ssl/certs
mkdir -p ssl/private
4. 权限设置(可选)
确保目录有适当的权限,以便 Docker 容器可以读写这些目录:
chmod -R 777 /opt/docker-lnmp二、配置文件
1. docker-compose.yml 文件
在 /opt/docker-lnmp 下创建 docker-compose.yml 文件,配置 Nginx、PHP 和 MySQL 服务:
version: "3"
services:
nginx:
image: nginx:latest
container_name: nginx
ports:
- "80:80"
- "443:443"
volumes:
- ./nginx/conf.d:/etc/nginx/conf.d # 挂载 Nginx 配置
- ./nginx/html:/usr/share/nginx/html # 挂载静态文件和 WordPress 数据
- ./wordpress_data:/var/www/html # 挂载 WordPress 数据
- ./ssl/certs:/etc/nginx/certs # 挂载 SSL 证书
- ./ssl/private:/etc/nginx/private # 挂载 SSL 私钥目录
depends_on:
- php
restart: always
php:
image: php:8.2-fpm
container_name: php
volumes:
- ./wordpress_data:/var/www/html # 挂载 WordPress 数据
restart: always
mysql:
image: mysql:5.7
container_name: mysql
environment:
MYSQL_ROOT_PASSWORD: root123456
MYSQL_DATABASE: wordpress
MYSQL_USER: wpuser
MYSQL_PASSWORD: wp123456
volumes:
- ./mysql_data:/var/lib/mysql # 持久化 MySQL 数据
ports:
- "3306:3306"
restart: always配置项解释:
-
version: "3":指定 Docker Compose 文件的版本。版本 3 是当前使用的标准版本。 -
services:定义了多个容器服务,分别是nginx、php和mysql。
Nginx 服务:
-
image: nginx:latest:使用官方的最新 Nginx 镜像。 -
container_name: nginx:指定容器的名称为nginx。 -
ports:将宿主机的 80 端口和 443 端口映射到容器的 80 和 443 端口。-
80:80:HTTP 服务。 -
443:443:HTTPS 服务(如果配置了 SSL)。
-
-
volumes:挂载宿主机的目录到容器内。-
./nginx/conf.d:/etc/nginx/conf.d:将宿主机的nginx/conf.d目录挂载到容器的/etc/nginx/conf.d,用于存放 Nginx 配置文件。 -
./nginx/html:/usr/share/nginx/html:将宿主机的nginx/html目录挂载到容器的/usr/share/nginx/html,用于存放静态文件和 WordPress 文件。 -
./wordpress_data:/var/www/html:将宿主机的wordpress_data目录挂载到容器的/var/www/html,用于存放 WordPress 数据。 -
./ssl/certs:/etc/nginx/certs:将宿主机的 SSL 证书挂载到容器中(如果使用 SSL)。 -
./ssl/private:/etc/nginx/private:将宿主机的 SSL 私钥挂载到容器中(如果使用 SSL)。
-
-
depends_on:定义了依赖关系,nginx服务依赖于php服务,意味着php服务启动后才会启动nginx服务。 -
restart: always:容器退出时会自动重启。
PHP 服务:
-
image: php:8.2-fpm:使用 PHP 8.2 和 FPM 模式运行 PHP。 -
container_name: php:指定容器名称为php。 -
volumes:挂载wordpress_data目录,确保 PHP 容器访问 WordPress 数据。 -
restart: always:容器退出时会自动重启。
MySQL 服务:
-
image: mysql:5.7:使用 MySQL 5.7 镜像。 -
container_name: mysql:指定容器名称为mysql。 -
environment:设置 MySQL 环境变量。-
MYSQL_ROOT_PASSWORD:设置 root 用户的密码。 -
MYSQL_DATABASE:创建数据库wordpress。 -
MYSQL_USER:创建数据库用户wpuser。 -
MYSQL_PASSWORD:设置用户wpuser的密码。
-
-
volumes:挂载mysql_data目录,持久化 MySQL 数据。 -
ports:将宿主机的 3306 端口映射到容器的 3306 端口,用于数据库访问。 -
restart: always:容器退出时会自动重启。
2. Nginx 配置文件
在 nginx/conf.d 目录下创建 nginx.conf 文件,配置 Nginx 处理 HTTP 和 PHP 请求:
HTTP 配置(端口 80)
server {
listen 80;
server_name localhost;
# 强制 HTTP 到 HTTPS 重定向
location / {
return 301 https://$host$request_uri;
}
}-
listen 80;: 监听 HTTP 请求,即监听 80 端口。HTTP 是不加密的传输协议,通常用于网站的标准访问。 -
server_name localhost;: 定义了服务器的名称,可以是域名或 IP 地址。localhost代表的是本地服务器。 -
location / { return 301 https://$host$request_uri; }:-
这个配置指示 Nginx 将所有 HTTP 请求重定向到 HTTPS(即 443 端口),通过
301重定向状态码进行永久重定向。 -
$host: 这个变量表示请求的域名或 IP 地址。 -
$request_uri: 这是请求的 URI 部分(即路径和查询参数),例如/index.php或/about?lang=en。
-
HTTPS 配置(端口 443)
server {
listen 443 ssl;
server_name localhost;
ssl_certificate /etc/nginx/certs/nginx-selfsigned.crt;
ssl_certificate_key /etc/nginx/private/nginx-selfsigned.key;
ssl_protocols TLSv1.2 TLSv1.3;
ssl_ciphers 'TLS_AES_128_GCM_SHA256:TLS_AES_256_GCM_SHA384:ECDHE-RSA-AES128-GCM-SHA256:ECDHE-RSA-AES256-GCM-SHA384';
ssl_prefer_server_ciphers on;
root /var/www/html;
index index.php index.html index.htm;
location / {
try_files $uri $uri/ /index.php?$args;
}
location ~ \.php$ {
include fastcgi_params;
fastcgi_pass php:9000;
fastcgi_index index.php;
fastcgi_param SCRIPT_FILENAME $document_root$fastcgi_script_name;
}
location ~ /\.ht {
deny all;
}
}-
listen 443 ssl;: 监听 443 端口,并启用 SSL(即 HTTPS)。443 是 HTTPS 的默认端口,SSL 加密会保护通过此端口的通信。 -
server_name localhost;: 设置服务器的名称,可以是域名或者服务器的 IP 地址。此处的localhost表示本地服务器。 -
ssl_certificate /etc/nginx/certs/nginx-selfsigned.crt;:- 指定 SSL 证书文件的路径,这里使用的是自签名证书
nginx-selfsigned.crt。在生产环境中,您应该使用由可信证书颁发机构签发的证书。
- 指定 SSL 证书文件的路径,这里使用的是自签名证书
-
ssl_certificate_key /etc/nginx/private/nginx-selfsigned.key;:- 指定 SSL 证书的私钥文件路径。私钥文件需要与证书匹配,并且应该保存在安全位置。
-
ssl_protocols TLSv1.2 TLSv1.3;:-
设置 Nginx 使用的 TLS 协议版本。在此配置中,我们启用了 TLS 1.2 和 TLS 1.3,这些是当前推荐的安全协议版本。
-
注意:SSL 3.0 和 TLS 1.0 及 1.1 已不再被广泛使用,建议禁用它们。
-
-
ssl_ciphers 'TLS_AES_128_GCM_SHA256:TLS_AES_256_GCM_SHA384:ECDHE-RSA-AES128-GCM-SHA256:ECDHE-RSA-AES256-GCM-SHA384';:-
设置 SSL 加密算法的优先级。这个配置列出了允许使用的加密套件(cipher suites),例如 AES 和 ECDHE。这些加密算法会影响数据加密和解密的方式,推荐使用现代安全的加密算法。
-
TLS_AES_128_GCM_SHA256和TLS_AES_256_GCM_SHA384是 TLS 1.3 中的新算法,它们在性能和安全性方面都有优化。
-
-
ssl_prefer_server_ciphers on;:- 启用服务器端优先选择加密套件。如果客户端和服务器支持不同的加密算法,服务器会优先使用配置中的算法,而不是客户端的首选。
-
root /var/www/html;:- 指定网站的根目录。在这里,它指向的是容器中的
/var/www/html目录,这是存放网站文件的位置。
- 指定网站的根目录。在这里,它指向的是容器中的
-
index index.php index.html index.htm;:- 设置默认的主页文件。当访问根目录时,Nginx 会根据配置按优先级查找
index.php、index.html或index.htm文件。
- 设置默认的主页文件。当访问根目录时,Nginx 会根据配置按优先级查找
-
location / { try_files $uri $uri/ /index.php?$args; }:-
这个
location块配置了 URL 请求的处理规则。Nginx 会尝试访问请求的文件$uri,如果该文件不存在,则尝试访问$uri/(即目录索引)。如果两者都不存在,Nginx 会将请求传递给index.php,并带上请求的参数?$args。 -
$args:表示请求 URL 中的查询参数。
-
-
location ~ \.php$ { ... }:-
这个
location块处理以.php结尾的请求,即 PHP 文件。 -
include fastcgi_params;:包含 FastCGI 的默认配置参数(如SCRIPT_FILENAME)。 -
fastcgi_pass php:9000;:将请求转发给运行在php容器中的 PHP-FPM 服务,默认使用 9000 端口。 -
fastcgi_index index.php;:指定默认的 PHP 文件为index.php。 -
fastcgi_param SCRIPT_FILENAME $document_root$fastcgi_script_name;:将请求的 PHP 文件的路径传递给 PHP-FPM 处理。
-
-
location ~ /\.ht { deny all; }:- 禁止访问
.ht文件(如.htaccess)。这些文件通常包含服务器配置,不应该被公开访问。
- 禁止访问
三、启动 Docker 服务
1. 启动容器
执行以下命令启动所有容器服务:
docker-compose up -d # 启动容器2. 查看容器状态
查看容器状态,确认所有服务都在运行:
docker-compose ps
3. 进入容器
如果需要进入容器进行调试,可以使用以下命令:
docker exec -it nginx bash   # 进入 Nginx 容器
docker exec -it php bash     # 进入 PHP 容器
docker exec -it mysql bash   # 进入 MySQL 容器
四、安装 WordPress
1. 手动创建 wp-config.php 文件
WordPress 安装时会提示 wp-config.php 文件不存在。你可以手动创建此文件,并填入以下内容:
docker exec -it php /bin/bash
#将页面内的代码复制进去
<?php
/**
* The base configuration for WordPress
*
* The wp-config.php creation script uses this file during the installation.
* You don't have to use the website, you can copy this file to "wp-config.php"
* and fill in the values.
*
* This file contains the following configurations:
*
* * Database settings
* * Secret keys
* * Database table prefix
* * ABSPATH
*
* @link https://developer.wordpress.org/advanced-administration/wordpress/wp-config/
*
* @package WordPress
*/
// ** Database settings - You can get this info from your web host ** //
/** The name of the database for WordPress */
define( 'DB_NAME', 'wordpress' );
/** Database username */
define( 'DB_USER', 'wpuser' );
/** Database password */
define( 'DB_PASSWORD', 'wp123456' );
/** Database hostname */
define( 'DB_HOST', 'mysql' );
/** Database charset to use in creating database tables. */
define( 'DB_CHARSET', 'utf8mb4' );
/** The database collate type. Don't change this if in doubt. */
define( 'DB_COLLATE', '' );
/**#@+
* Authentication unique keys and salts.
*
* Change these to different unique phrases! You can generate these using
* the {@link https://api.wordpress.org/secret-key/1.1/salt/ WordPress.org secret-key service}.
*
* You can change these at any point in time to invalidate all existing cookies.
* This will force all users to have to log in again.
*
* @since 2.6.0
*/
define( 'AUTH_KEY', 'QWtR1Q-)tr}BIgc*c.,rpupTV8xiq//@0g_S>w:dB-W)rFbDzj<ag8~]JB6$N5e ' );
define( 'SECURE_AUTH_KEY', '5WeRJ<|lOq)@SVv^]`M`AxK0qWl)KVgBez097**B=*!WYqd>5x/Oxh#e=W,{O>$k' );
define( 'LOGGED_IN_KEY', 'kA+AfEY@VbnHR/L^I>BJ>~jm2W[sxAQ1=hnYlt5bg9_~VFSce4#-SHc#x[T1wJ_B' );
define( 'NONCE_KEY', 'SnhU5cKBox#dB4YBrkq|_QRodkisy0(@|(3QpN,O^ gpb~pK[o[zqmleft*sV/$v' );
define( 'AUTH_SALT', '.bIR@X1NMkCNc4F?)FV^S(BVrg|cl`x,qv8X;$35>gB3b@NIe$f*p3tq$cc/SCv|' );
define( 'SECURE_AUTH_SALT', 'eMQJ-pJ}2Wj/x@]3}u8eXl8I227l>sprMED6~%$:ZF<+]^:wCSc]W~rRYN8=Hb:9' );
define( 'LOGGED_IN_SALT', 'Q<qZEyO$~JM9=2n9+zlg+INL9TAY-W!p~*_<T820PVv6XL6l}x>C $4v%-cZQY$k' );
define( 'NONCE_SALT', 'S1hFKAg]Me0WFk35w>!guf@wObr3%;`1ZzC#.yS(9[jes5IkVaz?_vqxnIpl@r$!' );
/**#@-*/
/**
* WordPress database table prefix.
*
* You can have multiple installations in one database if you give each
* a unique prefix. Only numbers, letters, and underscores please!
*
* At the installation time, database tables are created with the specified prefix.
* Changing this value after WordPress is installed will make your site think
* it has not been installed.
*
* @link https://developer.wordpress.org/advanced-administration/wordpress/wp-config/#table-prefix
*/
$table_prefix = 'wp_';
/**
* For developers: WordPress debugging mode.
*
* Change this to true to enable the display of notices during development.
* It is strongly recommended that plugin and theme developers use WP_DEBUG
* in their development environments.
*
* For information on other constants that can be used for debugging,
* visit the documentation.
*
* @link https://developer.wordpress.org/advanced-administration/debug/debug-wordpress/
*/
define( 'WP_DEBUG', false );
/* Add any custom values between this line and the "stop editing" line. */
/* That's all, stop editing! Happy publishing. */
/** Absolute path to the WordPress directory. */
if ( ! defined( 'ABSPATH' ) ) {
define( 'ABSPATH', __DIR__ . '/' );
}
/** Sets up WordPress vars and included files. */
require_once ABSPATH . 'wp-settings.php';
#然后退出容器重启
docker-compose restart php将该内容保存为 wp-config.php,并将文件放置在 WordPress 数据目录 /var/www/html 中。
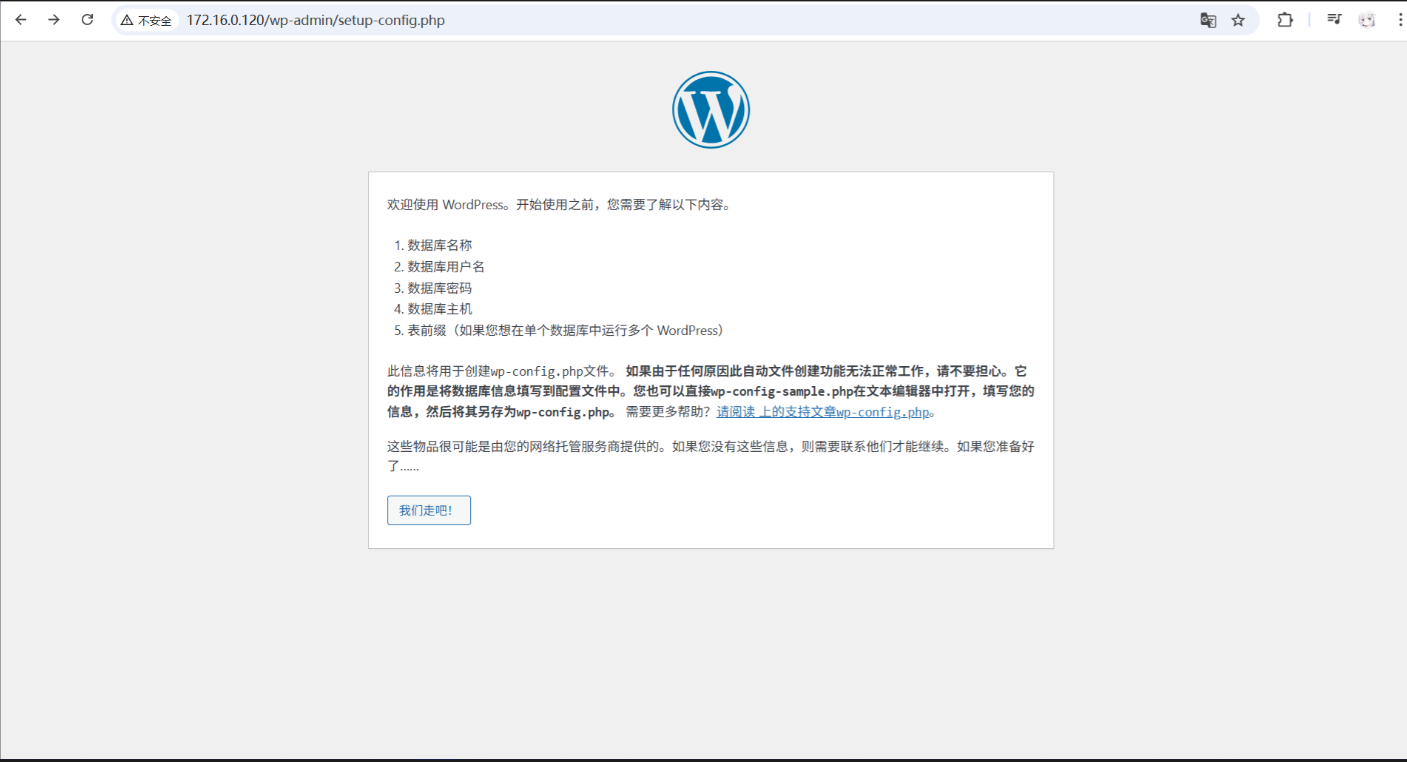
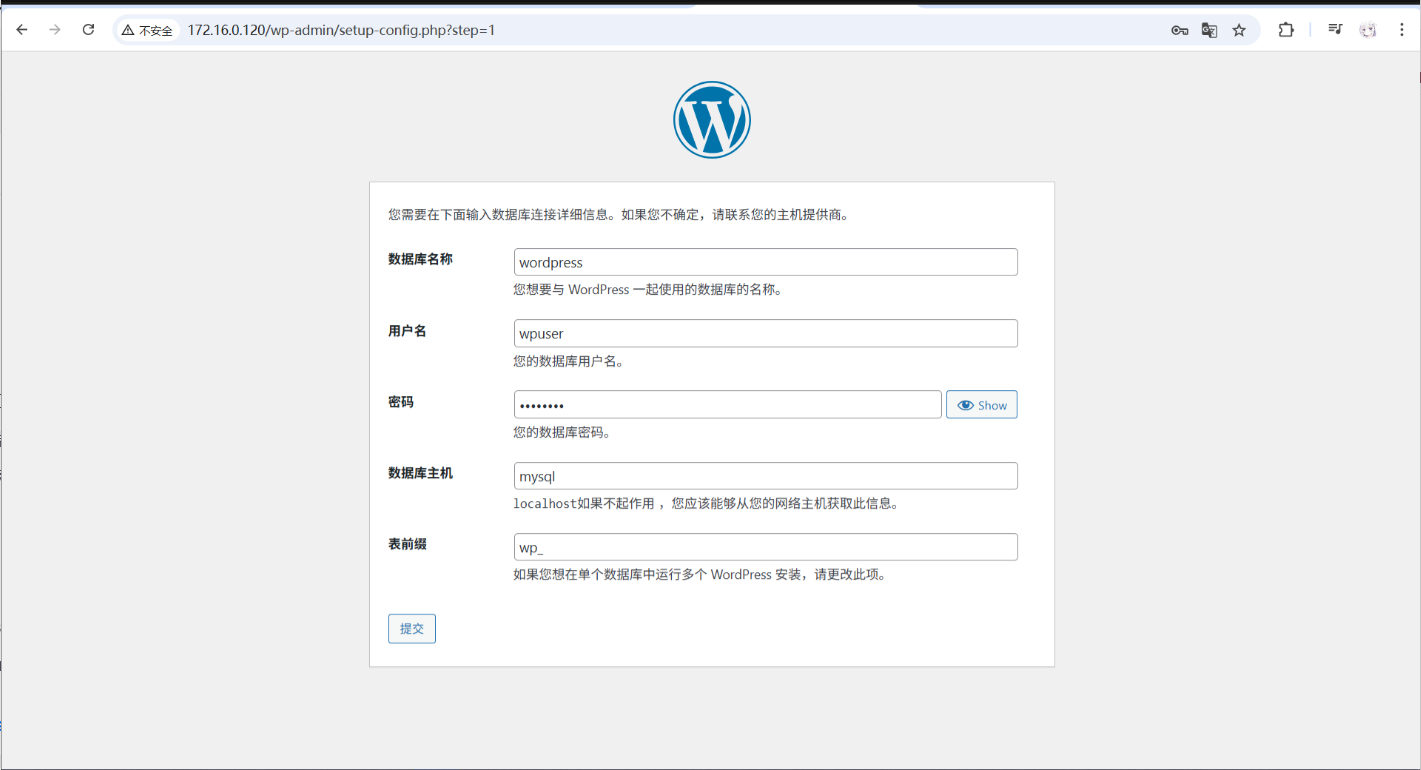
2. 完成 WordPress 安装
访问你的服务器或域名,开始 WordPress 安装。填写数据库信息:
-
数据库名称 :
wordpress -
用户名 :
wpuser -
密码 :
wp123456 -
主机 :
mysql(指向 MySQL 容器)
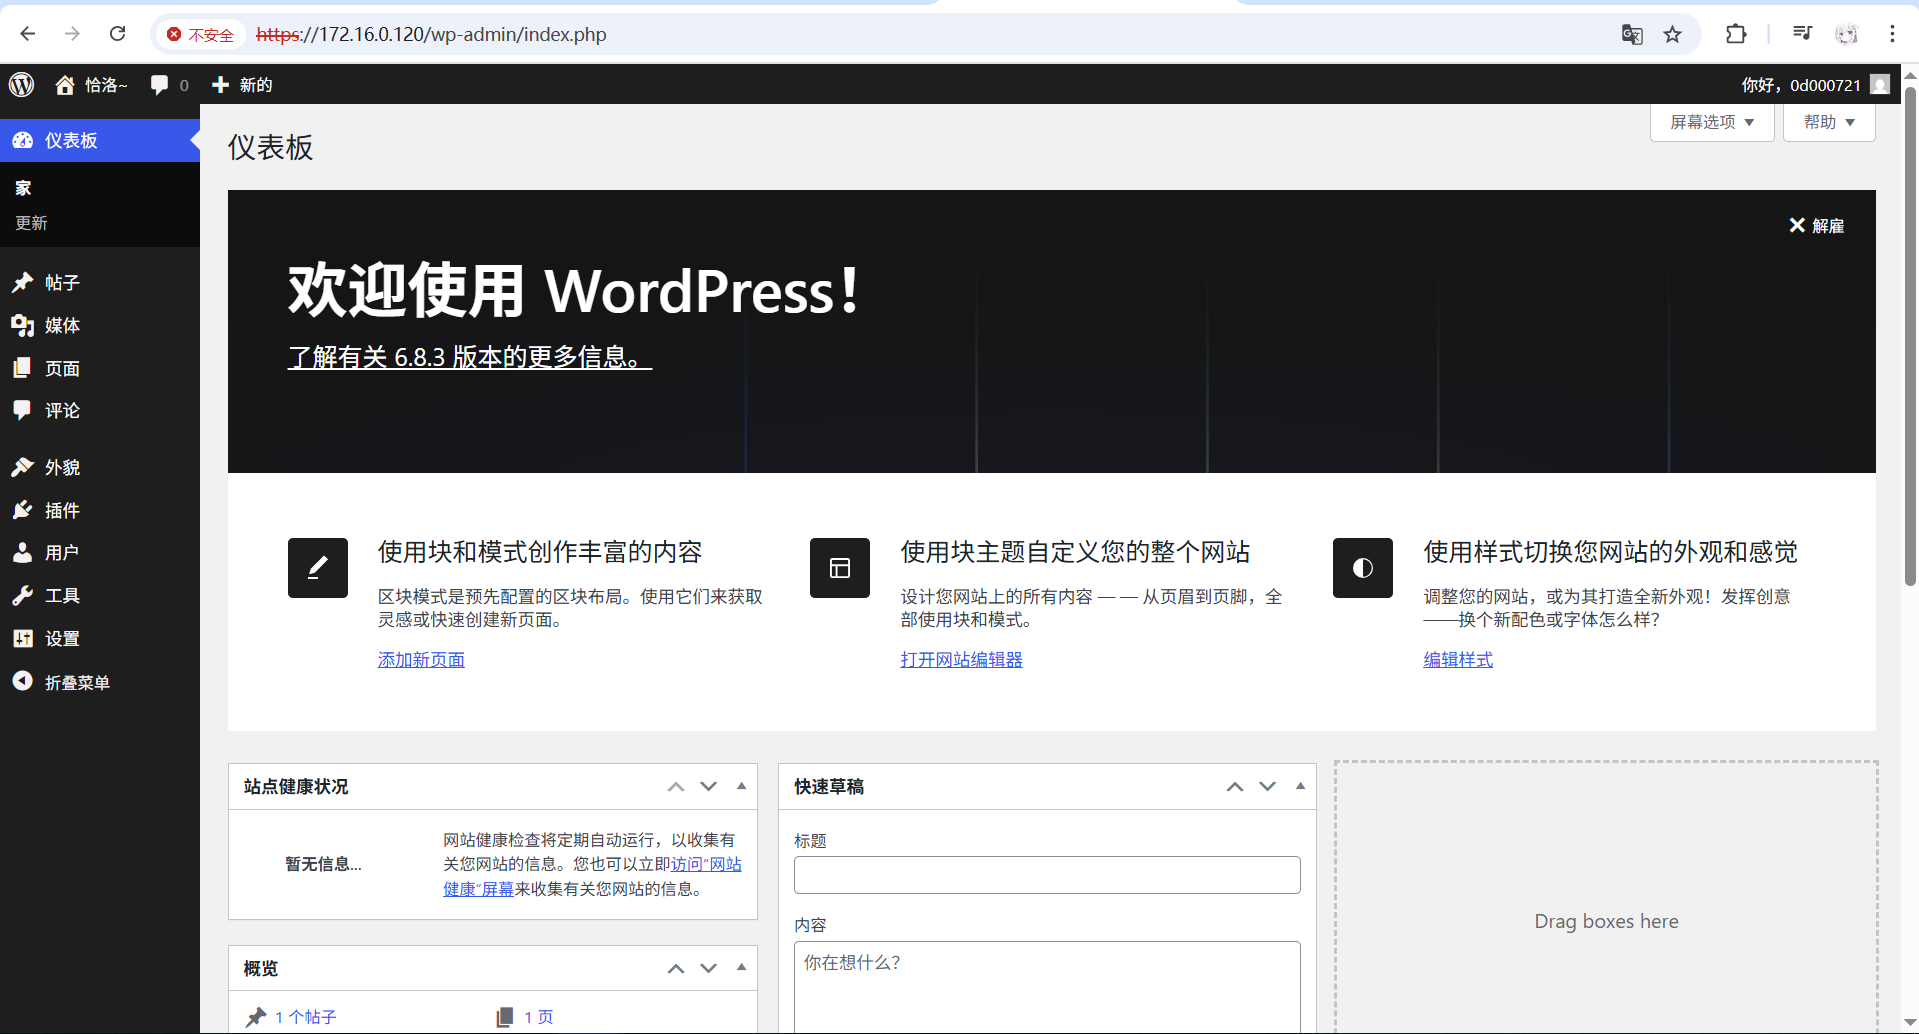
完成安装并创建管理员账号,即可开始使用 WordPress。

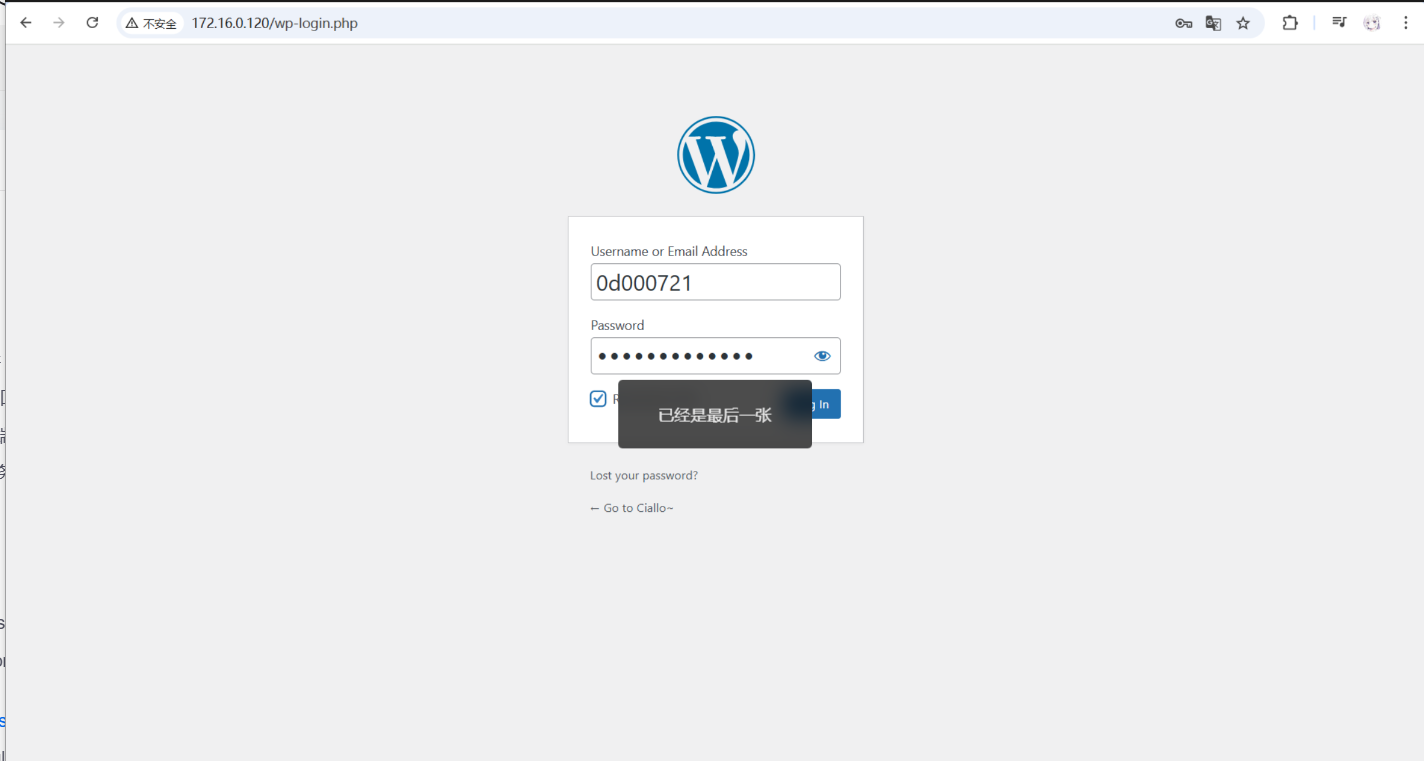
最终页面
五、安装 PHP mysqli 扩展(如果需要)
如果 WordPress 安装过程中提示缺少 mysqli 扩展,可以通过以下步骤安装。
-
进入 PHP 容器:
docker exec -it php bash -
安装依赖:
apt-get update apt-get install -y libmariadb-dev-compat libmariadb-dev -
安装 PHP 扩展:
docker-php-ext-install mysqli docker-php-ext-enable mysqli -
重启 PHP 容器:
docker-compose restart php
六、总结
在 CentOS 上搭建 LNMP 环境并安装 WordPress,涉及以下关键步骤:
-
安装 Docker 和 Docker Compose。
-
创建项目目录并配置 Docker Compose 和 Nginx 配置。
-
启动 Docker 容器并安装 WordPress。
-
如有需要,安装 PHP 的
mysqli扩展以确保 WordPress 能正常连接 MySQL 数据库。 -
完成 WordPress 配置并开始使用。
通过 Docker 容器化部署,搭建 LNMP 环境变得简单高效,WordPress 的安装和配置也变得更加灵活。如果遇到任何问题,欢迎随时向我咨询!