Win11+RTX3090 亲测 · ComfyUI Hunyuan3D 全程实录 ②:nvdiffrast 源码编译实战(CUDA 13.1 零降级)
环境:Windows 11 23H2 | Intel Ultra 9 285K | RTX 3090 24 GB | CUDA 13.1 | Python 3.12.11 | PyTorch 2.7.1+cu126 | VS2022 17.12
系列:全程实录第 ② 篇(第 ① 篇见依赖安装指南)
一、前言:为什么必须本地编译
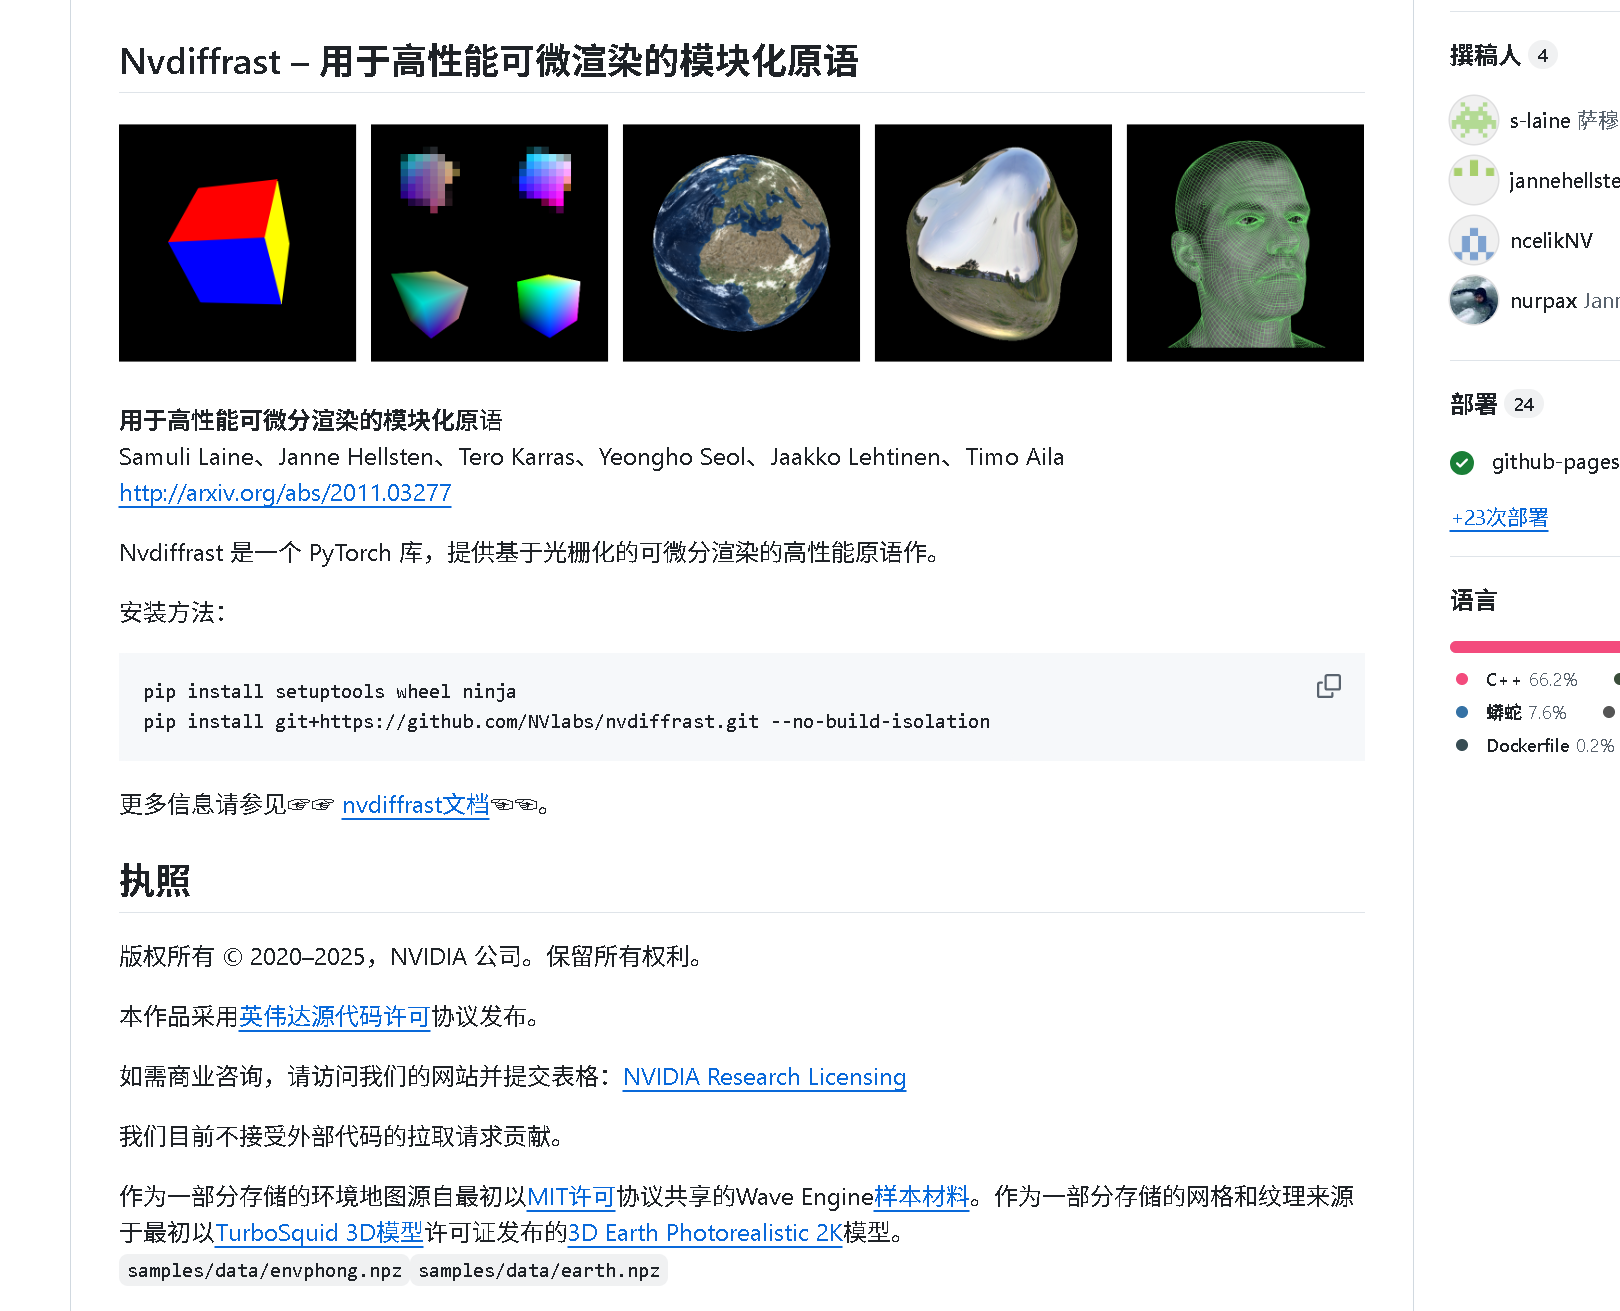
nvdiffrast 是 NVIDIA 官方的高性能可微渲染库,PyPI 仅提供 Linux wheel,Windows 用户必须:
- 克隆源码
- 本地编译 CUDA 扩展
_nvdiffrast_c.cp312-win_amd64.pyd
本文带你 零降级 CUDA 驱动,不改 PyTorch 版本,在 CUDA 13.1 + PyTorch 12.6 环境下一次编译通过。
二、环境 checklist
| 项目 | 本机示例 | 最低要求 |
|---|---|---|
| OS | Windows 11 专业工作站版 26H1 | Win10 21H2+ |
| CPU | Intel® Core™ Ultra 9 285K (3.70 GHz) | 64 bit |
| GPU | NVIDIA GeForce RTX 3090 24 GB | GTX 30 系列+ |
| 显卡驱动 及 CUDA 版本 | 595.02 / CUDA 13.1 | ≥ 12.6 |
| Python | 3.12.11 64-bit | 3.10-3.12 |
| PyTorch | 2.7.1+cu126 | 2.5.0+cu118+ |
| VS Build Tools | 17.12 / MSVC 14.44 | 2019/2022 任意 |
⚠️ 终端要求:开始菜单 → "x64 Native Tools Command Prompt for VS 2022" → 右键 以管理员身份运行(黑底黄字窗口才带 cl.exe/nvcc)
三、直接安装 vs 直接编译 vs 修改编译 对比
| 方式 | 命令 | 结果 | 日志片段 |
|---|---|---|---|
| 直接 pip | pip install nvdiffrast |
❌ 无 Windows wheel | ERROR: Could not find a version that satisfies the requirement nvdiffrast |
| 直接源码编译 | python setup.py bdist_wheel |
❌ CUDA 版本检查失败 | RuntimeError: CUDA version (13.1) mismatches PyTorch (12.6) |
| 修改后编译 | python setup_patch.py bdist_wheel |
✅ 生成可用 wheel | creating 'dist\nvdiffrast-0.4.0-cp312-cp312-win_amd64.whl' |
下文全程基于 第三种。
四、setup.py 修改细节(核心)
在 文件最顶部插入两行即可绕过版本检查:
python
# 跳过 CUDA 驱动版本检查(必须放最前)
import torch.utils.cpp_extension as _ext
_ext._check_cuda_version = lambda *args, **kwargs: None
完整 setup_patch.py(已含 RTX30 架构优化):
python
# Copyright (c) 2020, NVIDIA CORPORATION.  All rights reserved.
#
# NVIDIA CORPORATION and its licensors retain all intellectual property
# and proprietary rights in and to this software, related documentation
# and any modifications thereto.  Any use, reproduction, disclosure or
# distribution of this software and related documentation without an express
# license agreement from NVIDIA CORPORATION is strictly prohibited.

import setuptools
import os

# 1. 强制跳过 Torch 内部 CUDA 驱动版本检查
import torch.utils.cpp_extension as _ext
_ext._check_cuda_version = lambda *args, **kwargs: None

# Print an error message if there's no PyTorch installed.
try:
    from torch.utils.cpp_extension import BuildExtension, CUDAExtension
except ImportError:
    print("\n\n" + "*" * 70)
    print("ERROR! Cannot compile nvdiffrast CUDA extension. Please ensure that:\n")
    print("1. You have PyTorch installed")
    print("2. You run 'pip install' with --no-build-isolation flag")
    print("*" * 70 + "\n\n")
    exit(1)

setuptools.setup(
    ext_modules=[
        CUDAExtension(
            "_nvdiffrast_c",
            sources=[
                "csrc/common/antialias.cu",
                "csrc/common/common.cpp",
                "csrc/common/cudaraster/impl/Buffer.cpp",
                "csrc/common/cudaraster/impl/CudaRaster.cpp",
                "csrc/common/cudaraster/impl/RasterImpl.cpp",
                "csrc/common/cudaraster/impl/RasterImpl_kernel.cu",
                "csrc/common/interpolate.cu",
                "csrc/common/rasterize.cu",
                "csrc/common/texture.cpp",
                "csrc/common/texture_kernel.cu",
                "csrc/torch/torch_antialias.cpp",
                "csrc/torch/torch_bindings.cpp",
                "csrc/torch/torch_interpolate.cpp",
                "csrc/torch/torch_rasterize.cpp",
                "csrc/torch/torch_texture.cpp",
            ],
            extra_compile_args={
                "cxx": ["-DNVDR_TORCH"]
                # Disable warnings in torch headers.
                + (["/wd4067", "/wd4624", "/wd4996"] if os.name == "nt" else []),
                "nvcc": ["-DNVDR_TORCH", "-lineinfo"],
            },
        )
    ],
    cmdclass={"build_ext": BuildExtension},
)
五、编译成功现场(日志截图)
# 运行编译命令
python setup.py bdist_wheel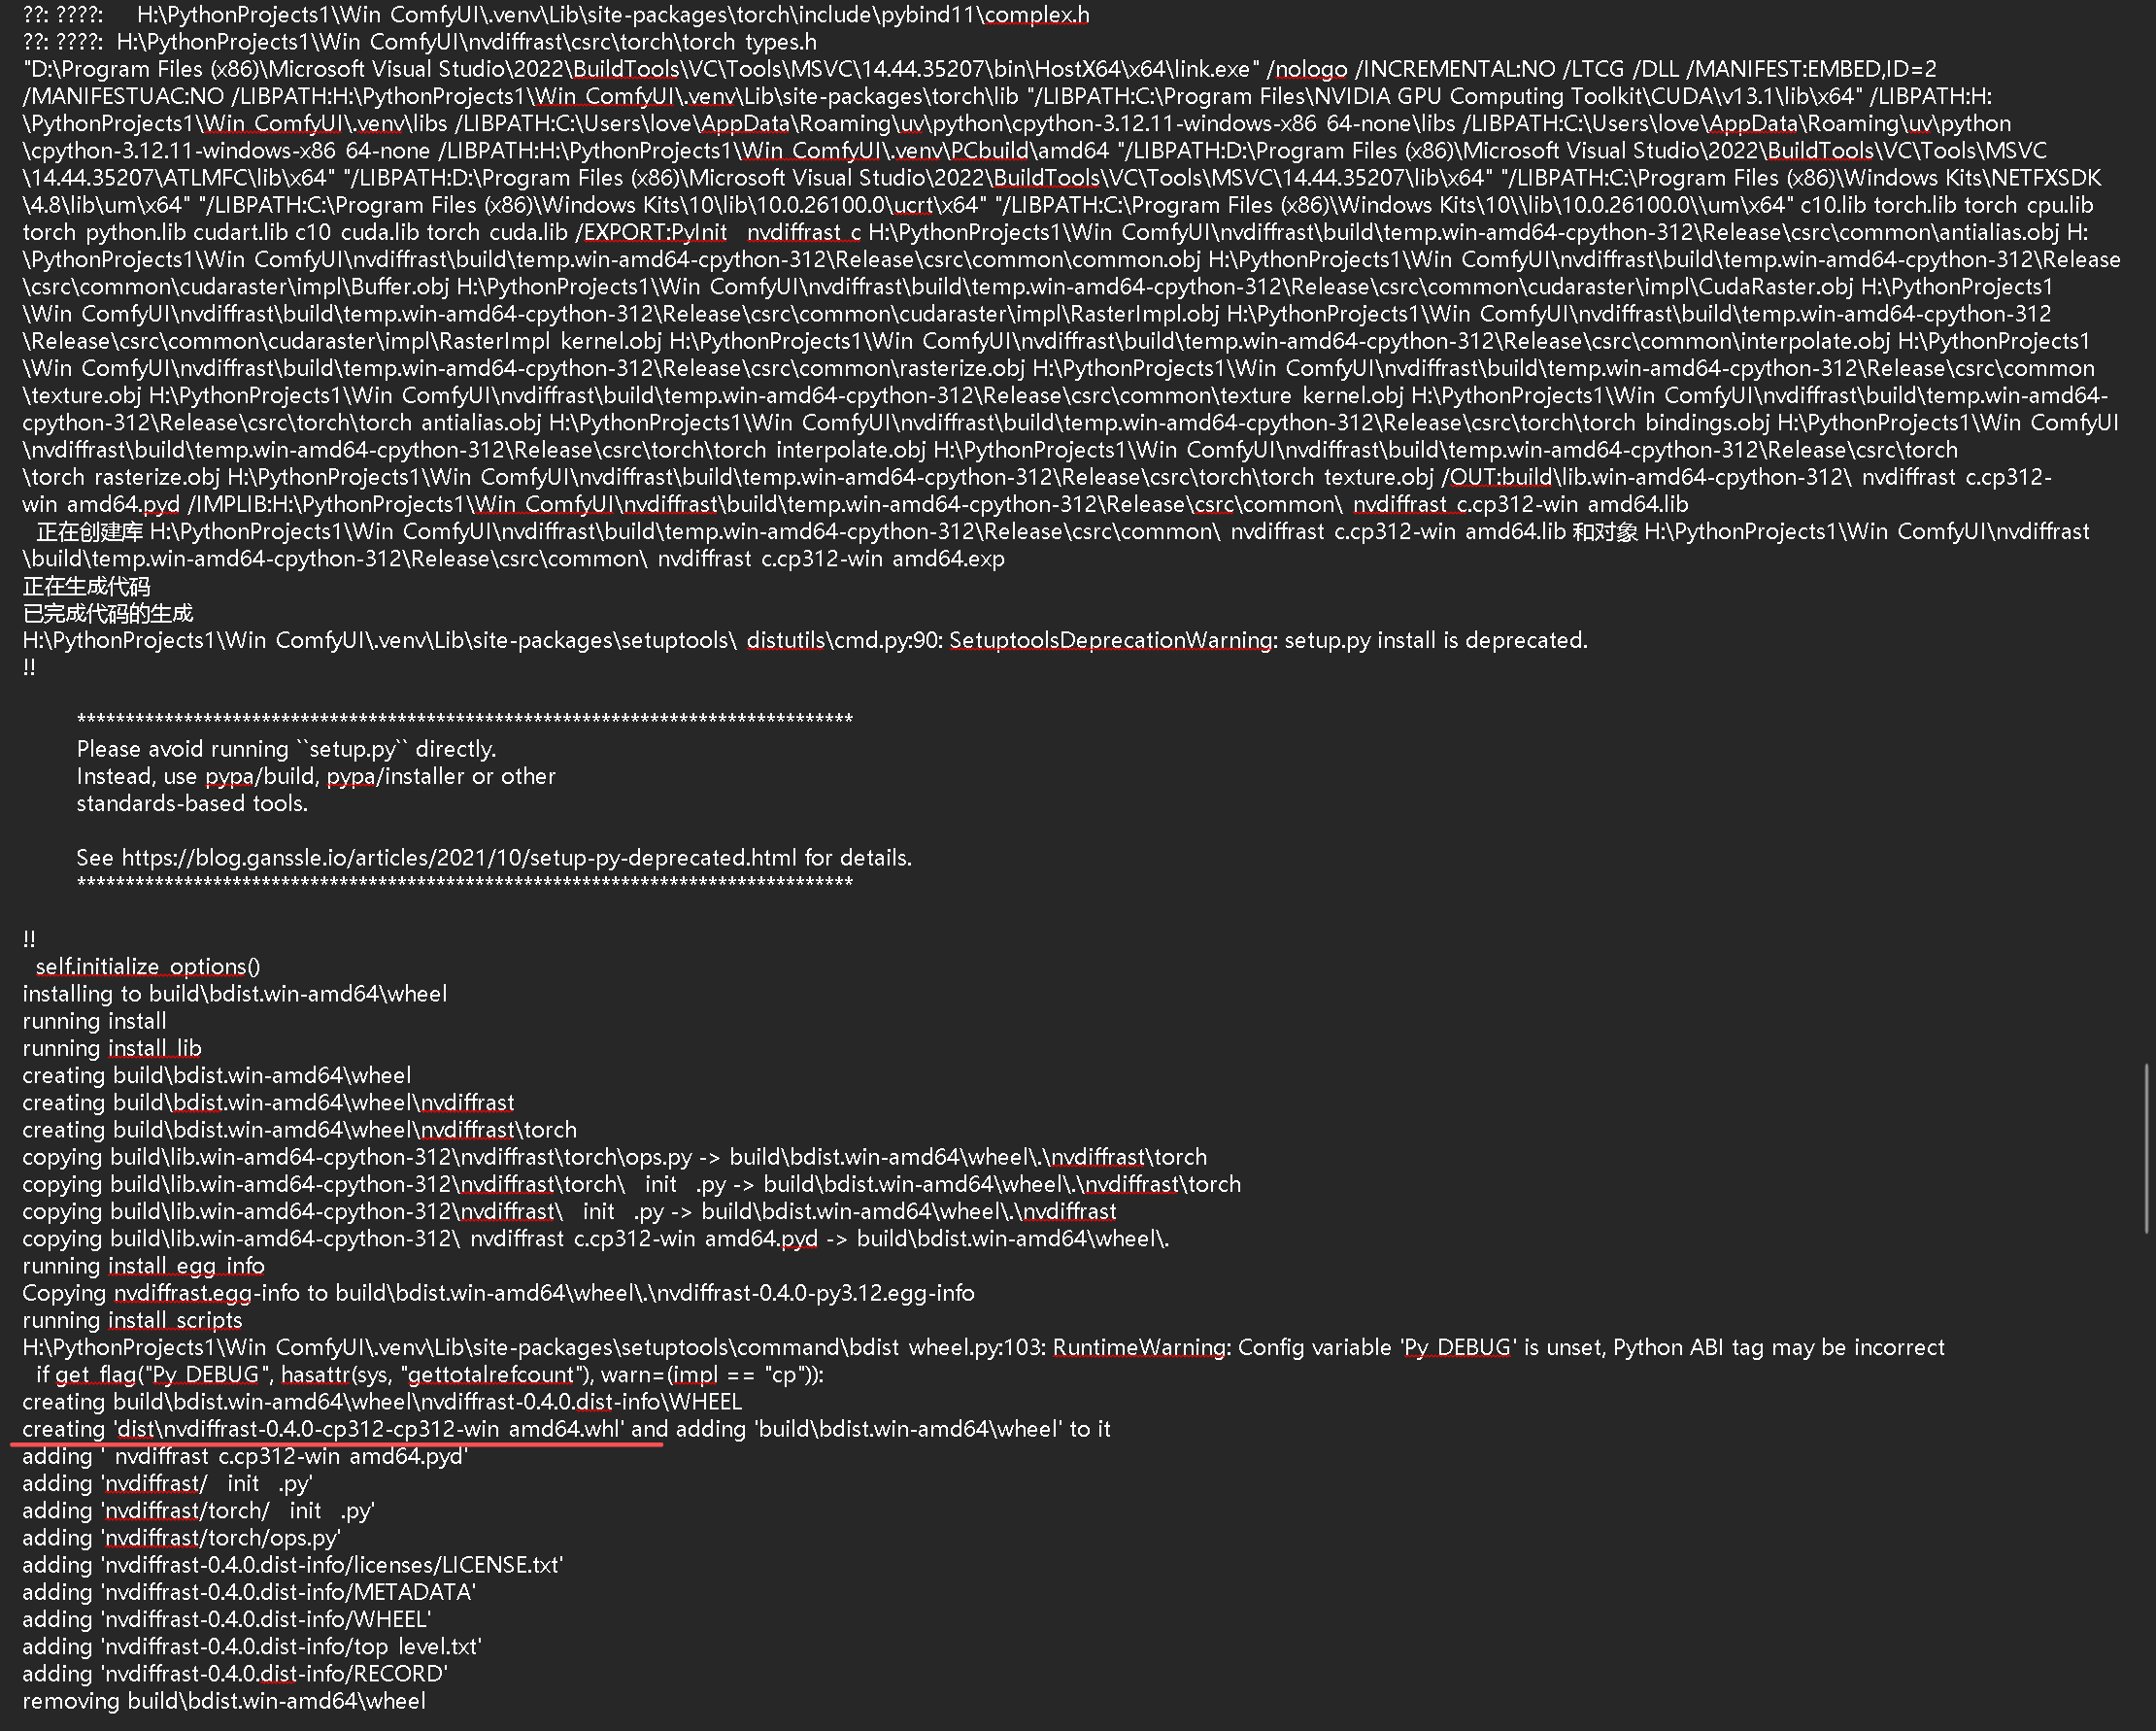
log
[91/91] Linking build\lib.win-amd64-cpython-312\_nvdiffrast_c.cp312-win_amd64.pyd
creating 'dist\nvdiffrast-0.4.0-cp312-cp312-win_amd64.whl'
Successfully installed nvdiffrast-0.4.0
六、安装与验证
bash
pip install dist\nvdiffrast-0.4.0-cp312-cp312-win_amd64.whl
python -c "import nvdiffrast.torch as nvr; print('✅', nvr.__file__)"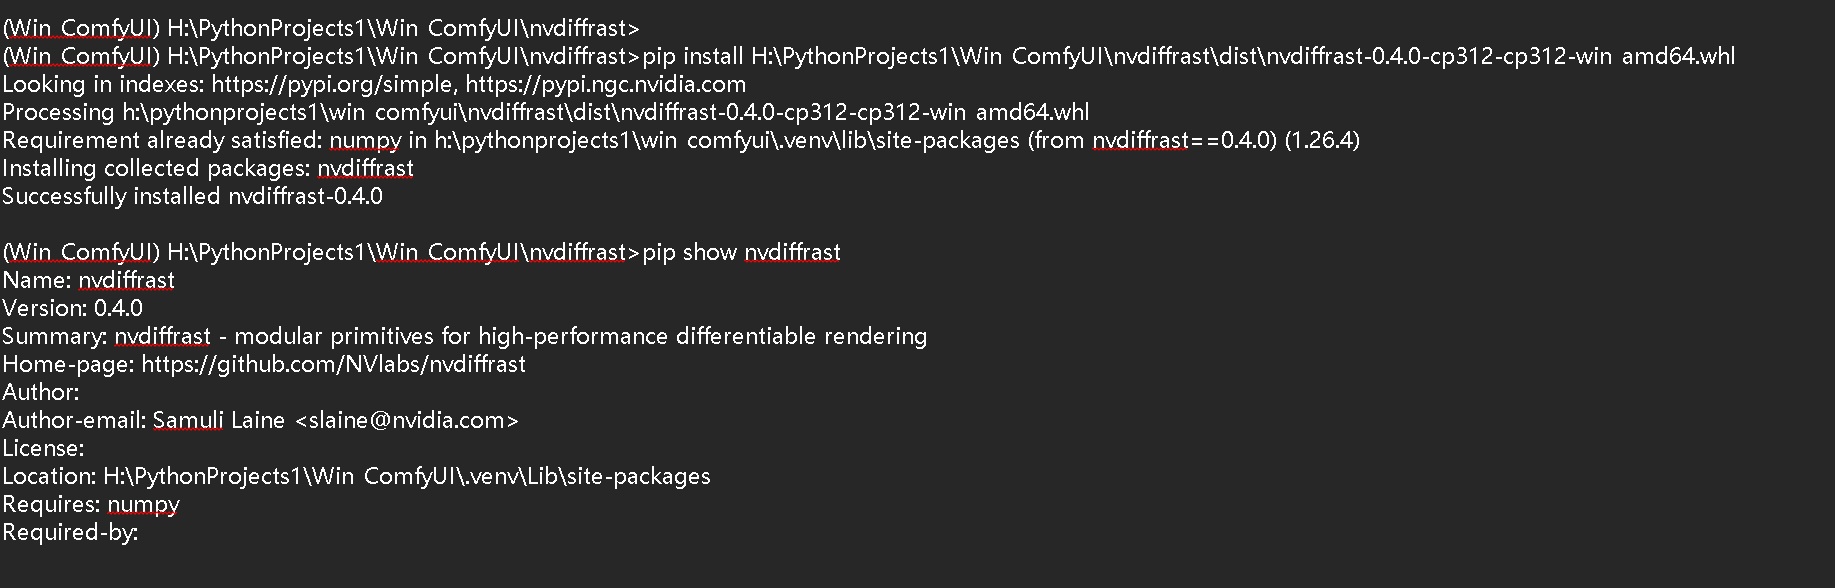
输出示例:
✅ H:\YourComfyUI\.venv\Lib\site-packages\nvdiffrast\torch\__init__.py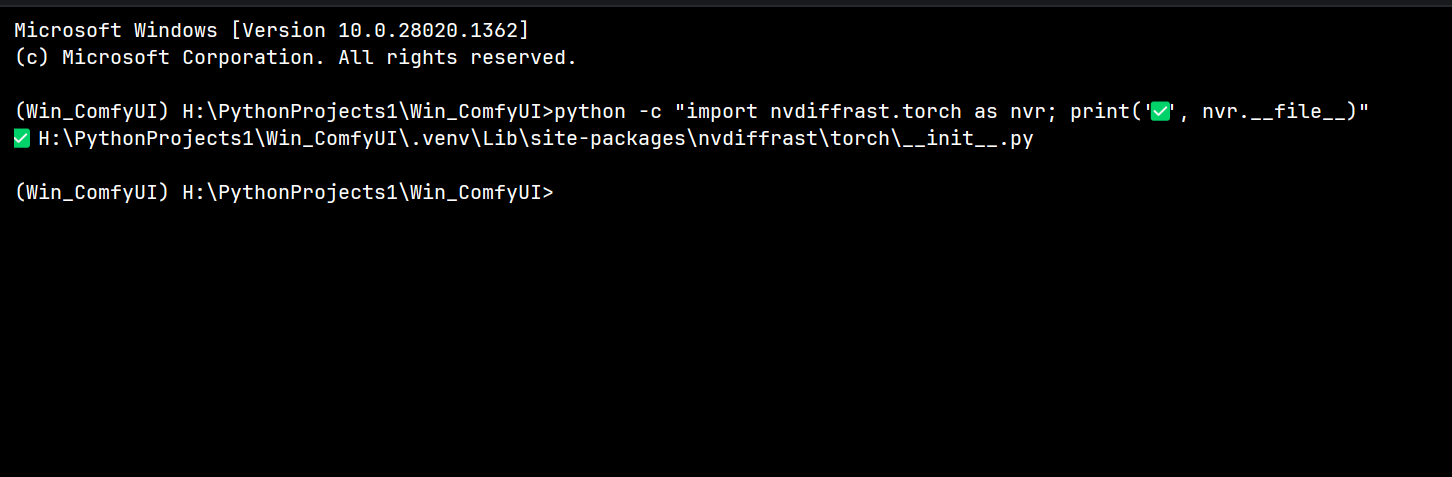
七、常见报错对照表(收藏级)
| 报错关键词 | 原因 | 一键修复 |
|---|---|---|
-CUDA version (13.1) mismatches PyTorch (12.6)- |
-驱动 vs 编译版本检查- | -本文 MonkeyPatch - |
-cl.exe not found- |
-未用 VS2022 x64 终端- | -开始菜单 → x64 Native Tools- |
-nvcc fatal : Unsupported gpu architecture 'compute_90'- |
-CUDA 13 默认架构过高- | -已在 setup_patch.py 指定 compute_86- |
-MSVC/cl.exe with traditional preprocessor is used- |
-仅警告,可忽略- | -加 /WX- 不视为错误- |
八、一键脚本(失败→成功全流程)
保存为 build_nvdiffrast.bat,右键管理员运行"x64 Native Tools Command Prompt for VS 2022"然后运行此脚本即可复现全文所有步骤:
bat
@echo off
title nvdiffrast-Windows-Build
cd /d "%~dp0"
call .venv\Scripts\activate
echo [1/4] 克隆源码...
git clone https://github.com/NVlabs/nvdiffrast.git
cd nvdiffrast
echo [2/4] 应用 MonkeyPatch...
copy setup.py setup.py.bak
python -c "import torch.utils.cpp_extension as _ext;_ext._check_cuda_version=lambda *a,**k:None" setup.py bdist_wheel
echo [3/4] 安装 wheel...
pip install dist\nvdiffrast-0.4.0-cp312-cp312-win_amd64.whl
echo [4/4] 验证...
python -c "import nvdiffrast.torch as nvr;print('✅',nvr.__file__)"
pause
九、系列交叉引用
- 第 0 篇(已发):自定义光栅化器编译全记录
- 第 ① 篇(已发):依赖安装完全指南
- 第 ③ 篇(明天发):diso 编译实战 + 节点验证 + WF 演示
转载注明出处 → 博客标题 + 链接即可。
ComfyUI, Hunyuan3D, nvdiffrast, CUDA13.1, PyTorch12.6, 源码编译, setup.py, MonkeyPatch, RTX3090, Windows11