前言
本文详细记录了使用 Claude Code 的 pptx-skills 技能,从零开始生成一套精美的《新世纪福音战士》(EVA) 主题 PowerPoint 演示文稿的完整过程。经过 4 个版本的迭代优化,最终产出了一套具有专业设计水准的 8 页 PPT。
相关链接
本仓库链接
使用到的pptx-skills
目录
- 技术栈介绍
- 项目初始化
- [V1 版本:英文原型](#V1 版本:英文原型 "#v1-%E7%89%88%E6%9C%AC%E8%8B%B1%E6%96%87%E5%8E%9F%E5%9E%8B")
- [V2 版本:中文化与图片集成](#V2 版本:中文化与图片集成 "#v2-%E7%89%88%E6%9C%AC%E4%B8%AD%E6%96%87%E5%8C%96%E4%B8%8E%E5%9B%BE%E7%89%87%E9%9B%86%E6%88%90")
- [V3 版本:布局修复与美化](#V3 版本:布局修复与美化 "#v3-%E7%89%88%E6%9C%AC%E5%B8%83%E5%B1%80%E4%BF%AE%E5%A4%8D%E4%B8%8E%E7%BE%8E%E5%8C%96")
- [V4 版本:专业级设计重构](#V4 版本:专业级设计重构 "#v4-%E7%89%88%E6%9C%AC%E4%B8%93%E4%B8%9A%E7%BA%A7%E8%AE%BE%E8%AE%A1%E9%87%8D%E6%9E%84")
- 遇到的问题与解决方案
- 最终成果展示
- 执行命令汇总
- 总结与心得
技术栈介绍
pptx-skills 工作流程
pptx-skills 是 Claude Code 的一个内置技能,采用 html2pptx 工作流:
css
HTML/CSS 设计 → Playwright 渲染 → 元素位置提取 → PptxGenJS 生成 PPTX核心组件:
| 组件 | 作用 |
|---|---|
| HTML/CSS | 设计幻灯片布局和样式 |
| Playwright | 无头浏览器,渲染 HTML 并提取元素位置 |
| PptxGenJS | Node.js 库,生成 .pptx 文件 |
| Sharp | 图像处理库(可选) |
关键约束:
- 幻灯片尺寸:720pt × 405pt(16:9 比例)
- 安全边距:距离边缘至少 0.5 英寸(36pt)
- 不支持 CSS 渐变(需用纯色或预渲染图片替代)
- 文本元素(
<p>,<h1>等)不支持 border 属性
项目初始化
1. 创建项目目录
bash
mkdir ppt-test
cd ppt-test
2. 初始化 Node.js 项目
bash
npm init -y
npm install pptxgenjs playwright sharp
3. 安装 Playwright 浏览器
bash
npx playwright install chromium遇到的问题: 首次运行时报错 "Executable doesn't exist",原因是 Playwright 需要单独下载浏览器二进制文件。
V1 版本:英文原型
设计目标
创建一套基础的 EVA 主题 PPT,包含 8 张幻灯片:
- 标题页 (Title)
- 故事概述 (Story)
- 主要角色 (Characters)
- EVA 机体 (EVA Units)
- 核心主题 (Themes)
- 系列年表 (Timeline)
- 文化影响 (Impact)
- 感谢页 (Thanks)
HTML 模板结构
每个幻灯片都是一个独立的 HTML 文件,基本结构如下:
html
<!DOCTYPE html>
<html>
<head>
<style>
html { background: #ffffff; }
body {
  width: 720pt;
  height: 405pt;
  margin: 0;
  padding: 0;
  background: #1a0a2e;
  font-family: Arial, sans-serif;
}
/* 具体样式... */
</style>
</head>
<body>
  <!-- 内容元素 -->
</body>
</html>
生成脚本 (create-ppt.js)
javascript
const pptxgen = require('pptxgenjs');
const html2pptx = require('path/to/html2pptx.js');
const path = require('path');

async function createPresentation() {
    const pptx = new pptxgen();
    pptx.layout = 'LAYOUT_16x9';

    const slides = [
        'slide1-title.html',
        'slide2-story.html',
        // ...
    ];

    for (const slideFile of slides) {
        await html2pptx(path.join(__dirname, slideFile), pptx);
    }

    await pptx.writeFile({ fileName: 'output.pptx' });
}

createPresentation();
V1 成果
- 成功生成 8 页英文 PPT
- 采用深紫色 + 青色 + 红色的 NERV 配色方案
- 基础布局完成
V2 版本:中文化与图片集成
改进内容
- 全部内容翻译为中文
- 修复角色页文字溢出问题
- 尝试集成角色图片
图片集成的挑战
最初尝试在 HTML 中直接使用 <img> 标签或 background-image,但遇到了问题:
html
<!-- 这种方式在 Windows 上有路径编码问题 -->
<img src="file:///A:/study/.../images/真嗣.png">
解决方案:混合模式
采用"HTML 布局 + API 插入图片"的混合方案:
- HTML 中使用占位符
<div class="char-img-placeholder"> - 生成脚本中使用 PptxGenJS API 插入图片
javascript
// 在角色页面添加图片
if (characterSlide) {
    const images = [
        { file: 'shinji.png', x: 0.83, y: 1.32, w: 1.71, h: 1.14 },
        // ...
    ];

    for (const img of images) {
        characterSlide.addImage({
            path: path.join(imagesDir, img.file),
            x: img.x, y: img.y, w: img.w, h: img.h
        });
    }
}
坐标计算
图片位置需要精确计算,转换公式:
英寸 = 点数 / 72例如,卡片位于 left: 50pt, top: 85pt,内边距 10pt:
- 图片 X = (50 + 10) / 72 = 0.83 英寸
- 图片 Y = (85 + 10) / 72 = 1.32 英寸
V3 版本:布局修复与美化
用户反馈
用户提供了 V2 版本的截图,指出以下问题:
- 角色图片位置与卡片不对齐
- 部分页面文字溢出
- 整体设计不够精致
改进措施
- 重新计算图片坐标
- 调整卡片尺寸和间距
- 优化配色方案
验证错误处理
html2pptx 工具有严格的验证机制:
vbnet
Error: Text box ... ends too close to bottom edge解决方法: 减小 padding、调整 font-size、确保内容在安全区域内。
V4 版本:专业级设计重构
设计分析
作为"资深设计师"对 V3 进行分析:
问题诊断:
- 标题页和结束页的双色分割背景过于生硬
- 大面积纯色块显得廉价
- 排版密度不均
- 装饰元素单调
- 字体层级不清晰
全新设计方案
配色系统:
css
--bg-primary: #0d0221;      /* 深紫色背景 */
--accent-red: #ff6b6b;      /* NERV 红 */
--accent-cyan: #4ecdc4;     /* 青色 */
--accent-purple: #a855f7;   /* 紫色 */
统一的顶部彩条:
css
.top-bar { background: #ff6b6b; width: 240pt; }
.top-bar2 { background: #4ecdc4; width: 240pt; left: 240pt; }
.top-bar3 { background: #a855f7; width: 240pt; left: 480pt; }
章节编号系统:
html
<p class="section-num">01 / STORY</p>
<h1>故事概述</h1>
CSS 渐变的替代方案
html2pptx 不支持 CSS 渐变,需要用纯色替代:
css
/* 不支持 */
background: linear-gradient(135deg, #0d0221, #1a0a2e);

/* 替代方案:使用纯色 */
background: #0d0221;
边框属性限制
文本元素不能有 border:
css
/* 不支持 - 会报错 */
.eva-desc {
  border-top: 1pt solid rgba(255,255,255,0.1);
}

/* 替代方案:使用单独的 div */
.desc-divider {
  width: 100%;
  height: 1pt;
  background: rgba(255,255,255,0.1);
}
布局溢出修复
多次遇到水平溢出错误:
vbnet
Error: HTML content overflows body by 29.3pt horizontally计算公式:
scss
总宽度 = 左边距 + (卡片宽度 × 数量) + (间距 × (数量-1)) + 右边距例如 3 张卡片:
scss
50 + (190 × 3) + (20 × 2) + 50 = 710pt ✓ (< 720pt)
50 + (195 × 3) + (20 × 2) + 50 = 725pt ✗ (溢出)
遇到的问题与解决方案
问题汇总表
| 问题 | 原因 | 解决方案 |
|---|---|---|
| 依赖找不到 | node_modules 不在当前目录 | npm install 安装依赖 |
| Playwright 浏览器缺失 | 需要单独下载 | npx playwright install chromium |
| 中文文件名读取失败 | Windows 路径编码问题 | 重命名为英文文件名 |
| CSS 渐变不支持 | html2pptx 限制 | 使用纯色背景 |
| 文本元素 border 报错 | html2pptx 限制 | 使用单独的 div 元素 |
| 内容溢出 | 尺寸计算错误 | 精确计算并预留边距 |
| 图片位置不准 | 坐标计算错误 | 使用 pt → inch 转换公式 |
调试技巧
- 逐页测试:先单独测试每页,确认无误后再批量生成
- 控制台日志:在脚本中添加详细日志
- 浏览器预览:直接在浏览器中打开 HTML 文件预览效果
最终成果展示
v4版ppt


文件结构
lua
ppt-test/
├── images/
│   ├── shinji.png
│   ├── rei.png
│   ├── asuka.png
│   └── kaworu.png
├── slide1-title-v4.html
├── slide2-story-v4.html
├── slide3-characters-v4.html
├── slide4-eva-units-v4.html
├── slide5-themes-v4.html
├── slide6-timeline-v4.html
├── slide7-impact-v4.html
├── slide8-thanks-v4.html
├── create-ppt-v4.js
├── package.json
└── EVA-Introduction-CN-v4.pptx  ← 最终输出
各页面设计亮点
| 页面 | 设计特点 |
|---|---|
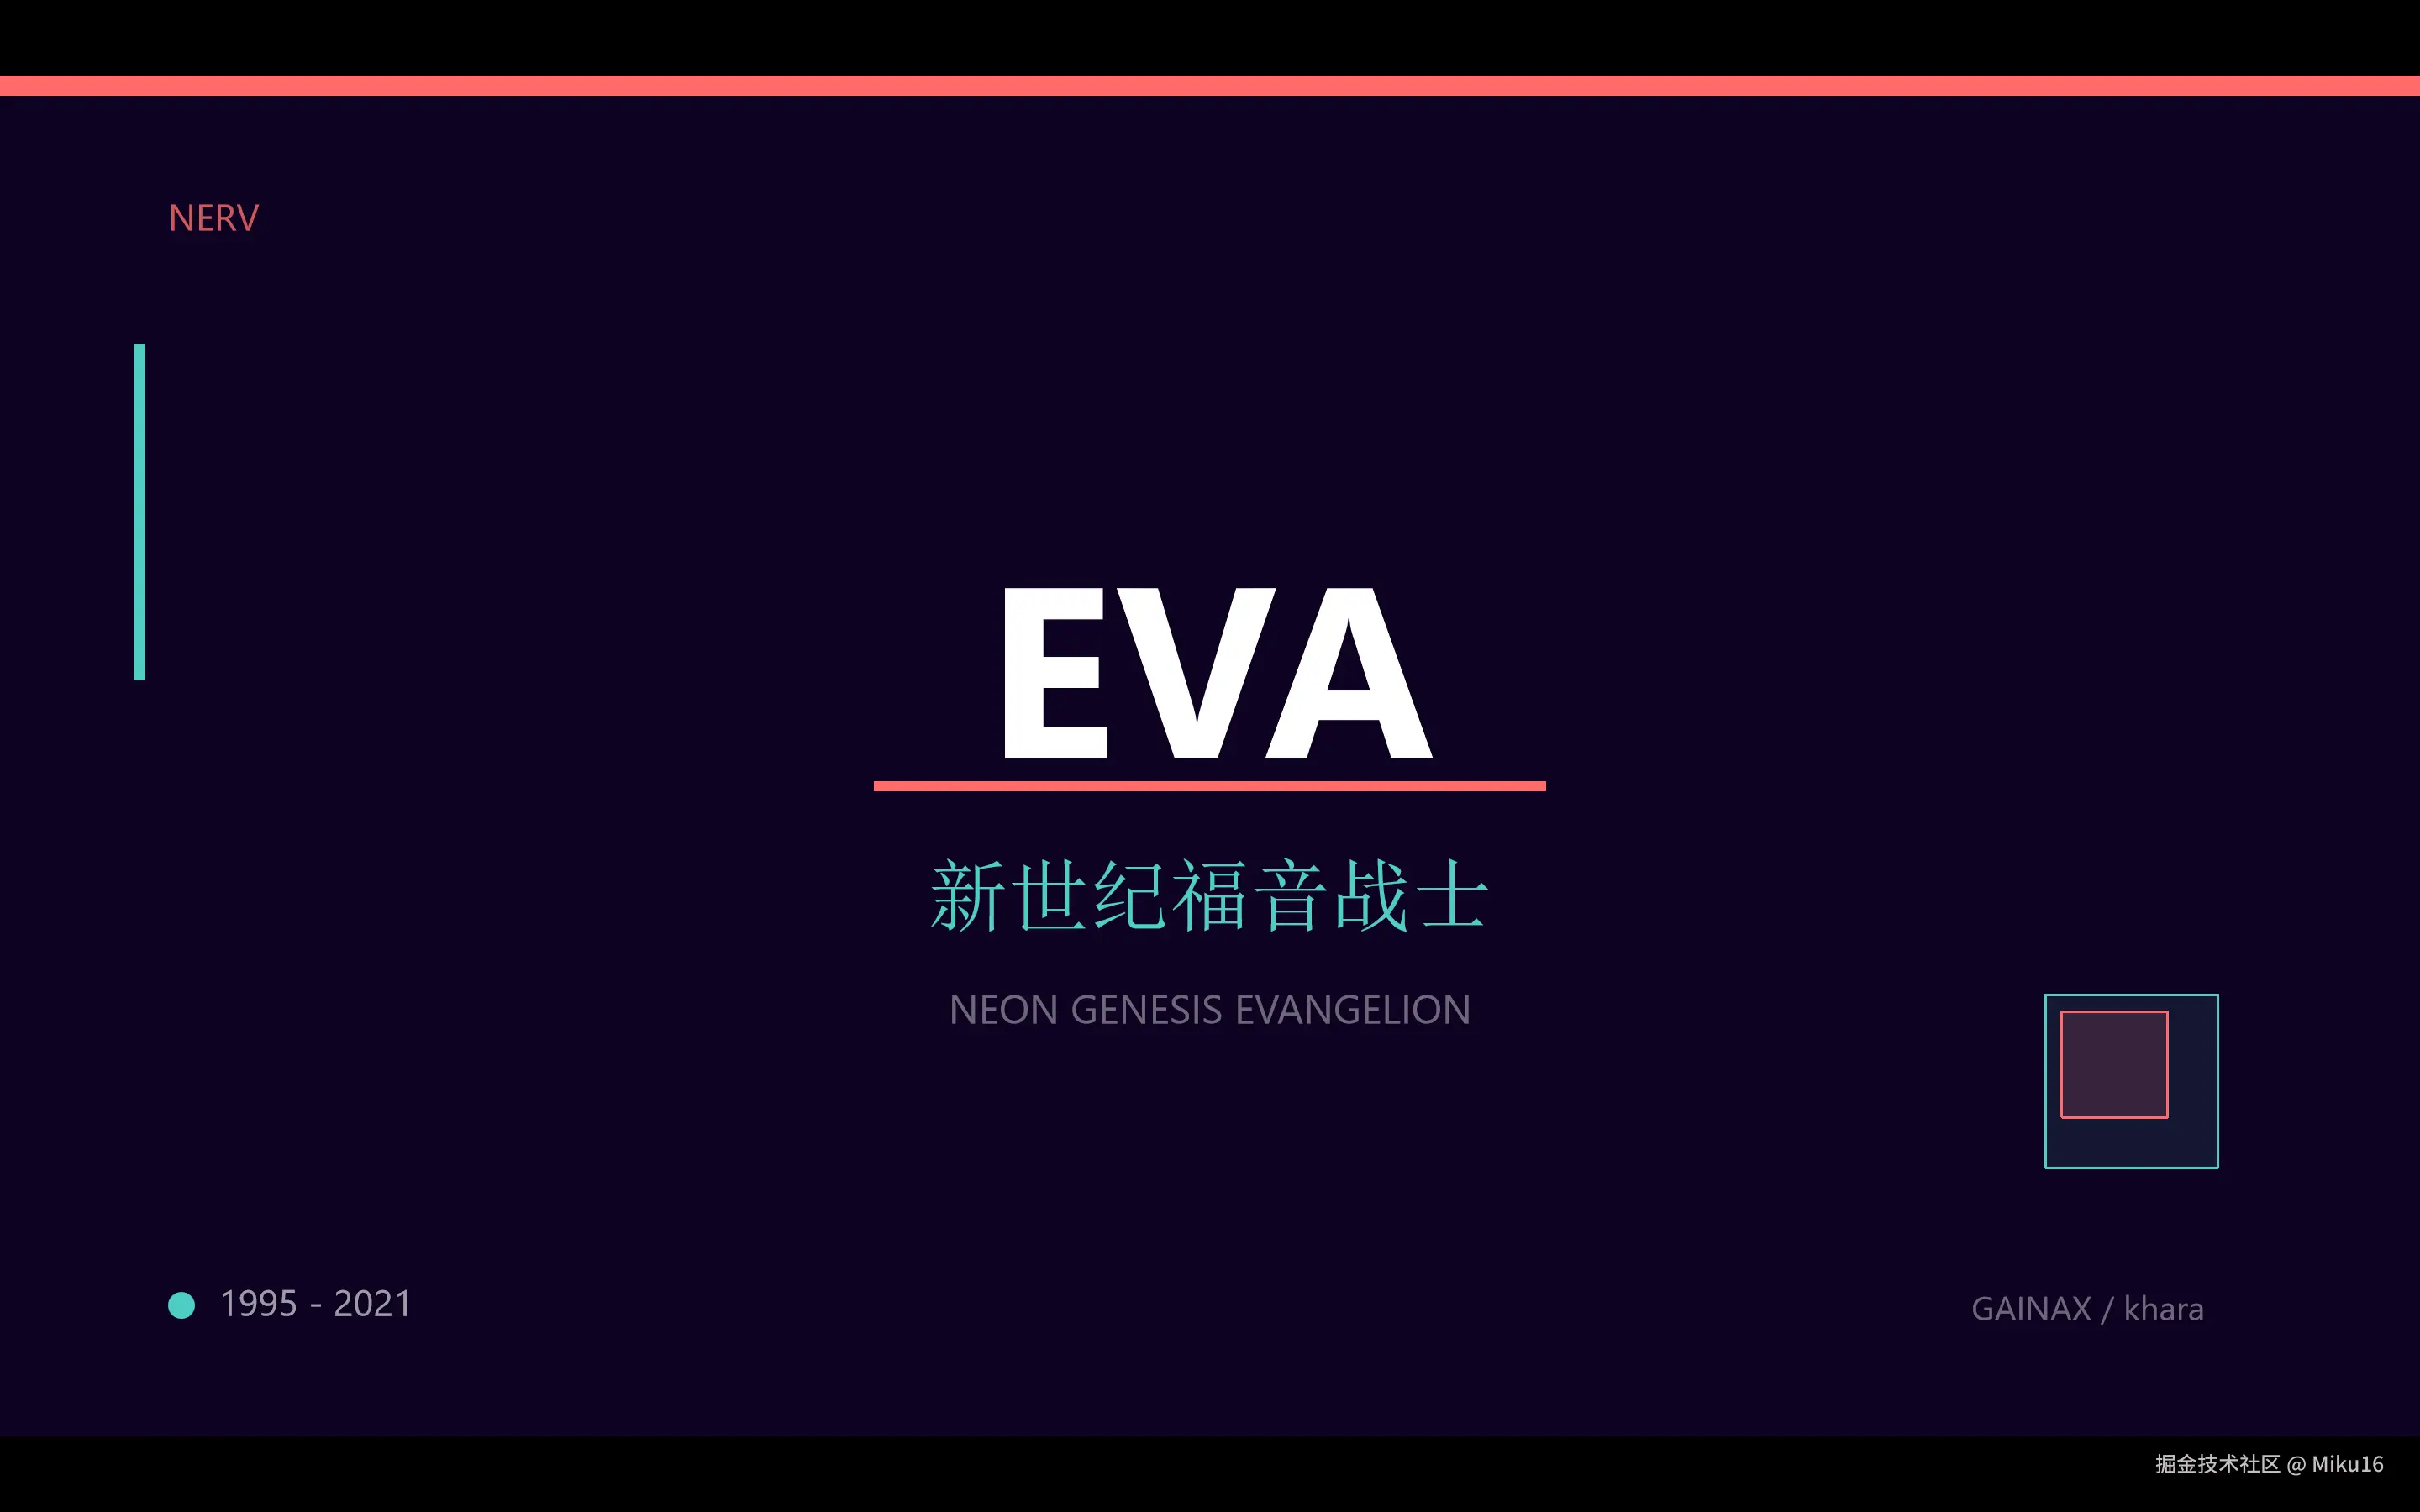
| 标题页 | 居中大标题 + NERV 标识 + 装饰方块 |
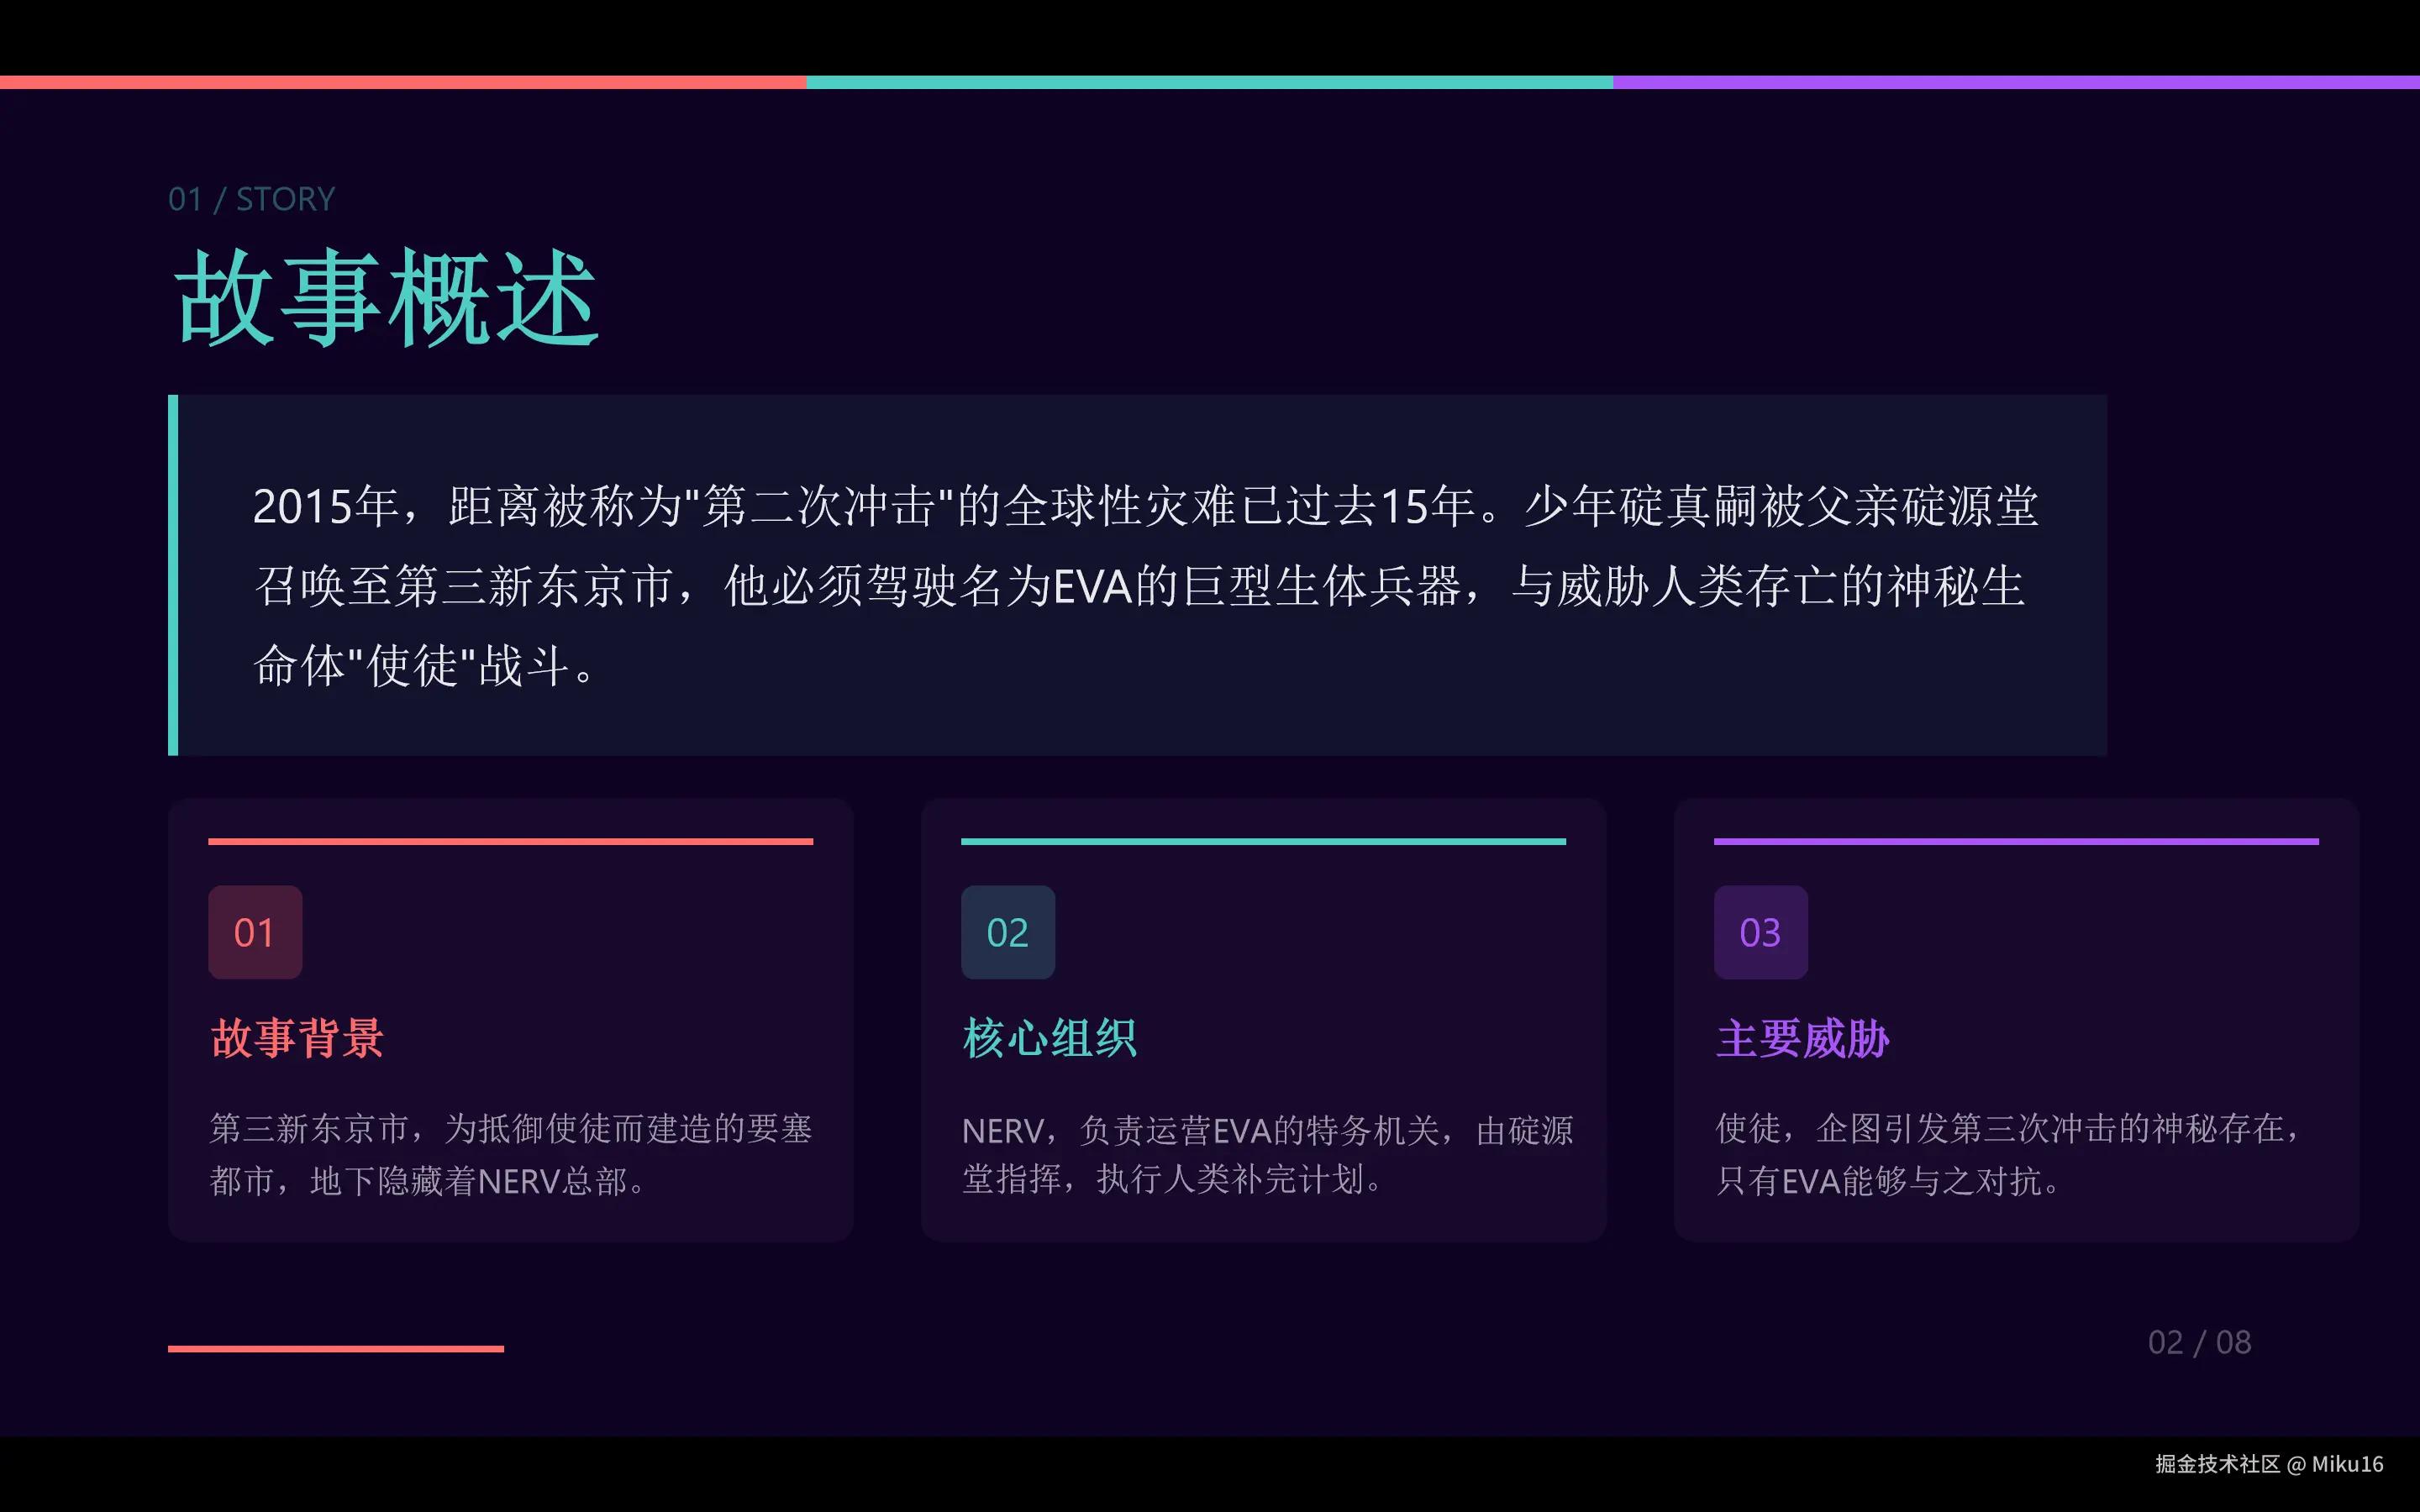
| 故事概述 | 主内容卡片 + 三列信息卡片 |
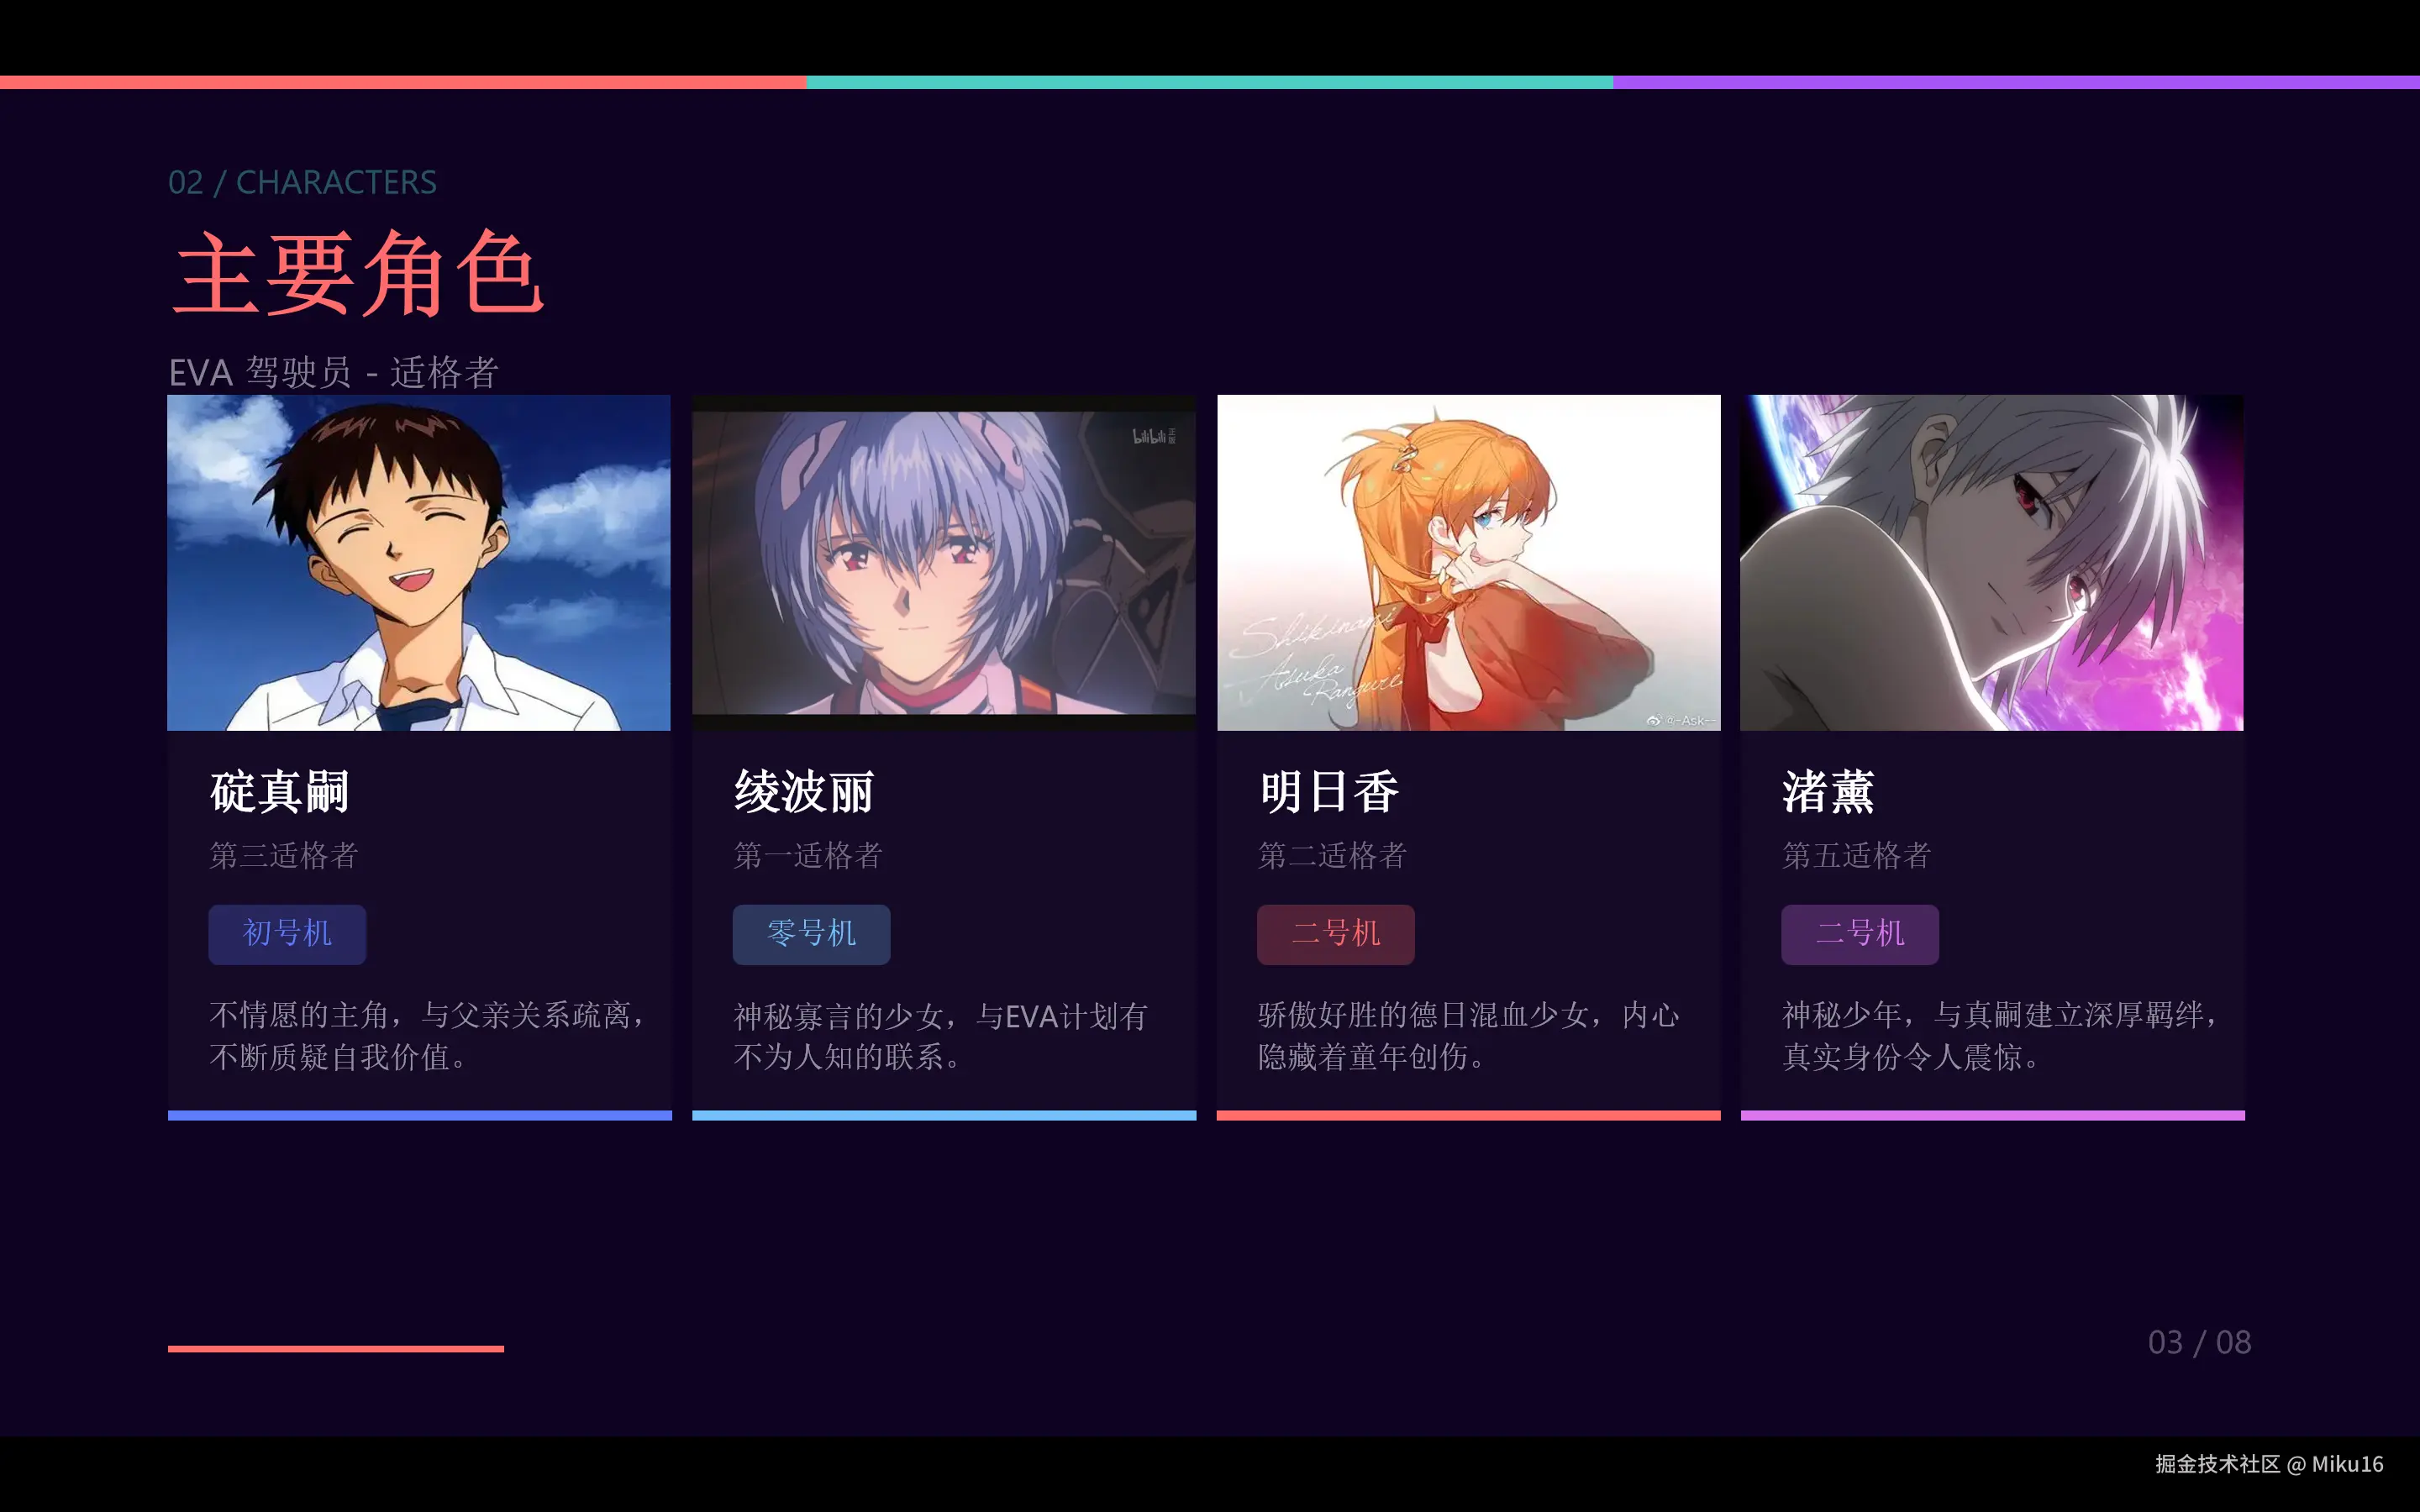
| 主要角色 | 四列角色卡片 + 底部彩色线条 |
| EVA 机体 | 紫/蓝/红三色头部卡片 |
| 核心主题 | 左侧编号列表 + 右侧引用卡片 |
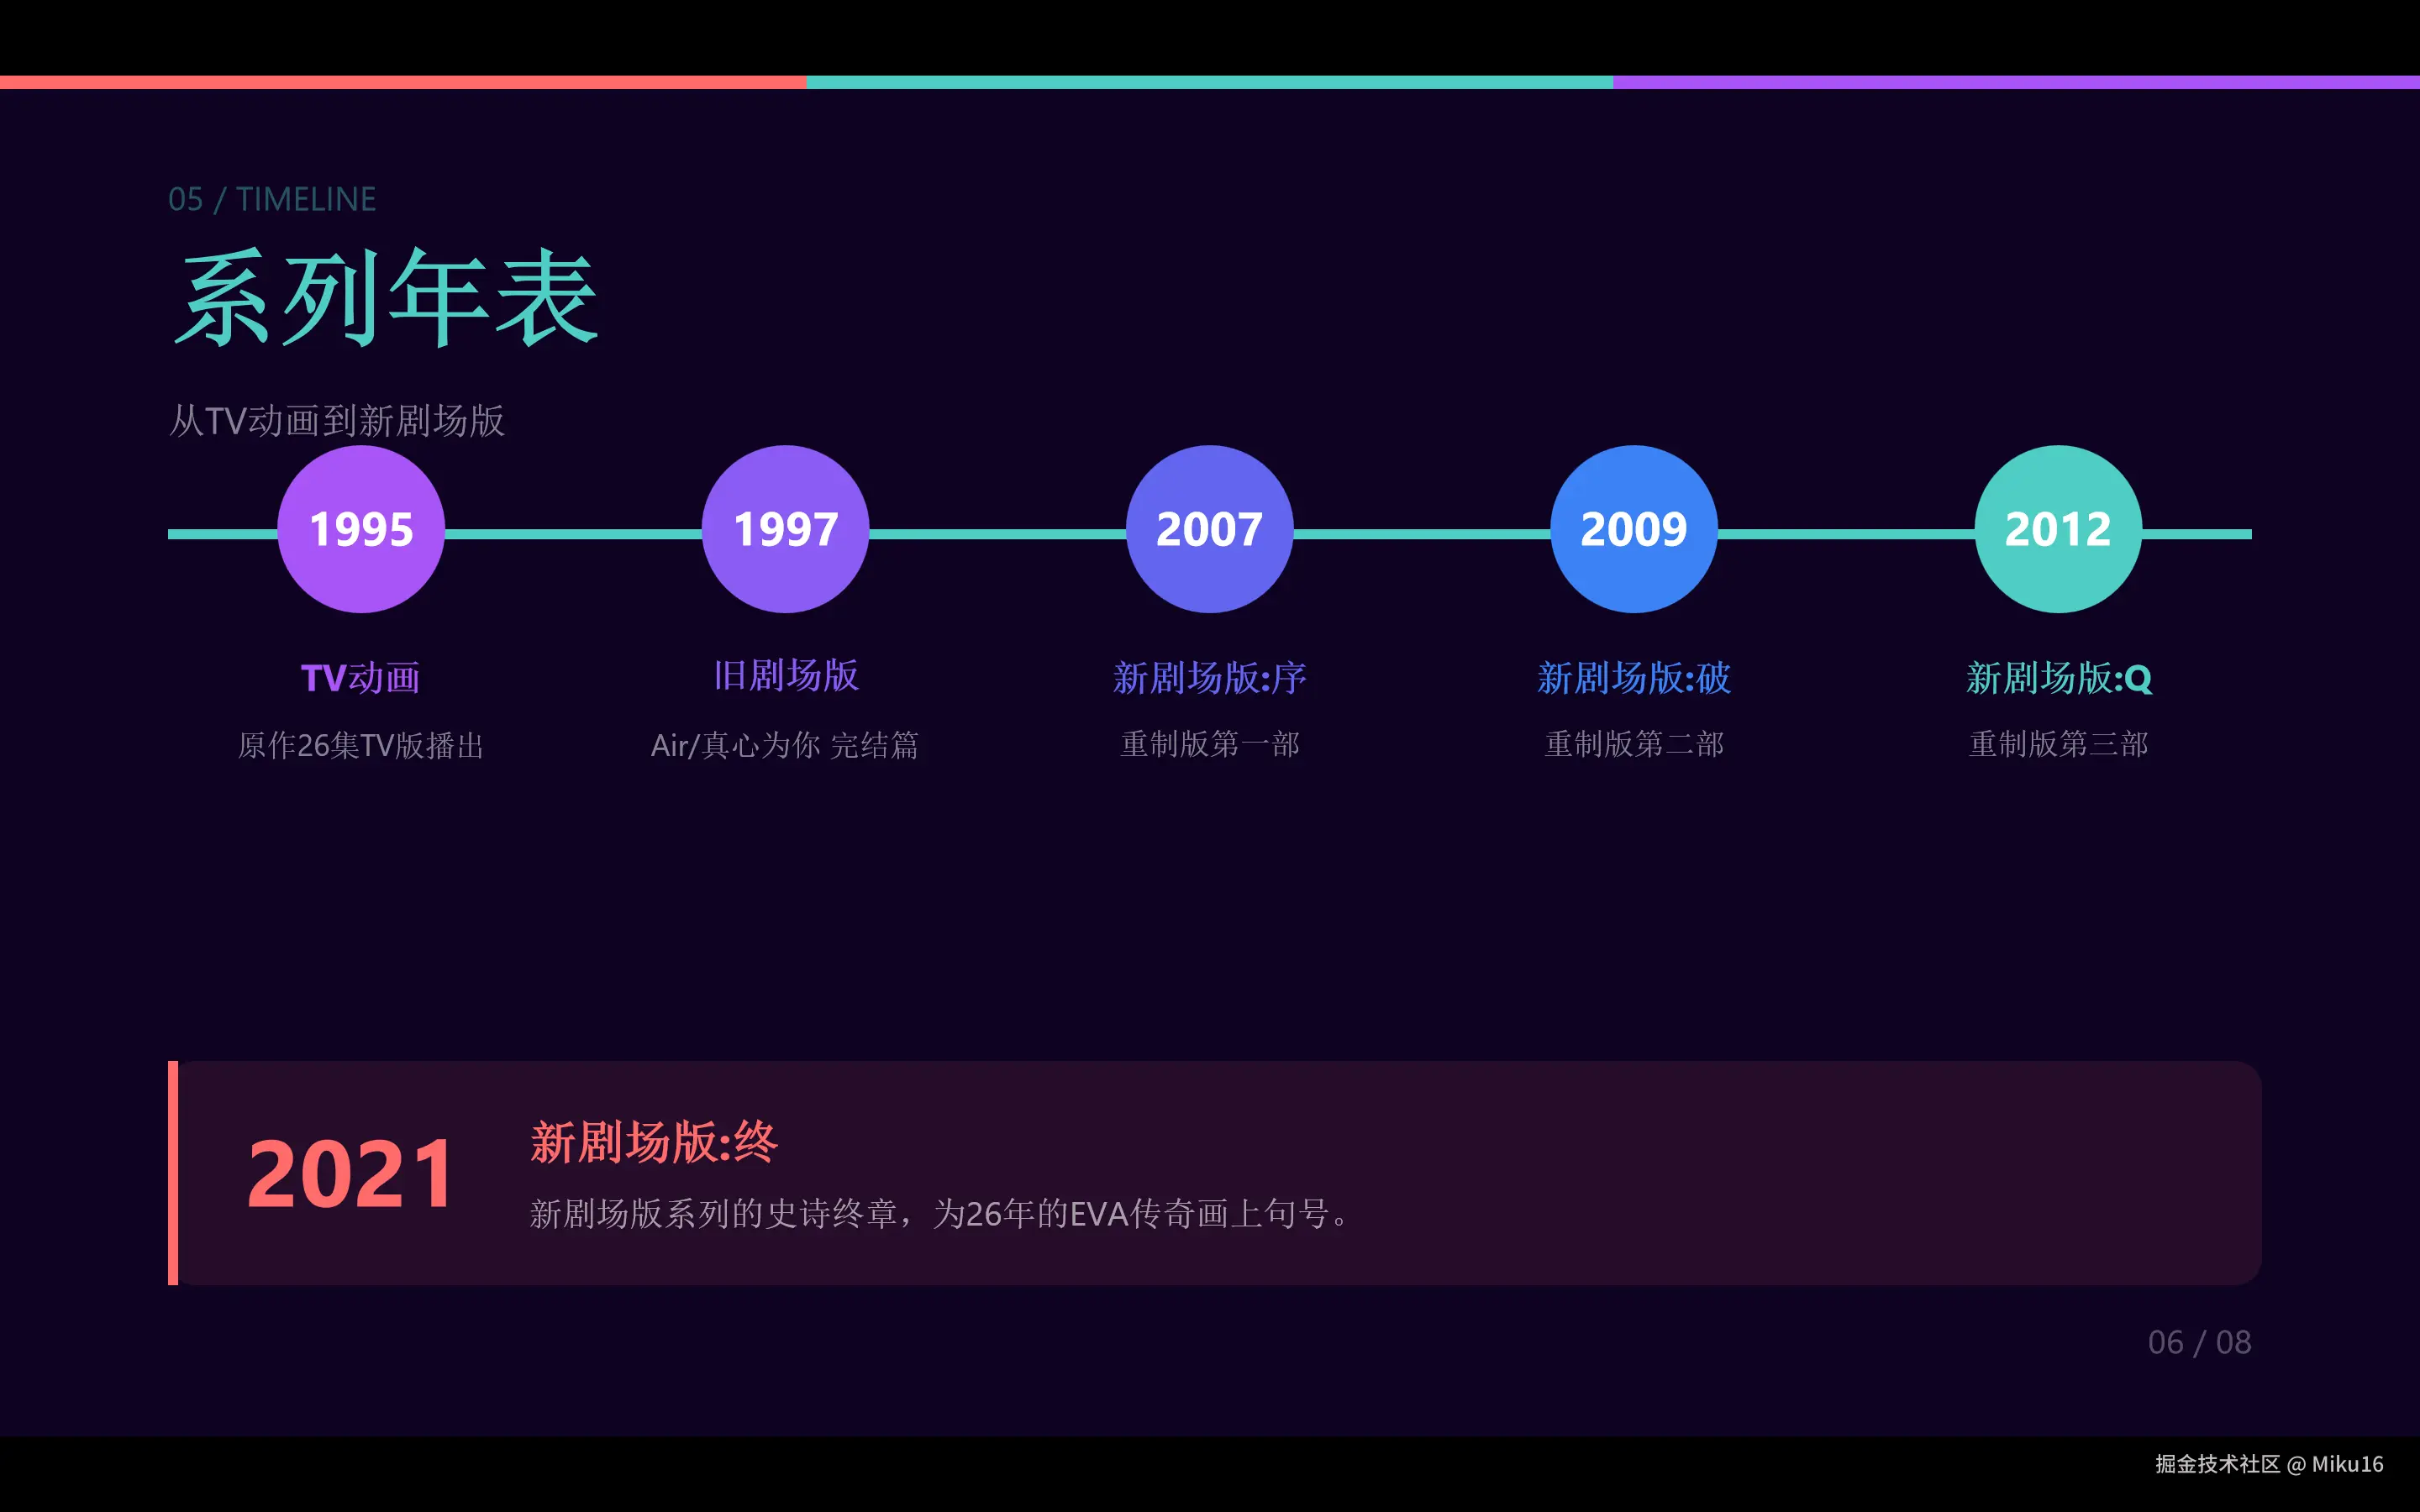
| 系列年表 | 圆形时间节点 + 终章卡片 |
| 文化影响 | 三列影响力卡片 + 统计数据 |
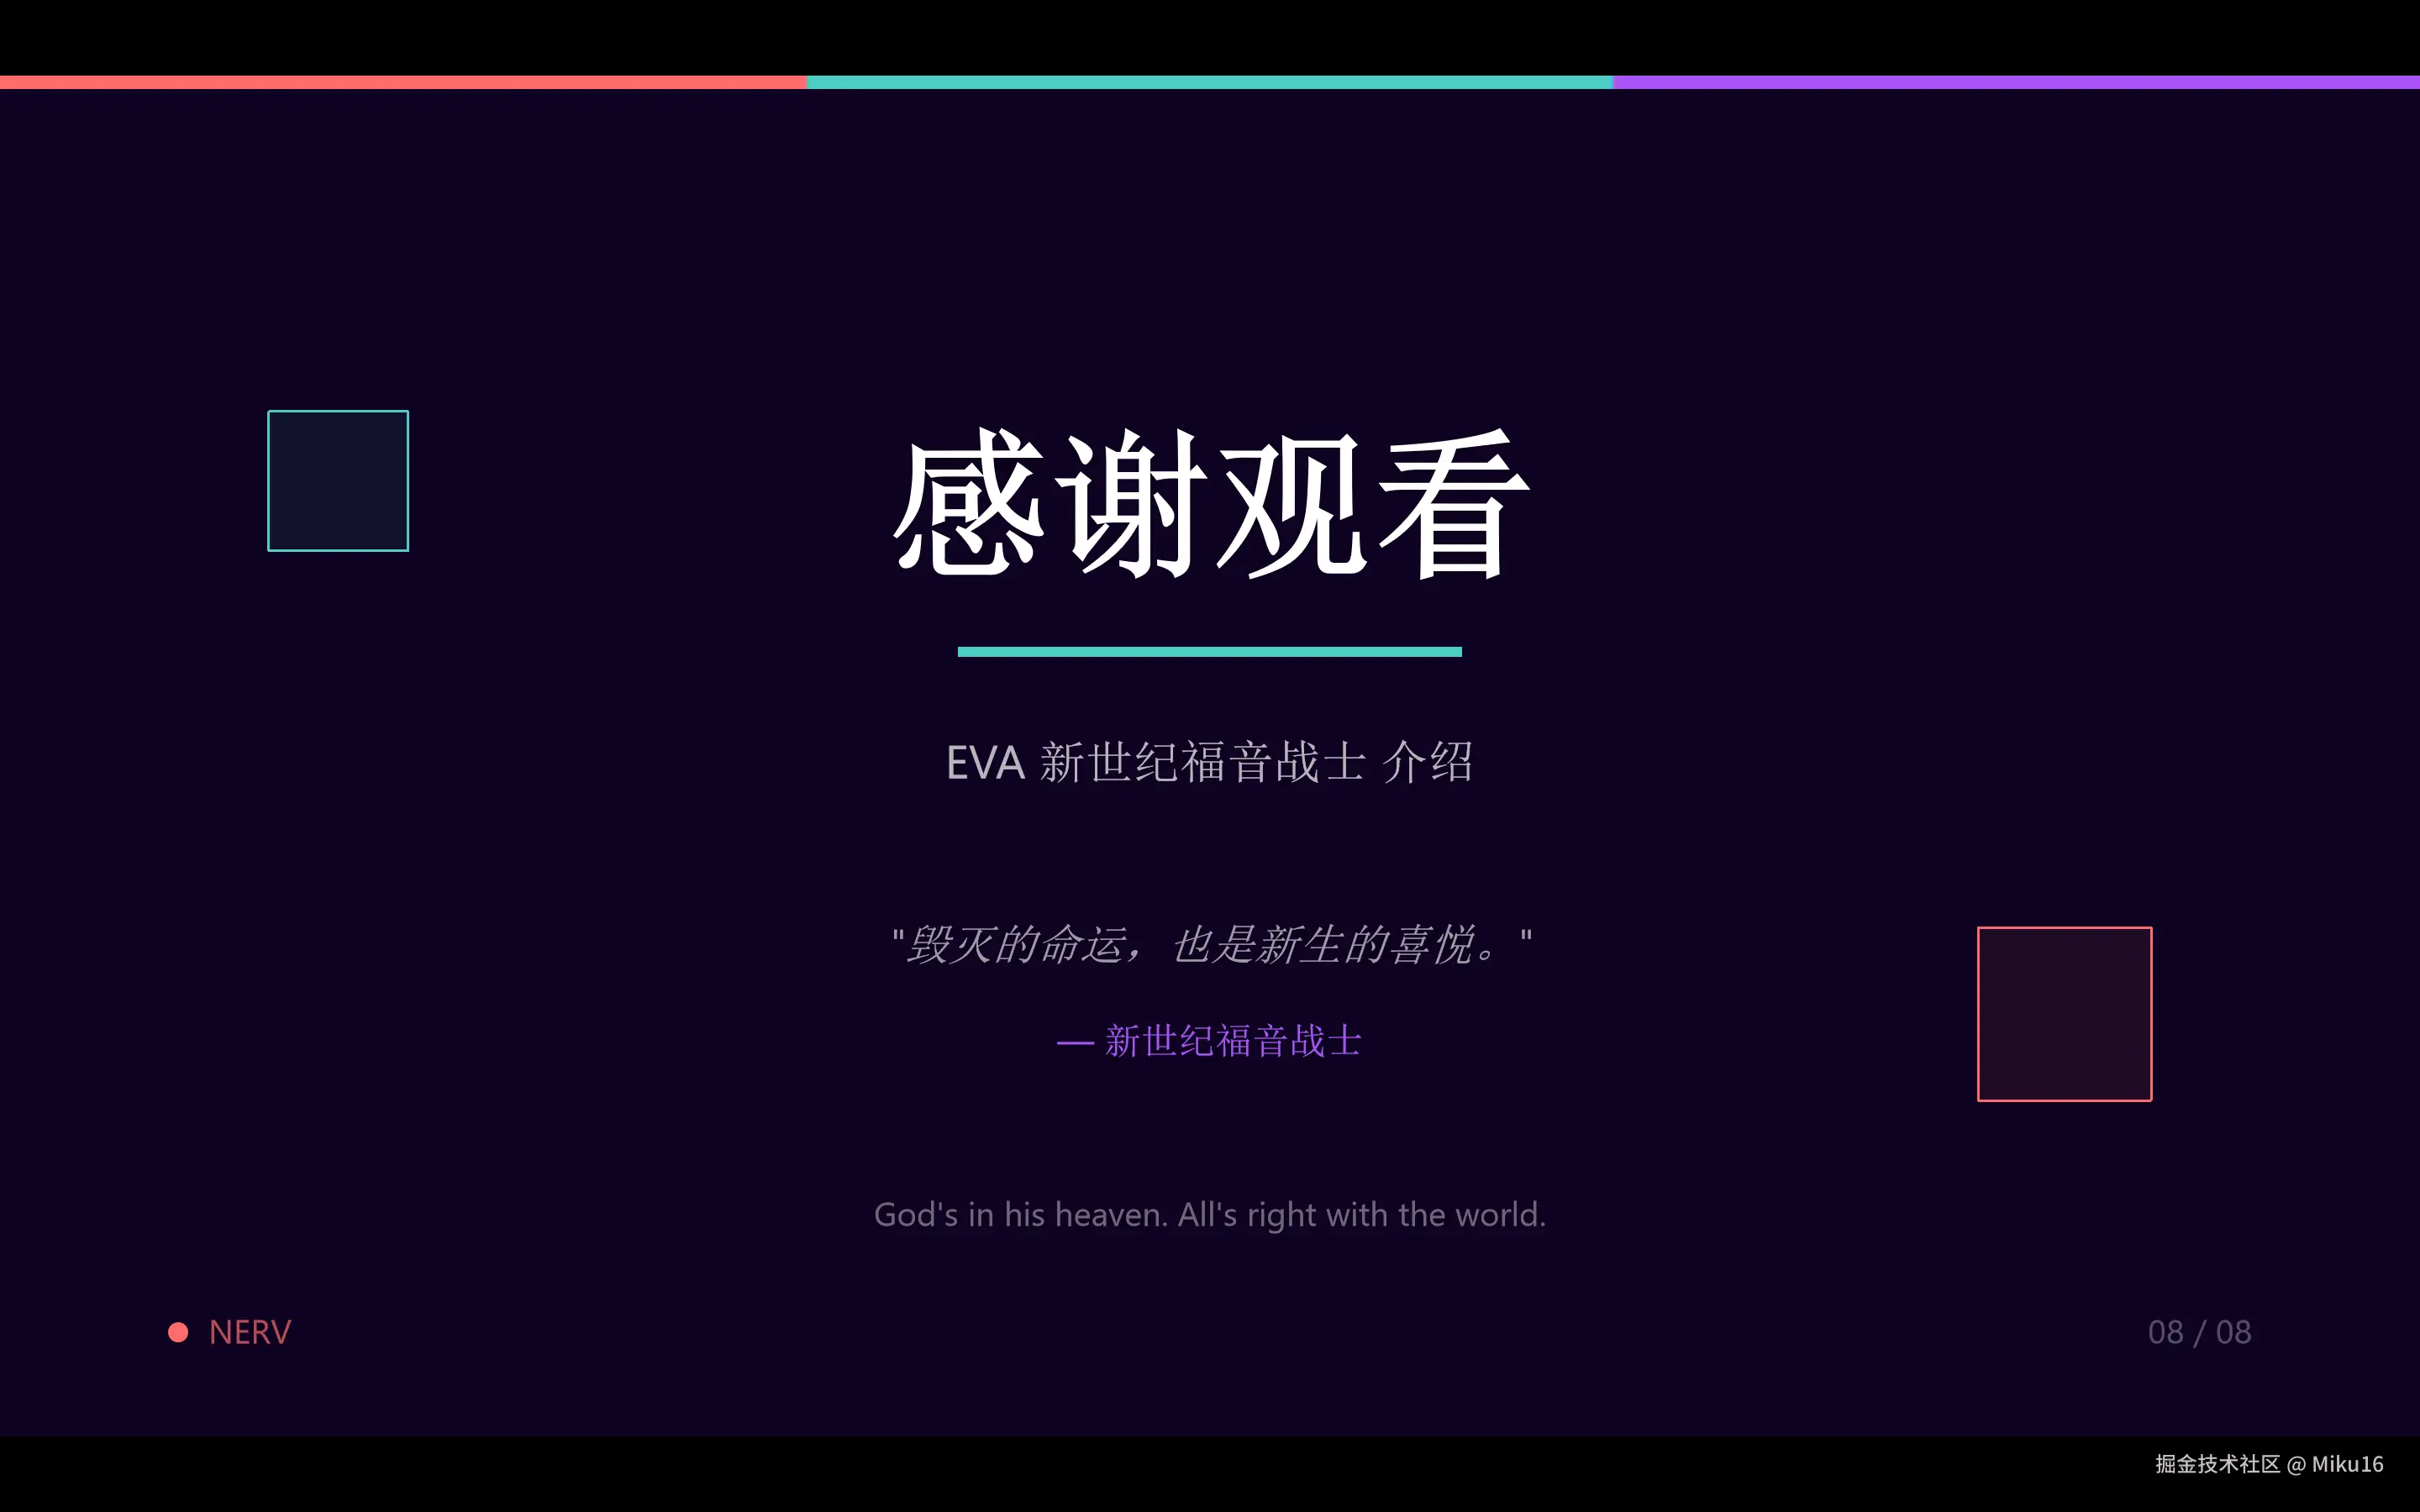
| 感谢页 | 居中标题 + 引用 + NERV 标语 |
执行命令汇总
以下是本次生成 PPT 过程中实际执行的所有相关命令,按时间顺序整理:
1. 环境准备阶段
bash
# 创建项目目录
mkdir -p "A:/study/AI/LLM/Claude-Skills-Test/ppt-test"

# 进入项目目录
cd "A:\study\AI\LLM\Claude-Skills-Test\ppt-test"

# 初始化 Node.js 项目
npm init -y

# 安装核心依赖
npm install pptxgenjs playwright sharp

# 安装 Playwright Chromium 浏览器(首次运行必需)
npx playwright install chromium
2. V1-V3 版本生成
bash
# 生成 V1 英文版 PPT
node create-ppt.js
# 输出: EVA-Introduction.pptx

# 生成 V2 中文版 PPT(修改脚本后)
node create-ppt.js
# 输出: EVA-Introduction-CN.pptx

# 生成 V3 美化版 PPT
node create-ppt.js
# 输出: EVA-Introduction-CN-v3.pptx
3. V4 版本生成
bash
# 生成 V4 专业版 PPT(使用新脚本)
node create-ppt-v4.js
# 输出: EVA-Introduction-CN-v4.pptx
4. 常见错误及修复命令
bash
# 错误: Cannot find module 'pptxgenjs'
# 解决: 安装依赖
npm install pptxgenjs playwright sharp

# 错误: Executable doesn't exist at ...chromium...
# 解决: 安装 Playwright 浏览器
npx playwright install chromium

# 错误: CSS gradients are not supported
# 解决: 修改 HTML 文件,将 linear-gradient 替换为纯色

# 错误: HTML content overflows body by XXpt horizontally
# 解决: 修改 HTML 文件,减小元素宽度或间距

# 错误: Text element <p> has border
# 解决: 修改 HTML 文件,将 border 属性移到单独的 div 元素
5. 文件操作命令
bash
# 查看项目目录结构
dir /b
# 或
ls -la

# 查看生成的 PPTX 文件
dir *.pptx

# 查看 HTML 模板文件
dir *.html
6. Git 版本控制
bash
# 查看仓库状态
git status

# 添加文件到暂存区
git add .gitignore ppt-test/

# 提交更改
git commit -m "feat: 使用 Claude Code pptx-skills 生成 EVA 主题 PPT 项目"

# 查看提交历史
git log --oneline
7. 调试技巧命令
bash
# 在浏览器中预览单个 HTML 幻灯片
start slide1-title-v4.html
# 或直接双击 HTML 文件在浏览器中打开

# 检查 Node.js 版本
node -v

# 检查 npm 版本
npm -v

# 查看已安装的依赖
npm list --depth=0
8. 完整的一键生成流程
如果你想从零开始复现整个项目,执行以下命令:
bash
# 1. 克隆仓库(如果从 GitHub 获取)
git clone https://github.com/16Miku/Claude-Skills-Test.git
cd Claude-Skills-Test/ppt-test

# 2. 安装依赖
npm install

# 3. 安装 Playwright 浏览器
npx playwright install chromium

# 4. 修改 create-ppt-v4.js 中的 html2pptx 路径
#    将 C:/Users/{替换为用户名}/.claude/skills/pptx-skills/scripts/html2pptx.js
#    替换为你本地的 Claude Skills 路径

# 5. 生成 PPT
node create-ppt-v4.js

# 6. 查看生成的文件
dir *.pptx
命令执行环境说明
| 环境 | 版本/说明 |
|---|---|
| 操作系统 | Windows 11 |
| Node.js | v18+ 推荐 |
| npm | v9+ 推荐 |
| Claude Code | 需要安装 pptx-skills 技能 |
| 终端 | PowerShell / CMD / Git Bash |
总结与心得
技术收获
- html2pptx 工作流:理解了 HTML → PPTX 的转换原理
- 精确布局计算:掌握了 pt/inch 转换和边距计算
- 混合模式图片插入:学会了 HTML 占位 + API 插入的技巧
- CSS 限制应对:了解了工具的限制并找到替代方案
设计心得
- 迭代优化:从 V1 到 V4,每次迭代都有明显提升
- 统一视觉语言:三色顶栏 + 章节编号 + 页码系统
- 信息层级:通过颜色、大小、位置区分信息重要性
- 呼吸感:适当留白,避免内容过于拥挤
适用场景
pptx-skills 适合:
- 需要批量生成 PPT 的场景
- 有明确设计规范的项目
- 程序化生成报告/文档
不太适合:
- 需要复杂动画效果
- 需要大量渐变/阴影效果
- 一次性简单 PPT(直接用 PowerPoint 更快)
完整代码仓库
本项目的完整代码和生成的 PPT 文件位于:
css
A:\study\AI\LLM\Claude-Skills-Test\ppt-test\附录:V4 版本完整生成脚本
javascript
const pptxgen = require('pptxgenjs');
const html2pptx = require('C:/Users/XX/.claude/skills/pptx-skills/scripts/html2pptx.js');
const path = require('path');

async function createEVAPresentation() {
    const pptx = new pptxgen();
    pptx.layout = 'LAYOUT_16x9';
    pptx.title = '新世纪福音战士 - 介绍';
    pptx.author = 'Claude Code';

    const slidesDir = path.join(__dirname);
    const imagesDir = path.join(slidesDir, 'images');

    const slides = [
        'slide1-title-v4.html',
        'slide2-story-v4.html',
        'slide3-characters-v4.html',
        'slide4-eva-units-v4.html',
        'slide5-themes-v4.html',
        'slide6-timeline-v4.html',
        'slide7-impact-v4.html',
        'slide8-thanks-v4.html'
    ];

    // 角色图片配置
    const characterImages = [
        { file: 'shinji.png', x: 0.69, y: 1.32, w: 2.08, h: 1.39 },
        { file: 'rei.png', x: 2.86, y: 1.32, w: 2.08, h: 1.39 },
        { file: 'asuka.png', x: 5.03, y: 1.32, w: 2.08, h: 1.39 },
        { file: 'kaworu.png', x: 7.19, y: 1.32, w: 2.08, h: 1.39 }
    ];

    let characterSlide = null;

    for (let i = 0; i < slides.length; i++) {
        const result = await html2pptx(
            path.join(slidesDir, slides[i]),
            pptx
        );

        if (slides[i] === 'slide3-characters-v4.html') {
            characterSlide = result.slide;
        }
    }

    // 插入角色图片
    if (characterSlide) {
        for (const img of characterImages) {
            characterSlide.addImage({
                path: path.join(imagesDir, img.file),
                x: img.x, y: img.y, w: img.w, h: img.h
            });
        }
    }

    await pptx.writeFile({
        fileName: path.join(slidesDir, 'EVA-Introduction-CN-v4.pptx')
    });
}

createEVAPresentation();
本文由 Claude Code 协助完成,记录于 2026 年 1 月 11 日