
⚡⚡⚡ 新年新文⚡⚡⚡
文章目录
1,前期准备
1.1,Python环境搭建
- 执行如下命令,使用yum install命令安装Python的依赖包:
bash
yum install -y libffi-devel wget gcc make zlib-devel openssl openssl-devel ncurses-devel openldap-devel gettext bzip2-devel xz-devel sqlite*- 下载Python安装包,显示100%即为下载成功:
bash
wget 'https://clouder-labfileapp.oss-cn-hangzhou.aliyuncs.com/database/Python-3.9.10.tar.xz'- 编译安装,请依次执行以下命令
bash
# 解压安装包
tar -xvJf Python-3.9.10.tar.xz

# 进入安装包目录
cd Python-3.9.10

# 配置安装目录
./configure prefix=/usr/local/python3

# 编译,make工程管理器就是一个"自动编译管理器",这里的"自动"是指它能够根据文件时间戳自动发现更新过的文件而减少工作量,同时,他通过读入makefile文件的内容来执行大量编译工作。
make
#说明:此过程耗时较长,请您耐心等待。
#编译安装
make install

# 给Python和包管理器创建软连接
ln -fs /usr/local/python3/bin/python3 /usr/bin/python3
ln -fs /usr/local/python3/bin/pip3 /usr/bin/pip3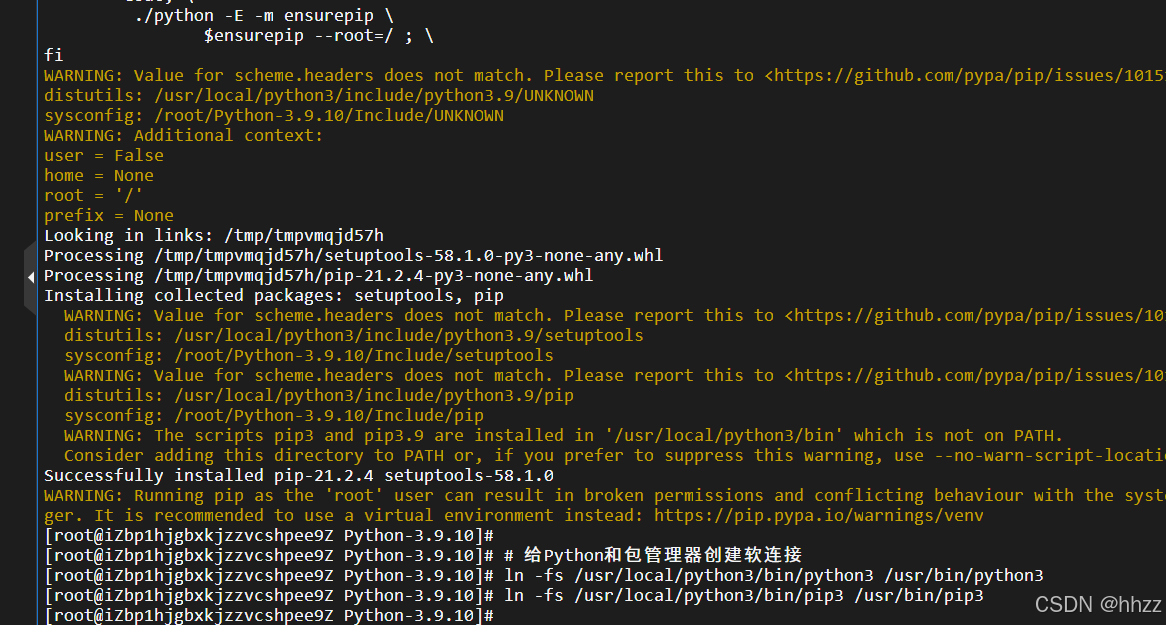
- 执行以下命令,安装Python虚拟环境。
bash
#创建目录
mkdir -p /apps && cd $_

#创建虚拟环境
python3 -m venv venv- 执行以下命令,应用Python虚拟环境。
bash
# 通常情况下一个应用服务一个虚拟环境,每个虚拟环境可以安装不同版本的不同模块
source /apps/venv/bin/activate- 执行以下命令,配置pip源。
bash
pip config set global.index-url https://mirrors.aliyun.com/pypi/simple/
pip config set install.trusted-host mirrors.aliyun.com- 执行以下命令,安装python模块
bash
# 1. 升级 pip
pip install --upgrade pip

# 2. 升级 setuptools 和 wheel
pip install --upgrade setuptools wheel

# 3. 安装 pandas(指定稍旧但稳定的版本)
pip install pandas==2.2.3

pip install pymysql sqlalchemy matplotlib pyyaml- 执行以下命令,验证Python模块安装成功。
bash
pip list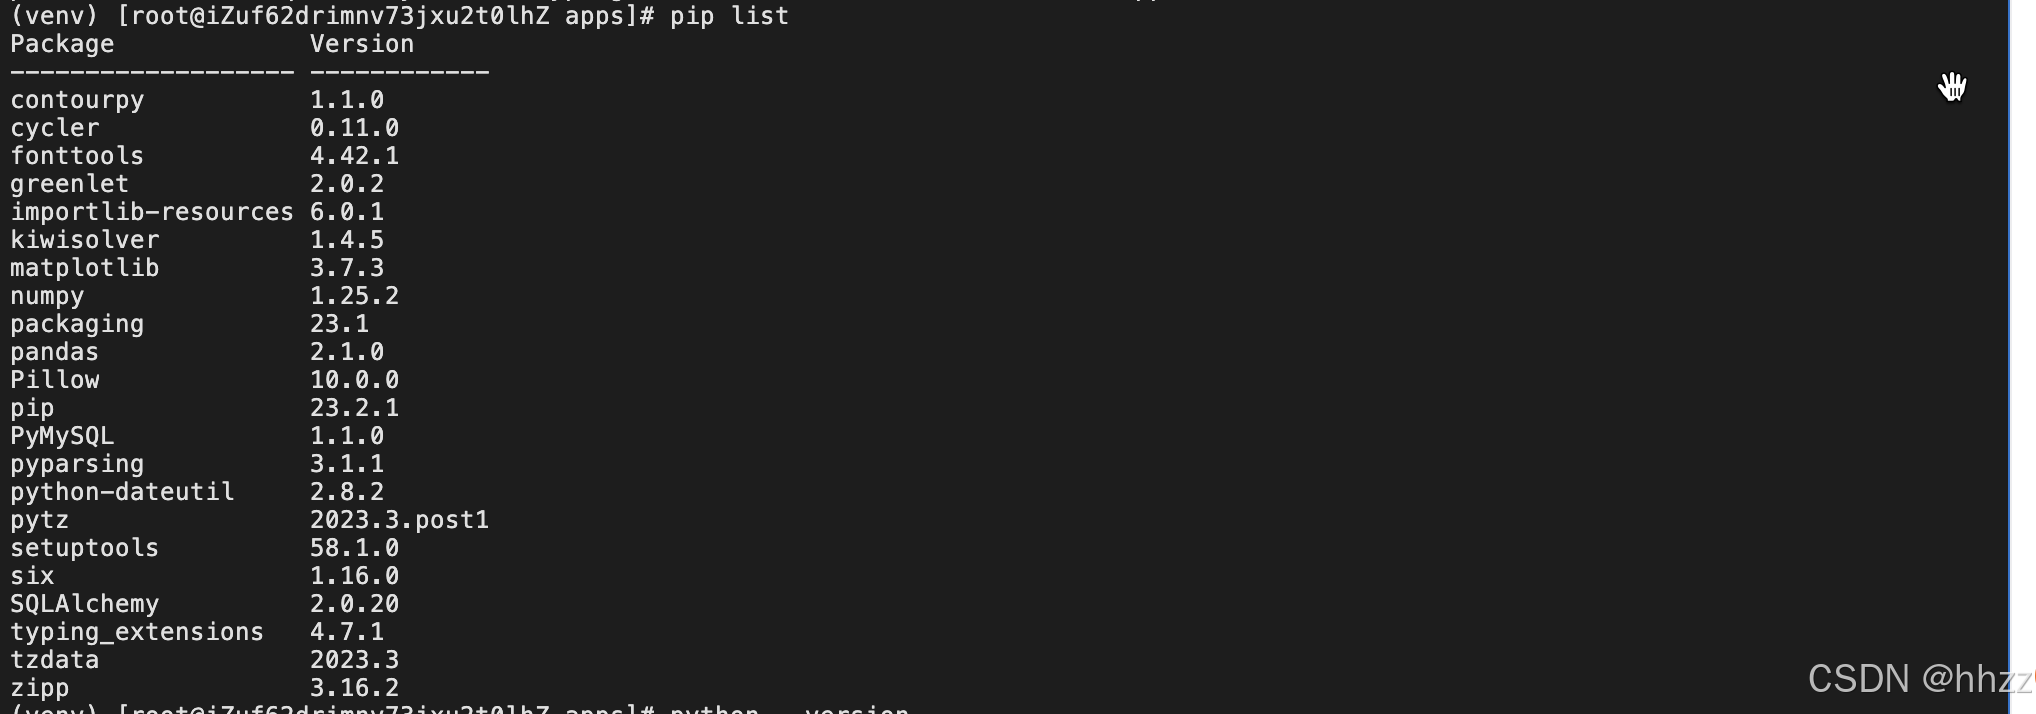
- 执行以下命令,验证Python安装成功。
bash
python --version- 执行以下命令,安装MySQL。
bash
yum install mysql -y1.2,安装连接MySQL的Python模块:
bash
pip install pymysql安装完成以后,我们需要在服务器上创建一个Python文件,用于编写代码内容,代码里面的内容包括:连接MySQL,创建游标,通过游标执行SQL。

Python脚本代码:
python
#!/usr/bin/python
import pymysql


# 1、打开数据库连接
db = pymysql.connect(host='localhost',user='root',password='test123',database='goods')

# 2、使用 cursor() 方法创建一个游标对象 cursor
cursor = db.cursor()

# 3、使用 execute()  方法执行 SQL
cursor.execute("SELECT VERSION()")

# 使用 fetchone() 方法获取单条数据.
data = cursor.fetchone()

# 打印结果
print(f"Database version : {data}")

# 4、关闭数据库连接
db.close()
2,Python操作数据库
2.1,Python连接MySQL数据库
我们借助Python的pymysql模块连接MSQL数据库,pymysql是一个用于Python编程的第三方模块,用于连接和操作MySQL数据库。它提供了一个简单而强大的接口,使开发者能够轻松地在Python程序中执行各种数据库操作,如查询、插入、更新和删除数据等。
导入模块
python
import pymysql打开数据库连接
注意:这里已经假定存在数据库aliyun,db指定了连接的数据库,当然这个参数也可以没有
bash
#打开数据库连接
#注意:这里已经假定存在数据库aliyun,db指定了连接的数据库,当然这个参数也可以没有
db = pymysql.connect(
host='127.0.0.1',  # mysql服务器地址
port=3306,         # mysql服务器端口号
user='root',       # 用户名
passwd='aliyun',     # 密码
db='aliyun',       # 数据库名称
charset='utf8')    # 连接编码,存在中文的时候,连接需要添加charset='utf8',否则中文显示乱码
创建游标对象cursor
bash
#使用cursor方法创建一个游标
cursor = db.cursor()
2.2,数据库基本操作
使用execute()方法来实现对数据库的基本操作。
查询数据库版本
python
#查询数据库版本
cursor.execute("select version()")
data = cursor.fetchone()
print(f"Database version : {data}")
创建数据库
python
#创建数据库aliyun
cursor.execute("drop database if exists aliyun")  #如果数据库已经存在,
那么删除后重新创建
python
sql = "create database aliyun"
cursor.execute(sql)
创建数据表
python
#创建数据库表
cursor.execute("drop table if exists goods")  #如果数据表已经存在,那么删除后重新创建
sql = """
CREATE TABLE goods (
FIRST_NAME CHAR(20) NOT NULL,
LAST_NAME CHAR(20),
AGE INT,
SEX CHAR(1),
INCOME FLOAT )
"""
cursor.execute(sql)
查询操作
python
#查询数据表数据
sql = "select * from goods"
cursor.execute(sql)
data = cursor.fetchone()
print(data)
插入操作
sql
#插入数据
sql = "insert into goods values ('小','明',20,'W',5000)"
cursor.execute(sql)
db.commit()
#查看插入后的结果
sql = "select * from goods"
cursor.execute(sql)
data = cursor.fetchone()
print(data)
指定条件查询数据
python
#指定条件查询数据表数据
sql = " select * from goods where income > '%d' " % (1000)
cursor.execute(sql)
data = cursor.fetchone()
print(data)
更新操作
python
#更新数据库
sql = " update goods set age = age+1 where sex = '%c' " % ('W')
cursor.execute(sql)
db.commit()
#查看更新后的结果
sql = "select * from goods"
cursor.execute(sql)
data = cursor.fetchone()
print(data)
删除操作
python
#删除数据
sql = " delete from goods where age > '%d' " % (30)
cursor.execute(sql)
db.commit()
#查看更新后的结果
sql = "select * from goods"
cursor.execute(sql)
data = cursor.fetchone()
print(data)
关闭数据库连接
python
db.close()3,用Python实现统计昨天用户增长量
脚本内容如下:
python
#!/usr/bin/python3
from datetime import datetime, timedelta, date
from dateutil.relativedelta import relativedelta
import pymysql

# 今天、昨天日期
today = date.today()
yesterday = today - relativedelta(days=1)

# 将日期格式化为SQL中需要的格式
sf_today = datetime.strftime(today,"%Y-%m-%d")
sf_yesterday = datetime.strftime(yesterday,"%Y-%m-%d")

# 统计昨天、前天用户数量的SQL
sql_usercount_yesterday = f"SELECT COUNT(*) FROM `users` WHERE register_time<'{sf_today}'"
sql_usercount_yesterdaybefore = f"SELECT COUNT(*) FROM `users` WHERE register_time<'{sf_yesterday}'"

# 建立连接
conn = pymysql.connect(host="127.0.0.1", port=3306, user="root", passwd='test13579', db='goods',charset="utf8")

# 创建游标
cursor = conn.cursor()

# 执行SQL
cursor.execute(sql_usercount_yesterday)
usercount_yesterday = cursor.fetchone()

cursor.execute(sql_usercount_yesterdaybefore)
usercount_yesterdaybefore  = cursor.fetchone()

# SQL执行结果运算得到昨天用户增长数
print("昨天用户新增人数: ",usercount_yesterday[0] - usercount_yesterdaybefore[0])


# 关闭连接
conn.close()
注意:dateutil需要安装python-dateuti模块(pip install python-dateuti)。
感谢阅读,下期更精彩 👋👋👋