搭建可视化页面
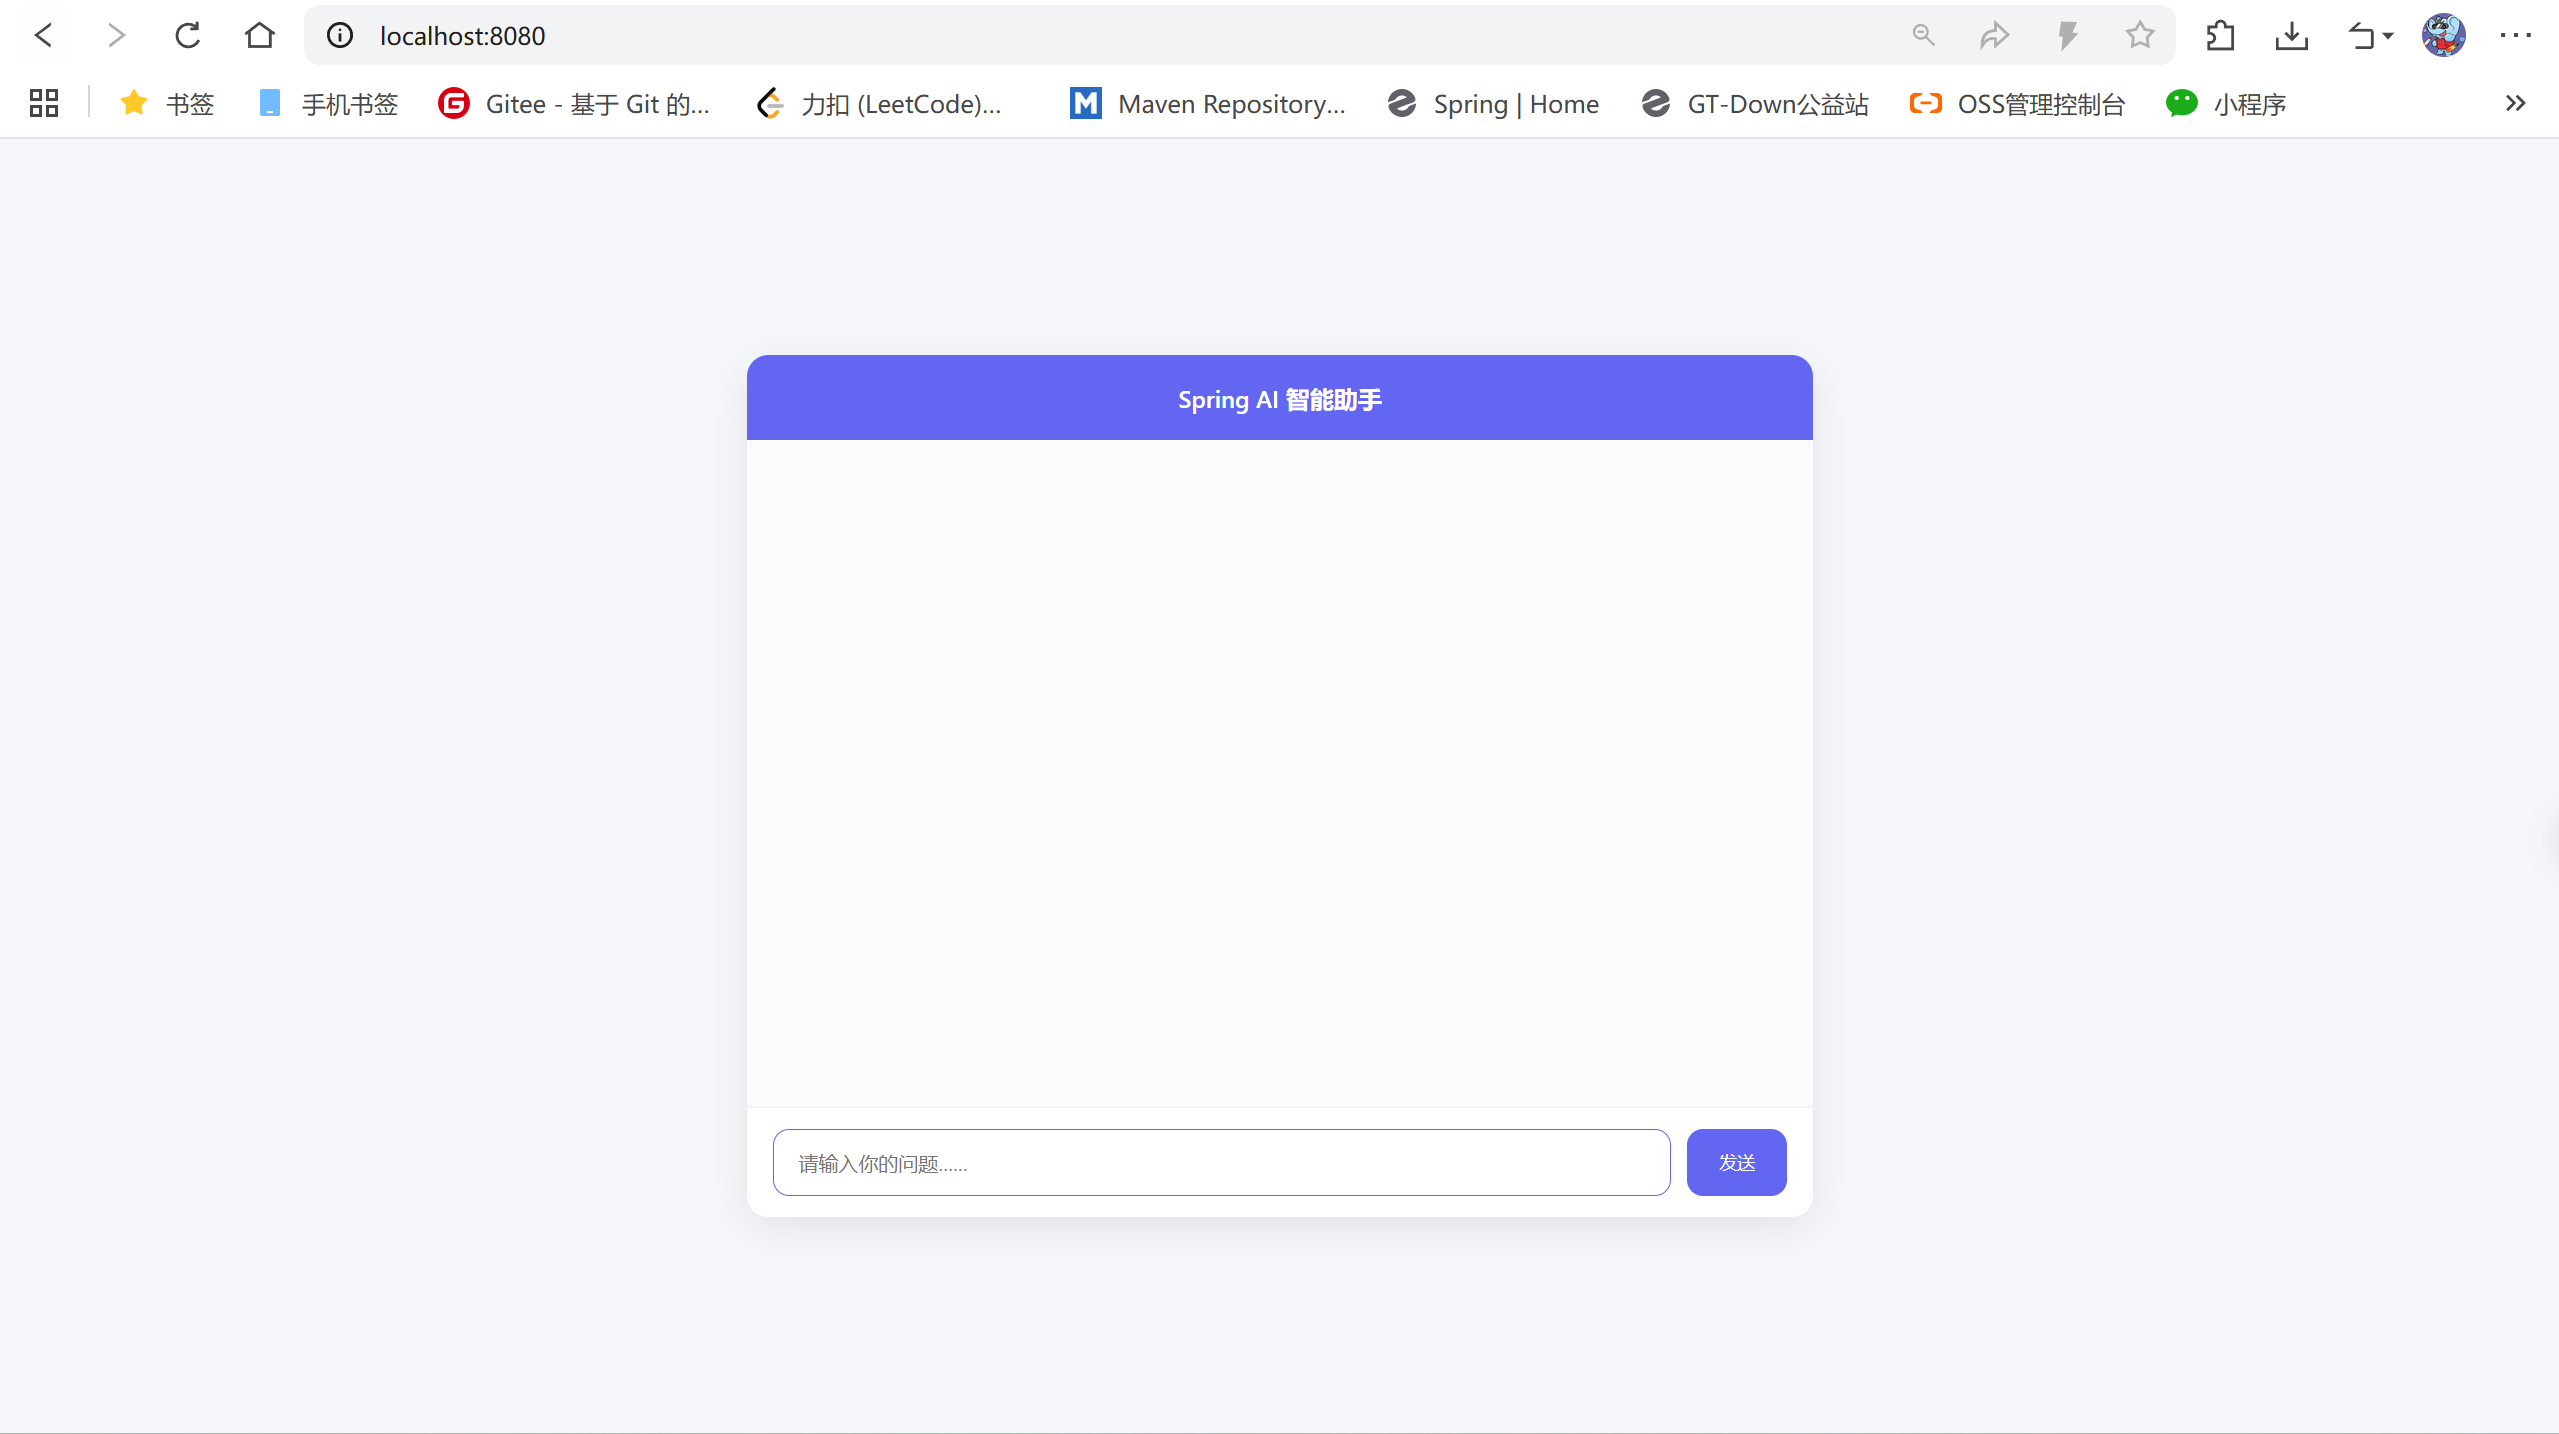
在resource中新建一个文件夹static,创建index.html,要注意的是文件夹必须是static,否则springboot无法加载index.html

html
<!DOCTYPE html>
<html lang="zh-CN">
<head>
    <meta charset="UTF-8">
    <meta name="viewport" content="width=device-width, initial-scale=1.0">
    <title>Spring AI 聊天助手</title>
    <style>
        * {
            margin: 0;
            padding: 0;
            box-sizing: border-box;
            font-family: -apple-system, BlinkMacSystemFont, "Segoe UI", Roboto, "Helvetica Neue", Arial, sans-serif;
        }

        body {
            background-color: #f5f7fa;
            display: flex;
            justify-content: center;
            align-items: center;
            min-height: 100vh;
            padding: 20px;
        }

        .chat-container {
            width: 100%;
            max-width: 800px;
            background: white;
            border-radius: 16px;
            box-shadow: 0 8px 30px rgba(0, 0, 0, 0.08);
            overflow: hidden;
            display: flex;
            flex-direction: column;
        }

        .chat-header {
            background-color: #6366f1;
            color: white;
            padding: 20px;
            text-align: center;
            font-size: 18px;
            font-weight: 600;
        }

        .chat-body {
            flex: 1;
            padding: 24px;
            min-height: 500px;
            max-height: 700px;
            overflow-y: auto;
            background: #fafbfc;
        }

        .message-bubble {
            background: white;
            padding: 16px 20px;
            border-radius: 14px;
            box-shadow: 0 2px 6px rgba(0, 0, 0, 0.04);
            line-height: 1.7;
            font-size: 15px;
            color: #333;
            white-space: pre-wrap;
            word-break: break-word;
            border: 1px solid #eee;
        }

        .loading {
            color: #6366f1;
            font-style: italic;
            margin-top: 10px;
            animation: fade 1.5s infinite;
        }

        @keyframes fade {
            0%, 100% { opacity: 0.5; }
            50% { opacity: 1; }
        }

        .chat-footer {
            padding: 16px 20px;
            border-top: 1px solid #eee;
            display: flex;
            gap: 12px;
        }

        #promptInput {
            flex: 1;
            padding: 14px 18px;
            border: 1px solid #ddd;
            border-radius: 12px;
            outline: none;
            font-size: 15px;
            transition: border 0.2s;
        }

        #promptInput:focus {
            border-color: #6366f1;
        }

        #sendBtn {
            padding: 14px 24px;
            background: #6366f1;
            color: white;
            border: none;
            border-radius: 12px;
            font-weight: 500;
            cursor: pointer;
            transition: background 0.2s;
        }

        #sendBtn:hover {
            background: #4f46e5;
        }

        #sendBtn:disabled {
            background: #a5b4fc;
            cursor: not-allowed;
        }
    </style>
</head>
<body>

<div class="chat-container">
    <div class="chat-header">Spring AI 智能助手</div>
    <div class="chat-body" id="response"></div>
    <div class="chat-footer">
        <input type="text" id="promptInput" placeholder="请输入你的问题......" autocomplete="off">
        <button id="sendBtn">发送</button>
    </div>
</div>

<script>
    const responseEl = document.getElementById('response');
    const sendBtn = document.getElementById('sendBtn');
    const promptInput = document.getElementById('promptInput');

    let eventSource = null;

    // 发送问题
    function sendMessage() {
        const prompt = promptInput.value.trim();
        if (!prompt) return;

        // 清空界面 & 禁用按钮
        responseEl.innerHTML = '<div class="loading">AI 思考中,请稍候......</div>';
        sendBtn.disabled = true;
        promptInput.disabled = true;

        // 关闭旧连接
        if (eventSource) eventSource.close();

        // 创建新连接
        eventSource = new EventSource(`http://localhost:8080/ai/chat?prompt=${encodeURIComponent(prompt)}`);

        let fullText = '';
        eventSource.onmessage = function (event) {
            fullText += event.data;
            responseEl.innerHTML = `<div class="message-bubble">${fullText}</div>`;
        };

        eventSource.onerror = function () {
            responseEl.innerHTML += '<div style="color:red;">连接断开。。。</div>';
            closeConnection();
        };

        eventSource.onopen = function () {
            responseEl.innerHTML = '<div class="loading">正在接收回复......</div>';
        };
    }

    function closeConnection() {
        if (eventSource) eventSource.close();
        sendBtn.disabled = false;
        promptInput.disabled = false;
        promptInput.value = '';
        eventSource = null;
    }

    // 绑定事件
    sendBtn.addEventListener('click', sendMessage);
    promptInput.addEventListener('keydown', e => e.key === 'Enter' && sendMessage());
</script>

</body>
</html>
启动springboot后访问浏览器,效果展示
流式输出
修改之前的chat函数:
java
 @GetMapping("/chat")
    public Flux<String> chat(@RequestParam String prompt) {
        return chatClient.prompt(prompt).stream().content();
    }
去浏览器测试,
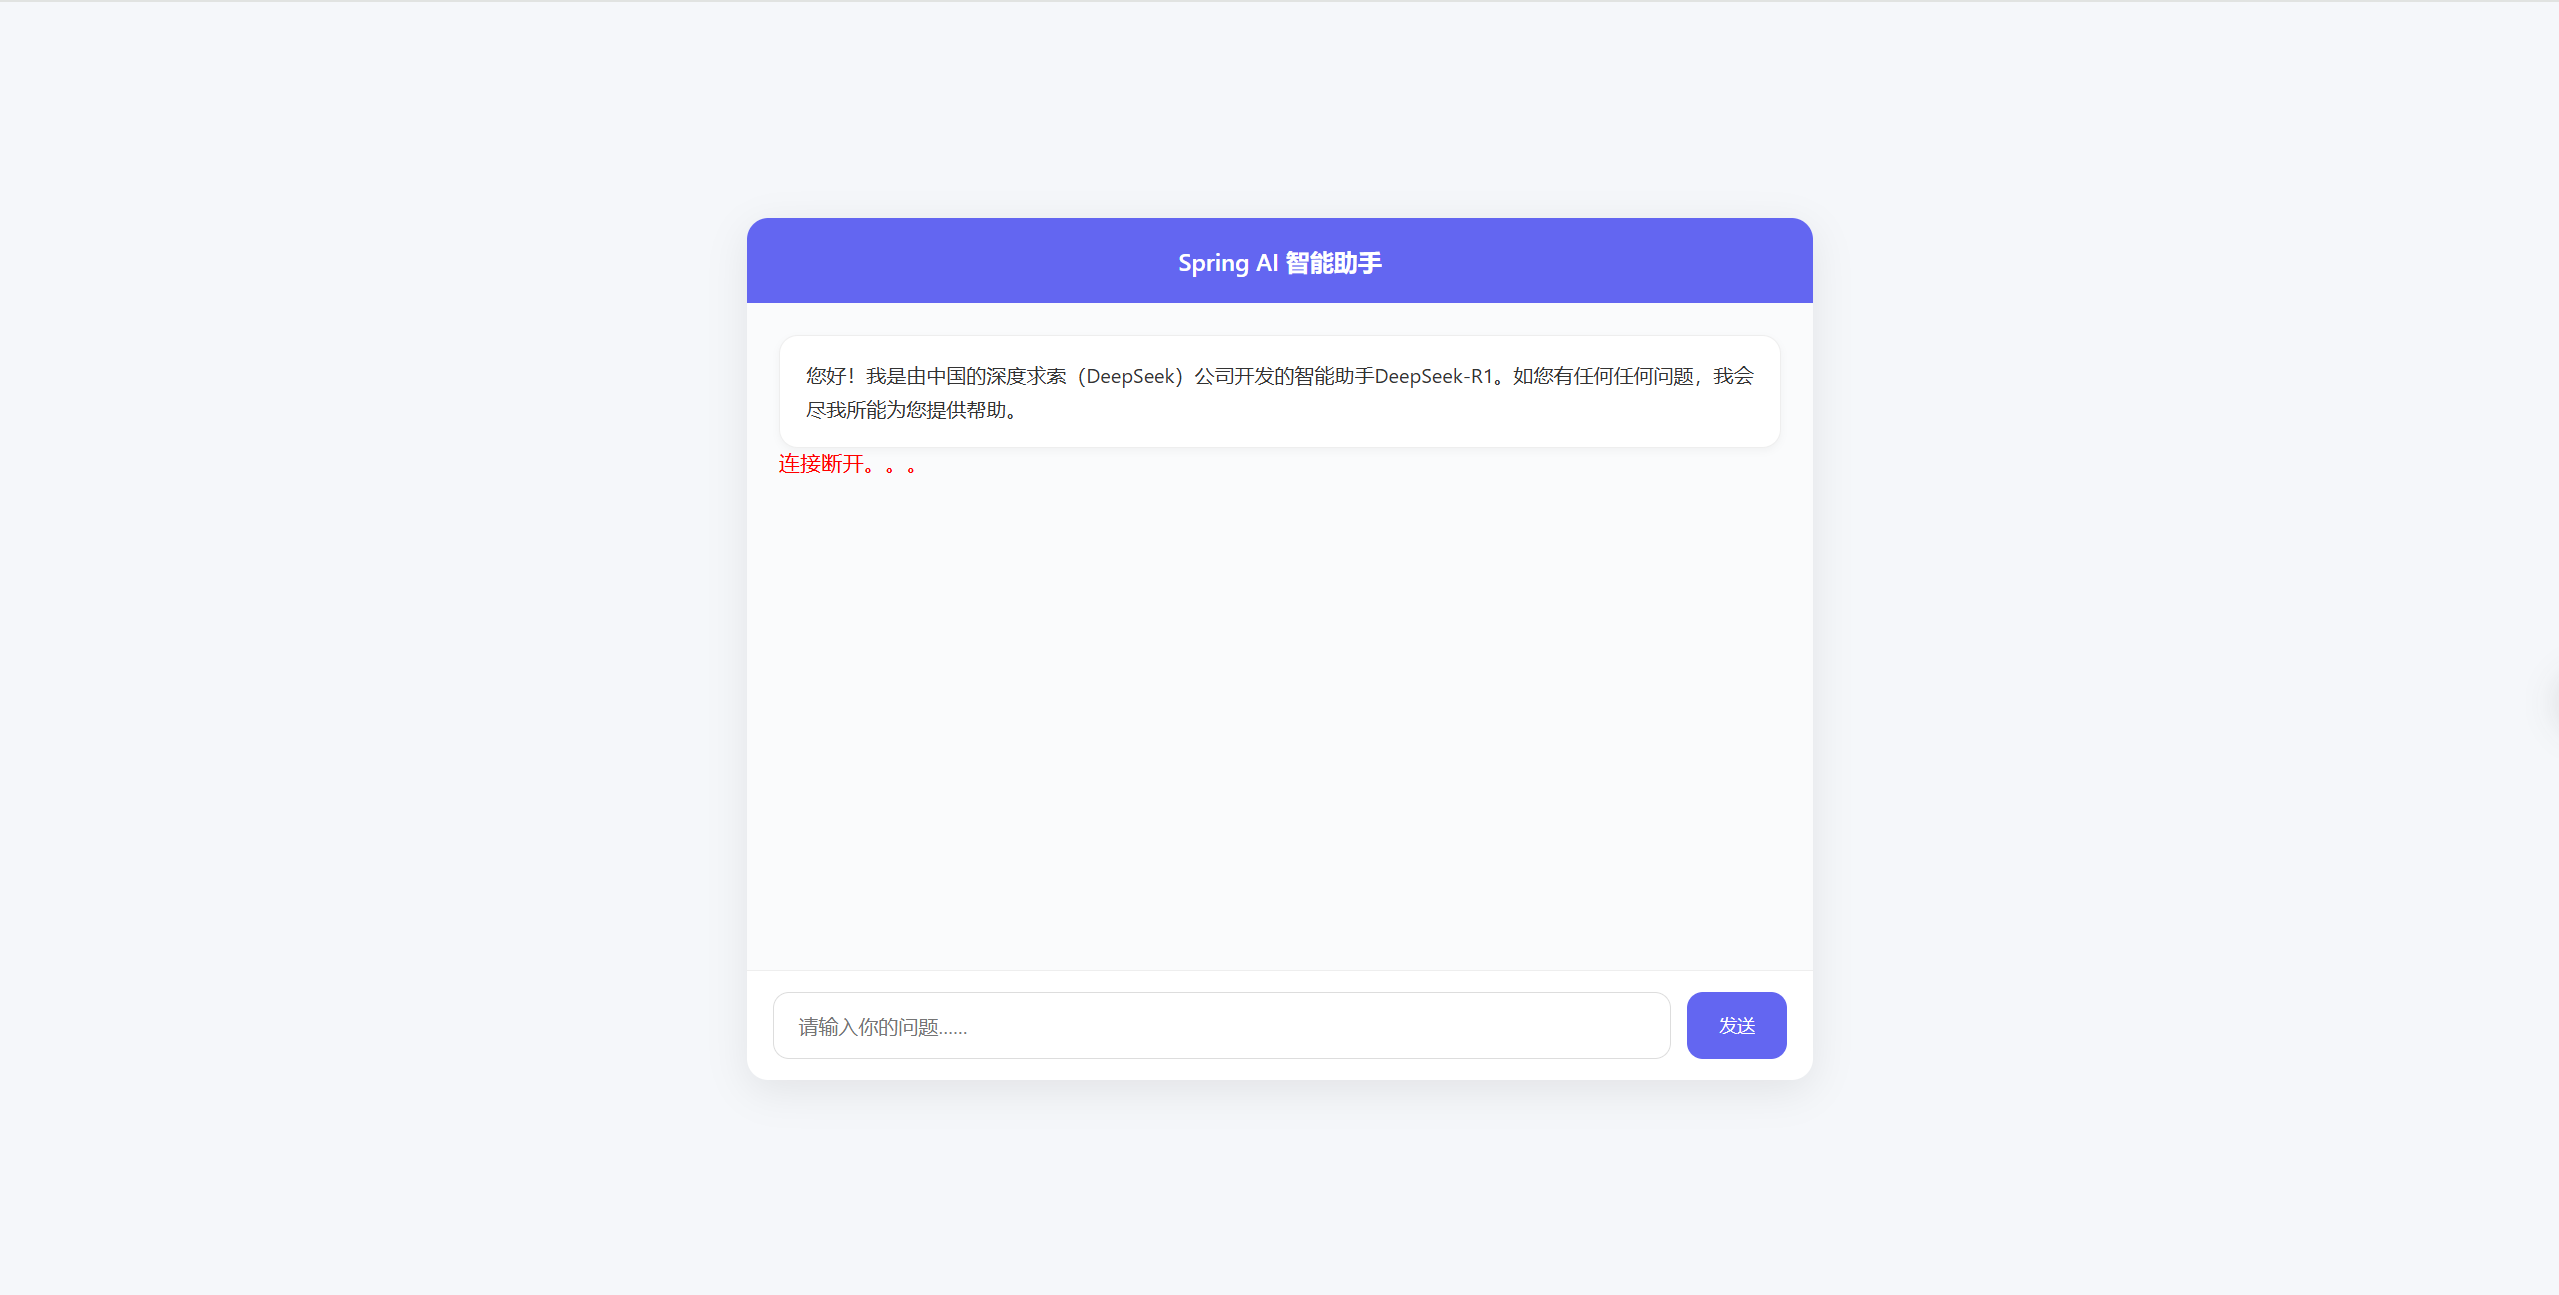
那么ai在返回结果时就可以一个词一个词的输出了,极大的增强了用户的体验,而不是像之前一样输出所有文字后在返回给用户。
记忆化
到目前为止,ai其实只能记录我们的一次对话,无法获取之前对话的内容。我们可以配置chatclient来解决这个问题:
java
@Bean
    public ChatClient chatClient(OllamaChatModel model) {
        return ChatClient.builder(model)
                .defaultAdvisors(MessageChatMemoryAdvisor.builder(MessageWindowChatMemory.builder()
                        .maxMessages(10) //最大记忆的对话次数
                        .build())
                        .conversationId("use") //会话id
                        .build())
                .build();
    }
可以看到我们为chatclint配置了defaultAdvisors,在advisor中我们可以配置MessageWindowChatMemory从而实现记忆功能。