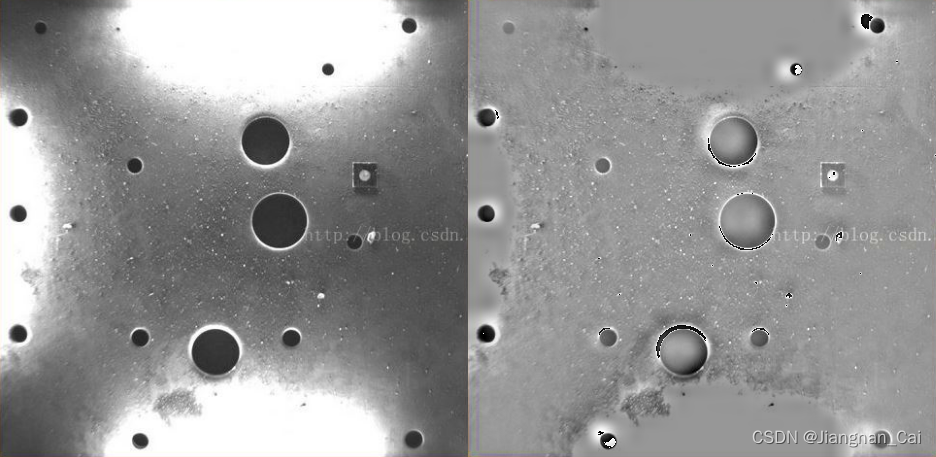
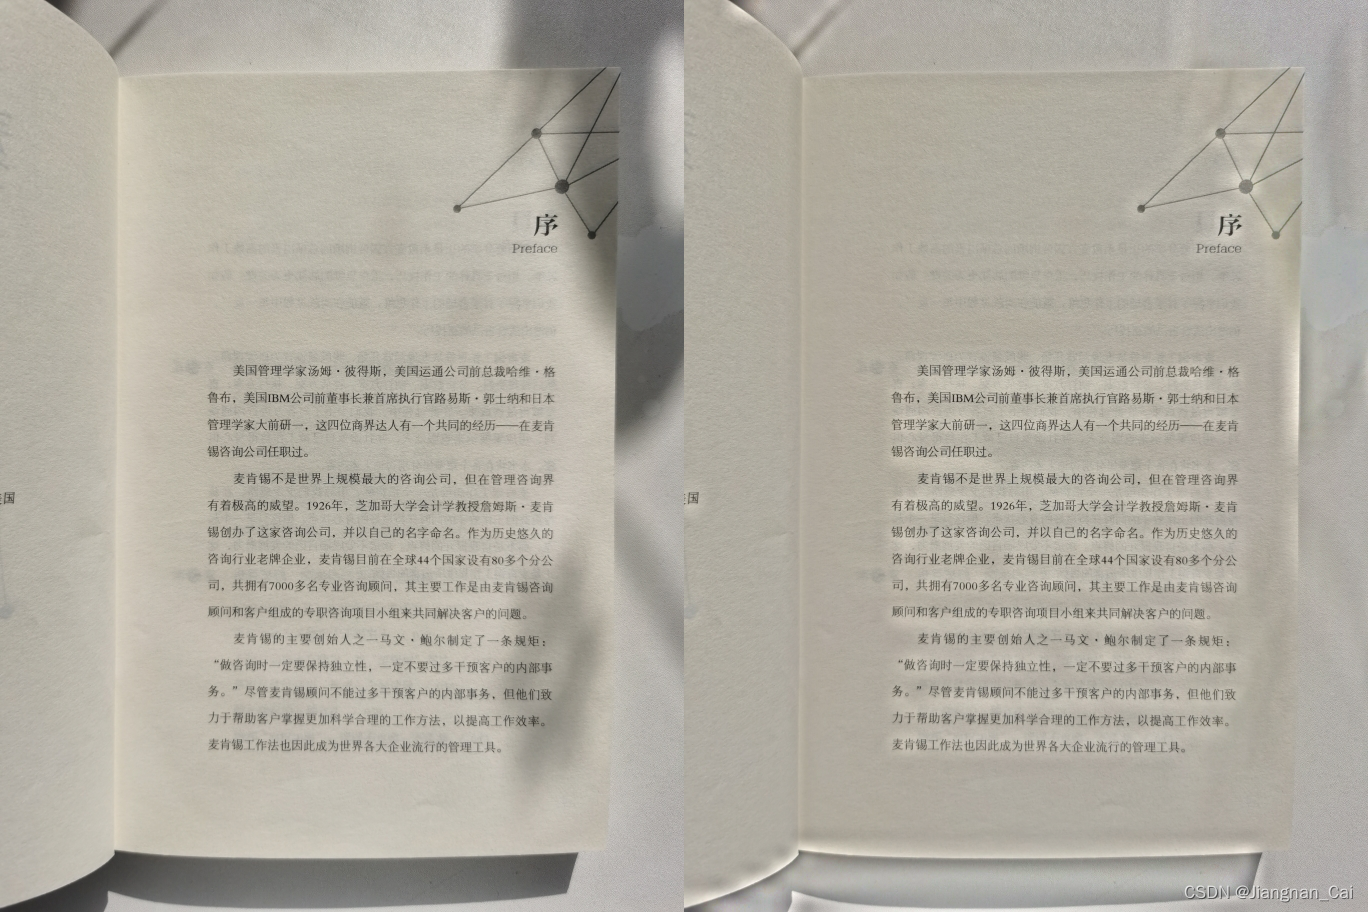
这篇文章主要是对参考文章里面实现一种小拓展:
- 可处理彩色图片(通过对 HSV 的 V 通道进行处理)
- 本来想将嵌套循环改成矩阵运算的,但是太麻烦了,而且代码也不好理解,所以放弃了。
代码
python
import cv2
import numpy as np


def light_compensate_hsv(src, grid_num):
    src_hsv = cv2.cvtColor(src, cv2.COLOR_BGR2HSV)
    src_v = src_hsv[:, :, 2]

    avg = np.mean(src_v)
    h, w = src_v.shape[:2]
    grid_row, grid_col = np.ceil(np.asarray([h, w]) / grid_num).astype(int)
    img_grid = np.zeros((grid_row, grid_col, 1), dtype=np.float32)

    for row in range(grid_row):
        for col in range(grid_col):
            img_roi = src_v[row * grid_num:                                           # row start
                            (row + 1) * grid_num if (row + 1) * grid_num < h else h,  # row end
                            col * grid_num:                                           # col start
                            (col + 1) * grid_num if (col + 1) * grid_num < w else w]  # col end

            img_grid[row, col] = np.mean(img_roi) - avg

    mask = cv2.resize(img_grid, (w, h), interpolation=cv2.INTER_CUBIC)
    mask = cv2.GaussianBlur(mask, (3, 3), 0)
    dst_v = np.uint8(np.float32(src_v) - mask)

    src_hsv[:, :, 2] = dst_v
    return cv2.cvtColor(src_hsv, cv2.COLOR_HSV2BGR)


def display(img):
    cv2.namedWindow('img', cv2.WINDOW_NORMAL)
    cv2.imshow('img', img)
    cv2.waitKey()


if __name__ == '__main__':
    image = cv2.imread(r'light_compensate_test_2.png')
    image_res = light_compensate_hsv(image, 16)

    res = np.hstack([image, image_res])
    display(res)
效果图
图也是用的参考文章里面的原图进行处理的。


最后一张是我自己的测试图,对于某些图来说效果比较好,可以用在文档阴影去除上。

参考文章
- opencv 一种不均匀光照的补偿方法 (C++ 实现)
- python+opencv------去除图像光照不均匀 (Python 实现)