欢迎来到 Papicatch的博客

文章目录
[🍈TensorFlow 0.x](#🍈TensorFlow 0.x)
[🍈TensorFlow 1.x](#🍈TensorFlow 1.x)
[🍈TensorFlow 2.x](#🍈TensorFlow 2.x)
[🍈示例2:在TensorFlow 2.x中切换为1.x版本运行](#🍈示例2:在TensorFlow 2.x中切换为1.x版本运行)

🍉TensorFlow版本介绍
TensorFlow是由Google Brain团队开发的开源机器学习框架,首次发布于2015年11月9日。
TensorFlow的主要版本如下
🍈TensorFlow 0.x
- **发布时间:**2015年11月
🍈TensorFlow 1.x
- 发布时间:2017年11月
- 特点:使用静态计算图(Static Computation Graph),需要提前定义计算图,然后在会话(Session)中执行。
🍈TensorFlow 2.x
- 发布时间:2019年9月
- 特点:采用即时执行模式(Eager Execution),更加易用和灵活。兼容Keras API,使模型构建更加直观。
一般在选择TensorFlow版本的时候,首先会排除0.x版本。若已经选择TensorFlow 1.x进行过项目开发,考虑到项目的可复用性,可以在一段时间内继续使用 1.x版本。若是初学者建议直接使用TensorFlow 2.x。
🍉TensorFlow安装方法
🍈使用Anaconda安装
在整个安装过程的最开始,先安装Anaconda。Anaconda是一个流行的Python数据科学平台,用户可以通过Anaconda来安装TensorFlow。安装Anaconda之后可以不用一个一个地去下载这些库并解决他们之间的依赖关系,后续直接调用计科,十分方便。
🍍Anaconda的下载及安装方法:
首先,登录Anaconda官网: https://www.anaconda.com/ 。
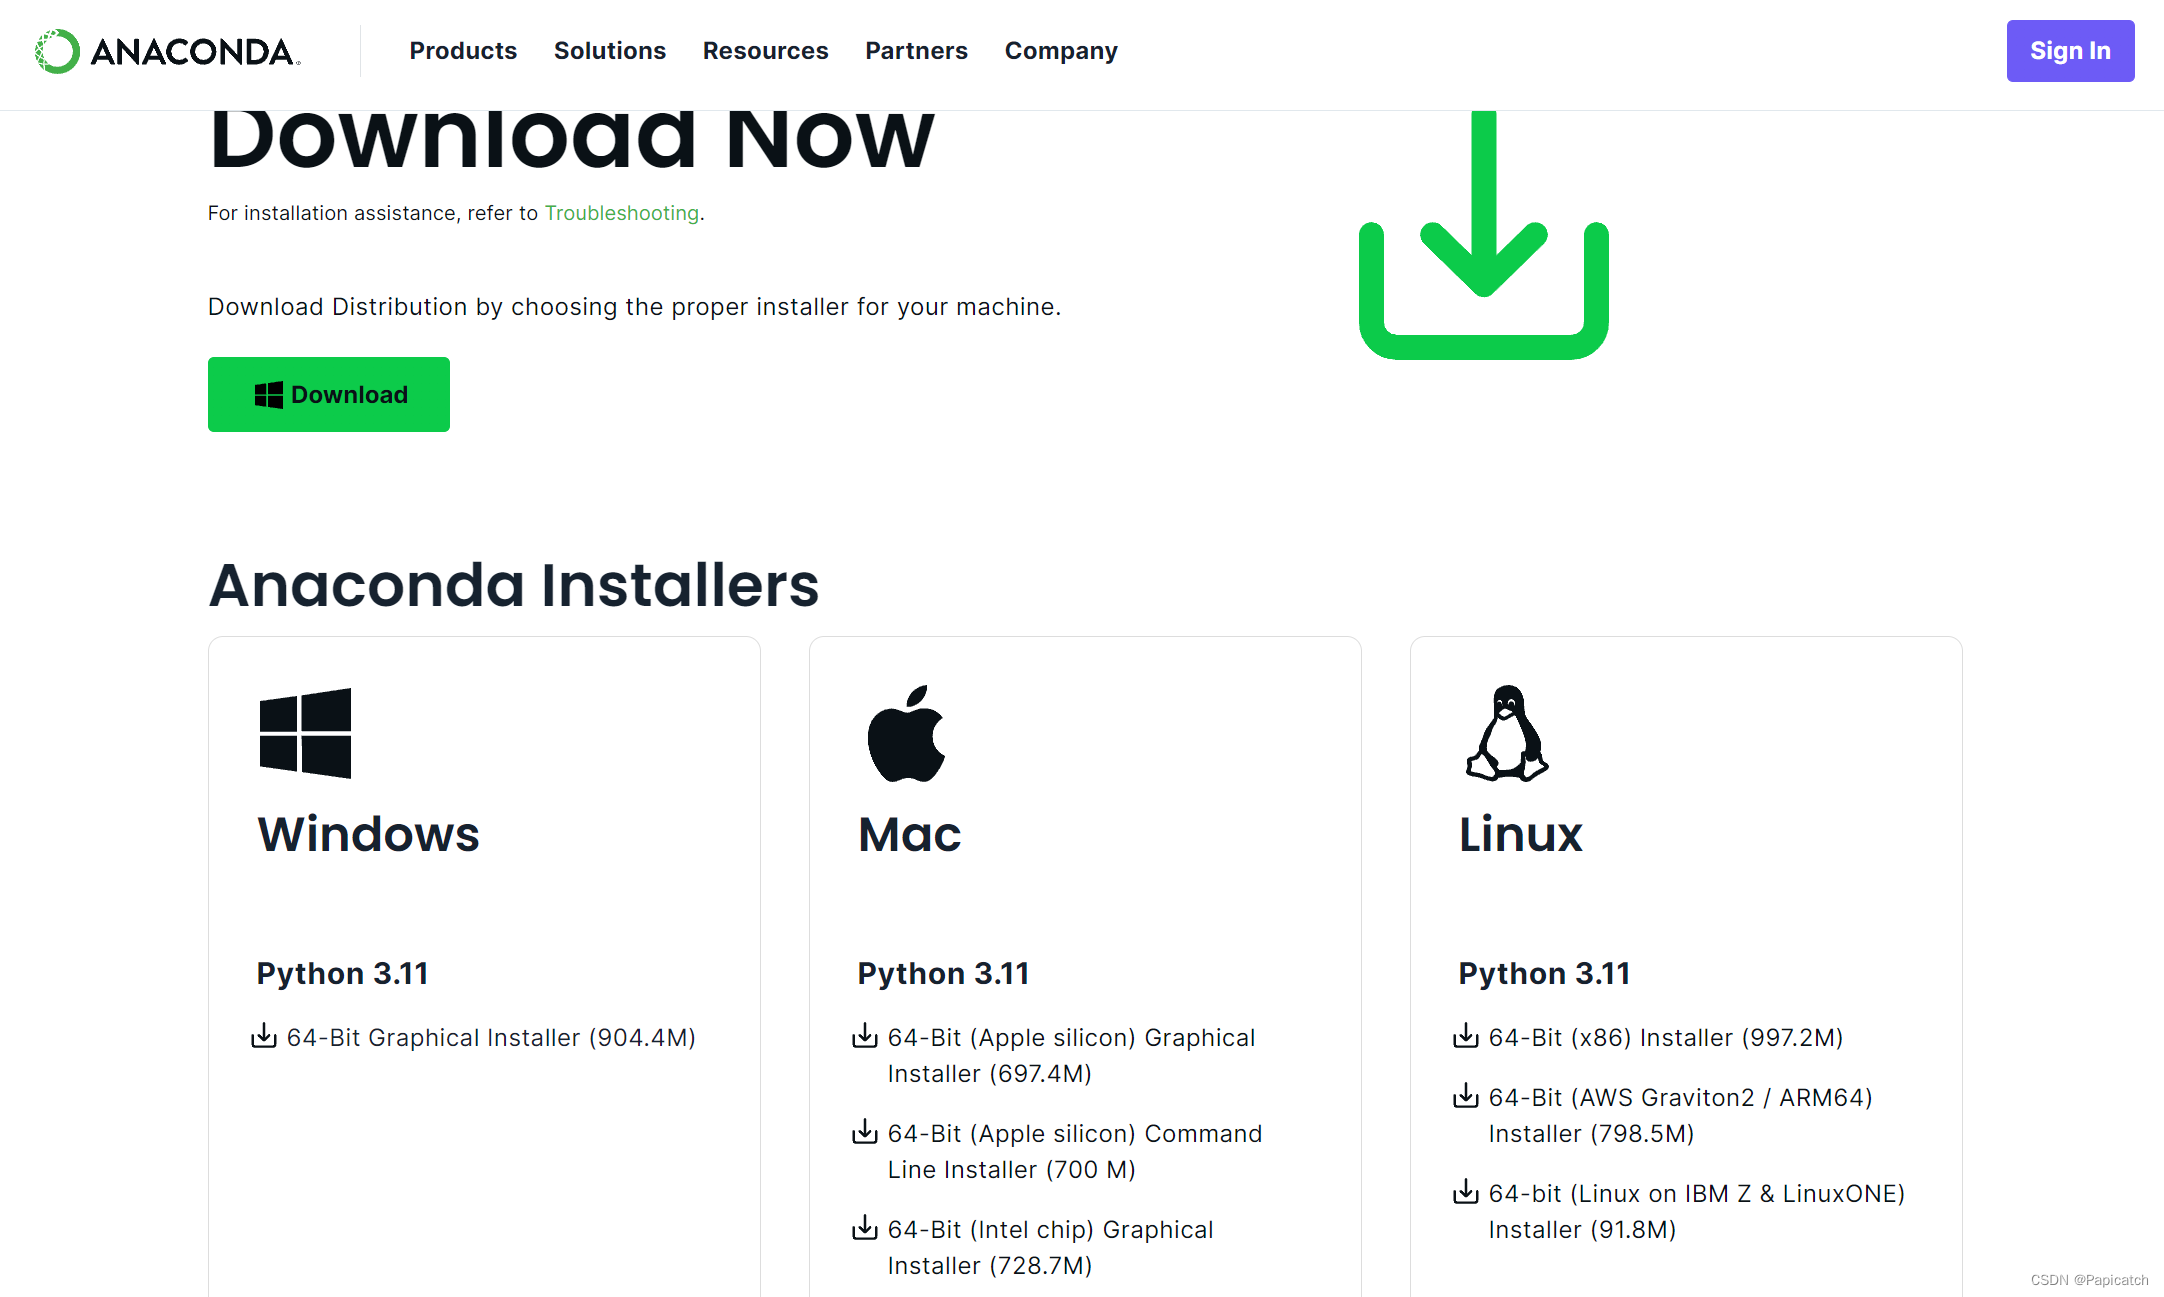
其次,点击页面右上角的Download按钮。如下图:

最后,选择与用户计算机操作系统对应的Anaconda版本,如下图:

安装好Anaconda后,在安装TensorFlow之前,建议先构建虚拟环境。不同项目对模块版本需求不同,构建虚拟环境可以给予更好的管理和更干净的环境。
开发环境使用python 3.6,开发工具使用Anaconda 3,操作系统使用Windows 10 。TensorFlow的学习与操作系统无关,不同的操作系统可以选择不同版本的版本。
🍍创建虚拟环境并安装TensorFlow
bash
conda create -n tf tensorflow
conda activate tf
安装特定版本
bash
conda install tensorflow==2.9.0🍈使用pip安装
pip是Python包管理工具,可以通过pip安装TensorFlow。
安装最新稳定版本
bash
pip install tensorflow安装特定版本
bash
pip install tensorflow==2.9.0安装CPU版本
默认情况下,pip install tensorflow 会安装CPU版本。如果需要安装GPU版本,请参考下一个部分。
🍈使用pip安装GPU版本
对于需要利用GPU加速的用户,可以安装TensorFlow的GPU版本。在安装GPU版本之前,需要确保系统已经安装了CUDA和cuDNN。具体的版本要求可以参考TensorFlow官网。
安装GPU版本
bash
pip install tensorflow-gpu🍈从源码安装
对于高级用户或者需要自定义TensorFlow的用户,可以选择从源码进行安装。
克隆TensorFlow源码
bash
git clone https://github.com/tensorflow/tensorflow.git
cd tensorflow
配置并编译源码
需要安装Bazel构建工具,然后运行以下命令:
bash
./configure
bazel build //tensorflow/tools/pip_package:build_pip_package
./bazel-bin/tensorflow/tools/pip_package/build_pip_package /tmp/tensorflow_pkg
安装编译好的包
bash
pip install /tmp/tensorflow_pkg/tensorflow-*.whl🍈验证
通过以上几种方法,您可以根据自己的需求和系统环境选择最适合的方式来安装TensorFlow。安装完成后,可以通过以下命令验证是否安装成功:
bash
python -c "import tensorflow as tf; print(tf.__version__)"如果显示出安装的TensorFlow版本号,则表示安装成功。
🍉TensorFlow的基本使用方法
🍈示例1:导入TensorFlow
首先,我们需要导入TensorFlow库。下面是如何在Python中导入TensorFlow的代码示例:
python
import tensorflow as tf
print(tf.__version__)
🍈示例2:在TensorFlow 2.x中切换为1.x版本运行
TensorFlow 2.x提供了一个兼容TensorFlow 1.x代码的方式,可以通过tf.compat.v1模块来实现。以下是切换到1.x版本模式的代码示例:
python
import tensorflow as tf
tf.compat.v1.disable_v2_behavior()

# 使用1.x风格的代码
hello = tf.constant('Hello, TensorFlow 1.x!')
sess = tf.compat.v1.Session()
print(sess.run(hello))
🍈示例3:TensorFlow常量
在TensorFlow中,常量是不可变的张量。以下是如何创建一个常量的代码示例:
python
import tensorflow as tf

# 创建一个常量
a = tf.constant(2)
b = tf.constant(3)

# 在计算图中运行
print('a:', a)
print('b:', b)

# 创建会话并运行计算图
tf.print('a:', a)
tf.print('b:', b)
🍈示例4:TensorFlow变量
变量在TensorFlow中是可变的张量,用于保存和更新参数。以下是如何创建和使用变量的代码示例:
python
import tensorflow as tf

# 创建一个变量
a = tf.Variable(2)
b = tf.Variable(3)

# 变量初始化
init = tf.compat.v1.global_variables_initializer()

# 在计算图中运行
@tf.function
def compute():
    return a * b

# 创建会话并运行计算图
tf.print(compute())

# 更新变量
a.assign(5)
b.assign(4)
tf.print(compute())
🍈示例5:TensorFlow数组转张量
在TensorFlow中,可以将NumPy数组转换为张量。以下是如何进行转换的代码示例:
python
import tensorflow as tf
import numpy as np

# 创建一个NumPy数组
np_array = np.array([1, 2, 3, 4, 5])

# 转换为TensorFlow张量
tensor = tf.convert_to_tensor(np_array)

# 输出张量
tf.print(tensor)
🍈示例6:Tensor的基本运算操作
TensorFlow提供了多种张量运算功能。以下是一些基本的张量运算示例:
python
import tensorflow as tf

# 创建张量
a = tf.constant([[1, 2], [3, 4]])
b = tf.constant([[5, 6], [7, 8]])

# 加法
add = tf.add(a, b)
tf.print('加法:', add)

# 乘法
multiply = tf.multiply(a, b)
tf.print('乘法:', multiply)

# 矩阵乘法
matmul = tf.matmul(a, b)
tf.print('矩阵乘法:', matmul)

# 求和
sum_tensor = tf.reduce_sum(a)
tf.print('求和:', sum_tensor)

# 最大值
max_value = tf.reduce_max(a)
tf.print('最大值:', max_value)
通过这些示例,您可以了解TensorFlow的基本使用方法以及如何利用低级API进行各种操作。这些代码示例涵盖了从导入库、切换版本、创建常量和变量,到进行基本张量运算的各个方面。

