用的pytorch。
import torch
import torch.nn as nn
import torch.optim as optim
import torchvision
import torchvision.transforms as transforms
import torch.nn.functional as F

# 定义超参数
num_epochs = 10
batch_size = 100
learning_rate = 0.001

# 数据预处理和加载
transform = transforms.Compose([
    transforms.ToTensor(),
    transforms.Normalize((0.5, 0.5, 0.5), (0.5, 0.5, 0.5))
])

train_dataset = torchvision.datasets.CIFAR10(root='./data', train=True, download=True, transform=transform)
train_loader = torch.utils.data.DataLoader(dataset=train_dataset, batch_size=batch_size, shuffle=True)

test_dataset = torchvision.datasets.CIFAR10(root='./data', train=False, download=True, transform=transform)
test_loader = torch.utils.data.DataLoader(dataset=test_dataset, batch_size=batch_size, shuffle=False)

# 定义卷积神经网络
class CNN(nn.Module):
    def __init__(self):
        super(CNN, self).__init__()
        self.conv1 = nn.Conv2d(3, 16, kernel_size=5, stride=1, padding=2)
        self.pool = nn.MaxPool2d(kernel_size=2, stride=2, padding=0)
        self.conv2 = nn.Conv2d(16, 32, kernel_size=5, stride=1, padding=2)
        self.fc1 = nn.Linear(32 * 8 * 8, 128)
        self.fc2 = nn.Linear(128, 10)

    def forward(self, x):
        x = self.pool(F.relu(self.conv1(x)))
        x = self.pool(F.relu(self.conv2(x)))
        x = x.view(-1, 32 * 8 * 8)
        x = F.relu(self.fc1(x))
        x = self.fc2(x)
        return x

# 初始化模型、损失函数和优化器
model = CNN()
criterion = nn.CrossEntropyLoss()
optimizer = optim.Adam(model.parameters(), lr=learning_rate)

# 训练模型
for epoch in range(num_epochs):
    for i, (images, labels) in enumerate(train_loader):
        outputs = model(images)
        loss = criterion(outputs, labels)

        optimizer.zero_grad()
        loss.backward()
        optimizer.step()

        if (i+1) % 100 == 0:
            print(f'Epoch [{epoch+1}/{num_epochs}], Step [{i+1}/{len(train_loader)}], Loss: {loss.item():.4f}')

# 测试模型
model.eval()
with torch.no_grad():
    correct = 0
    total = 0
    for images, labels in test_loader:
        outputs = model(images)
        _, predicted = torch.max(outputs.data, 1)
        total += labels.size(0)
        correct += (predicted == labels).sum().item()

    print(f'Accuracy of the model on the 10000 test images: {100 * correct / total}%')

# 保存模型
torch.save(model.state_dict(), 'cnn.pth')import torch
import torch.nn as nn
import torchvision.transforms as transforms
from PIL import Image
import torch.nn.functional as F
# 定义卷积神经网络(与之前的定义保持一致)
class SimpleCNN(nn.Module):
def __init__(self):
super(SimpleCNN, self).__init__()
self.conv1 = nn.Conv2d(3, 16, kernel_size=5, stride=1, padding=2) # 第一个卷积层
self.pool = nn.MaxPool2d(kernel_size=2, stride=2, padding=0) # 池化层
self.conv2 = nn.Conv2d(16, 32, kernel_size=5, stride=1, padding=2) # 第二个卷积层
self.fc1 = nn.Linear(32 * 8 * 8, 128) # 全连接层
self.fc2 = nn.Linear(128, 10) # 输出层
def forward(self, x):
x = self.pool(F.relu(self.conv1(x))) # 通过第一个卷积层和池化层
x = self.pool(F.relu(self.conv2(x))) # 通过第二个卷积层和池化层
x = x.view(-1, 32 * 8 * 8) # 展平
x = F.relu(self.fc1(x)) # 通过全连接层
x = self.fc2(x) # 通过输出层
return x
# 加载模型
model = SimpleCNN()
model.load_state_dict(torch.load('cnn.pth'))
model.eval() # 设置模型为评估模式
# 预处理图片
def preprocess_image(image_path):
transform = transforms.Compose([
transforms.Resize((32, 32)), # 调整图像大小到32x32
transforms.ToTensor(),
transforms.Normalize((0.5, 0.5, 0.5), (0.5, 0.5, 0.5))
])
image = Image.open(image_path)
image = transform(image)
image = image.unsqueeze(0) # 增加批量维度
return image
# 加载并预处理图片
image_path = 'test.jpg' # 替换为你要分析的图片路径
image = preprocess_image(image_path)
# 使用模型进行推理
with torch.no_grad():
outputs = model(image)
_, predicted = torch.max(outputs.data, 1)
class_index = predicted.item()
# CIFAR-10类别标签
classes = ['plane', 'car', 'bird', 'cat', 'deer', 'dog', 'frog', 'horse', 'ship', 'truck']
# 输出预测结果
print(f'Predicted class: {classes[class_index]}')可惜出来的东西跟弱智一般。

python3 cnn2.py
Predicted class: horse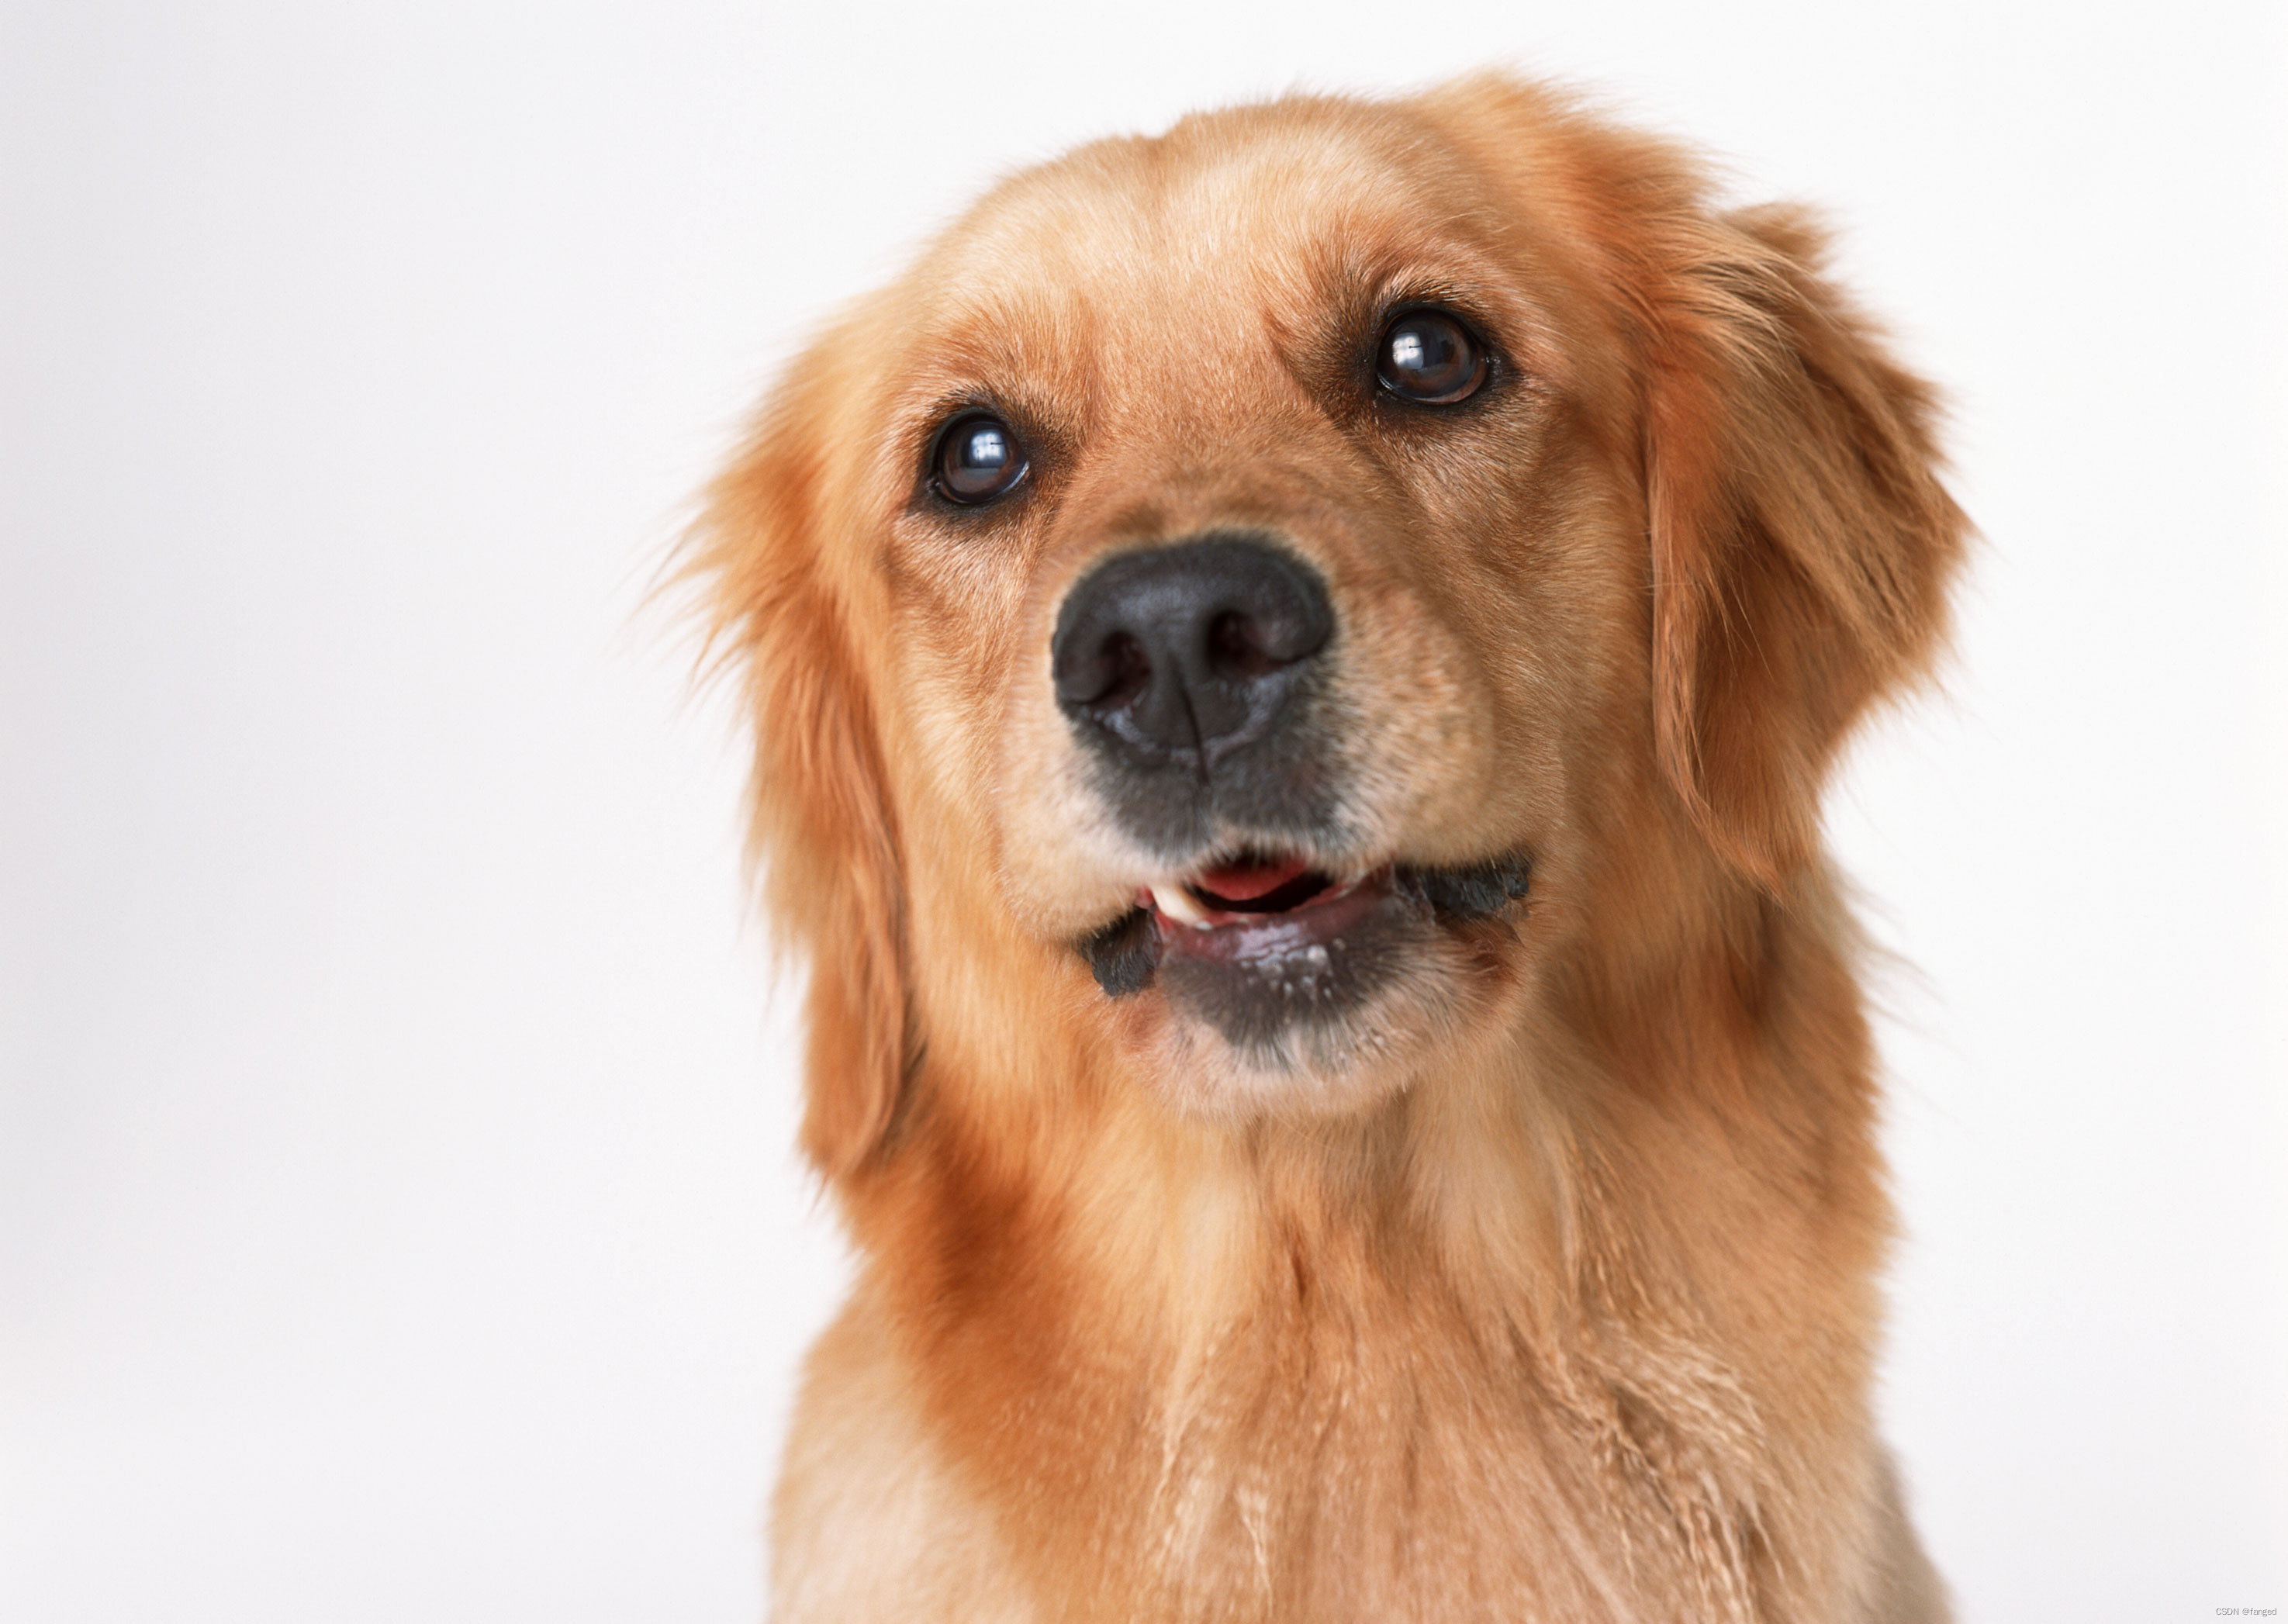
python3 cnn2.py
Predicted class: bird
几个小点:
1 使用的数据集是CIFAR10
2 训练真的挺耗时的,我用的阿里云,一共搞了差不多10分钟(训练一个弱智)。
3 环境依然麻烦,python,numpy的版本都不能太高。否则要出问题。。。
4 最后实事求是的说,我不太懂的一点是怎么分类出来的。。。晚点再看看。。。