- 🍨 本文为🔗365天深度学习训练营 中的学习记录博客
- 🍖 原作者:K同学啊
目标 :
1、学习tensorboard的使用
具体实现:
(一)环境:
语言环境 :Python 3.10
编 译 器: PyCharm
框 架: TensorFlow
(二)具体步骤:
1. 安装Tensorboard
# pip install tensorboard2.使用GPU
-----------------------------------------------utils.py-----------------------------------------------------
import tensorflow as tf
import PIL
import matplotlib.pyplot as plt


def GPU_ON():
    # 查询tensorflow版本
    print("Tensorflow Version:", tf.__version__)
    # print(tf.config.experimental.list_physical_devices('GPU'))

    # 设置使用GPU
    gpus = tf.config.list_physical_devices("GPU")
    print(gpus)

    if gpus:
        gpu0 = gpus[0]  # 如果有多个GPU,仅使用第0个GPU
        tf.config.experimental.set_memory_growth(gpu0, True)  # 设置GPU显存按需使用
        tf.config.set_visible_devices([gpu0], "GPU")
3.导入猴痘图片数据,Tensorboard查看图片
# # 创建TensorBoard摘要器和文件写入器
summary_writer = tf.summary.create_file_writer('./logs')

# 查看一下数据的基本情况
data_dir = "./datasets/mp/"
data_dir = pathlib.Path(data_dir)  # 转换成Path对象,便于后续访问
image_count = len(list(data_dir.glob('*/*.jpg')))   # 遍历data_dir下面所有的.jpg图片(包含所有子目录)。
print("图片总数量为:", image_count)
MonkeyPox = list(data_dir.glob('MonkeyPox/*.jpg'))  # 遍历data_dir子目录MonkeyPox下所有的.jpg图片
print("猴痘图片数量为:", len(MonkeyPox))

# tf.summary.image() 需要一个包含 (batch_size, height, width, channels) 的 4 秩张量。因此,需要重塑张量。
# 记录一个图像,因此 batch_size 为 1。图像为灰度图,因此将 channels 设置为 1。
img = np.reshape(PIL.Image.open(MonkeyPox[1]), (-1, 224, 224, 3))  # 查看一张猴痘的图片,看看是什么样子
with  summary_writer.as_default():
tf.summary.image("猴痘", img , step=0) # 显示一张图像命令行,输入:
# >tensorboard --logdir ./logs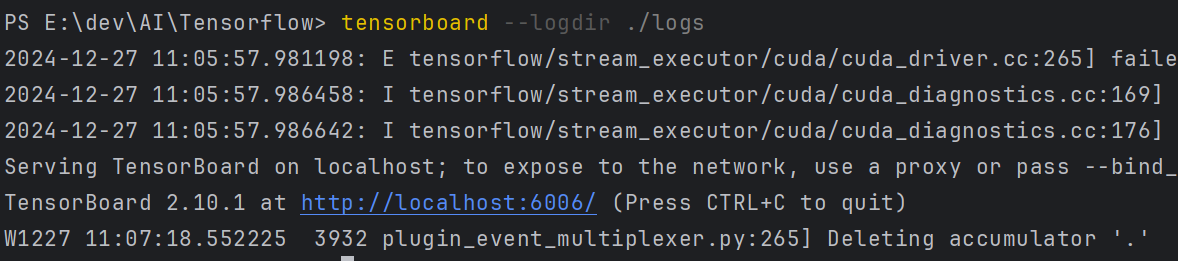
打开链接:

查看多张图片:
# 查看一下数据的基本情况
data_dir = "./datasets/mp/Monkeypox/"

list_ds = tf.data.Dataset.list_files(data_dir + "*.jpg")
print(list_ds)
images = []
for i in list_ds:
    image_temp = tf.io.read_file(i)
    image_temp = tf.image.decode_jpeg(image_temp)
    images.append(image_temp)

print(images[0])

with  summary_writer.as_default():
    tf.summary.image("猴痘", images[0:5] , step=0) # 显示一张图像


def plot_to_image(figure):
  """Converts the matplotlib plot specified by 'figure' to a PNG image and
  returns it. The supplied figure is closed and inaccessible after this call."""  # Save the plot to a PNG in memory.
  buf = io.BytesIO()
  plt.savefig(buf, format='png')
  # Closing the figure prevents it from being displayed directly inside
  # the notebook.  plt.close(figure)
  buf.seek(0)
  # Convert PNG buffer to TF image
  image = tf.image.decode_png(buf.getvalue(), channels=4)
  # Add the batch dimension
  image = tf.expand_dims(image, 0)
  return image

def image_grid():
  """Return a 5x5 grid of the MNIST images as a matplotlib figure."""
  # Create a figure to contain the plot.
  figure = plt.figure(figsize=(10,10))
  for i in range(25):
    # Start next subplot.
    plt.subplot(5, 5, i + 1, title="猴痘")  # 中文显示乱码,哈哈
    plt.xticks([])
    plt.yticks([])
    plt.grid(False)
    plt.imshow(images[i], cmap=plt.cm.binary)

  return figure

# Prepare the plot
figure = image_grid()
# Convert to image and log
with summary_writer.as_default():
  tf.summary.image("Training data", plot_to_image(figure), step=0)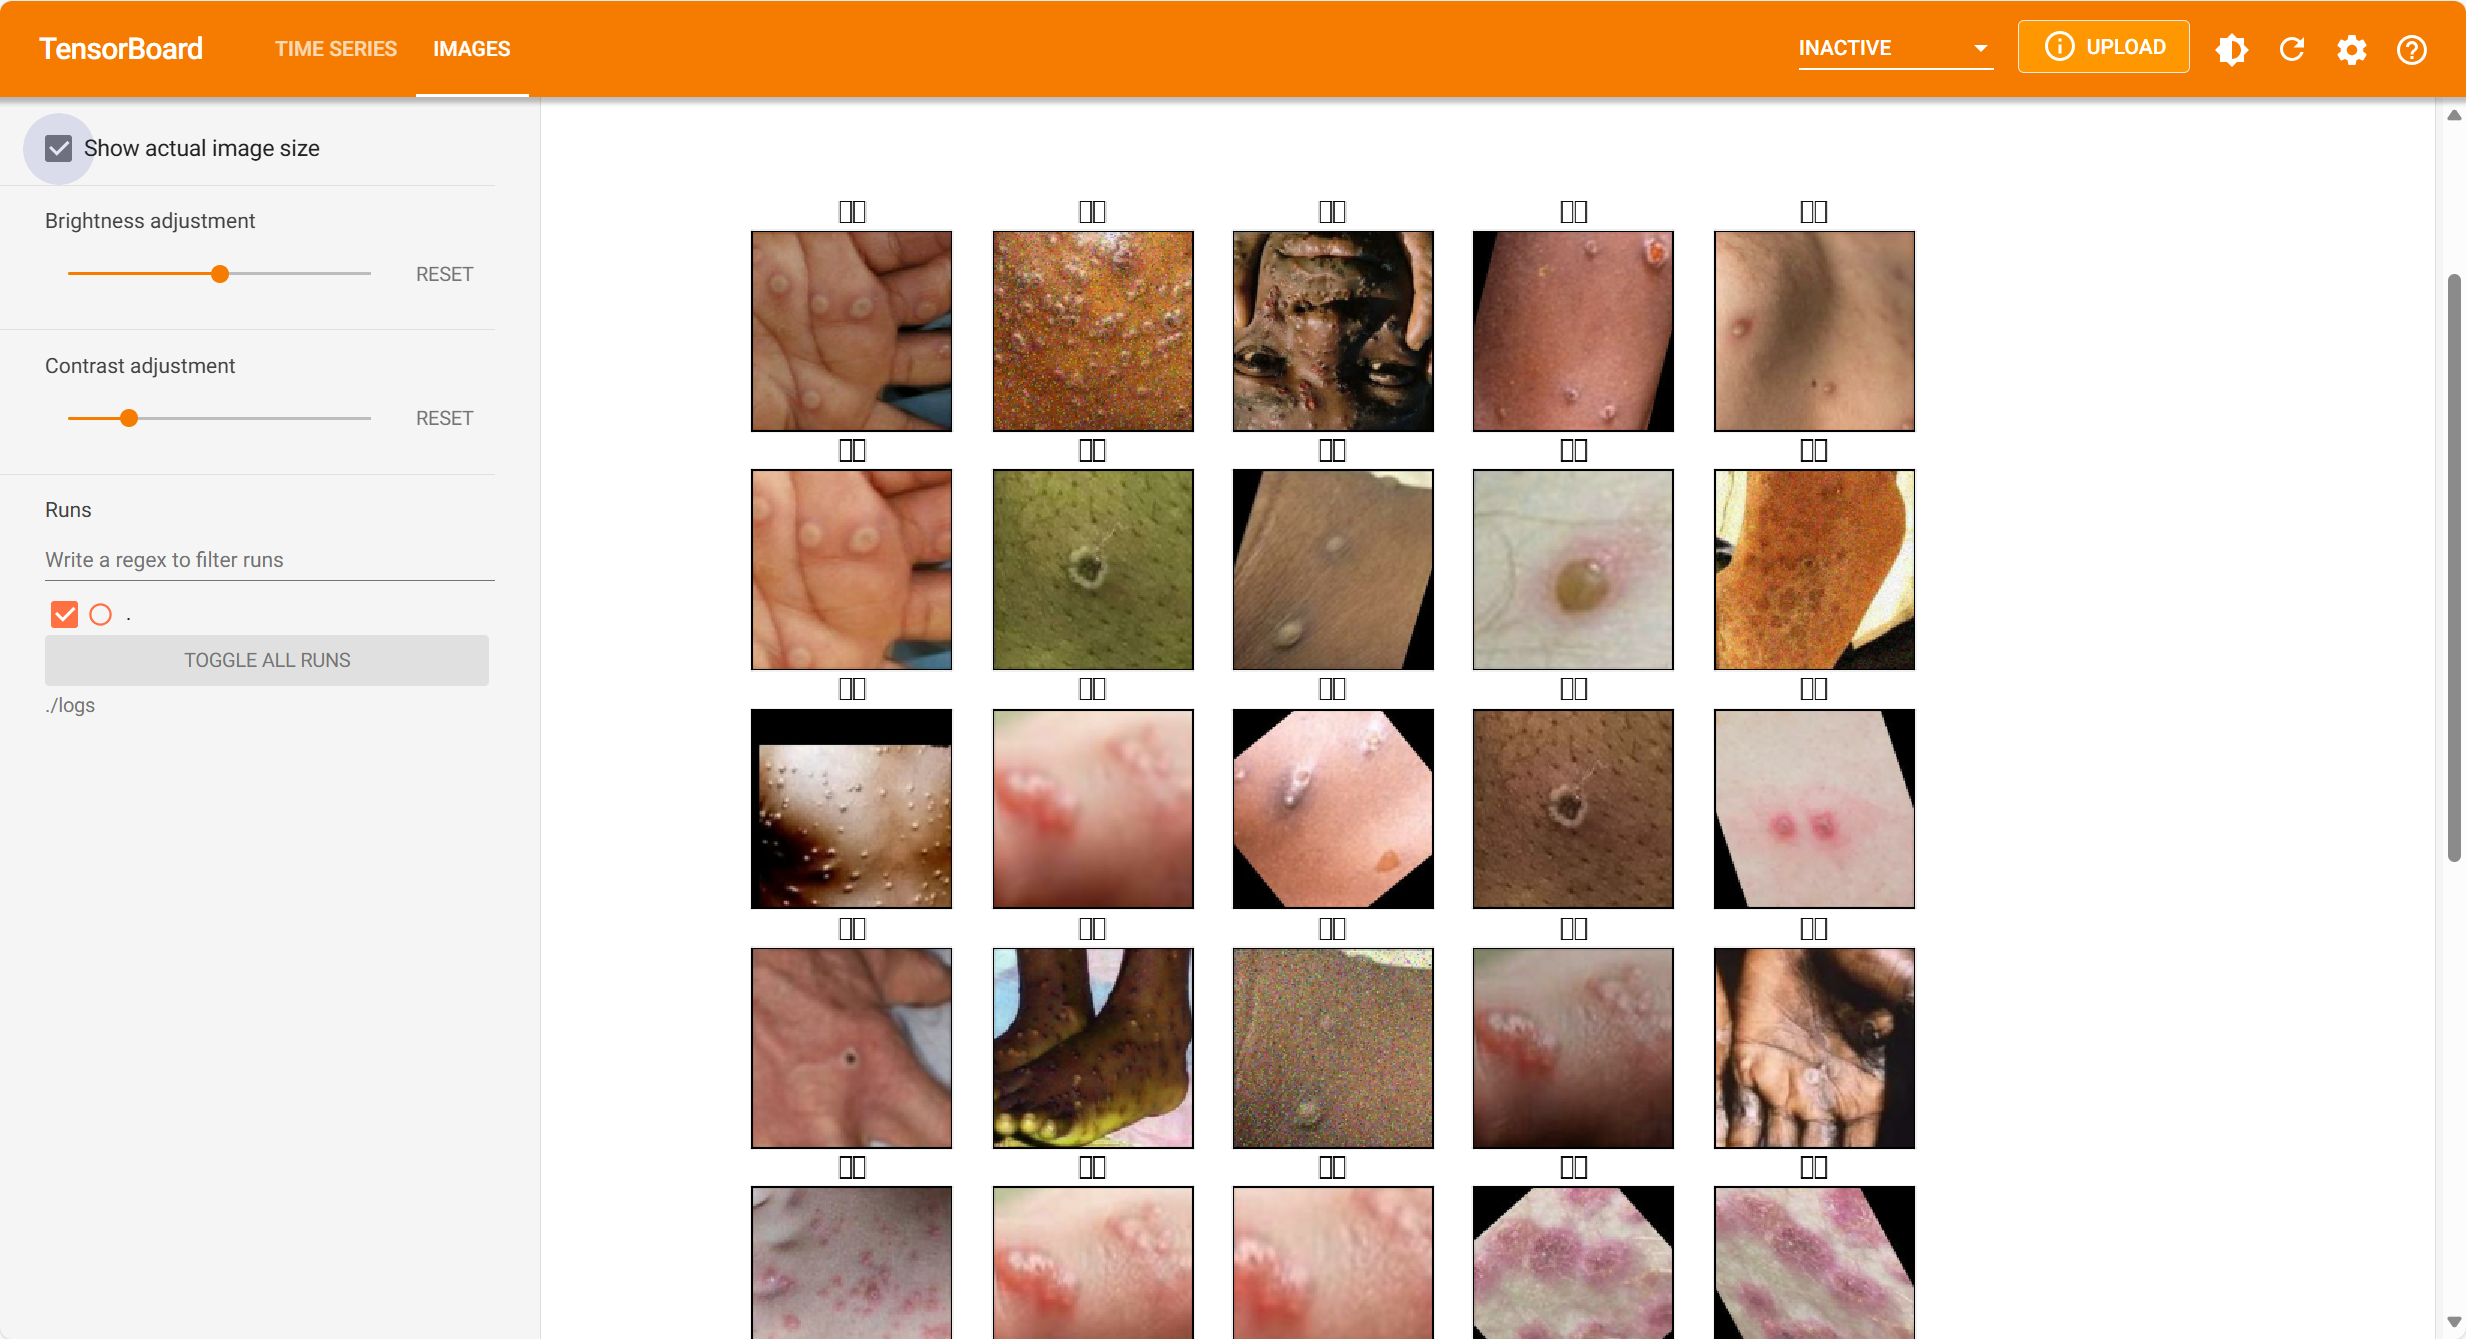
标签中文显示还是不行,哈哈。
3. 数据预处理,加载数据
# 数据预处理,并将数据加载到dataset中
batch_size = 32
img_width = 224
img_height = 224

train_ds = tf.keras.preprocessing.image_dataset_from_directory(
    directory=data_dir,     # 数据图片所在的目录,如果下面的labels为inferred则包含子目录
    labels="inferred",      # 默认为inferred表示从目录结果中获取labels,如果为None就是没有labels,或者是一个labels的元组/列表。
    validation_split=0.2,   # 0-1之间的数,表示为验证保留的数据部分,这里相当于保留20%作为验证数据
    subset="training",      # 返回数据的子集,从"training"/"validation"/"both"三个中选择,这里只返回训练数据子集
    shuffle=True,           # 打乱数据集,默认是True,就是打乱。如果为False,则按字母数字顺序进行排序。
    seed=123,               # 打乱数据的随机种子,不改变这个数字,每次的打乱顺序应该是一样的
    image_size=(img_height, img_width),     # 图片重新设置大小,如果不设定,默认是(256, 256)
    batch_size=batch_size   # 数据批次大小,默认是32.假如设置为None则不进行批次处理
)

Found 2142 files belonging to 2 classes.
Using 1714 files for training.

val_ds = tf.keras.preprocessing.image_dataset_from_directory(
    directory=data_dir,
    validation_split=0.2,
    subset="validation",
    seed=123,
    image_size=(img_height, img_width),
    batch_size=batch_size
)

Found 2142 files belonging to 2 classes.
Using 428 files for validation.

# 查看数据分类
class_names = train_ds.class_names
print("数据分类:", class_names)

数据分类: ['Monkeypox', 'Others']
6.配置数据集,加速
# 配置数据库,加速
AUTOTUNE = tf.data.AUTOTUNE
train_ds = train_ds.cache().shuffle(1000).prefetch(buffer_size=AUTOTUNE)
val_ds = val_ds.cache().prefetch(buffer_size=AUTOTUNE)
7.构建CNN网络模型
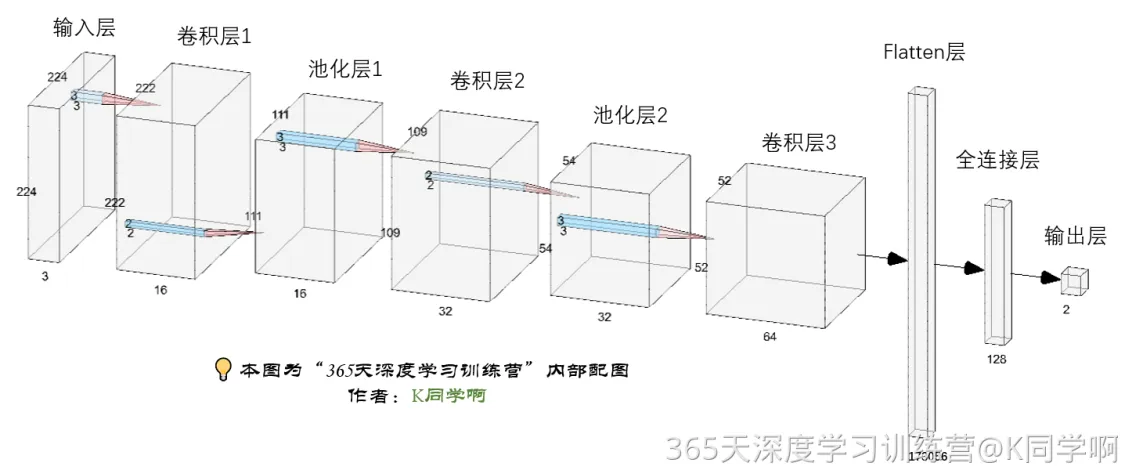
num_classes = len(class_names)
model = models.Sequential([
    layers.experimental.preprocessing.Rescaling(1./255, input_shape=(img_height, img_width, 3)),
    layers.Conv2D(16, (3, 3), activation='relu', input_shape=(img_height, img_width, 3)), # 卷积层1,卷积核3*3
    layers.AveragePooling2D((2, 2)),               # 池化层1,2*2采样
    layers.Conv2D(32, (3, 3), activation='relu'),  # 卷积层2,卷积核3*3
    layers.AveragePooling2D((2, 2)),               # 池化层2,2*2采样
    layers.Dropout(0.3),
    layers.Conv2D(64, (3, 3), activation='relu'),  # 卷积层3,卷积核3*3
    layers.Dropout(0.3),

    layers.Flatten(),                       # Flatten层,连接卷积层与全连接层
    layers.Dense(128, activation='relu'),   # 全连接层,特征进一步提取
    layers.Dense(num_classes)               # 输出层,输出预期结果
])
8.编码模型
# 设置优化器
opt = tf.keras.optimizers.Adam(learning_rate=1e-4)

model.compile(optimizer=opt,
              loss=tf.keras.losses.SparseCategoricalCrossentropy(from_logits=True),
              metrics=['accuracy'])
9.训练模型, 加入Tensorboard查看
logdir="logs/fit/" + datetime.now().strftime("%Y%m%d-%H%M%S")
tensorboard_callback = tf.keras.callbacks.TensorBoard(log_dir=logdir)

# 训练模型
from tensorflow.keras.callbacks import ModelCheckpoint
epochs = 50
checkpointer = ModelCheckpoint('./models/Monkeypox_best_model.h5',  # 模型保存的路径
                               monitor='val_accuracy',  # 监视的值,
                               verbose=1,   # 信息展示模式
                               save_best_only=True,     # 根据这个值来判断是不是比上一次更优,如果更优则保存
                               save_weights_only=True   # 只保存模型的权重
                               )
history = model.fit(
    train_ds,
    validation_data=val_ds,
    epochs=epochs,
    callbacks=[checkpointer, tensorboard_callback]
)
整个过程如下,第一轮训练都会根据monitor监视的值是否有改进,来判断是否要保存该轮的模型.前面9轮都有改进,都在保存,后面没有改进就没有保存:
Epoch 1/50
2024-10-07 13:20:42.878241: I tensorflow/stream_executor/cuda/cuda_dnn.cc:384] Loaded cuDNN version 8101
2024-10-07 13:20:44.358266: W tensorflow/stream_executor/gpu/redzone_allocator.cc:314] INTERNAL: ptxas exited with non-zero error code -1, output:
Relying on driver to perform ptx compilation.
Modify $PATH to customize ptxas location.
This message will be only logged once.
2024-10-07 13:20:45.626487: I tensorflow/stream_executor/cuda/cuda_blas.cc:1614] TensorFloat-32 will be used for the matrix multiplication. This will only be logged once.
52/54 [===========================>..] - ETA: 0s - loss: 0.7343 - accuracy: 0.5200
Epoch 1: val_accuracy improved from -inf to 0.64720, saving model to ./models\Monkeypox_best_model.h5
54/54 [==============================] - 8s 36ms/step - loss: 0.7324 - accuracy: 0.5216 - val_loss: 0.6843 - val_accuracy: 0.6472
Epoch 2/50
52/54 [===========================>..] - ETA: 0s - loss: 0.6673 - accuracy: 0.5812
Epoch 2: val_accuracy did not improve from 0.64720
54/54 [==============================] - 1s 26ms/step - loss: 0.6667 - accuracy: 0.5846 - val_loss: 0.6560 - val_accuracy: 0.5911
Epoch 3/50
52/54 [===========================>..] - ETA: 0s - loss: 0.6356 - accuracy: 0.6466
Epoch 3: val_accuracy improved from 0.64720 to 0.67290, saving model to ./models\Monkeypox_best_model.h5
54/54 [==============================] - 2s 28ms/step - loss: 0.6373 - accuracy: 0.6435 - val_loss: 0.6179 - val_accuracy: 0.6729
Epoch 4/50
54/54 [==============================] - ETA: 0s - loss: 0.6140 - accuracy: 0.6744
Epoch 4: val_accuracy improved from 0.67290 to 0.69159, saving model to ./models\Monkeypox_best_model.h5
54/54 [==============================] - 2s 28ms/step - loss: 0.6140 - accuracy: 0.6744 - val_loss: 0.5860 - val_accuracy: 0.6916
Epoch 5/50
52/54 [===========================>..] - ETA: 0s - loss: 0.5892 - accuracy: 0.6921
Epoch 5: val_accuracy improved from 0.69159 to 0.71729, saving model to ./models\Monkeypox_best_model.h5
54/54 [==============================] - 2s 28ms/step - loss: 0.5913 - accuracy: 0.6902 - val_loss: 0.5633 - val_accuracy: 0.7173
......
Epoch 49/50
53/54 [============================>.] - ETA: 0s - loss: 0.0262 - accuracy: 0.9929
Epoch 49: val_accuracy did not improve from 0.88785
54/54 [==============================] - 1s 26ms/step - loss: 0.0260 - accuracy: 0.9930 - val_loss: 0.5357 - val_accuracy: 0.8785
Epoch 50/50
54/54 [==============================] - ETA: 0s - loss: 0.0209 - accuracy: 0.9947
Epoch 50: val_accuracy did not improve from 0.88785
54/54 [==============================] - 1s 26ms/step - loss: 0.0209 - accuracy: 0.9947 - val_loss: 0.5442 - val_accuracy: 0.8645

### (三)总结
- Tensorboard的模型结构图非常清晰,对于分析网络结构对我本人还是非常直观。容易学习。
- Tensorboard可以有效的组织历史数据,对于做比对效率提高很多。