步骤一:准备LLamaFactory环境
首先,让我们尝试使用github的方式克隆仓库:
python
git config --global http.sslVerify false && git clone --depth 1 https://github.com/hiyouga/LLaMA-Factory.git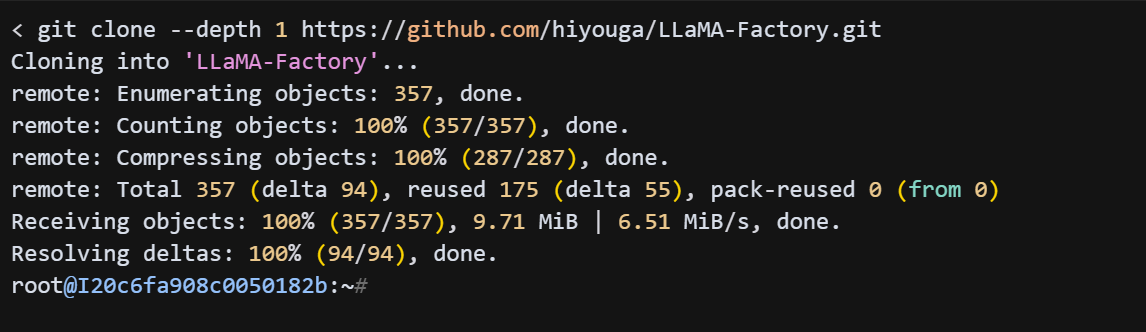
python
# 创建新环境,指定 Python 版本(以 3.10 为例)
conda create -n llamafactory python=3.10 -y

# 激活环境
conda activate llamafactory
仓库已经成功克隆下来了。现在让我们进入项目目录并查看一下环境要求:
python
cd LLaMA-Factory && cat requirements.txt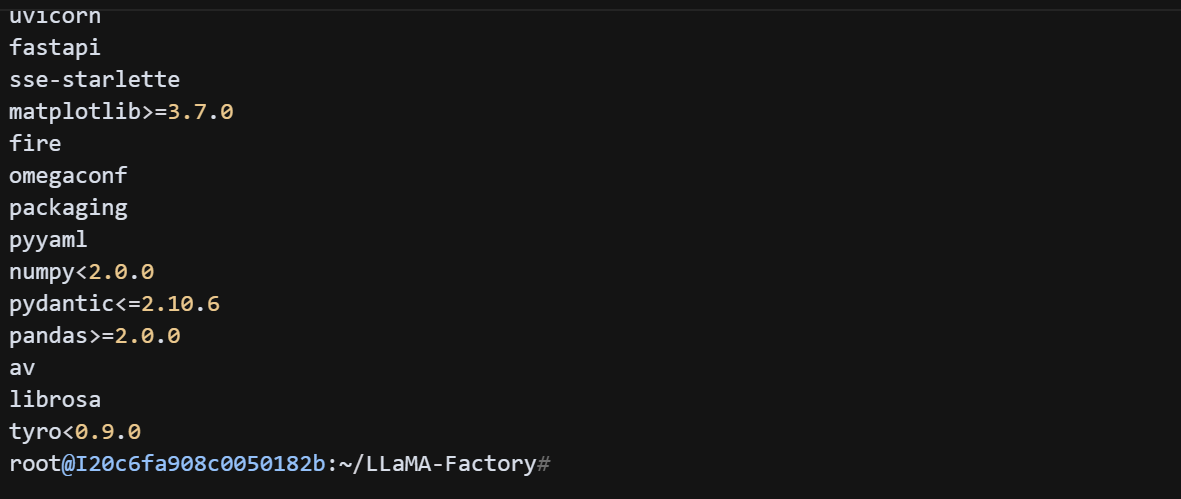
现在让我们安装所需的依赖:
python
pip3 install -r requirements.txt将CLI 工具(如有)注册到你的环境变量中
python
pip install -e .步骤二:准备模型
下载QwenCoder模型
python
#模型下载
from modelscope import snapshot_download
model_dir = snapshot_download('XGenerationLab/XiYanSQL-QwenCoder-3B-2504')
步骤三:准备数据集
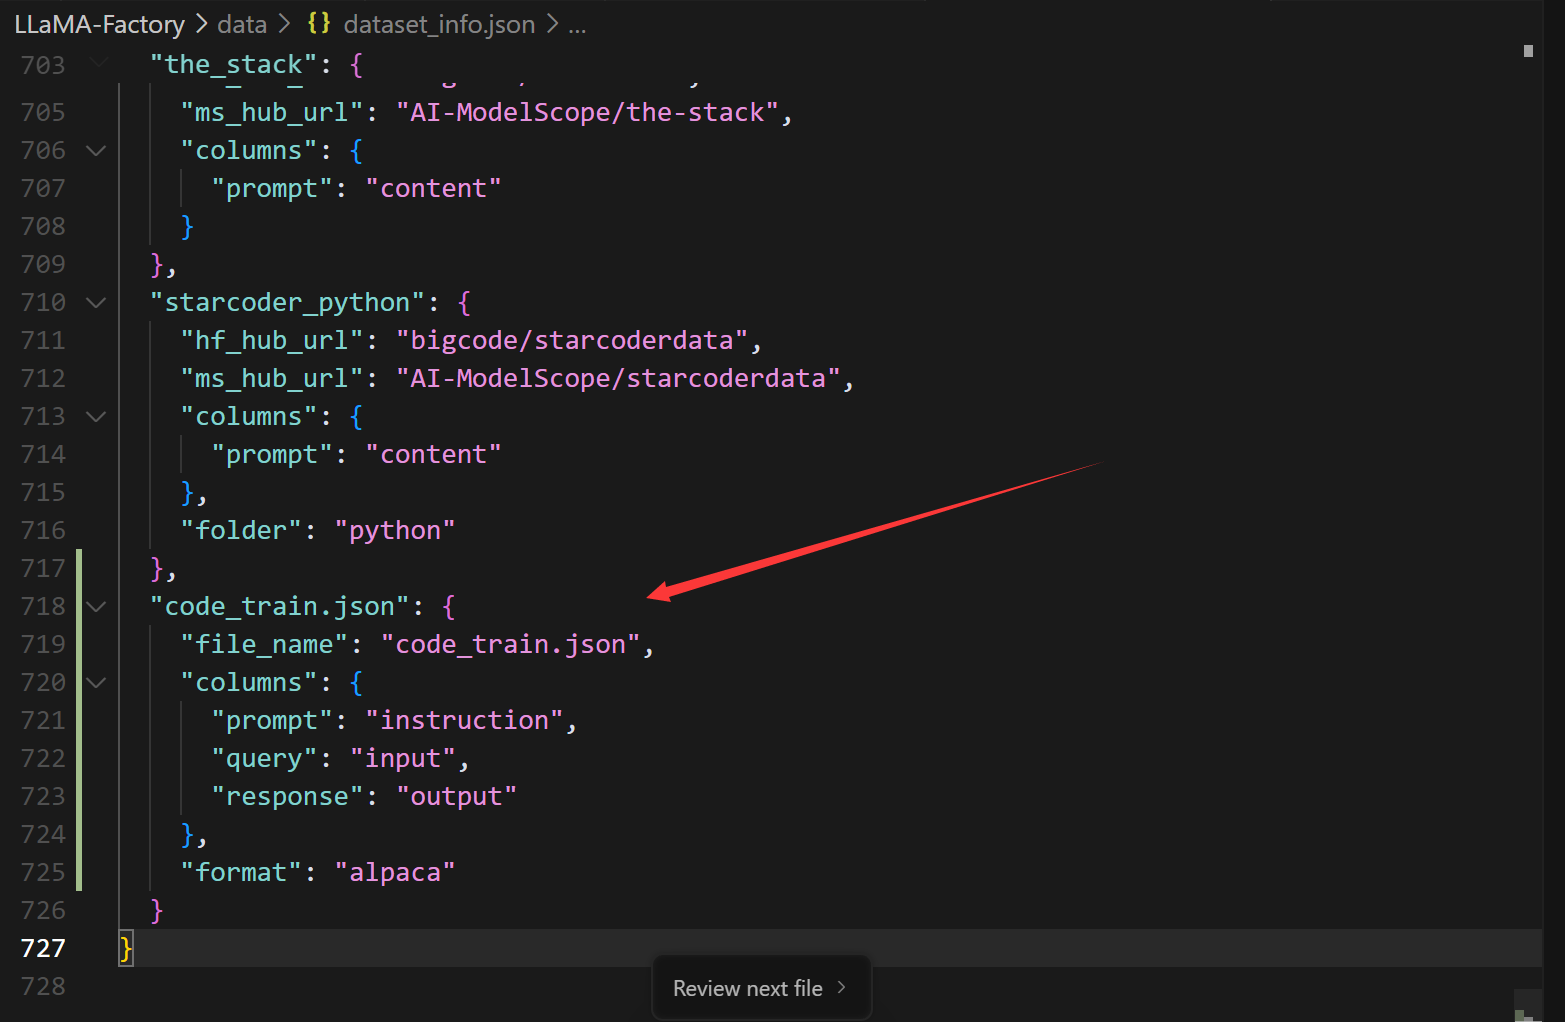
编辑 dataset_info.json
dataset_info.json 文件(一般在 LLaMA-Factory/data/ 目录下),添加以下内容:
python
  "code_train.json": {
    "file_name": "code_train.json",
    "columns": {
      "prompt": "instruction",
      "query": "input",
      "response": "output"
    },
    "format": "alpaca"
  }
步骤四:编写微调命令
LlamaFactory 的微调命令如下:
python
python src/train.py \
  --stage sft \
  --model_name_or_path /root/.cache/modelscope/hub/models/XGenerationLab/XiYanSQL-QwenCoder-3B-2504 \
  --do_train \
  --dataset_dir data \
  --dataset code_train.json \
  --output_dir output/qwencoder-sft \
  --per_device_train_batch_size 2 \
  --per_device_eval_batch_size 2 \
  --num_train_epochs 3 \
  --learning_rate 2e-5 \
  --fp16
步骤五:检查输出结果
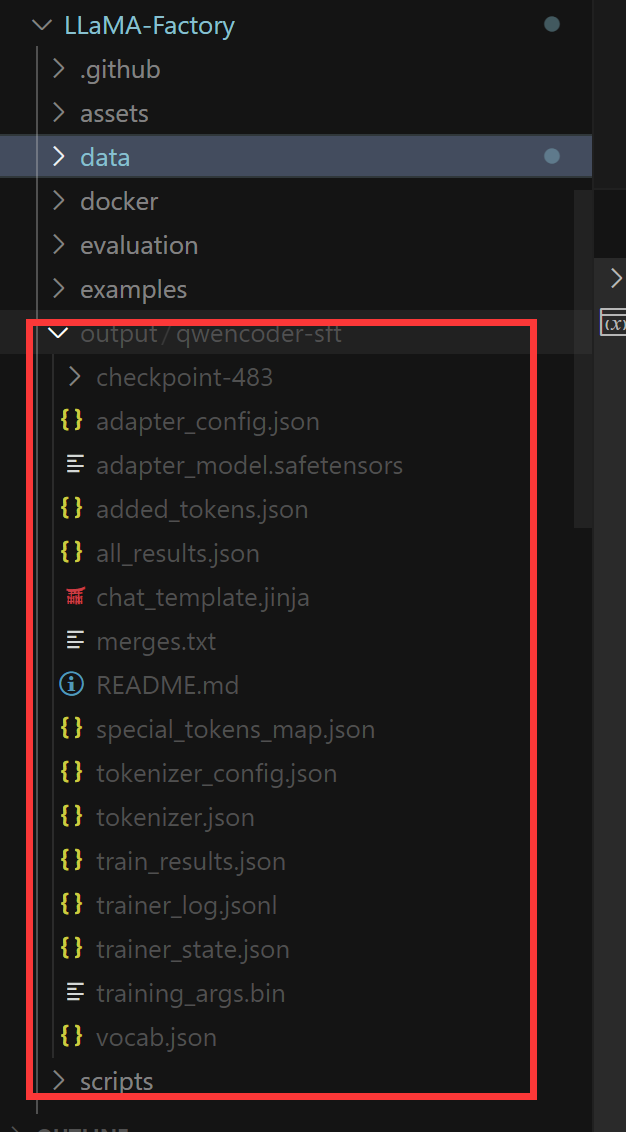
- 微调完成后,模型权重和配置会保存在 output/qwencoder-sft 目录下。
- 你可以在该目录下找到如 pytorch_model.bin、adapter_model.bin、config.json、tokenizer_config.json 等文件。
步骤六:用 HuggingFace Transformers 代码推理
python
import argparse
import json
import torch
from transformers import AutoModelForCausalLM, AutoTokenizer, GenerationConfig
from tqdm import tqdm


def parse_args():
    parser = argparse.ArgumentParser(description="自动评测微调模型的推理效果")
    parser.add_argument('--model_dir', type=str, default='output/qwencoder-sft', help='模型目录')
    parser.add_argument('--test_file', type=str, default='code_test.json', help='测试集文件')
    parser.add_argument('--max_new_tokens', type=int, default=128, help='生成最大新token数')
    parser.add_argument('--device', type=str, default=None, help='推理设备,默认自动检测')
    parser.add_argument('--strict', action='store_true', help='是否严格匹配输出')
    return parser.parse_args()


def main():
    args = parse_args()
    device = args.device or ('cuda' if torch.cuda.is_available() else 'cpu')
    print(f"加载模型到 {device} ...")
    model = AutoModelForCausalLM.from_pretrained(args.model_dir, trust_remote_code=True).to(device)
    tokenizer = AutoTokenizer.from_pretrained(args.model_dir, trust_remote_code=True)
    model.eval()

    print(f"加载测试集 {args.test_file} ...")
    with open(args.test_file, "r", encoding="utf-8") as f:
        test_data = json.load(f)

    correct = 0
    total = 0
    results = []

    for item in tqdm(test_data, desc="推理中"):
        prompt = item["instruction"]
        if item.get("input"):
            prompt += "\n" + item["input"]
        inputs = tokenizer(prompt, return_tensors="pt").to(device)
        with torch.no_grad():
            outputs = model.generate(**inputs, max_new_tokens=args.max_new_tokens)
        pred = tokenizer.decode(outputs[0], skip_special_tokens=True).strip()
        gt = item["output"].strip()
        # 评测方式
        if args.strict:
            is_correct = (pred == gt)
        else:
            is_correct = (gt in pred)
        correct += int(is_correct)
        total += 1
        results.append({
            "prompt": prompt,
            "prediction": pred,
            "ground_truth": gt,
            "is_correct": is_correct
        })
        print(f"Prompt: {prompt}\nPred: {pred}\nGT: {gt}\nCorrect: {is_correct}\n---")

    acc = correct / total if total > 0 else 0
    print(f"\n总数: {total},正确: {correct},准确率: {acc:.2%}")

    # 保存详细结果
    with open("eval_results.json", "w", encoding="utf-8") as f:
        json.dump(results, f, ensure_ascii=False, indent=2)
    print("详细评测结果已保存到 eval_results.json")

if __name__ == "__main__":
    main()
使用方法
在 LLaMA-Factory 目录下运行:
python
python t.py \
  --model_dir output/qwencoder-sft \
  --test_file code_test.json \
  --max_new_tokens 128 \
  --strict   # 可选,严格匹配时加