上一节课我们把"面"的材质讲完了,今天换"线"------折线(Polyline)。
不管是道路、航线还是飞线特效,全靠下面几种现成材质,一句代码就能换皮肤。
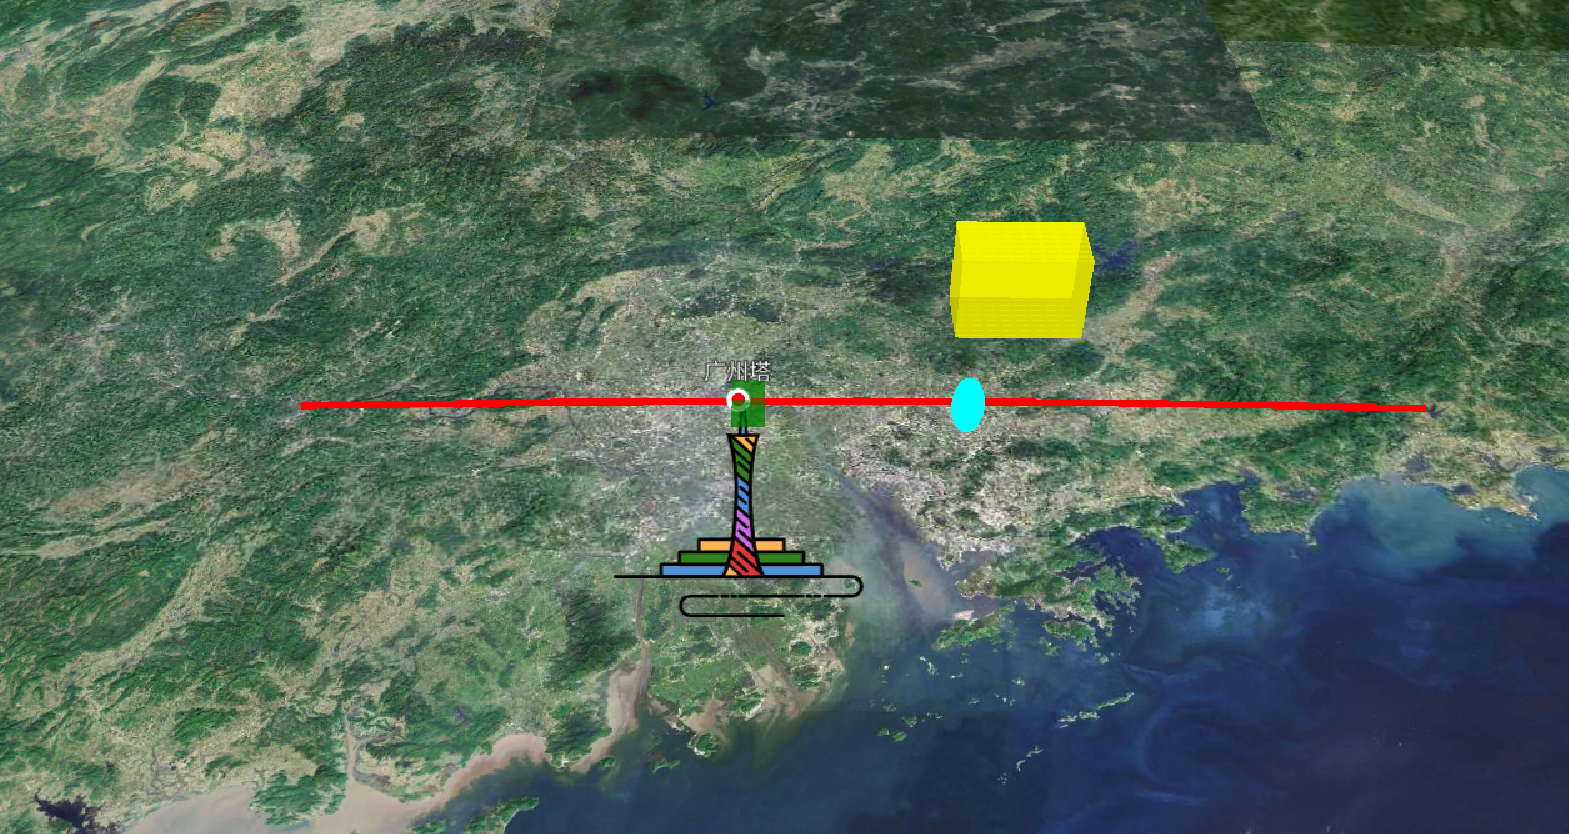
一、最朴素的红线
先画两个点,宽度 5 像素,纯红色,跑通流程。
viewer.entities.add({
  name: "polyline",
  polyline: {
    positions: Cesium.Cartesian3.fromDegreesArray([112.0, 23.1, 115.4, 23.1]), // 起点、终点
    width: 5,                                           // 线宽(像素)
    material: Cesium.Color.RED,                        // 纯色材质
  },
});
刷新后一条笔直的红线横跨屏幕,平平无奇,却是后面所有花样的地基。
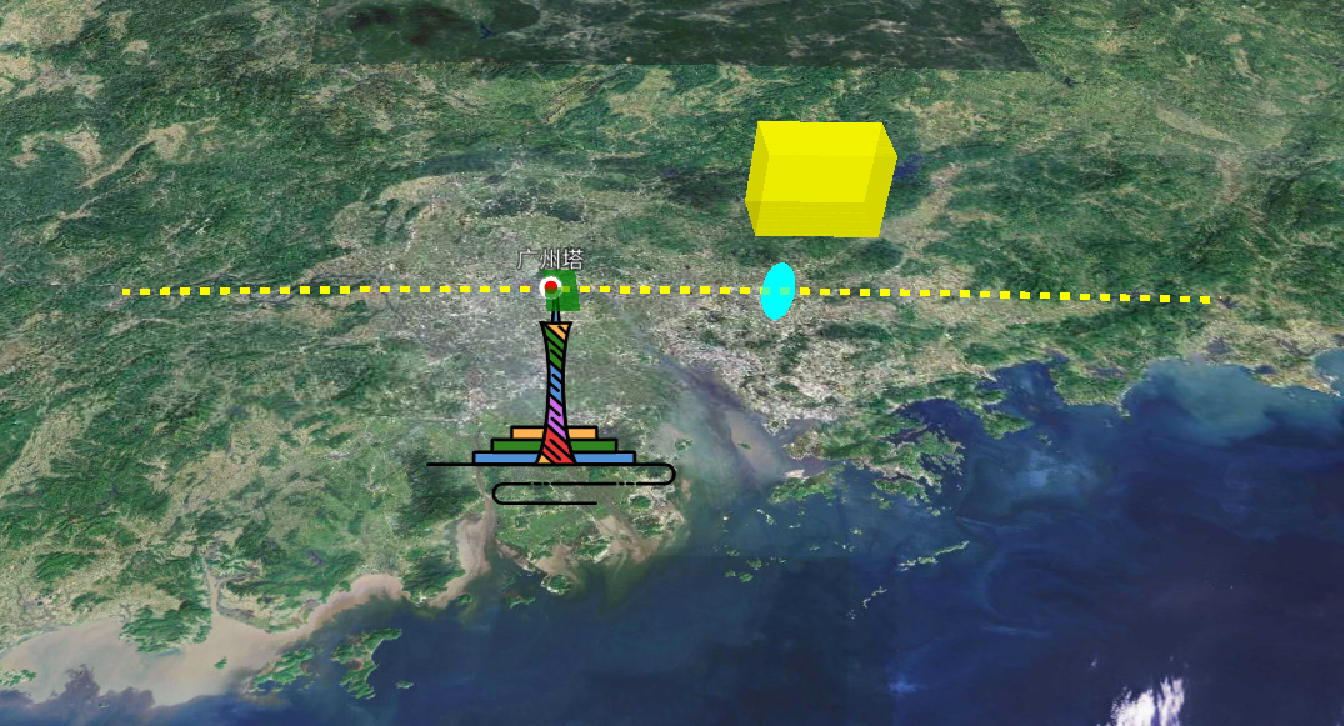
二、虚线------PolylineDashMaterialProperty
想让线变成"一短一长"的虚线?用 PolylineDashMaterialProperty,可调颜色、段长、偏移量。
const polyLineDashedMaterial = new Cesium.PolylineDashMaterialProperty({
  color: Cesium.Color.YELLOW, // 虚线颜色
  dashOffset: 16,             // 单段虚线长度(像素越大越长)
});
把 material: polyLineDashedMaterial 替换进去,就能看到黄色虚线。
dashOffset 从 16 改成 30,段长翻倍,视觉更稀疏。
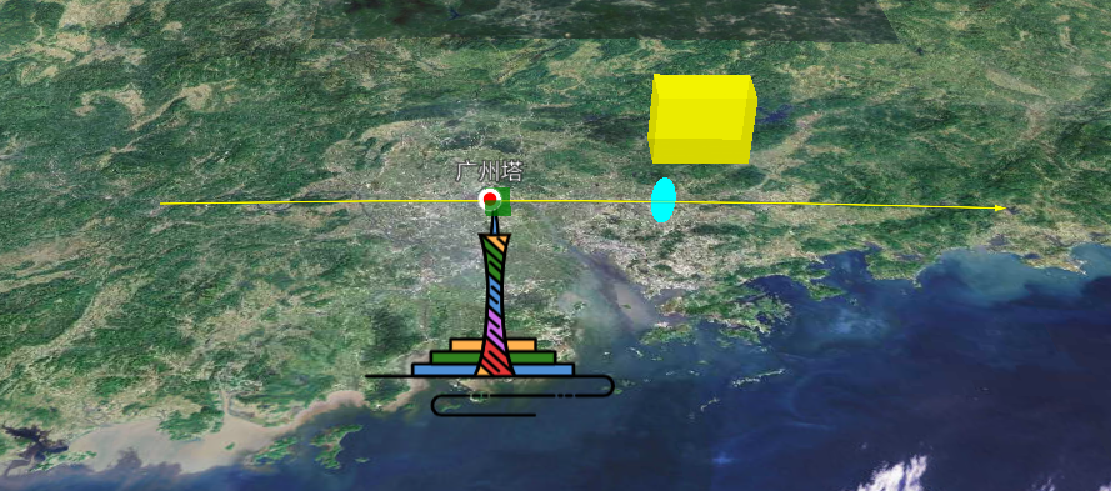
三、箭头线------PolylineArrowMaterialProperty
一条线从头粗到尾,末端自带箭头,做"流向"提示最直观。
const polyLineArrowMaterial = new Cesium.PolylineArrowMaterialProperty(
  Cesium.Color.YELLOW // 箭头颜色
);
换材质后,线瞬间变成"箭头跑道",方向永远从起点指向终点。
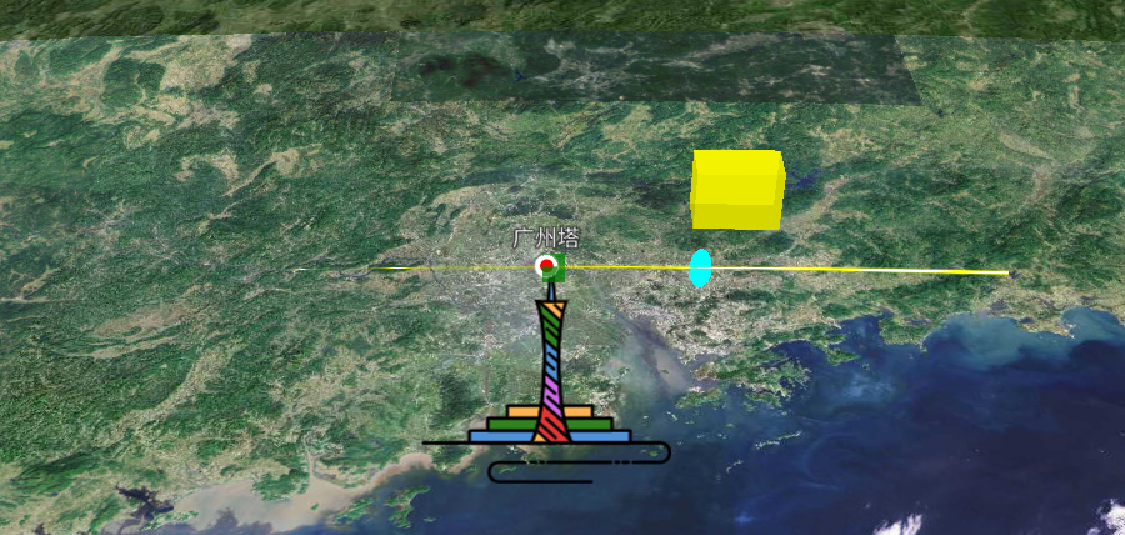
四、发光飞线------PolylineGlowMaterialProperty
做"飞线"特效全靠它:中间亮、两边暗,还能控制粗细衰减。
const polyLineGlowMaterial = new Cesium.PolylineGlowMaterialProperty({
  color: Cesium.Color.YELLOW,
  glowPower: 0.3,   // 发光强度 0--1,越大越亮
  taperPower: 0.1,  // 尾部收缩程度 0--1,越大越早变细
});
参数秒懂:
-
glowPower = 0.8时,整条线"胖"到几乎成带子; -
taperPower = 1时,线身几乎无渐变,失去"飞线"尾巴。常用组合:
glowPower: 0.3、taperPower: 0.1,既有光晕又有尾巴。
五、小结
折线换皮肤只要记住三步:
-
选材质类(Dash / Arrow / Glow ...);
-
调参数;
-
把实例赋给
polyline.material。
官方给的这几种线型已能 cover 80% 场景,想要更炫的脉冲、渐隐、彩虹渐变?后面我们上手自定义着色器,再带大家手写"神仙飞线"。