一、前言
基于上一章的环境准备和模型转换,本章专注于后端服务器的部署以及前端页面的启动。
整个后端服务器是依赖于 OpenVINO 的,不过只要你的设备可以使用 OpenVINO,理论上就可以使用这个后端,如果你有 intel 的独立显卡,只需要把代码中 device 更改为对应的设备即可运行在 GPU 上。
python
self.pipeline = ov_genai.LLMPipeline(self.model_path, device)
二、前端交互界面
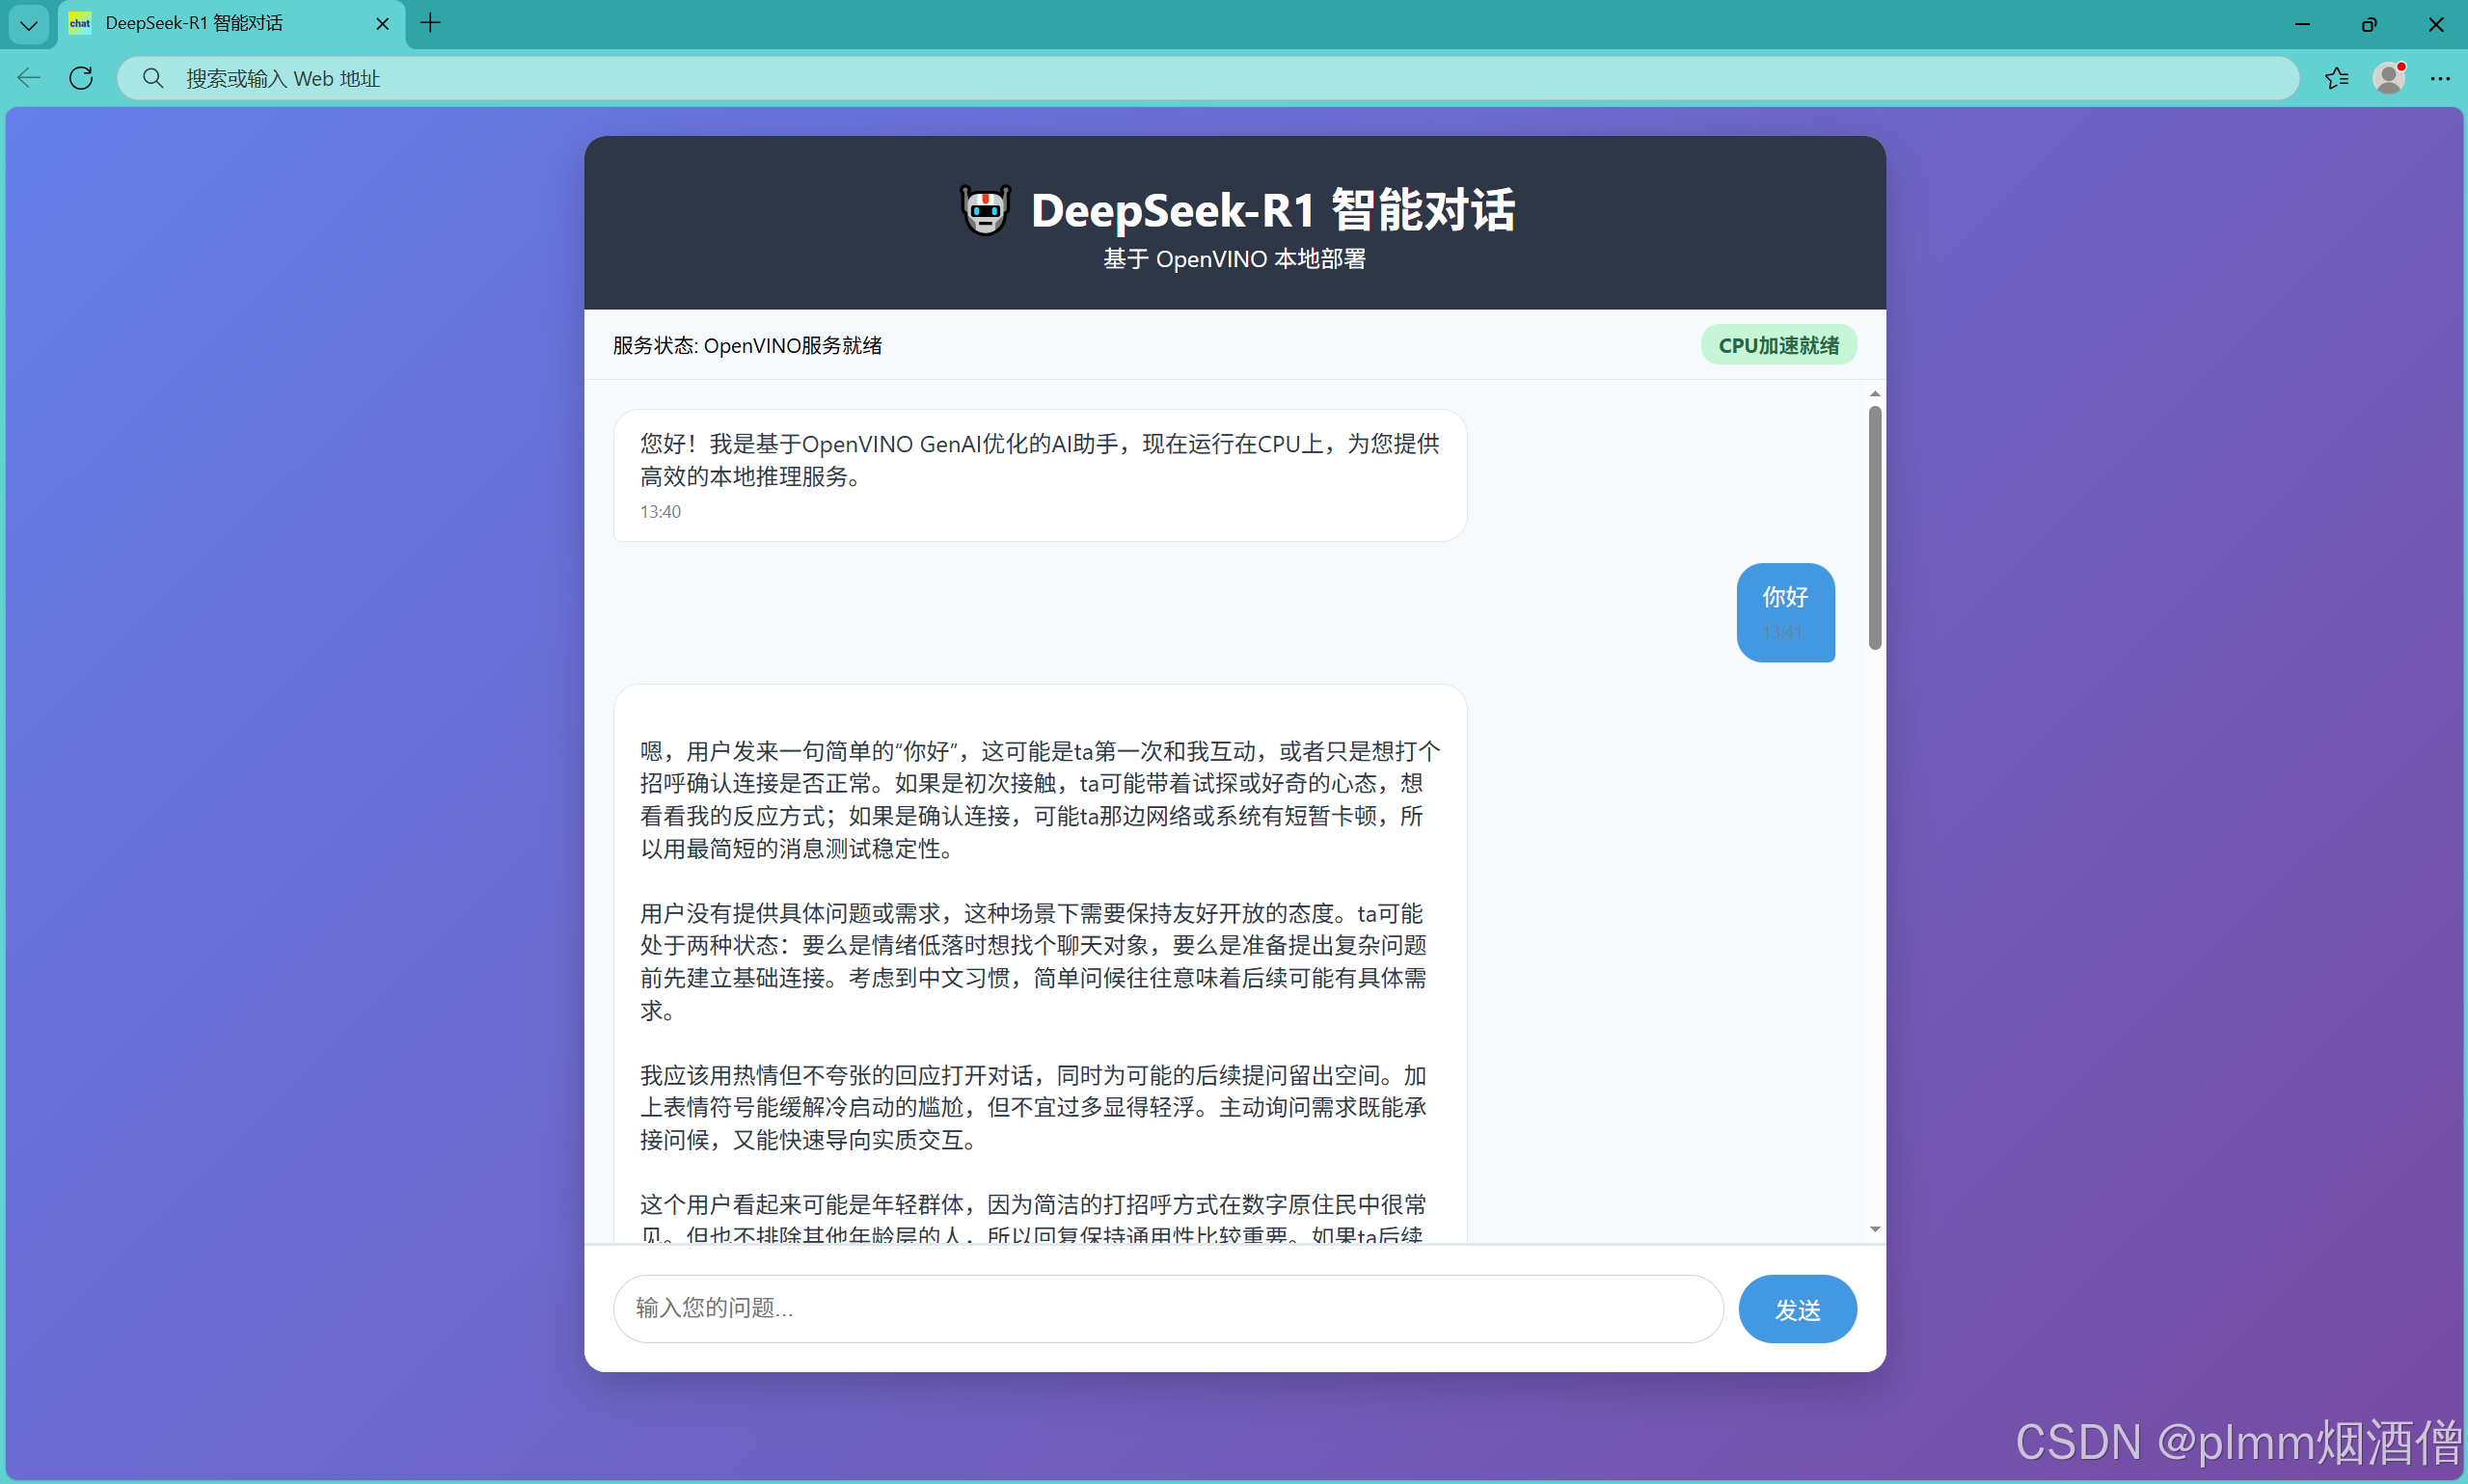
网页预览:
作者本人是第一次接触 html 源码,很多编程可能不规范,不过我的目的是部署,不是开发,这里也仅是给各位和我一样想快速部署且未接触过 html 的读者一个参考,也欢迎各位优秀的前端开发者提供建议和意见。
chat_interface.html
html
<!DOCTYPE html>
<html lang="zh-CN">
<head>
    <meta charset="UTF-8">
    <meta name="viewport" content="width=device-width, initial-scale=1.0">
    <title>DeepSeek-R1 智能对话</title>
    <link rel="icon" type="image/svg+xml" href="logo.svg">
    <style>
        * { margin: 0; padding: 0; box-sizing: border-box; }
        body {
            font-family: -apple-system, BlinkMacSystemFont, 'Segoe UI', Roboto, sans-serif;
            background: linear-gradient(135deg, #667eea 0%, #764ba2 100%);
            min-height: 100vh;
            padding: 20px;
        }
        .chat-container {
            max-width: 900px;
            margin: 0 auto;
            background: white;
            border-radius: 15px;
            box-shadow: 0 10px 30px rgba(0,0,0,0.2);
            overflow: hidden;
            display: flex;
            flex-direction: column;
            height: 90vh;
        }
        .chat-header {
            background: #2d3748;
            color: white;
            padding: 25px;
            text-align: center;
        }
        .status-bar {
            background: #f7fafc;
            padding: 10px 20px;
            border-bottom: 1px solid #e2e8f0;
            display: flex;
            justify-content: space-between;
            align-items: center;
            font-size: 14px;
        }
        .status-indicator {
            padding: 4px 12px;
            border-radius: 12px;
            font-weight: bold;
        }
        .status-loading { background: #fed7d7; color: #c53030; }
        .status-ready { background: #c6f6d5; color: #276749; }
        .chat-messages {
            flex: 1;
            overflow-y: auto;
            padding: 20px;
            background: #f7fafc;
        }
        .message {
            margin-bottom: 15px;
            display: flex;
            align-items: flex-start;
        }
        .user-message { justify-content: flex-end; }  /* 用户消息靠右 */
        .bot-message { justify-content: flex-start; } /* 默认机器人靠左 */
        .message-bubble {
            max-width: 70%;
            padding: 12px 18px;
            border-radius: 18px;
            line-height: 1.4;
        }
        .user-message .message-bubble {
            background: #4299e1;
            color: white;
            border-bottom-right-radius: 5px;
        }
        .bot-message .message-bubble {
            background: white;
            color: #2d3748;
            border: 1px solid #e2e8f0;
            border-bottom-left-radius: 5px;
        }
        .message-time {
            font-size: 12px;
            color: #718096;
            margin-top: 5px;
        }
        .typing-indicator {
            display: none;
            color: #718096;
            font-style: italic;
            margin: 10px 0;
            padding: 0 20px;
        }
        .chat-input-container {
            padding: 20px;
            background: white;
            border-top: 2px solid #e2e8f0;
        }
        .chat-input {
            display: flex;
            gap: 10px;
        }
        #messageInput {
            flex: 1;
            padding: 12px 15px;
            border: 1px solid #cbd5e0;
            border-radius: 25px;
            outline: none;
            font-size: 16px;
        }
        #messageInput:focus {
            border-color: #4299e1;
        }
        #sendButton {
            padding: 12px 25px;
            background: #4299e1;
            color: white;
            border: none;
            border-radius: 25px;
            cursor: pointer;
            font-size: 16px;
            transition: background 0.3s;
        }
        #sendButton:hover:not(:disabled) {
            background: #3182ce;
        }
        #sendButton:disabled {
            background: #a0aec0;
            cursor: not-allowed;
        }
        .system-message {
            text-align: center;
            color: #718096;
            font-size: 14px;
            margin: 10px 0;
            padding: 8px;
            background: #edf2f7;
            border-radius: 8px;
        }
    </style>
</head>
<body>
    <div class="chat-container">
        <div class="chat-header">
            <h1>🤖 DeepSeek-R1 智能对话</h1>
            <p>基于 OpenVINO 本地部署</p>
        </div>

        <div class="status-bar">
            <span>服务状态: <span id="statusText">检测中...</span></span>
            <span id="modelStatus" class="status-indicator status-loading">模型加载中</span>
        </div>

        <div class="chat-messages" id="chatMessages">
            <div class="system-message">
                系统正在初始化,请稍候...
            </div>
        </div>

        <div class="typing-indicator" id="typingIndicator">
            DeepSeek正在思考中...
        </div>

        <div class="chat-input-container">
            <div class="chat-input">
                <input type="text" id="messageInput" placeholder="输入您的问题..." autocomplete="off" disabled>
                <button id="sendButton" disabled>发送</button>
            </div>
        </div>
    </div>

    <script>
        const API_BASE = 'http://localhost:5000';

        // DOM元素
        const chatMessages = document.getElementById('chatMessages');
        const messageInput = document.getElementById('messageInput');
        const sendButton = document.getElementById('sendButton');
        const typingIndicator = document.getElementById('typingIndicator');
        const statusText = document.getElementById('statusText');
        const modelStatus = document.getElementById('modelStatus');

        // 状态检查函数,添加OpenVINO特定信息
        async function checkServerStatus() {
            try {
                const response = await fetch(`${API_BASE}/health`);
                const data = await response.json();

                if (data.status === 'ready') {
                    statusText.textContent = 'OpenVINO服务就绪';
                    modelStatus.textContent = 'CPU加速就绪';
                    modelStatus.className = 'status-indicator status-ready';
                    messageInput.disabled = false;
                    sendButton.disabled = false;
                    messageInput.placeholder = "输入您的问题...";

                    // 更新欢迎消息
                    if (chatMessages.querySelector('.system-message')) {
                        chatMessages.innerHTML = '';
                        addMessage('您好!我是基于OpenVINO GenAI优化的AI助手,现在运行在CPU上,为您提供高效的本地推理服务。', false);
                    }

                    return true;
                } else {
                    statusText.textContent = 'OpenVINO模型加载中...';
                    modelStatus.textContent = '优化中';
                    modelStatus.className = 'status-indicator status-loading';
                    messageInput.placeholder = "OpenVINO模型优化加载中,请稍候...";
                    return false;
                }
            } catch (error) {
                statusText.textContent = 'OpenVINO服务未连接';
                modelStatus.textContent = '离线';
                modelStatus.className = 'status-indicator status-loading';
                messageInput.placeholder = "无法连接到OpenVINO服务,请检查服务器状态";
                return false;
            }
        }

        // 添加模型信息查询
        async function getModelInfo() {
            try {
                const response = await fetch(`${API_BASE}/model_info`);
                const data = await response.json();
                console.log('OpenVINO后端信息:', data);
            } catch (error) {
                console.error('获取模型信息失败:', error);
            }
        }

        function getCurrentTime() {
            return new Date().toLocaleTimeString('zh-CN', {
                hour: '2-digit',
                minute: '2-digit'
            });
        }

        function addMessage(content, isUser = false) {
            // 动态创建一个 <div> 元素作为单条消息的外层容器
            const messageDiv = document.createElement('div');
            // 基础类 + 条件类
            messageDiv.className = `message ${isUser ? 'user-message' : 'bot-message'}`;

            // 构建消息内容 HTML
            // 将文本中的换行符 \n 转为 HTML 换行 <br>,确保多行消息正常显示
            messageDiv.innerHTML = `
                <div class="message-bubble">
                    ${content.replace(/\n/g, '<br>')}
                    <div class="message-time">${getCurrentTime()}</div>
                </div>
            `;

            chatMessages.appendChild(messageDiv);
            // 自动滚动到底部
            chatMessages.scrollTop = chatMessages.scrollHeight;
        }

        function showTypingIndicator() {
            typingIndicator.style.display = 'block';
            chatMessages.scrollTop = chatMessages.scrollHeight;
        }

        function hideTypingIndicator() {
            typingIndicator.style.display = 'none';
        }

        // async:标记一个函数为异步函数(该函数会自动返回 Promise)
        // await:暂停当前函数的执行,直到 await 后面的 Promise 被解决(resolved),然后返回其结果
        // await 只能在 async 函数内部使用
        // 调用带有async函数,调用者不会阻塞,只有该函数会阻塞,调用者不会等到函数执行结束,而是直接下一步
        async function sendMessage() {
            const message = messageInput.value.trim();

            if (!message) return;

            // 添加用户消息
            addMessage(message, true);
            messageInput.value = '';
            sendButton.disabled = true;

            // 显示打字指示器
            showTypingIndicator();

            try {
                // fetch:现代浏览器提供的网络请求 API
                const response = await fetch(`${API_BASE}/chat`, {
                    method: 'POST',
                    // Header:声明内容为 JSON,确保后端能正确解析
                    headers: {
                        'Content-Type': 'application/json',
                    },
                    body: JSON.stringify({
                        message: message,
                        max_tokens: 512
                    })
                });

                if (!response.ok) {
                    throw new Error(`HTTP错误! 状态码: ${response.status}`);
                }

                const data = await response.json();

                if (data.status === 'success') {
                    hideTypingIndicator();
                    addMessage(data.response, false);
                } else {
                    throw new Error(data.error || '未知错误');
                }

            } catch (error) {
                hideTypingIndicator();
                addMessage(`抱歉,出现了错误:${error.message}`, false);
                console.error('API调用错误:', error);
            } finally {
                sendButton.disabled = false;
                // messageInput.focus():自动聚焦回输入框,方便继续输入
                messageInput.focus();
            }
        }

        // 事件监听
        sendButton.addEventListener('click', sendMessage);

        messageInput.addEventListener('keypress', (e) => {
            if (e.key === 'Enter') {
                sendMessage();
            }
        });

        // 初始化
        async function init() {
            // 每5秒检查一次服务状态
            const checkInterval = setInterval(async () => {
                const isReady = await checkServerStatus();
                if (isReady) {
                    clearInterval(checkInterval);
                }
            }, 5000);

            // 首次检查
            await checkServerStatus();
        }

        // 当 HTML 文档、所有图片、样式表、脚本等外部资源全部加载完成后,
        // 浏览器会触发 load 事件,此时 window.onload 指定的函数就会被调用
        window.onload = init;
    </script>
</body>
</html>
主要实现了几个简单控件,输入条,发送按钮和状态栏,需要后端提供三个接口:
html
const response = await fetch(`${API_BASE}/health`);
const response = await fetch(`${API_BASE}/model_info`);
const response = await fetch(`${API_BASE}/chat`
分别用于服务器状态检查,获取模型信息和对话。
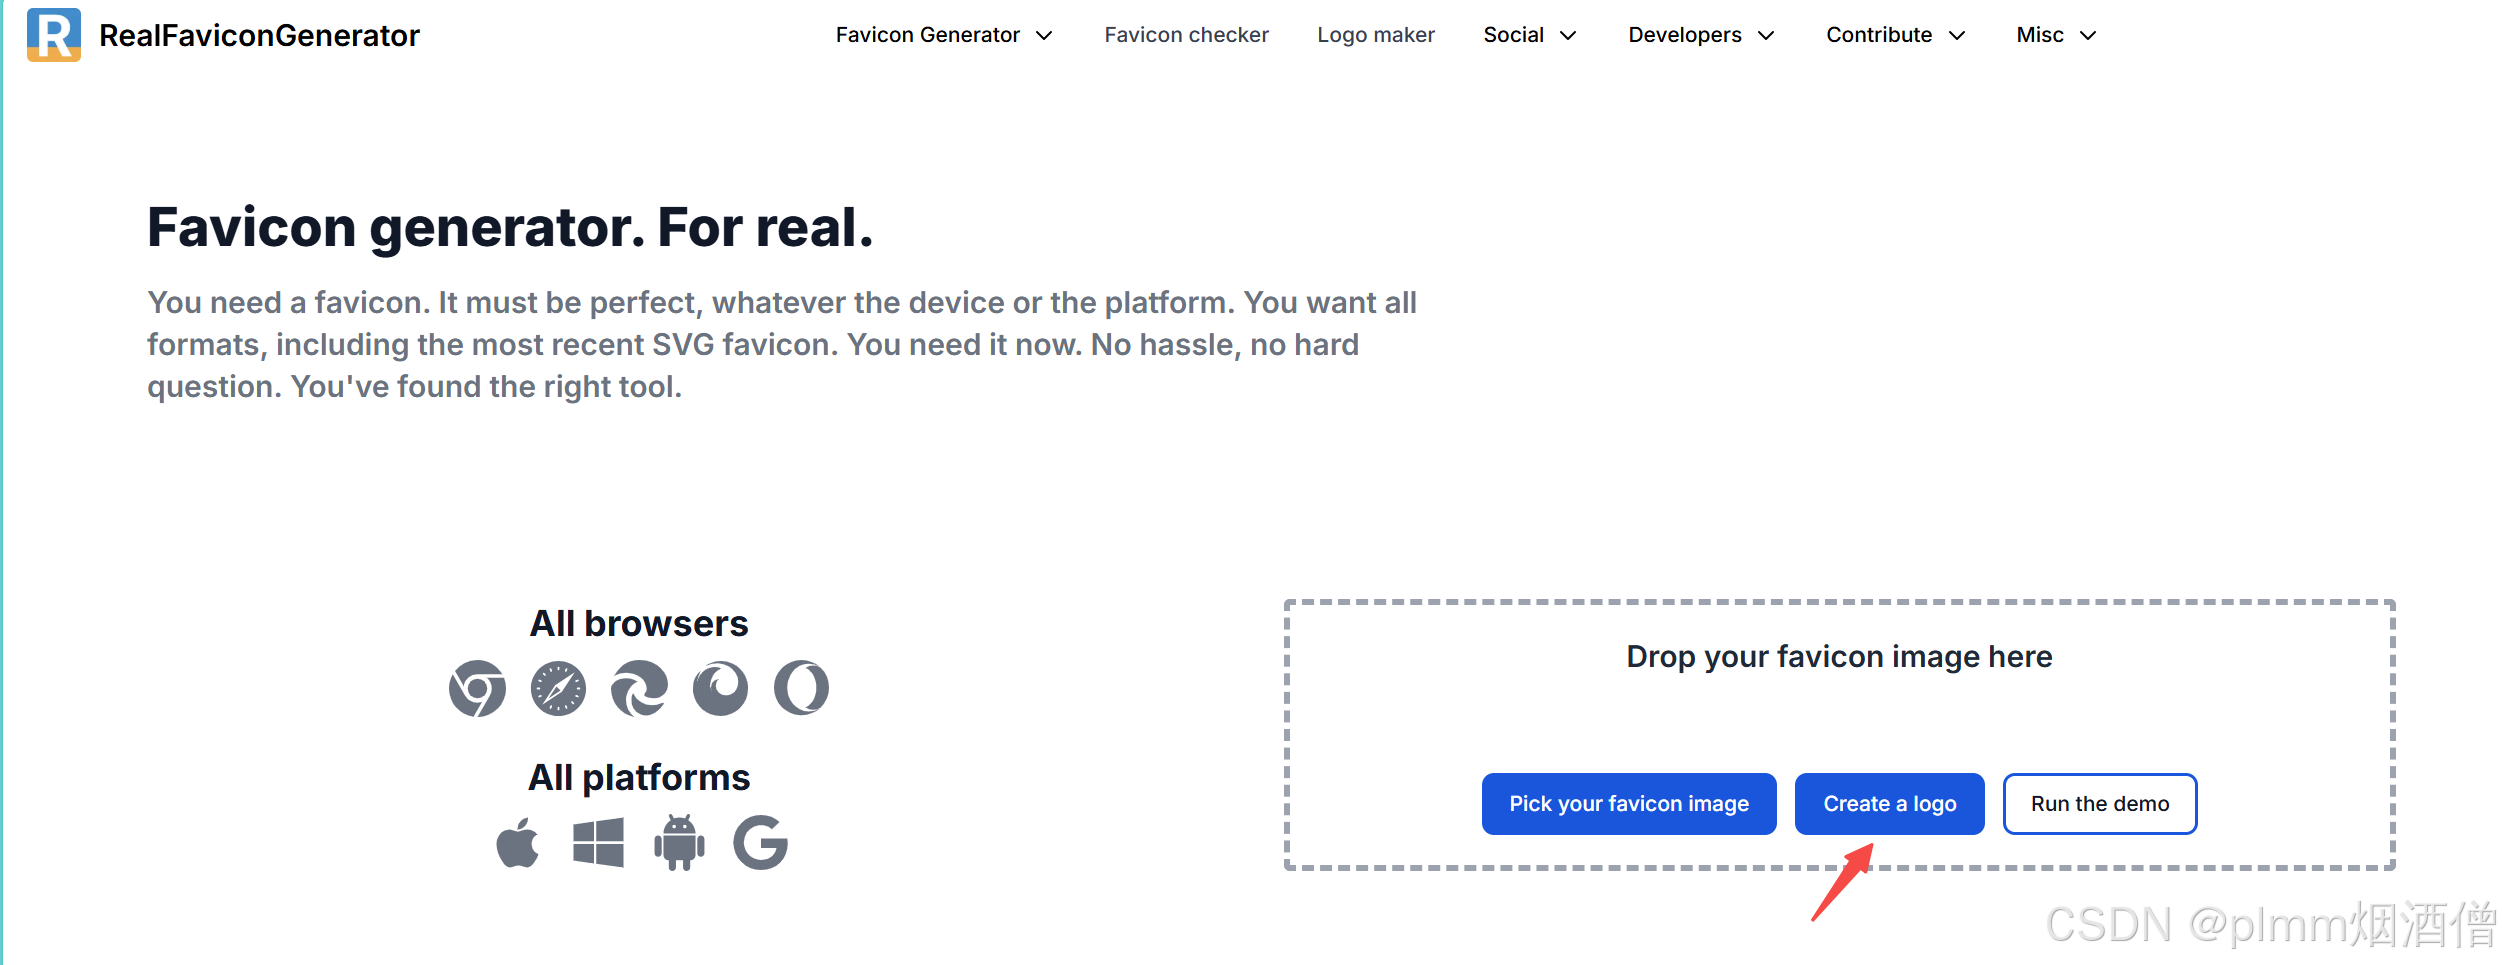
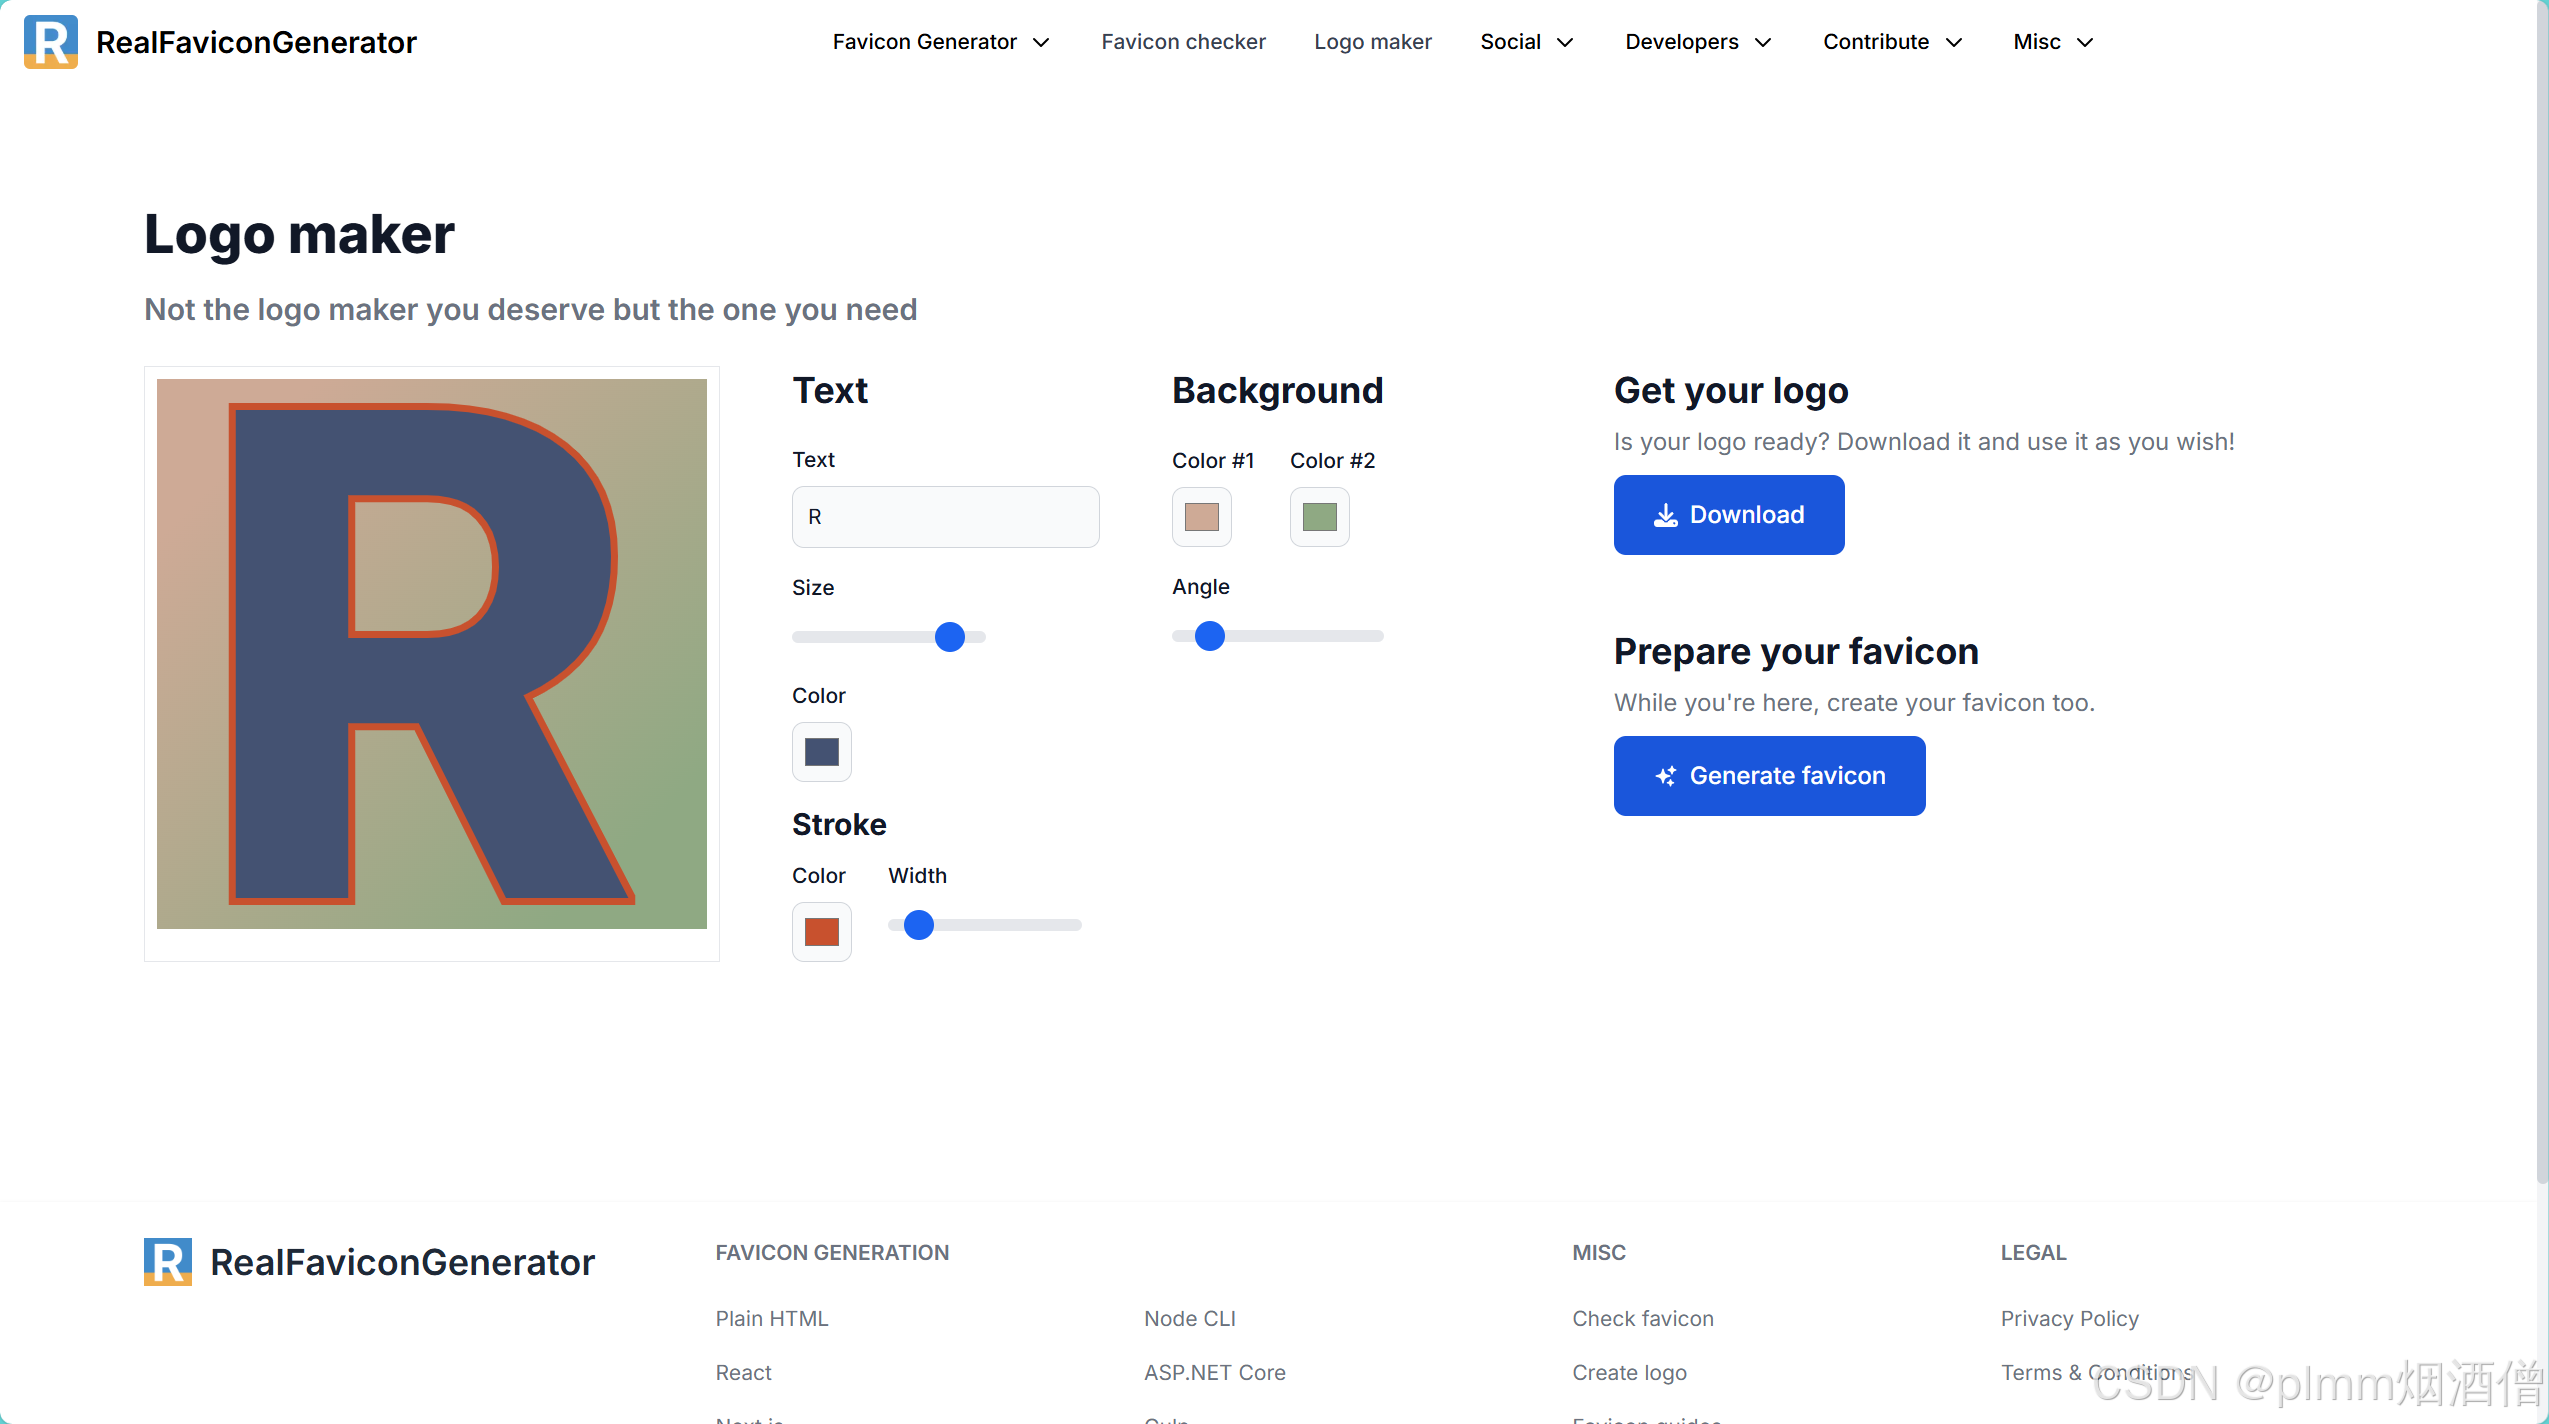
网页图标
网页图标是一个本地 svg 文件,由于不方便上传,这里给大家推荐一个快速生成图标的网站:
Favicon Generator for perfect icons on all browsers![]() https://realfavicongenerator.net/点击 Create a logo:
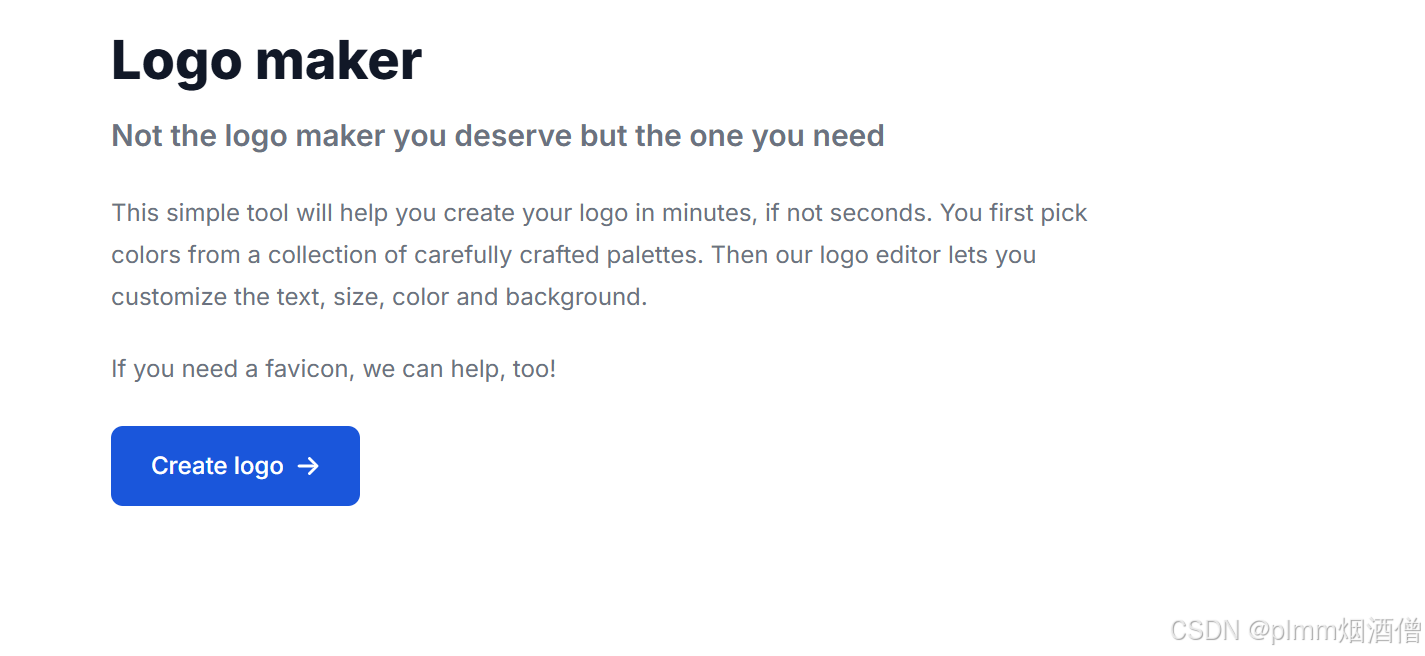
https://realfavicongenerator.net/点击 Create a logo:
点击创建:
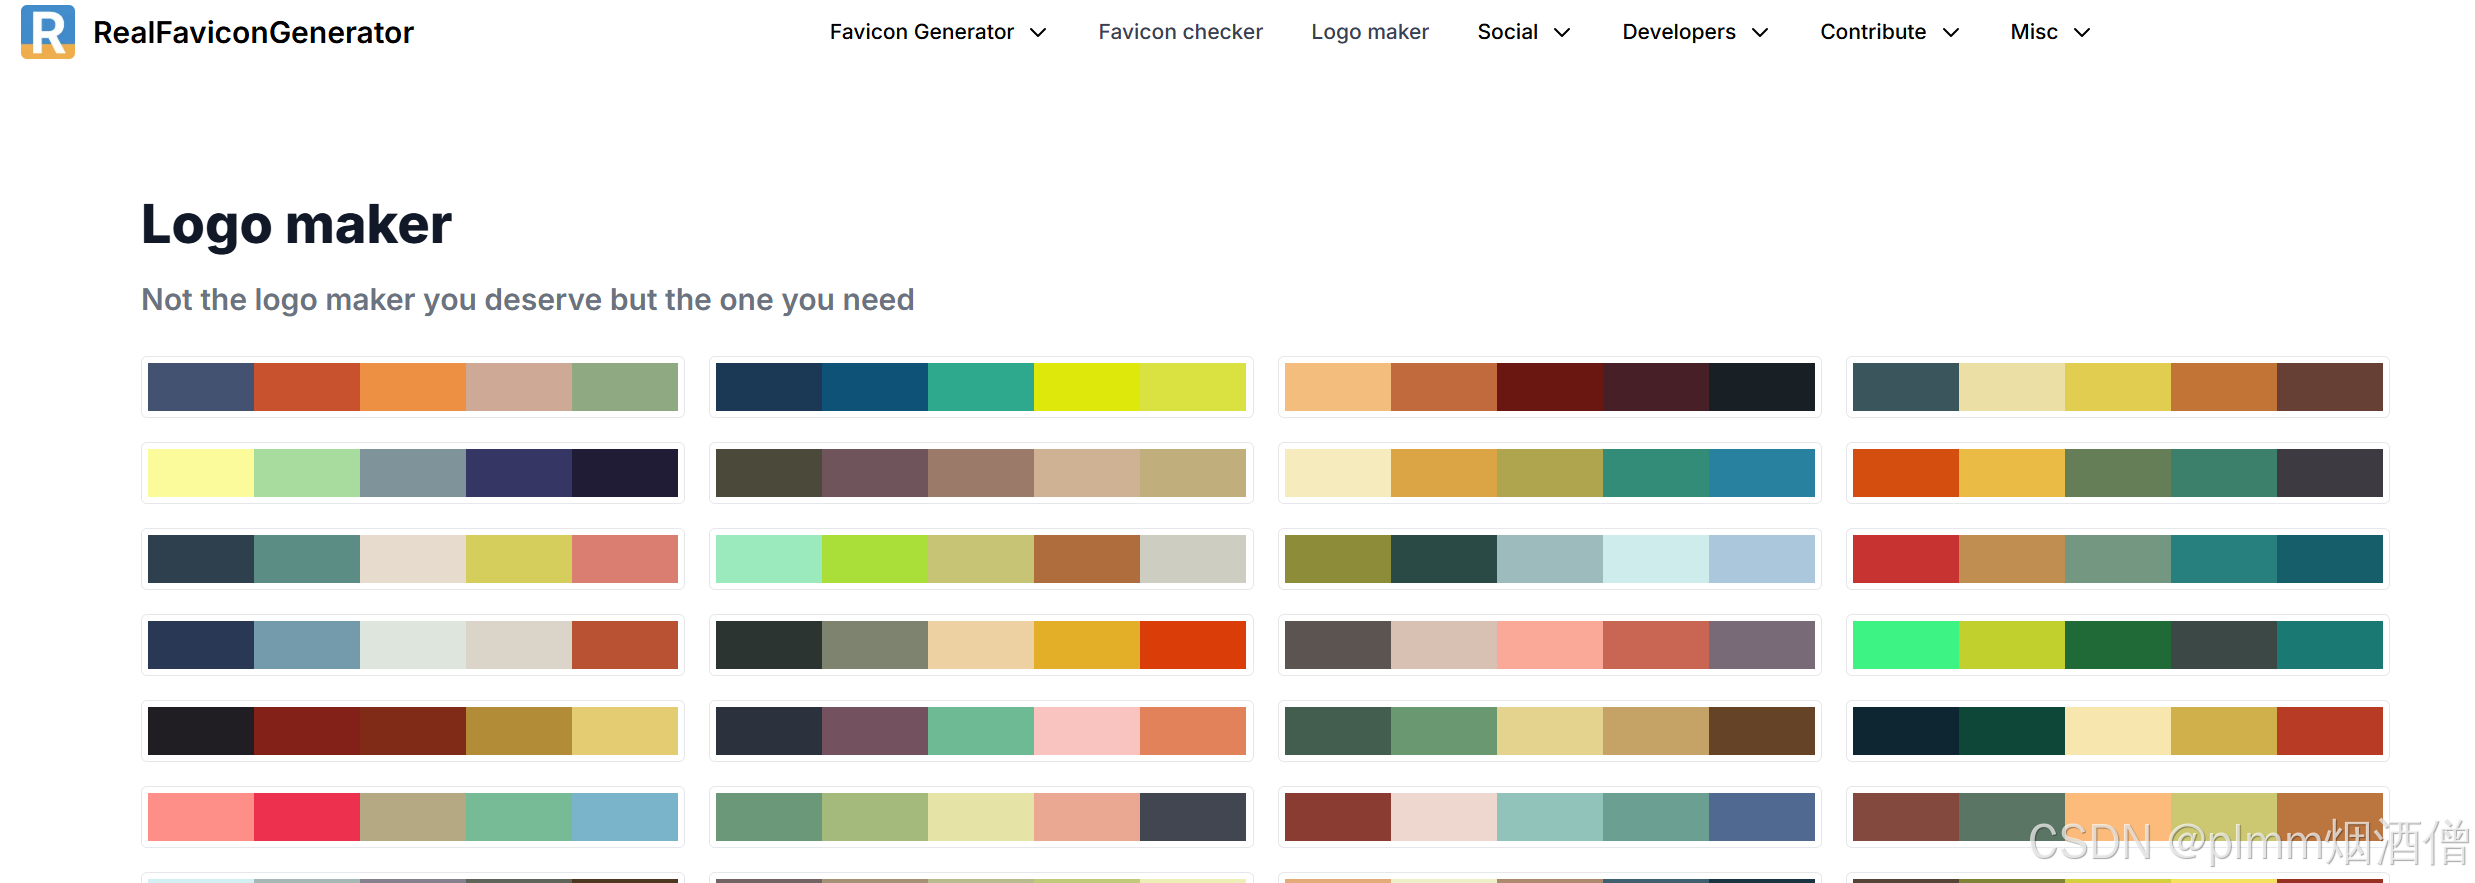
选择一个色系:
然后就可以个性化调整:
三、后端模型服务器
OpenVINO 为生成式AI优化提供了推理引擎:OpenVINO GenAI。
OpenVINO GenAI 提供简洁的 API 接口,支持Python和C++两种编程语言,安装容量不到200MB。
以我本次使用的 DeepSeek-R1-0528-Qwen3-8B 为例,流水线使用 LLMPipeline。
后端需要用到的包:
bash
pip install Flask Flask-CORS openvino-genaiopenvino_server.py
python
import openvino_genai as ov_genai
from flask import Flask, request, jsonify
from flask_cors import CORS
import threading
import logging
from typing import Dict, Any
from pathlib import Path

class OpenVINOBackend:
    def __init__(self, model_path: str):
        self.model_path = model_path
        self.pipeline = None
        self.is_ready = False
        self.init_lock = threading.Lock()

    def initialize_model(self, device: str):
        """初始化OpenVINO模型管道"""

        with self.init_lock:
            if self.is_ready:
                return
            logger.info("正在加载OpenVINO模型...")
            try:
                self.pipeline = ov_genai.LLMPipeline(self.model_path, device)
                self.is_ready = True
                logger.info("OpenVINO模型加载完成!")
            except Exception as e:
                logger.error(f"模型加载失败: {str(e)}")
                self.is_ready = False

    def generate_response(self, message: str, max_tokens: int = 512, temperature: float = 0.7, do_sample: bool = True) -> Dict[str, Any]:
        """生成对话响应"""
        if not self.is_ready or self.pipeline is None:
            return {"status": "error", "error": "模型未就绪"}

        try:
            # 配置生成参数
            config = ov_genai.GenerationConfig()
            config.max_new_tokens = max_tokens      # 控制生成的最大token数量
            config.temperature = temperature        # 控制生成的随机性,值越高生成越随机(典型范围0.1-2.0)
            config.do_sample = do_sample            # 控制是否使用采样策略,使用采样策略,生成更随机、创造性更强的文本

            # 开始聊天会话(优化KV缓存)
            self.pipeline.start_chat()

            # 生成响应
            response = self.pipeline.generate(message, config)

            # 结束聊天会话
            self.pipeline.finish_chat()

            return {
                "status": "success",
                "response": response,
                "tokens_generated": len(response.split())
            }

        except Exception as e:
            return {"status": "error", "error": str(e)}

def create_app(backend: OpenVINOBackend) -> Flask:
    """创建Flask应用并绑定后端实例"""
    app = Flask(__name__)
    CORS(app)  # 允许跨域请求

    @app.route('/health', methods=['GET'])
    def health_check():
        """健康检查端点"""
        return jsonify({
            "status": "ready" if backend.is_ready else "loading",
            "backend": "openvino_genai",
            "device": "CPU"
        })

    @app.route('/chat', methods=['POST'])
    def chat_endpoint():
        """对话API端点"""
        data = request.json

        if not data or 'message' not in data:
            return jsonify({"status": "error", "error": "缺少message参数"})

        message = data['message']
        # 如果 max_tokens 不存在,返回默认值 512,限制范围(1~2048)
        max_tokens = min(max(int(data.get('max_tokens', 512)), 1), 2048)

        # 生成响应
        result = backend.generate_response(message, max_tokens)

        return jsonify(result)

    @app.route('/model_info', methods=['GET'])
    def model_info():
        """获取模型信息"""
        return jsonify({
            "backend": "openvino_genai",
            "status": "ready" if backend.is_ready else "loading",
            "device": "CPU",
            "optimization": "int4_quantization"  # 根据实际量化方式调整
        })

    return app

def initialize_backend(backend: OpenVINOBackend, device: str='CPU'):
    """在后台线程中初始化模型"""

    def init_task():
        backend.initialize_model(device)

    # 守护线程,不需要(也不能)显式回收守护线程
    thread = threading.Thread(target=init_task, daemon=True)
    thread.start()

def main(model_path: str = "./converted_ov_model"):
    """主函数,接收模型路径作为参数"""
    # 初始化日志
    logging.basicConfig(
        level=logging.INFO,
        format='-- %(levelname)s - %(message)s',
        # format='-- %(levelname)s - %(asctime)s - %(name)s - %(message)s',
        force=True  # 强制重新配置(Python 3.8+)
    )
    global logger
    logger = logging.getLogger(__name__)
    logger.info("Starting OpenVINO GenAI server...")

    p = Path(model_path)
    if not p.exists():
        logger.error(f"路径不存在:{model_path}")
        return
    if not p.is_dir:
        logger.error(f"请传入模型文件夹:{model_path}")
        return

    # 创建后端实例
    backend = OpenVINOBackend(model_path)

    # 创建Flask应用
    app = create_app(backend)

    # 启动时初始化后端
    initialize_backend(backend, "CPU")

    # 启动Flask服务器
    logger.info(f"启动OpenVINO GenAI服务器,模型路径: {model_path}...")
    app.run(host='0.0.0.0', port=5000, debug=False)

if __name__ == '__main__':

    path = "./DeepSeek-R1-0528-Qwen3-8B_openvino_int4"
    main(path)
为了启动方便,我将模型路径写进了 py 文件,读者可以根据自身情况改为从命令行传参。后端也是主要实现三个接口,以及模型的初始化和推理。
为了适配长期运行环境,启用了 logger 和局域网服务器,并且关闭了 Flask 的 debug,防止Werkzeug 的自动重载机制(reloader),出现一些莫名的情况。
四、资源占用
启动后端服务是不占用资源的,开始对话以后才会明显占用 CPU 和内存。
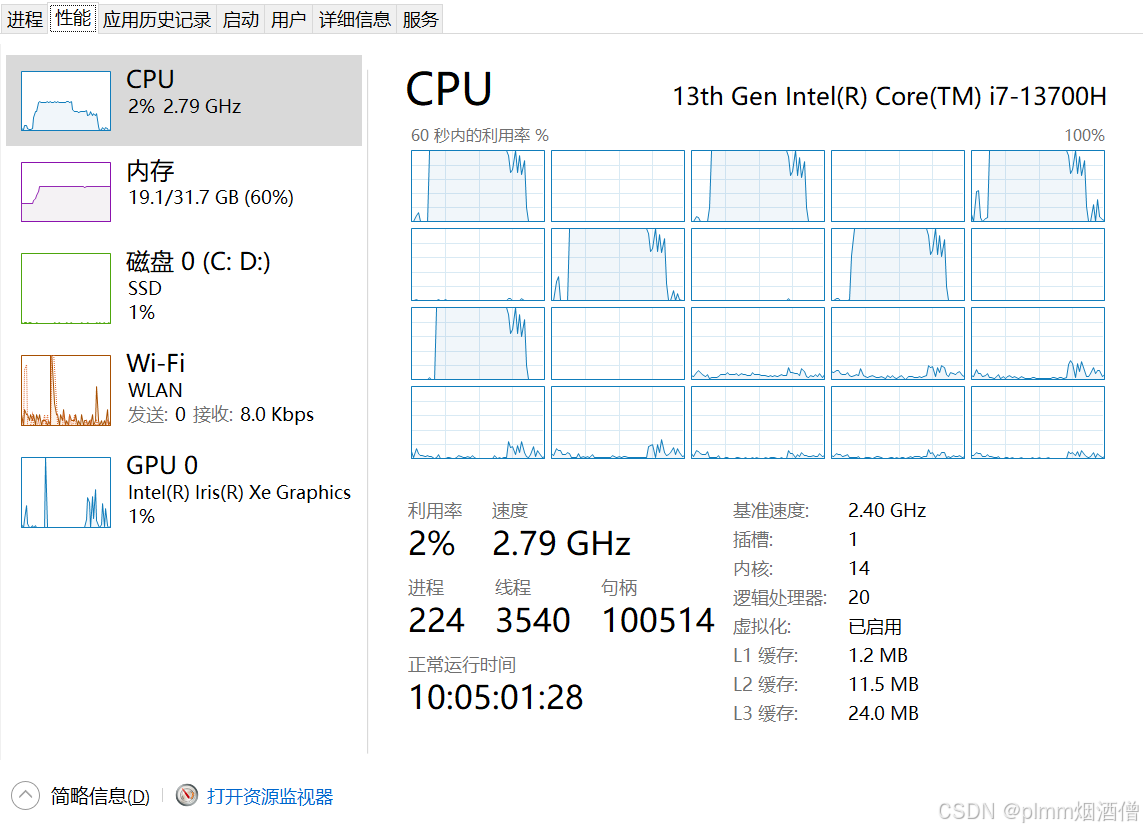
可以看到,OpenVINO 优化以及 INT4 量化后的 DeepSeek-R1-0528-Qwen3-8B,内存占用约 10G,CPU 也在可接受范围,每次推理大约需要 40 秒。
根据缩略图情况,启动后内存不会释放,直到后端服务器关闭。目前对话是单次输入输出,也就是每次对话只会有一次请求和回复,因此消息没有逐字生成的效果,未来有机会再继续优化,并且现在有字符上线限制,主要是因为我的设备性能有限,如果能将逐字显示完成,使用体验应该可以流畅很多。