今天在服务器搭建docker和docker-compose,使用docker搭建一些服务。之前没想到使用离线方式这么简单,记录下安装过程。
一、docker压缩包下载
docker压缩包下载地址
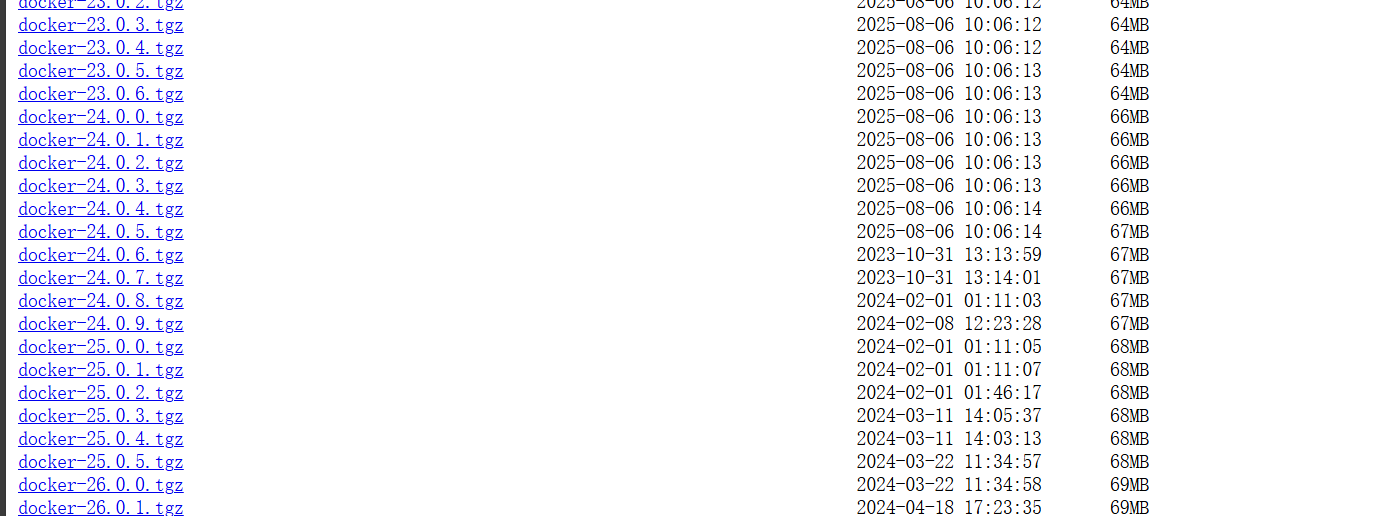
选择对应服务器的和版本的压缩包下载下来,上传到服务器的自己用的目录。
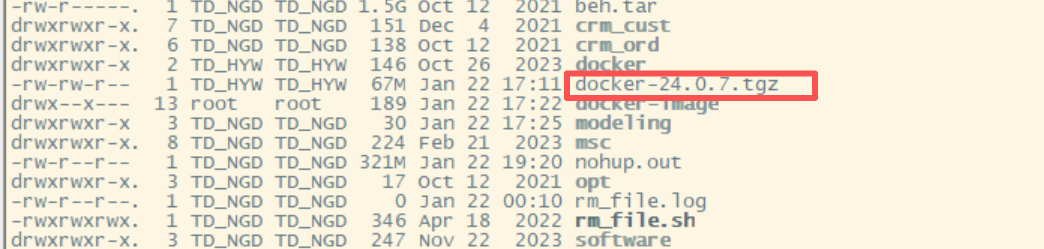
我使用的是24.0.7版本的。
二、解压缩安装:
bash
tar -zxvf docker-24.0.7.tgz解压后生成docker文件夹
执行命令将相关文件复制到服务器/usr/bin/目录
bash
cp docker/* /usr/bin/执行命令验证版本
bash
docker -v
Docker version 24.0.7, build afdd53b
三、配置docker系统服务
新建docker.service文件
bash
touch /usr/lib/systemd/system/docker.service
vi /usr/lib/systemd/system/docker.service
将下面的内容放到docker.service文件中
bash
[Unit]
Description=Docker Application Container Engine
Documentation=https://docs.docker.com
After=network-online.target firewalld.service containerd.service
Wants=network-online.target

[Service]
Type=notify
# the default is not to use systemd for cgroups because the delegate issues still
# exists and systemd currently does not support the cgroup feature set required
# for containers run by docker
ExecStart=/usr/bin/dockerd
ExecReload=/bin/kill -s HUP $MAINPID
TimeoutSec=0
RestartSec=2
Restart=always

# Note that StartLimit* options were moved from "Service" to "Unit" in systemd 229.
# Both the old, and new location are accepted by systemd 229 and up, so using the old location
# to make them work for either version of systemd.
StartLimitBurst=3

# Note that StartLimitInterval was renamed to StartLimitIntervalSec in systemd 230.
# Both the old, and new name are accepted by systemd 230 and up, so using the old name to make
# this option work for either version of systemd.
StartLimitInterval=60s

# Having non-zero Limit*s causes performance problems due to accounting overhead
# in the kernel. We recommend using cgroups to do container-local accounting.
LimitNOFILE=infinity
LimitNPROC=infinity
LimitCORE=infinity

# Comment TasksMax if your systemd version does not support it.
# Only systemd 226 and above support this option.
TasksMax=infinity

# set delegate yes so that systemd does not reset the cgroups of docker containers
Delegate=yes

# kill only the docker process, not all processes in the cgroup
KillMode=process
OOMScoreAdjust=-500

[Install]
WantedBy=multi-user.target
wq保存退出。
配置docker自启动。
bash
# 重新加载系统配置 使docker.service配置文件生效
systemctl daemon-reload

# 设置自启动
systemctl enable docker

# 启动docker
systemctl start docker

# 查看docker运行状态
systemctl status docker
如下图表示运行成功

四、安装docker-compose
docker-compose github下载地址
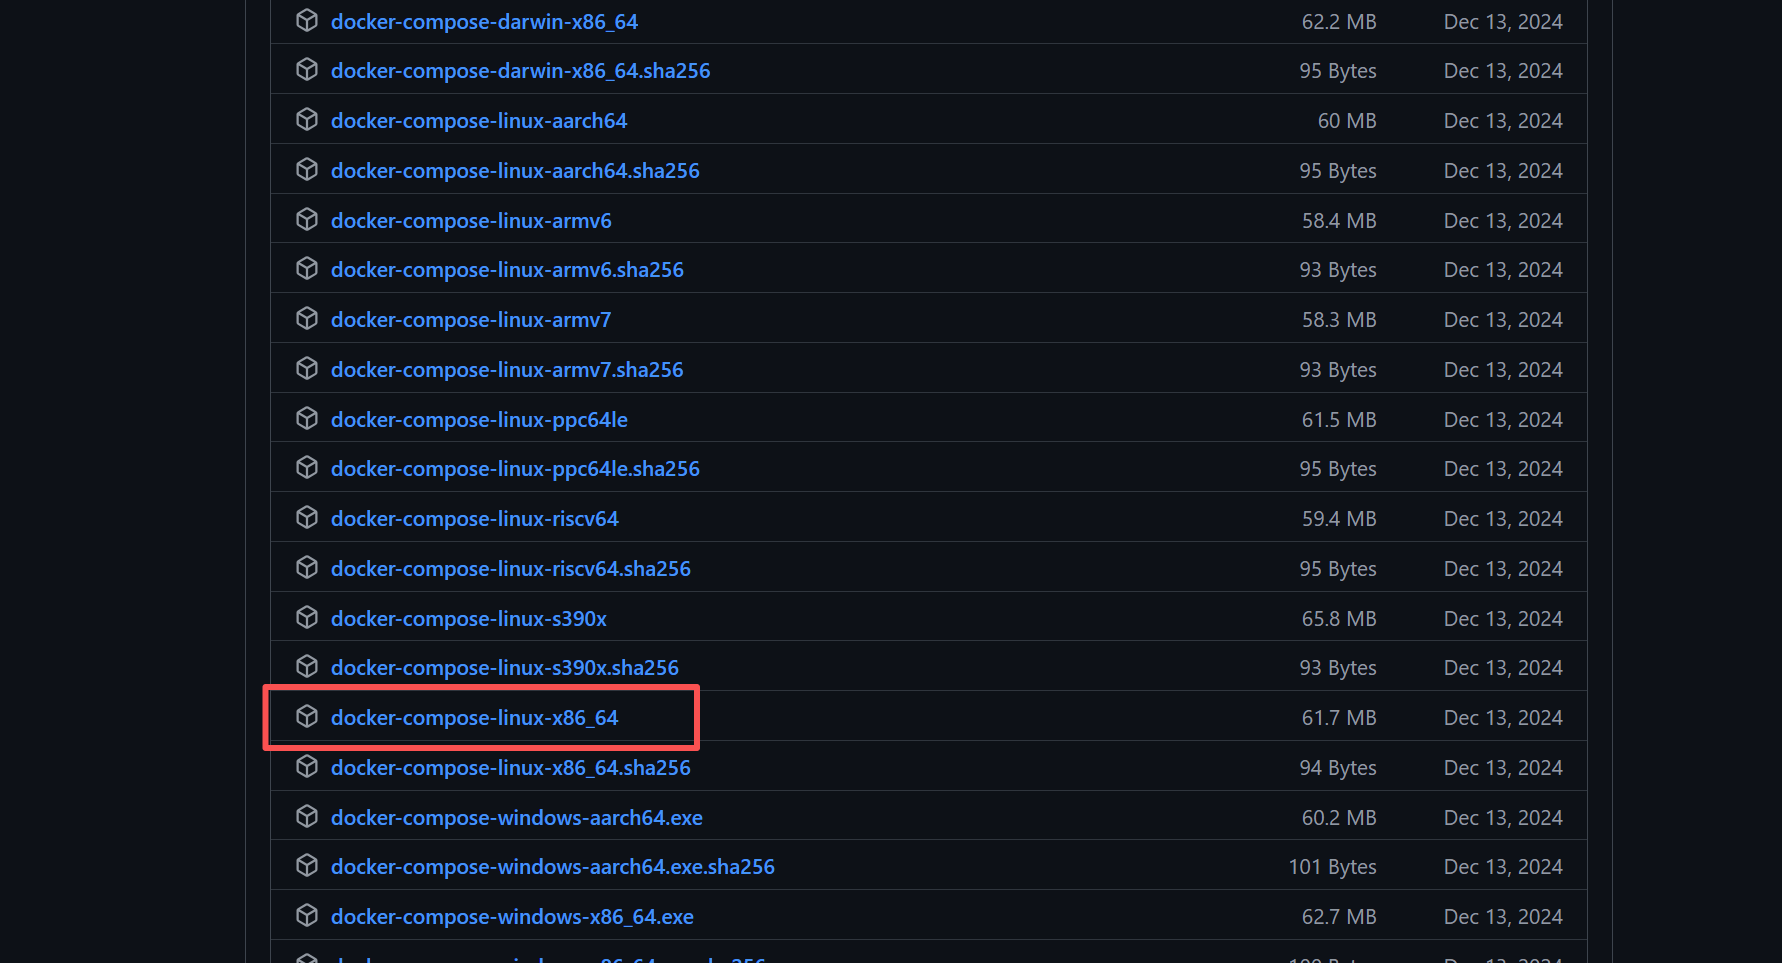
可以选择对应版本和系统类型,我使用的是2.32.0的linux-x86版本的。
把文件下载下来放到服务器目录上,修改名字为docker-compose。
把docker-compose 文件放到/usr/local/bin目录
bash
mv docker-compose /usr/local/bin给文件复制可运行权限
bash
chmod +x /usr/local/bin/docker-compose创建软连接
bash
ln -s /usr/local/bin/docker-compose /usr/bin/docker-compose版本验证
bash
docker-compose version
# 输出 docker-compose 版本信息
Docker Compose version v2.32.0
五、docker镜像存放位置更改
有的时候,由于docker镜像比较大。docker镜像默认存放地址可能目录容量太小,所以我们需要自定义目录存放docker镜像。
创建docker的配置文件:
bash
touch /etc/docker/daemon.json
vi /etc/docker/daemon.json
把下面的内容放到配置文件中:
bash
{
  "registry-mirrors": ["https://registry.docker-cn.com", "https://mirror.aliyuncs.com"],
  "data-root": "/data/docker"  # 指定新的存储路径
}
docker镜像拉取的地址也是在这里配置的。
配置好之后wq保存退出。
使用系统服务方式重启:
bash
# 停止docker
systemctl stop docker

# 生效配置文件
systemctl daemon-reload

# 启动docker
systemctl start docker
到这里就可以开始开开心心的使用docker啦。