一、线上考试系统的数据虚拟化技术部署
1.部署前段服务器
步骤一:将资源上传到服务器
将dist.zip上传给服务器
下载unzip的包
yum -y install unzip
解压
unzip dist.zip
步骤二:创建基础容器在服务器上
启动服务
systemctl start docker.service
拉取镜像
docker pull centos docker run -it --name c0 centos:latest /bin/bash
步骤三:在容器中修改yum源
curl -o /etc/yum.repos.d/CentOS-Base.repo https://mirrors.aliyun.com/repo/Centos-vault8.5.2111.repo yum clean all && yum makecache
步骤四:在容器中安装epel
yum -y install epel-release
步骤五:在容器中安装nginx
yum -y install nginx
步骤六:退出
ctrl p+q
步骤七:导出tar包
docker export -o centos_nginx.tar
步骤八:引⼊tar包,称为镜像
docker import -m "维护世界和平" centos_nginx.tar centos:nginx
步骤九:查看镜像
docker image ls
docker images
REPOSITORY TAG IMAGE ID CREATED SIZE
centos nginx 1c2a0901c77a 2 hours ago 368MB
centos httpd e9a1ee725b43 3 days ago 311MB
centos yum 82ca12d9b058 3 days ago 261MB
centos latest 5d0da3dc9764 2 years ago 31MB
步骤十:停⽤c0容器,删除c0容器
步骤十一:创建新的centos nginx容器,在创建的同时指定端⼝,以及挂载⽬录
docker run -it --name c0 -p80:80/tcp -v /opt/:/usr/share/nginx/html centos:nginx /bin/bash
步骤十二:在容器内部启动nginx服务
nginx
#退出
ctrl p +q
步骤十三:在宿主上把dist⽬录中的⽂件复制opt⽬录中
cp -r dist/* /opt
2.启动docker守护进程
systemctl start docker.service
3.搜索mysql镜像
docker search mysql
4.拉取mysql镜像
拉取镜像
docker pull mysql
查看镜像
docker images
REPOSITORY TAG IMAGE ID CREATED SIZE
centos nginx 1c2a0901c77a 2 hours ago 368MB
centos httpd e9a1ee725b43 3 days ago 311MB
centos yum 82ca12d9b058 3 days ago 261MB
mysql latest a82a8f162e18 4 weeks ago 586MB
centos latest 5d0da3dc9764 2 years ago 231MB
5.创建镜像容器
docker run -d --name my01 -e MYSQL_ROOT_PASSWORD=root -p 3306:3306 mysql:latest

# -d 后台运⾏,并输出hashcode

# -e MYSQL_ROOT_PASSWORD=root 设置mysql密码

# -p 映射3306端⼝
6.管理mysql
docker exec -it my01 mysql -uroot -proot
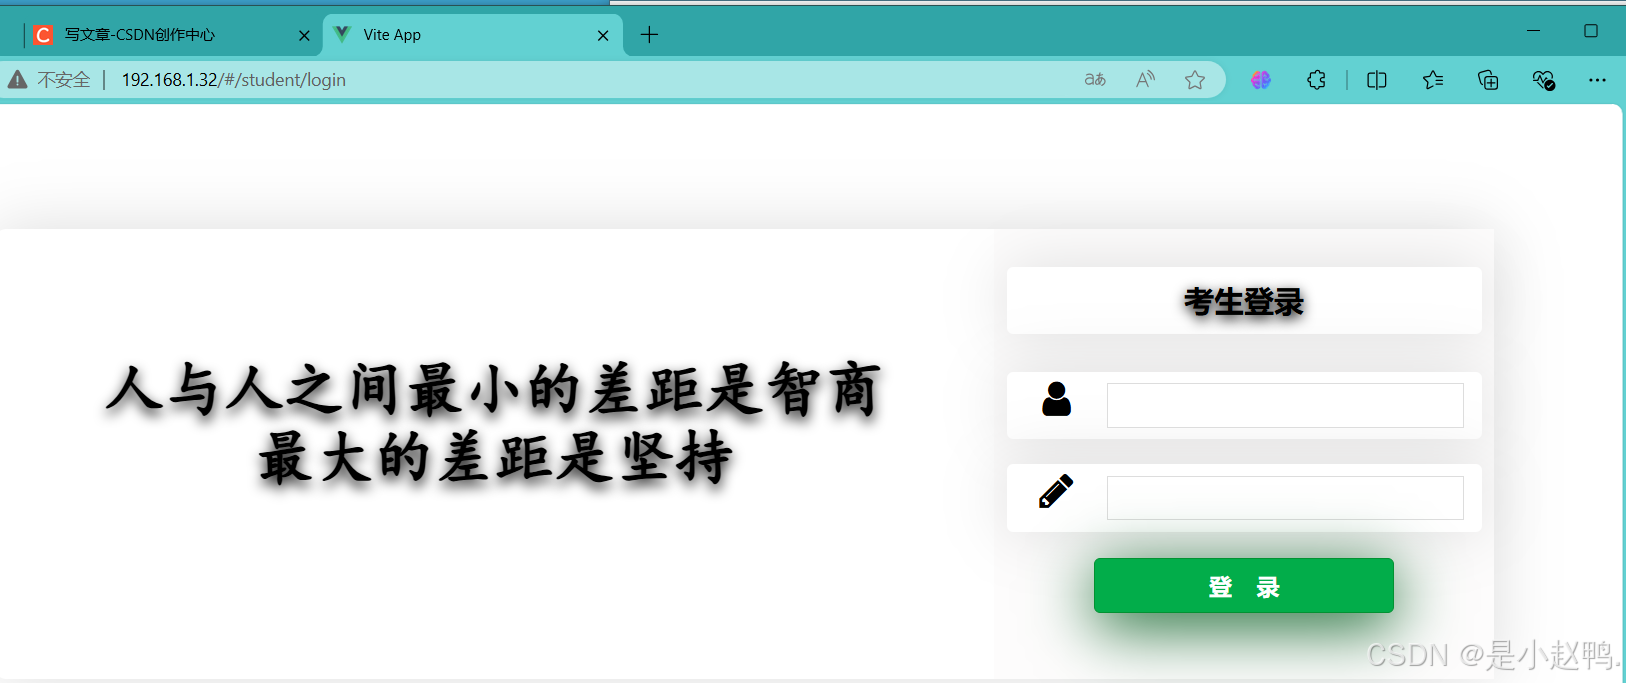
7.浏览器访问
192.168.1.32
二、让容器时间和宿主机时间⼀致
让容器共享宿主的/etc/localtime
root@docker001 \~# docker run -it --name c0 centos:nginx /bin/bash
查看日期
root@6caf88cce814 /# date
Sat Aug 24 13:36:54 UTC 2024
root@docker001 \~# docker run -it --name c1 -v /etc/localtime:/etc/localtime centos:nginx /bin/bashroot@f01eb51c8a59 /# date
Sat Aug 24 21:38:29 CST 2024
root@docker001 \~# docker exec c0 dateSat Aug 24 13:40:14 UTC 2024
root@docker001 \~# docker exec c1 date
Sat Aug 24 21:40:19 CST 2024
三、在容器外执行容器内的命令
容器内部已经安装的指令⽅可执⾏,否则⽆法执⾏
root@docker001 \~# docker exec c0 ifconfig
OCI runtime exec failed: exec failed: unable to
start container process: exec: "ifconfig": executable file not found in $PATH: unknown root@docker001 \~# docker exec c0 ls /
bin dev etc home lib lib64 lost+found media
四、容器的ip地址不稳定问题
docker容器的ip地址是不固定,如果要作为服务器使⽤,就必须能够直接访问服务,不能直接使⽤ip,为容器设置域名,做端⼝映射也能保证,确定是⼀旦停⽤之后端⼝被占⽤,就⽆法再次启动,此时则需要做link
语法:
docker run --link. 容器的名称或者是id:⾃定义域名
注:被link容器必须处于启动状态,否则当前容器⽆法启动
--link 容器名:别名
root@docker001 \~# docker run -it --name c0 centos:nginx /bin/bash
root@docker001 \~# docker run -it --link c0:mysqldb --name c1 centos:nginx /bin/bash
root@ba46c0e4055d /# ping mysqldb
PING mysqldb (172.17.0.2) 56(84) bytes of data.
64 bytes from mysqldb (172.17.0.2): icmp_seq=1 ttl=64 time=0.057 ms
64 bytes from mysqldb (172.17.0.2): icmp_seq=2 ttl=64 time=0.044 ms
64 bytes from mysqldb (172.17.0.2): icmp_seq=3 ttl=64 time=0.039 ms
测试
暂停服务
root@docker001 \~# docker stop c0 c1
c0
c1
先启动主动依赖容器
root@docker001 \~# docker start c1
⽆法启动,提示被link的容器没有启动
Error response from daemon: Cannot link to a non running container: /c0 AS /c1/mysqldb Error: failed to start containers: c1
先启动被依赖的容器
root@docker001 \~# docker start c0
c0
在启动主动依赖的容器
root@docker001 \~# docker start c1
c1
测试 使⽤⼀个容器占⽤172.17.0.2,测试
停⽤容器
root@docker001 \~# docker stop c0 c1
c0
c1
创建新容器 占⽤172.17.02
root@docker001 \~# docker run -it --name c2 centos:nginx /bin/bash
启动 c0 c1
root@docker001 \~# docker start c0 c1
c0
c1
在c1容器ping别名
root@docker001 \~# docker exec c1 ping mysqldb
PING mysqldb (172.17.0.3) 56(84) bytes of data.
64 bytes from mysqldb (172.17.0.3): icmp_seq=1 ttl=64 time=0.157 ms
64 bytes from mysqldb (172.17.0.3): icmp_seq=2 ttl=64 time=0.037 ms
64 bytes from mysqldb (172.17.0.3): icmp_seq=3 ttl=64 time=0.056 ms
每次启动都修改了/ets/hosts⽂件
root@docker001 \~# docker exec c1 cat /etc/hosts
127.0.0.1 localhost
::1 localhost ip6-localhost ip6-loopback
fe00::0 ip6-localnet
ff00::0 ip6-mcastprefix
ff02::1 ip6-allnodes
ff02::2 ip6-allrouters
172.17.0.3 mysqldb 20f05670b7df c0
172.17.0.4 ba46c0e4055d
五、基础镜像的制作
1.进程⽬录
ls /proc/
2.sys⽬录是内核⽂件保存位置,不允许修改

3.排除以上2个⽬录,并且将⽤户设置为数字
root@docker001 sys# tar --numeric-owner -- exclude=/proc --exclude=/sys -cvf centos7.tar /
4.将项⽬移动到dockerserver主机上
scp centos.tar root@192.168.1.132:~
5.查看tar包
root@docker001 \~# ls
anaconda-ks.cfg centos7.tar centos_java17 frp initserver.sh jdk-17_linux-x64_bin.tar.gz
5.加载镜像
root@docker001 \~# docker import -m "冬冬最棒!" centos7.tar me:me00
6.查看镜像
root@docker001 \~# docker images
REPOSITORY TAG IMAGE ID CREATED SIZE
me me00 64abc01ff8c4 3 minutes ago 2.55GB
centos nginx 12fea1b890de 24 hours ago 366MB
centos java17 b6bf774de7bb 24 hours ago 550MB
centos_httpd v0 fffc96d791d5 2 days ago 309MB
centos_yum v0 191d9c84f461 2 days ago 260MB
mysql latest a82a8f162e18 4 weeks ago 586MB
centos latest 5d0da3dc9764 2 years ago 231MB
7.创建容器
root@docker001 \~# docker run -it --name c00 me:me00 /bin/bash
查看
root@4199382c490f /# ls
bin dev home lib64 mnt proc run srv tmp var boot etc lib media opt root sbin sys usr
六、应用镜像
1.根据基础镜像创建容器
docker run -it --name c0 centos_yum:v0 /bin/bash
2.安装应⽤
yum -y install httpd
3.退出
ctrl p + q
4.使用commit应用镜像
root@docker001 \~# docker commit c0 centos:httpd
查看镜像
root@docker001 \~# docker images
REPOSITORY TAG IMAGE ID CREATED SIZE
centos httpd bbf5ed97db84 3 minutes ago 340MB