创建docker目录,进入docker目录下

下载文件上传工具
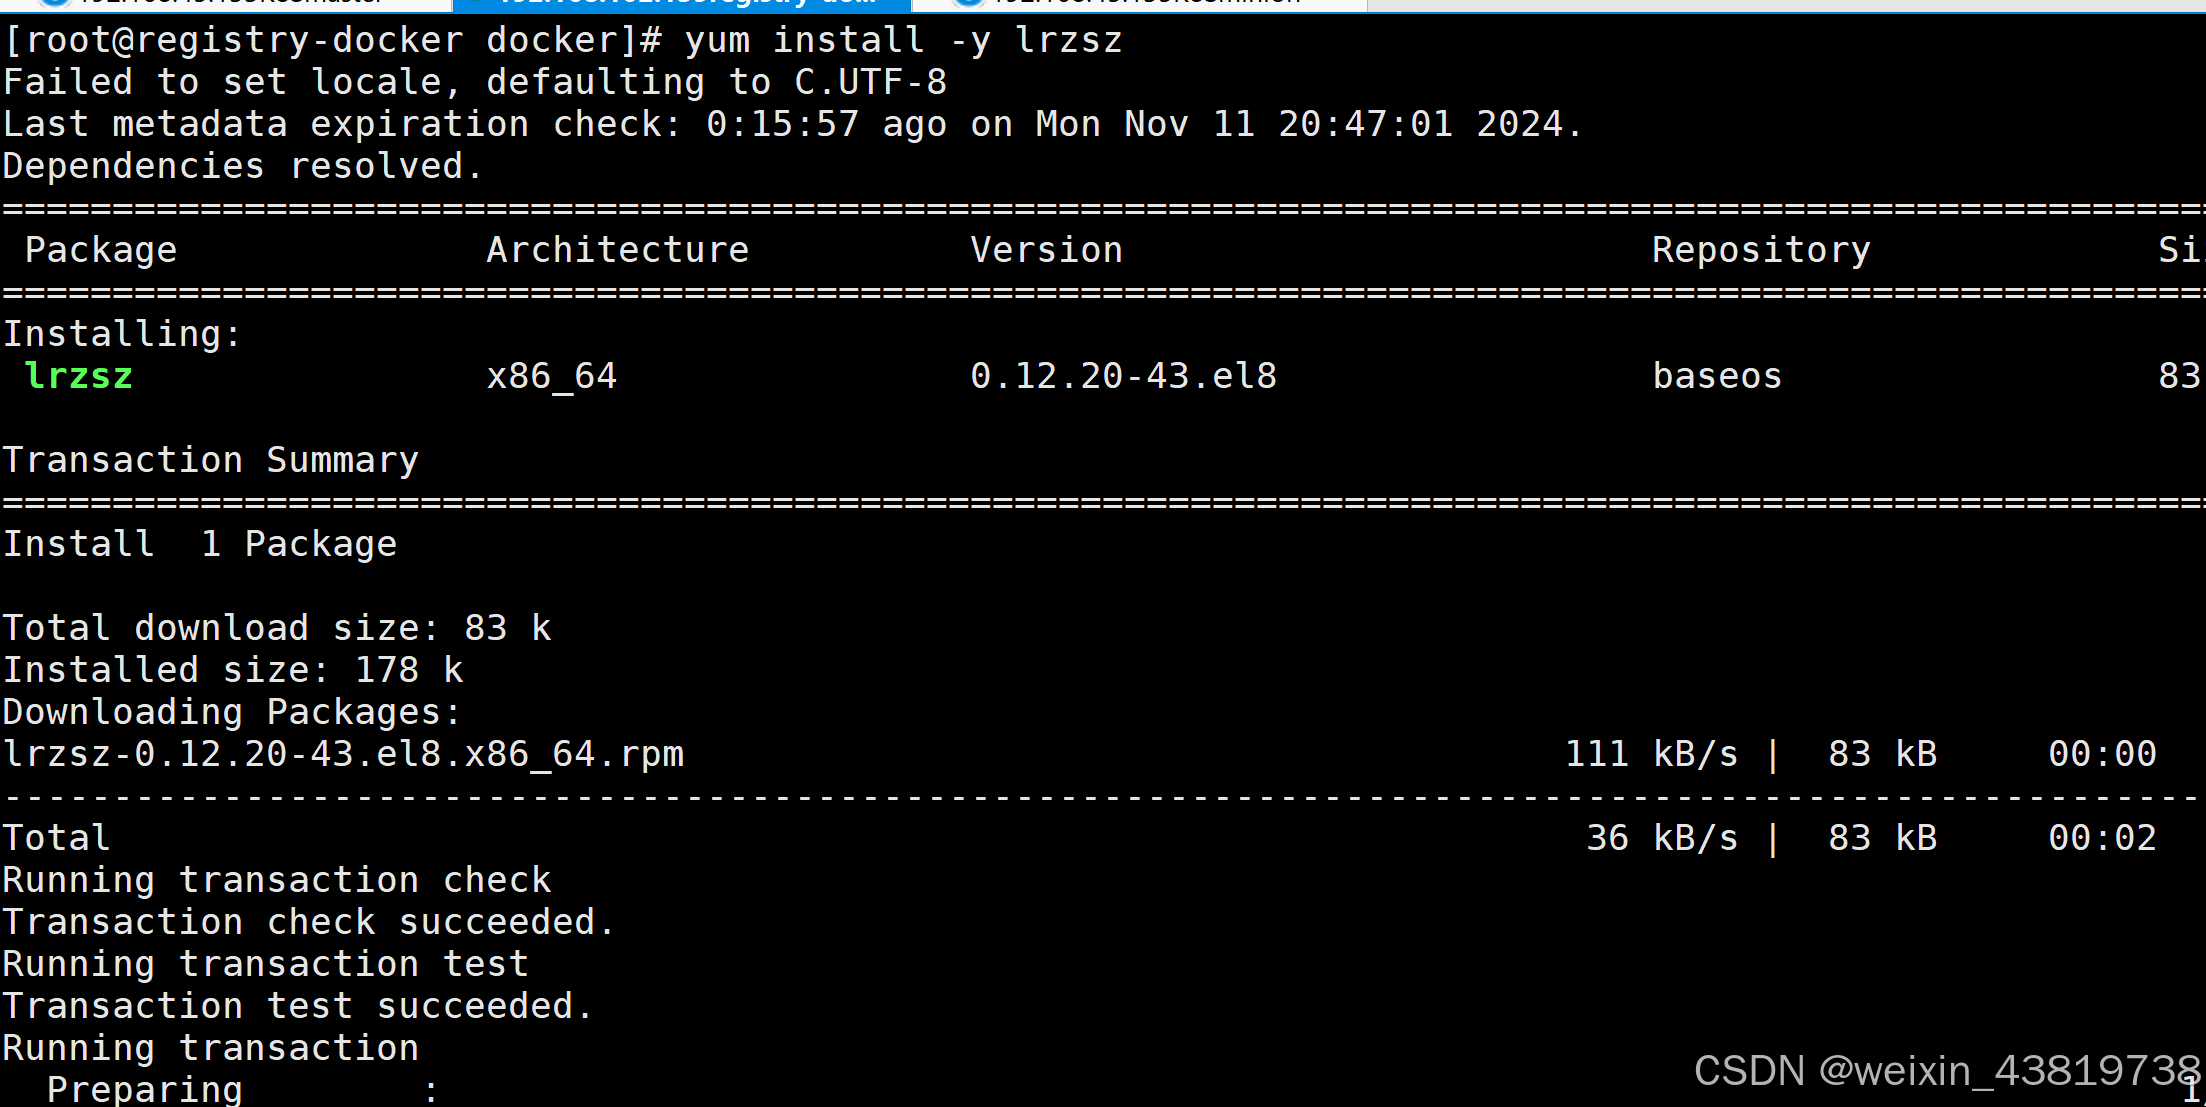
也可以先在135node节点上上传docker安装包,通过scp命令远程复制到192.168.102.139中,但首先在139上安装scp命令
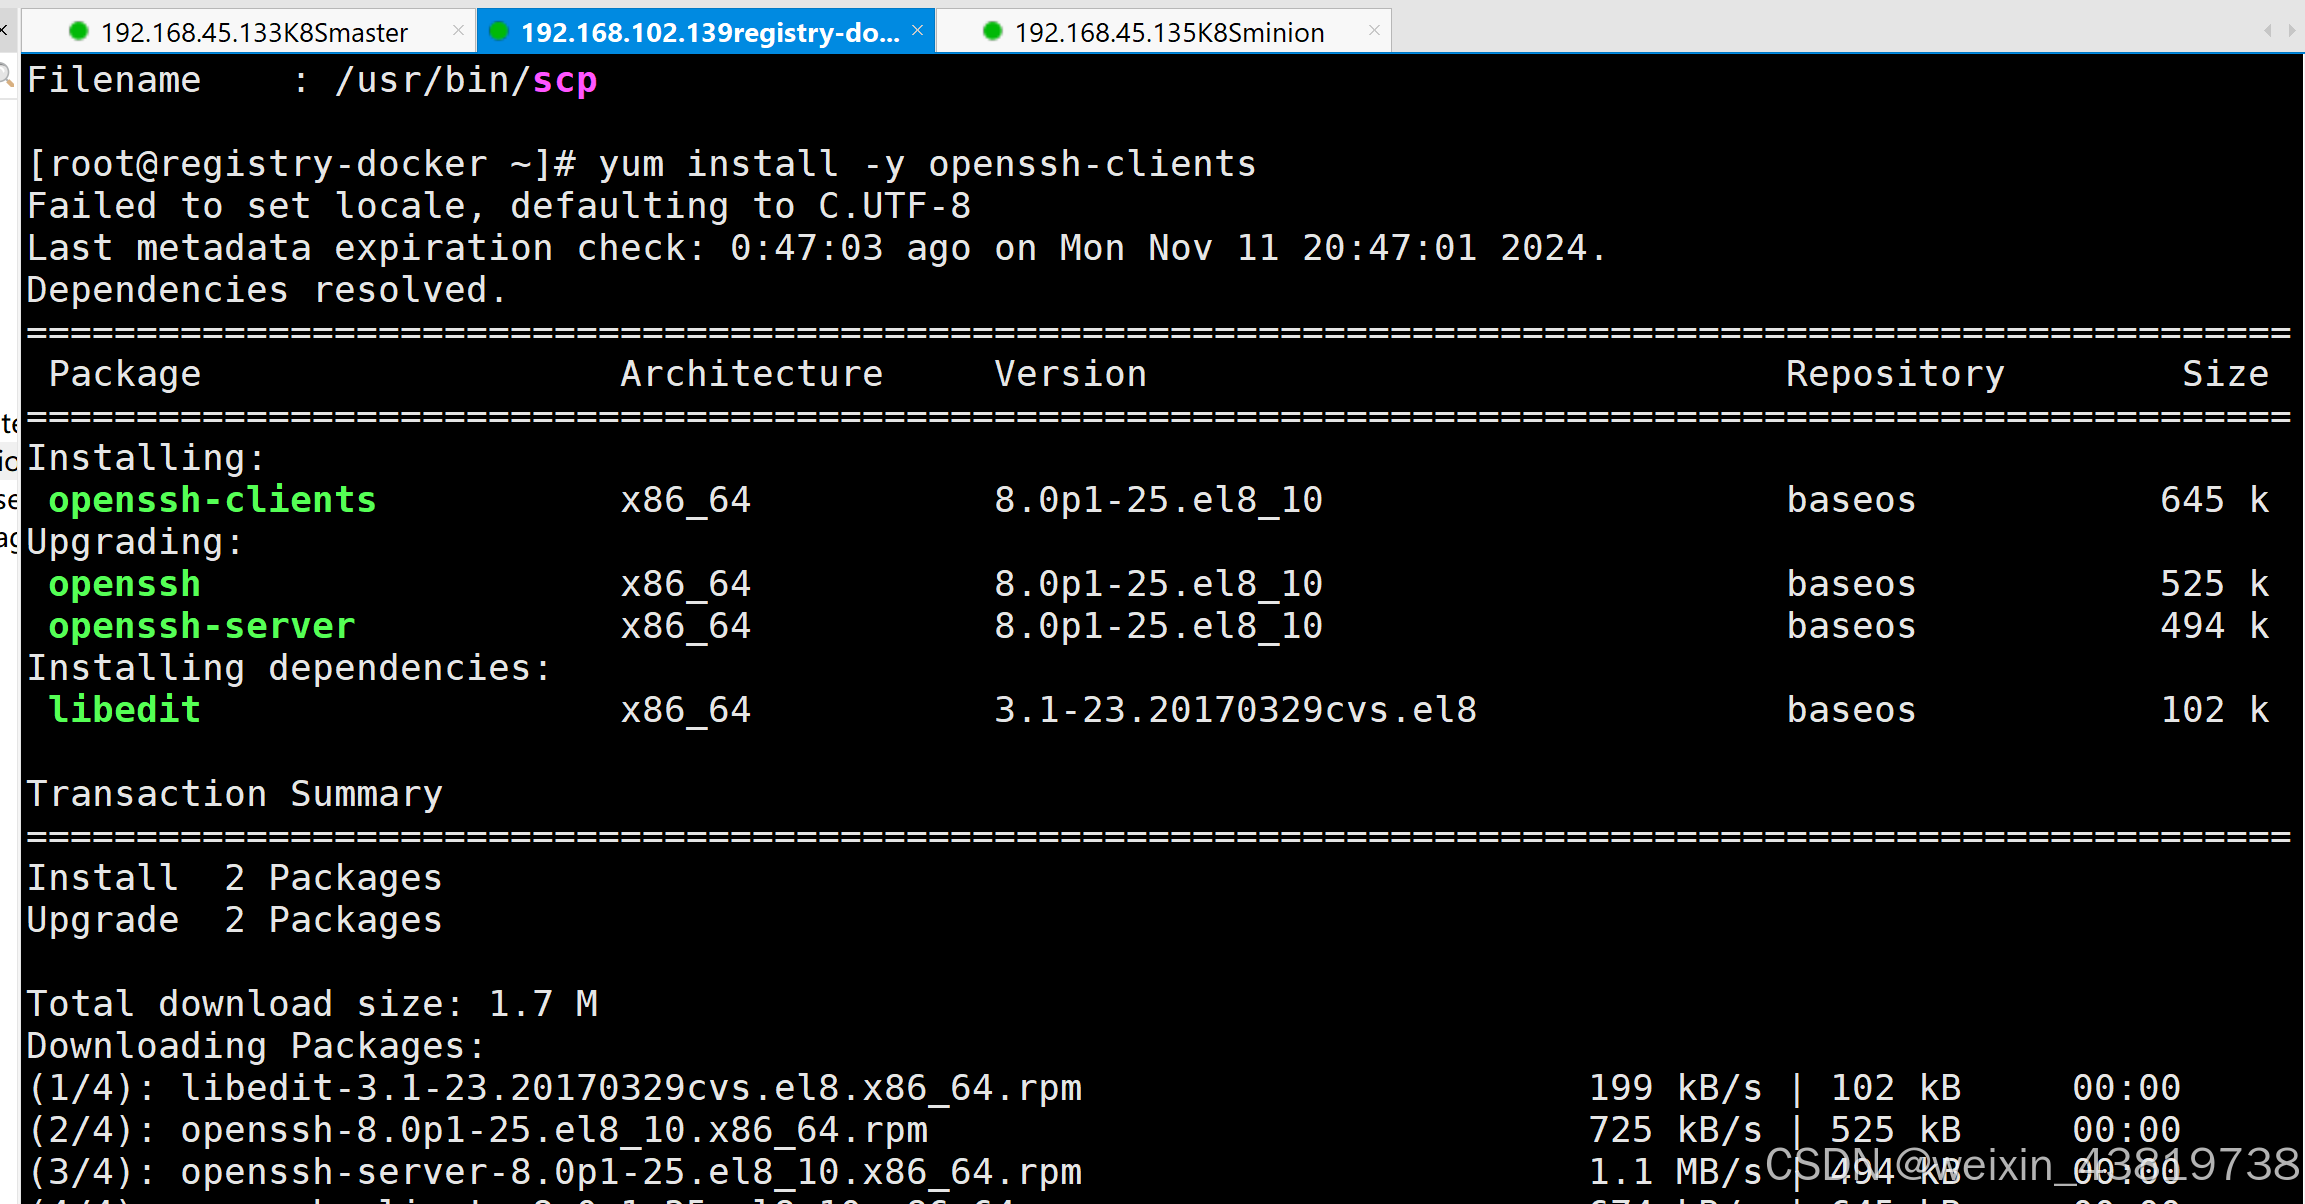
通过scp从135上传至仓库139上

在docker仓库139上安装解压工具
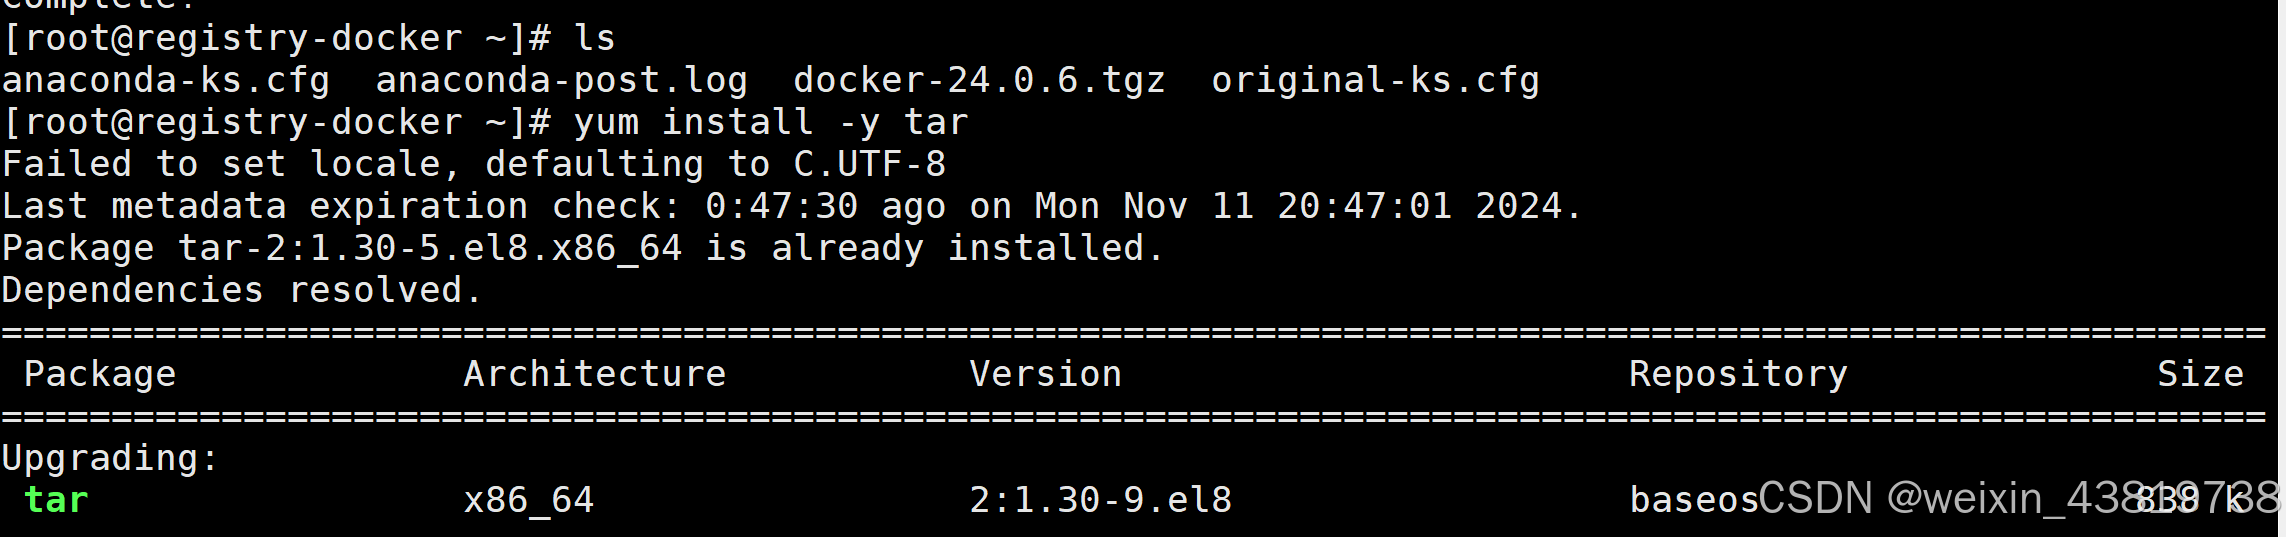
将docker安装包解压后mv docker /usr/local/

将docker解压路径配置在环境变量vim /etc/profile
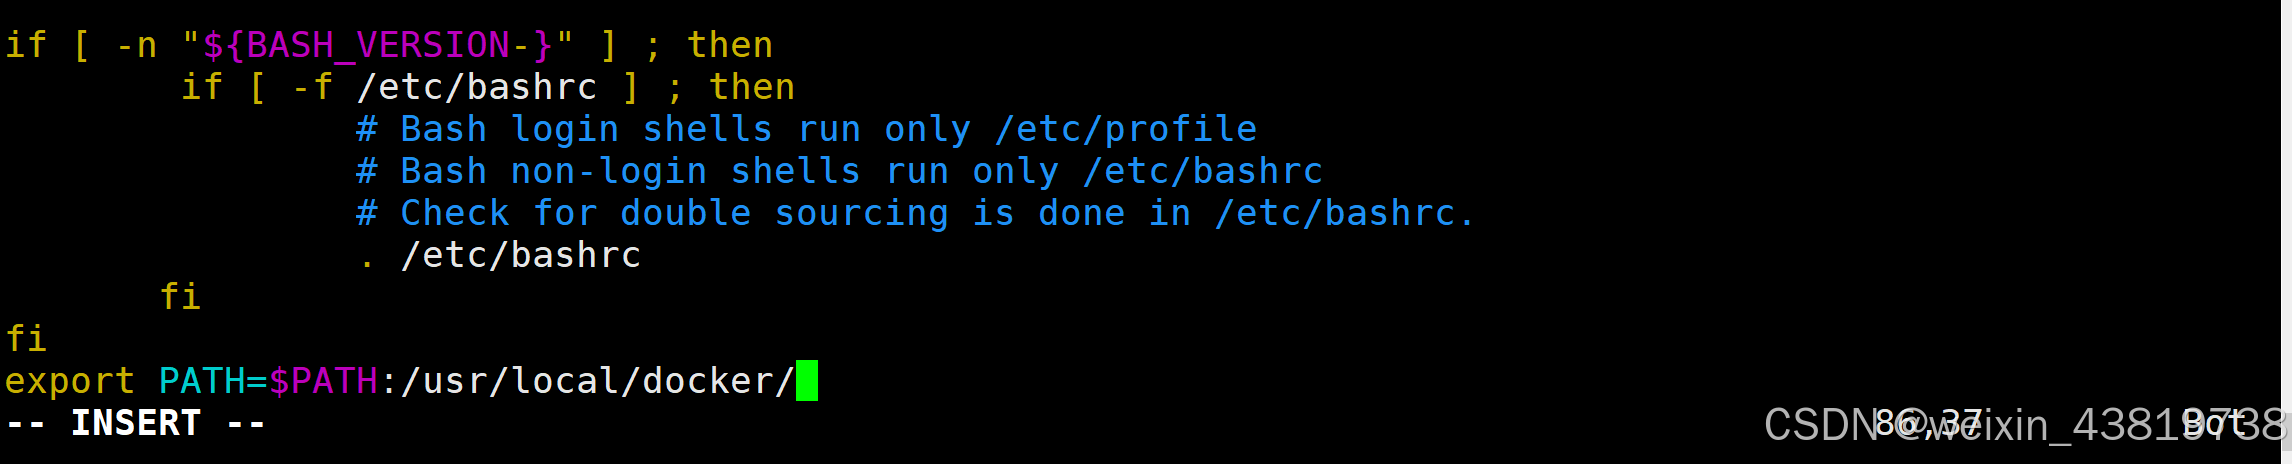
打印出环境变量查看

重新加载配置文件

此时后台启动docker

但是报错 Error initializing network controller: error obtaining controller instance: failed to create NAT ch,经查询该错误需要安装iptables解决yum install -y iptables-services iptables-devel.x86_64 iptables.x86_64
此时启动不再报错

查看docker images显示为空,135和139docker pull registry显示连接失败

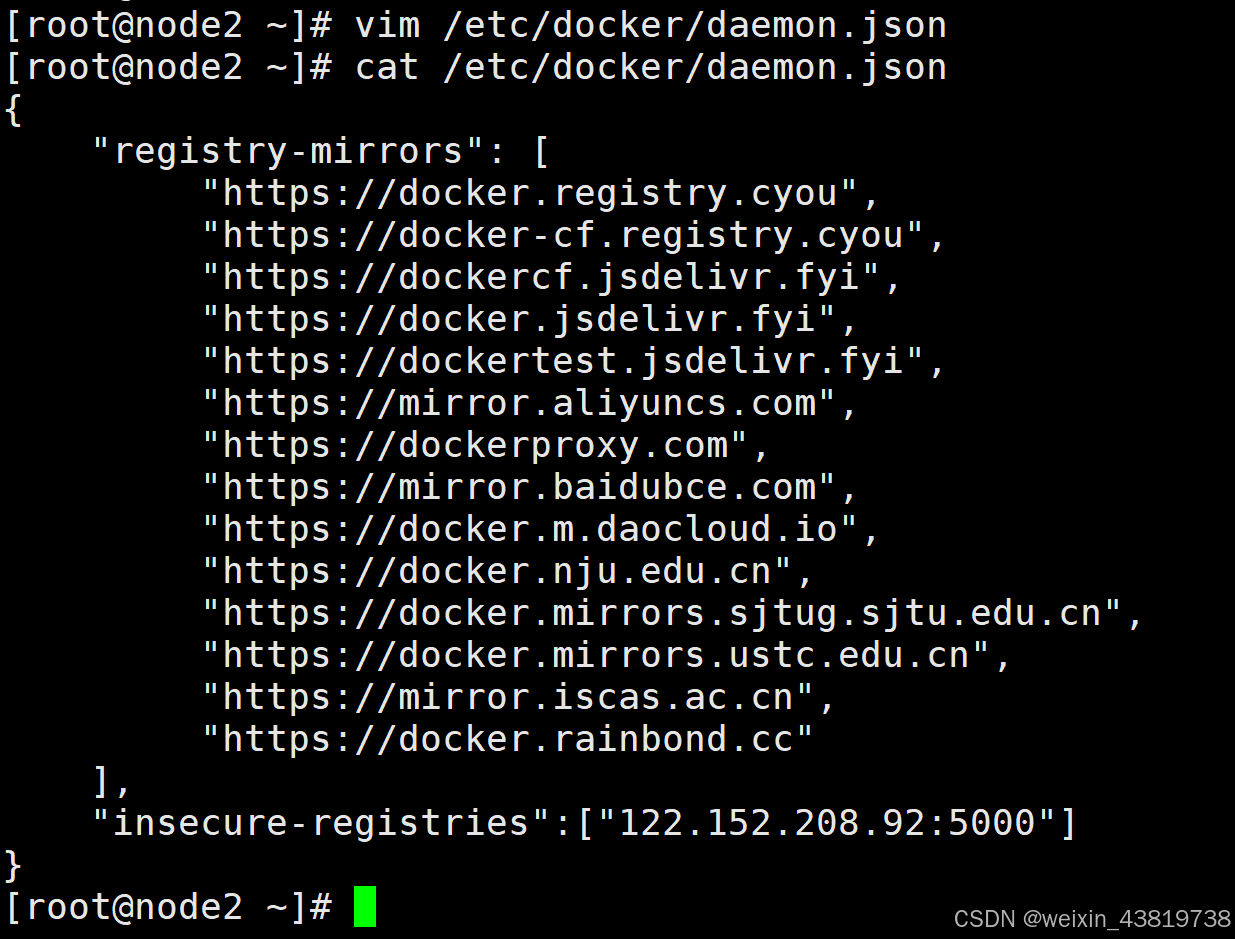
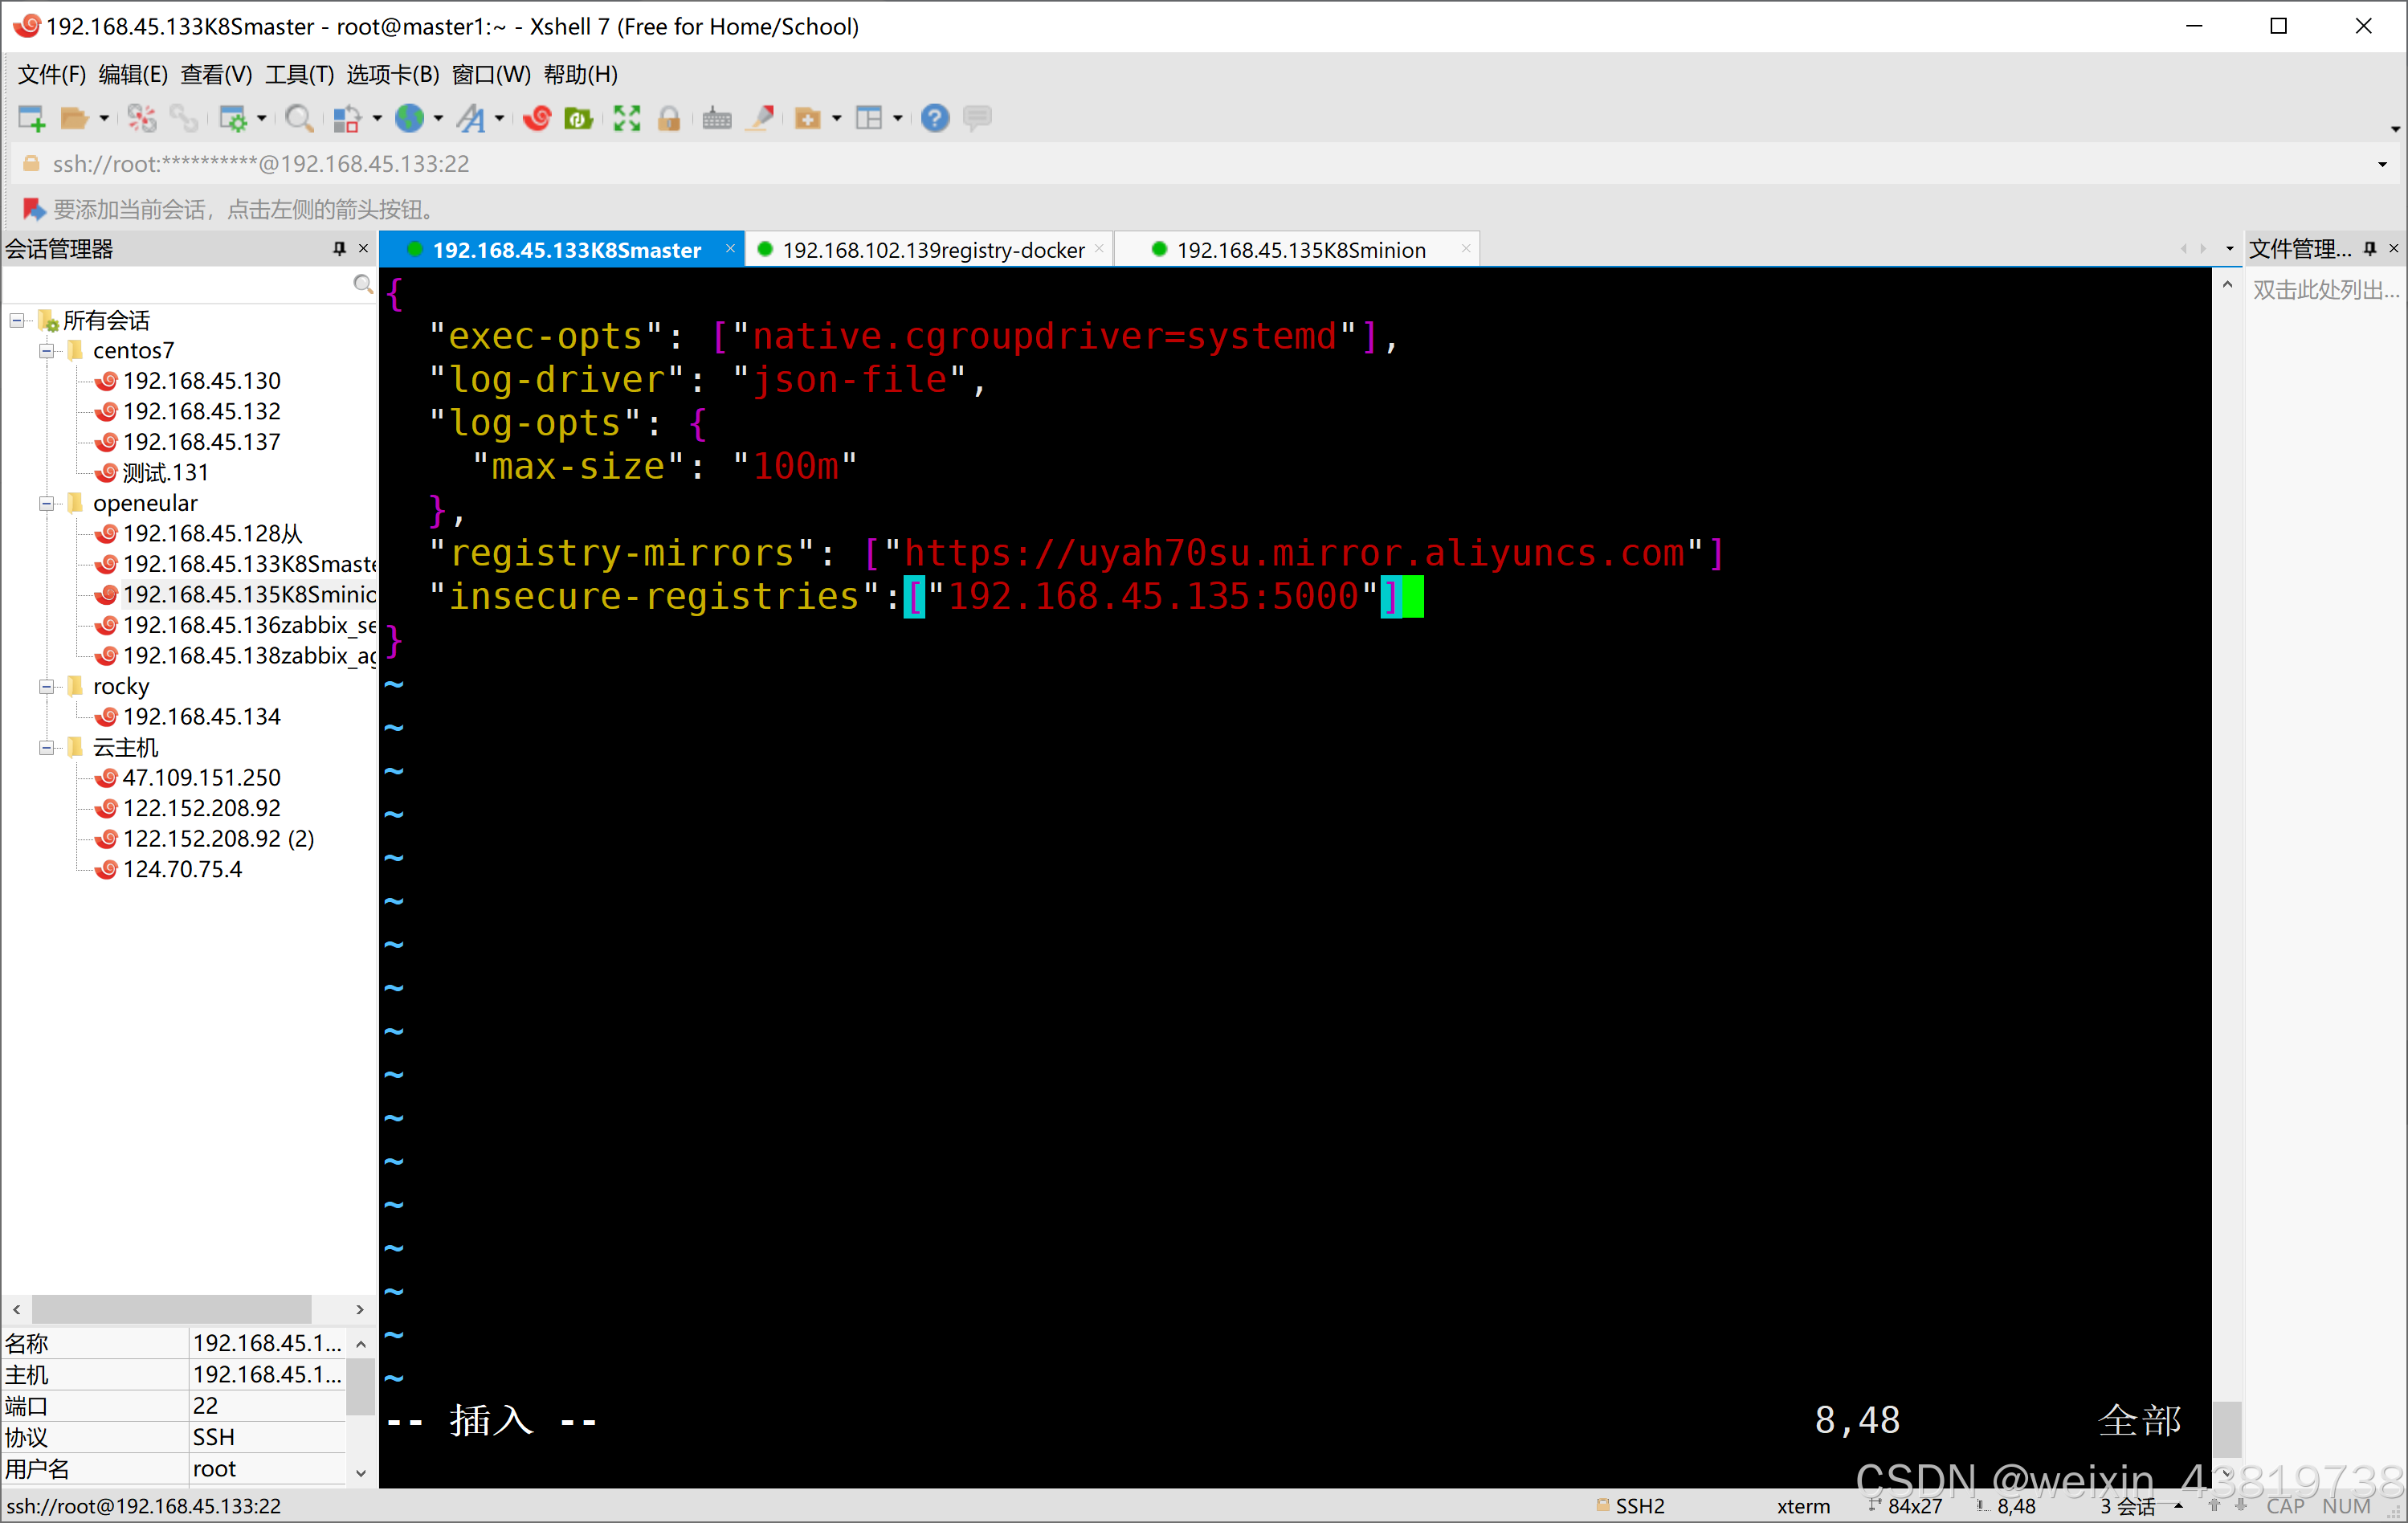
修改配置文件daemon.json,为以下配置文件
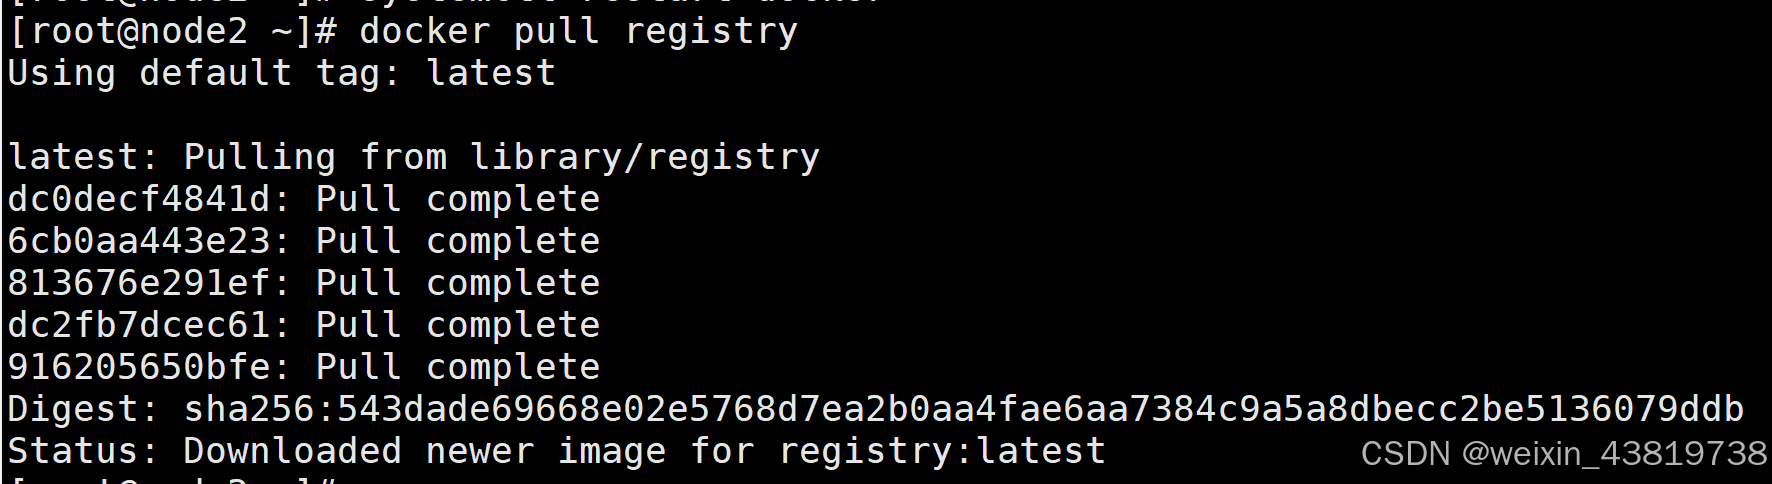
在宿主机上下载,重新拉取则可成功
在宿主机上通过docker命令将registry打为tar包,并且传到139上

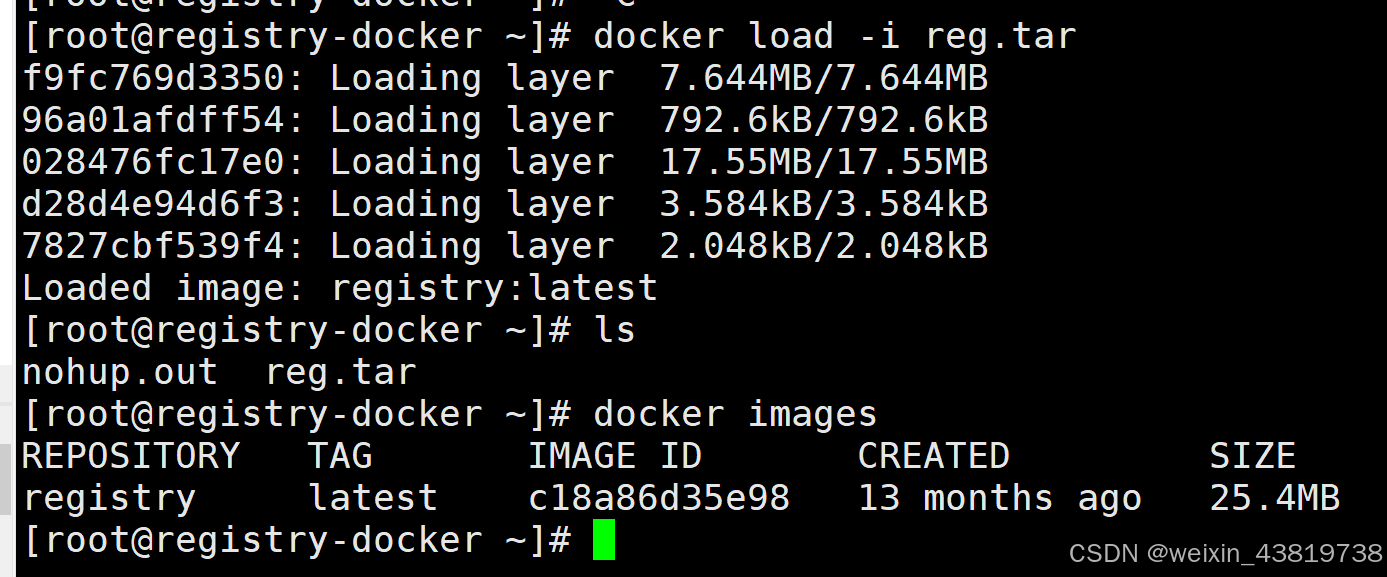
通过docker load命令将镜像上传到139上的docker镜像中
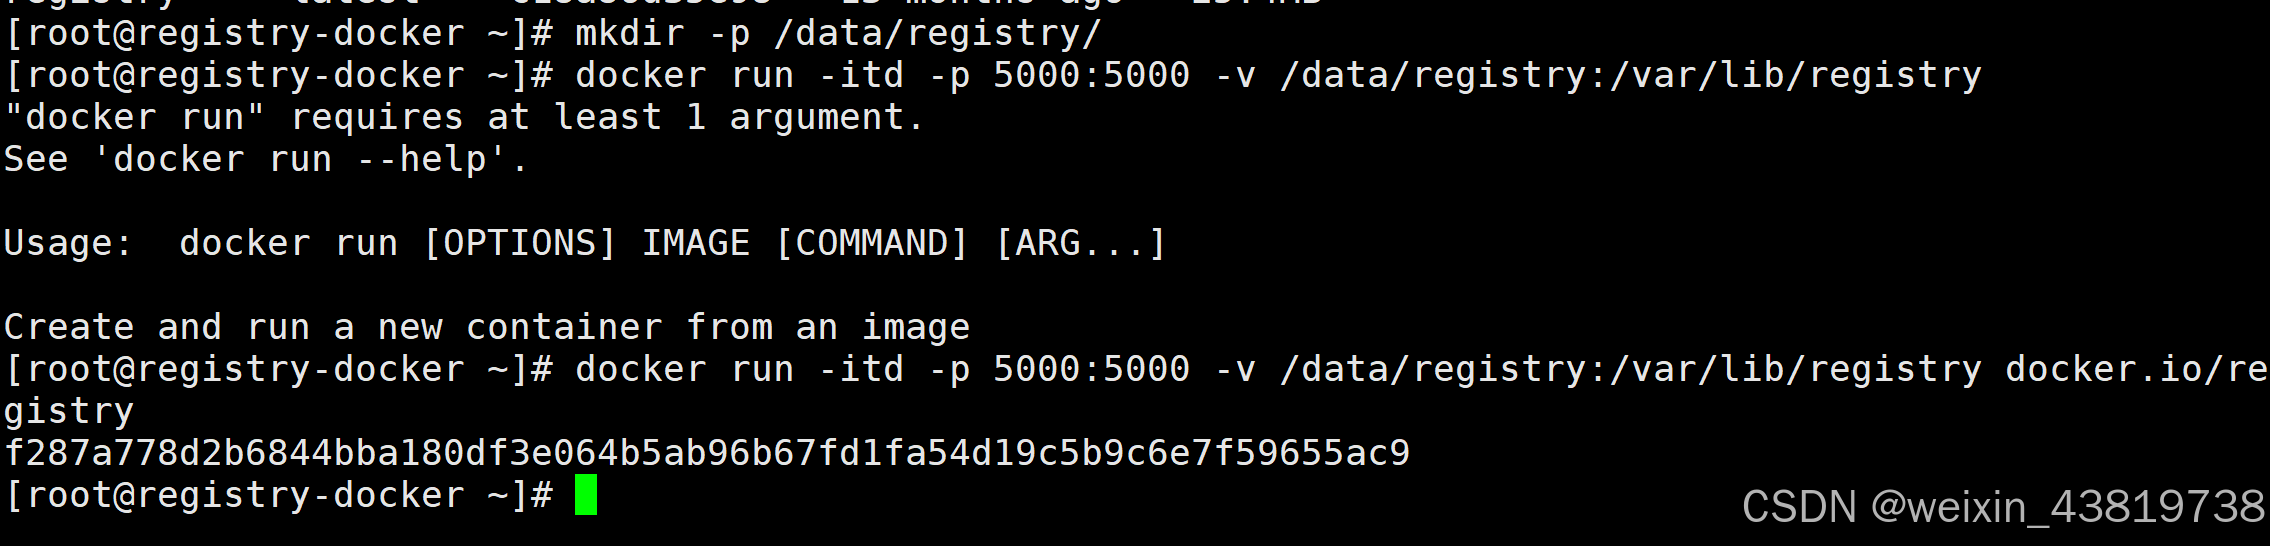
在139上搭建docker仓库,创建docker数据目录,并且启动镜像
如何访问创建的docker仓库,通过前台查看创建的139的服务地址为10.10.161.117,我们向这台服务器上传文件即可

修改node节点的daemon.json文件服务地址为刚才的仓库服务地址

修改完配置文件,重新加载配置文件,重启服务

通过命令指定上传目的至仓库服务器

上传nginx,由于139不知什么原因一直上传不成功,所以我们改为135作为仓库,重复以上操作,上传nginx,上传命令为docker push 192.168.45.135:5000/nginx,

上传rockylinux

如何使用创建的docker仓库,在想要使用的服务器的docker配置文件daemon.json中添加以下字段
重启服务

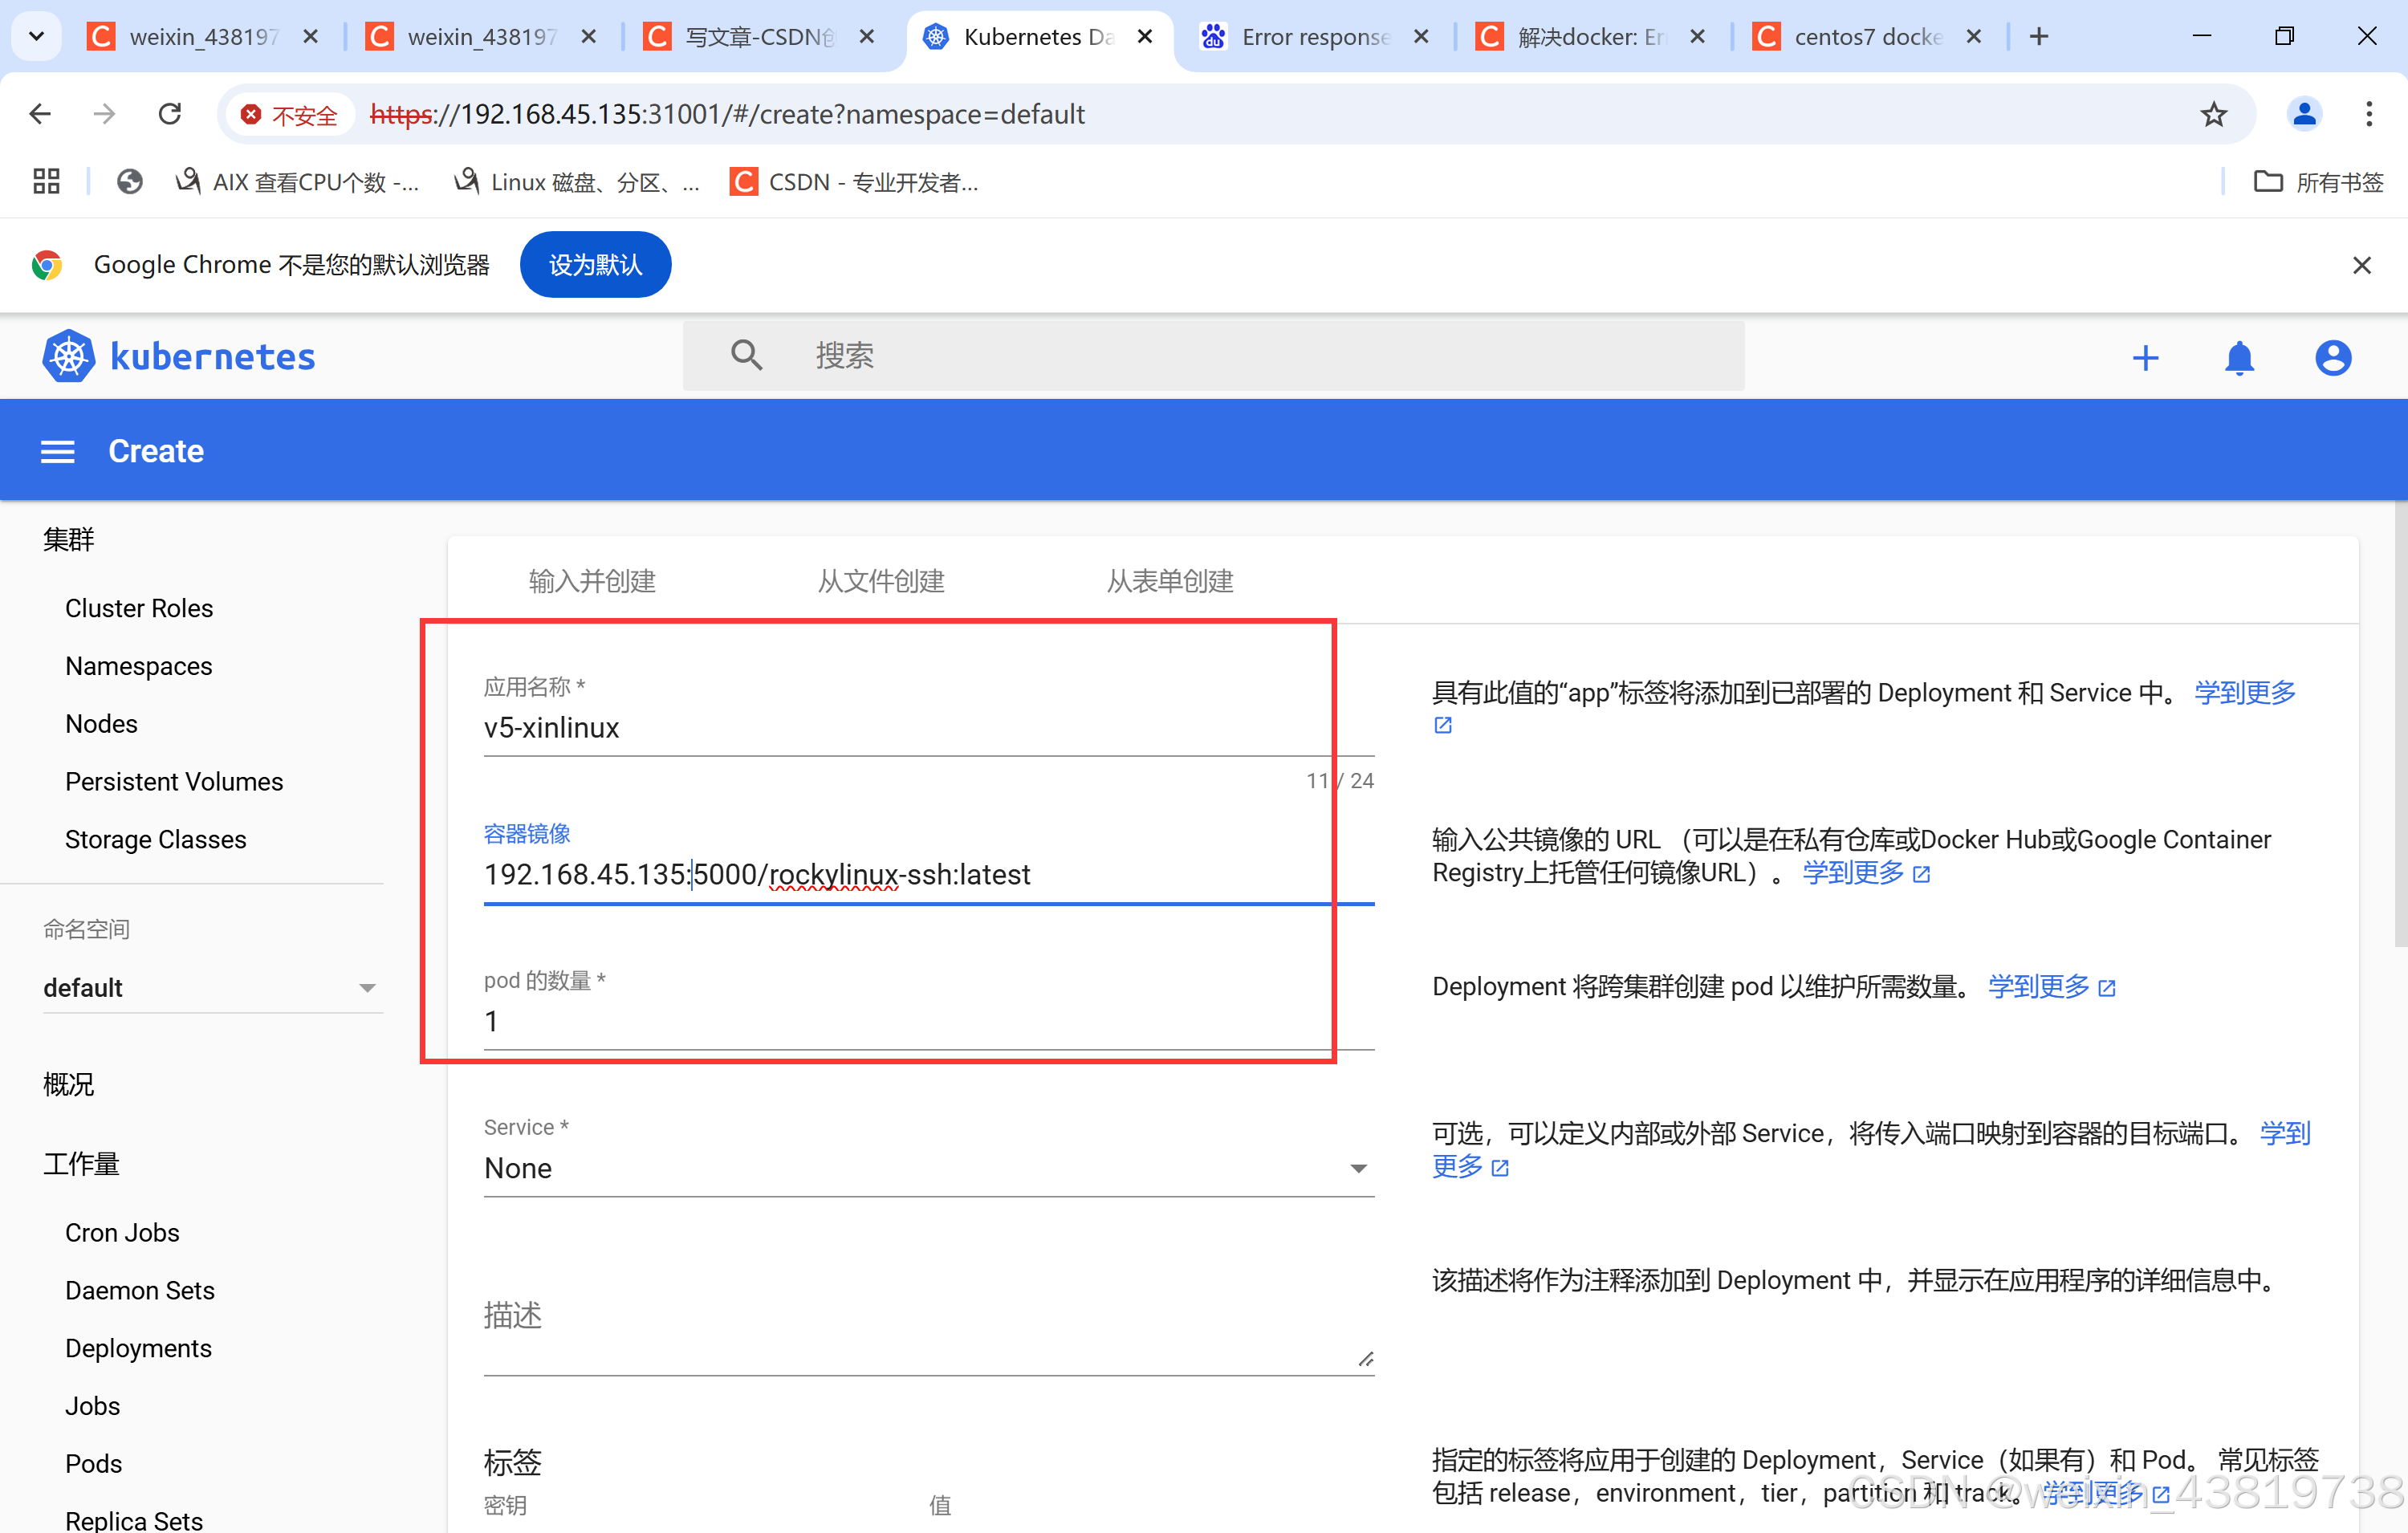
此时我们通过前台创建服务器
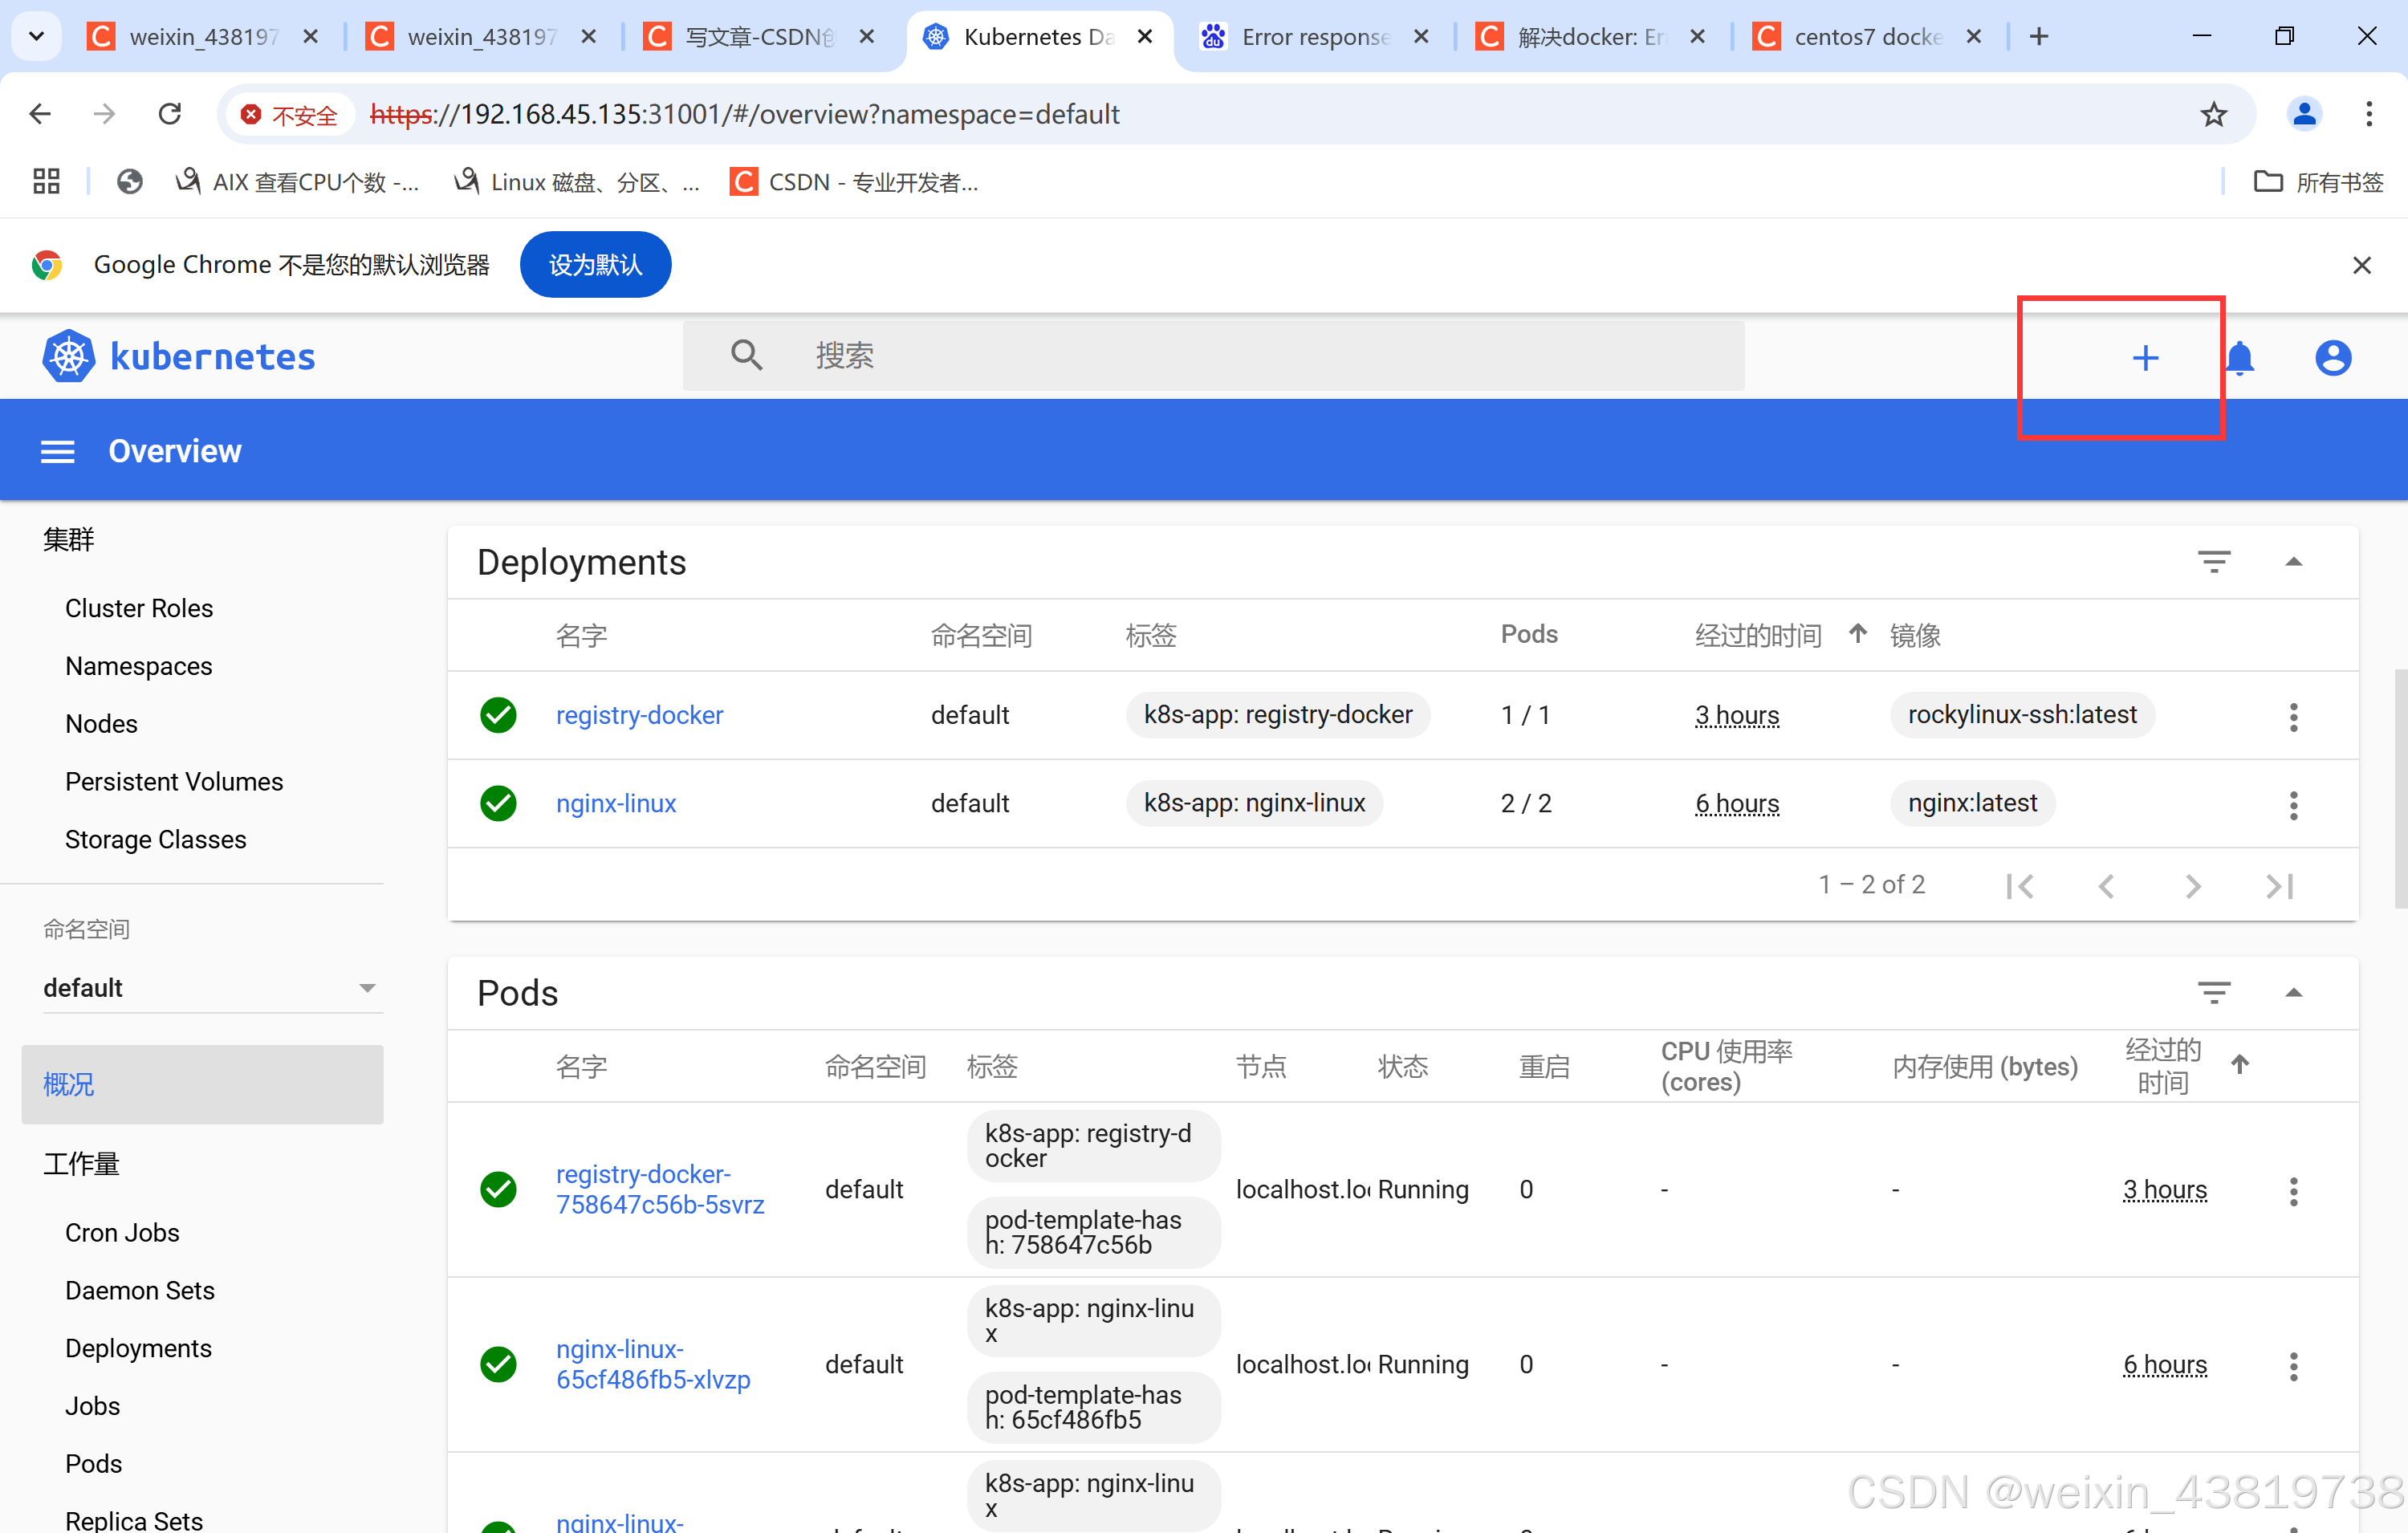
镜像一定要输入镜像仓库地址,最下面高级选项,要以特权运行