VSCode+Keil协同开发之Keil Assistant
目录
- [VSCode+Keil协同开发之Keil Assistant](#VSCode+Keil协同开发之Keil Assistant)
大家在单片机开发时需要要用到IDE,其中Keil就是很多人的选择,但Keil在编辑器上界面还是有些简单,对于习惯了VSCode的同学来说有点小别扭,下面就给大家介绍一款VSCode插件------------Keil Assistant,可以帮助大家解锁更舒适、更效率的开发姿势。
本文将以图文方式介绍VSCode+Keil协同开发单片机程序的方法,解锁更舒适、更效率的开发姿势。
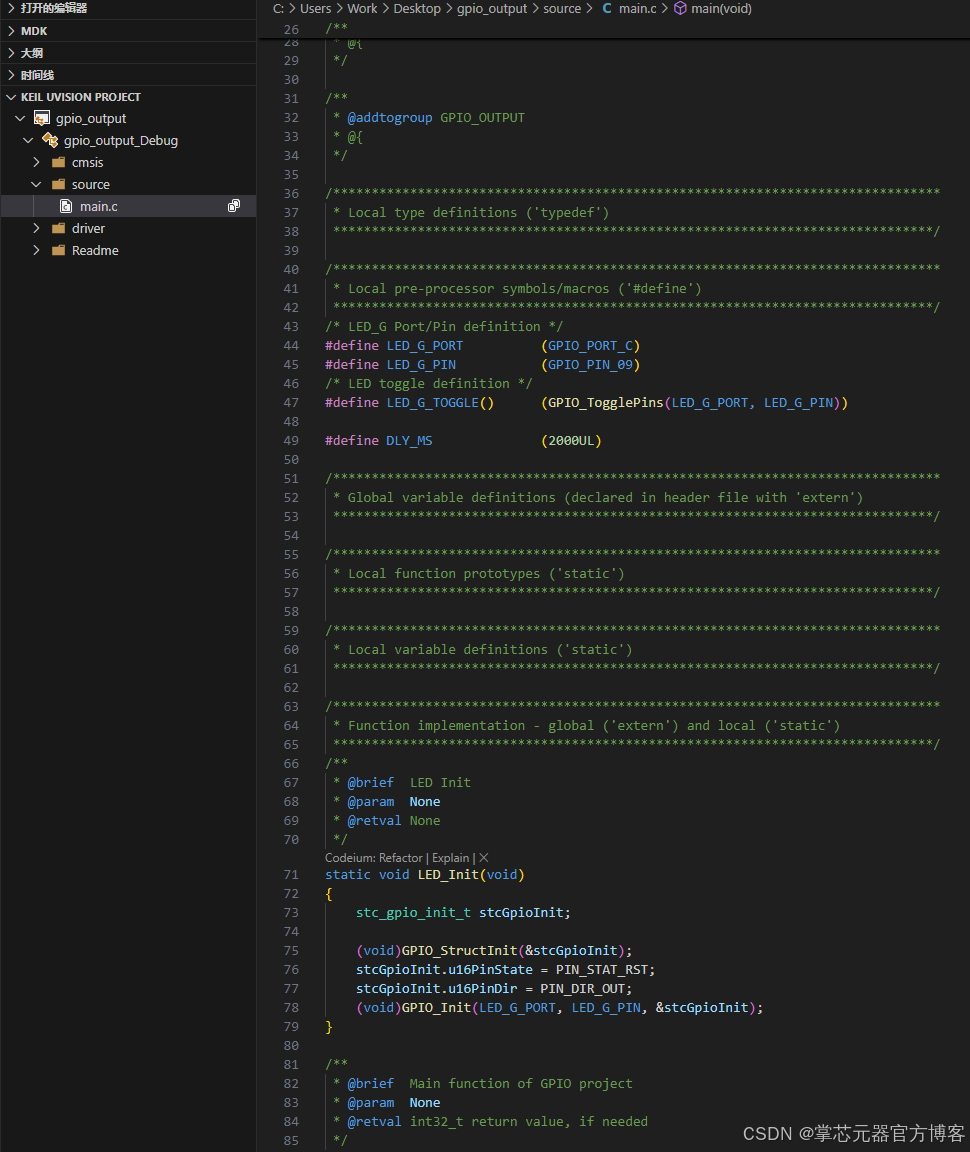
1. 效果展示
2. Keil Assistant简介
· VSCode 上的 Keil 辅助工具,与 c/c++ 插件配合使用。

· 能够为 Keil 项目提供 语法高亮、代码片段 的功能,并支持对 Keil 项目进行 编译、下载。

· 仅支持 Keil uVison 5 及以上版本。

· 仅支持 Windows 平台。
3. Keil Assistant功能特性
· 加载 Keil C51/C251/ARM 项目,并以 Keil 项目资源管理器的展示方式显示项目视图。

· 自动监视 keil 项目文件的变化,及时更新项目视图。

· 通过调用 Keil 命令行接口实现 编译,重新编译,烧录 keil 项目。

· 自动生成 c_cpp_properties.json 文件,使 C/C++ 插件的语法分析能正常进行。
4. 部署步骤
· 下文插件安装过程中可能有需要重启VSCode的情况,按弹窗提示操作即可。

· 本文默认读者已经安装好Keil,本文将不再介绍Keil的安装。
4.1. 部署准备
(1)下载、安装VSCode
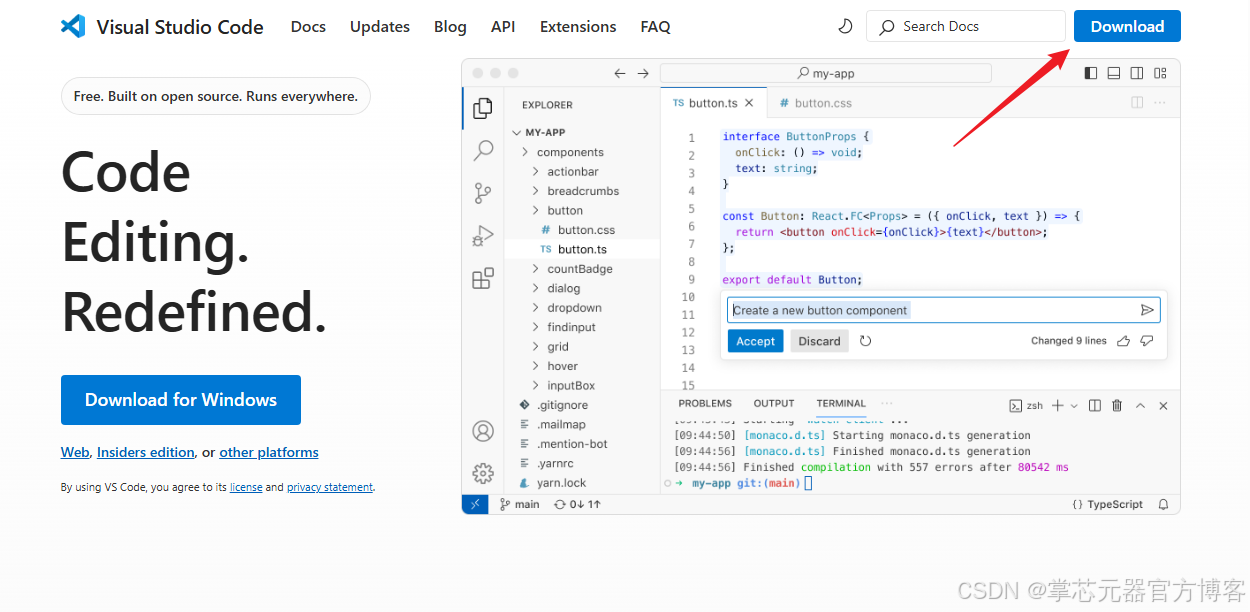
· 进入VSCode官网
· 点击Download。
· 选择合适的版本下载、安装。
注:这边建议选择System Install版本。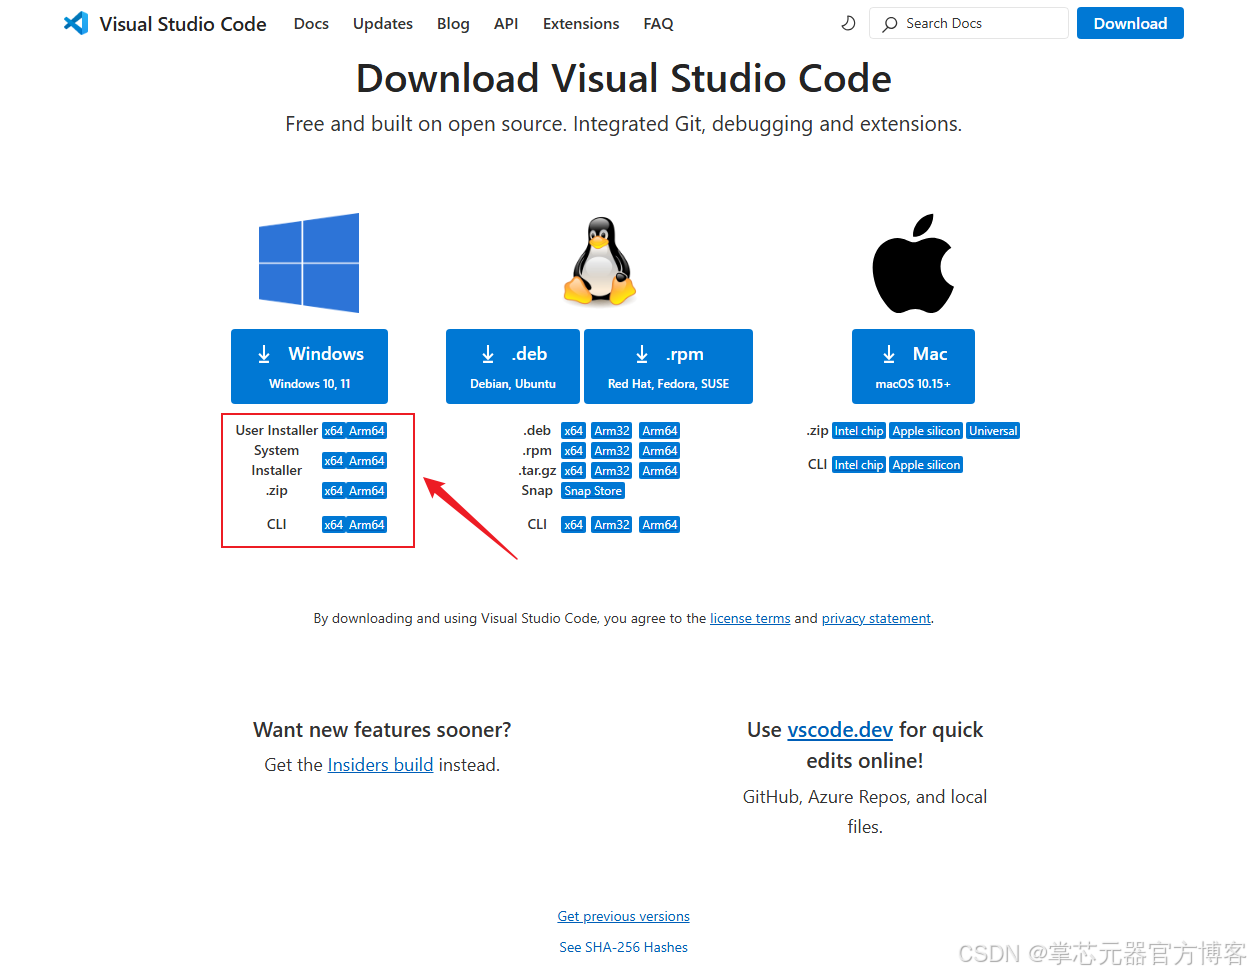
安装步骤较为简单:同意安装协议后点击下一步,选择安装目录(避免中文路径),一直点击下一步即可,期间根据需要设置附加任务。
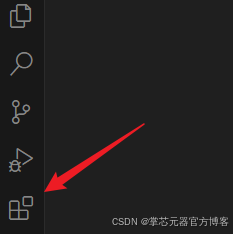
(2)安装C/C++ 插件
·打开VSCode,点击软件左侧插件选项。
· 汉化插件安装(根据自身情况选择性安装)在搜索栏中输入Chinese并搜索,选择安装,下图为安装后截图。
此插件可将VSCode汉化。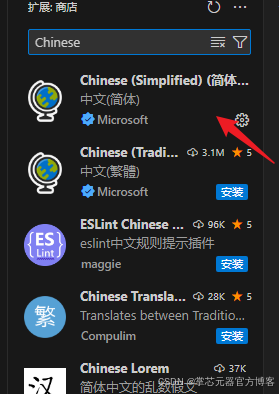
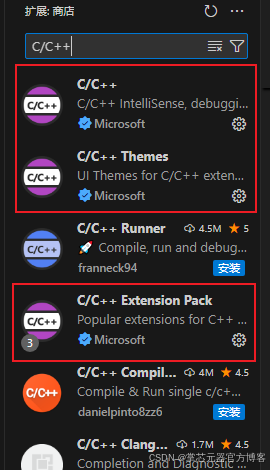
· 参照上图改为搜索C/C++,并安装如下插件。
4.2. 安装Keil Assistant插件
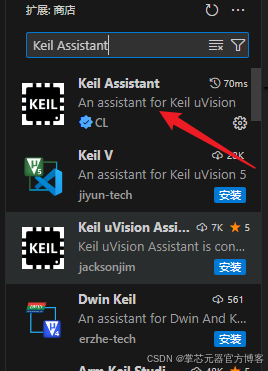
·参照上述步骤,在插件搜索栏搜索Keil Assistant并安装。
4.3. 配置Keil Assistant插件
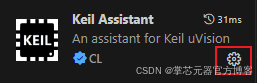
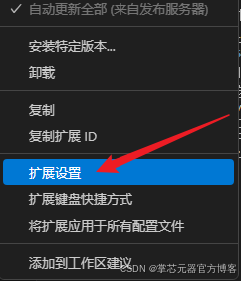
·点击VSCode左侧插件选项->点击Keil Assistant插件的设置->点击扩展设置。
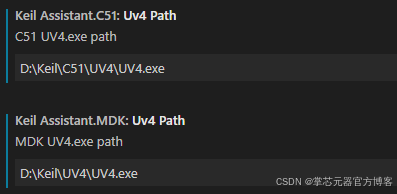
·在弹出的设置界面的两个地址栏根据自身Keil安装情况填入Keil C51和MDK地址(如下图)。
5. Keil Assistant使用
(1)需要先在Keil上创建好项目,添加好文件,头文件路径等。
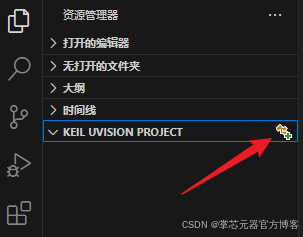
(2)选中VSCode左侧KEIL UVISION PROJECT选项,点击右侧图标,选择想要操作的keil项目文件(.uvproj),插件会自动加载此keil项目。

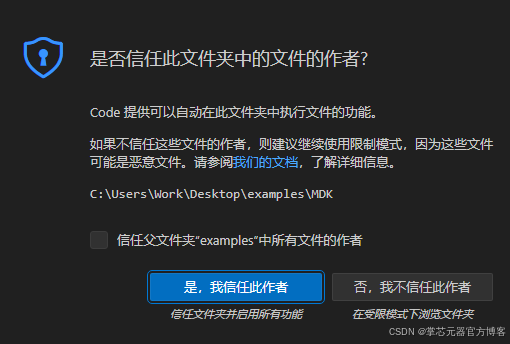
注:可能期间会弹出下图所示提示,点击OK和信任即可。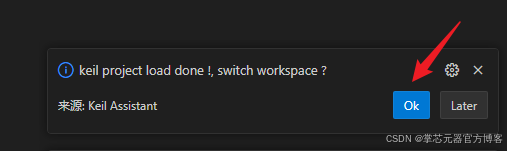
(3)下图所示位置图标分别为编译,下载,重新编译。
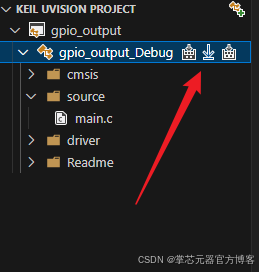
(4)若是编译过的文件,点击上图所示左侧不同位置的箭头可以列出不同文件夹下文件及.c文件所引用的.h文件。
(5)在Keil修改并保存后的文件,此插件会自动更新。
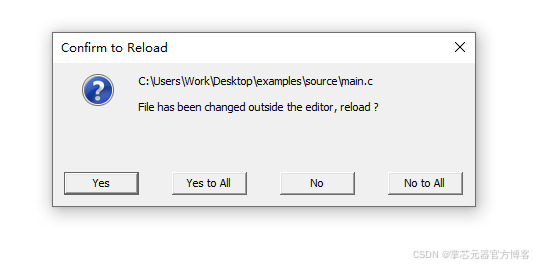
(6)在VSCode利用此插件修改并保存过的文件在回到Keil时会弹出提示框,根据情况选择即可。
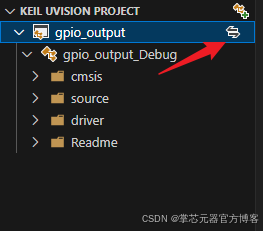
(7)点击项目旁边的箭头可以在多个Keil Target 之间切换。
6. 总结
以上就是利用VSCode插件Keil Assistant结合Keil协同开发的教程了,使用期间若有什么问题可以联系我们交流解决,或使用Keil Assistant官方论坛。
希望本文可以帮你用更舒服的姿势进行嵌入式开发!