ElasticSearch目前是全文搜索引擎的首选,全文搜索
1.添加yum仓库
一:导入仓库密钥群安装部署
命令:rpm --import https://artifacts.elastic.co/GPG-KEY-elasticsearch

二:添加yum源
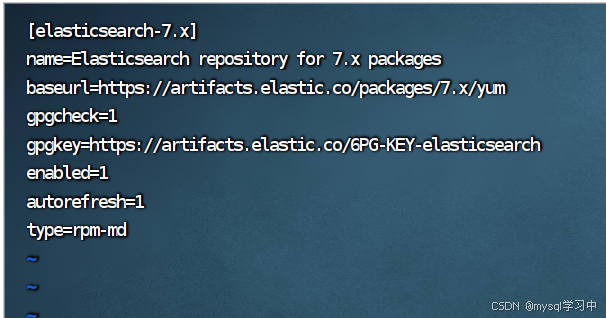
(编辑文件):命令: vi /etc/yum.repos.d/elasticsearch.repo
加入:
elasticsearch-7.x
name=Elasticsearch repository for 7.x packages
baseurl=https://artifacts.elastic.co/packages/7.x/yum
gpgcheck=1
gpgkey=https://artifacts.elastic.co/6PG-KEY-elasticsearch
enabled=1
autorefresh=1
type=rpm-md
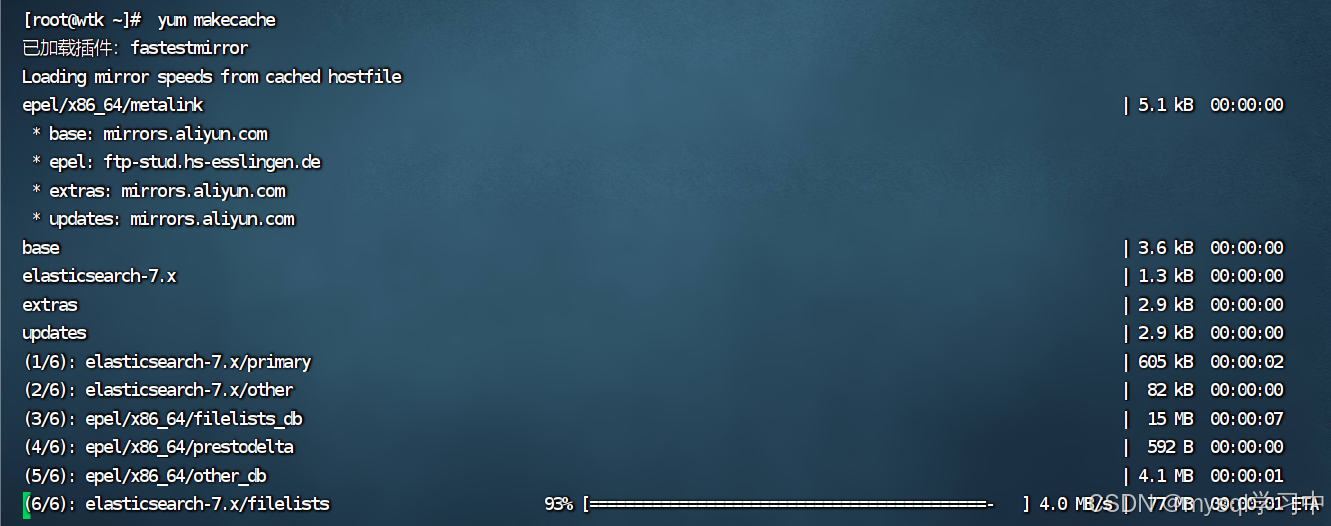
退出文件后更新缓存:命令: yum makecache (挺慢的)
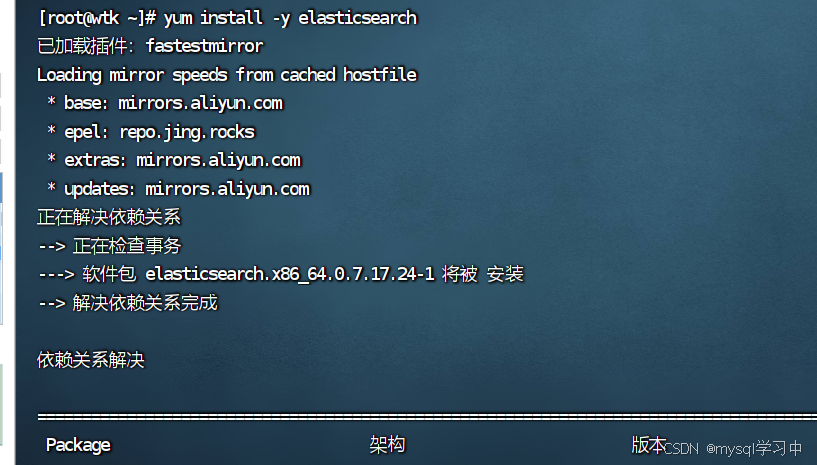
3.安装es
命令:yum install -y elasticsearch
4.配置es
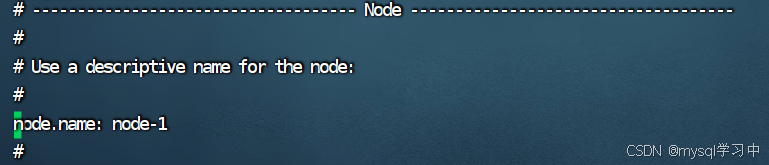
一:命令:vim /etc/elasticsearch/elasticsearch.yml 编辑这个文件
更改内容:
#17行,设置集群名称
cluster.name:my-cluster

23行,设置节点名称
node.name:node-1
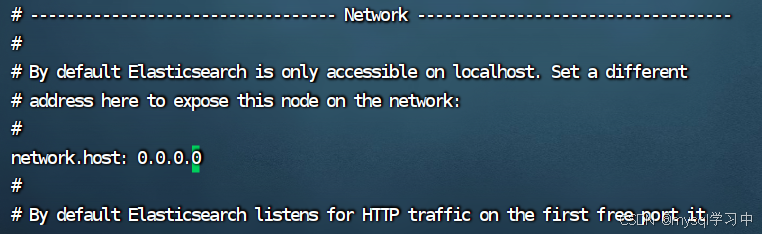
#56行,允许外网访问
network.host:0.0.0.0
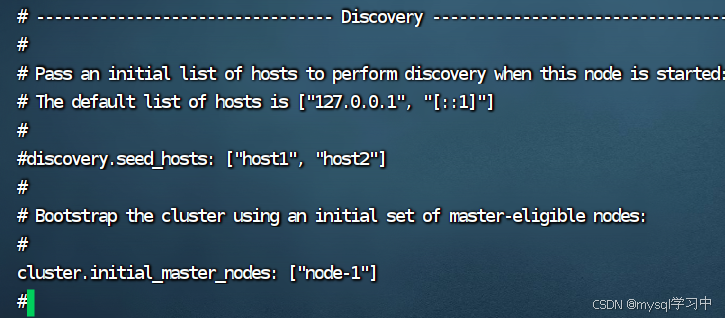
#74行,配置集群master节点
cluster.initial_master_nodes:"node-1"
之后退出
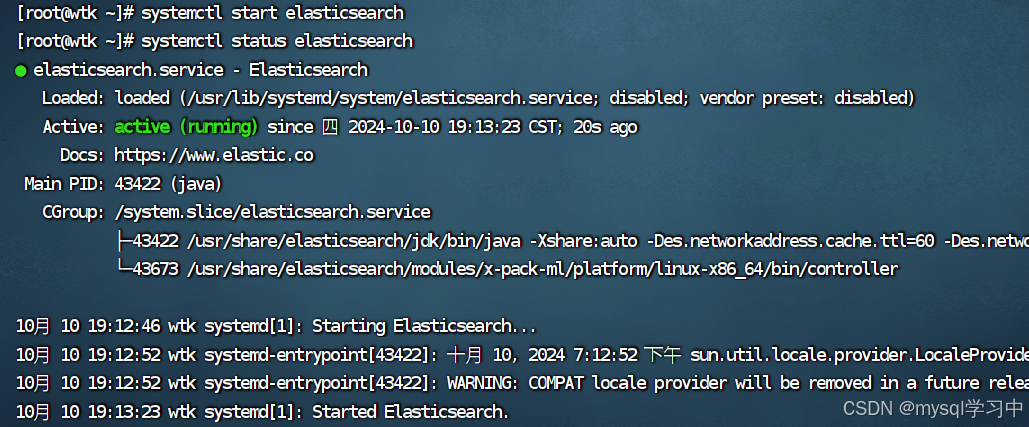
5.启动服务

命令:systemctl start elasticsearch
es端口号9200
6.查看服务: 浏览器输入IP地址与端口号
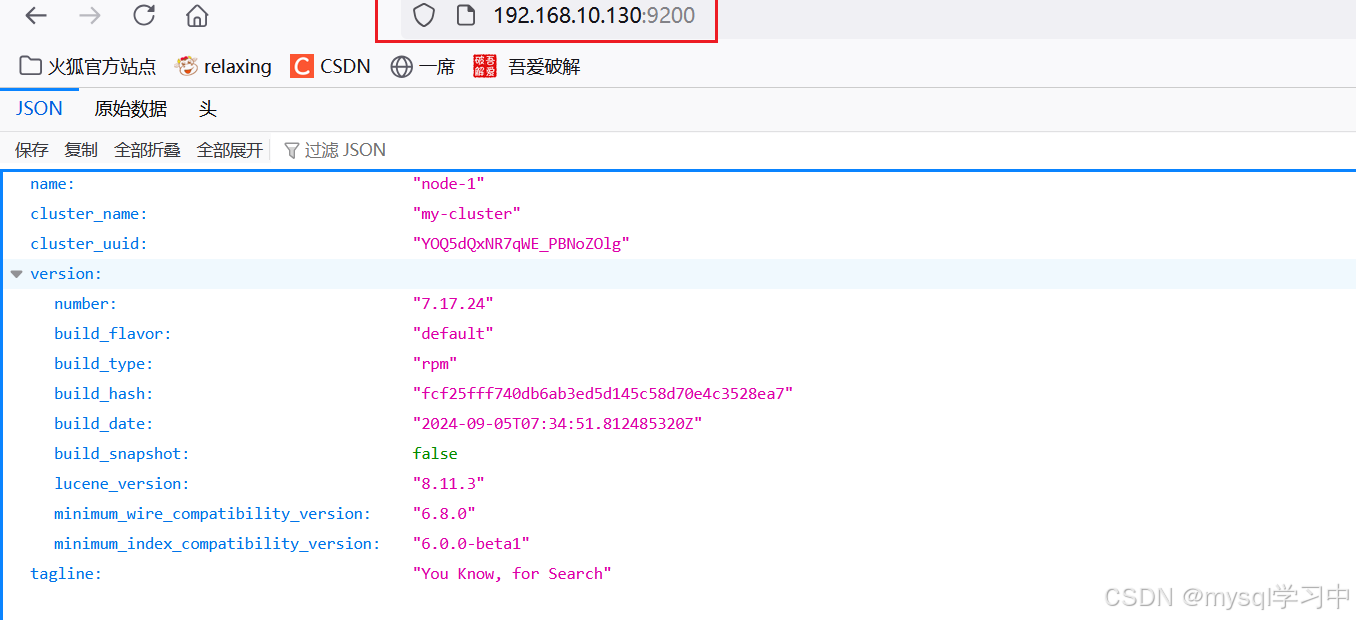
发现配置完成!!!