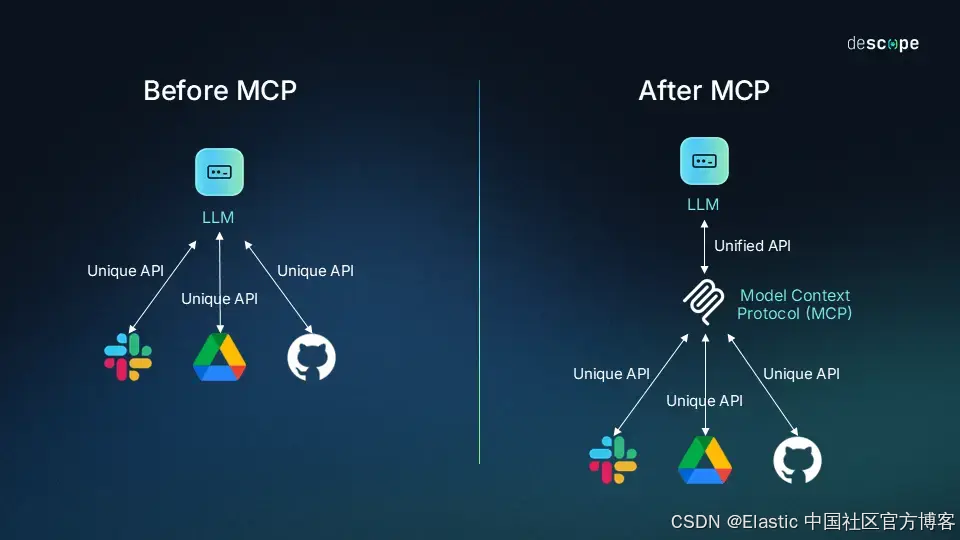
我们在之前的文章 "将 agents 连接到 Elasticsearch 使用模型上下文协议" 及 "使用 MCP 将代理连接到 Elasticsearch 并对索引进行查询" 详述了如何使用 Elasticsearch MCP server 来和我们的 Elasticsearch 进行对话。细心的开发者可能已经注意到我们的 Elasticsearch MCP server 已经重写了,而且他的运行方式也有所改变。请参考链接 https://github.com/elastic/mcp-server-elasticsearch。在今天的文章里,我来详述如何一步一步地安装 Elasticsearch MCP server,并展示如何和 Elasticsearch 进行对话。
安装
Elasticsearch 及 Kibana
如果你还没有安装好你自己的 Elasticsearch 及 Kibana,那么请参考如下的文章来进行安装:
在安装的时候,请参考 Elastic Stack 8.x/9.x 的安装指南来进行。在本次安装中,我将使用 Elastic Stack 9.1.2 来进行展示。
首次安装 Elasticsearch 的时候,我们可以看到如下的画面:
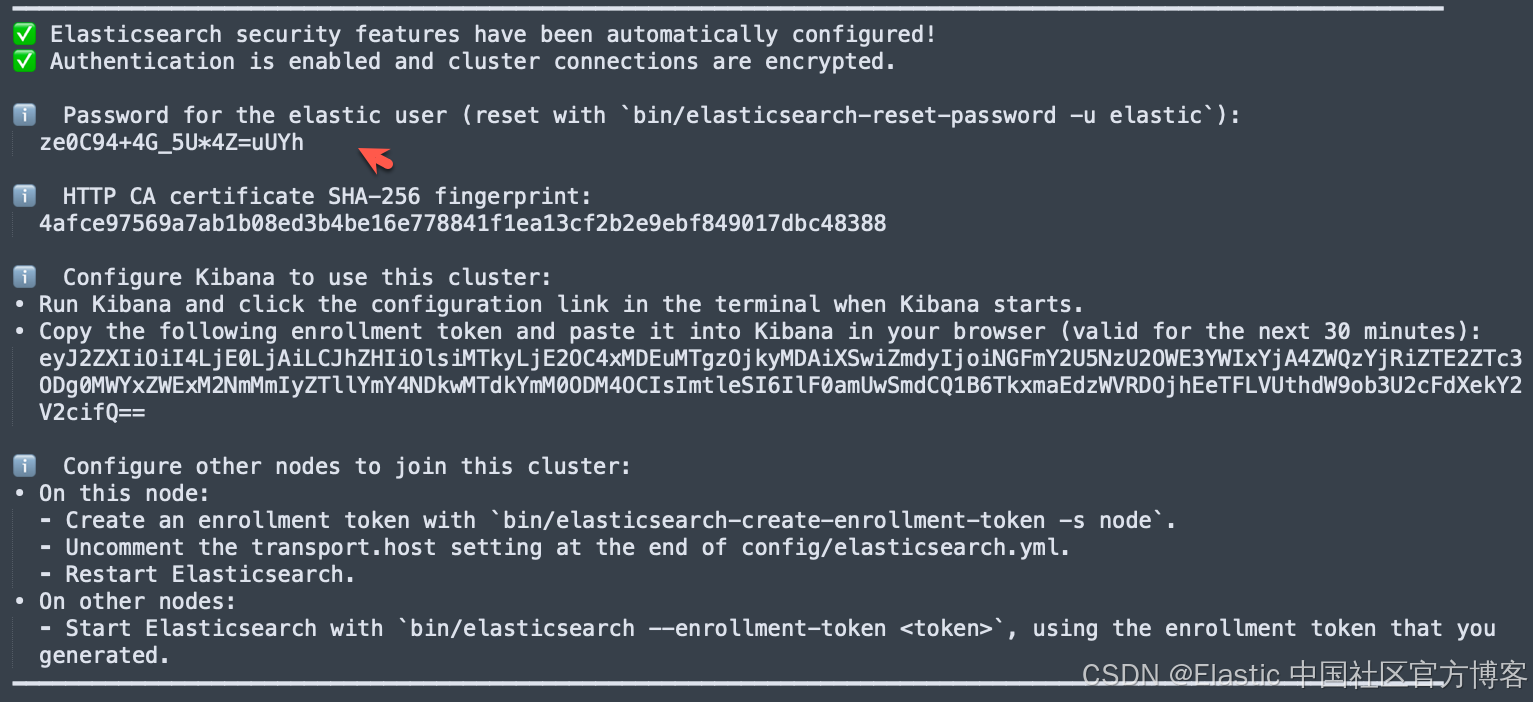
我们按照上面的链接把 Elasticsearch 及 Kibana 安装好。
获得 Elasticsearch API key
按照如下的步骤获得 API key:


点击上面的拷贝图标。我们把得到的 API key 保存好,供下面进行使用。
安装 Claude Desktop
我们可以在地址 App unavailable \ Anthropic 下载并按照 Claude Desktop。由于一些原因,我们需要自己来注册一个账号。
安装 MCP 服务器
我们参考连接 mcp-server-elasticsearch 来进行安装。通过 Model Context Protocol (MCP) ,你可以直接从任何 MCP 客户端(例如 Claude Desktop )连接到你的 Elasticsearch 数据。这个服务器使用 Model Context Protocol (MCP) 将智能代理连接到你的 Elasticsearch 数据,使你能够通过自然语言对话与 Elasticsearch 索引进行交互。
 Elasticsearch MCP Server
可用的工具
- list_indices :列出所有可用的 Elasticsearch 索引
- get_mappings :获取指定 Elasticsearch 索引的字段映射
- search :使用提供的查询 DSL 执行一次 Elasticsearch 搜索
- get_shards:获取所有或指定索引的分片信息
可实现的查询
- "What indices do I have in my Elasticsearch cluster?"
- "Show me the field mappings for the 'products' index."
- "Find all orders over $500 from last month."
- "Which products received the most 5-star reviews?"
工作原理
- MCP Client 分析你的请求,并确定需要执行哪些 Elasticsearch 操作。
- MCP Server 执行这些操作(列出索引、获取映射、执行搜索)。
- MCP Client 处理结果,并以用户友好的格式呈现。
安装步骤
注意:
0.3.1 及更早版本是通过 npm 安装的。这些版本已被弃用且不再受支持。以下说明仅适用于 0.4.0 及更高版本。
要查看 0.3.1 及更早版本的说明,请参阅 v0.3.1 的 README。
在本博客中,我们将在本地部署 MCP 服务器。我们查看页面 https://github.com/elastic/mcp-server-elasticsearch。这个 MCP 服务器作为一个 Docker 镜像提供,地址是 docker.elastic.co/mcp/elasticsearch,支持 MCP 的 stdio、SSE 和 streamable-HTTP 协议。它的安装也非常直接。在新的发布中,它使用 docker 来进行安装。运行这个容器而不带任何参数会输出一条用法信息:
docker run docker.elastic.co/mcp/elasticsearch

Usage: elasticsearch-mcp-server <COMMAND>

Commands:
  stdio  Start a stdio server
  http   Start a streamable-HTTP server with optional SSE support
  help   Print this message or the help of the given subcommand(s)

Options:
  -h, --help     Print help
  -V, --version  Print version
使用 stdio 协议
MCP 服务器需要设置环境变量:
-
ES_URL: 你的 Elasticsearch 集群的 URL
-
身份验证可使用 API key 或基本认证:
-
API key: ES_API_KEY
-
基本认证: ES_USERNAME 和 ES_PASSWORD
-
-
可选: ES_SSL_SKIP_VERIFY 设置为 true 时,会在连接 Elasticsearch 时跳过 SSL/TLS 证书验证。提供自定义证书的功能将在后续版本中加入。
MCP 服务器在 stdio 模式下通过以下命令启动:
docker run -i --rm -e ES_URL -e ES_API_KEY docker.elastic.co/mcp/elasticsearch stdio针对我们运行在 https://localhost:9200 的 Elasticsearch,我们使用如下的命令来运行:
ES_URL=https://host.docker.internal:9200 ES_API_KEY=ZWRqdDBKZ0JDUHpOTGZoR0E0UzA6Z1B2TlBpUUppTUNvUHlCWEdQSGtrdw== ES_SSL_SKIP_VERIFY=true docker run -i --rm -e ES_URL -e ES_API_KEY -e ES_SSL_SKIP_VERIFY docker.elastic.co/mcp/elasticsearch stdio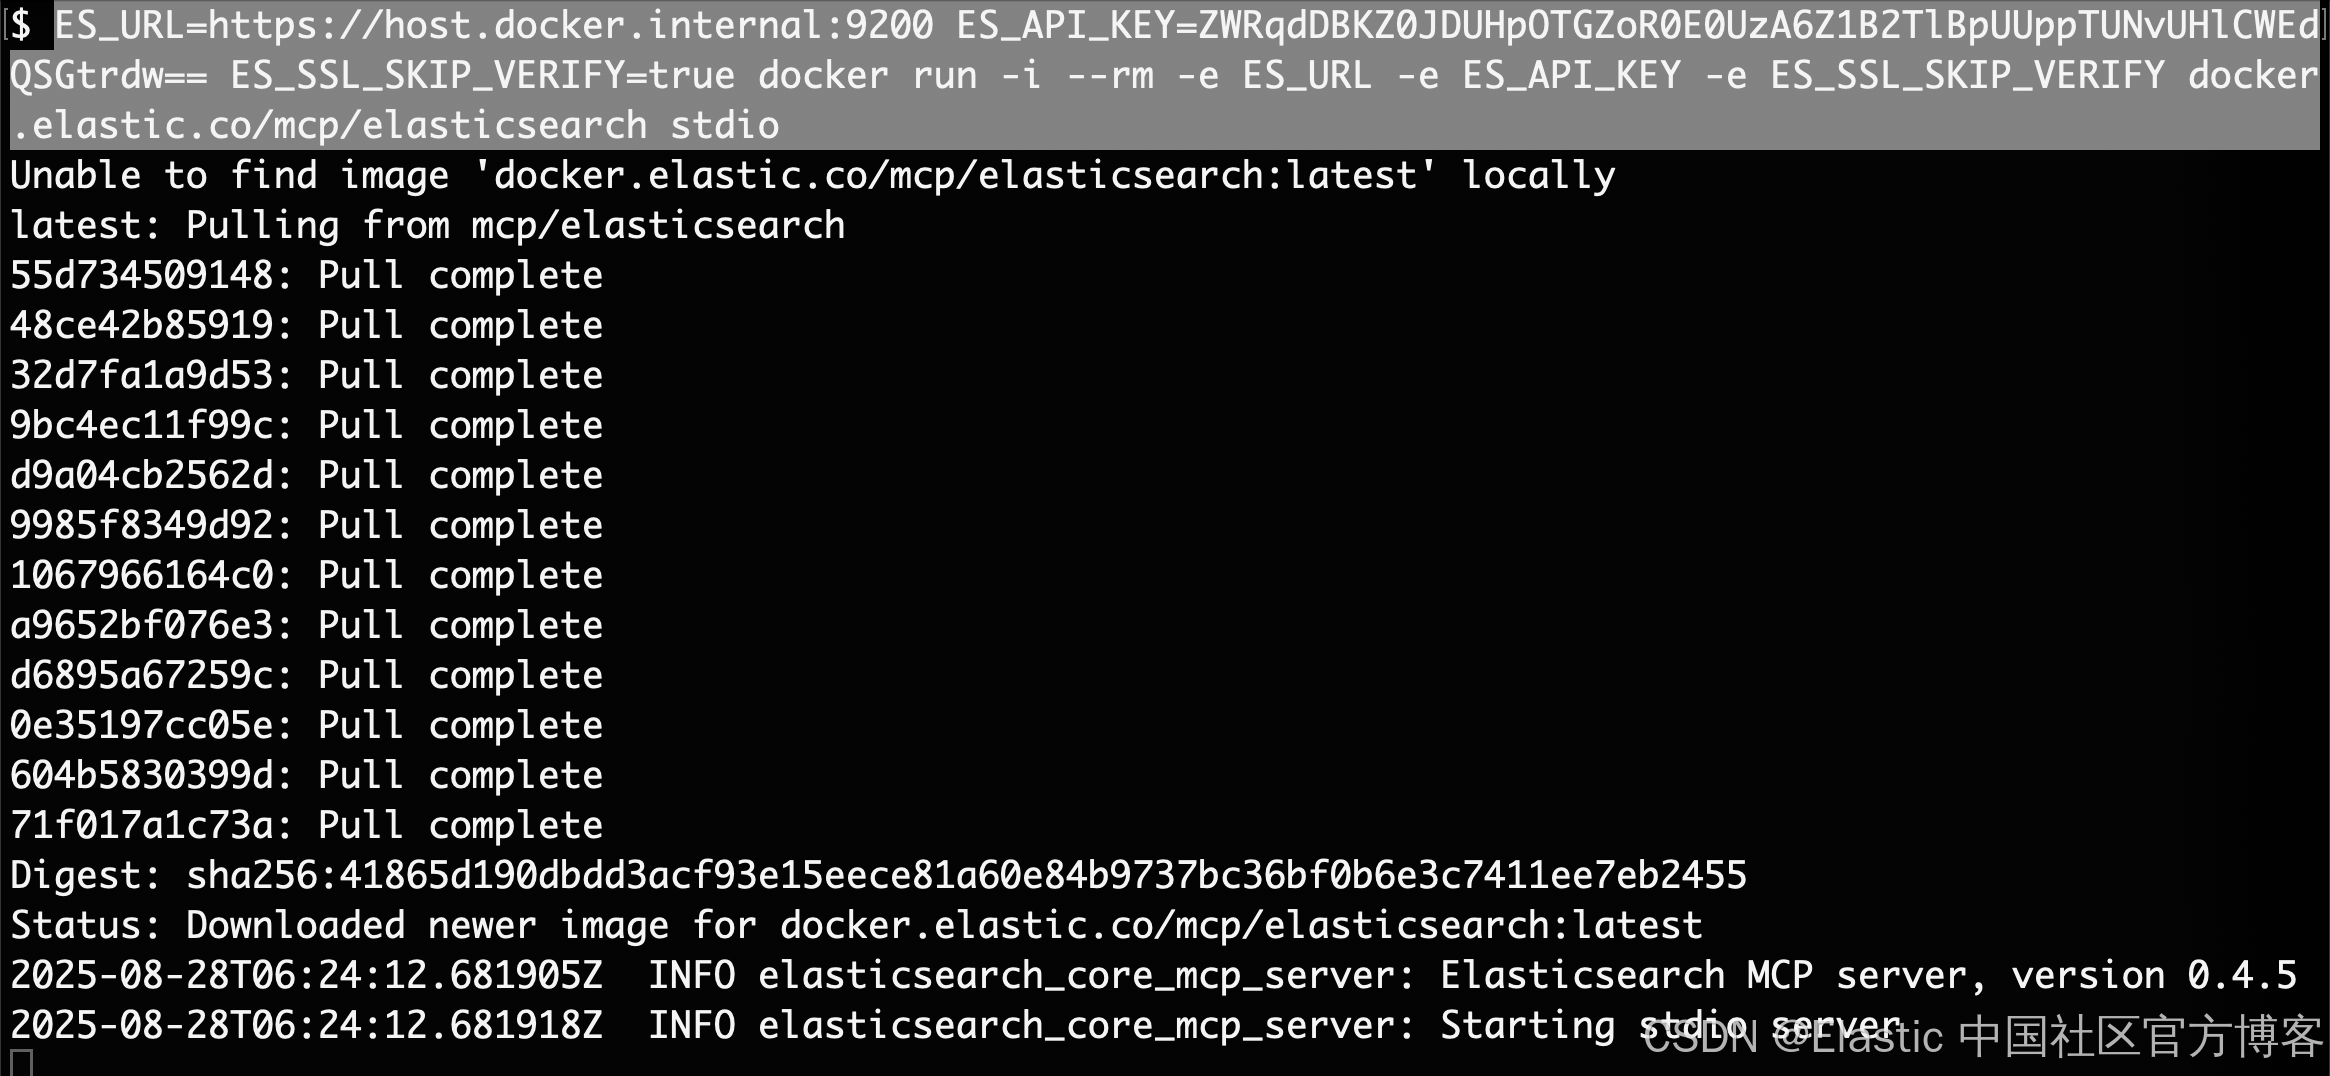
我们替换 https://localhost:9200 为地址 https://host.docker.internal:9200。
配置 Claude Desktop
针对免费的 Claude Desktop,它只支持 stdio。
-
打开 Claude 桌面应用
-
前往 Settings > Developer > MCP Servers
-
点击 Edit Config 并添加一个新的 MCP 服务器,配置如下:
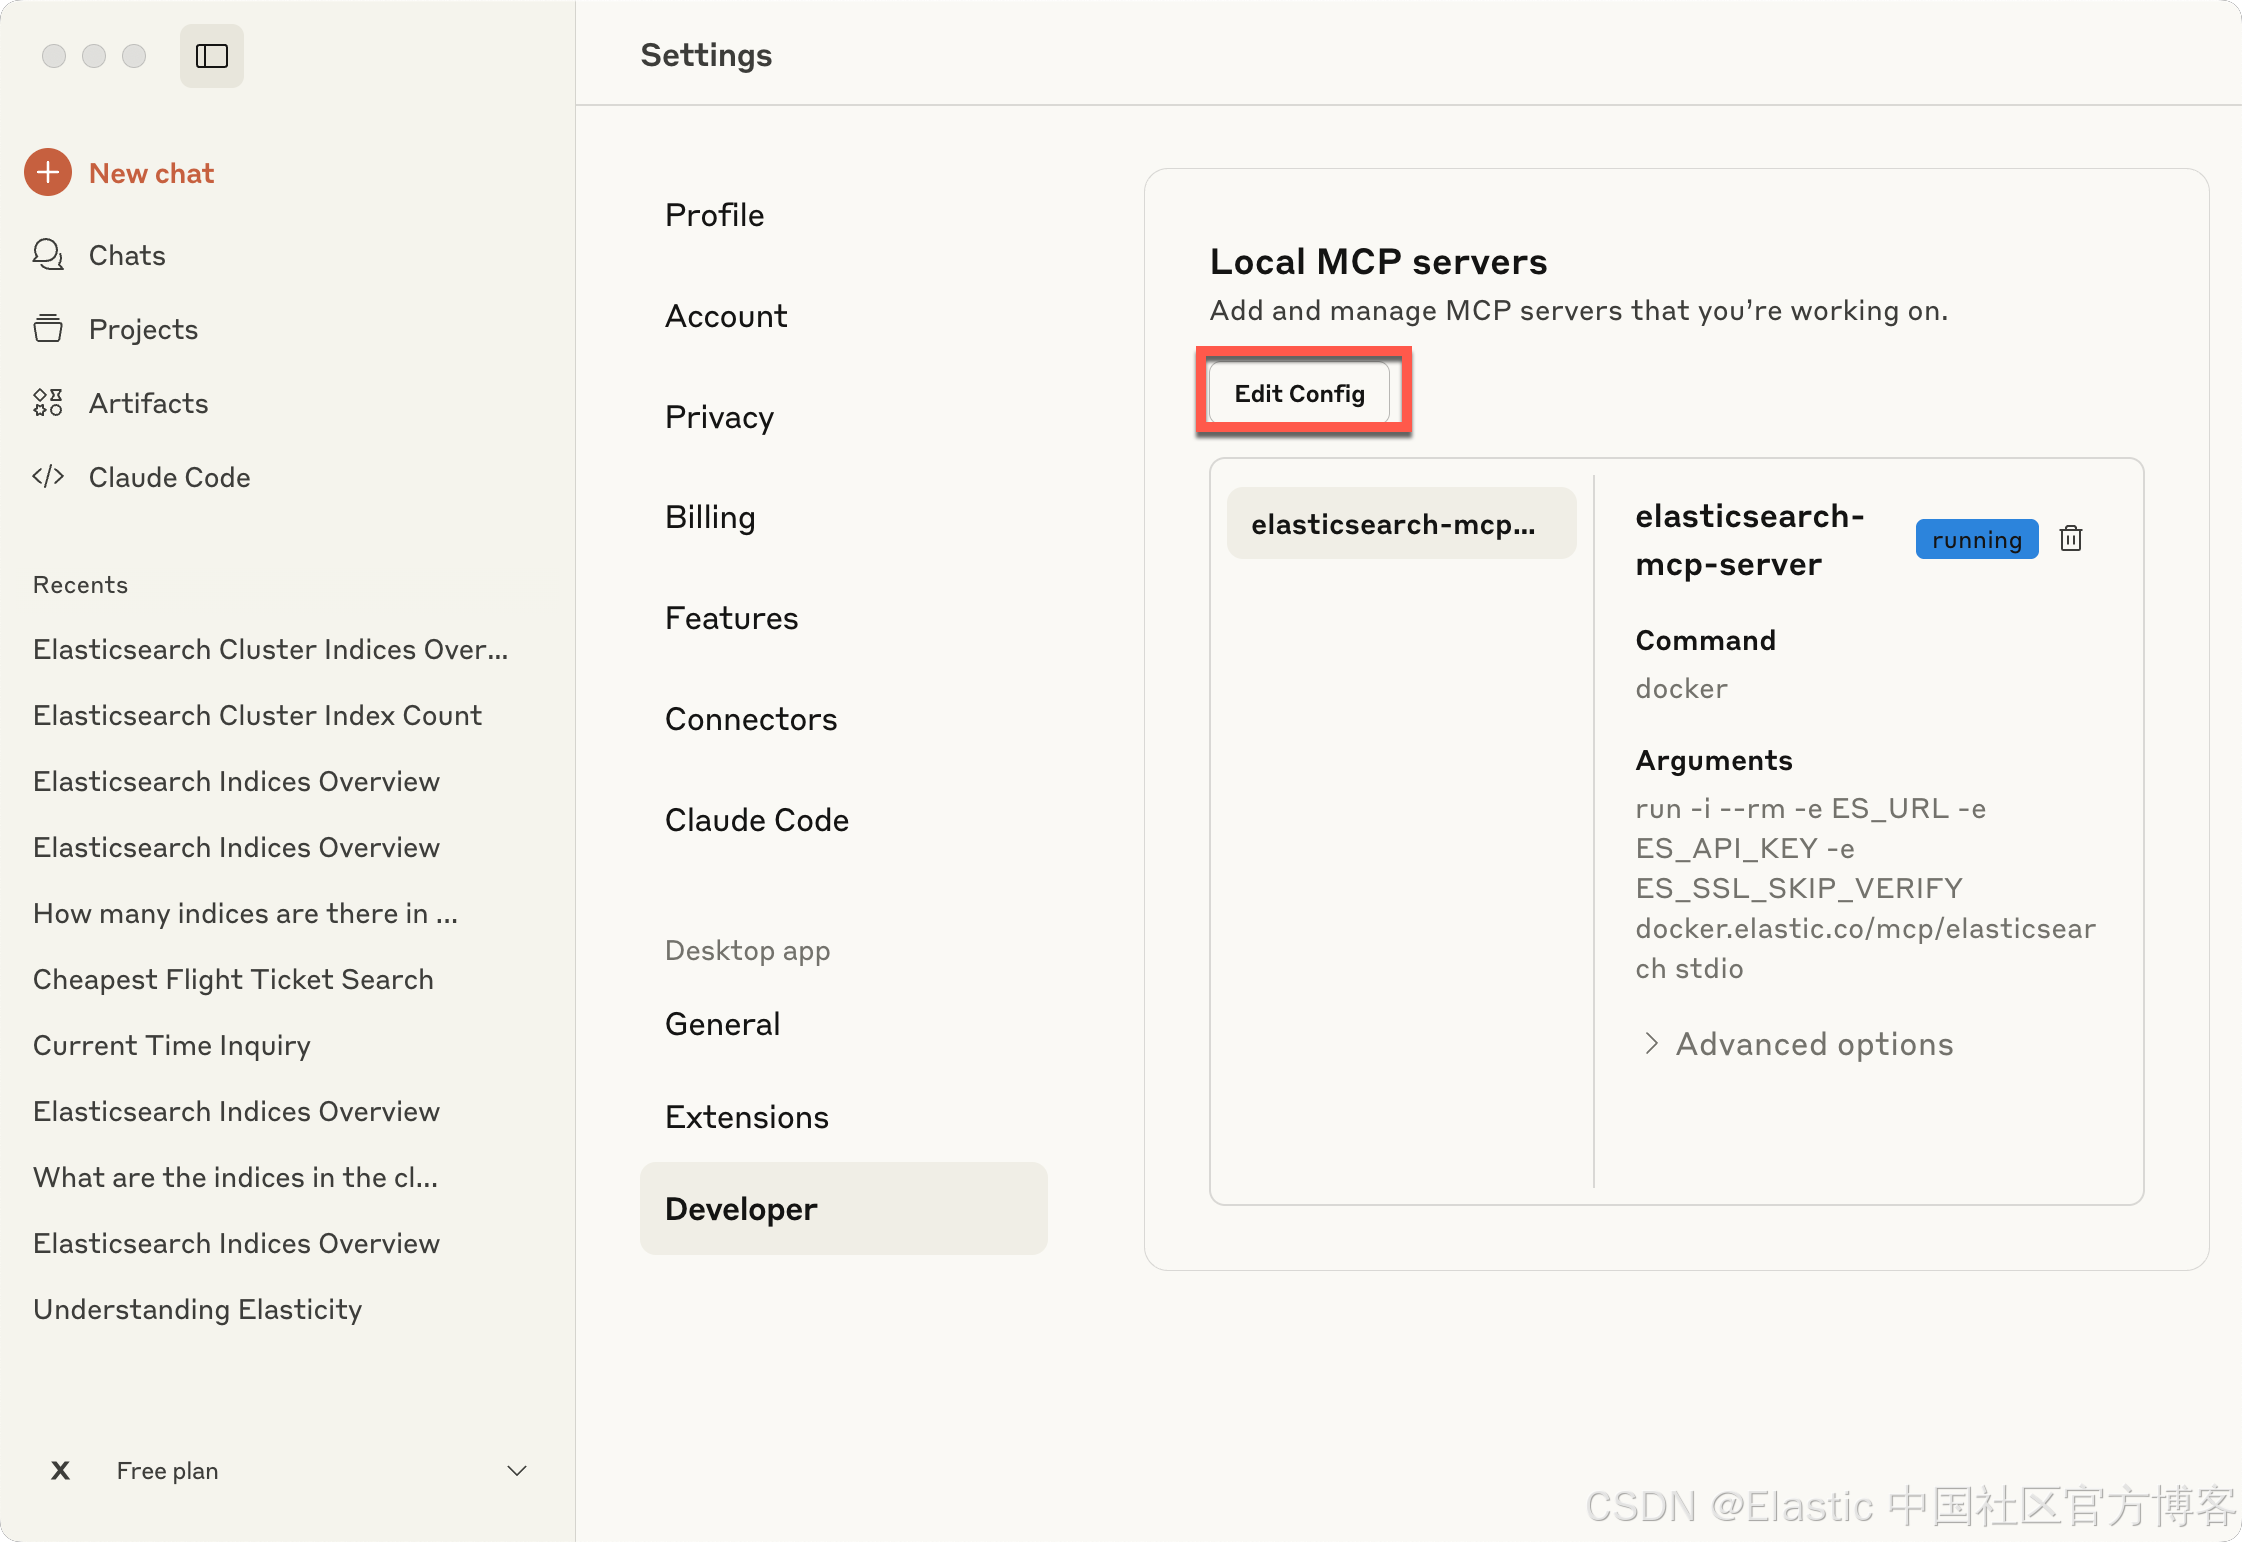
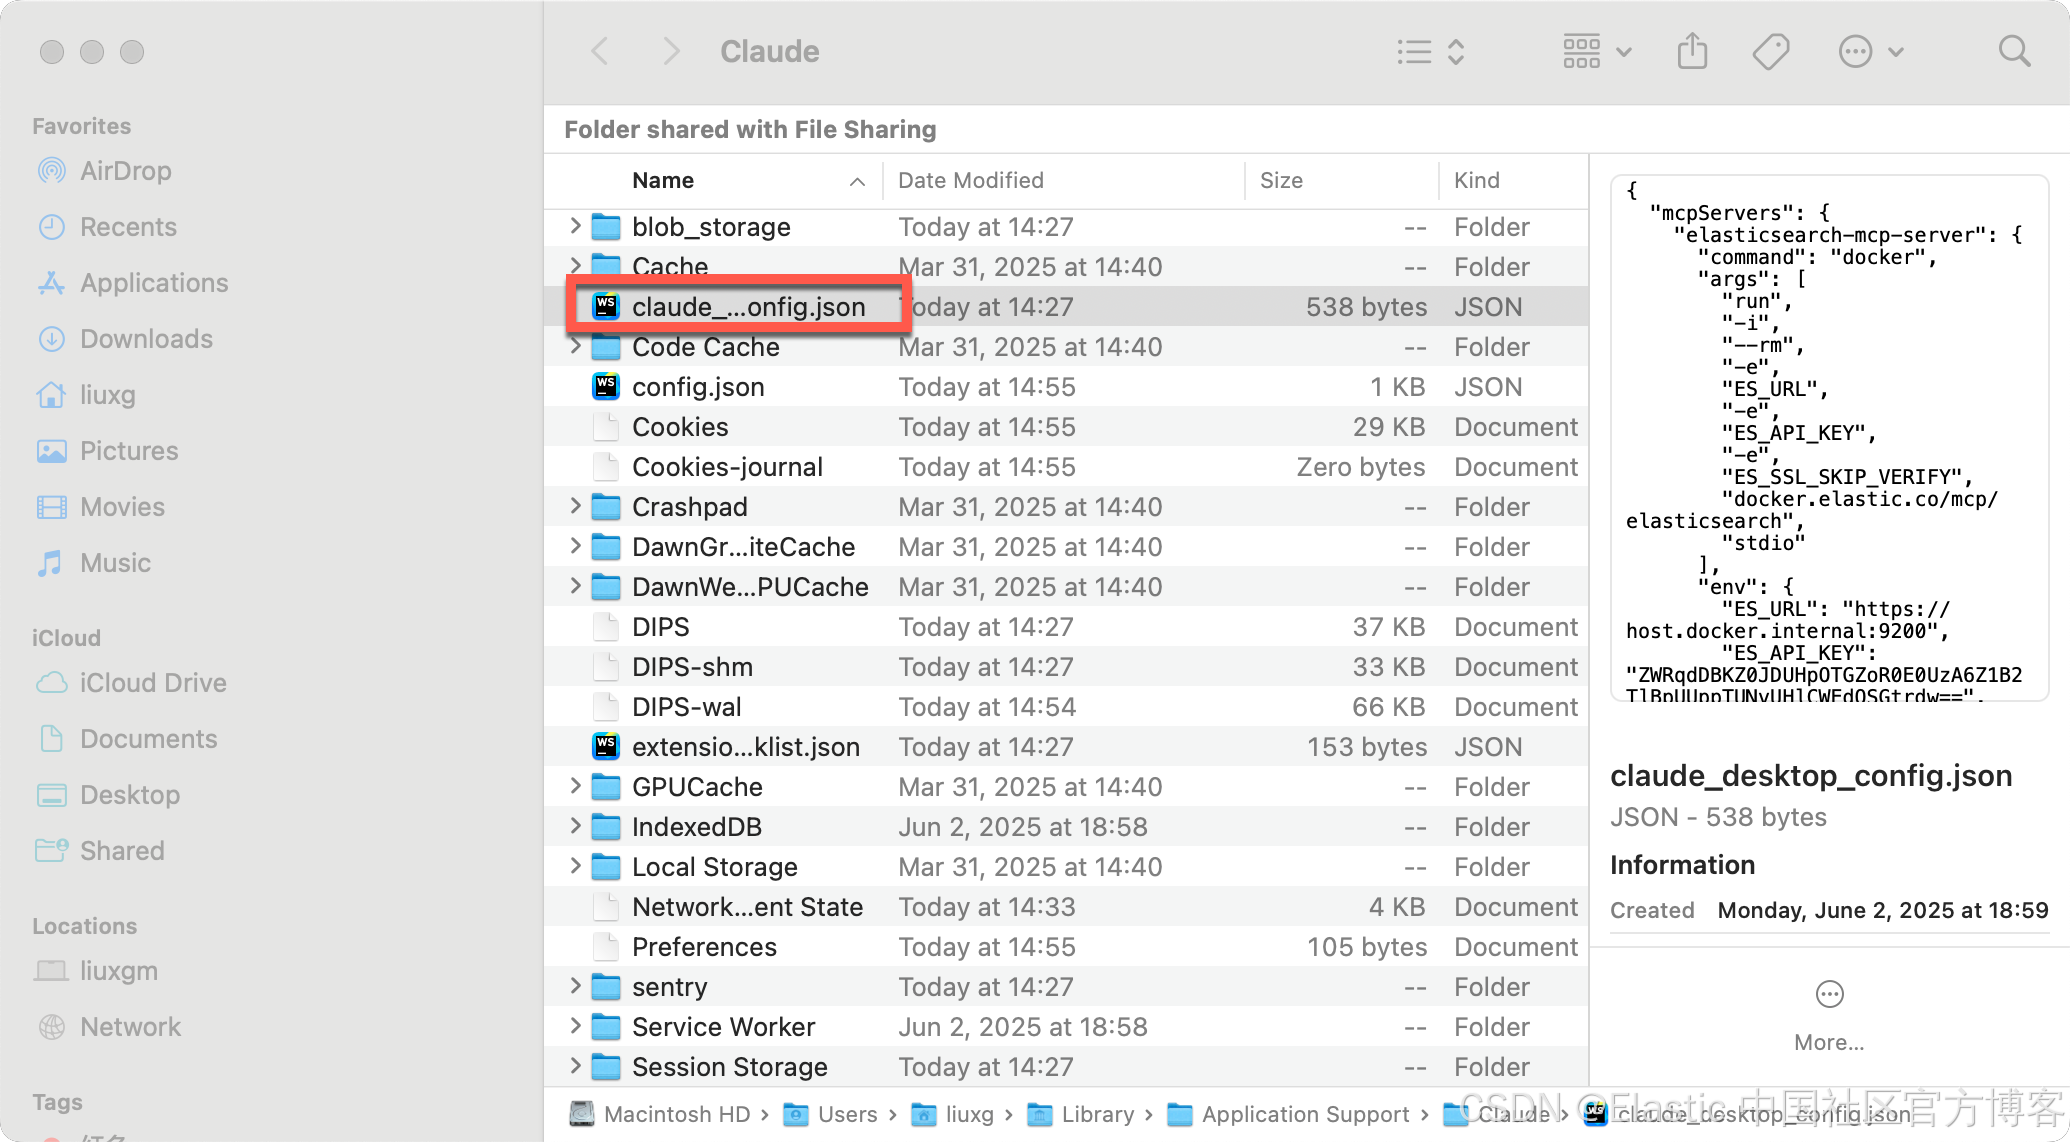
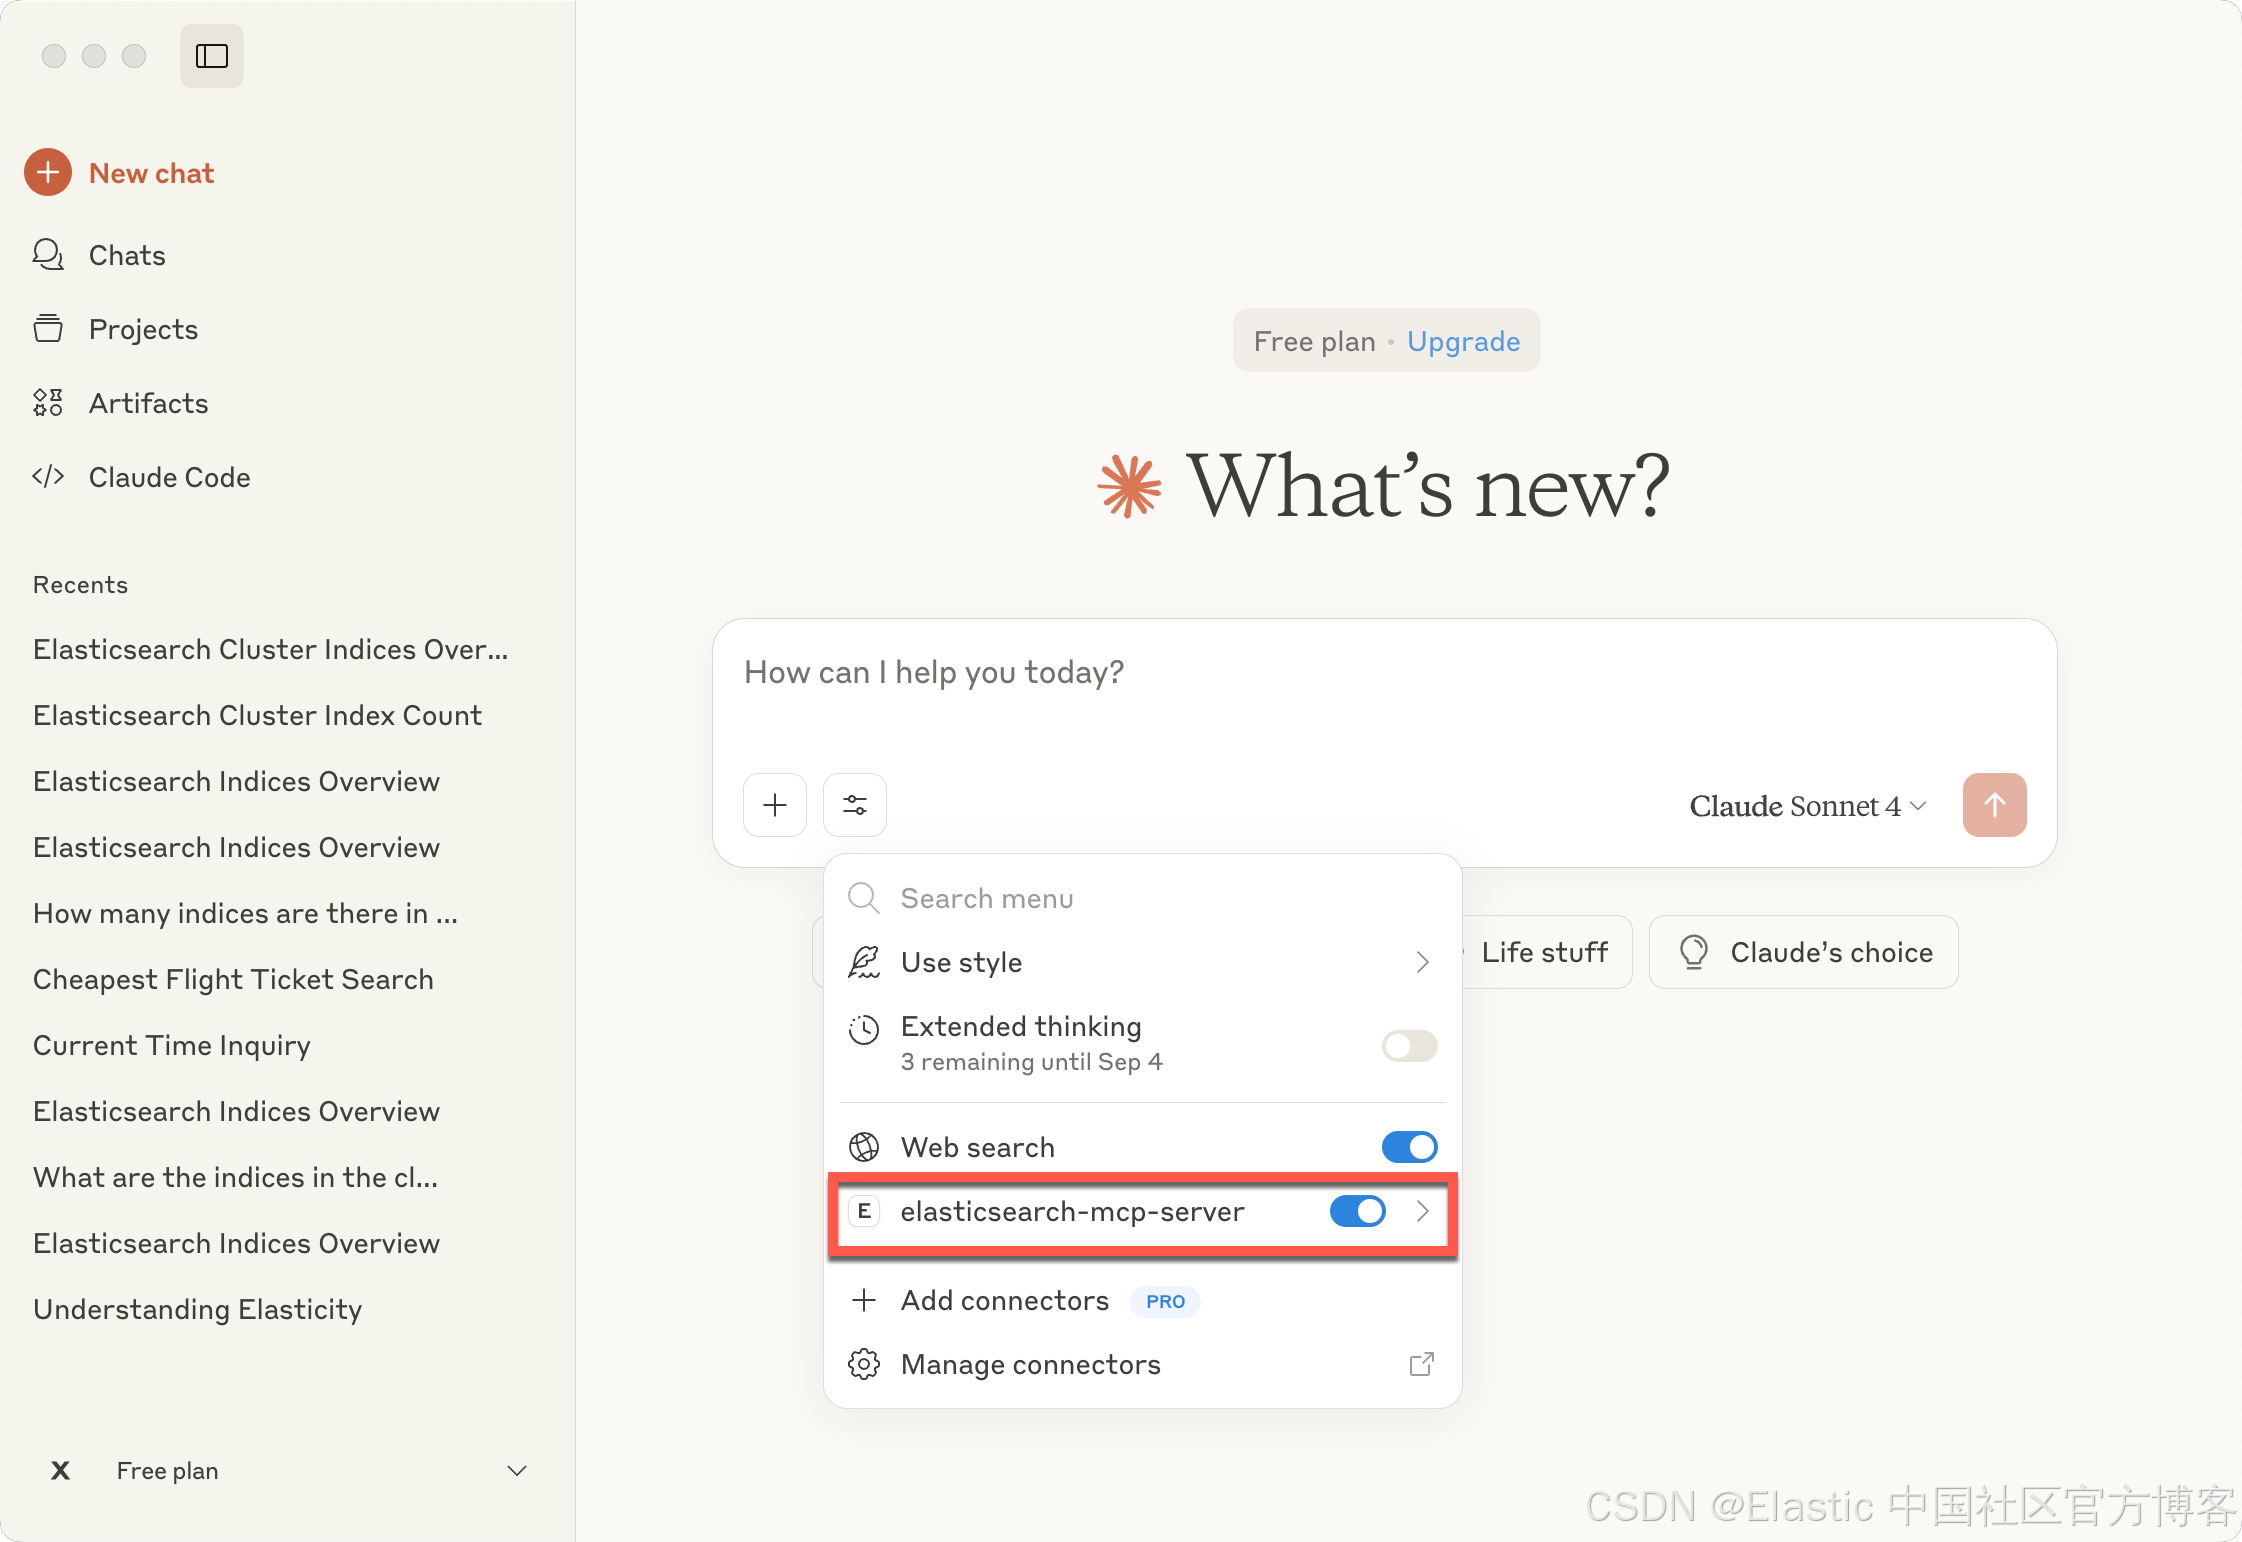
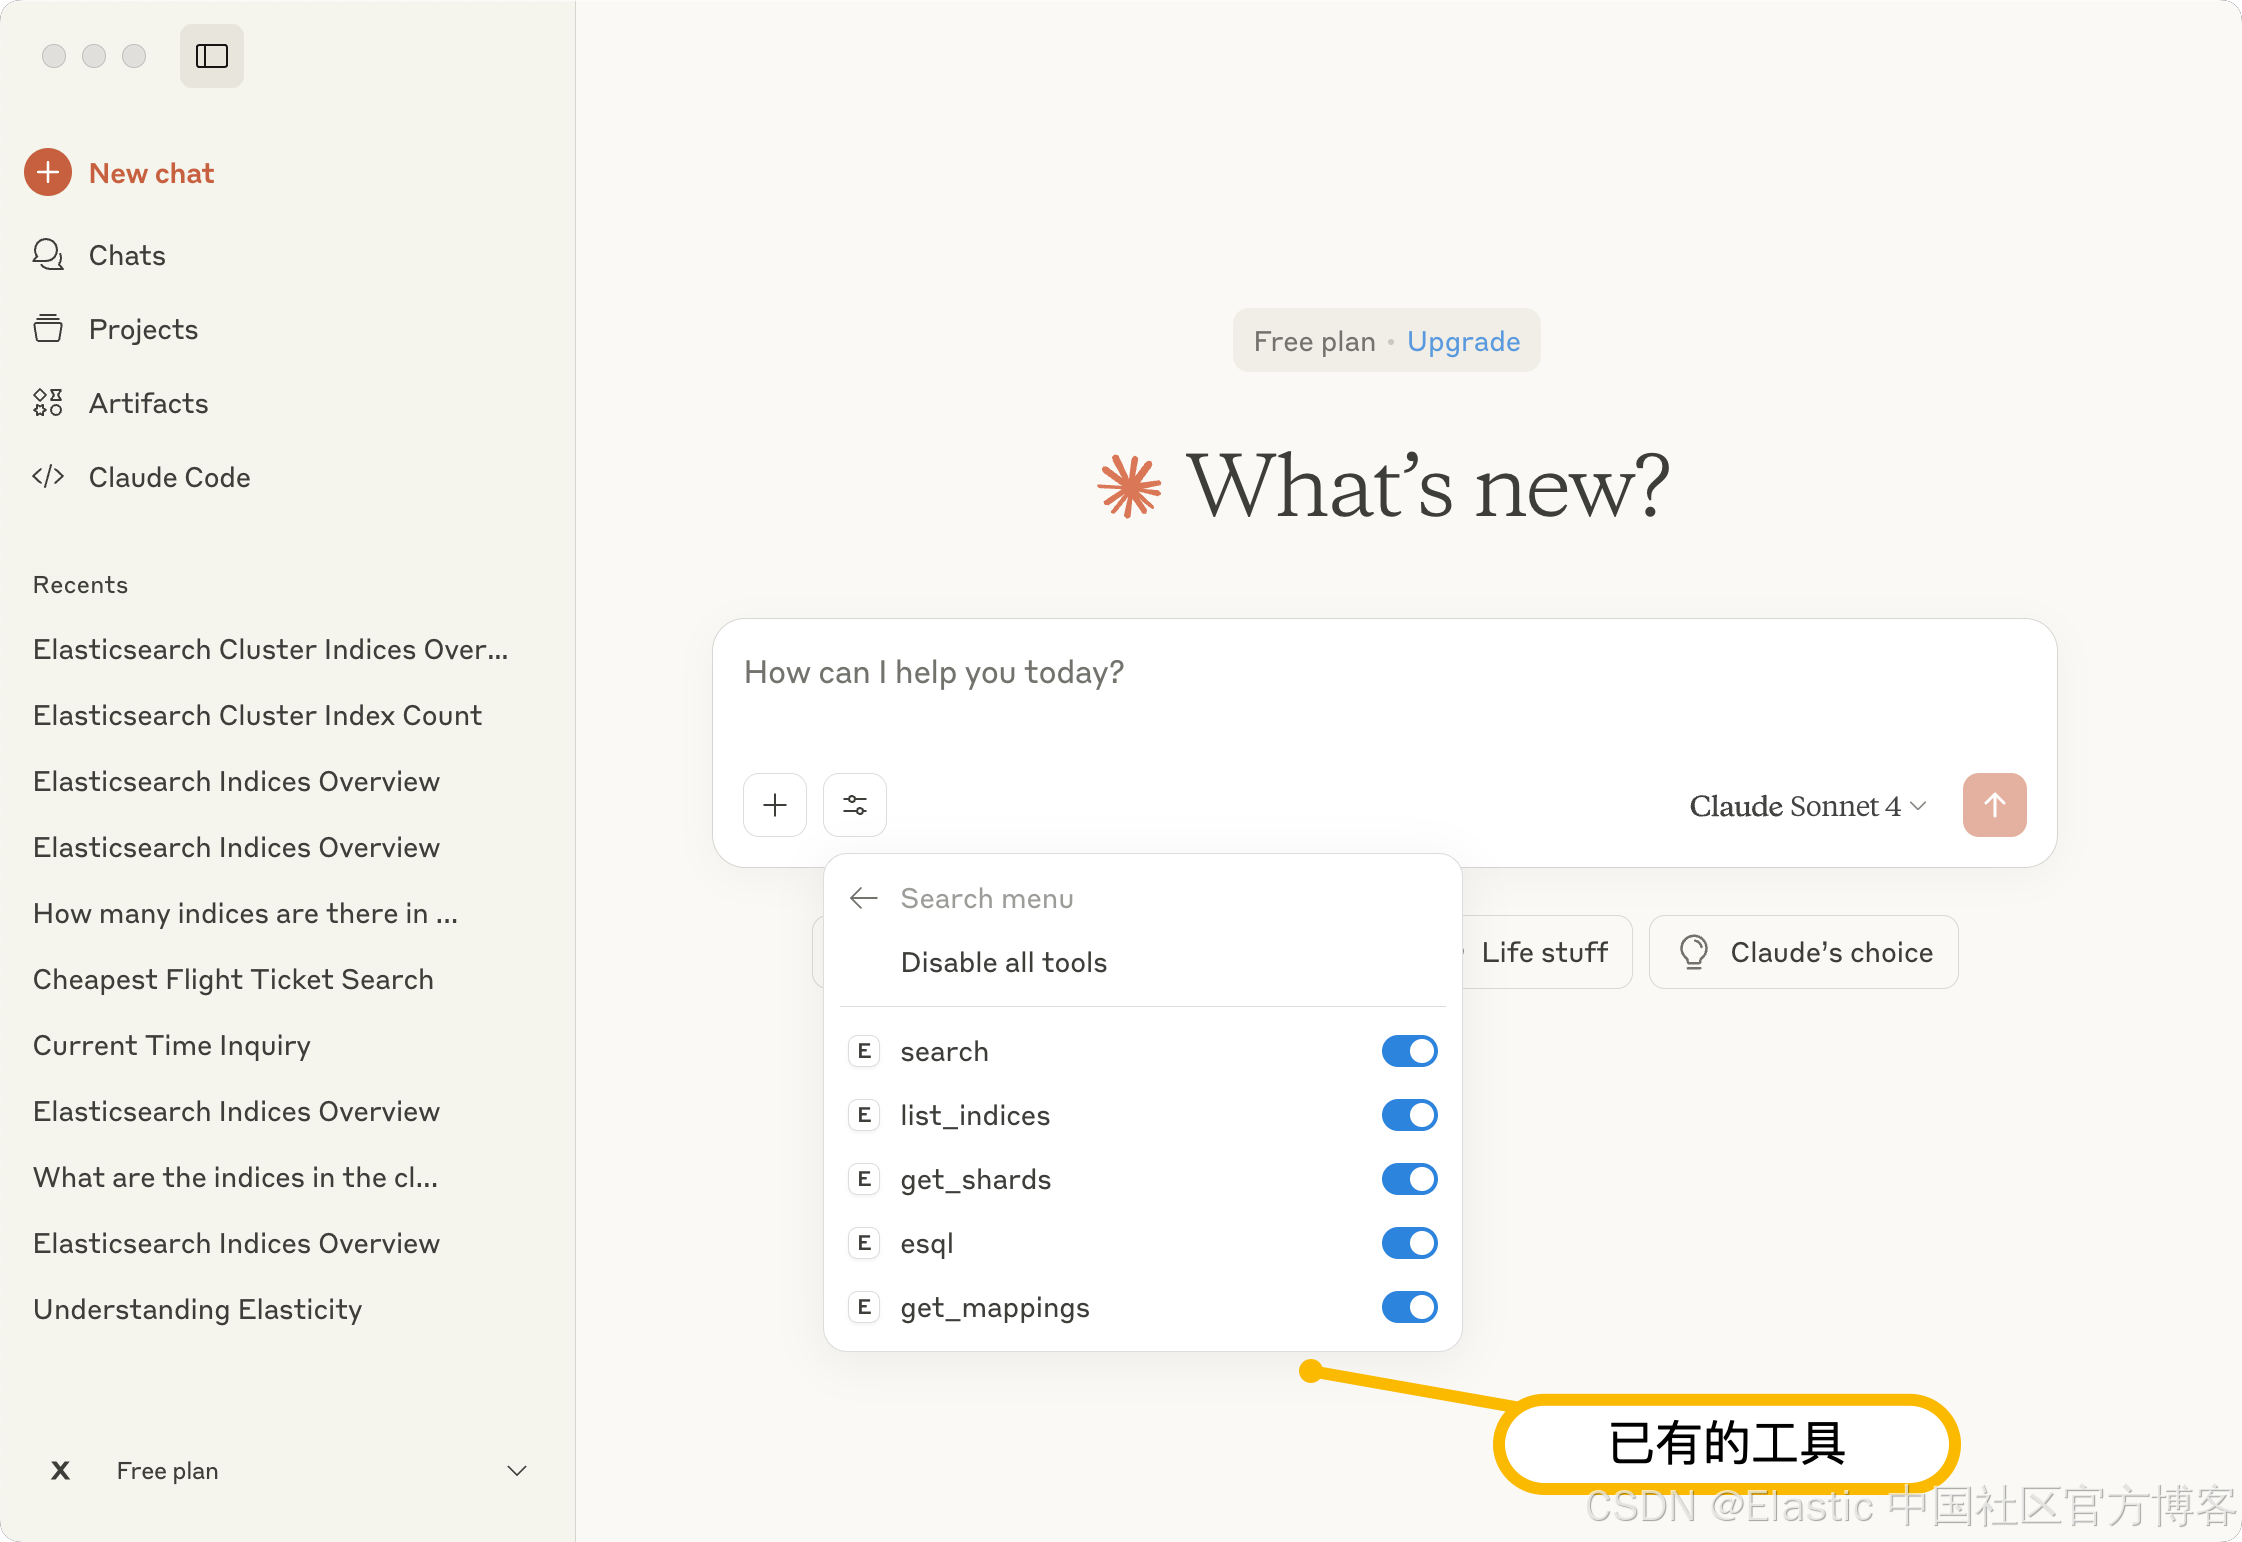
Claude Desktop 的配置如下:
{
 "mcpServers": {
   "elasticsearch-mcp-server": {
    "command": "docker",
    "args": [
     "run", "-i", "--rm",
     "-e", "ES_URL", "-e", "ES_API_KEY",
     "docker.elastic.co/mcp/elasticsearch",
     "stdio"
    ],
    "env": {
      "ES_URL": "<elasticsearch-cluster-url>",
      "ES_API_KEY": "<elasticsearch-API-key>"
    }
   }
 }
}
针对我们的情况,我们使用如下从配置:
{
  "mcpServers": {
    "elasticsearch-mcp-server": {
      "command": "docker",
      "args": [
        "run",
        "-i",
        "--rm",
        "-e",
        "ES_URL",
        "-e",
        "ES_API_KEY",
        "-e",
        "ES_SSL_SKIP_VERIFY",
        "docker.elastic.co/mcp/elasticsearch",
        "stdio"
      ],
      "env": {
        "ES_URL": "https://host.docker.internal:9200",
        "ES_API_KEY": "ZWRqdDBKZ0JDUHpOTGZoR0E0UzA6Z1B2TlBpUUppTUNvUHlCWEdQSGtrdw==",
        "ES_SSL_SKIP_VERIFY": "true"
      }
    }
  }
}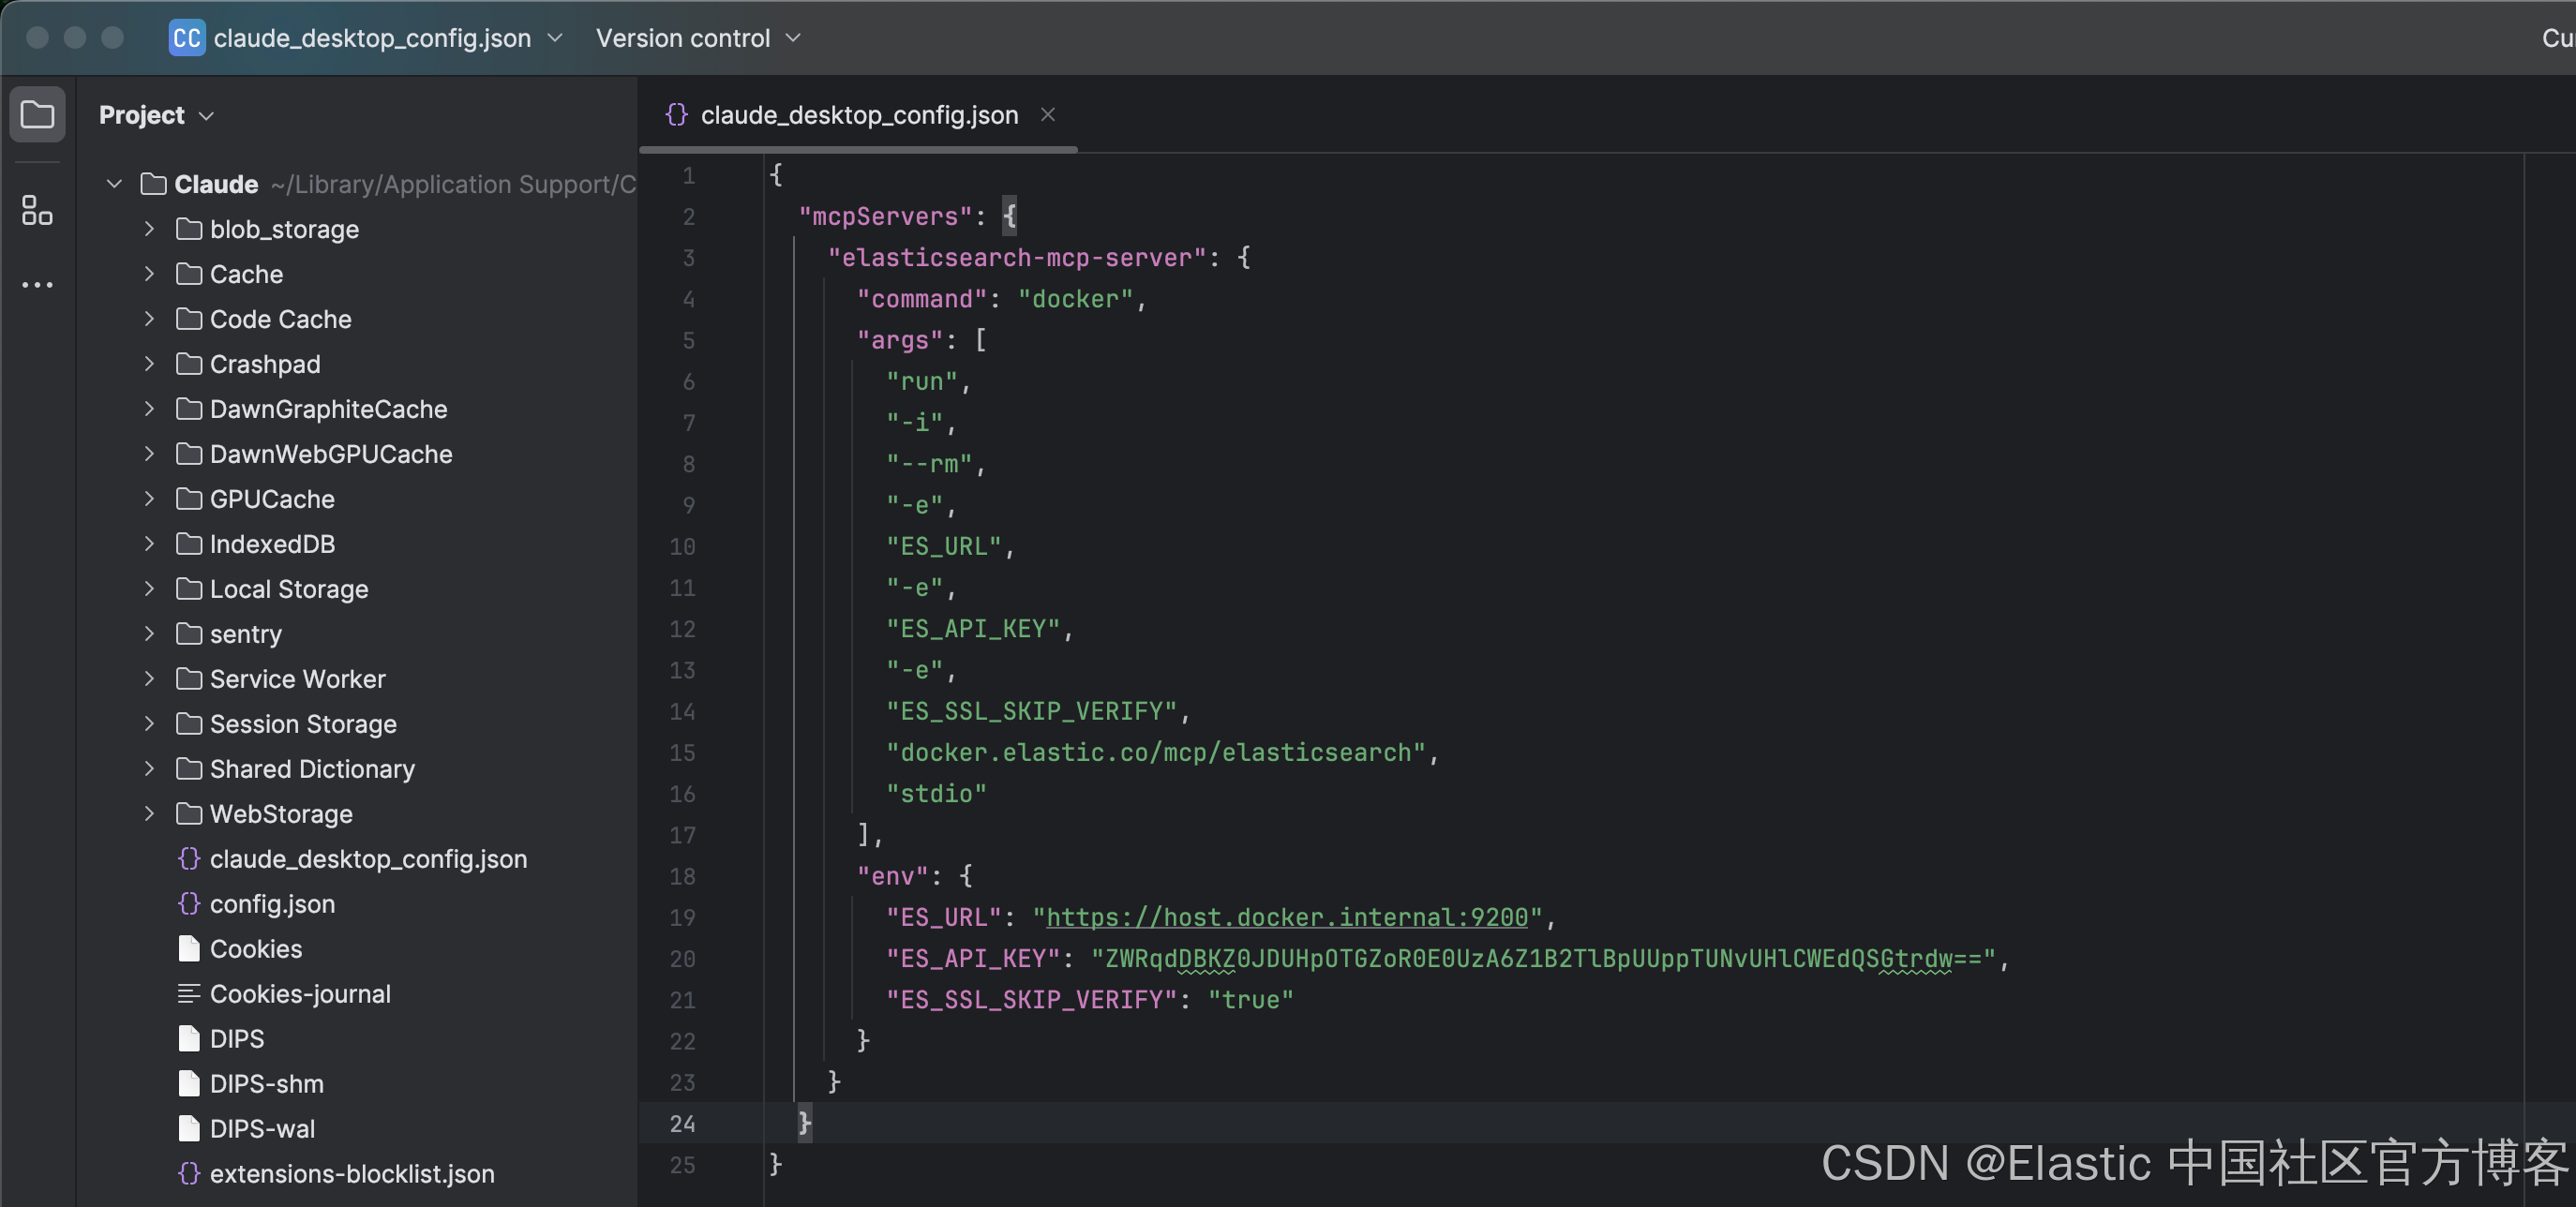
我们需要替换 https://localhost:9200 为 https://host.docker.internal:9200。由于目前的版本不支持 SSL 连接,我们设置 "ES_SSL_SKIP_VERIFY": "true"。如果在连接的过程中有错误,请在如下的地址查找错误信息:
~/Library/Logs/Claude/

$ cd ~/Library/Logs/Claude/
$ ls
main.log                                      mcp.log
mcp-server-elasticsearch-mcp-server-local.log window.log
mcp-server-elasticsearch-mcp-server.log
测试
我们接下来测试我们的 Elasticsearch MCP server:
What are the indices in the Elasticsearch cluster?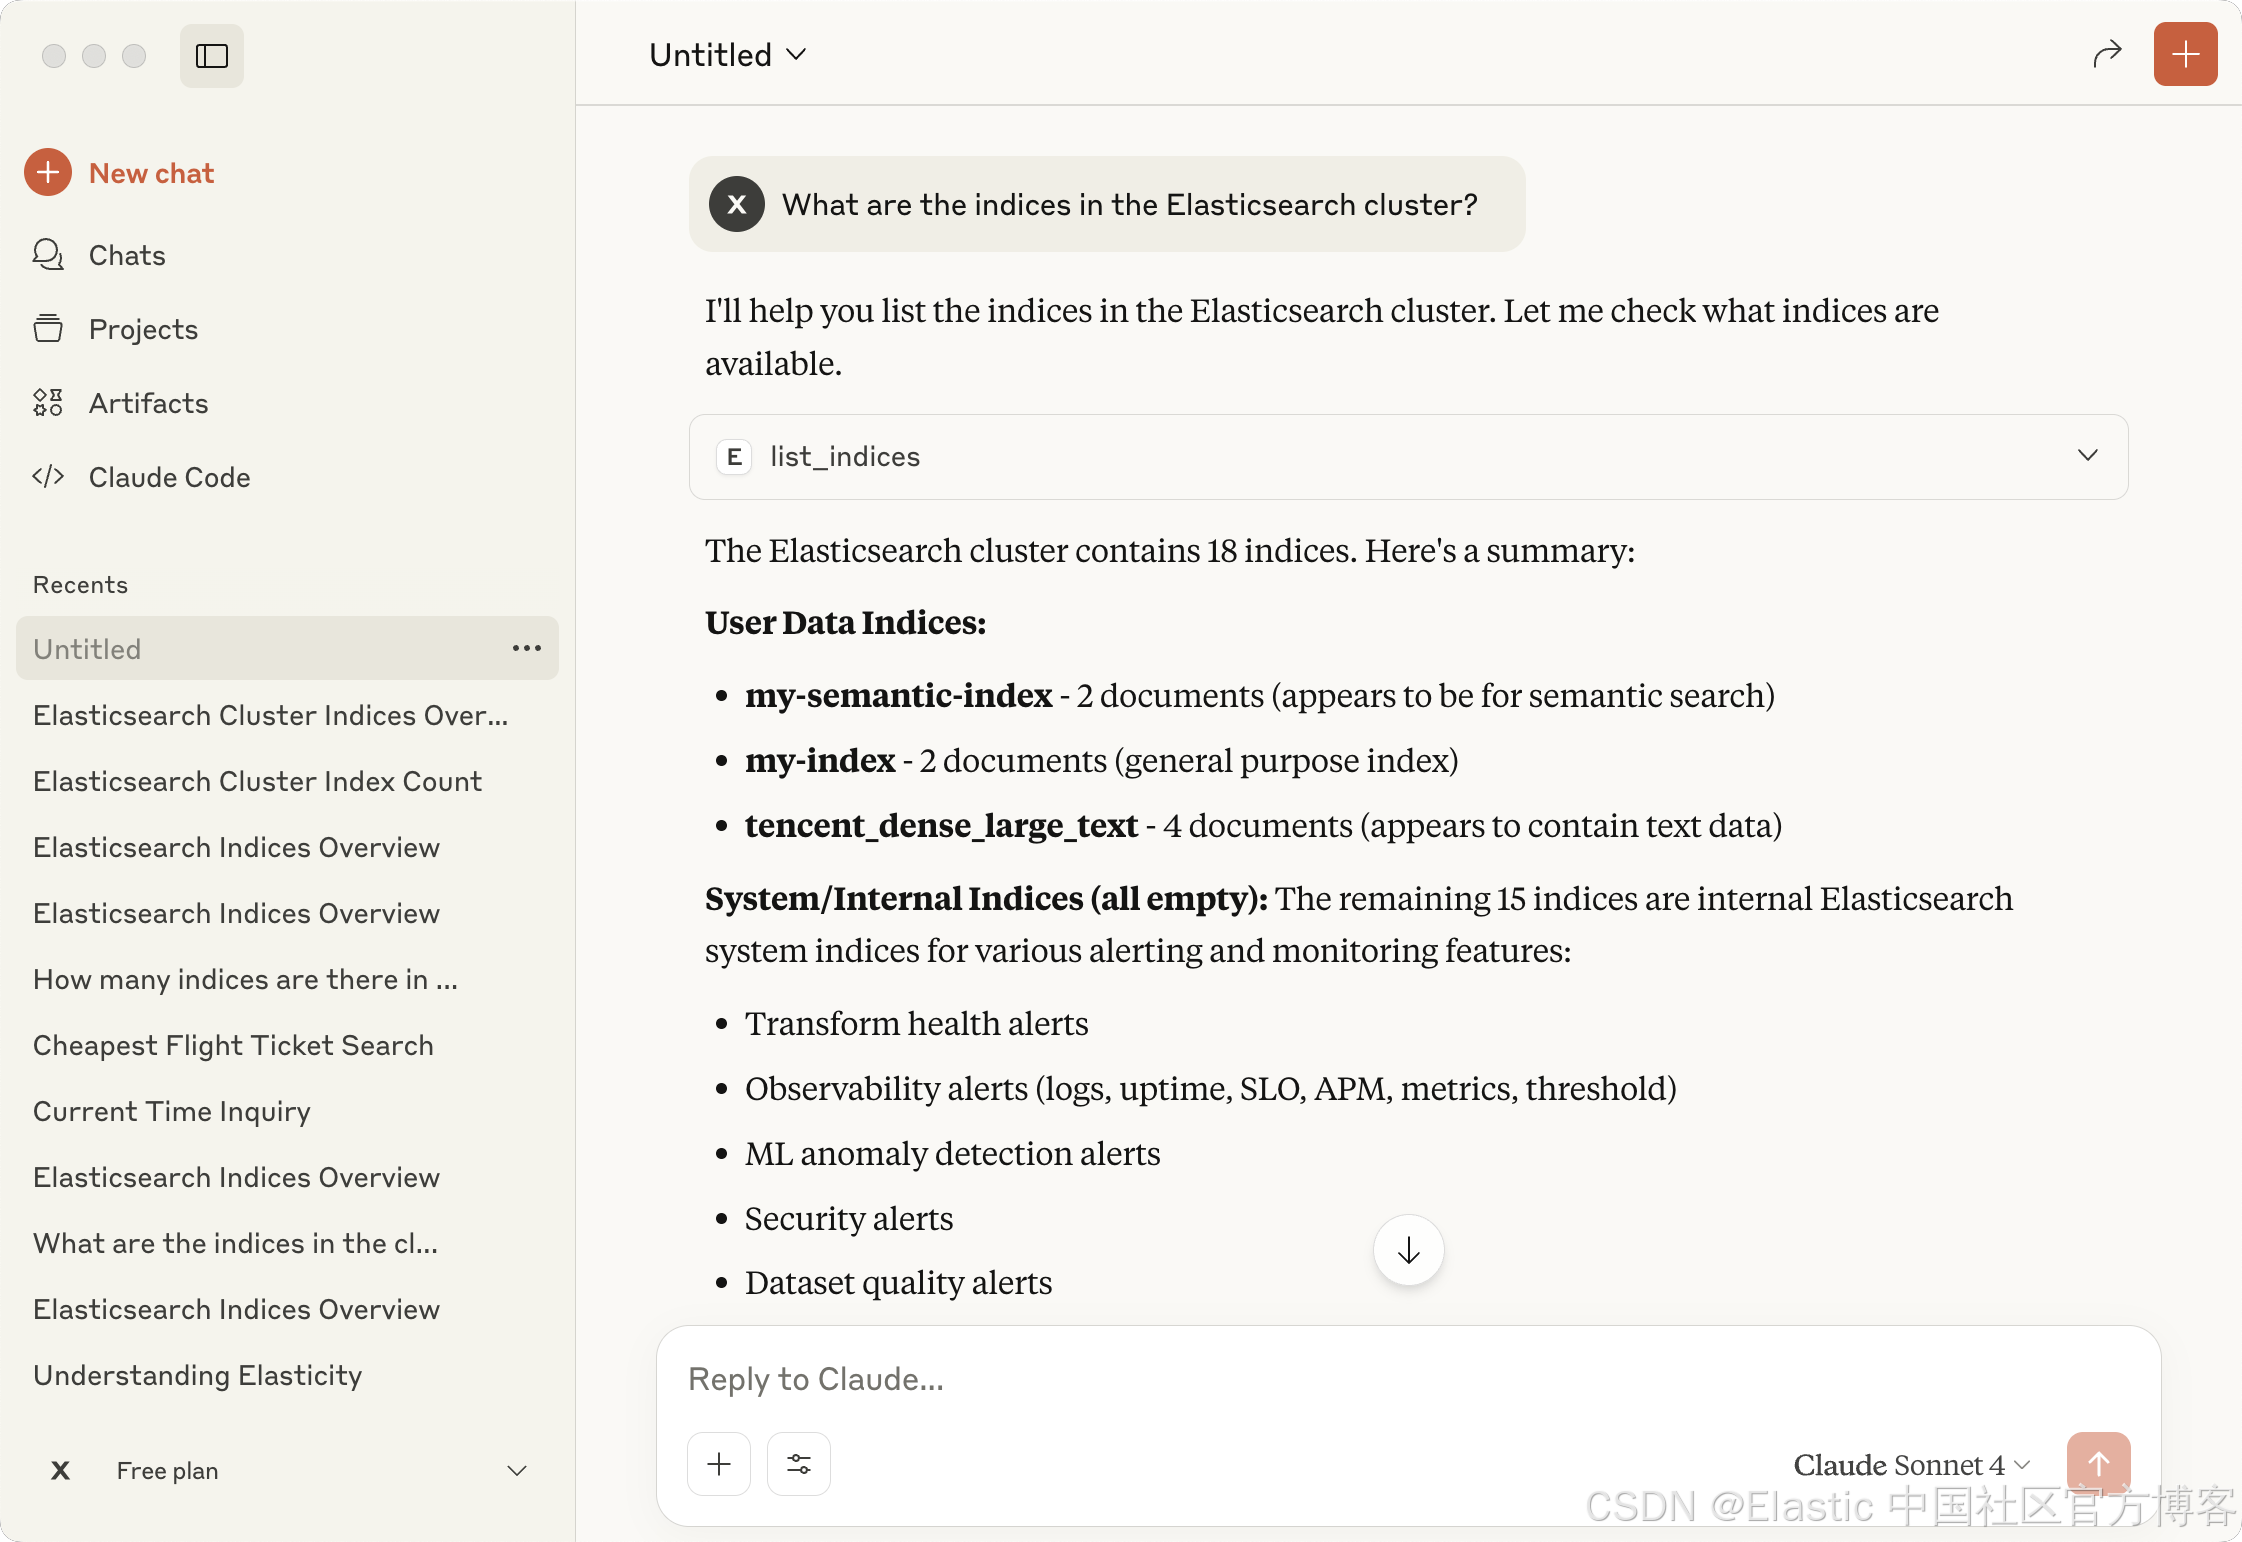
What is the mapping for "my-index"?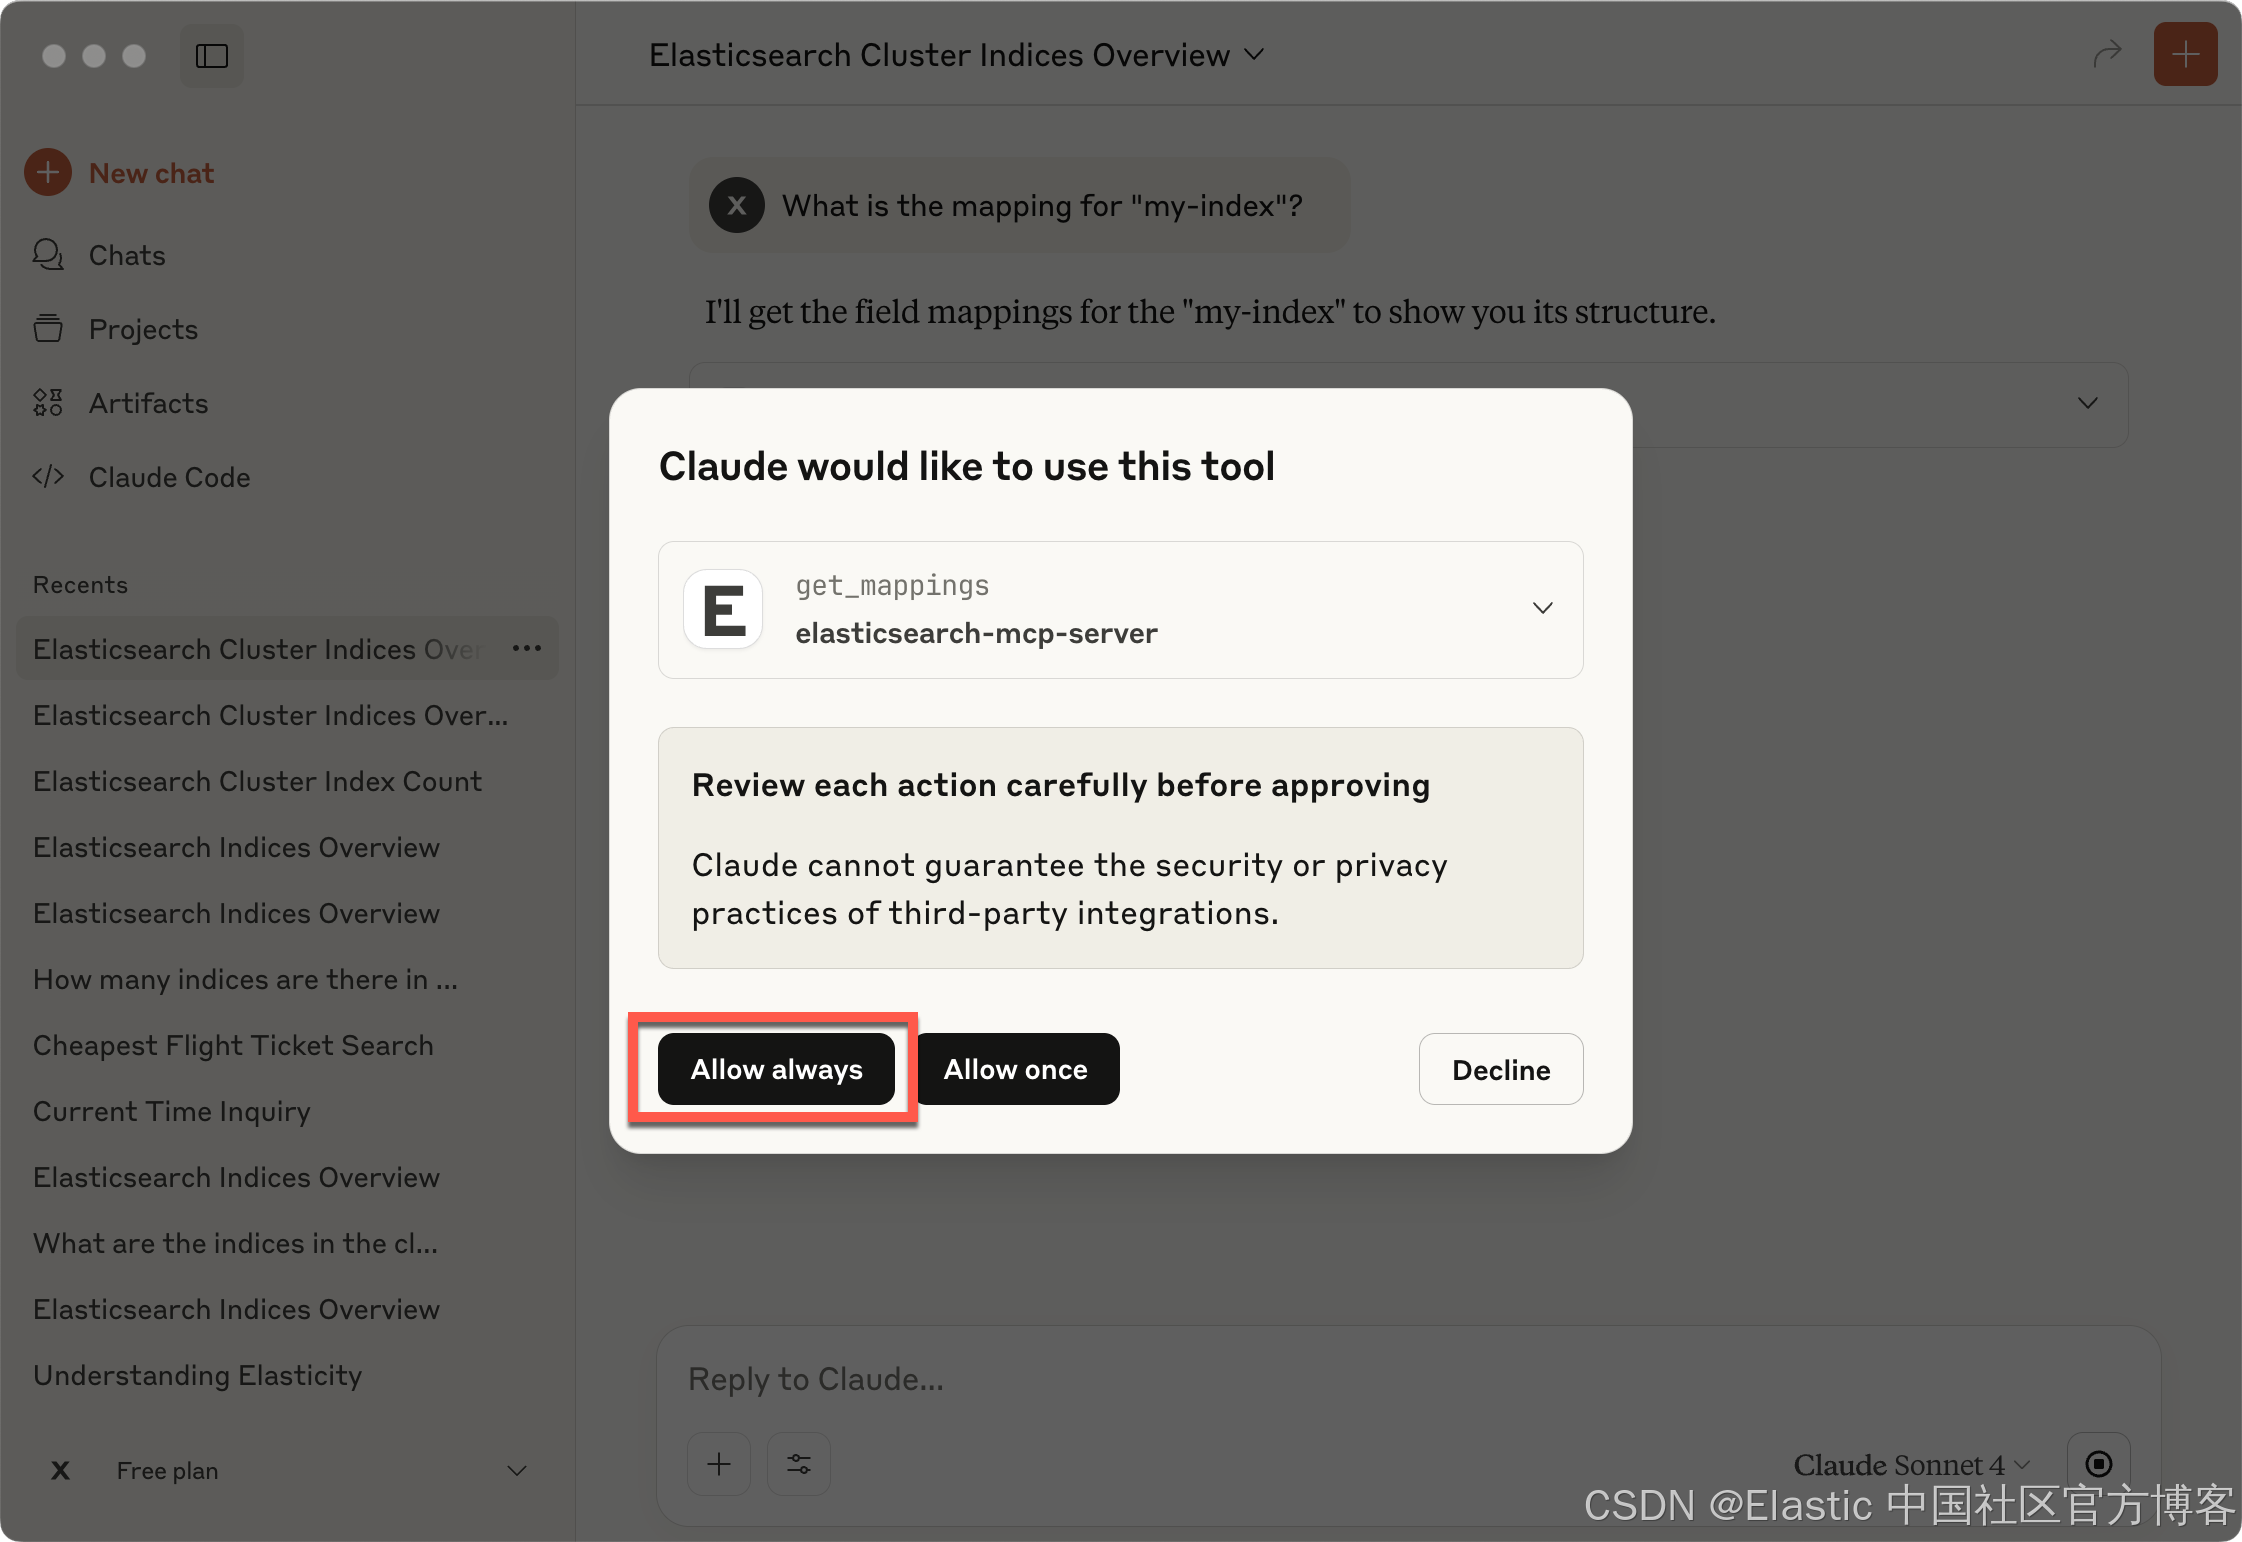
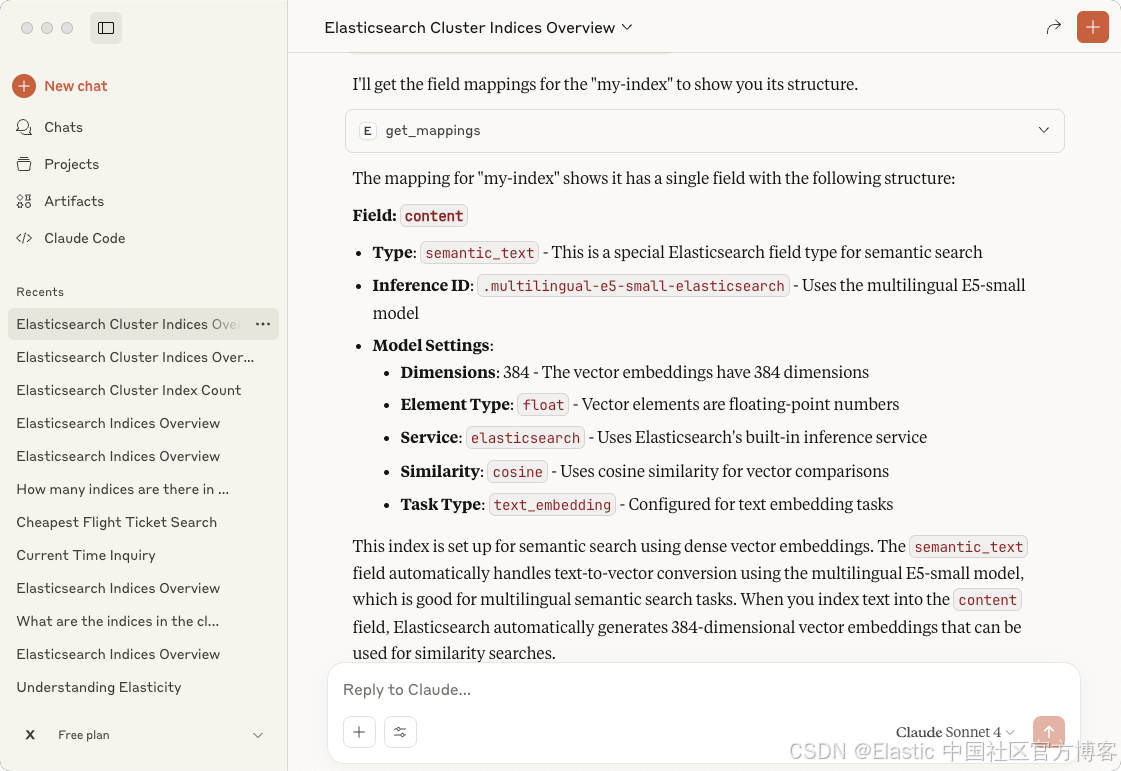
Please return in JSON format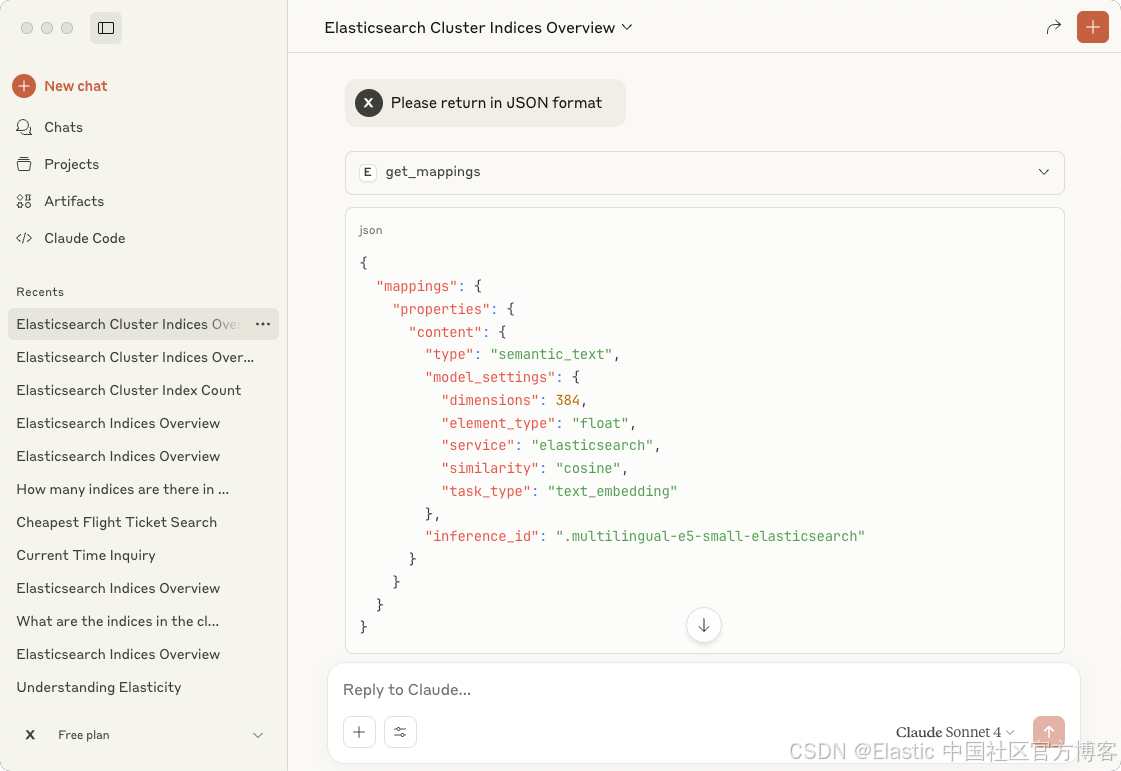
接下来,我们导入一个 Kibana 自带的索引:
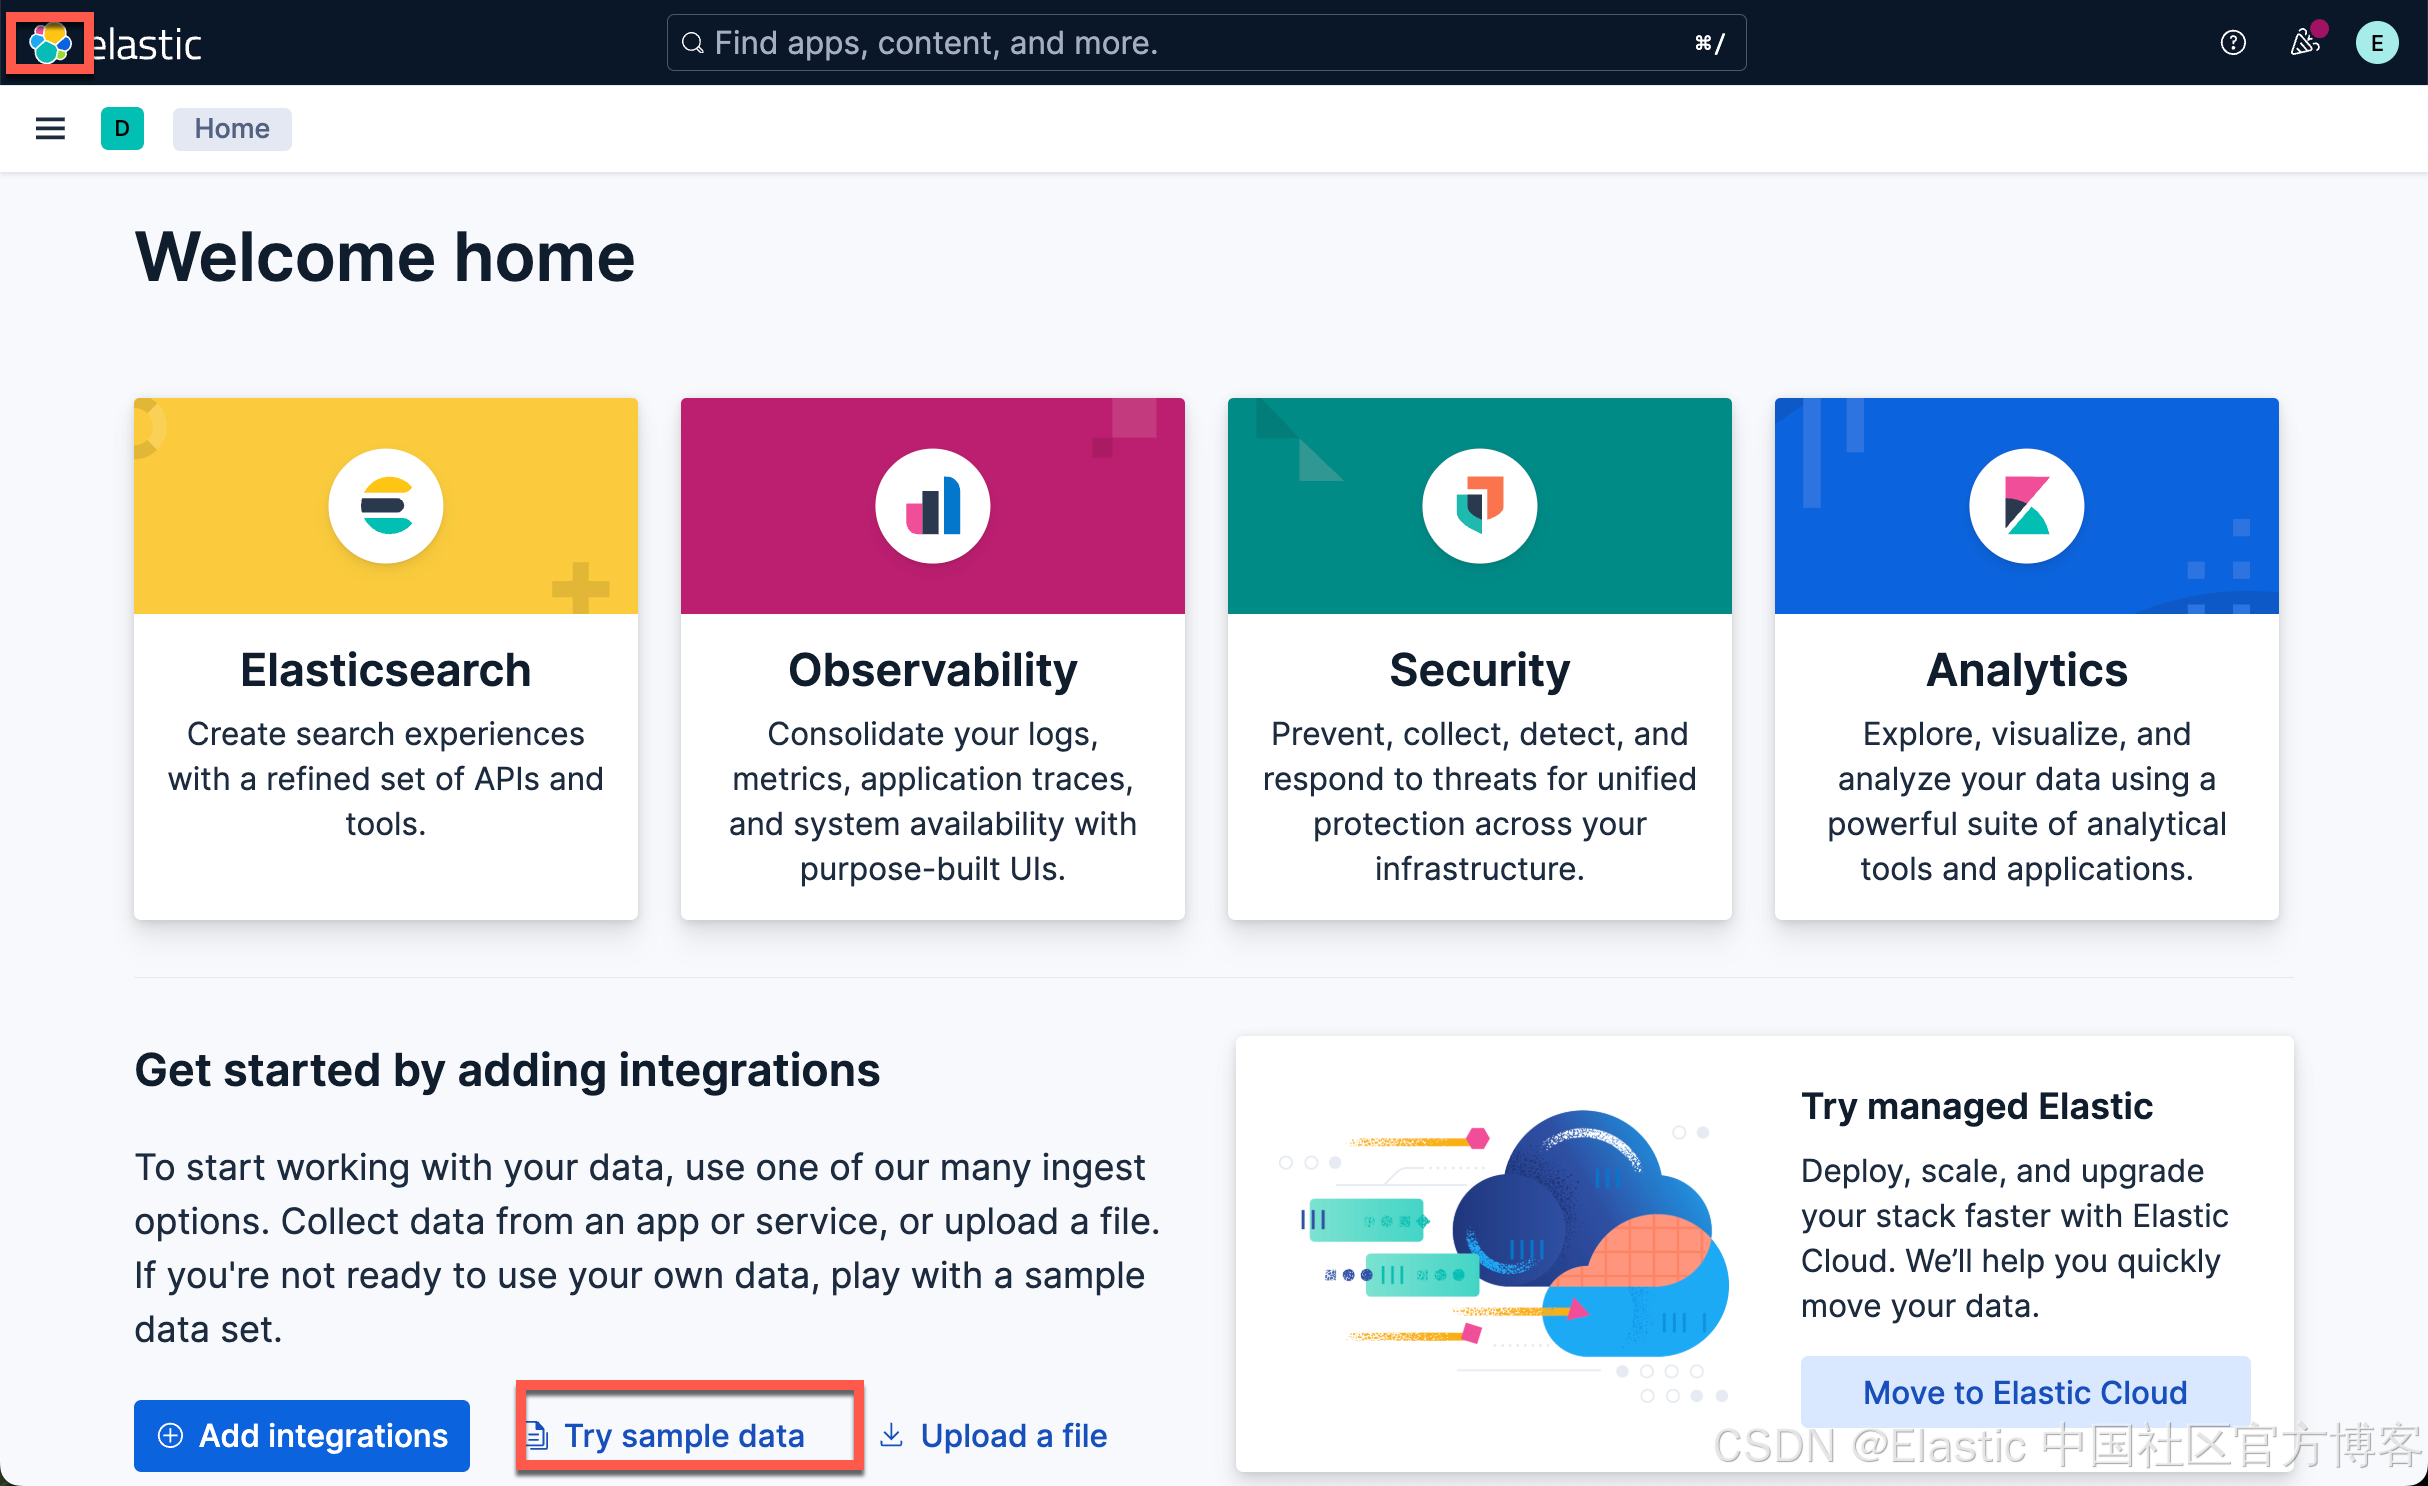
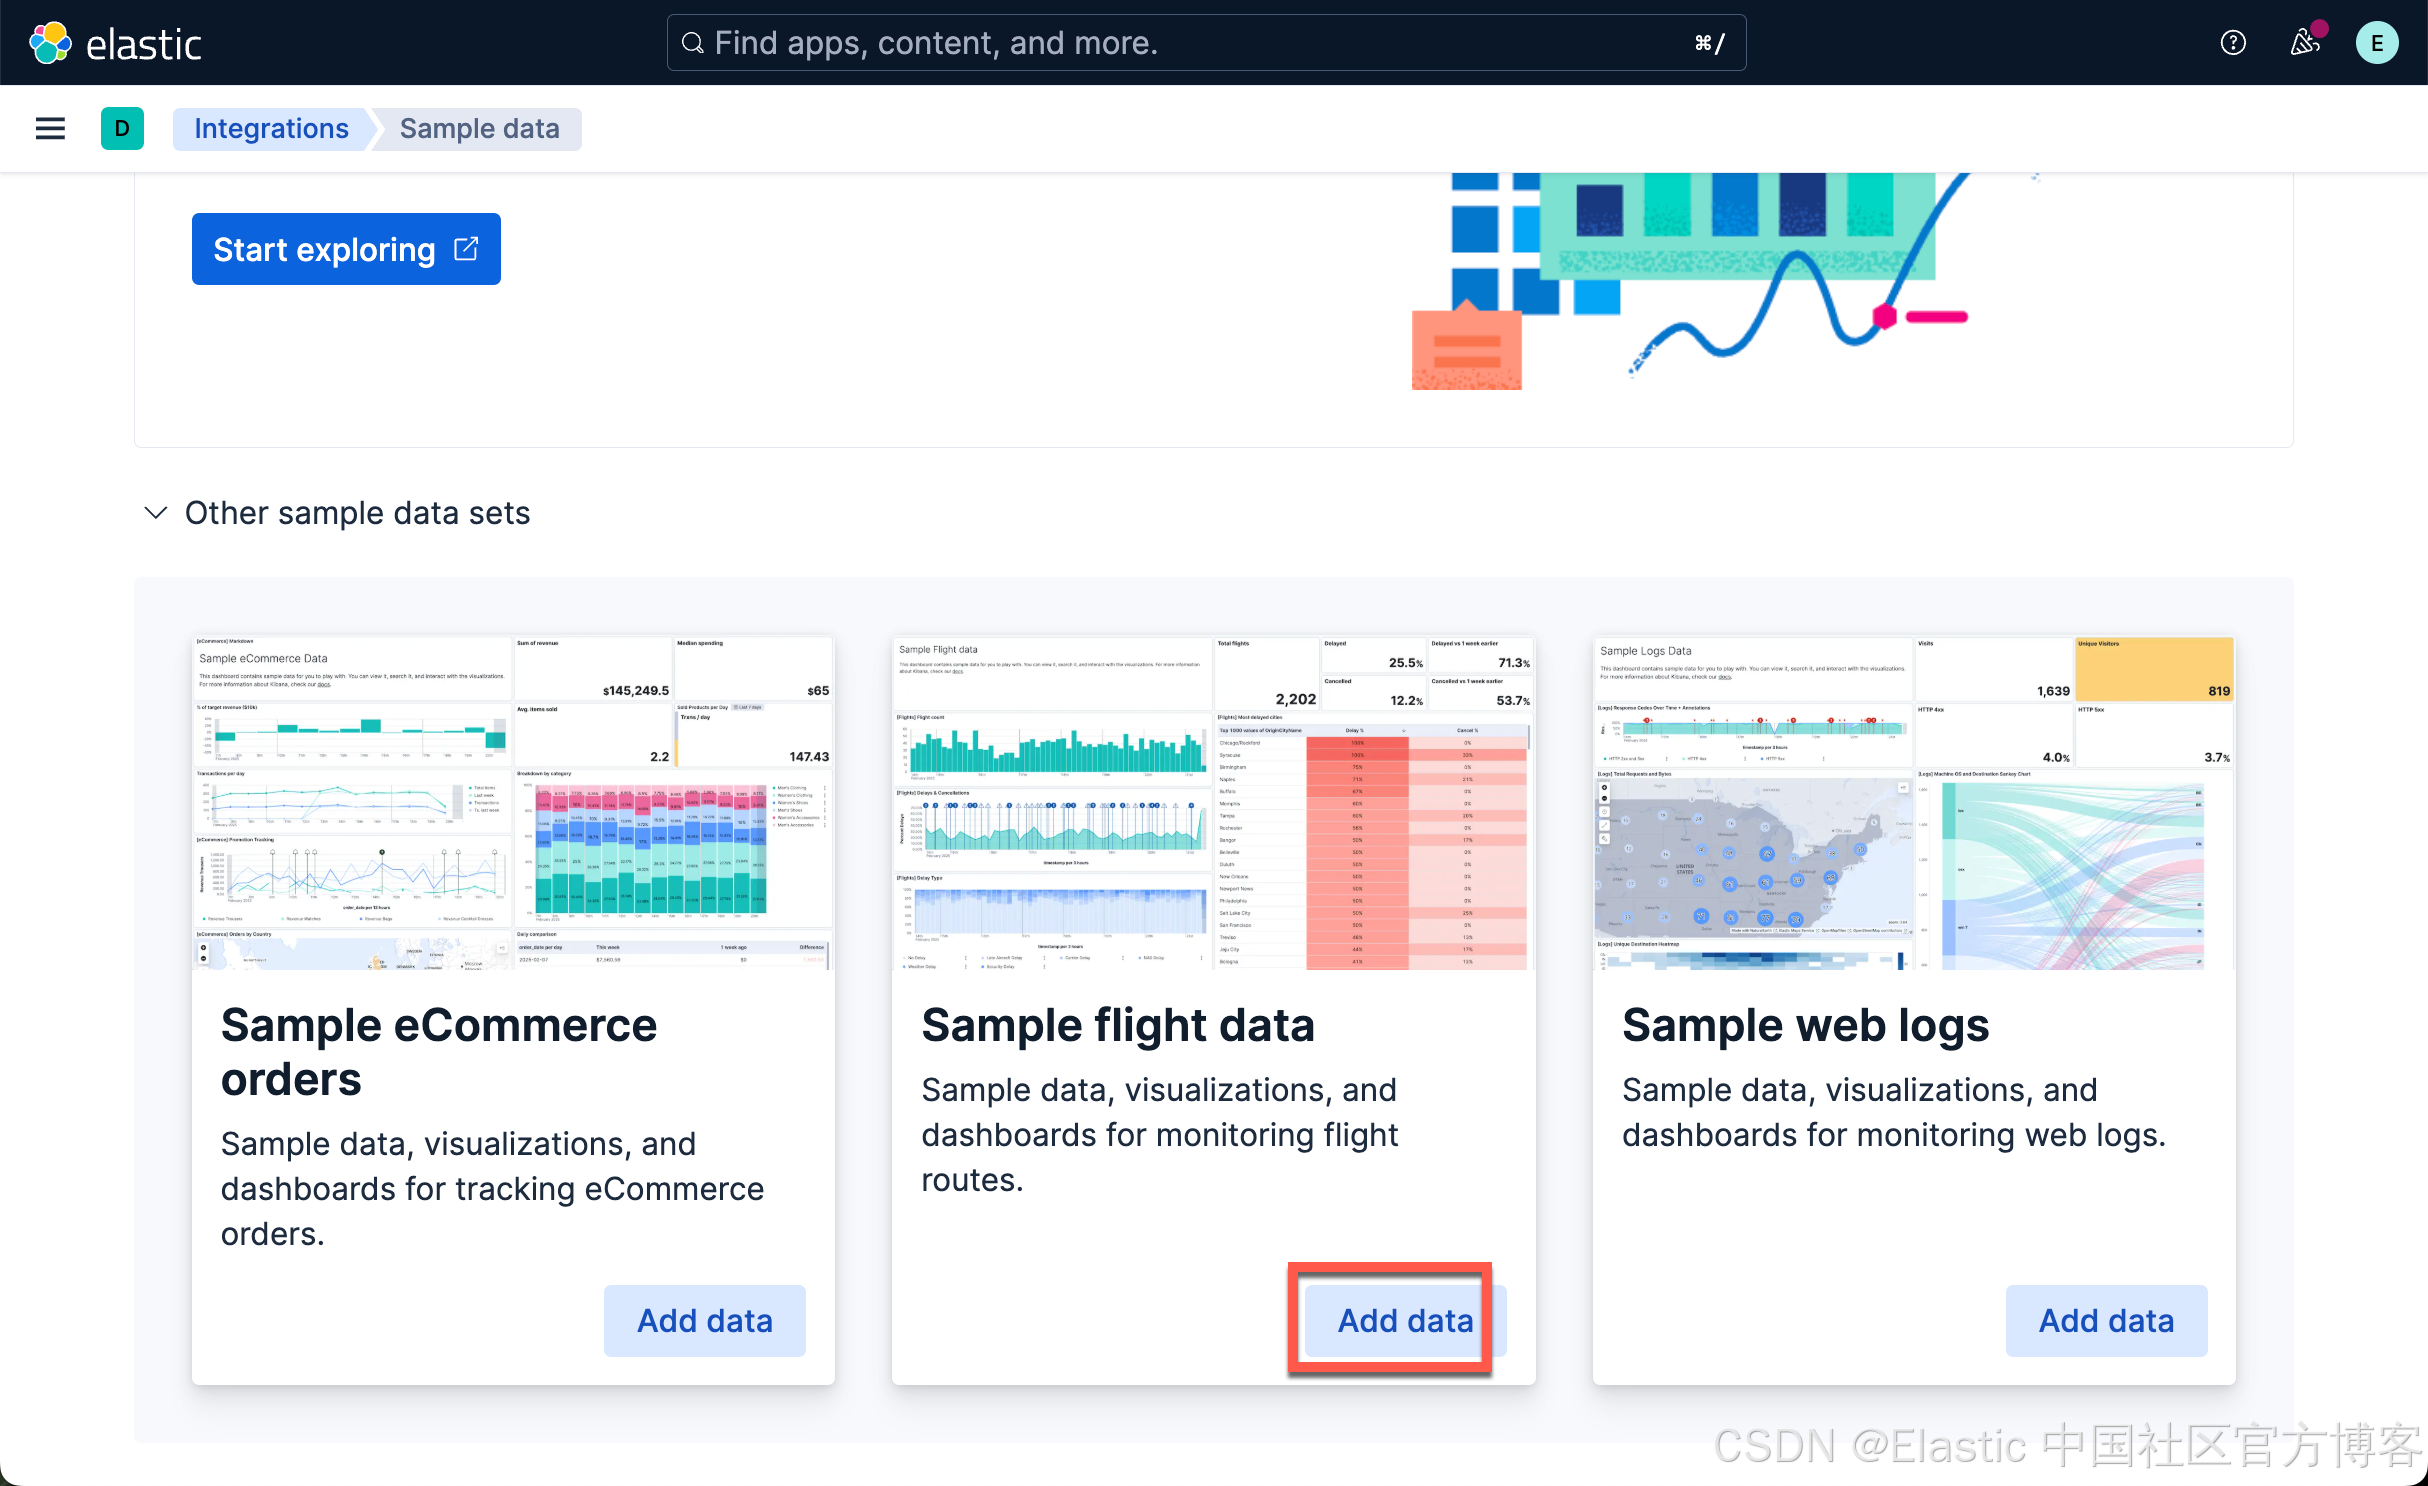
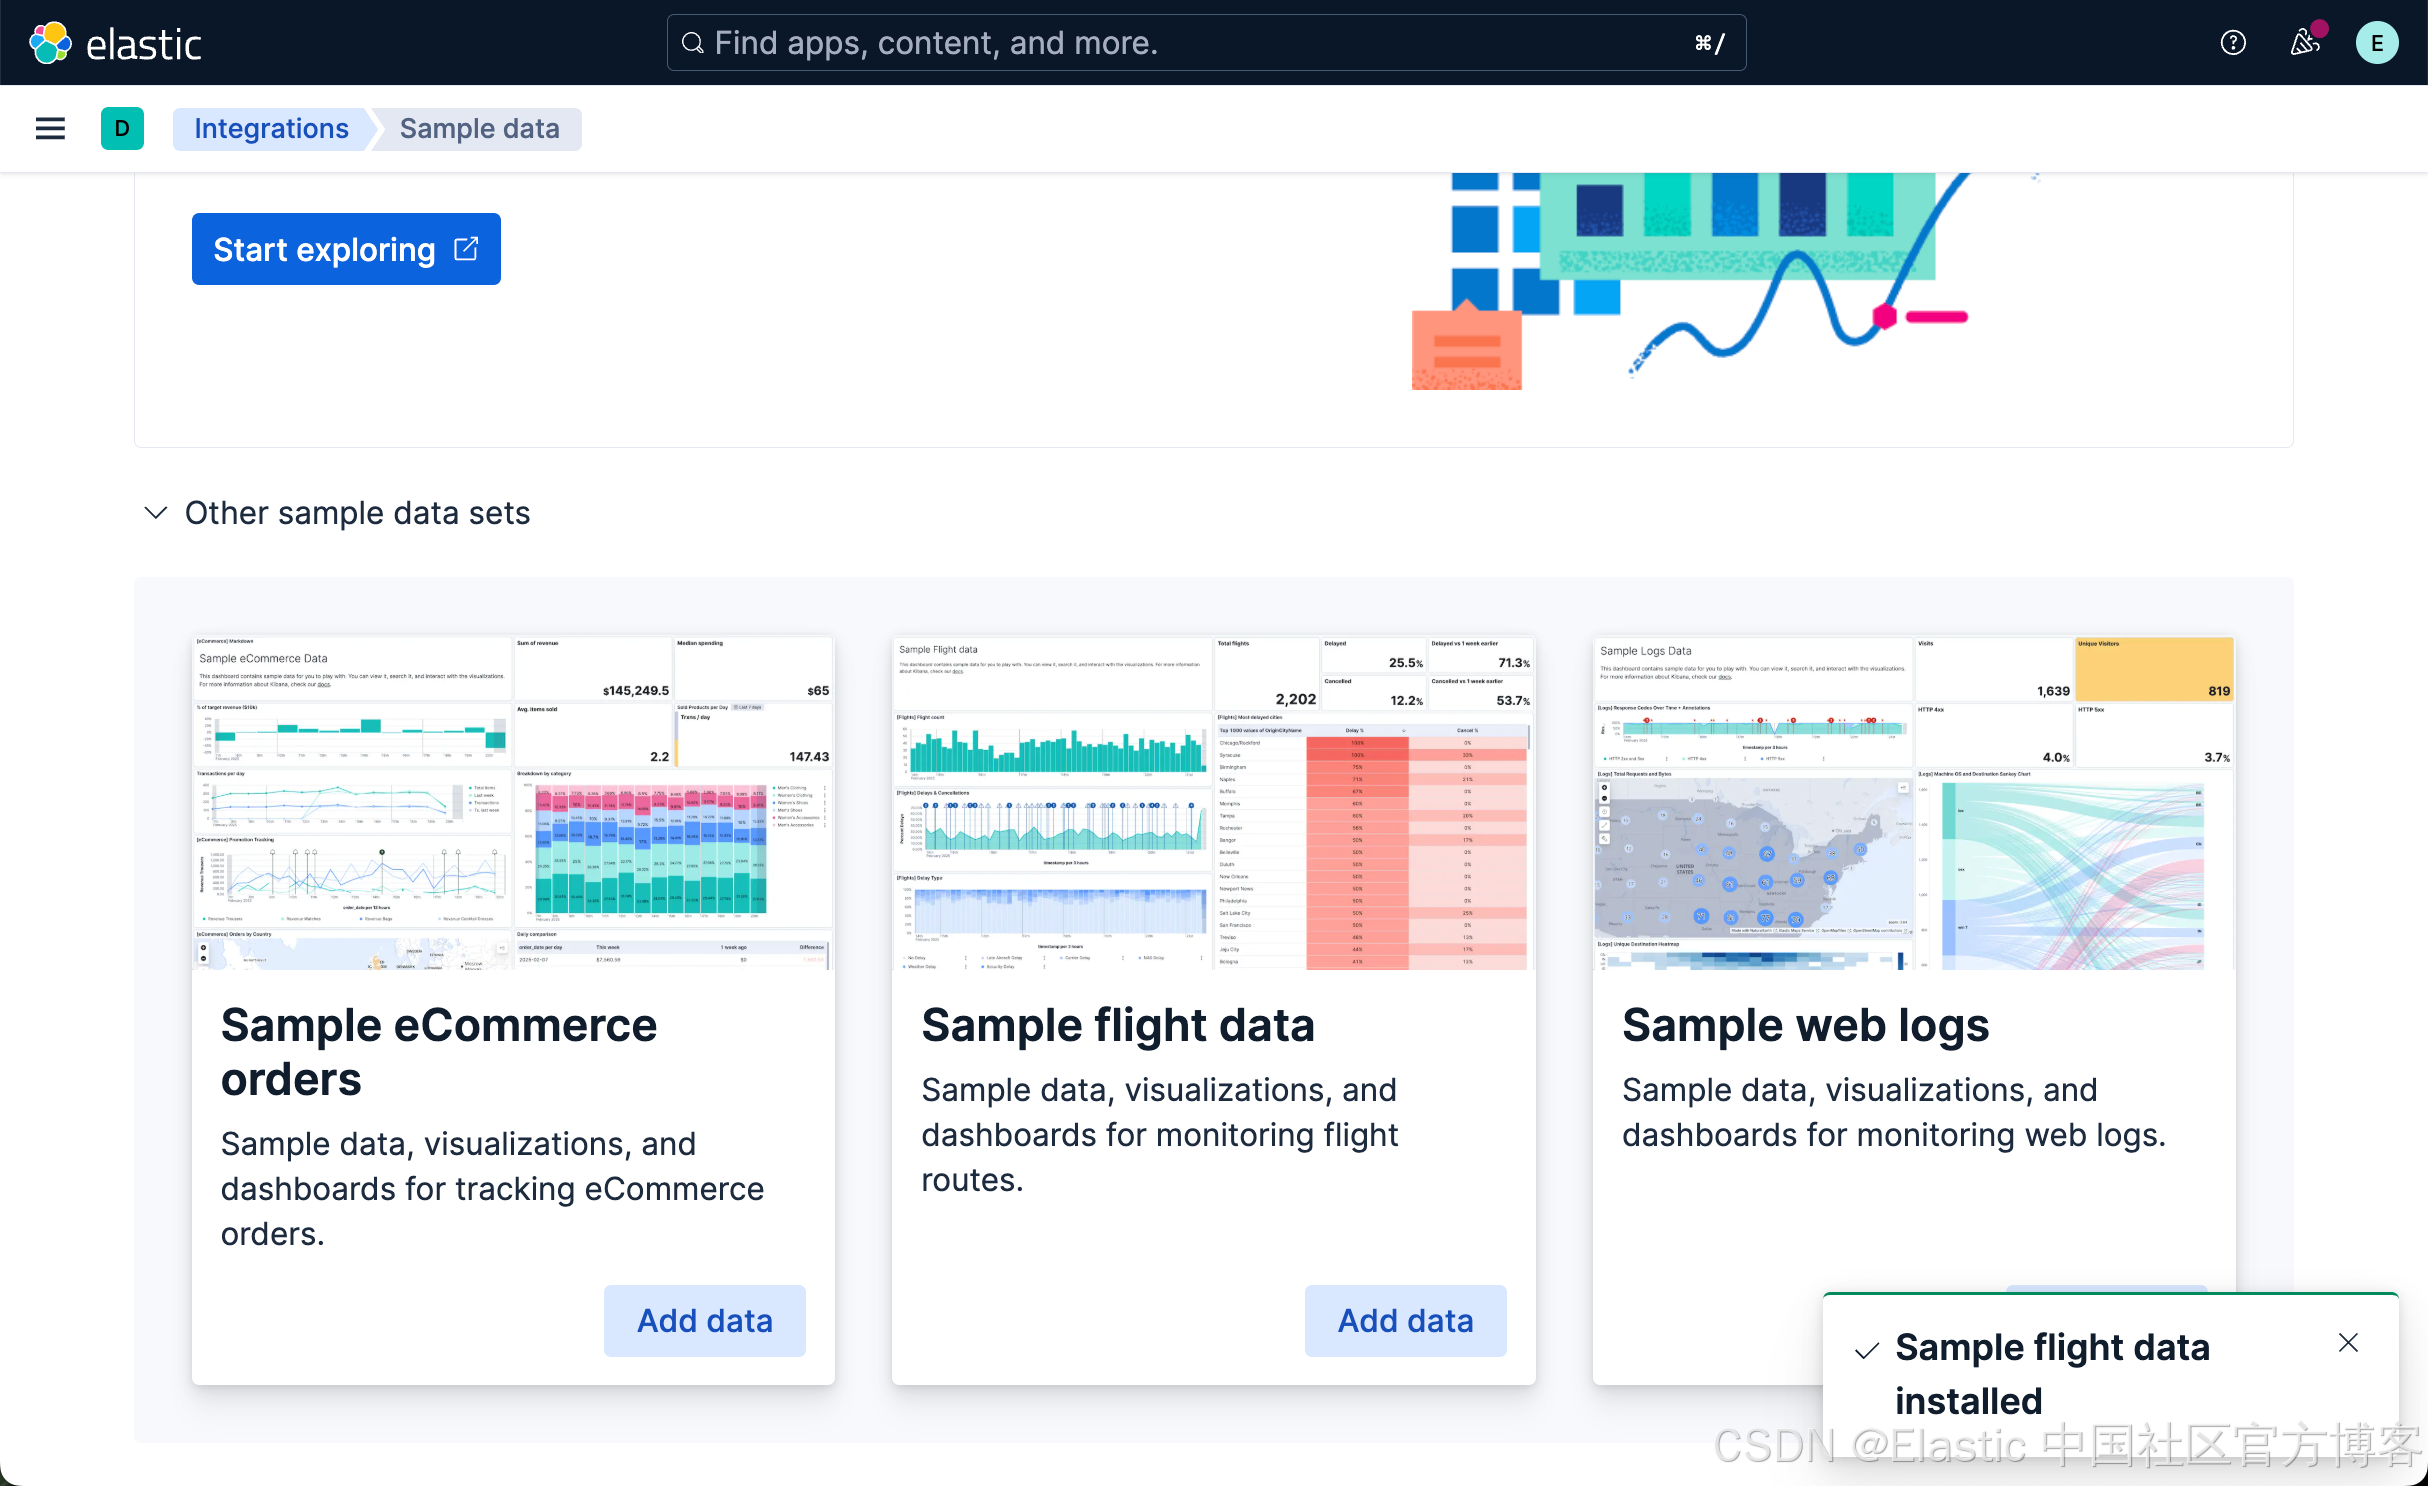
这样我们就向 Elasticsearch 写入了一个叫做 kibana_sample_data_flights 名字的索引。
我们做如下的查询:
What is the cheapest price from CN to US? and tell me the OriginCityName and DestCityName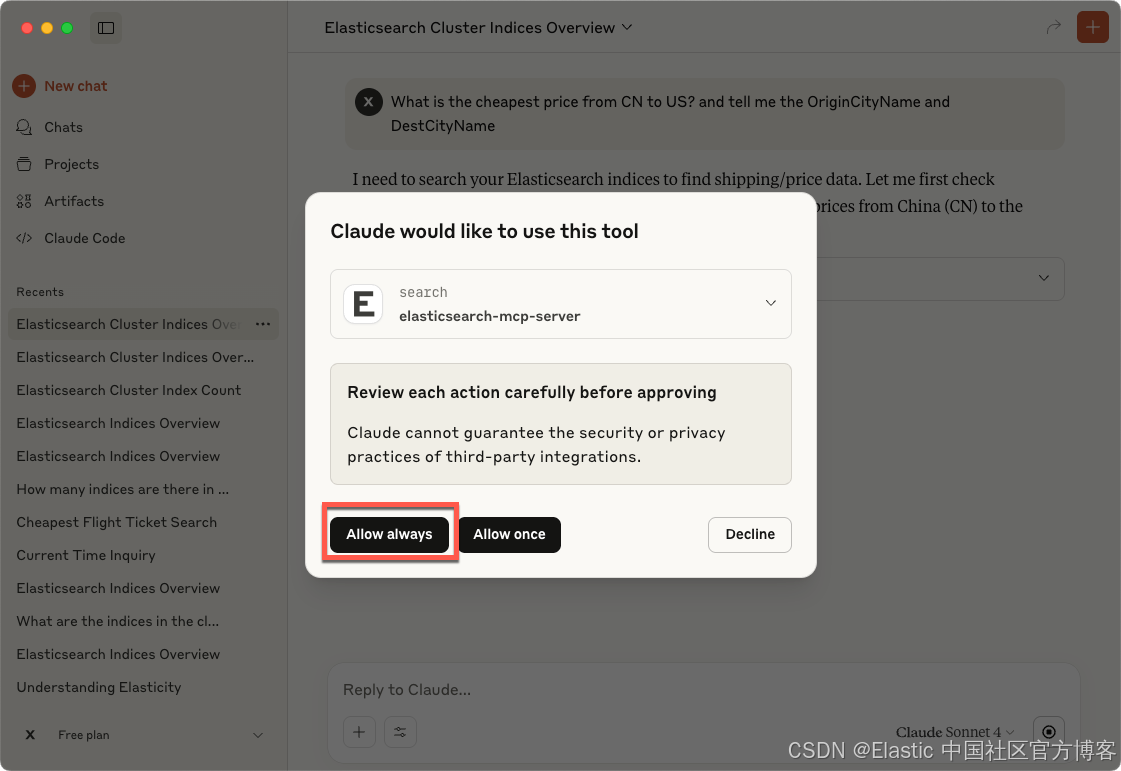
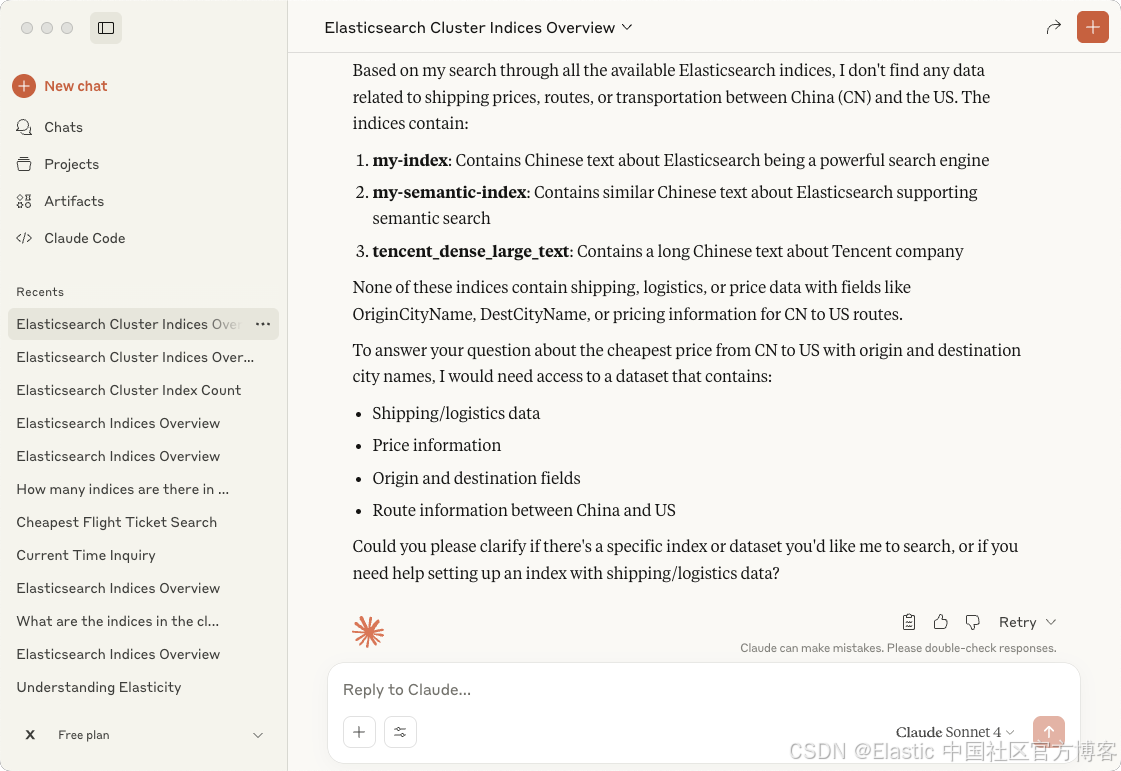
在上面我们并没有指名任何索引的名称:
Please use the flights index
我们也可以尝试使用中文来进行查询:
从中国到美国的最低价格是多少?请告诉我出发城市名称和目的地城市名称。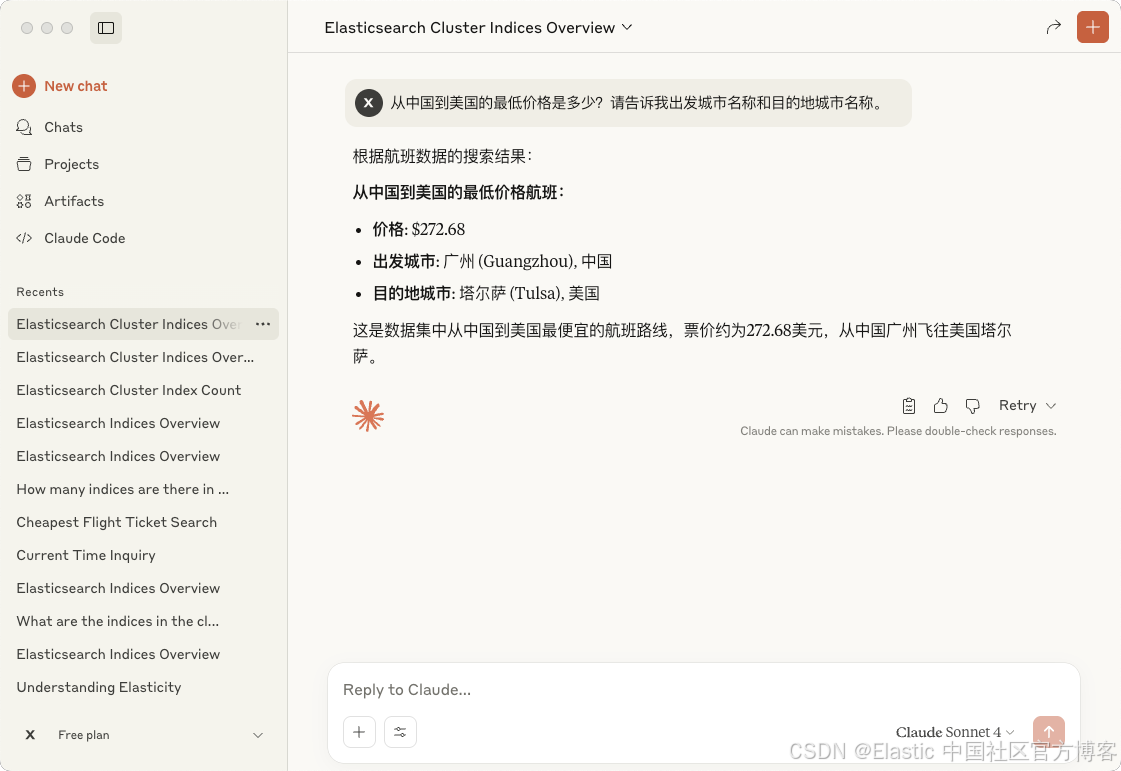
很显然,我们也得到了我们需要的答案。
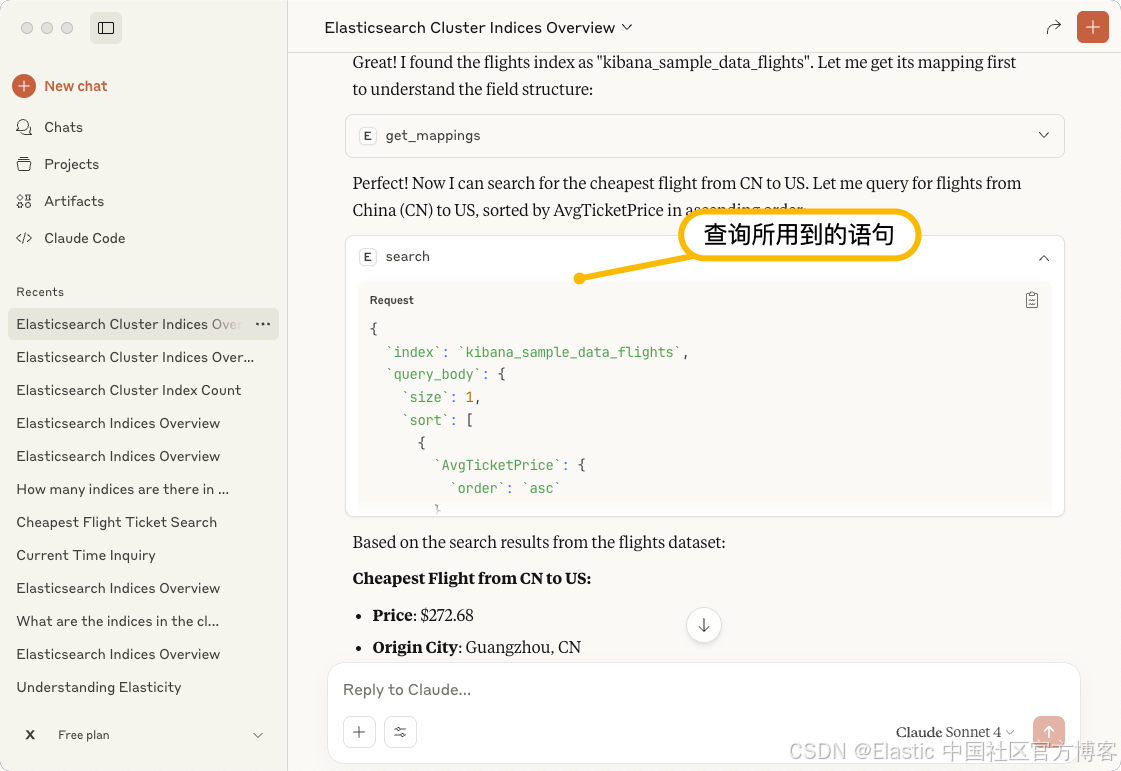
{
  `index`: `kibana_sample_data_flights`,
  `query_body`: {
    `size`: 1,
    `sort`: [
      {
        `AvgTicketPrice`: {
          `order`: `asc`
        }
      }
    ],
    `query`: {
      `bool`: {
        `must`: [
          {
            `term`: {
              `OriginCountry`: `CN`
            }
          },
          {
            `term`: {
              `DestCountry`: `US`
            }
          }
        ]
      }
    },
    `_source`: [
      `AvgTicketPrice`,
      `OriginCityName`,
      `DestCityName`,
      `OriginCountry`,
      `DestCountry`
    ]
  }
}
结论
通过 Elasticsearch MCP server 的使用,我们可以很方便地使用自然语音的方式来对我们的数据进行查询。我们可以不必使用非常难写的 DSL 语句。
Happy Exploration!